We may receive a commission when you use our affiliate links. However, this does not impact our recommendations.
This coming Saturday I am going to teach a remote whittling class for children, hosted by Peters Valley School of Crafts. Unlike in-person teaching, where the teacher is present in the class/shop and can have much tighter control over the pedagogy, the equipment, and can routinely intervene with the individual student’s project, the nature of remote teaching is more challenging as it infuses some new variants that we teachers have to contend with. The scale of the project, its level of complexity, and the process’ safety considerations are perhaps the most important elements to take into account if you want it to succeed remotely, and without a doubt, safety is the prime aspect to pay attention to.
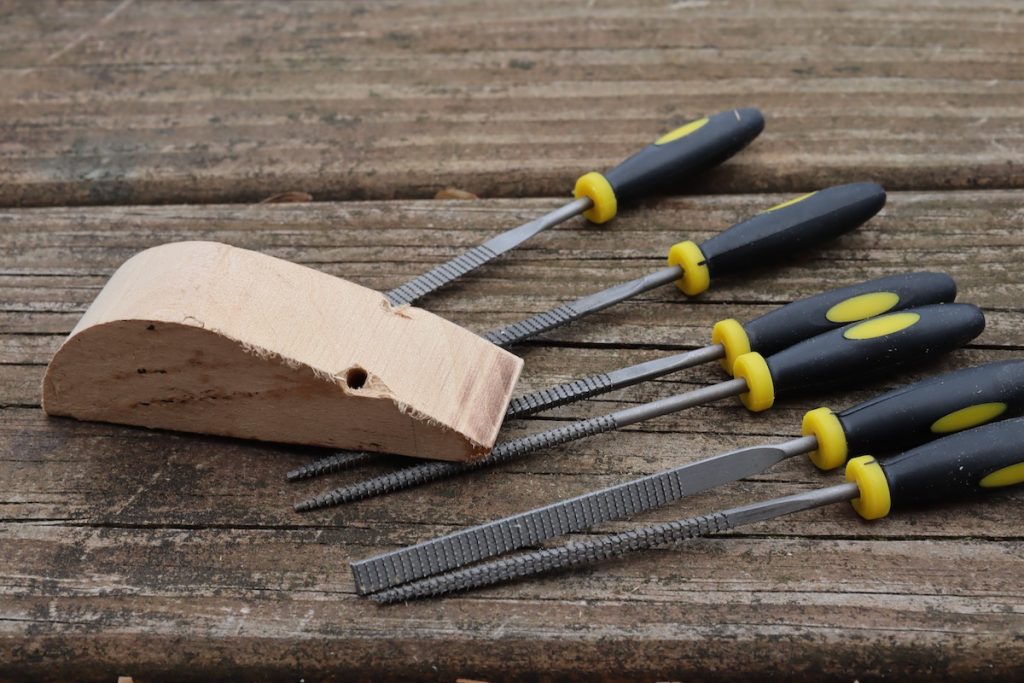
When I teach remote whittling classes for adults we use knives and I spend a considerable amount of time talking about knife safety. But for the kid’s classes, I decided to forgo the knives and use needle rasps instead – since these inexpensive tools are remarkably effective and safe. Sure, a child can accidentally rasp their finger but the damage is minor and the wound will heal quickly. Throughout my teaching career, I haven’t yet heard about a child who was sent to the ER as a result of a needle rasp accident.

Needle rasps as a gateway into woodworking is something I learned to appreciate during the pandemic. I first gave them a chance when I had to switch to remote teaching, and later on when I had to teach in the classroom instead of the woodshop. I introduced these tools to the students in the lower grades (4th, 5th, 6th) and we have been using them successfully for two years now. The combination of a soft carving wood blank such as basswood and a $6 (6″) rasp set (or an $8, 7″ long rasps) is remarkably powerful. A child can sit at home and learn wood carving semi-independently by watching a YouTube video or attending an online class. This totally versatile medium can also allow grandparents and family friends to teach kids whittling from afar too. Think about a grandmother who whittles but lives far away from her grandson. With the help of our modern technology, she can meet her grandchild on Facetime or Zoom and teach them how to carve an animal or an ornament. I think that this is a great way to connect and spread the gospel of woodworking and woodcarving among family members. And obviously, this project can be taught in person too, making it a fantastic first whittling project to share with the kids in your life.
The blank that I mailed to my remote students includes holes for the ears and tail. If you work with a student who has access to a gimlet let them drill the holes by themselves.
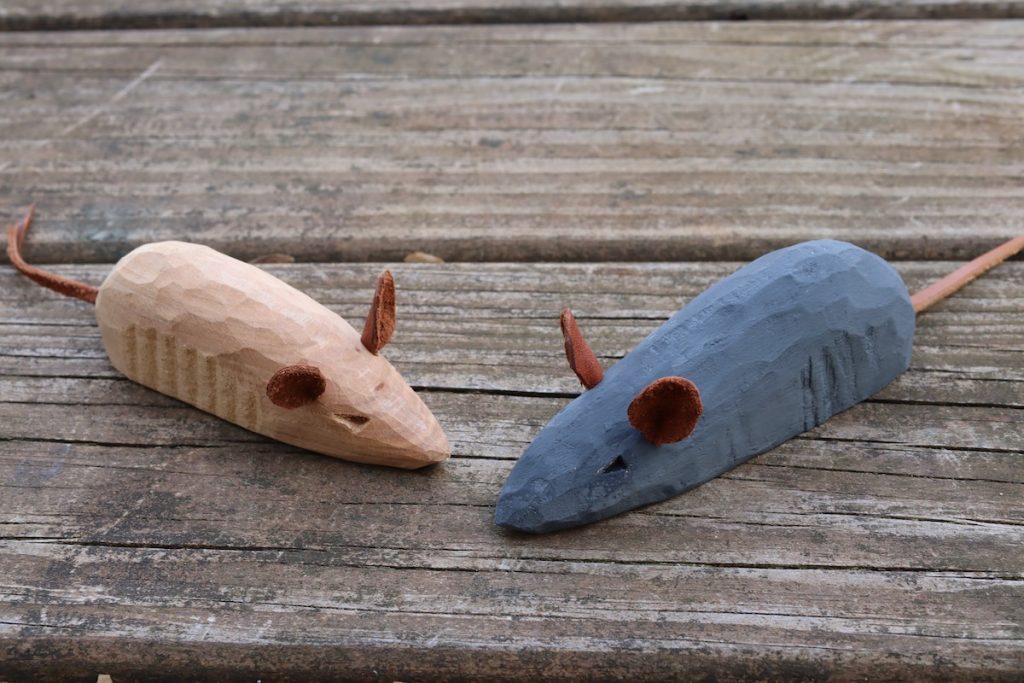
Our mouse project was tailored for this purpose. It is surprisingly simple, yet beautiful and allows young students to develop basic shaping techniques.


What you will need:
- A basswood blank (you can buy them online if you don’t have the wood in your shop) but sassafras, walnut, or pine will do just as well.
- A set of inexpensive needle rasps.
- Some sandpaper.
- Some pieces of leather, or fabric or cardboard for the ears and tail.
- A gimlet of drilling holes.
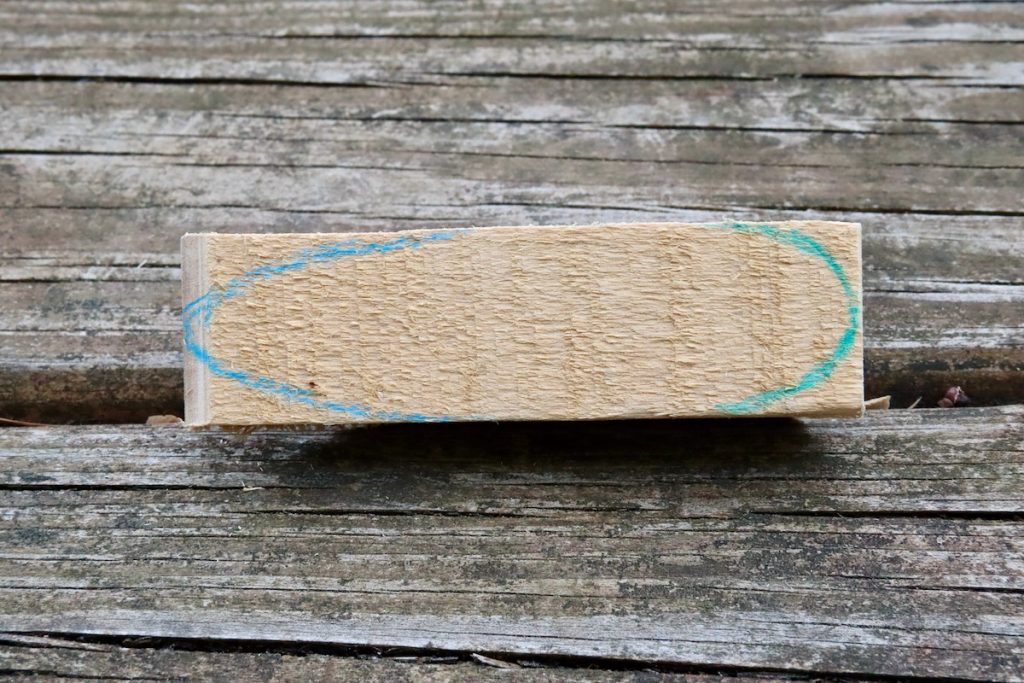
The blank (A)

You can cut the mouse blank on the bandsaw, fretsaw, jigsaw, or with a manual coping saw. I sent my students a mouse blank that I pre-drilled with three holes (two intersecting holes for the ears and one for the tail). You can do the same or let the kid drill the holes with a gimlet later after the mouse had been shaped. I also added two pieces of leather: One piece is for the tail which I precut to shape, and the other piece is a rectangular strip of leather that the students will later cut into two teardrop shape tabs, fold and tuck into the ear holes.
Before Shaping the Blank
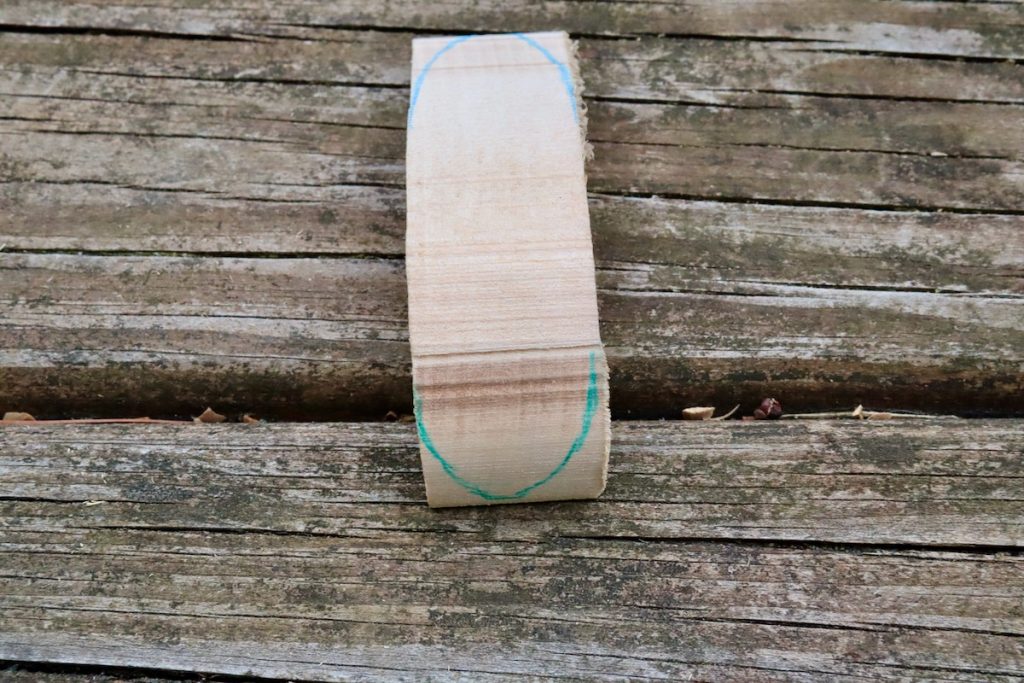
Ask the student to draw on the bottom of the blank a teardrop shape. Let them draw half a circle at the rear of the mouse and two intersecting arcs that meet at the tip of the mouse’s snout in the front.


Top
Bottom

Rear
Shaping (B, B1)
Using one of the flat rasps ask the child to rasp away the rear of the mouse until they reach the half-circle line. Emphasize to your kid that the wood needs to be removed completely so when we look from above (or below) we should see half a circle. A mere rounding over of the corners is not enough.
Then let them “sharpen” the snout in the same way.


Faceting and rounding over (C)
Now ask the kid to facet the corners along the teardrop top (the mouse’s back from the tip of the snout to the rear). It is a good idea to trace the facet’s lines (orange) before introducing the rasp to the back’s corners. These guidelines will help your young student stay focused on the facet and prevent a premature rounding over.


In my next blog entry, I will show how we finish shaping the mouse, cut the ears and insert them and the tail into the mouse.
Here are some supplies and tools we find essential in our everyday work around the shop. We may receive a commission from sales referred by our links; however, we have carefully selected these products for their usefulness and quality.