We may receive a commission when you use our affiliate links. However, this does not impact our recommendations.
 A great all-around kitchen utensil.
 A great all-around kitchen utensil.
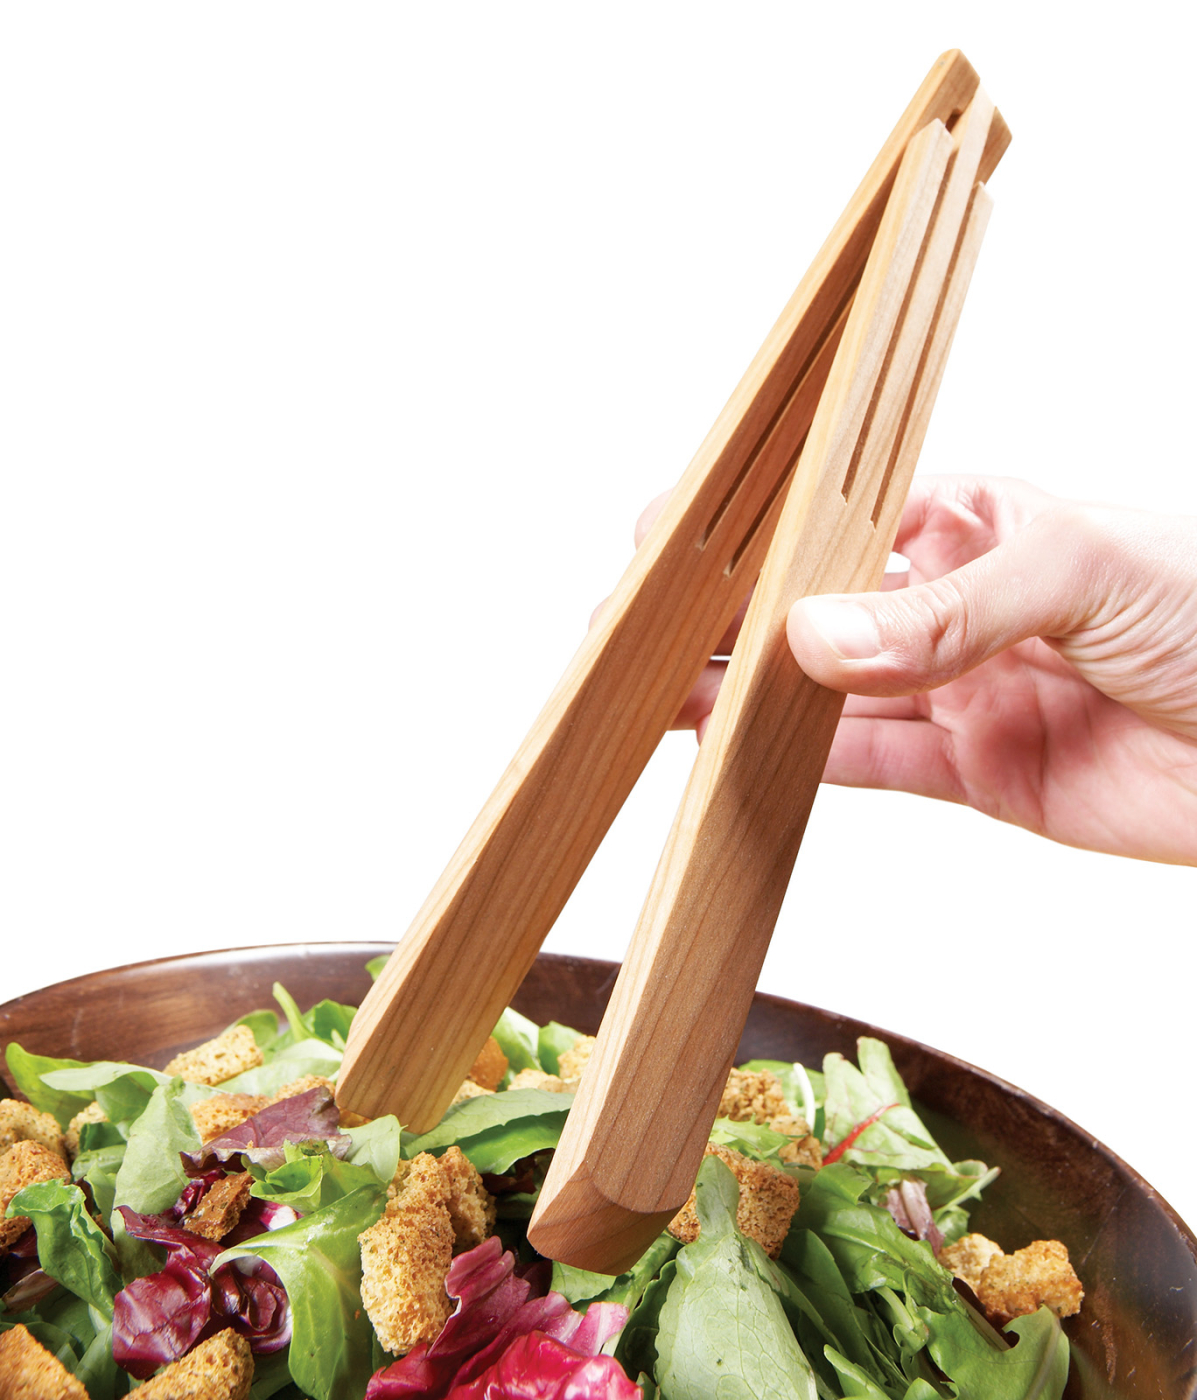
Here’s a great kitchen utensil you’re sure to find indispensable. These wooden tongs feature a unique spring tab mechanism built into a knuckle joint. The joint allows the tongs to be folded flat for storage. When the tongs are opened up, the spring tabs contact each other so the tongs want to spring back open (Fig. A). This is the same action found in those metal tongs used by chefs the world over. Tongs are perfect for everything from plucking corn-on-the- cob out of boiling water to fetching a trapped piece of toast from a toaster. Of course, they also shine as a salad server. It’s one of those projects you’ll enjoy using so much that you’ll make more as gifts for friends and family.
 No doubt there’s lots of scrap wood in your shop just looking to be fashioned into something useful. Closed grain or semi-porous woods like cherry, walnut and maple make good tong material. The tongs are easy to make. There’s a little bit of steam bending, but even that is low tech and straight forward. Feel free to experiment with the length and width of the tongs for a variety of uses.
Create the Spring Tabs
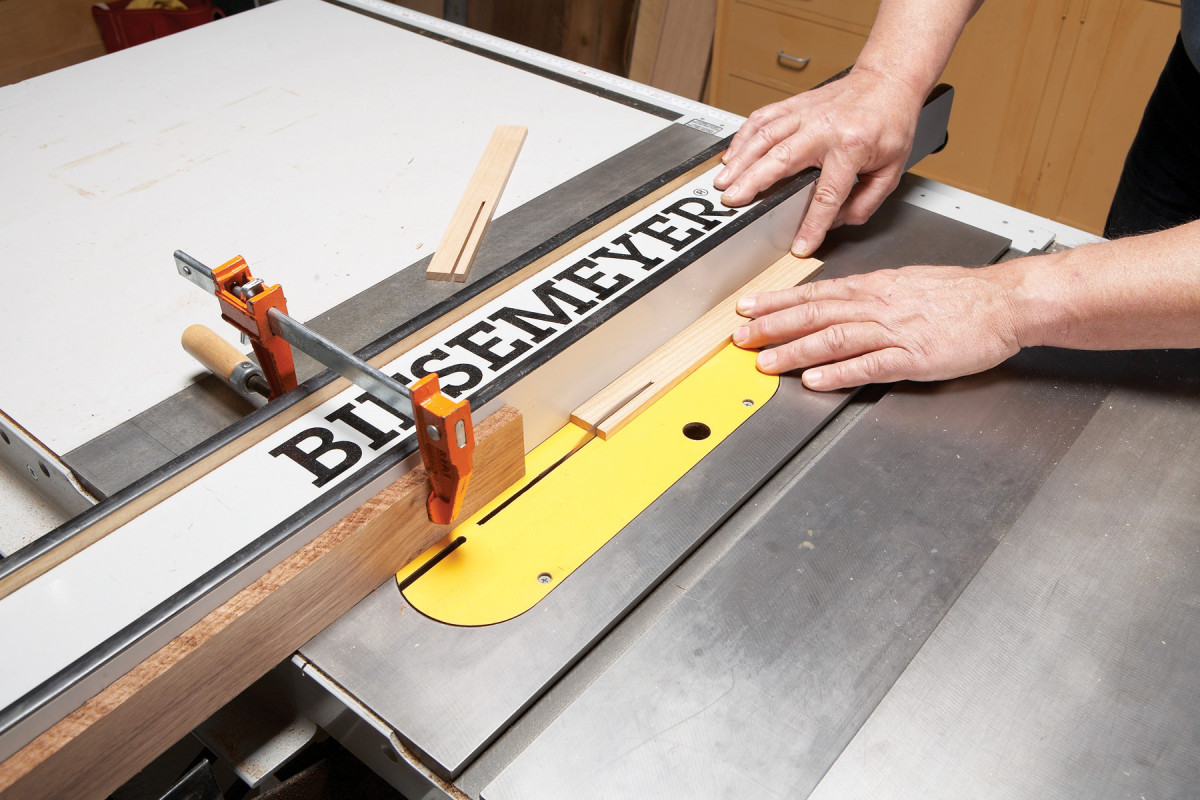
1. Cut saw kerfs in each blank to create the spring tabs. Set the fence to cut the outer kerf on each blank first. Then, reset the fence to cut the inner kerfs. Clamp a stop to the fence and keep the same face up for both cuts so each tab is equal in length.
Each half of the tong starts out exactly the same. Cut the two tong blanks (Fig. A.). Next, set your table saw to rip tabs on each blank (Photo 1). Mark the outer face on each blank and rip the tabs with the outer face up.
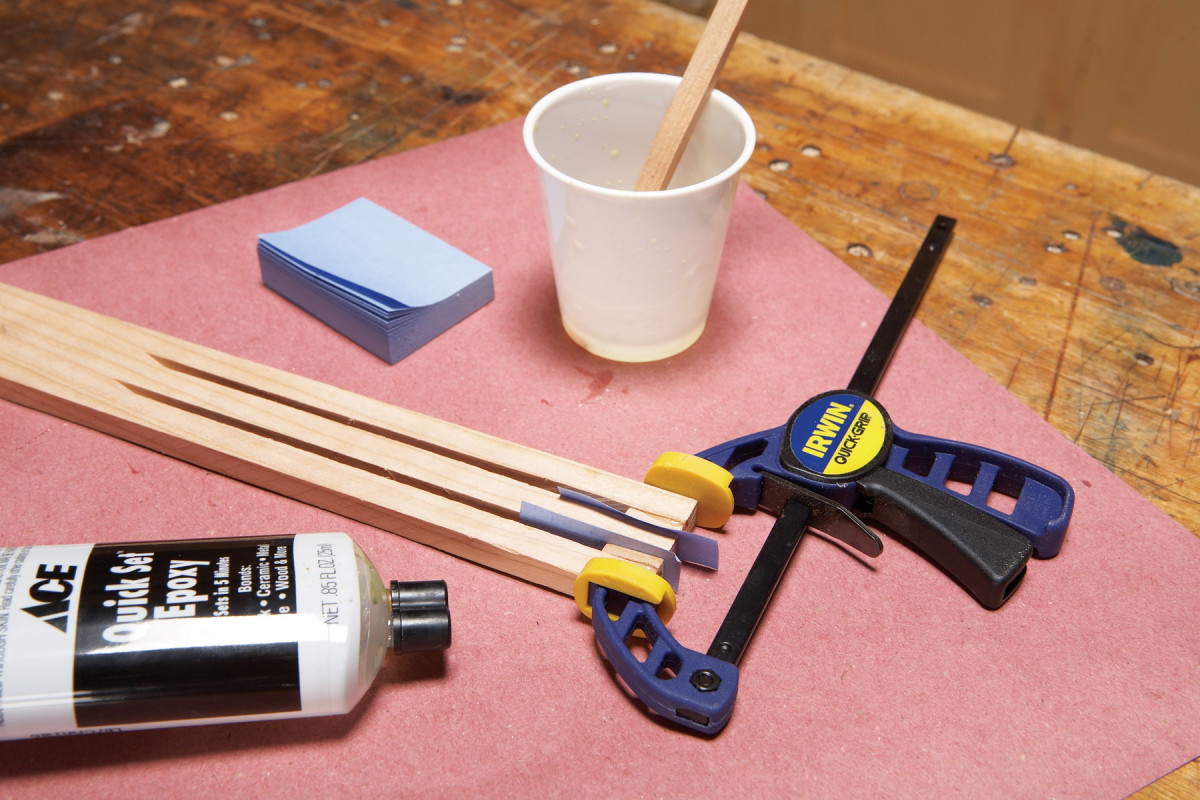
2. Glue spacers to the outer tabs. Place small pieces of paper next to the spacers to avoid accidentally gluing them to the middle tab. Use water resistant glue.
Cut two 1/2-in. long spacers to fill the saw kerfs at the end of one of the tongs. Glue and clamp them to the outer tabs only (Photo 2). Let the glue cure.
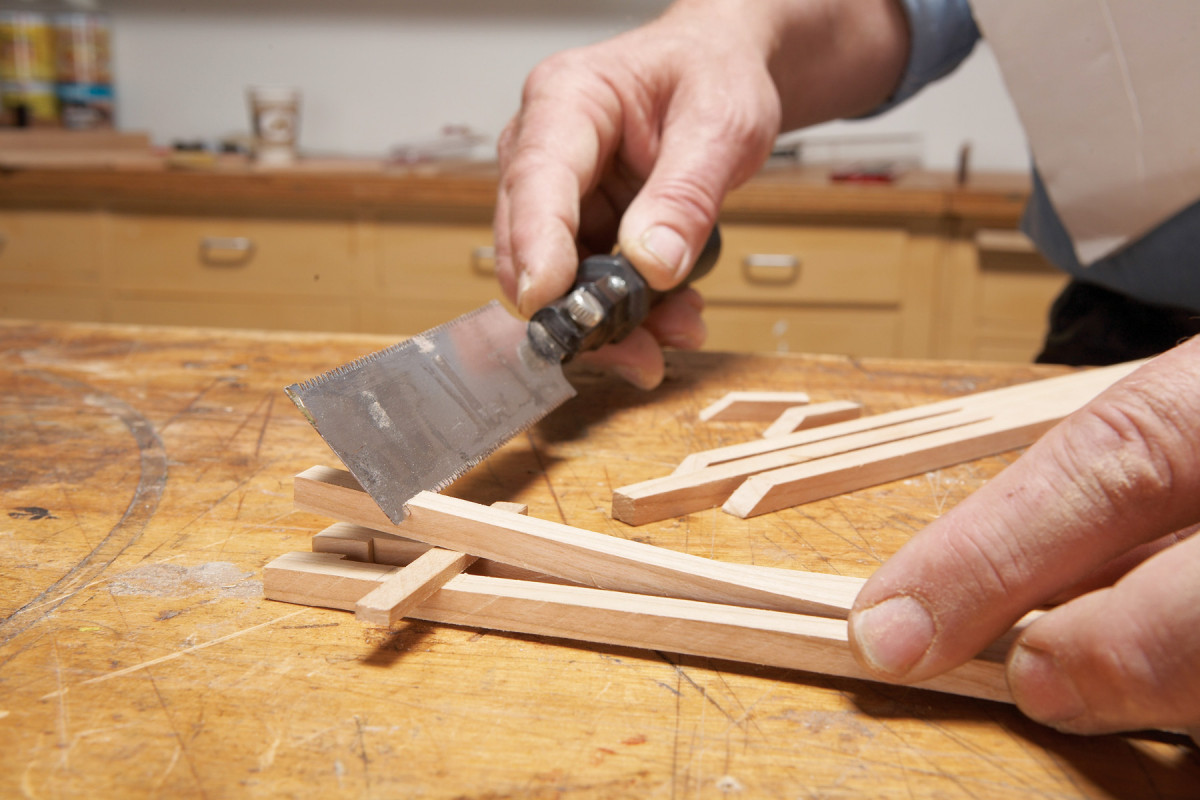
3. Cut 60-degree bearing angles for the spring tabs with a fine crosscut saw. Cut the middle tab on the tong with spacers and the two outer tabs on the other tong. Use a piece of scrap to lift the middle tab for cutting.
Measure down one inch from the end of each blank for the starting point of the bearing angles on each tang. Use a small hand saw to cut a 60 – degrees angle on the center tine of the tong with spacers. Then cut the two outer tines on the other blank (Photo 3). It’s necessary to insert a spacer to cut the center tab. Take care not to push the tab up too far or it may crack.
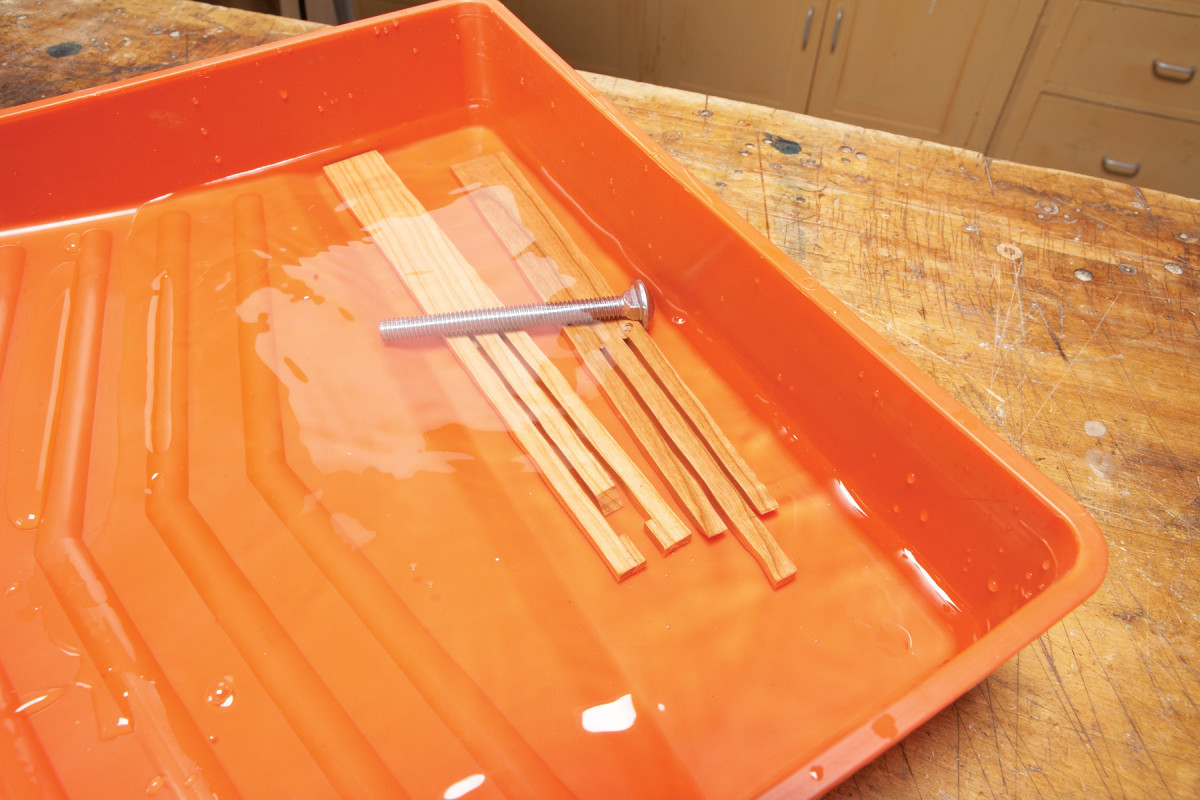
4. Soak the blanks in hot water for about 30 minutes. Place a weight on the wood to keep it submerged.
Next, fill a tray with two inches of hot water and submerge the blanks (Photo 4). Let the blanks soak for about half an hour. Pull the blanks out of the water and separate the tabs with a spacer (Photo 5).
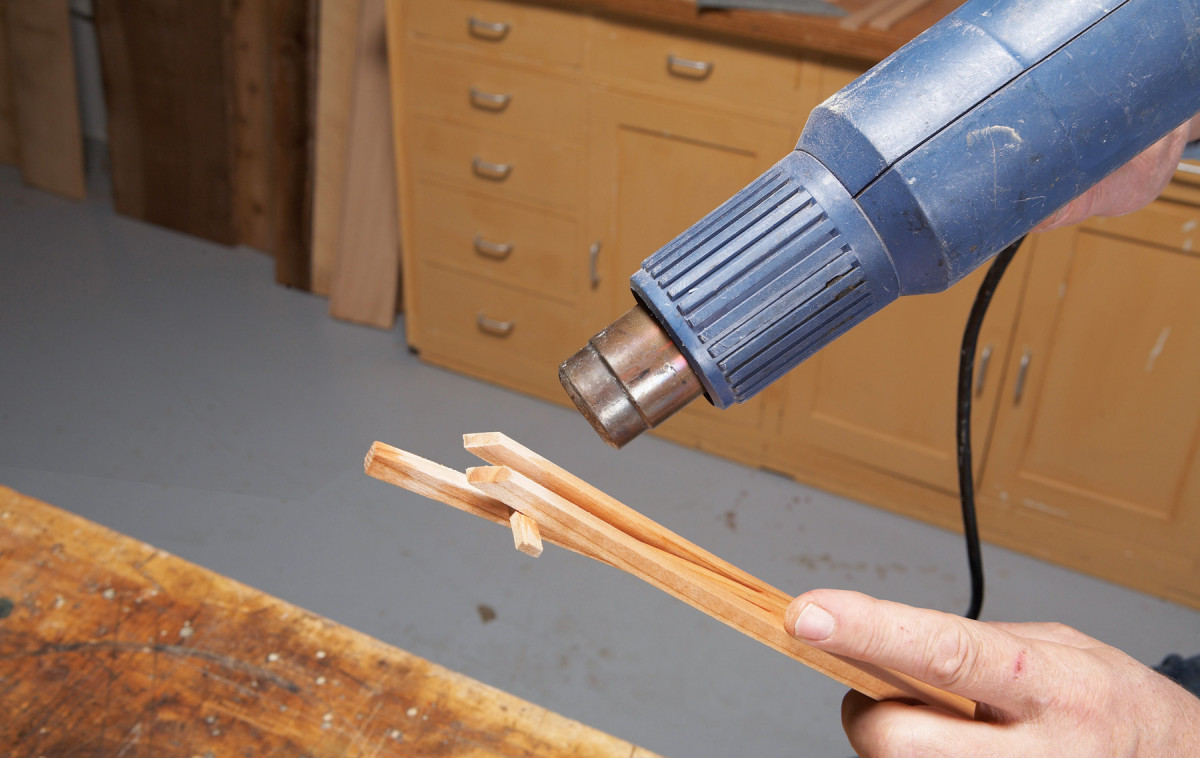
5. Set the spring in the tabs by inserting a 1/8-in. spacer between them and applying heat. Use a heat gun on high and keep rotating the tong to prevent scorching.
Apply heat with a heat gun set on high for about 1-1/2 minutes. Keep the heat gun moving on all sides of the tabs to avoid scorching and to heat the tab uniformly. Leave the spacers in place and let each piece cool to room temperature. The spring tabs are now permanently set.
Assemble the Knuckle Joint
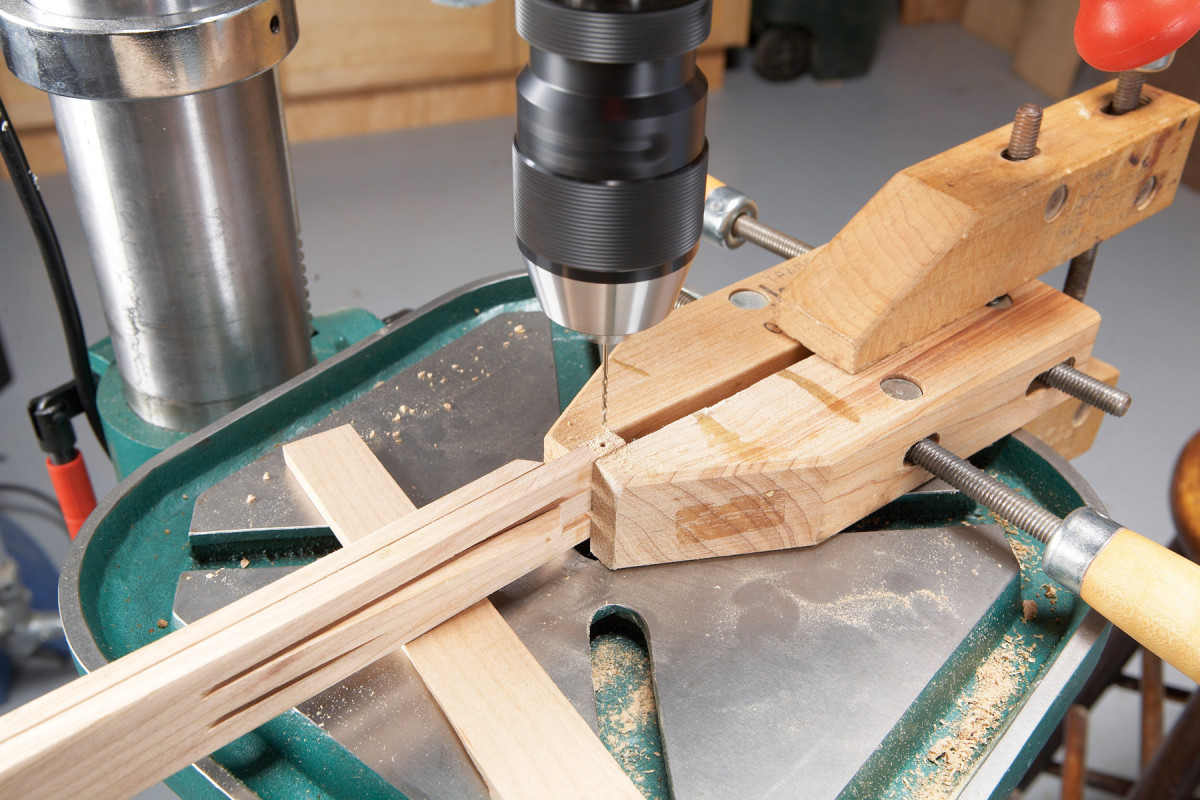
6. Clamp the end of the tongs together with the bent tabs facing out. Drill a 1/16-in. dia. hole through the tabs to create a pivot point for the knuckle joint connecting the tongs.
Clamp the two blanks together with the bent tines facing out (Photo 6). Measure down 1/4-in. from the end and then drill a 1/16-in. hole through all the tines.
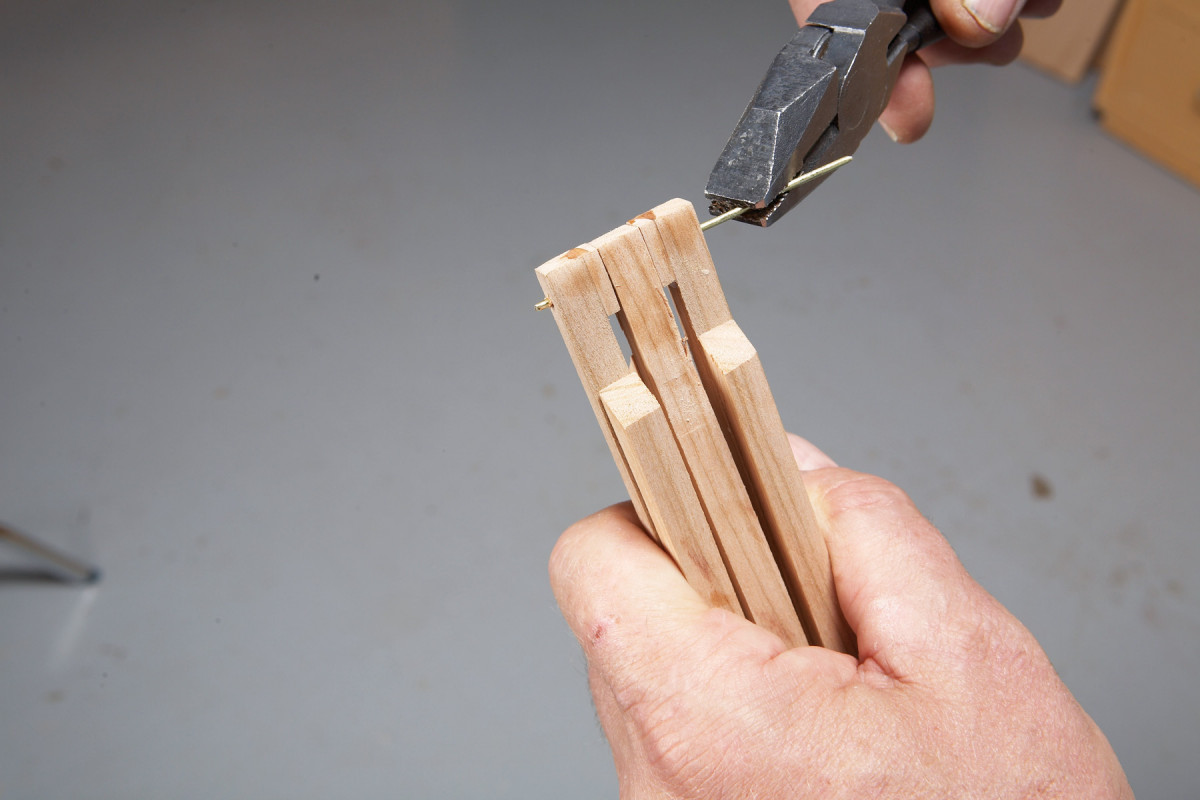
7. Push a brass rod into the hole to hinge the knuckle joint. Cut the excess rod to length with a wire cutter. File the ends flush. This will flare the ends of the rod and lock it in place.
Push a 1/16-in. brass rod (available at hardware stores) into the hole and cut it flush with a side cutter (Photo 7).
Finish the Tongs
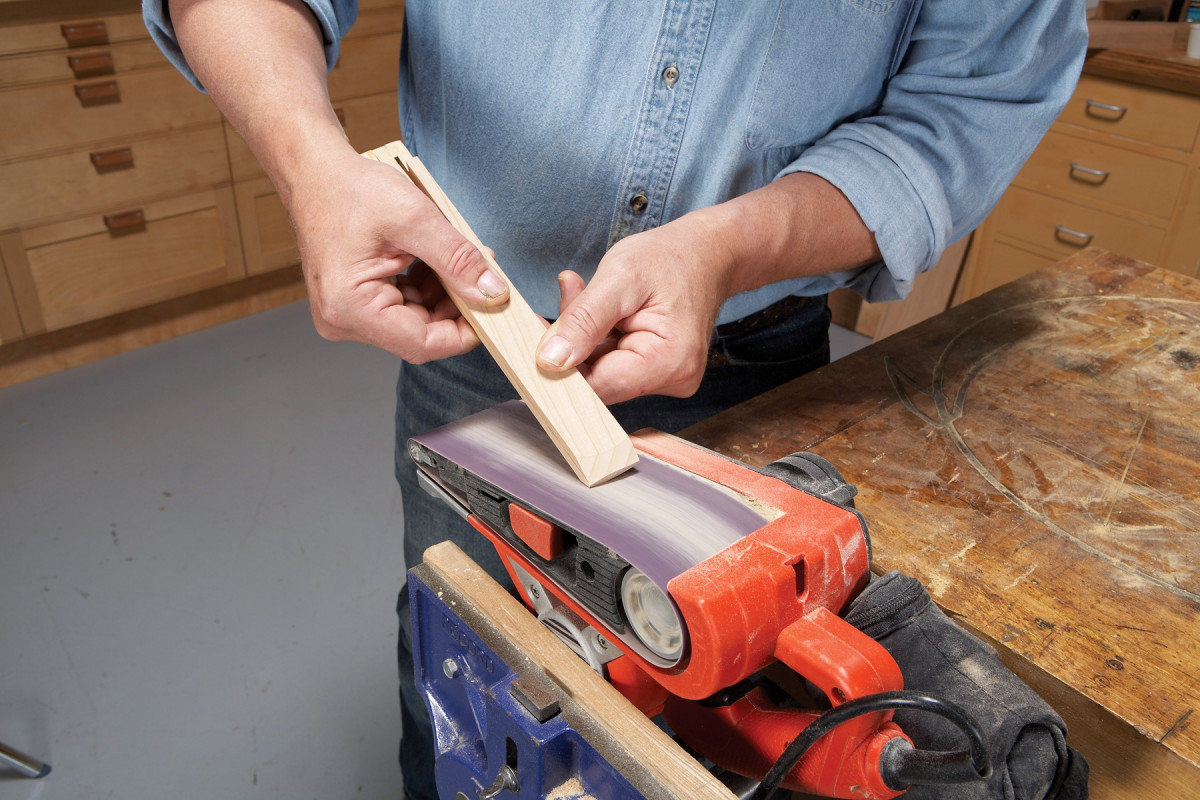
8. Open the tongs so the spring tabs are engaged. Then push the tong halves together. Shape the outside faces on a belt sander. Gently rock the tongs as you sand to produce a slightly rounded bevel on the ends.
Shape the round beveled end of the tongs with a belt or disc sander (Photo 8). Finish sand the tongs’ surfaces to 220-grit. Brush a liberal coating of walnut oil (available at health food stores) onto the tongs. Let it soak for 10-minutes or so and wipe them dry. Walnut oil is a completely non-toxic drying oil.
Unlike metal tongs, wooden tongs should never soak in hot soapy water or be put through a dishwasher. Just rinse with warm water and wipe them dry. Recoat with oil whenever they start to look “dry”.
Here are some supplies and tools we find essential in our everyday work around the shop. We may receive a commission from sales referred by our links; however, we have carefully selected these products for their usefulness and quality.