


We may receive a commission when you use our affiliate links. However, this does not impact our recommendations.
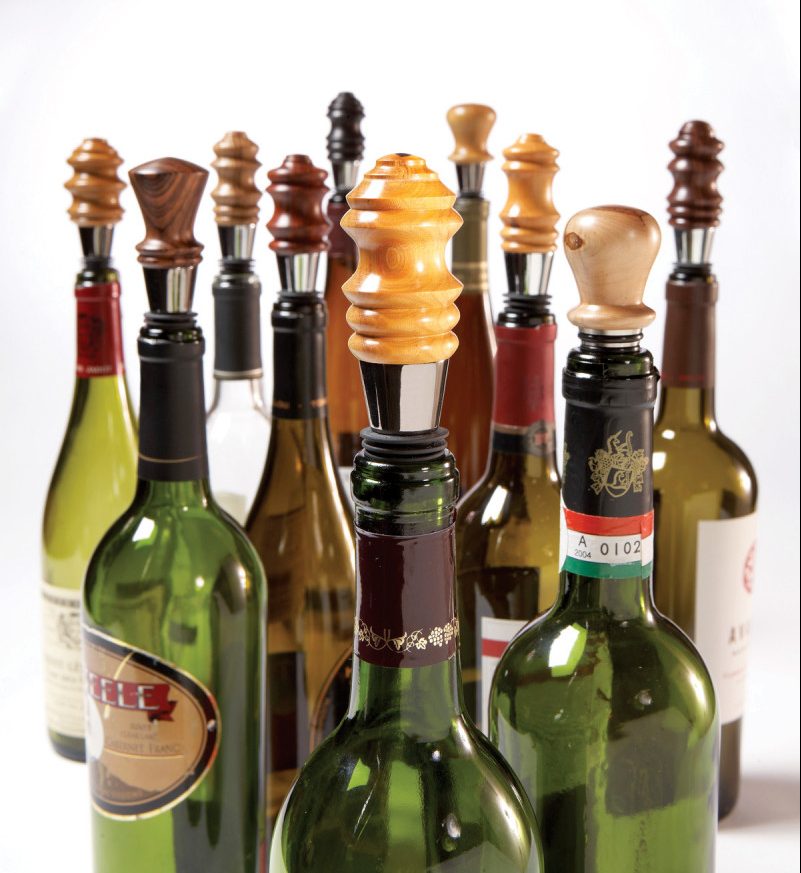
Add sparkle outside and protect what’s inside.
Whether your wine bottle is half-empty or half-full, here’s an elegant way to preserve the contents until you answer that age-old question. You can make one of these classy little stoppers in just a few minutes, so turning multiples is a natural, especially since they make such great gifts. The materials you need to get started (the metal part of the stopper and a special chuck for the lathe) cost less than $20 and the design possibilities are limited only by your imagination.
Start with interesting wood
This project presents a golden opportunity to use a branch from a tree or shrub as a turning blank—just make sure the wood is dry and the pith is stable. Incorporating bark and sapwood can add a nice contrast to the edge. Buckthorn, often called “Minnesota rosewood,” is one of my favorite sources for branch-type blanks. Of course, offcuts from other projects are also excellent sources for blanks.
Components and sizes
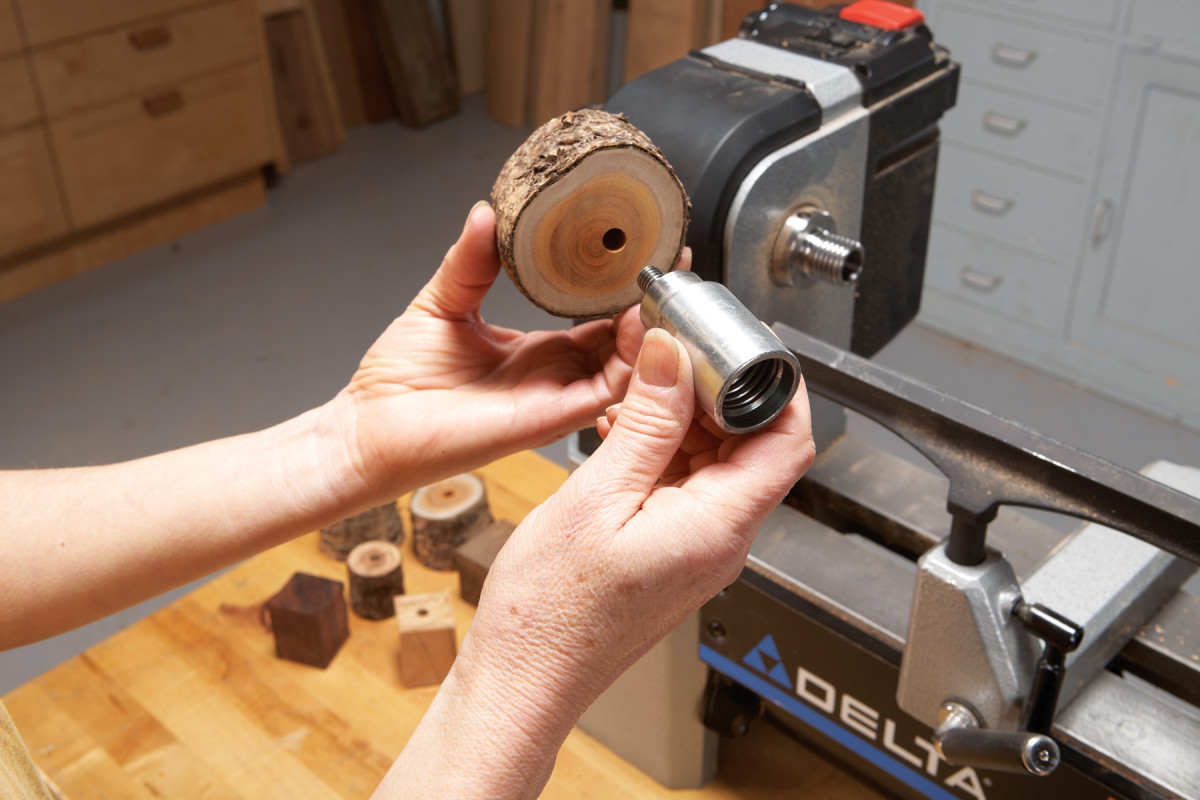
1. Mount the blank on a bottle cone chuck. Then mount the chuck on the drive spindle. This blank was cut from a buckthorn branch.
The blank mounts on a metal bottle cone that has a threaded post and rubber seals (different styles and sizes are available). Balance the size of the blank to the base of the cone. The bottle cone shown here measures 7/8″ dia. x 2-1/4″ long and the blank measures 2″ dia. x 2-1/4″ thick.
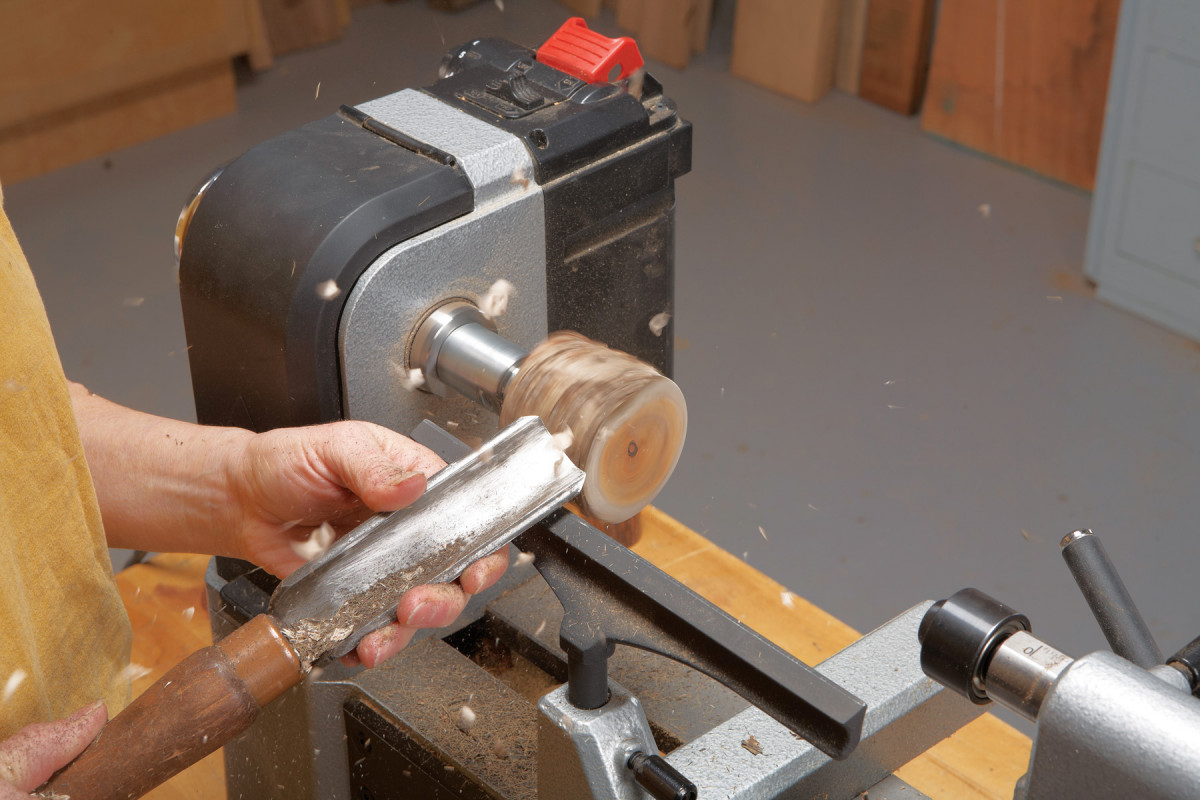
2. Round the blank to a cylinder using the roughing gouge. A large gouge produces a smoother cut than a small one.
Cut the blank to length and square one end, so it will rest flat on a drill press. Then drill a 23/64″ dia. x 3/4″ deep mounting hole in the opposite end. This hole doesn’t have to be centered on the blank. Screw the blank onto the bottle cone chuck’s threaded post (Photo 1 and Sources). Then mount the cone chuck on the lathe.

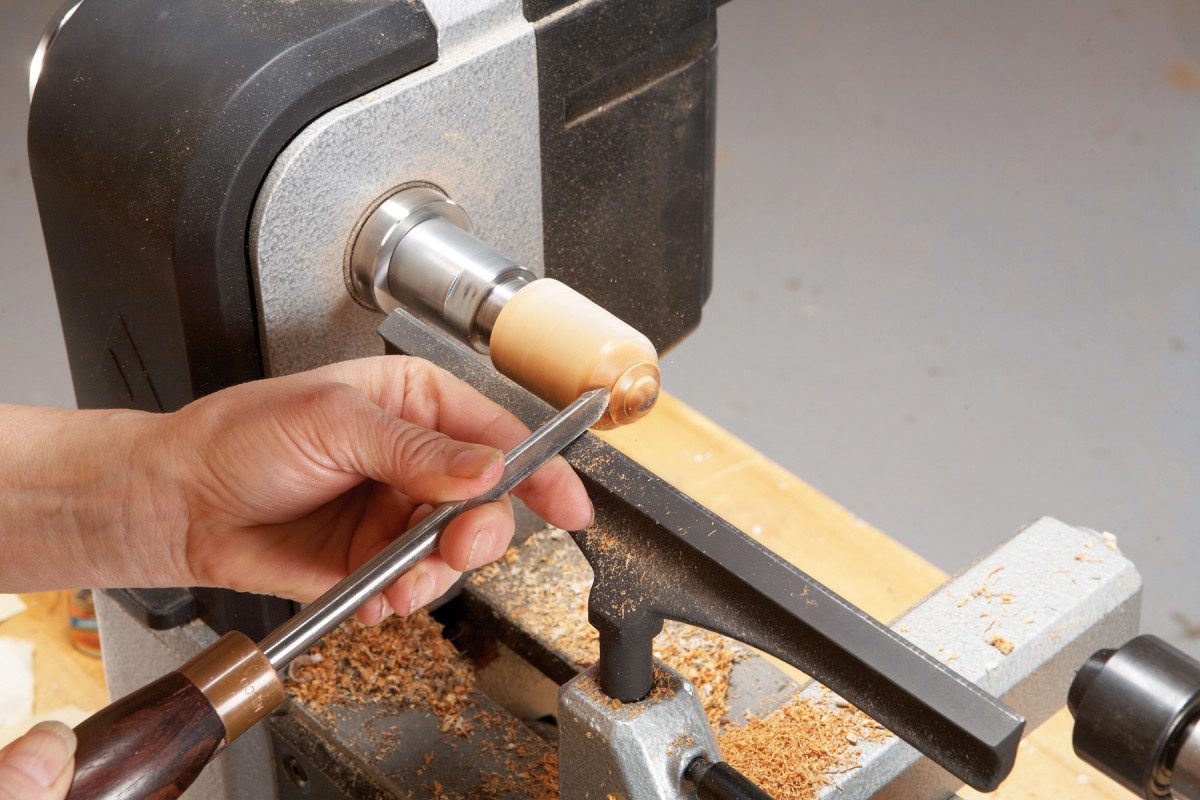
3. Unscrew the blank slightly away from the base of the cone chuck to prepare for the next step. The blank is tightly threaded on the chuck’s post, so unscrewing doesn’t loosen it.
Round the blank to about 1-1/4″ dia. (Photo 2). Then unscrew it about 1/4″, just far enough to create room for the parting tool (Photo 3). Undercut the bottom of the blank to make it slightly concave, so it will seat flush against the base of the metal bottle cone (Photo 4). Then screw the blank back against the bottle cone chuck. Start the lathe to make sure the blank is still centered—you’ll probably need to true it slightly.
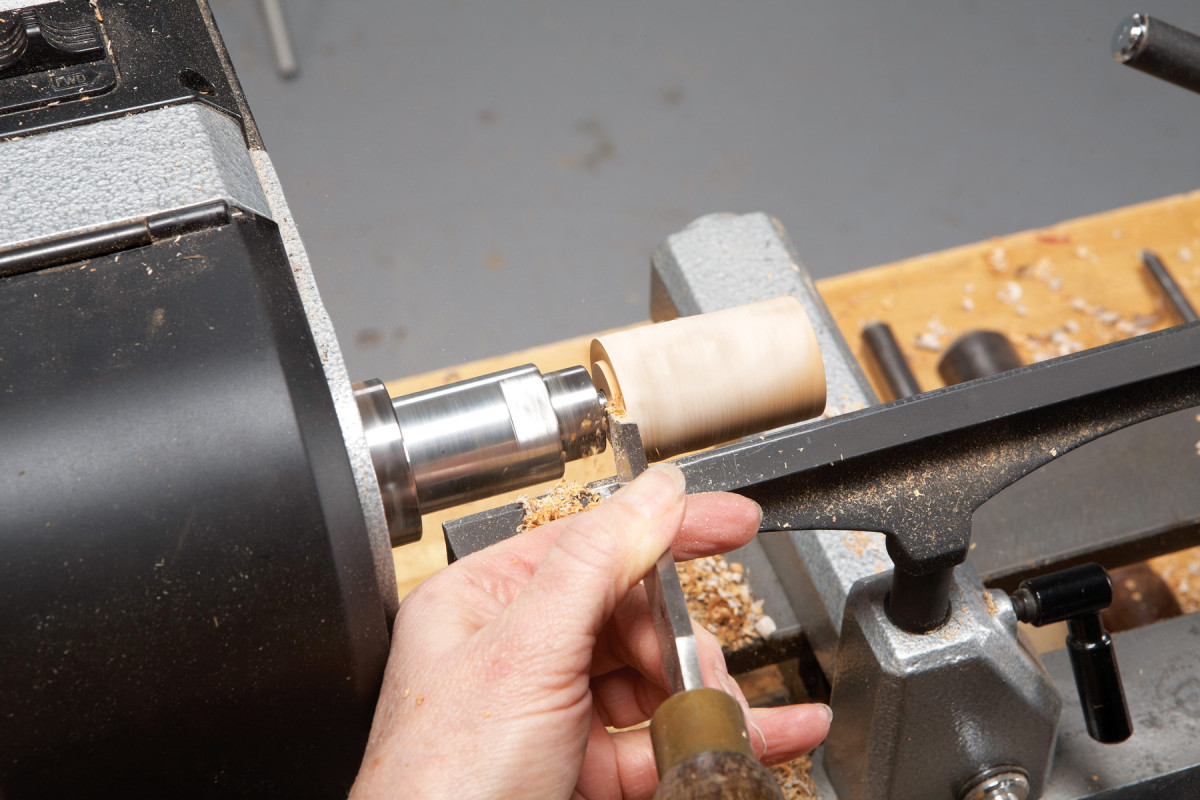
4. Cut the bottom of the blank at a slight angle using the parting tool. This creates a concave surface so the stopper’s metal bottle cone will seat flush.
Blanks made from branches sometimes contain imperfections. Stabilize any such areas with CA glue (Super Glue) before continuing, so they don’t cause problems when you shape the blank.
Fit your hand
5. Shape the top of the blank using the detail/spindle gouge. A rounded top is comfortable to grip. Stepped details add interest.
Turn the blank into an interesting shape that makes the stopper easy to insert and remove. For shorter blanks, a simple knob shape works well. Longer blanks allow adding decorative beads and coves. Whatever shape you choose, stop frequently while turning the stopper to test how it feels in your hand.
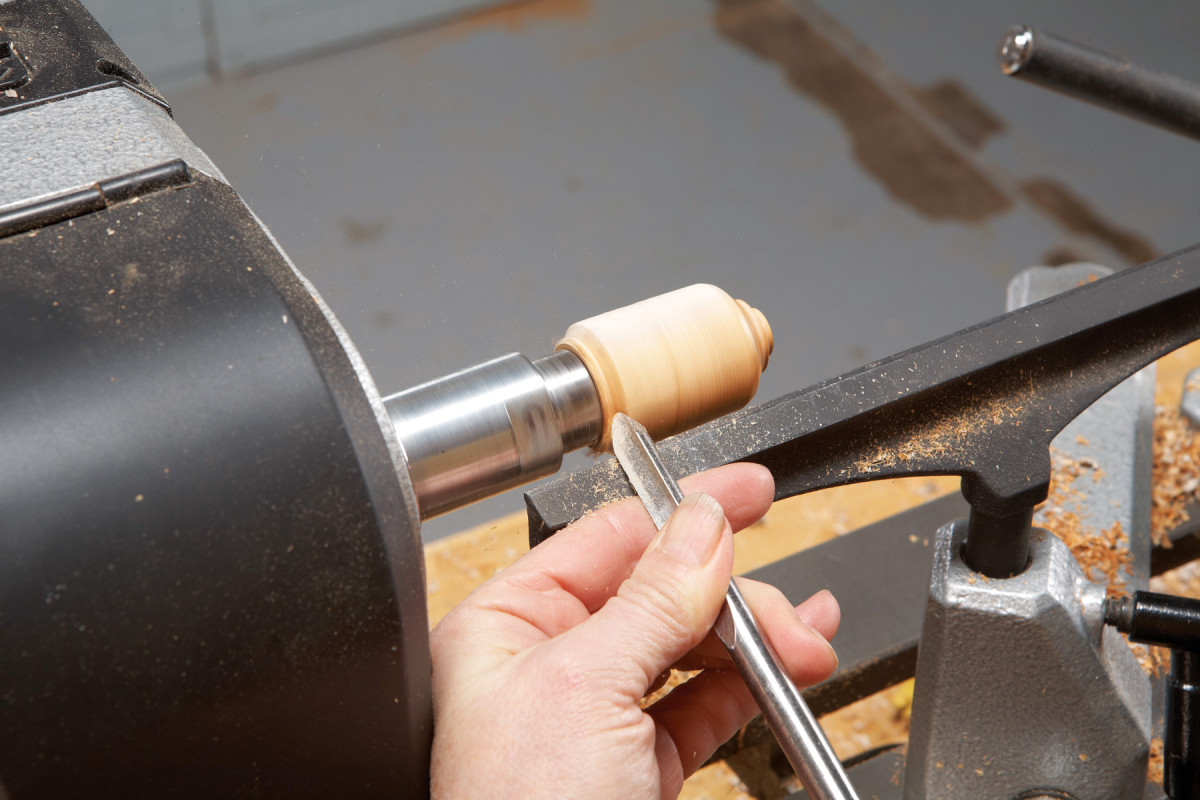
6. Round the bottom of the blank to meet the bottle cone chuck. This automatically matches the bottom of the blank with the top of the stopper’s metal bottle cone.
Shape the end of the blank (the top of the stopper) first, while the blank is still fully round (Photo 5). This is the best procedure for turning a blank that’s supported only at the headstock. The idea is to maintain the most support while working the farthest distance from the headstock. Turning the blank’s body first reduces its diameter (and the support it provides), so vibration and chatter is likely to occur when you try to turn the end.
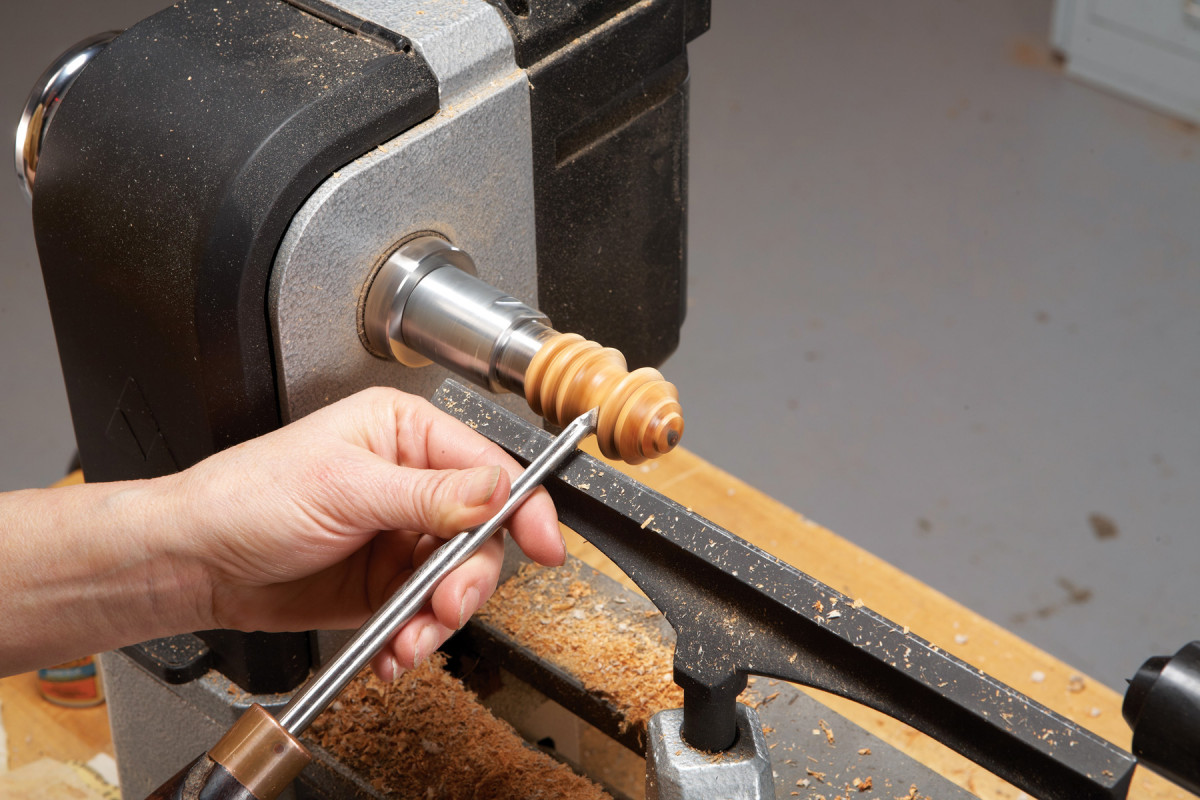
7. Define the stopper’s body with coves and beads (seasoned turners call these “innies and outies”).
Next, turn down the base of the blank to match the top of the metal bottle cone (Photo 6). This is a simple operation, because the bases of the bottle cone chuck and the metal bottle cone are the same diameter. Finish turning the stopper by “connecting the dots” between the base and the top (Photo 7).
Hidden Treasure
 Discovering a bark inclusion (where a branch has grown around another branch, bark and all) presents a unique opportunity—it’s a hidden treasure to be discovered rather than a defect to be removed. The first step is to stabilize the inclusion with CA glue so it won’t chip out as you turn through it. Let the glue cure for at least an hour before turning—longer is even better. Now comes the challenge: displaying the hidden branch.
 This requires a discerning eye and a bit of luck, because you have to determine the branch’s orientation inside the blank and adjust the shape that you’re turning (as much as possible) to expose it. You also need a delicate touch—remove a bit too much and the treasure will simply vanish. In this case the hidden branch was oriented almost perfectly with the rounded shape I wanted to turn.
Assemble the stopper
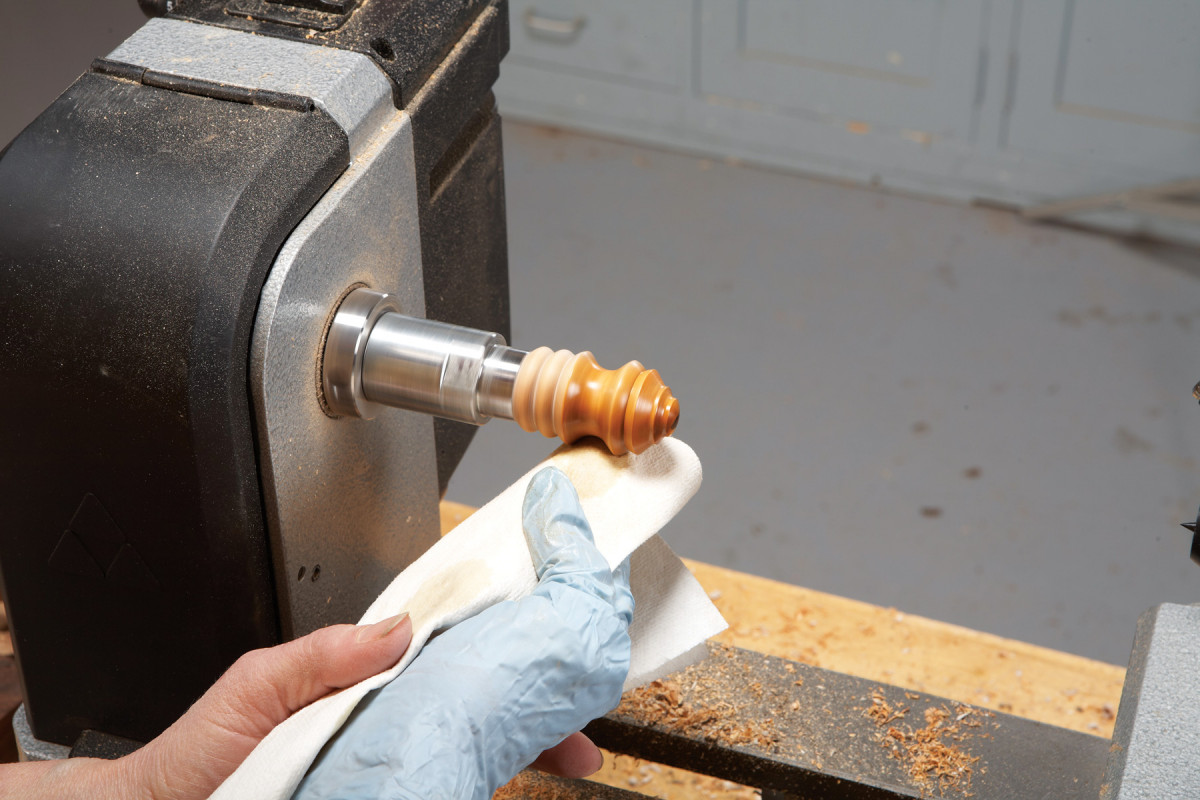
8. Use a soft cloth to apply three light coats of alcohol-resistant finish. Allow each coat to dry before recoating. Multiple light coats of finish always look better than one heavy coat.
Sand the turned stopper, starting with 180 grit and working up to 400 grit to create a glass-smooth finish. Apply a tough, durable and alcohol resistant finish (Photo 8). I make my own wipe-on finish by thinning Mohawk Rockhard Table Top Varnish by 50% with mineral spirits. For a satin sheen, try Wipe-On Gel Poly Finish or Mylands Melamine Lacquer.
Apply three light coats of finish, allowing each coat to dry before recoating (six to eight hours). Add luster to the finished stopper by applying a hard wax such as Trewax. After the wax is completely dry, buff with a soft cloth. For oily woods such as cocobolo, a buffed wax finish is all you need.
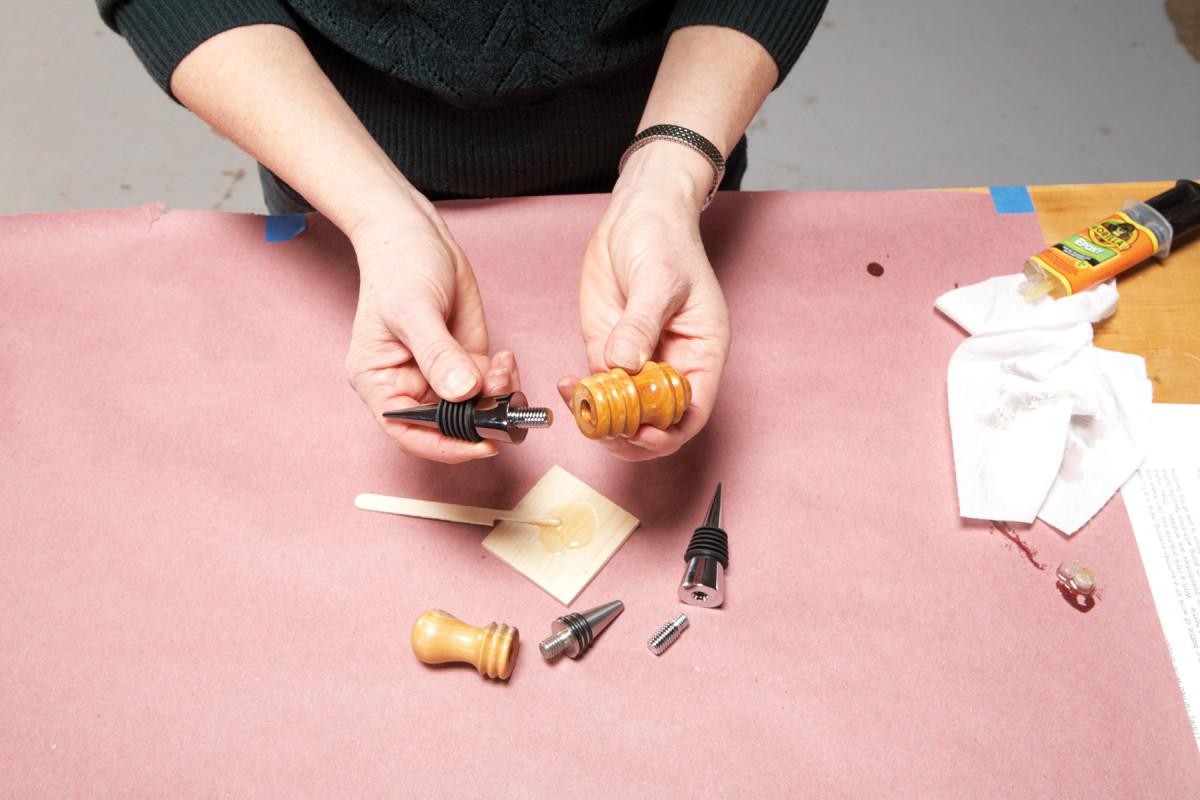
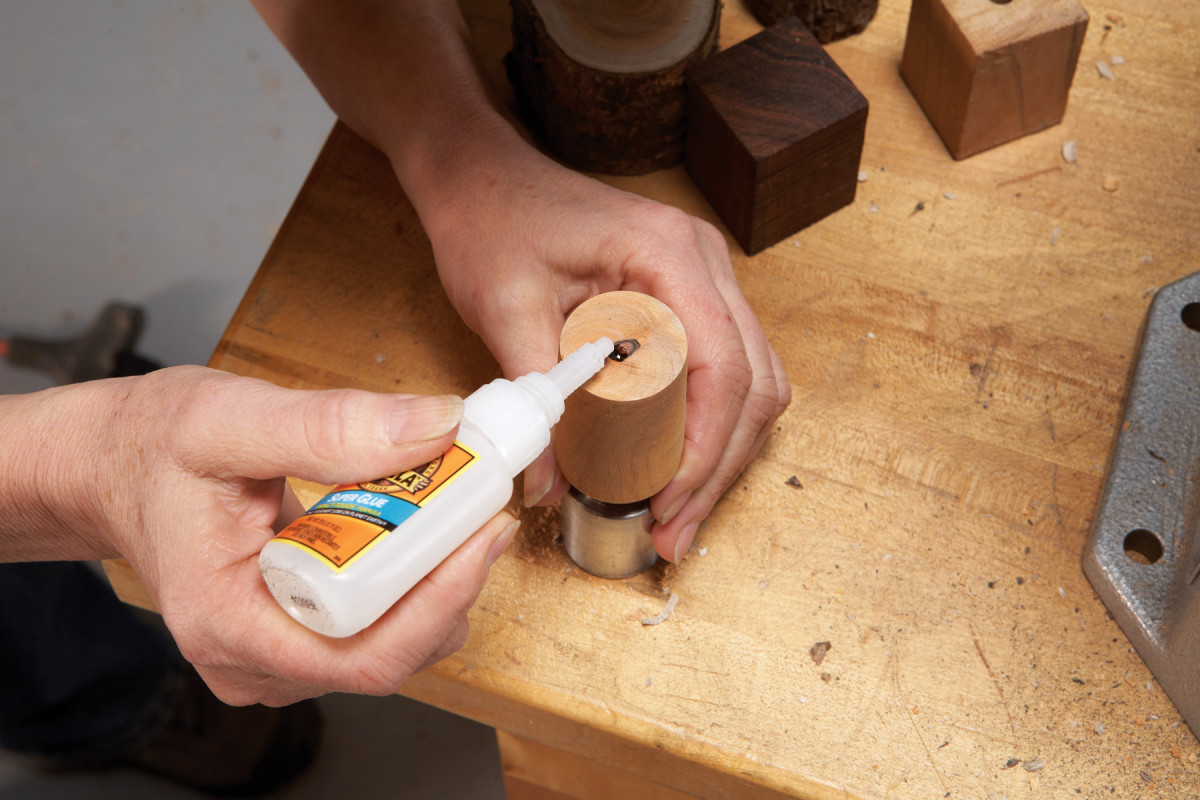
9. Epoxy the turned stopper to the bottle cone after drilling out the mounting hole to fit the threaded post. If the post and cone are separate pieces, epoxy them together first.
Remove the turned stopper from the cone chuck and allow the finish to dry. Then drill out the mounting hole to 3/8″ dia. (This makes it easier to mount the stopper onto the metal bottle cone.) Dab epoxy in the mounting hole and then thread on the turned stopper (Photo 9). Let the epoxy fully cure before popping the completed stopper!
Mary Lacer has been turning wood since she was knee-high to a buckthorn. She has taught in a number of turning programs and has turned more than 100 different woods native to her home near River Falls, WI.
SOURCES
Packard Woodworks, Inc., packardwoodworks.com, 800-683-8876, Bottle Cone Chuck, #114915 (for 3/4″ x 16 lathe spindle threads) or #114916 (for 1″ x 8 lathe spindle threads), $10.95 each, including proper size drill bit; Metal Bottle Cone, #154938, $3.85 each, other styles available; Wipe-on Gel Poly Finish, #126803, $10.95 per pint; Mylands Melamine Lacquer, #125512, $17.95 per pint.
Rockler Woodworking and Hardware, rockler.com, 800-279-4441, Behlen Rockhard Table Top Varnish, #80750, $24.99 per quart.
Here are some supplies and tools we find essential in our everyday work around the shop. We may receive a commission from sales referred by our links; however, we have carefully selected these products for their usefulness and quality.


Despite this article being only 21 days old, a search of the item numbers (or even “bottle cone chuck”) in your Sources at Packard yield no results. Interesting read though.