We may receive a commission when you use our affiliate links. However, this does not impact our recommendations.
 A box like this one is the perfect way to polish your hand tool skills and play with new techniques.
 A box like this one is the perfect way to polish your hand tool skills and play with new techniques.
Project #2314 • Skill Level: Beginner • Time: 1 Day • Cost: $35
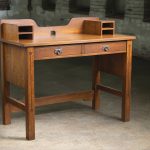
Looking for a good wedding gift for family or friends? How about a wedding box such as this one I designed for very dear friends of mine? I wanted to spiff up a simple box just a bit so instead of miters, I used trusty dovetails (decorative and utilitarian!) and settled on veneering a gorgeous bit of tiger maple I had lying around to the lid. To compliment this, I was also careful in choosing my stock. Cherry is a dream to work with and its warm tones complement maple as well. I found a great bit of grain with a wistful strip of sapwood at one edge and set to work.
 I dimensions the lumber in the machine room of my local guide, but the rest of the box is made without electricity. This guide is about using hand tools to make all the components, but it is a fantastic hybrid project if you find you do not have a tool I mention or want to save time.
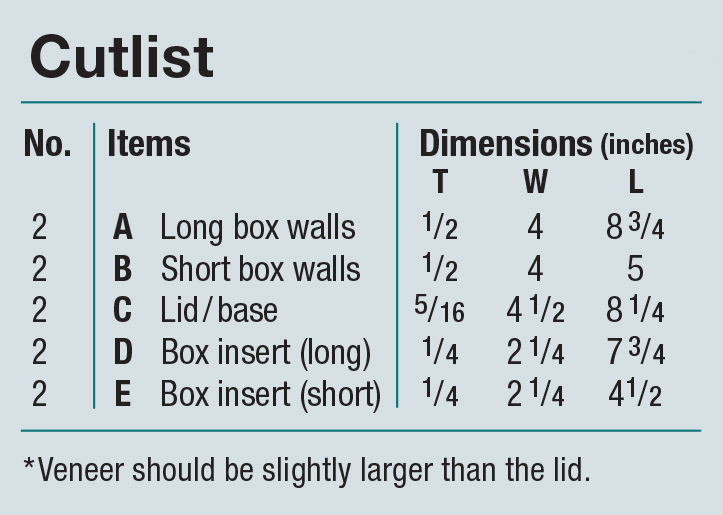
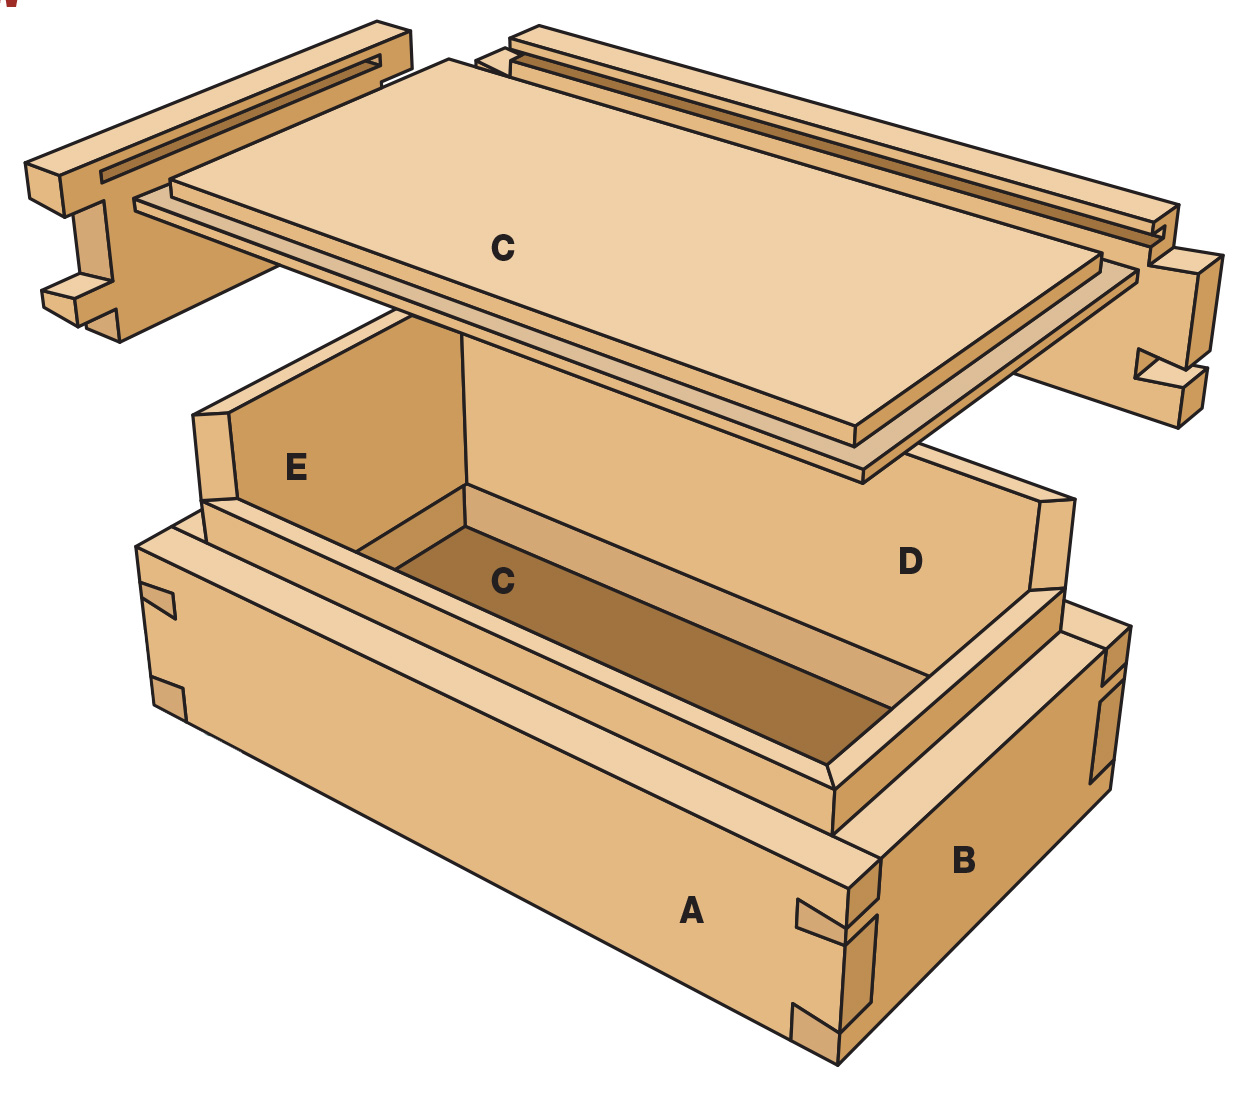
Cutlist and Diagrams
 Joinery Work
 Joinery Work
With any dovetail box, the first thing I do is figure out the position of any grooves that will be in the box so I can place the tails and pins accordingly. In this instance, I am making 1/8“ grooves that are inset 1/8“ from the top and bottom so I made my half pins about 5/16“ (maybe a smidge more just to be safe) to allow for hiding the groove that holds the lid and bottom.

1 Start by laying out the tails on one end of the front and back piece.
2 Clamping both of the pieces in the vise provides consistently spaced dovetails with minimal effort.
There are a bunch of great dovetail guides out there (like this one, this one, this one, and this one) so I will only mention the tips that I find really help the workflow and keep the joint really nice and crisp. I layout tails first and gang cut them to cut down on time. While cutting them, I angle the boards so that I am cutting perpendicular to the floor (gravity helps me keep straight this way). I like to remove most of the waste with a coping saw first and chisel to the baseline. When removing the half-pin voids from the tail board, I try to saw as close to the scribe line so that paring is only a matter of registering against the half scribe line remaining and giving a good but controlled push. When chiseling out the waste, go halfway through and then flip the board over and finish removing the waste to avoid blow out. And finally, when transferring tails to pins, use whatever method you like to make sure the boards are square (I like to use a bit of tape at the baseline of the tailboard so that I register the baseline directly to the tail board) but do make sure you use one of them!
3 Gang cut the tails with
a dovetail saw.
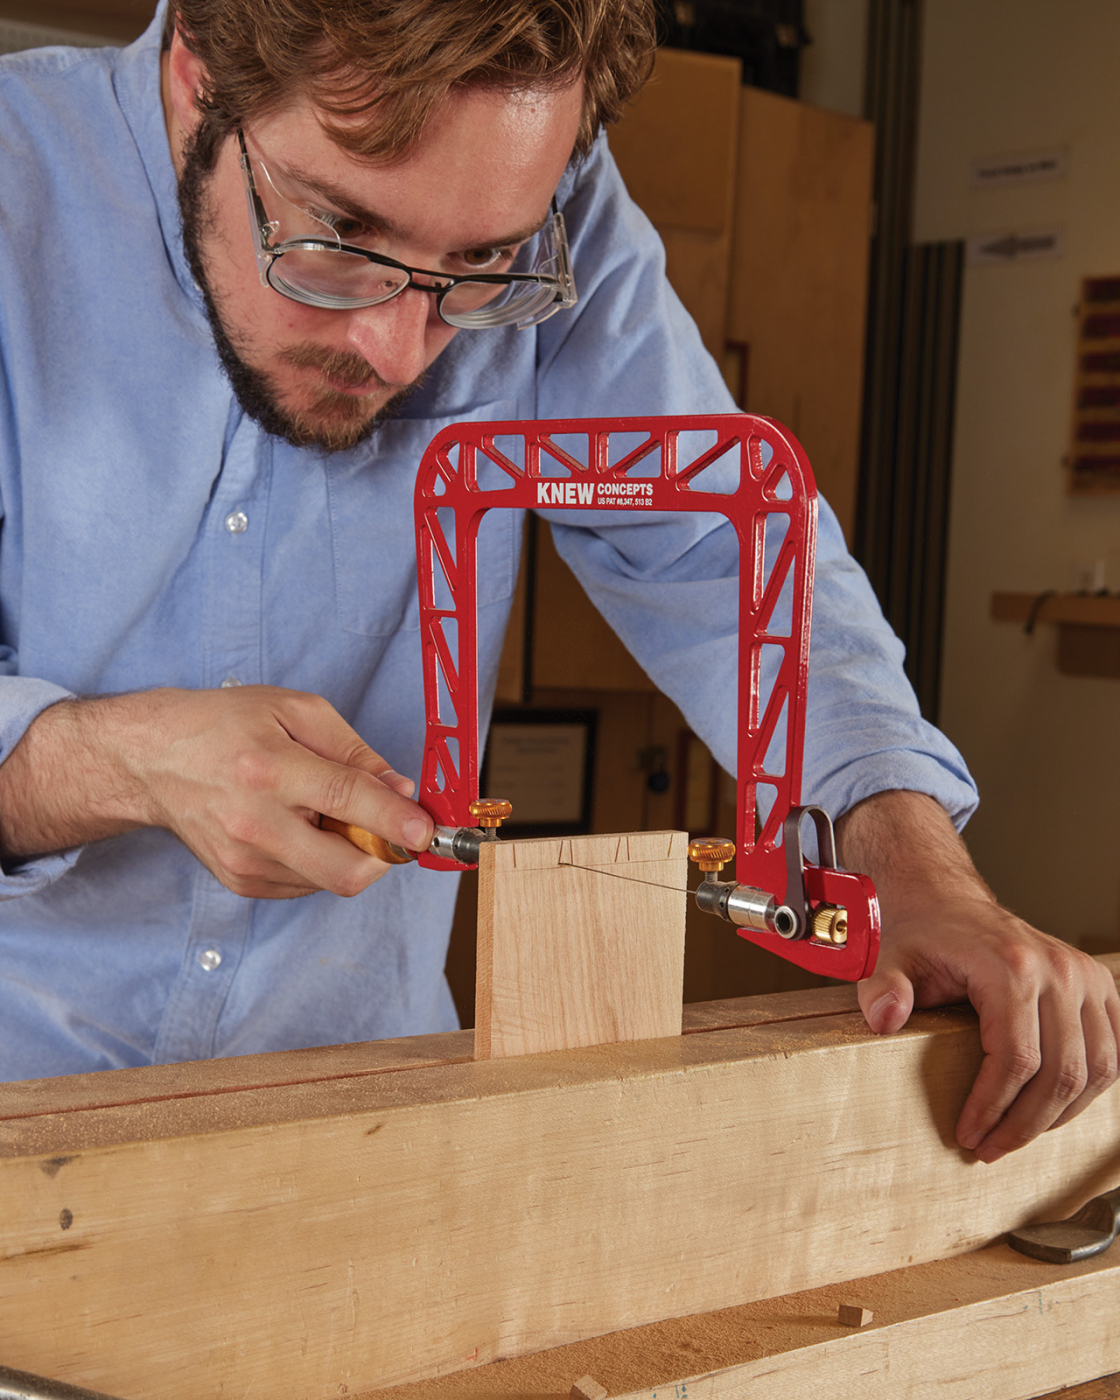
4 Saw away the waste.
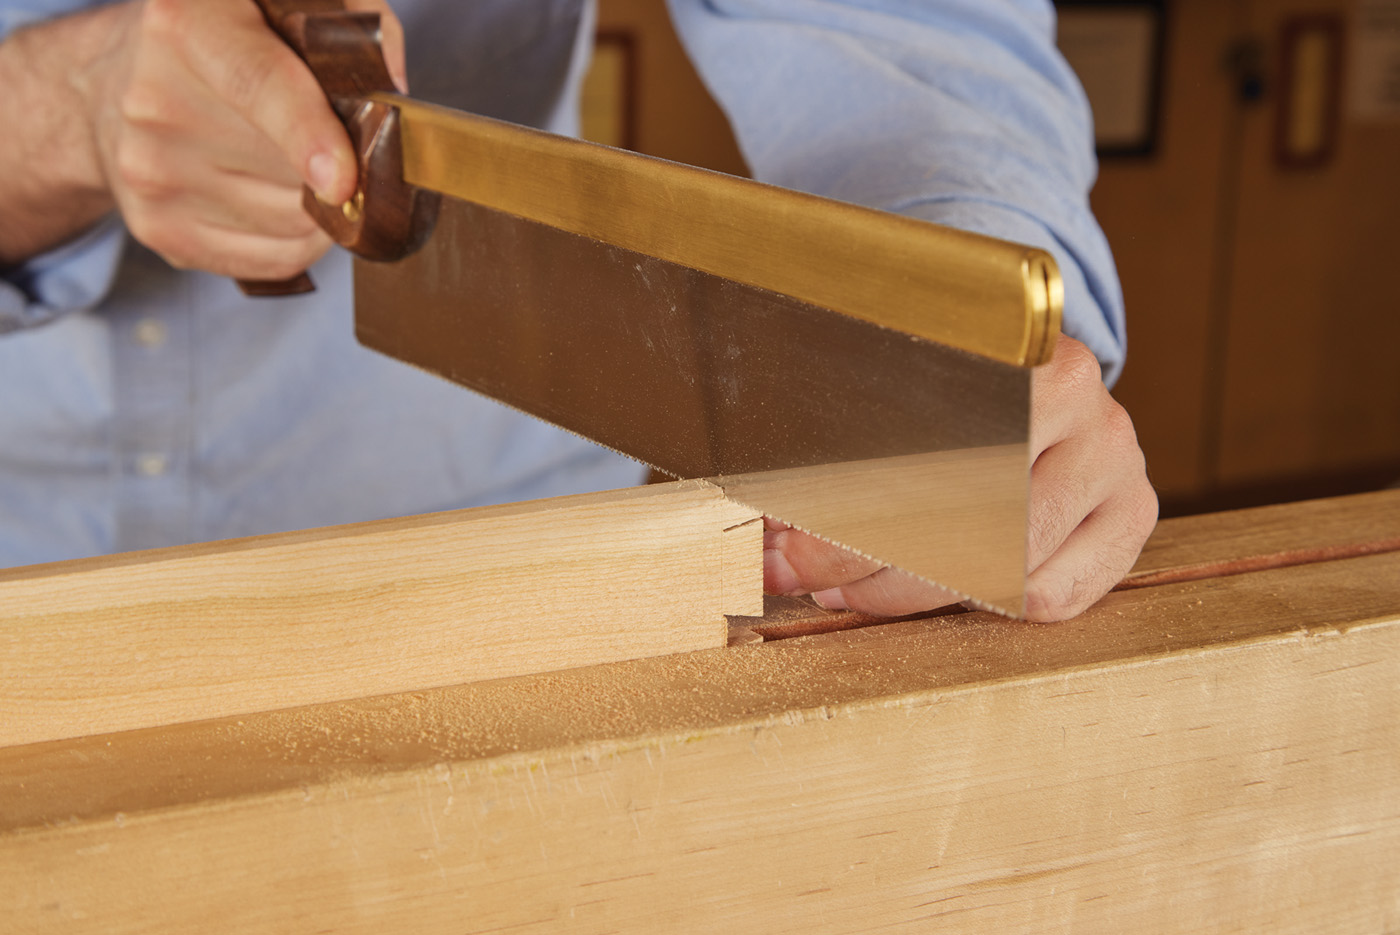
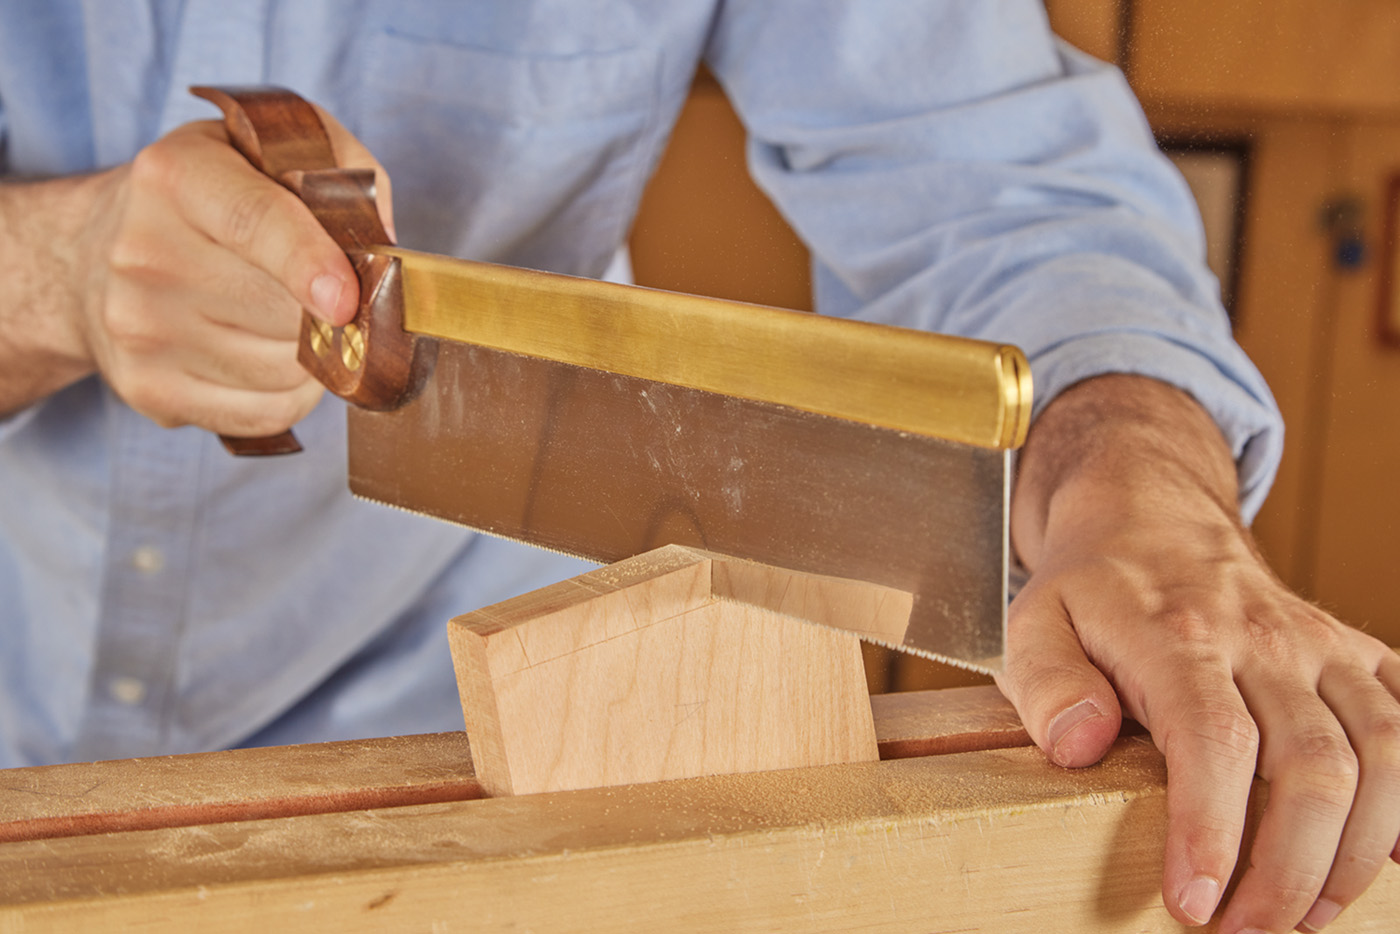
5 Use a back saw to cut the shoulders.
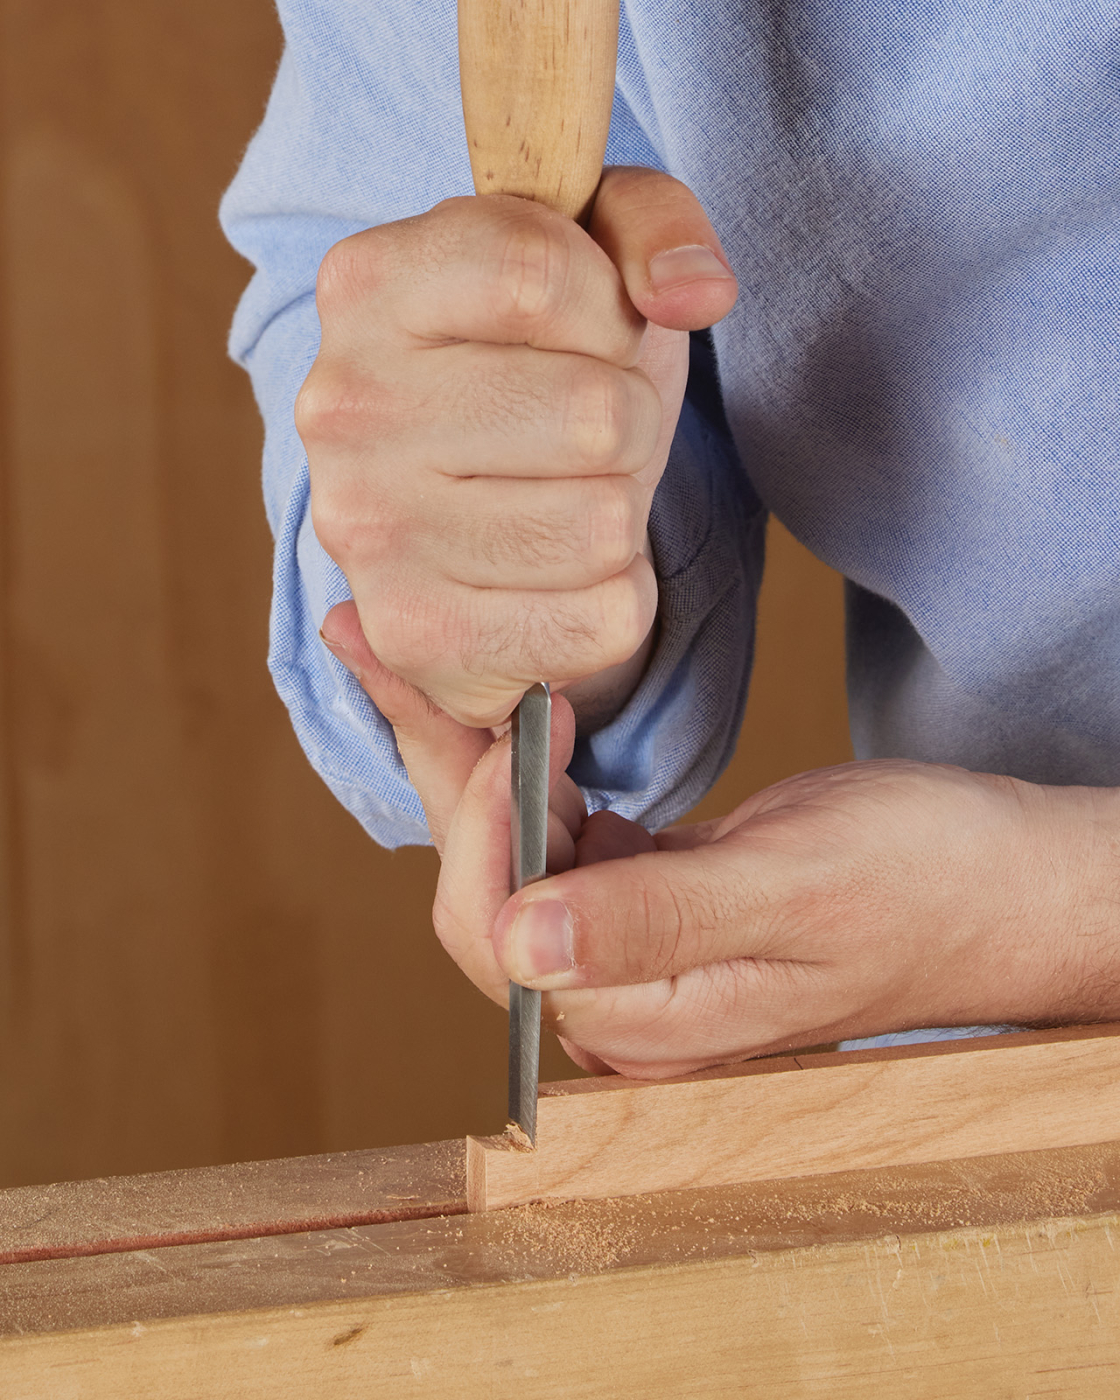
6 Chisel down the line of the shoulders.
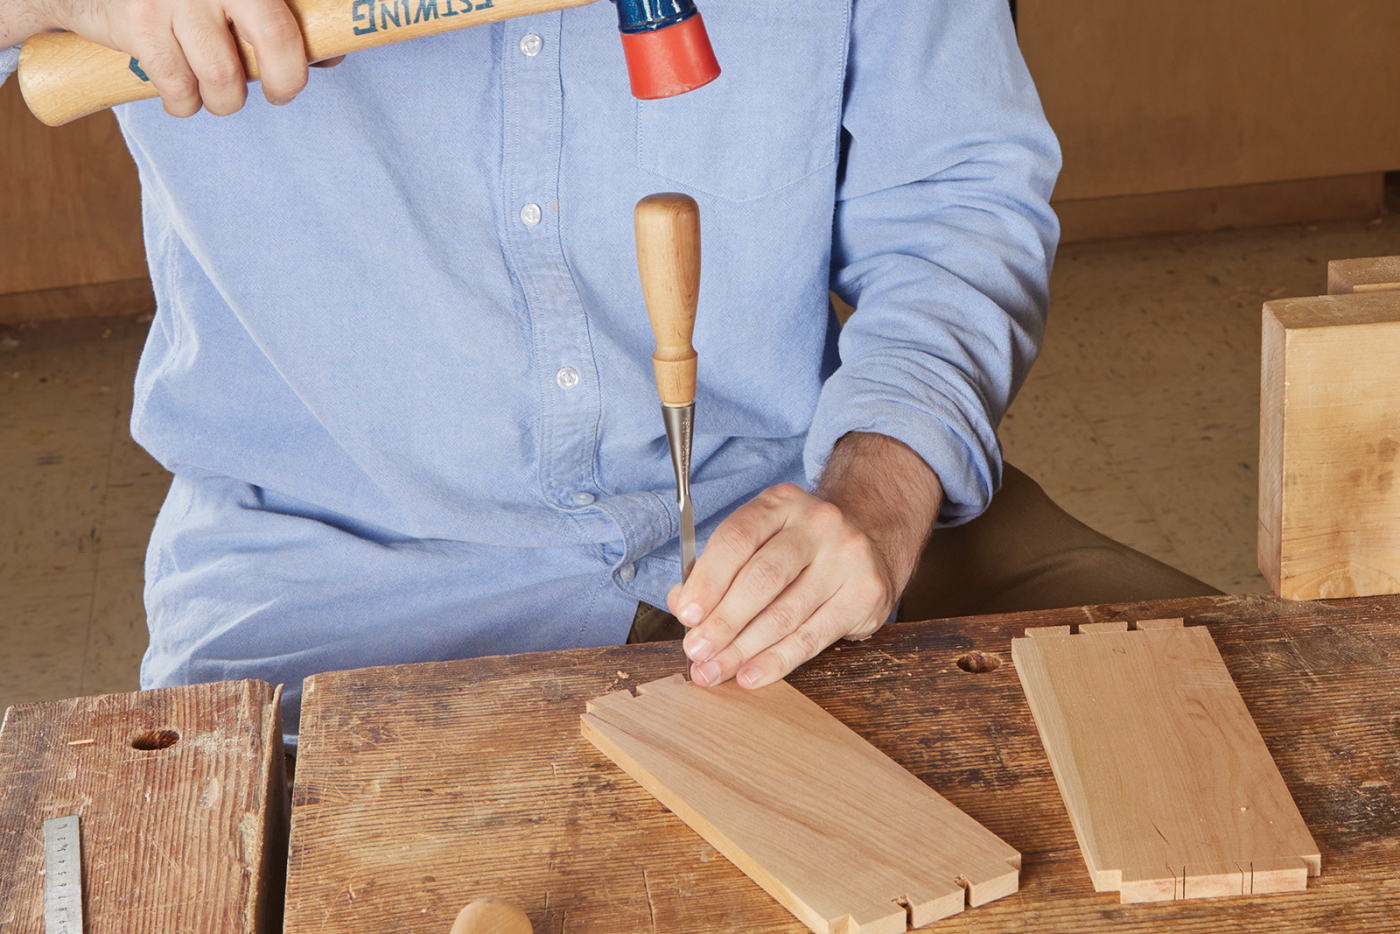
7 Pare back to the line on the tails.
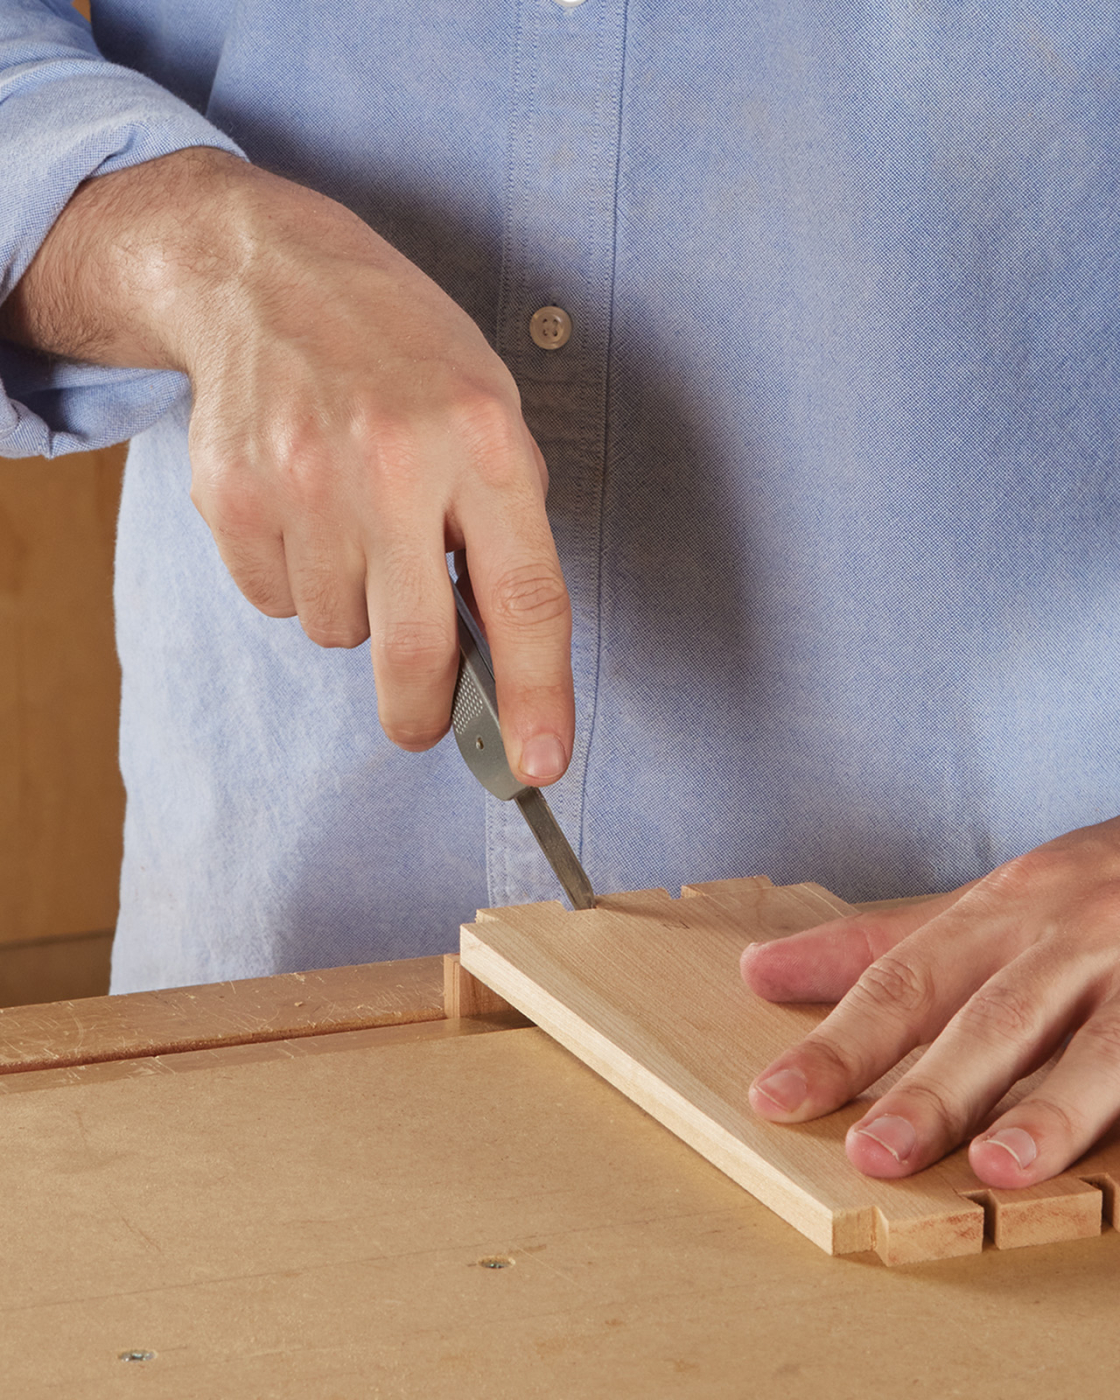
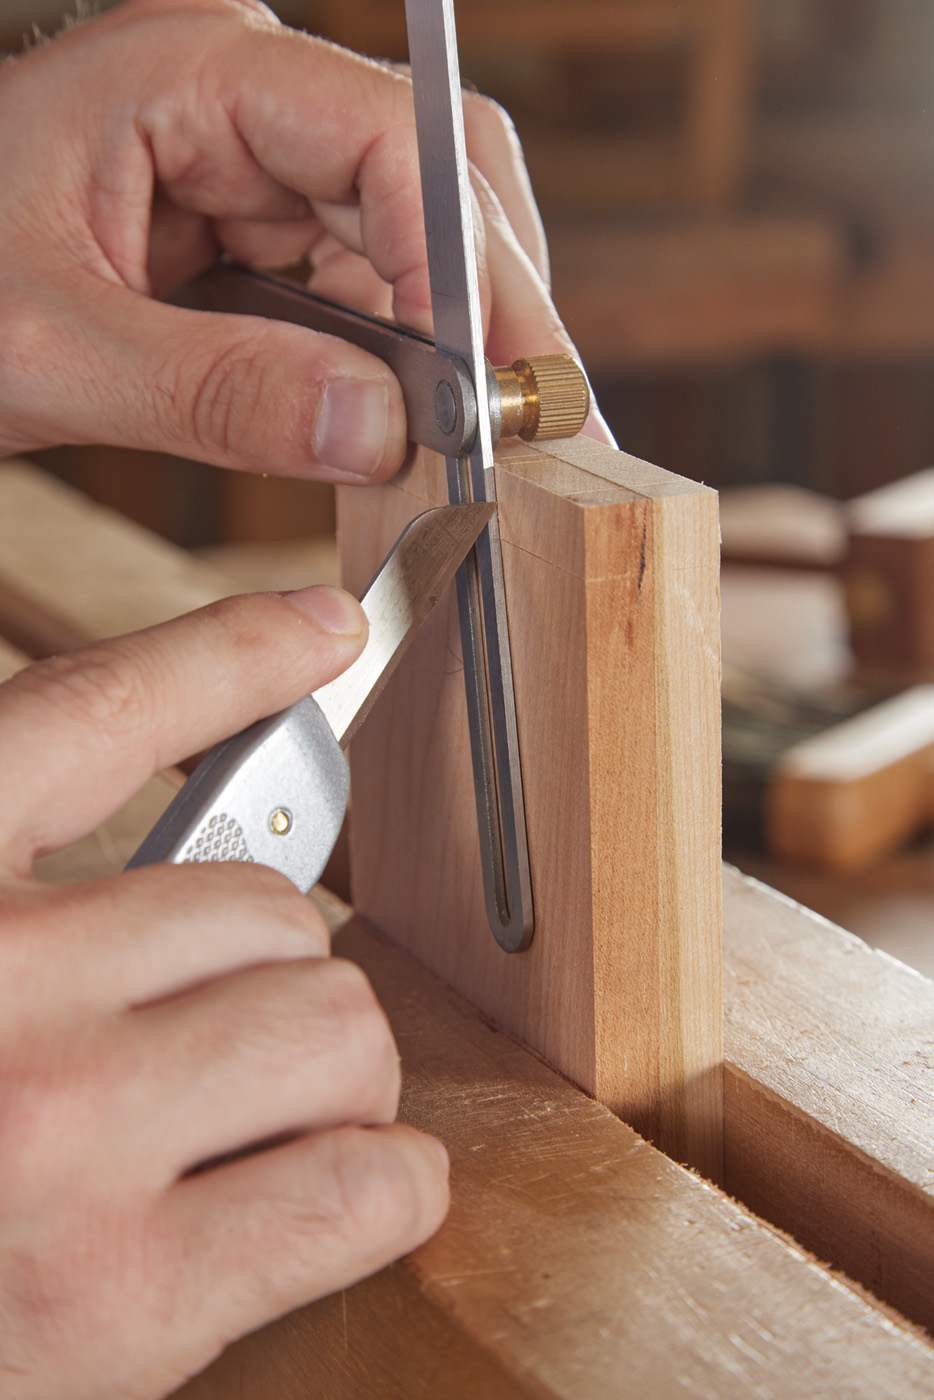
8 Transfer the tail shape to your pinboard.

9 Drawing vertical lines on your pinboard can help give you a visual reference if your cut is plumb.
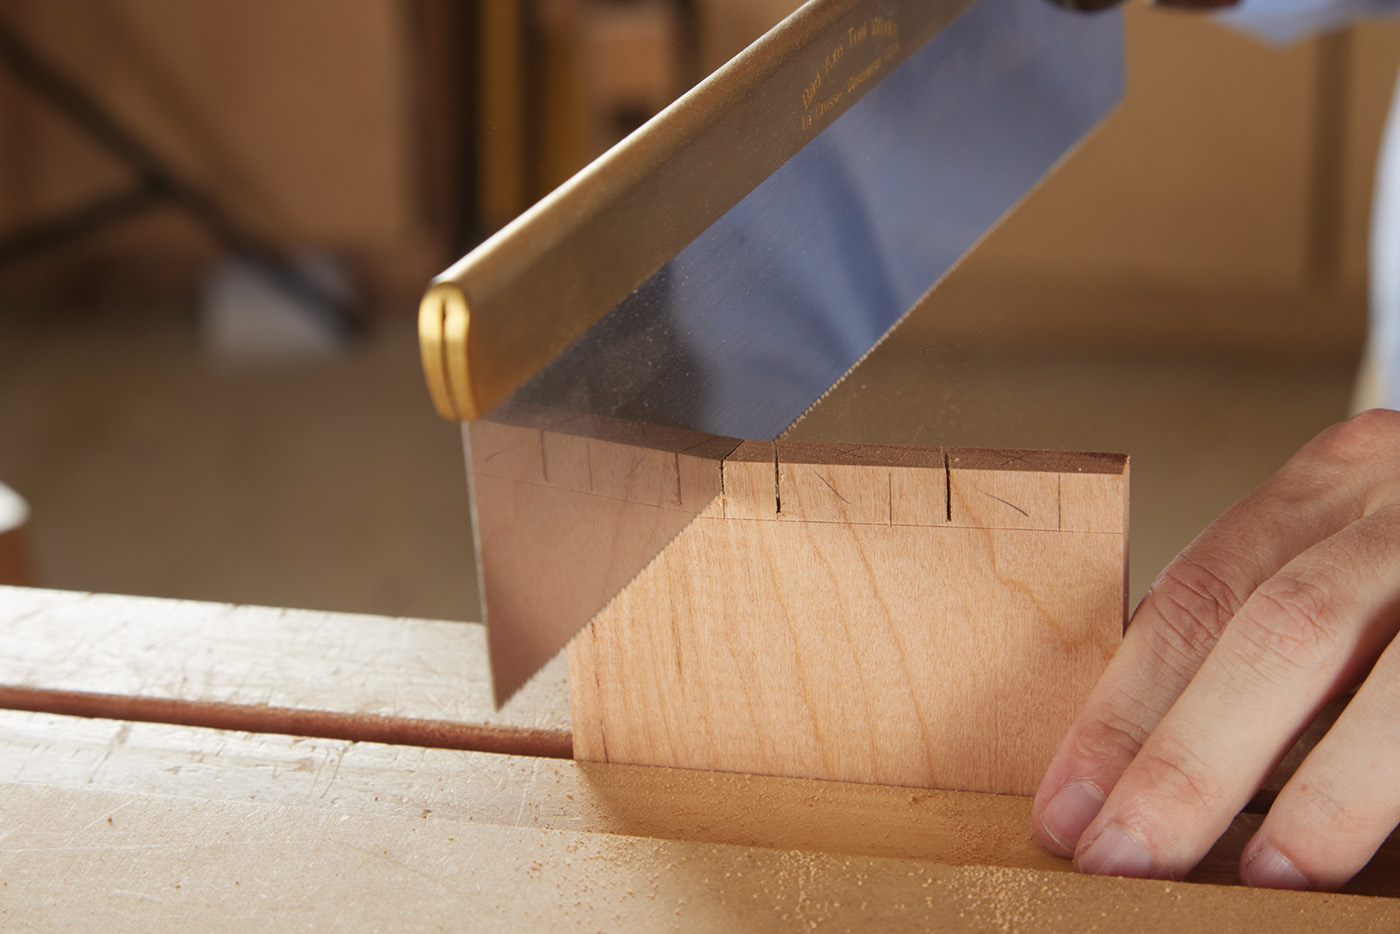
10 Cut the pins. Carefully lower the toe and the heel of the saw down until the kerf just kisses the line. Then, level the saw and complete the cut.
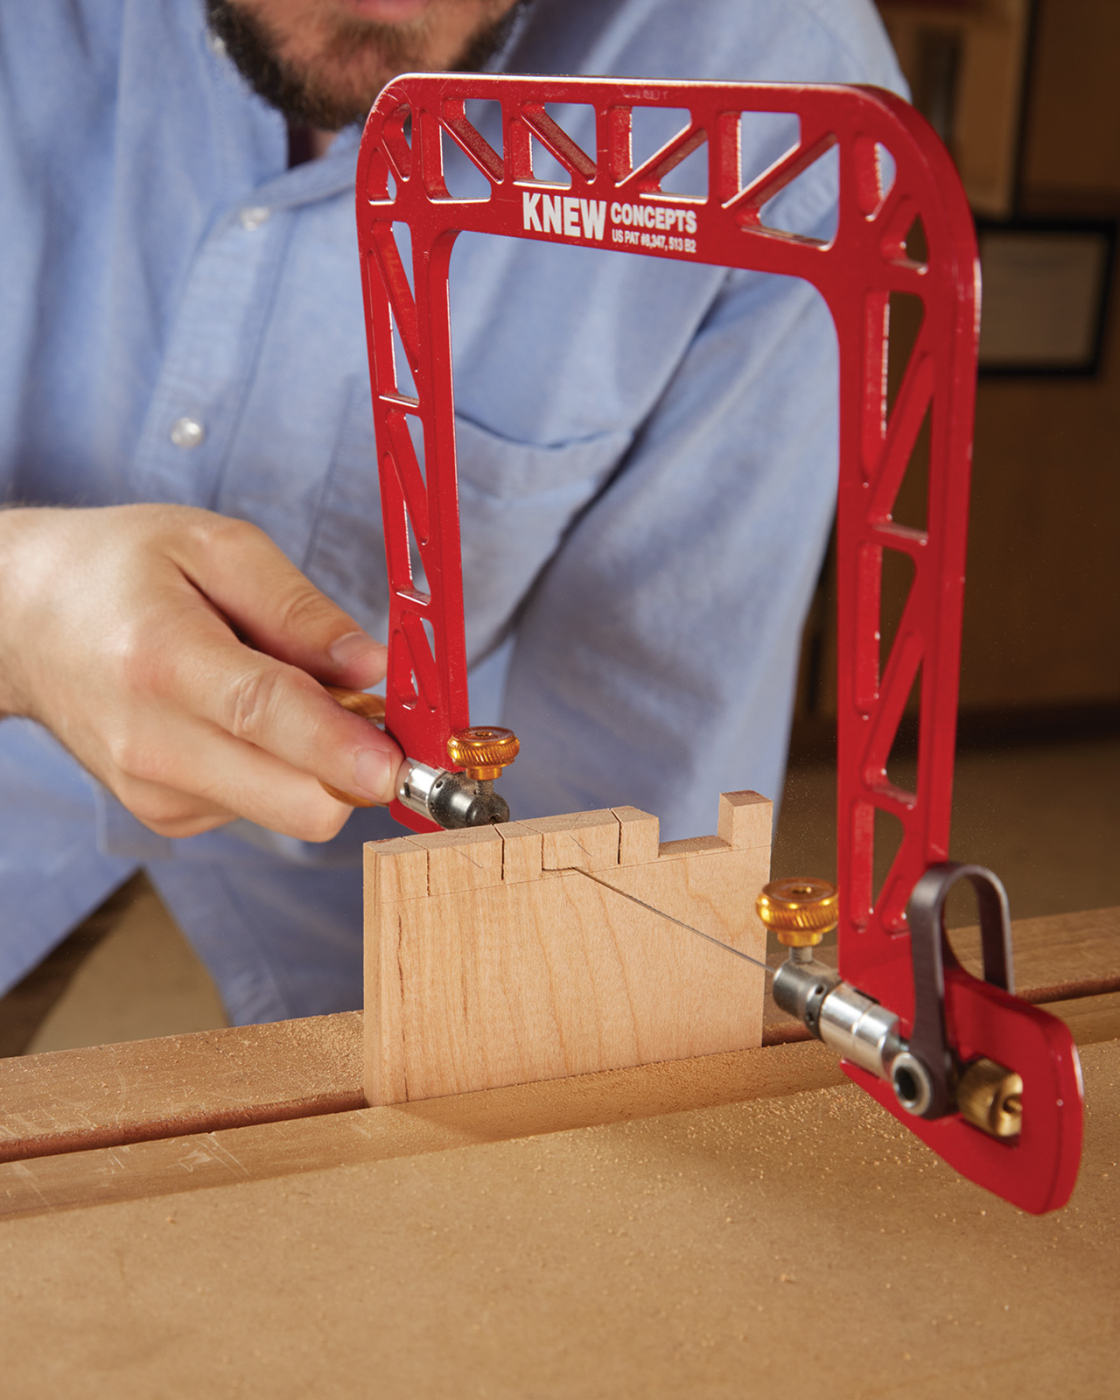
11 The waste is once again cut away with a fret saw. This time, make sure to angle the saw frame to match the angle of the pins.
12 Test your fit and make any necessary adjustments with a chisel or file.
With the joints cut, it’s time to plow the grooves which I do with a combination plane, but you can just as easily do this on the table router with a 1/8“ bit. It is a lot easier to do the stopped grooves that go in the pin board on the router table, but if you do it by hand like me, you can drill 1/8“ holes at the beginning and end of your grooves so that your combo plane doesn’t go past its mark or use a router plane with a fence (which is what I finished the groove with because the combo plane was too long for the short board).
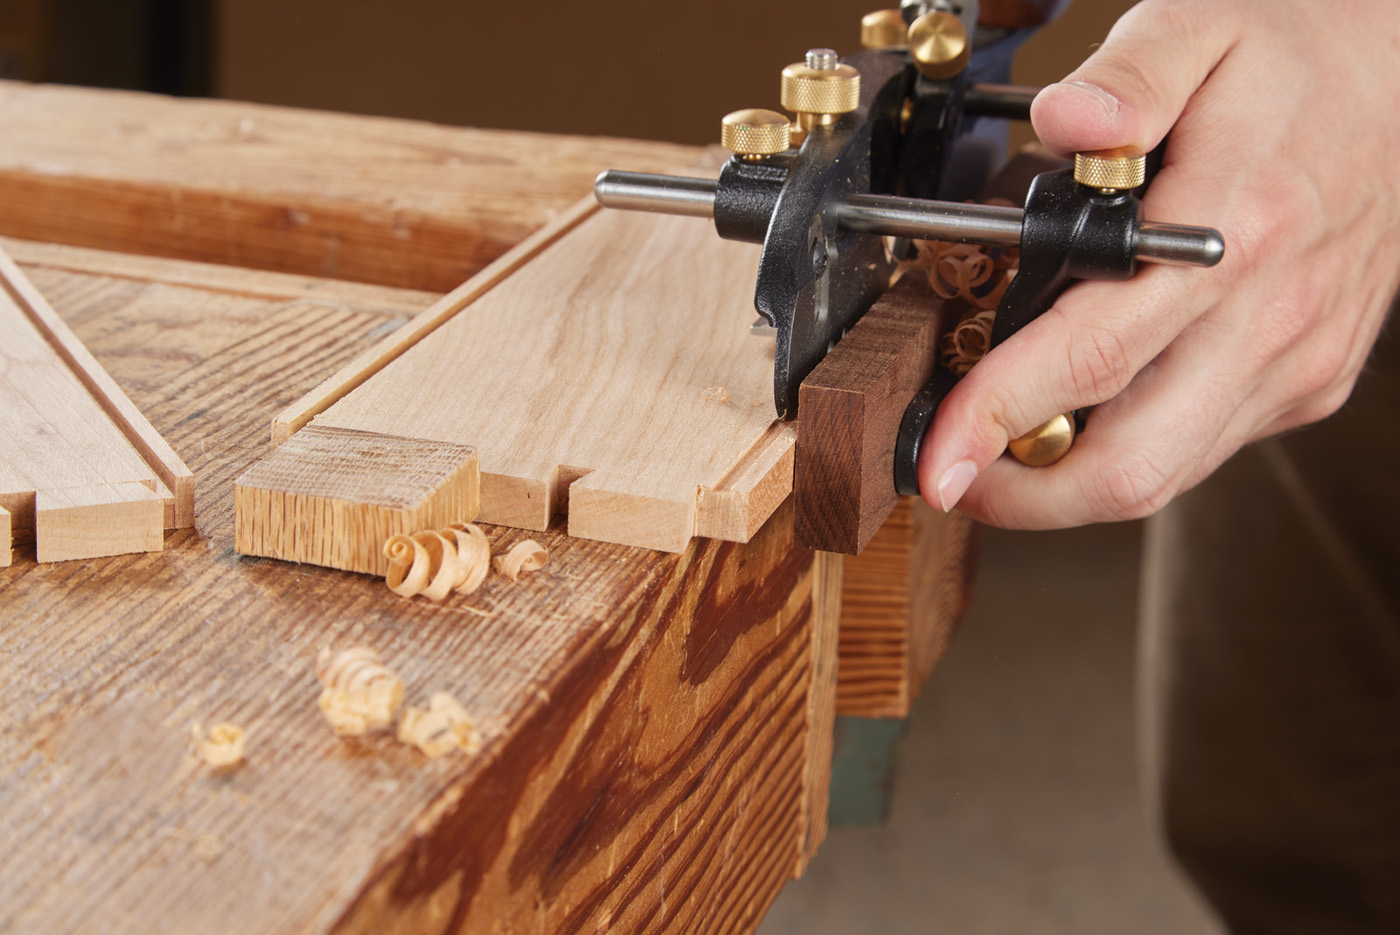
13 Using a plow plane, cut grooves for the top and bottom.
Up Next, the Lid
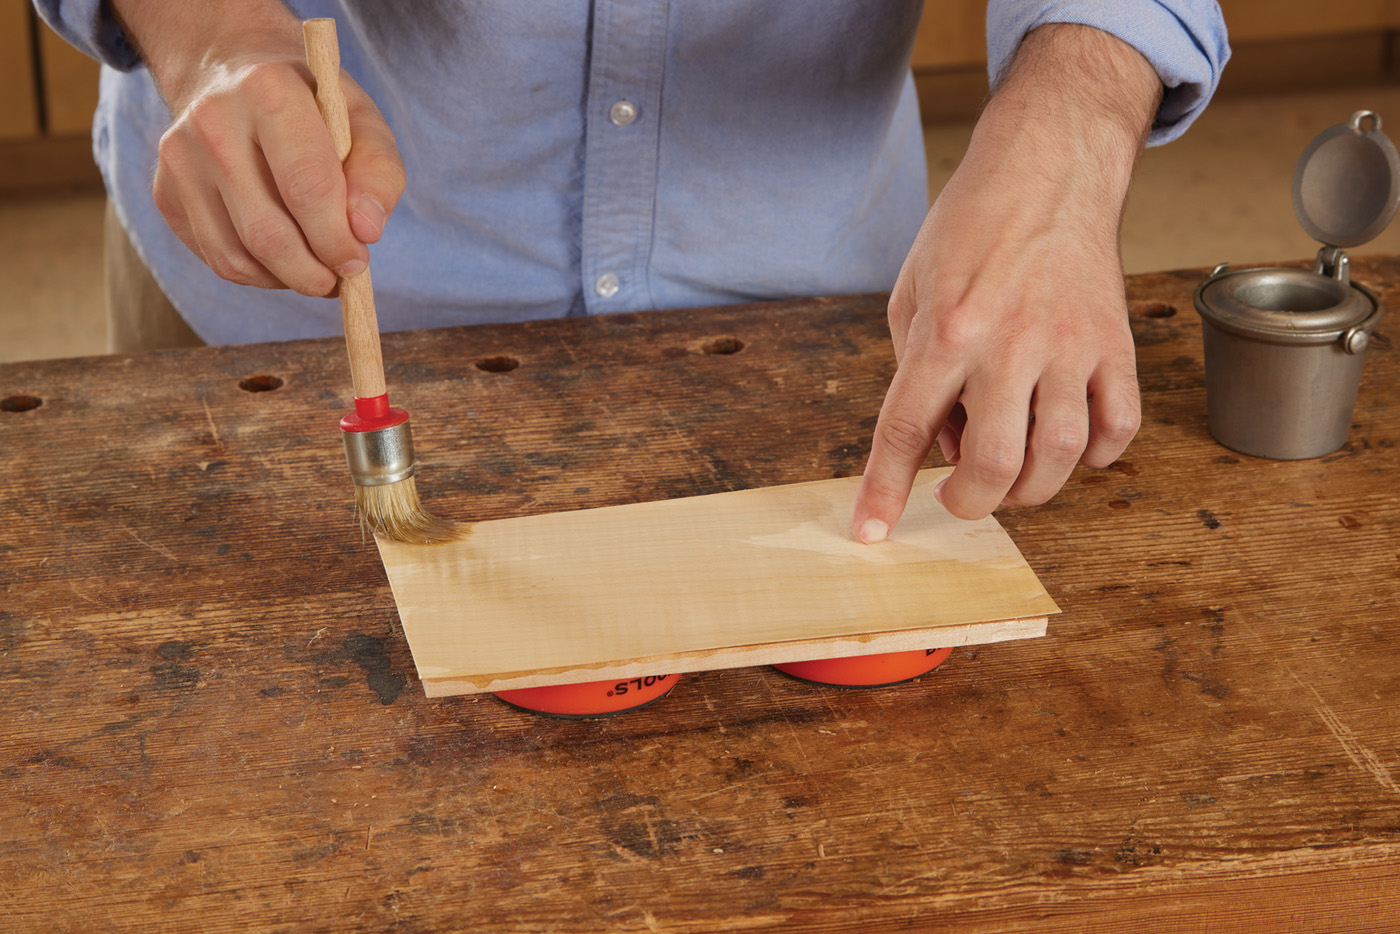
Next is making the lid. I used maple as the core to keep it the same as the veneer material and because I had a small scrap of some not particularly attractive maple available that would benefit from some fancying up. I used an old technique here for veneering because for a project of this scale it’s faster, easier, and much cheaper than bothering with vacuum bags or presses. In an old point, I warm up some hide glue granules and water until it’s viscous (there are a lot of guides on hide glue to consult but a double pot, an old meat thermometer, and a hot plate are pretty much required, but thankfully you can get a small pot and hot plate from Lee Valley).
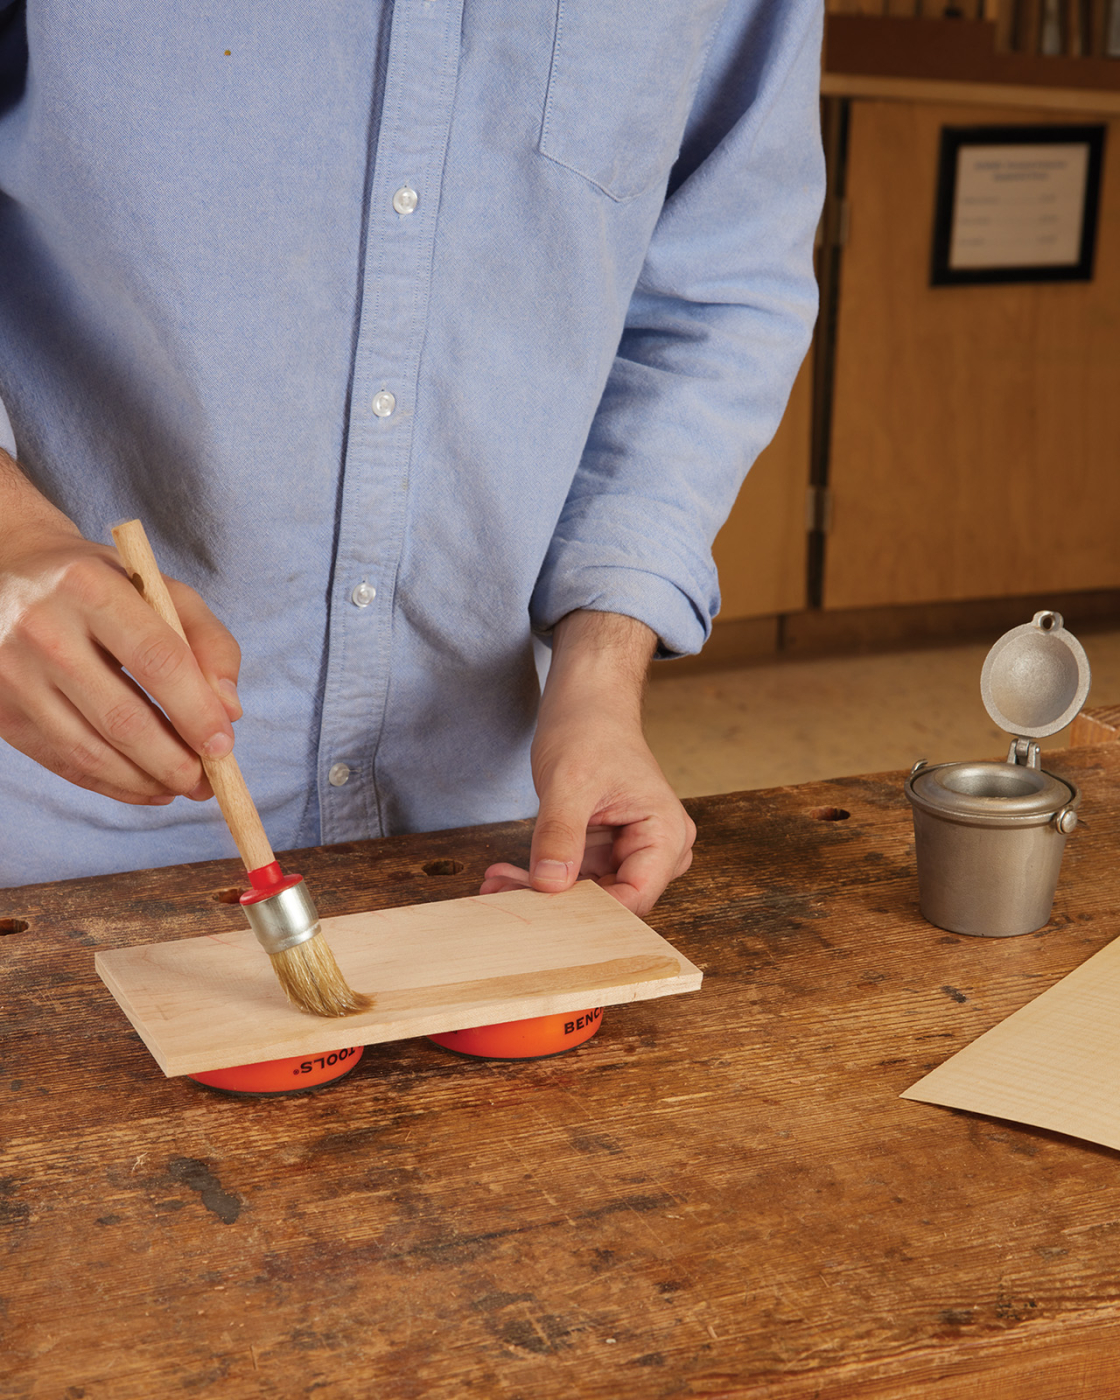
14 To veneer the top, start by brushing glue on your top pane. Here, I’m using hot hide glue.
With the glue prepared, we can begin the process of hammer veneering, which though it sounds like we’ll be whacking a mallet at our veneer, instead it’s really more of a squeegee motion. I apply a little glue to the core and underside of the veneer and then place them together. I add a layer of glue on the top face of the veneer as well to stabilize the veneer. It is wood after all and if its bottom half gets moist and glued but the top is left open and unsealed, air and water move out of it unevenly which accounts for warp. I use a veneer hammer to squeeze out the excess glue between the two pieces and remove the excess glue from the top. (My veneer hammer is one I put together with a scrap of walnut I rounded and stuck a brass bar in.) Pressing firmly removes the air that is between the veneer and the core and since creating a seal, we’ve essentially got a little vacuum between the pieces now. This is the same way a sweating pint glass creates a seal around a tabletop and gives a little pop when you lift it. The veneer hammer activates atmospheric pressure (which in my neck of the wood is a little over 14 psi) and literally uses the earth’s atmosphere to clamp the veneer to the core until the glue dries, which it does quickly. You’ll want to repeat the process for the underside of the lid to prevent warp like I mentioned above.
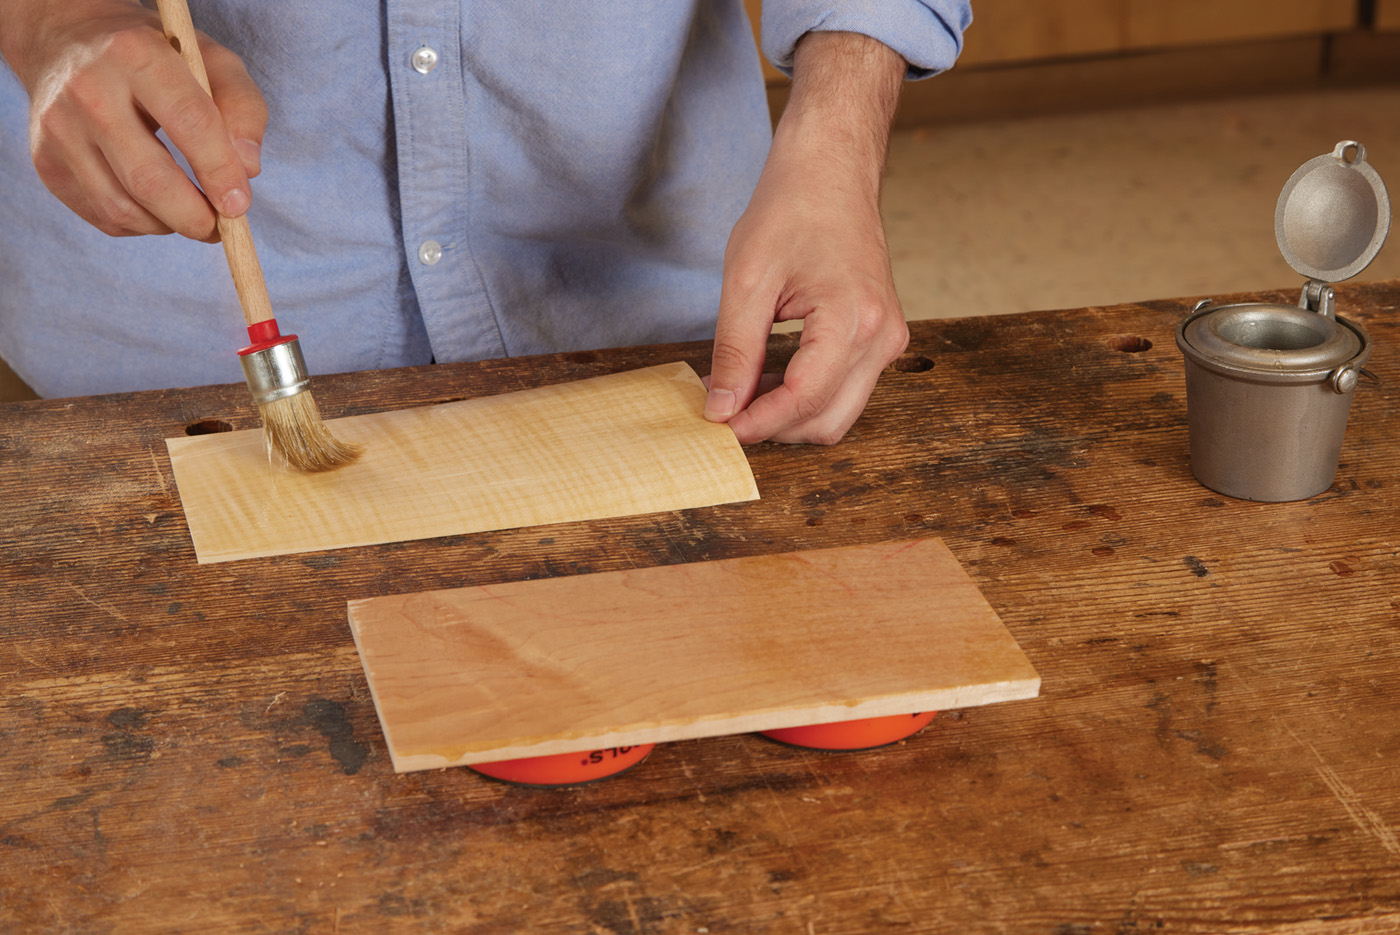
15 Apply a healthy layer of hide glue on the veneer as well. As soon as you introduce the moisture from the glue, the veneer will probably want to start to curl.
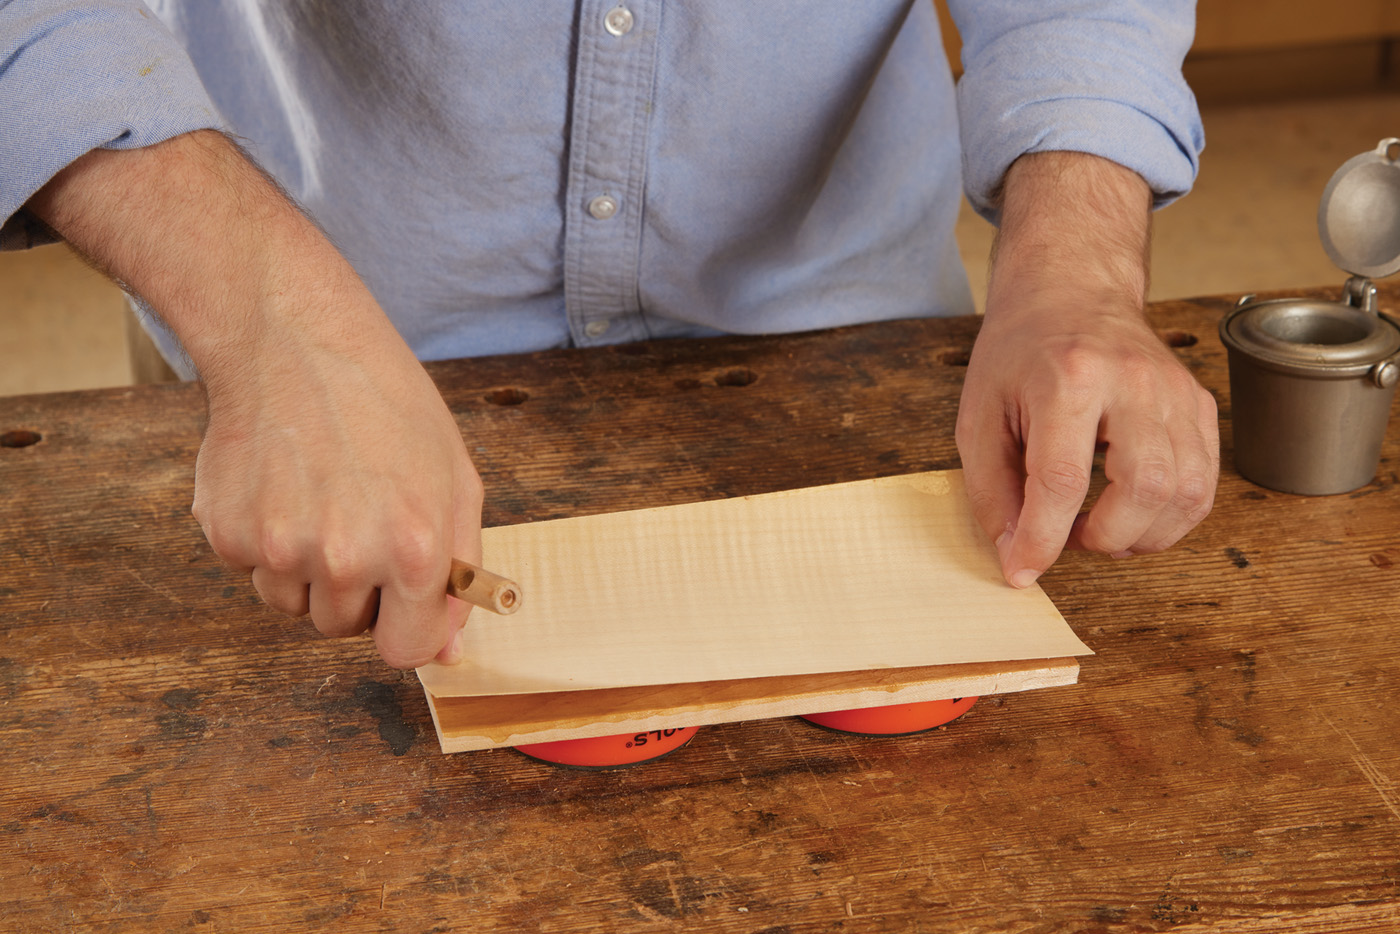
16 Position the veneer and stick it down to your lid core.
17 Apply an additional layer of glue over the top of the veneer, before using a veneer hammer to stick it down.
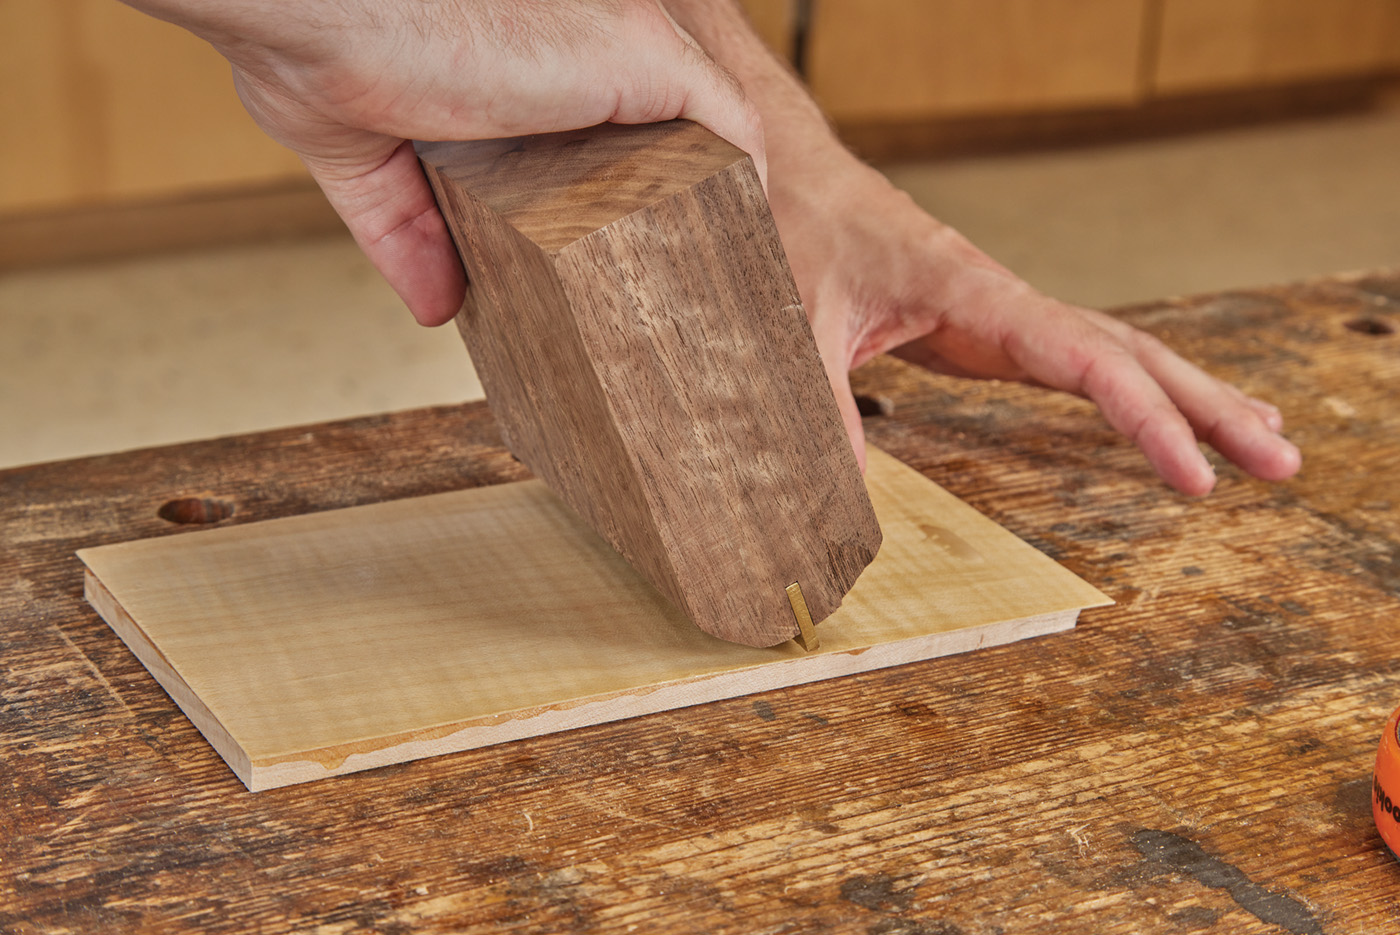
18 The veneer hammer is used similar to how you’d use a squeegee, applying pressure and a slight scraping motion, which sucks the veneer in place.
Once the glue is dry, you can use a knife to slice off the excess veneer, then a block plan can flush everything up. Lastly, you’ll rabbet all four sides of the lid so that it’ll fit into our box grooves and leave about a 1/16“ shadow gap. Just be a little careful rabbeting as you’ll want a sharp knicker tool or a good scribe line to prevent any damage to the delicate veneer. You can repeat the process for the bottom, or you can opt out of using veneer and just rabbet the base. Either way, use a piece thicker than the distance of the far groove wall to the bottom of the box so that the box appears to float a little.
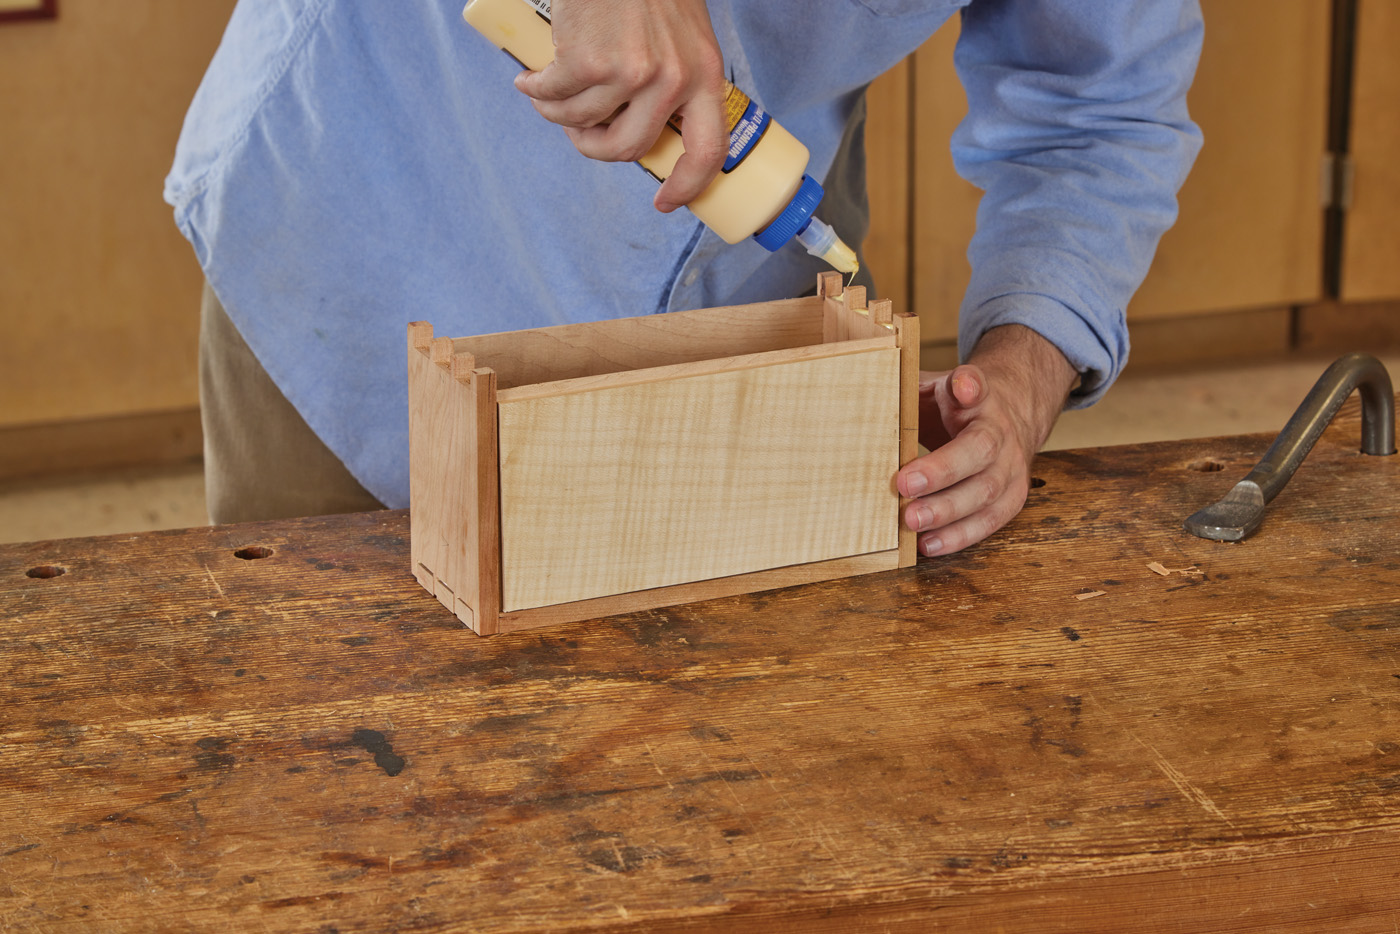
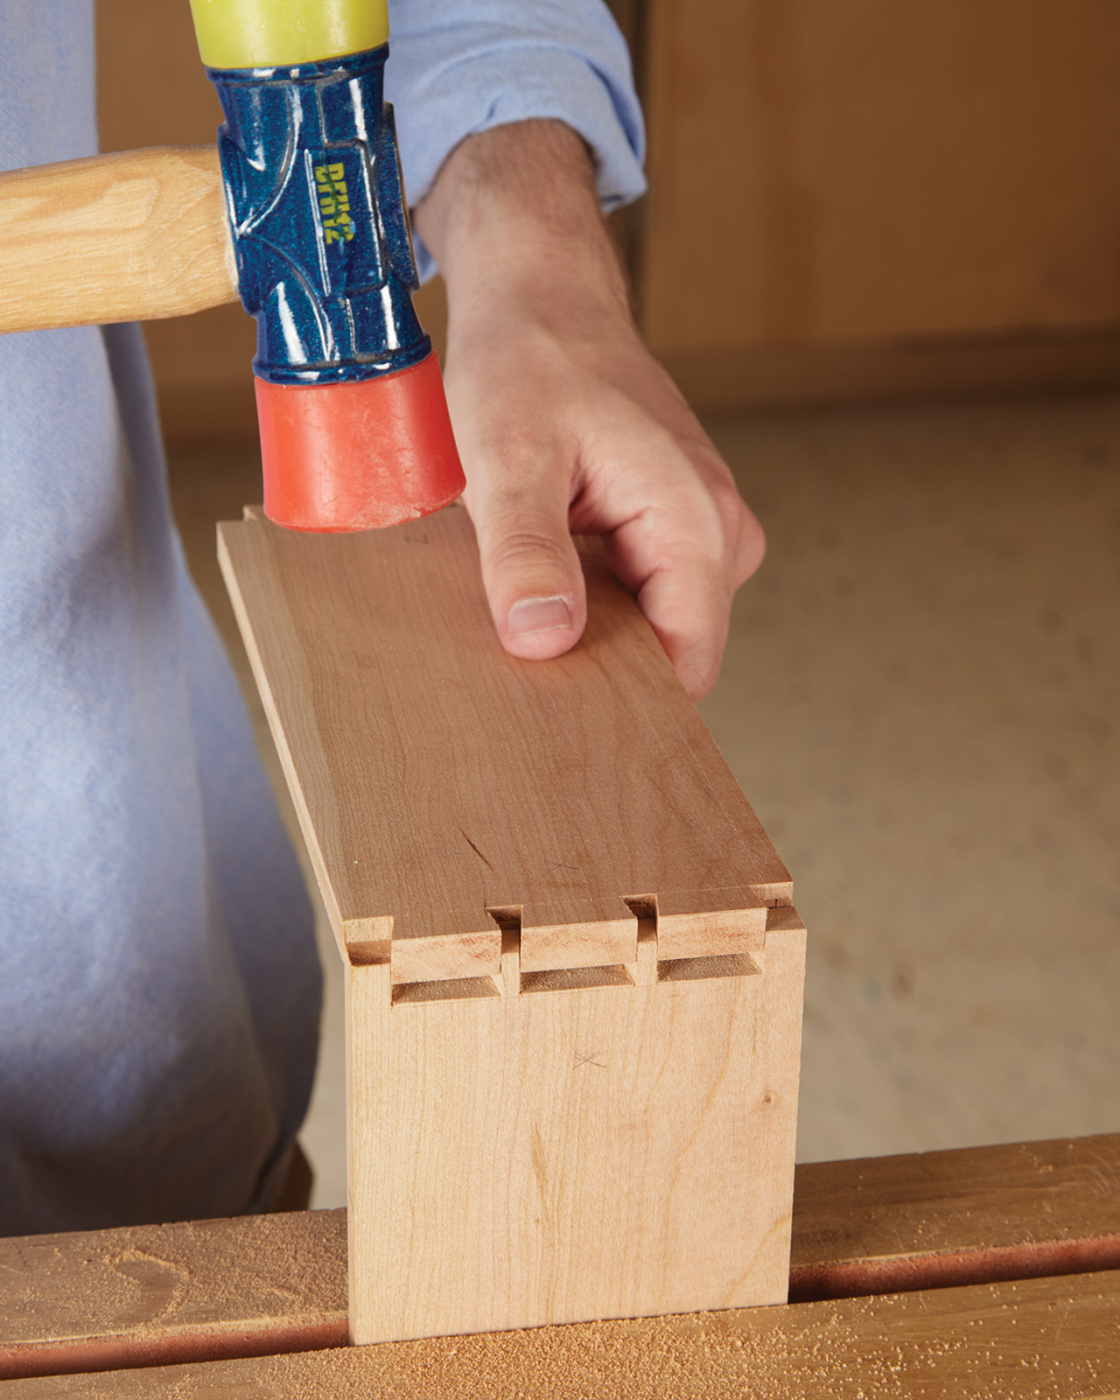
19 After rabbeting the top, you can assemble the box. Apply a little glue between each dovetail joint and press the box together.
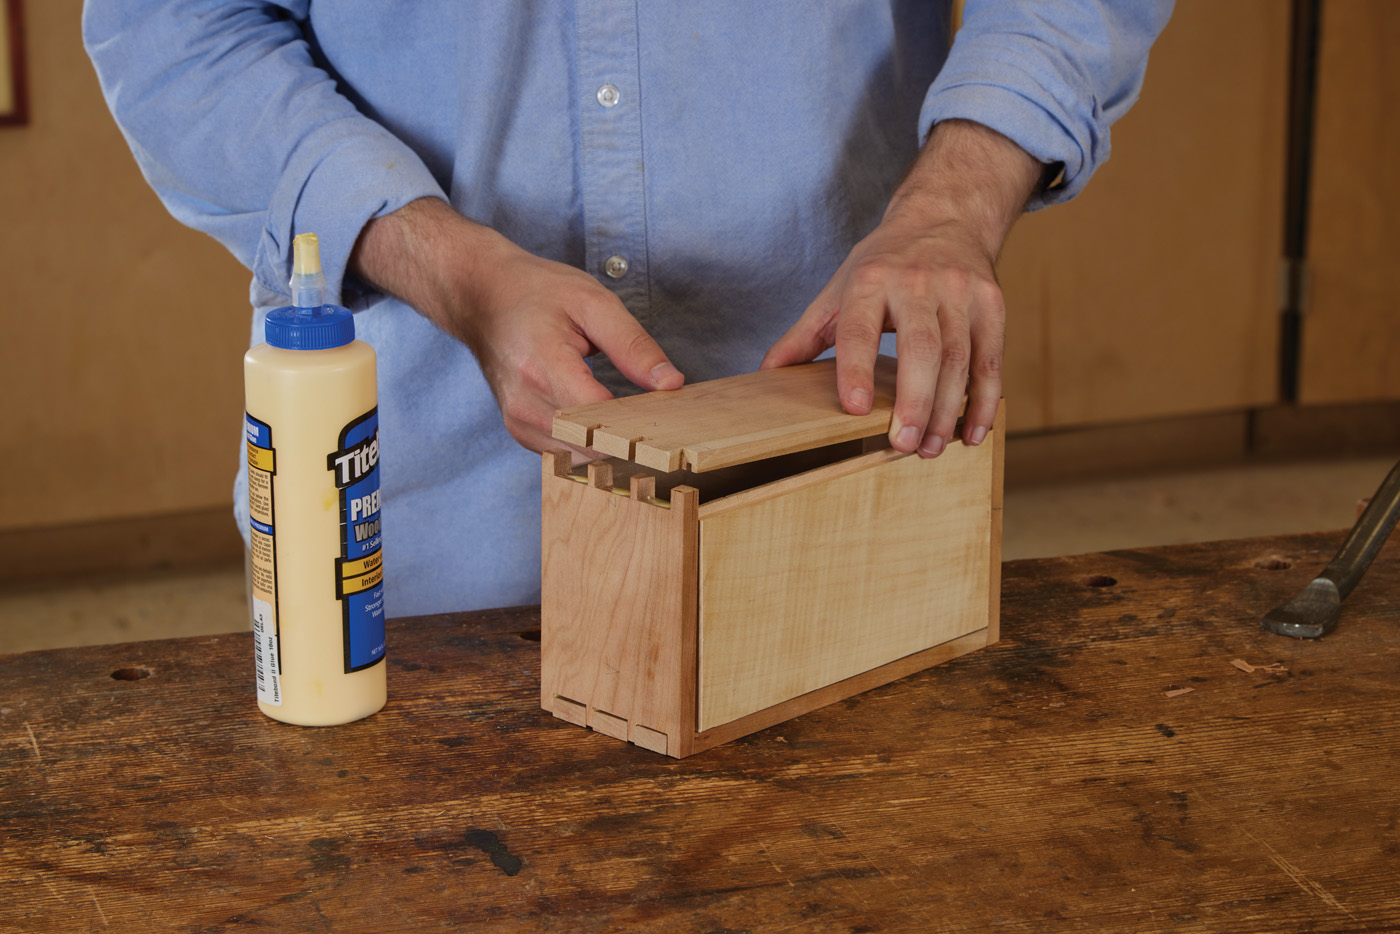
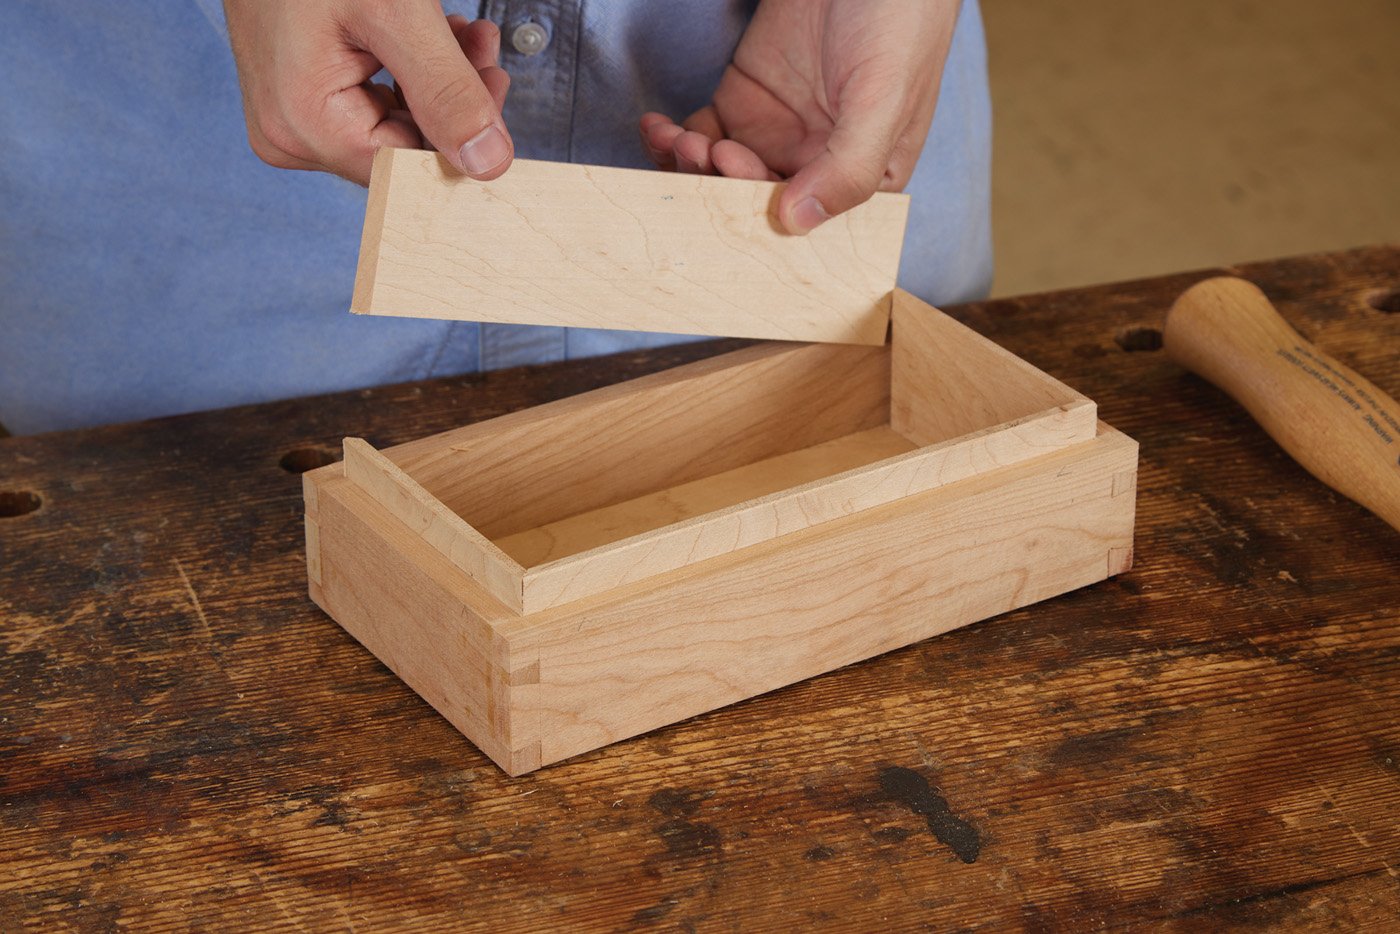
20 Make sure to slip the top and bottom in place.
Assembly & Finish
With the parts all made, glue the lid and base into the grooves and the pins into the tails. Clamp the box up for about an hour. Afterwards, you can flush up the tails and pins and then, very carefully, use a straight and square batten as a guide to cut the box open. I unfortunately didn’t have the flattest workbench, so I had to be a little careful and I had to enlist the help of an extra set of hands to get the batten directly over my scribe line and clamped down without shifting (fortunately at the guild, there is always a helpful face hanging around!) Use a very thin plated saw (I’m using a Japanese saw) to cut the box in half. Use the other hand to keep the plate flush against the batten. You’ll have to cut one side of a box at a time, and so the best thing to do is use the bit of kerf you’ve created in the previous side as a guide to wrap around the next side and so on but always set your batten on the halfway scribe line. If you prefer, this can be done on the bandsaw but there will be a little extra waste to account for the bandsaw blade thickness.
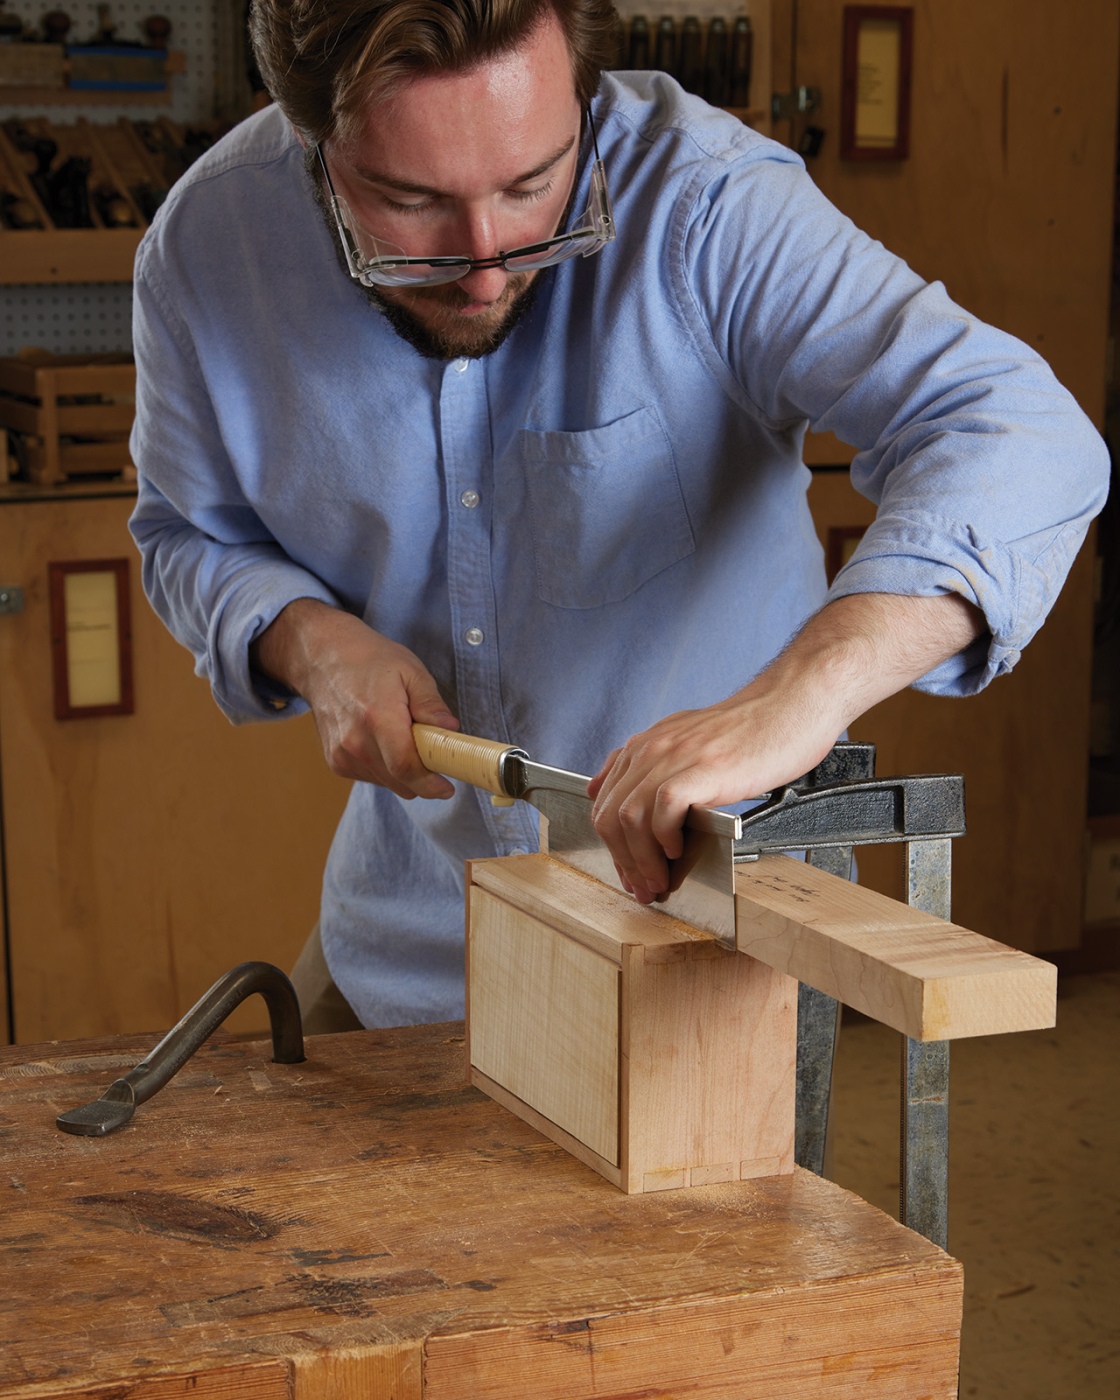
21 With the joints flushed, it’s time to cut the box apart. Here, I use a pull saw and a scrap wood fence to help guide my cut.
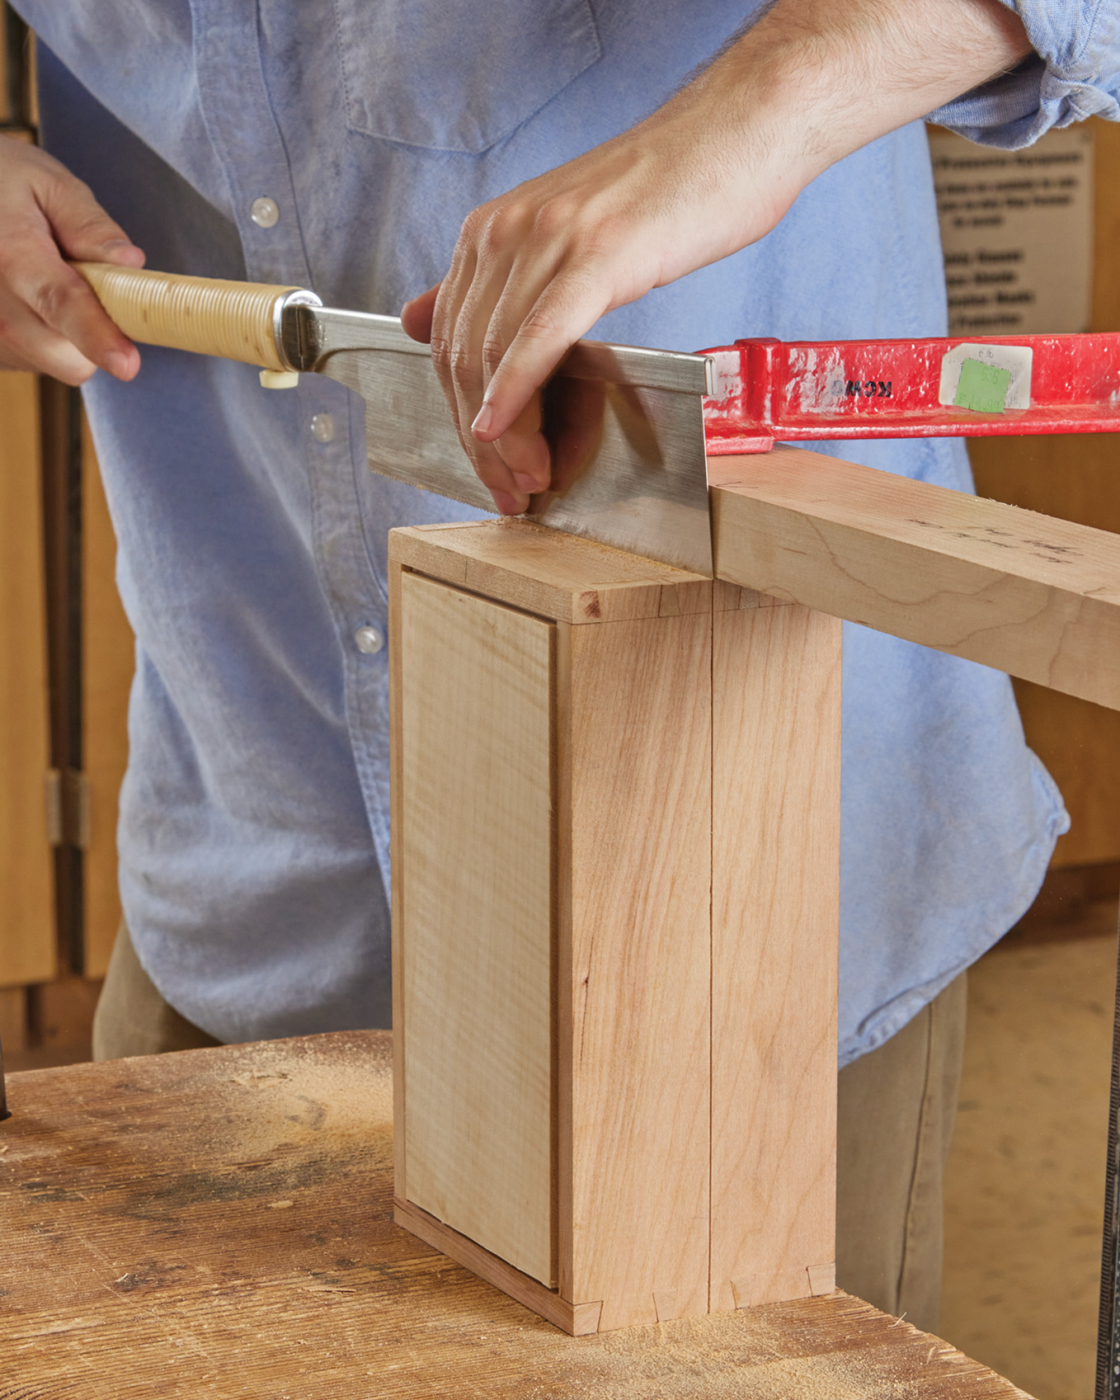
22 For this box, I split it right down the center.
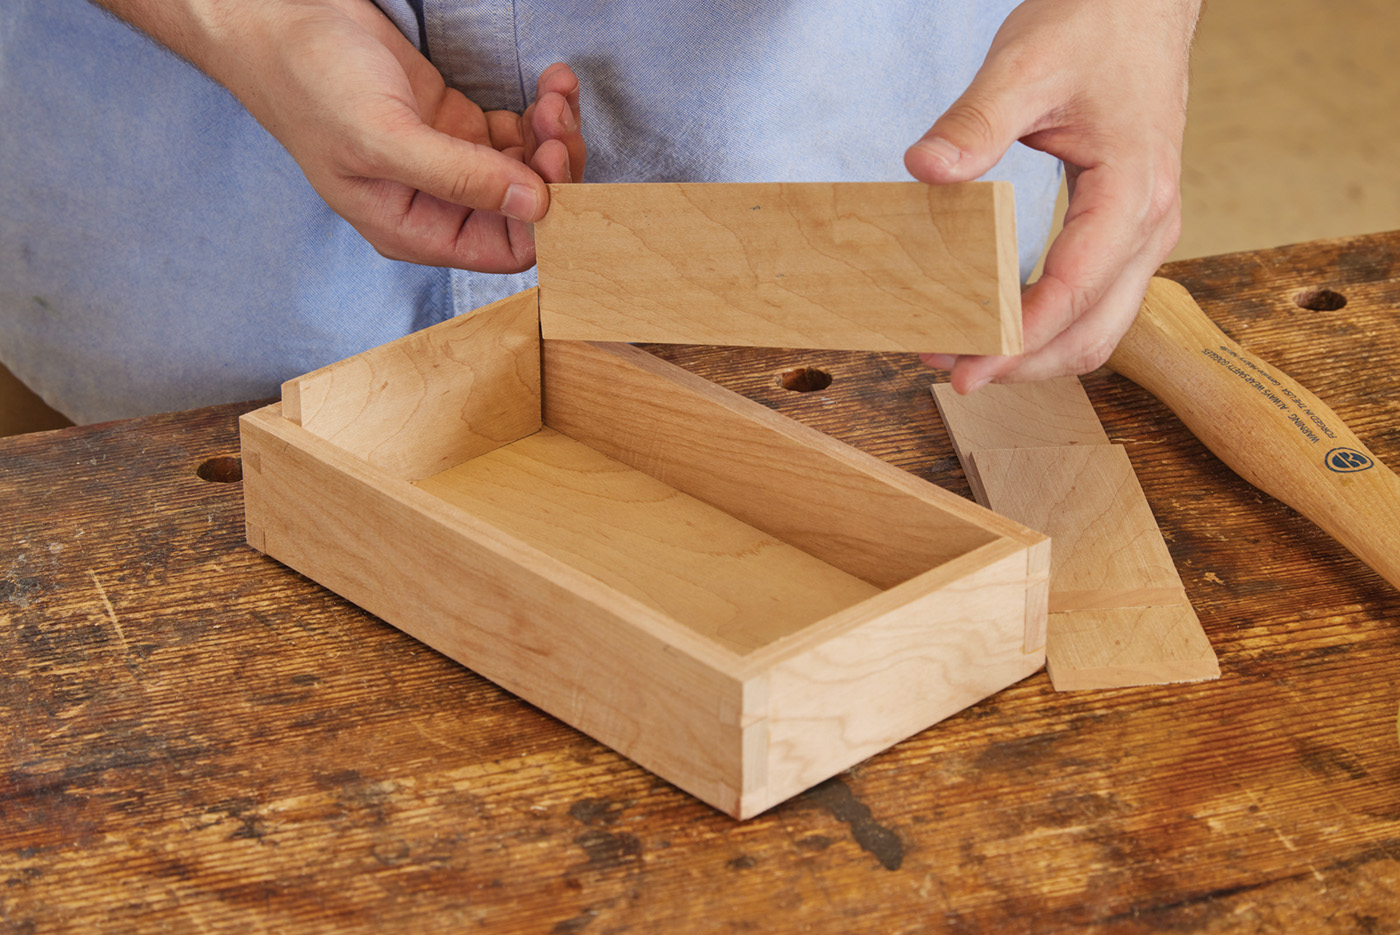
23 To help register the lid on the bottom, I added a set of thin liners. These liners are cut to size and mitered on the corners to fit.
24 A shooting board is a great way to fine-tune the length of the parts as well as the miters.
All that’s left is planning the saw marks away and adding mitered inserts to the bottom of the box. You can fine-tune the fit of the inserts with a shooting board. The shooting board will help sneak up on the length and provide a tight miter. A little glue will allow for a friction fit that doesn’t pull them out when you pull the top of the box off. I then use mineral oil and wax for a nice, non-toxic finish that leaves a mellow sheen and maintains the natural wood feel.
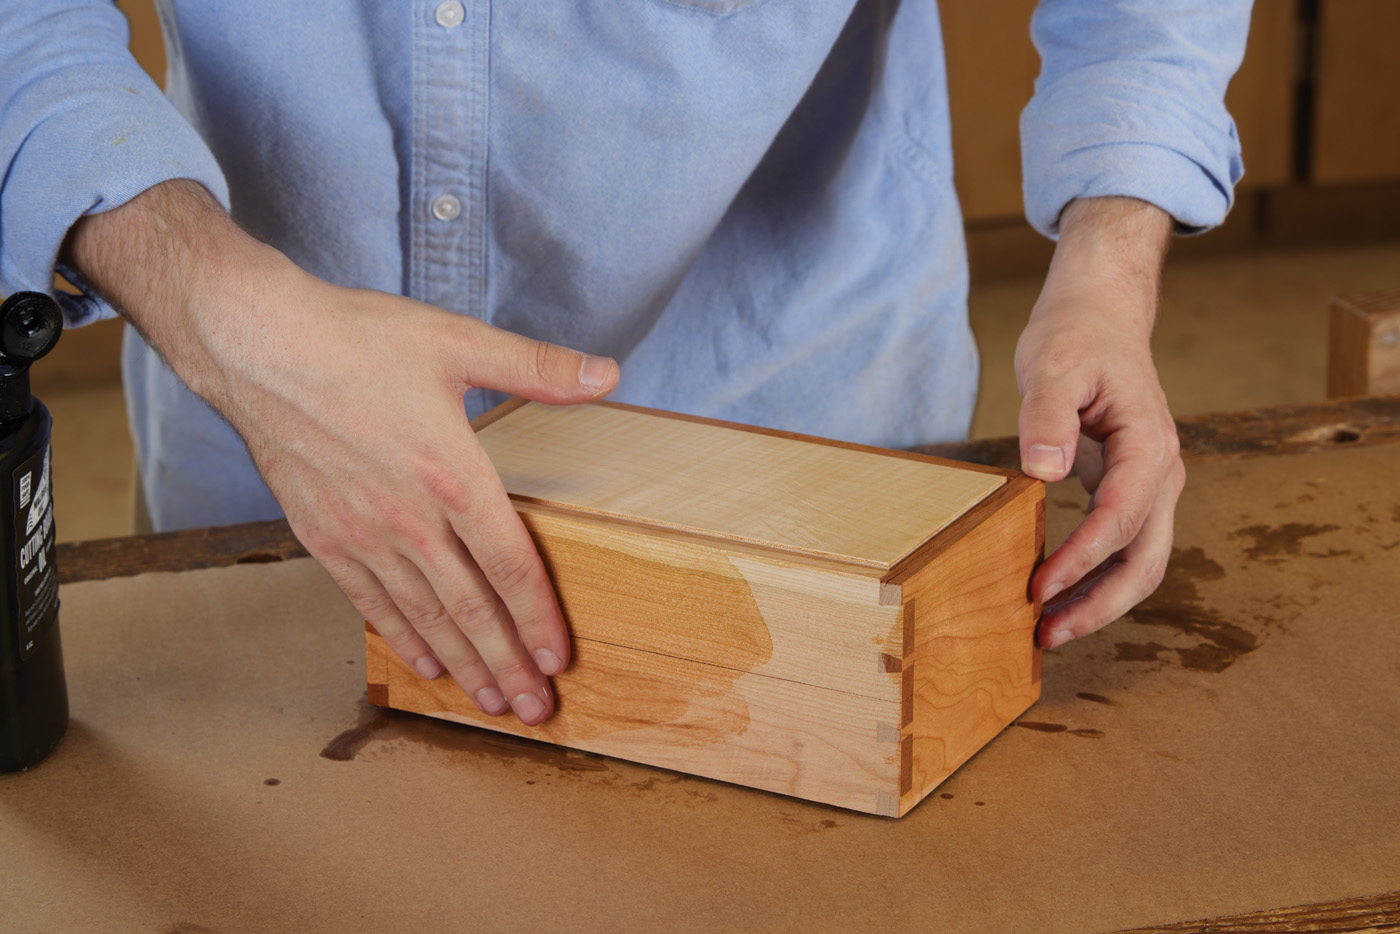
25 I use natural mineral oil as a finish—apply it liberally by hand and let it soak into
the wood.
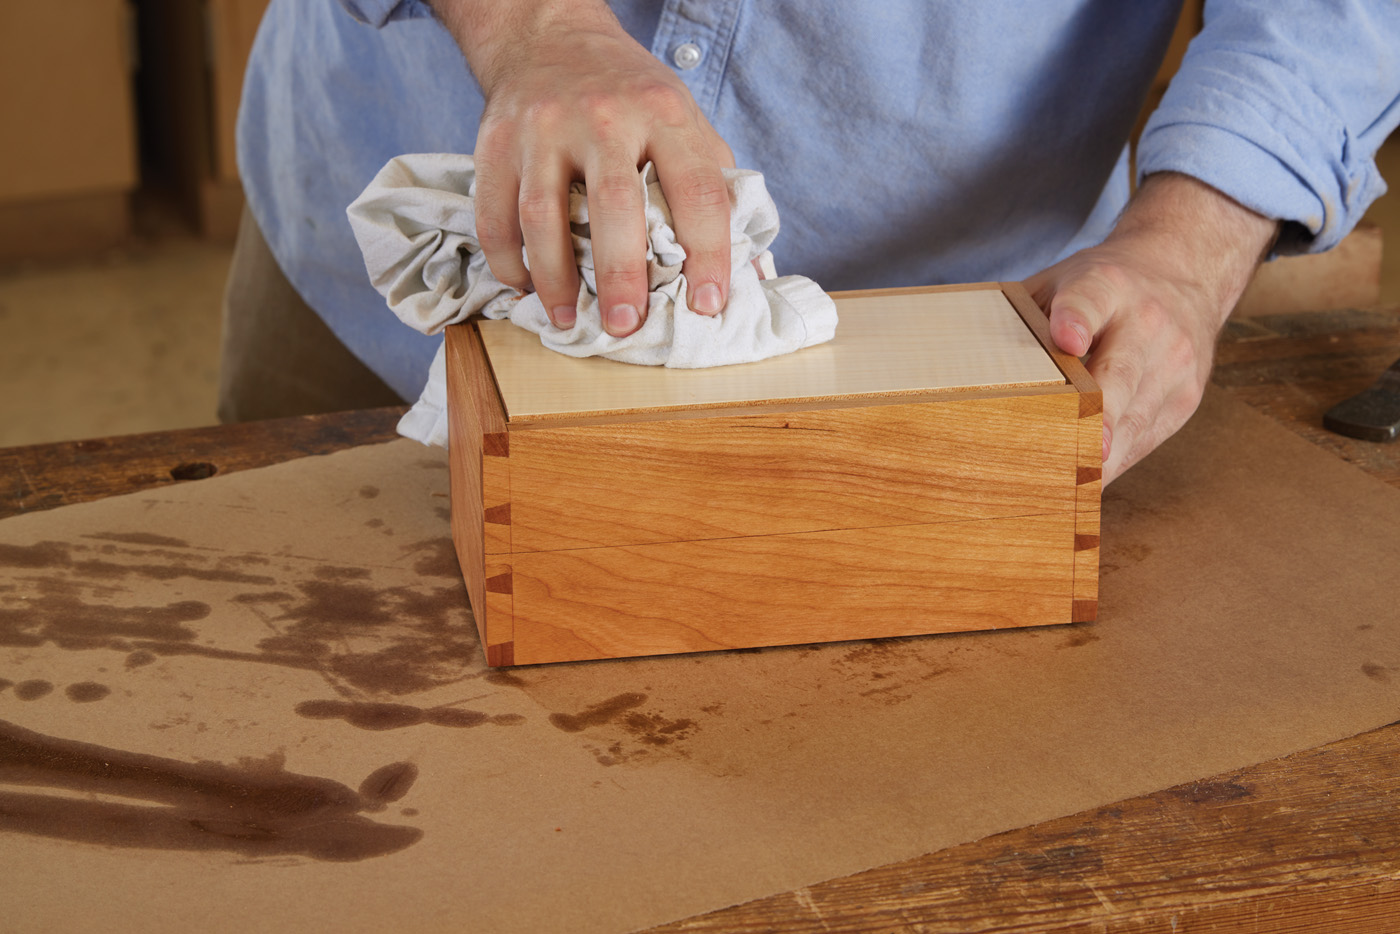
26 After sitting, the finish can be buffed to a light sheen.
Here are some supplies and tools we find essential in our everyday work around the shop. We may receive a commission from sales referred by our links; however, we have carefully selected these products for their usefulness and quality.