We may receive a commission when you use our affiliate links. However, this does not impact our recommendations.
The last two repair remedies this chair needed before its inauguration into productive service life were reinstalling it with the old leg brackets and creating and installing a set of new corner blocks.
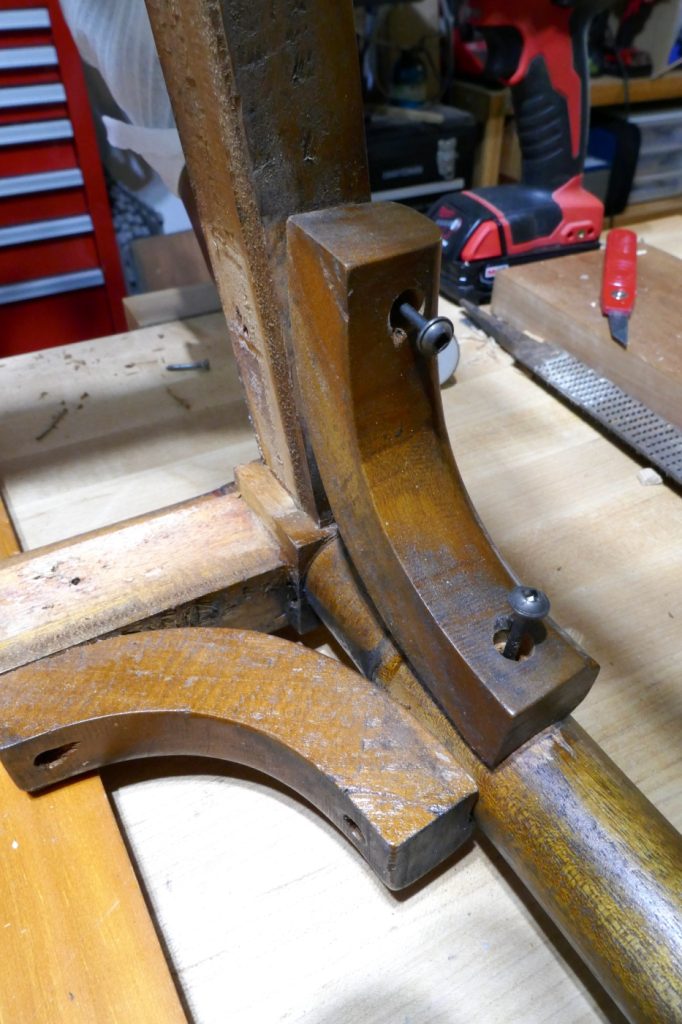
The old quarter-circle leg brackets were originally connected with the same kind of inferior screws that I talked about before. So I decided to replace them with stronger and longer washer head screws. I drilled the counterbore holes, applied a dab of glue, and screwed in the screws.
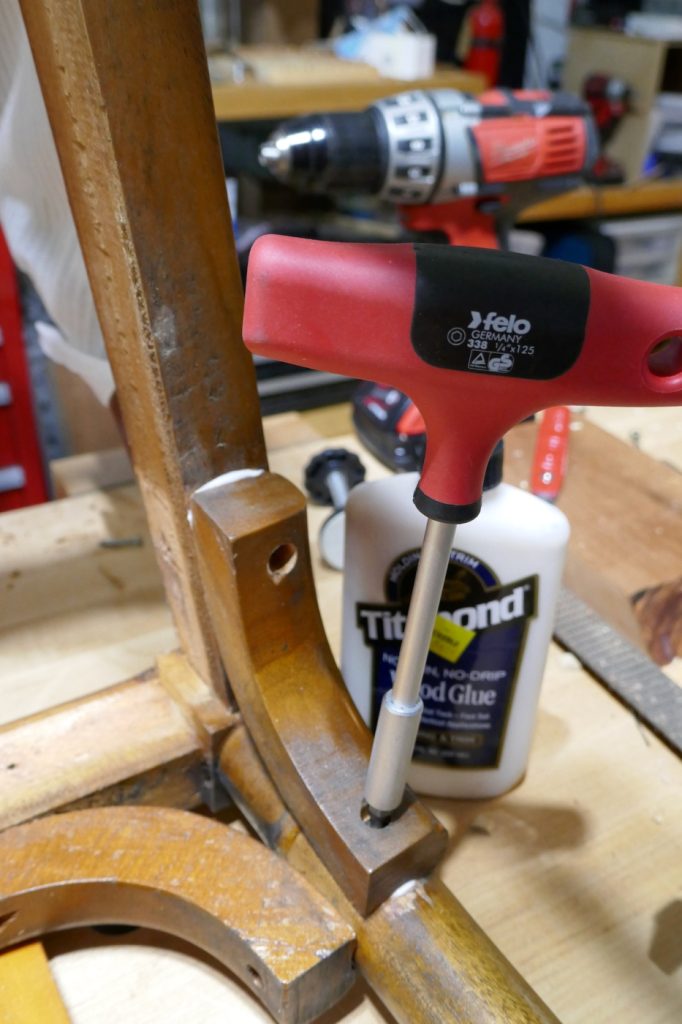
A bit screwdriver T-handle like this one is a great helper when driving screws into wooden parts as long as you don’t over-torque the screw and break it.
The Corner Blocks
Corner blocks are essential for extending the structural integrity of chairs’ joints. They span from apron to apron and prevent the tenon or dowel joints from opening up. Unfortunately, the original corner blockers of my chair broke off, plus their grain orientation was not ideal in the first place, so I decided to build new ones.
Dimensioning the Corner Block
A corner block is essentially a wooden triangle that connects the chair’s aprons, usually with the help of two or four screws. The main challenge in making them is identifying and tracing the exact angle between the two aprons. As most chairs’ plan view is a trapezoid, the angle between the aprons in the front of the chair will be acute and those at the rear – obtuse.

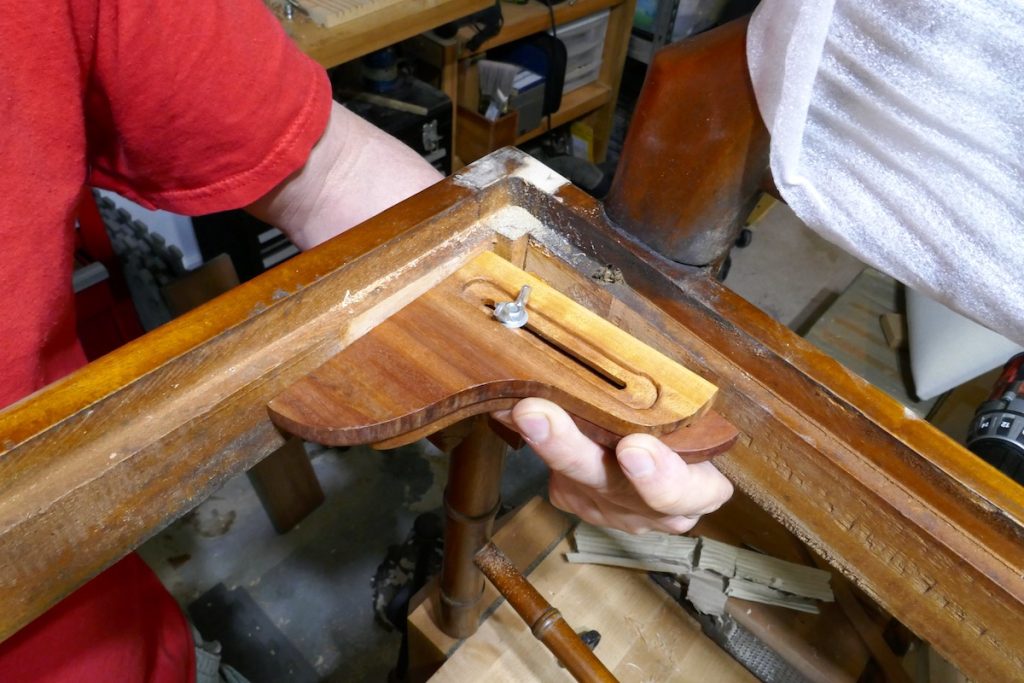
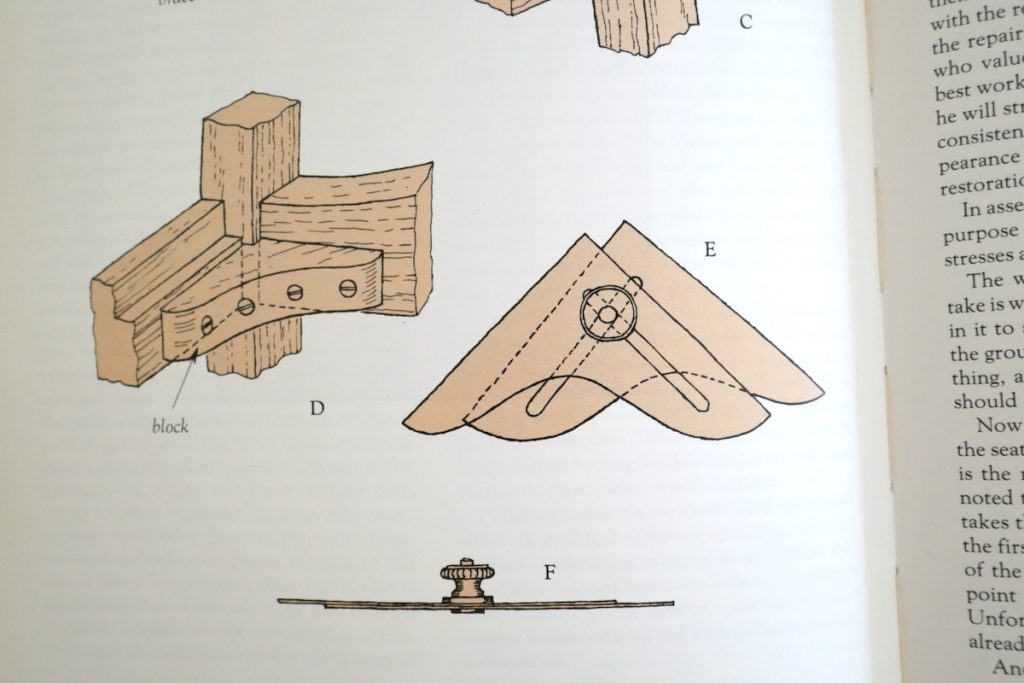
Many years ago, I built a jig to help probe that angle. I designed it to look and function along the drawing of a restorers’ jig that I saw in the excellent book about furniture restoration by John Rodd, Repairing and Restoring Antique Furniture. John Rodd’s jig is thin and made of metal, but the one I made has thicker wooden parts which, if not careful, could skew the measurement once transferring the angle to the block of wood.
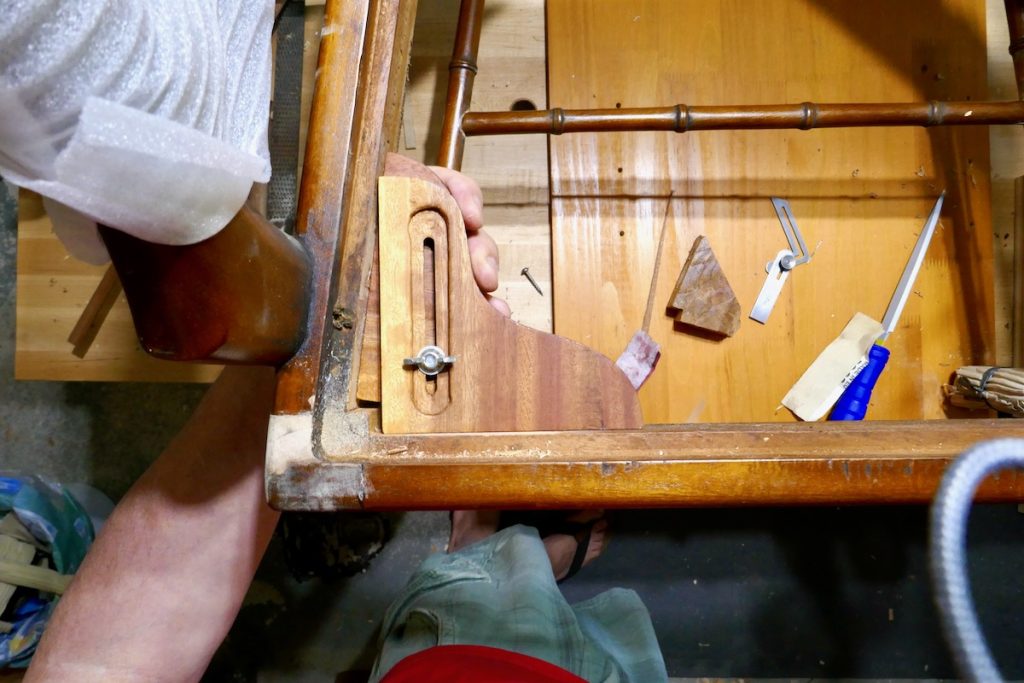
The Corner block probing jig that I built more than twenty years ago. I have been using it successfully, but if I had to build it again, I would have made it out of metal.
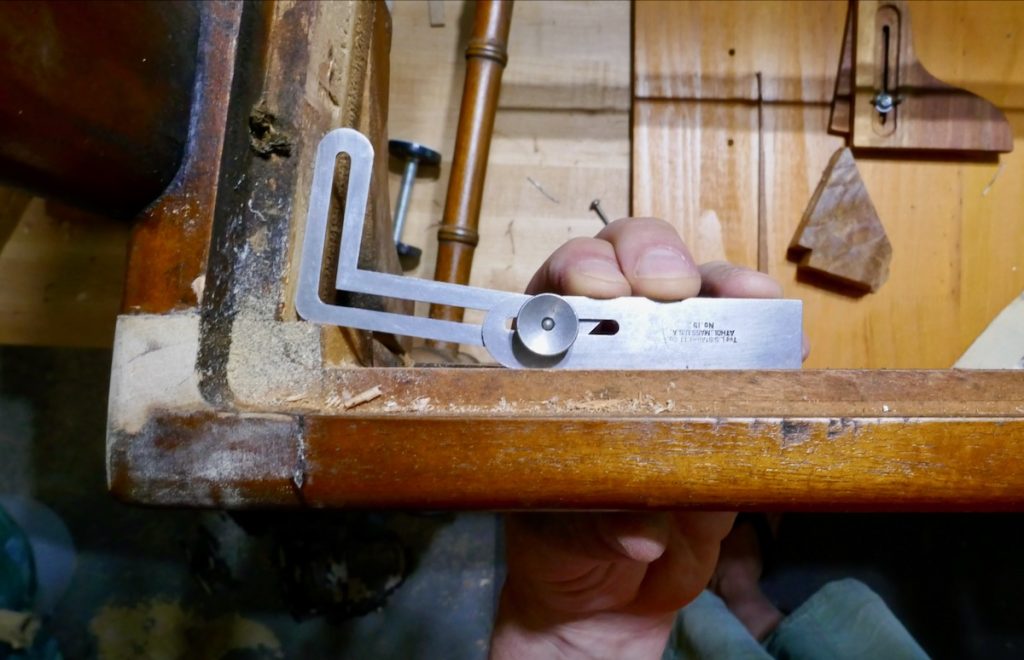
You can probe for the corner block angles with a sliding bevel whose geometry allows it to dodge the leg protrusion. Alternatively, you can use a wood block to compensate for the protrusion and measure the angle with a common sliding bevel.
If you don’t have a special corner block probing jig, you can make a makeshift one by simply preparing two cardboard triangles, tucking them against the corner of the intersecting aprons, and transferring the measurement to the wood block.


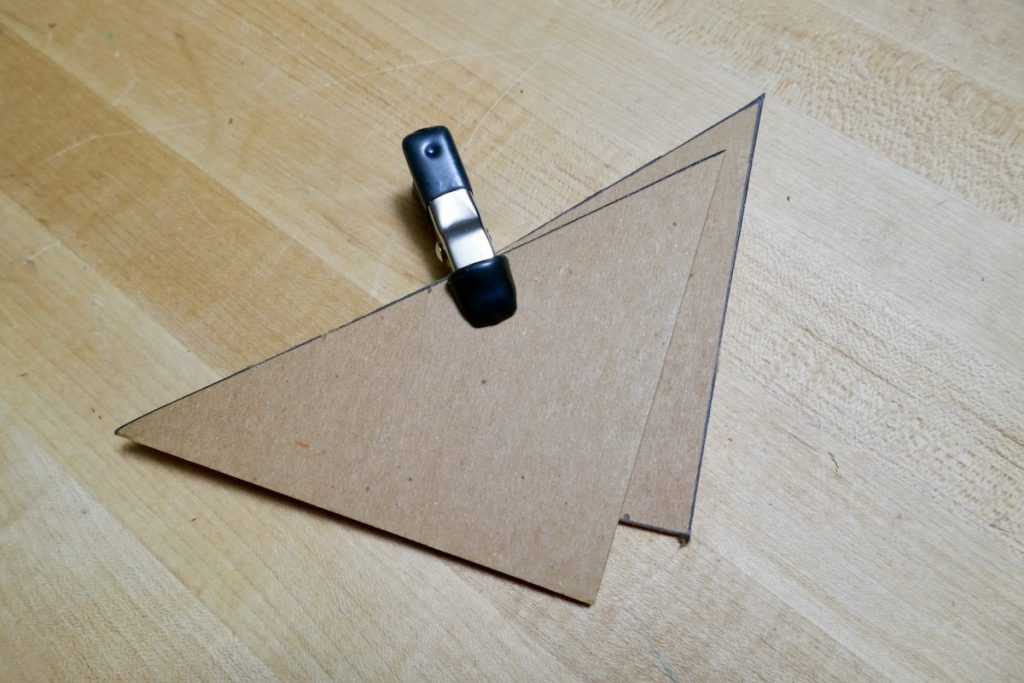
Probing for the front corner block will yield an acute angle.
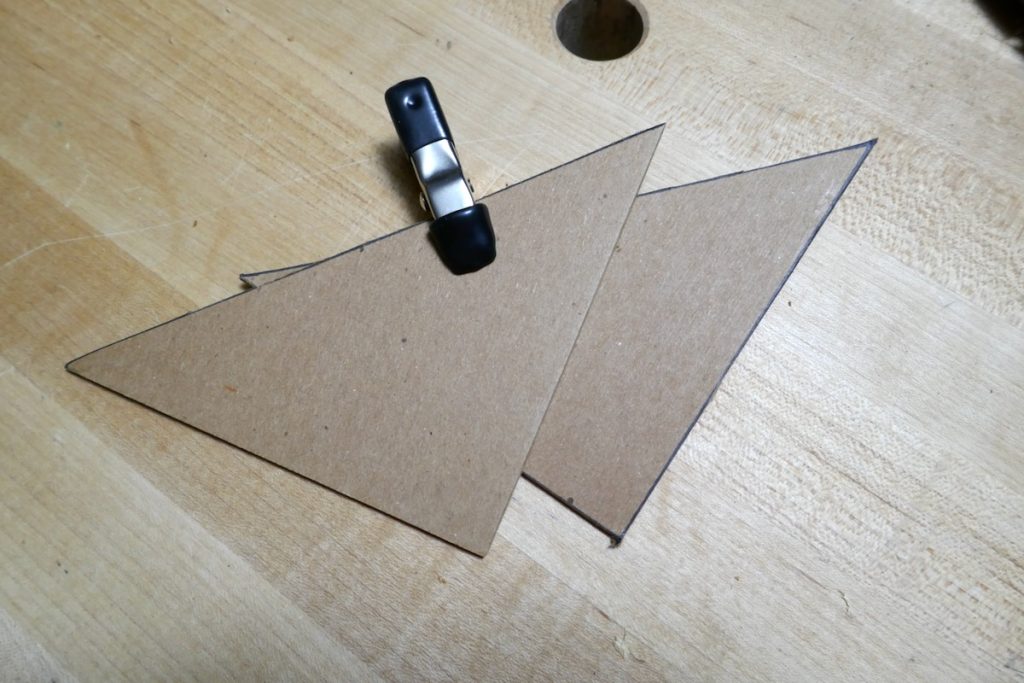
Probing the rear block will yield an obtuse angle.
Corner Block Grain Orientation
To maximize the strength of the corner block, align the grain to flow from one apron to the adjacent one.
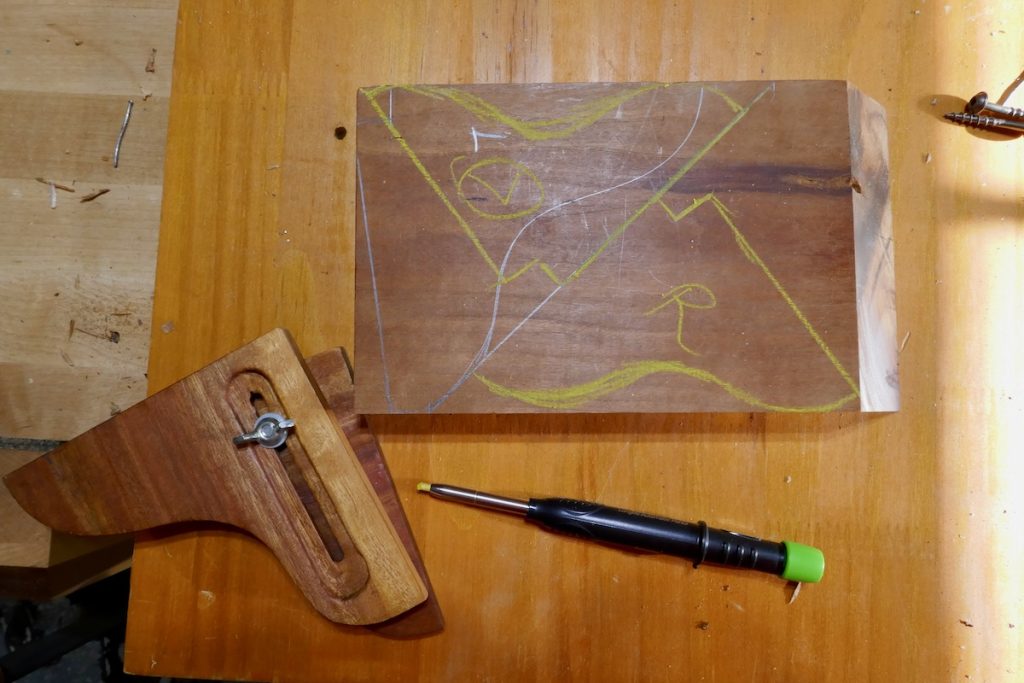
The new corner blocks are highlighted in yellow. One will be connected to the right corner and the other to the left.
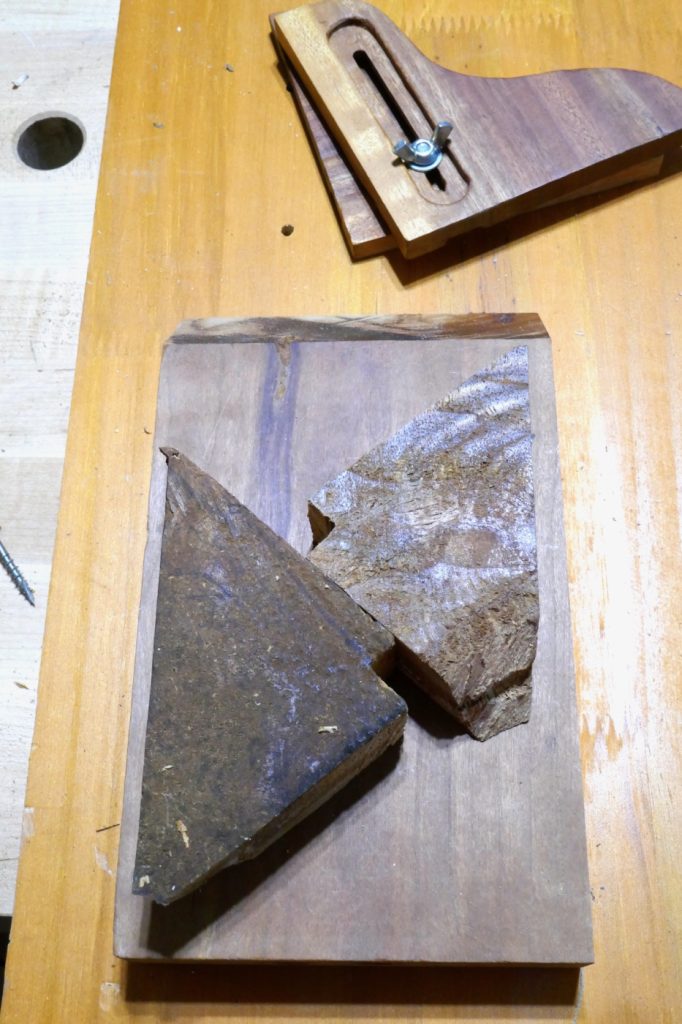
the old (and damaged blocks had a subpar grain orientation.
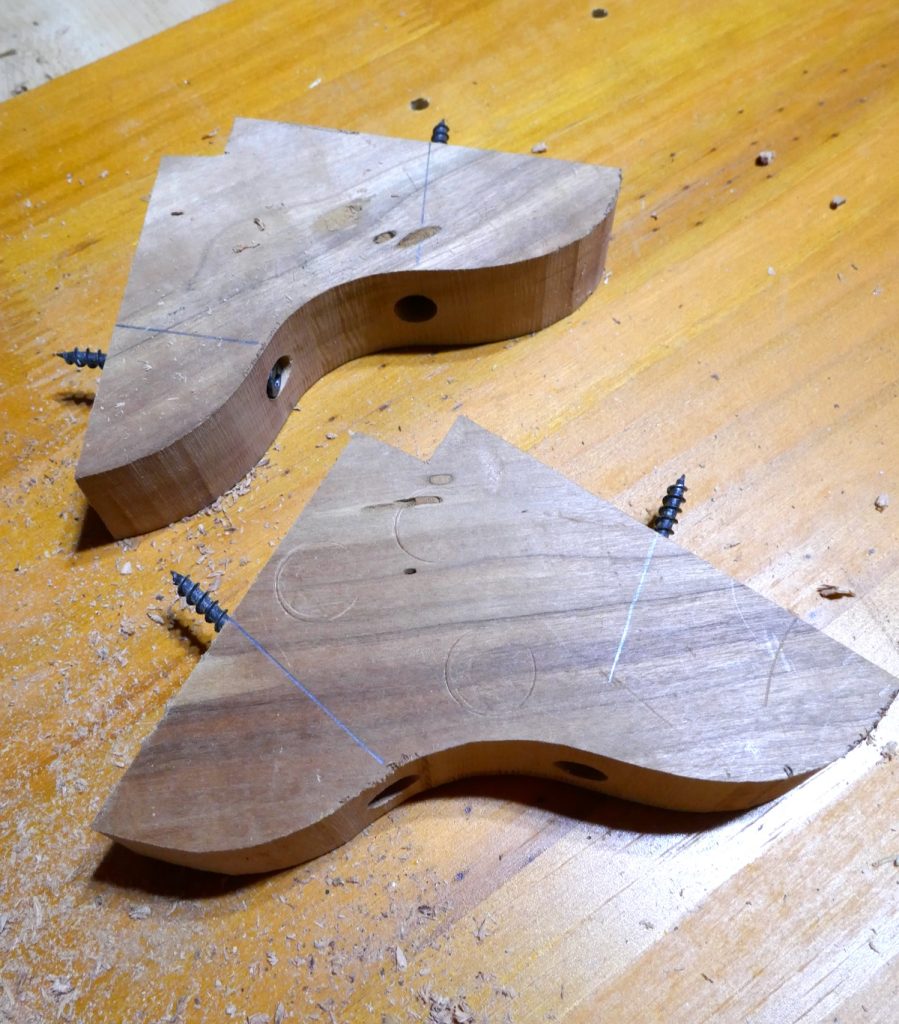
Notice that the grain flows from one apron to the adjacent one.
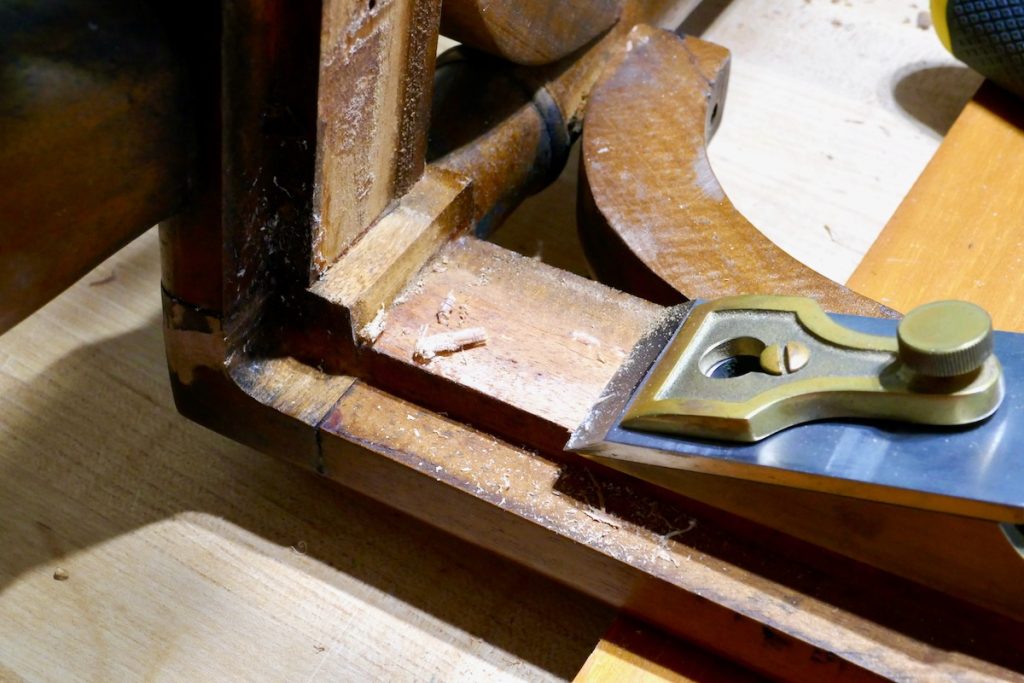
I used a bullnose plane to clean and smooth the wood before gluing the blocks.

After connecting the corner blocks and retouching the restored areas with stain followed by two coats of polyurethane wipe-on varnish, the chair was as good as new, or in this case, new and good.


Here are some supplies and tools we find essential in our everyday work around the shop. We may receive a commission from sales referred by our links; however, we have carefully selected these products for their usefulness and quality.