We may receive a commission when you use our affiliate links. However, this does not impact our recommendations.
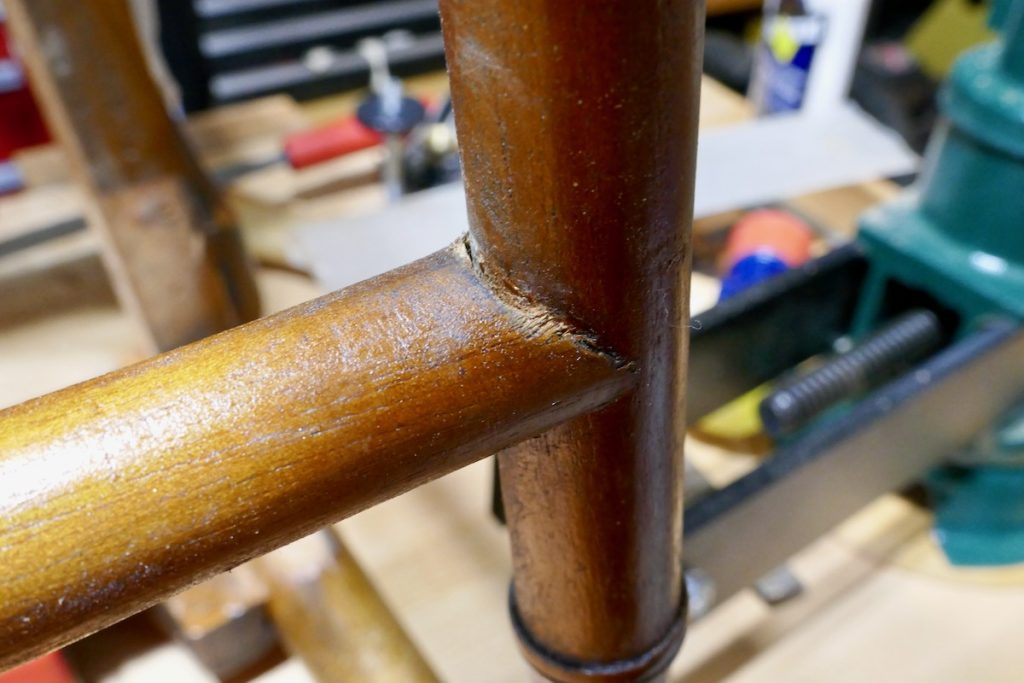
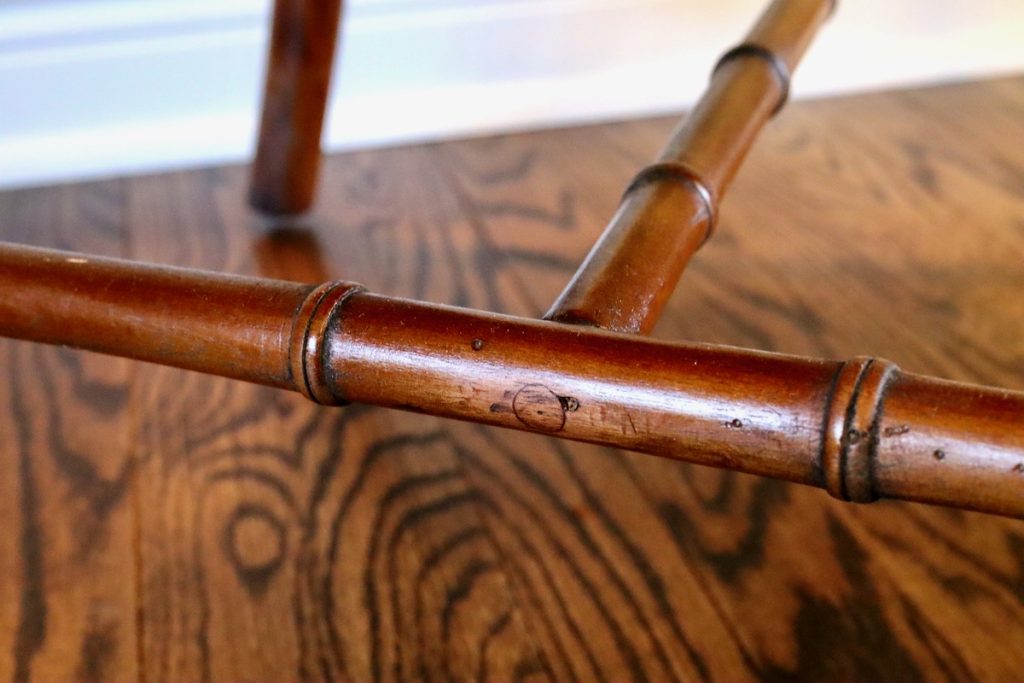
One of the more disappointing joining methods that miserably failed due to the traumatic fall (or jolt) before the chair had been placed in its shipping box was the leg-to-rail and rails to cross rails connections. These joints were only glued and stapled together (A, below), which is a poor solution. Ideally, these joints should have been a mortise and tenon joint or at least a dowl joint, but to speed up production, the manufacturer decided to cut corners and staple the part together.


Since I was trying to fix the necessary and give the chair as much functional life-span as possible, I decided to forgo the inclination of using wooden connectors and instead give the rail joints the most robust connector I could find – a washer head screw.
Screws are stronger than dowels and, thanks to their wider head, can maintain the compression forces between the two parts for many decades. The only caveat is that most screws have a cone-shaped head that can cleave small solid wood parts as the screw is driven into it. In (B) and you can see how a typical wooden screw is embedded in a thin part and how driving it in (C) can cause a wedging effect that splits the part.
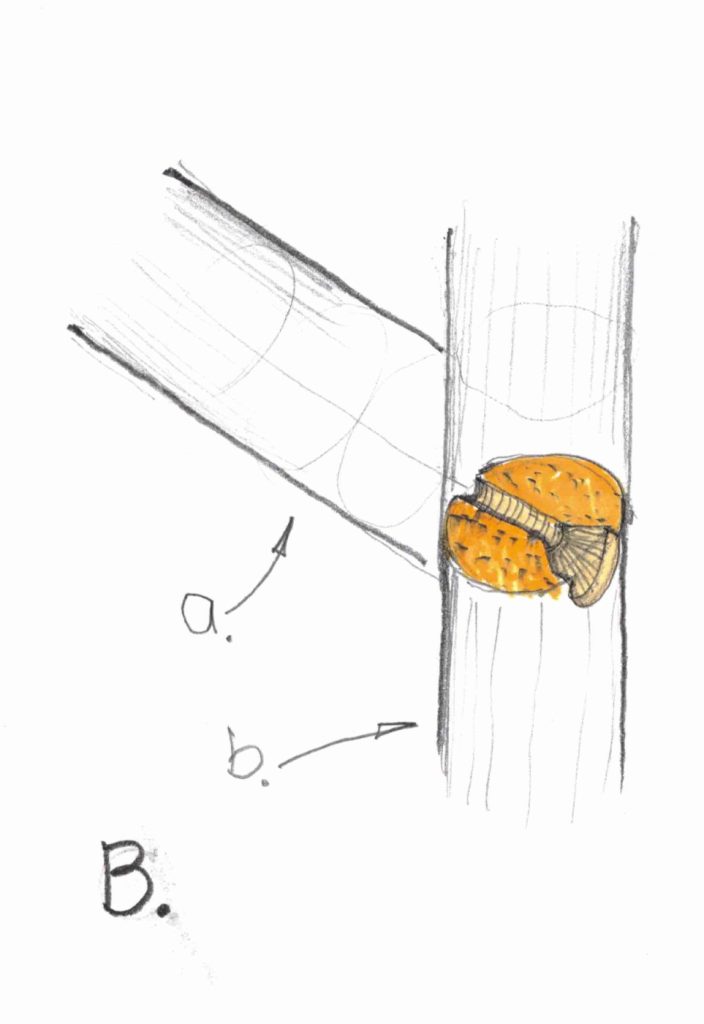

A washer or flat-based screw such as a Pocket hole screw (D) is the best solution for connecting thin or small parts in these situations. The force that the flat head screw head levy on the joint compresses the parts together instead of the destructive combination of compression and cleaving forces that a typical cone head screw produces.

Maximizing parts longevity
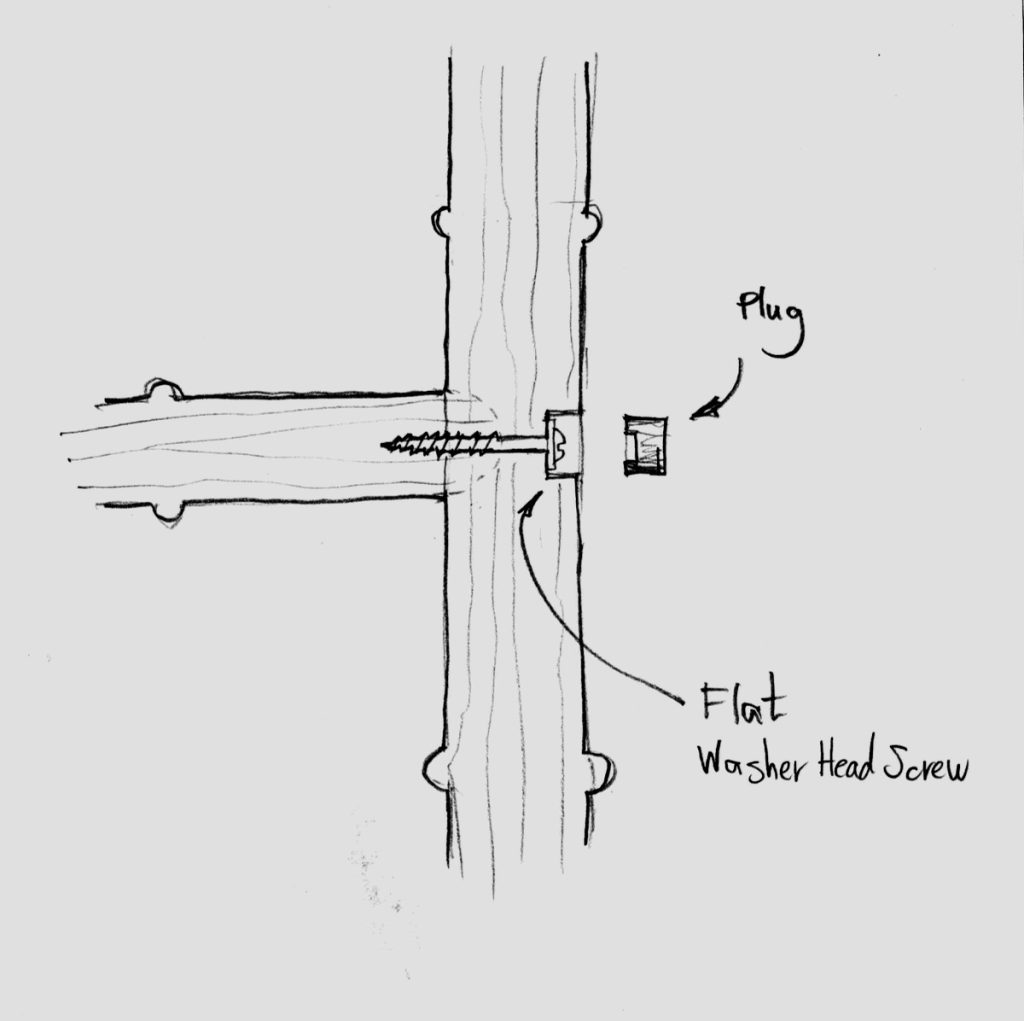
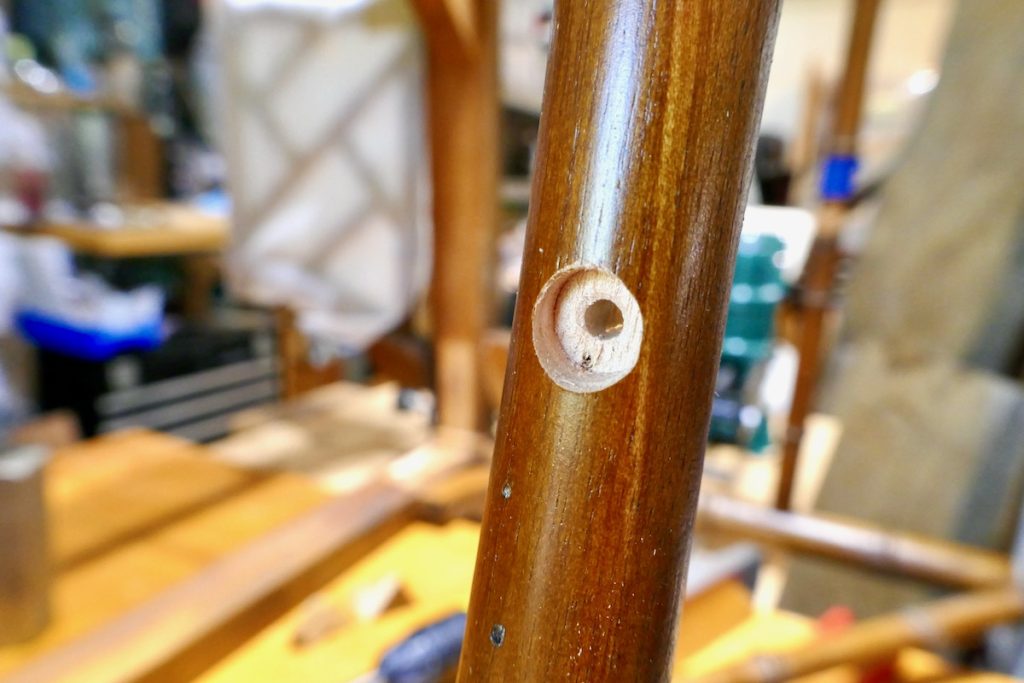
Obviously, I had to hide the screw head in the wood using a plug. But drilling a hole for the plug would have thinned out the effective width of the rail in this sensitive joining junction – a critical aspect of joinery I wanted to avoid as much as possible.
My solution was to counterbore the plug’s base to allow the domed head of the screw to nest in it. This way, the rail gained another ⅛” of uninterrupted grain flow, which increased its strength.
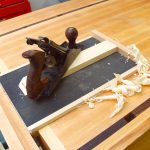
Step by step
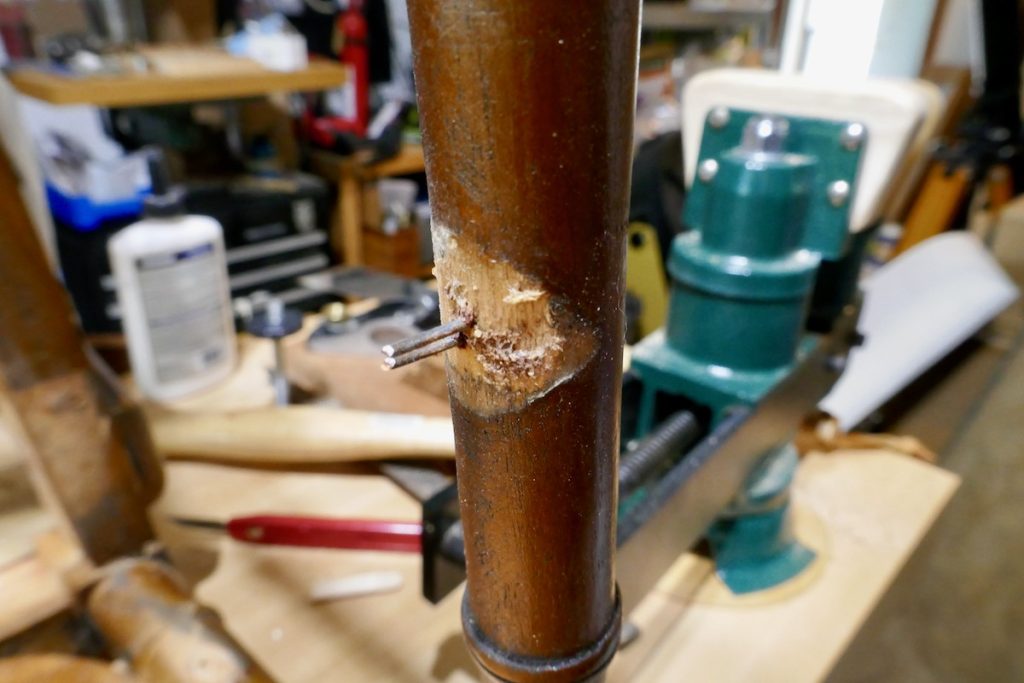
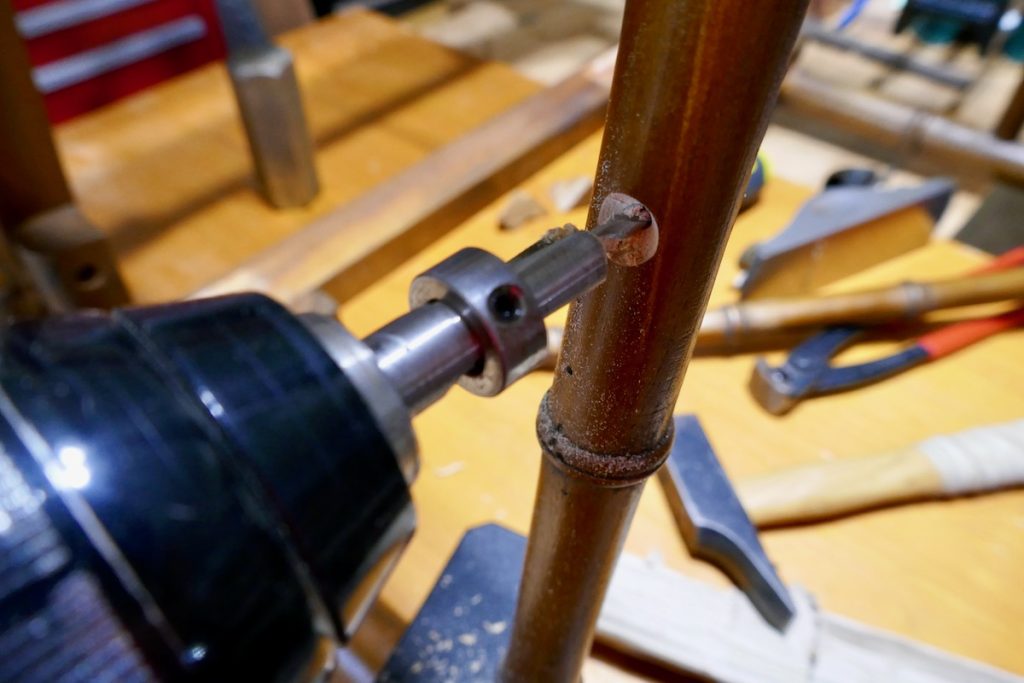
After removing the staples and filing the rail’s end flash with the intersecting rail’s round side, I drilled a hole plus a shallow countersink in the rail where the screw head would be embedded in. Then I changed the countersink bit with a Forstner one and formed a counterbore hole for the washer head screw to embed in.


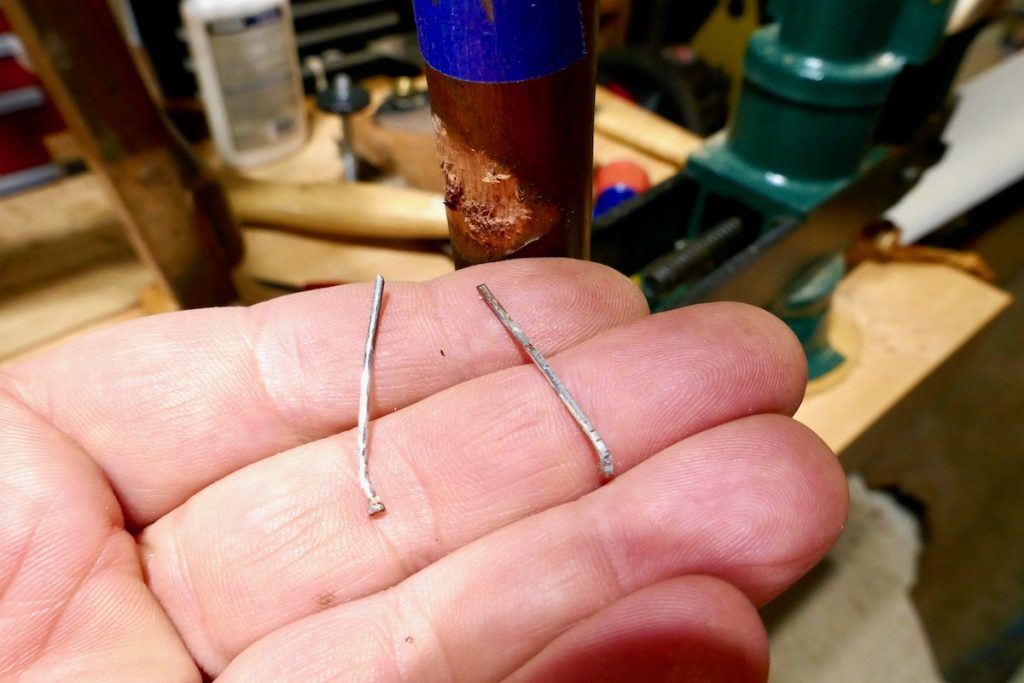
Next, I made the plugs and drilled a counterbore hole in their inner base.

I glued and screwed the parts together, plugged in the plug, and after the glue dried, I sawed the excess off. Lastly, I sanded the plug and stained it.
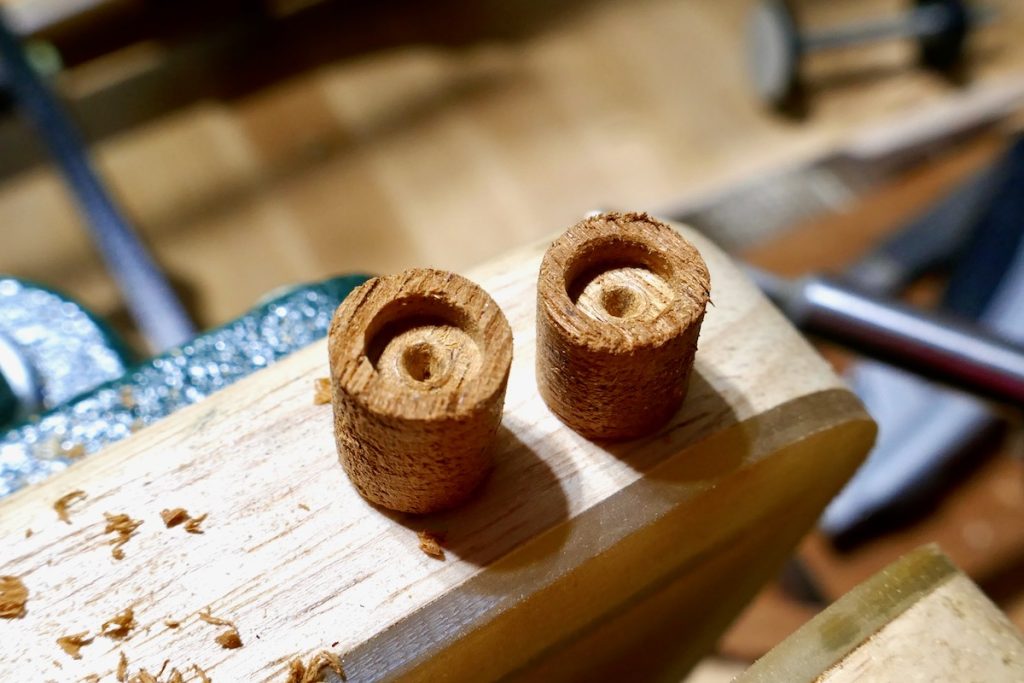
Counterboring the base of the plug allowed me to minimize the plug height as much as possible to maximize the thickness of the part that the plug would be placed in.


Next time I will finish the story and show how I created the new corner joints and touched up the finish.
Here are some supplies and tools we find essential in our everyday work around the shop. We may receive a commission from sales referred by our links; however, we have carefully selected these products for their usefulness and quality.