


We may receive a commission when you use our affiliate links. However, this does not impact our recommendations.
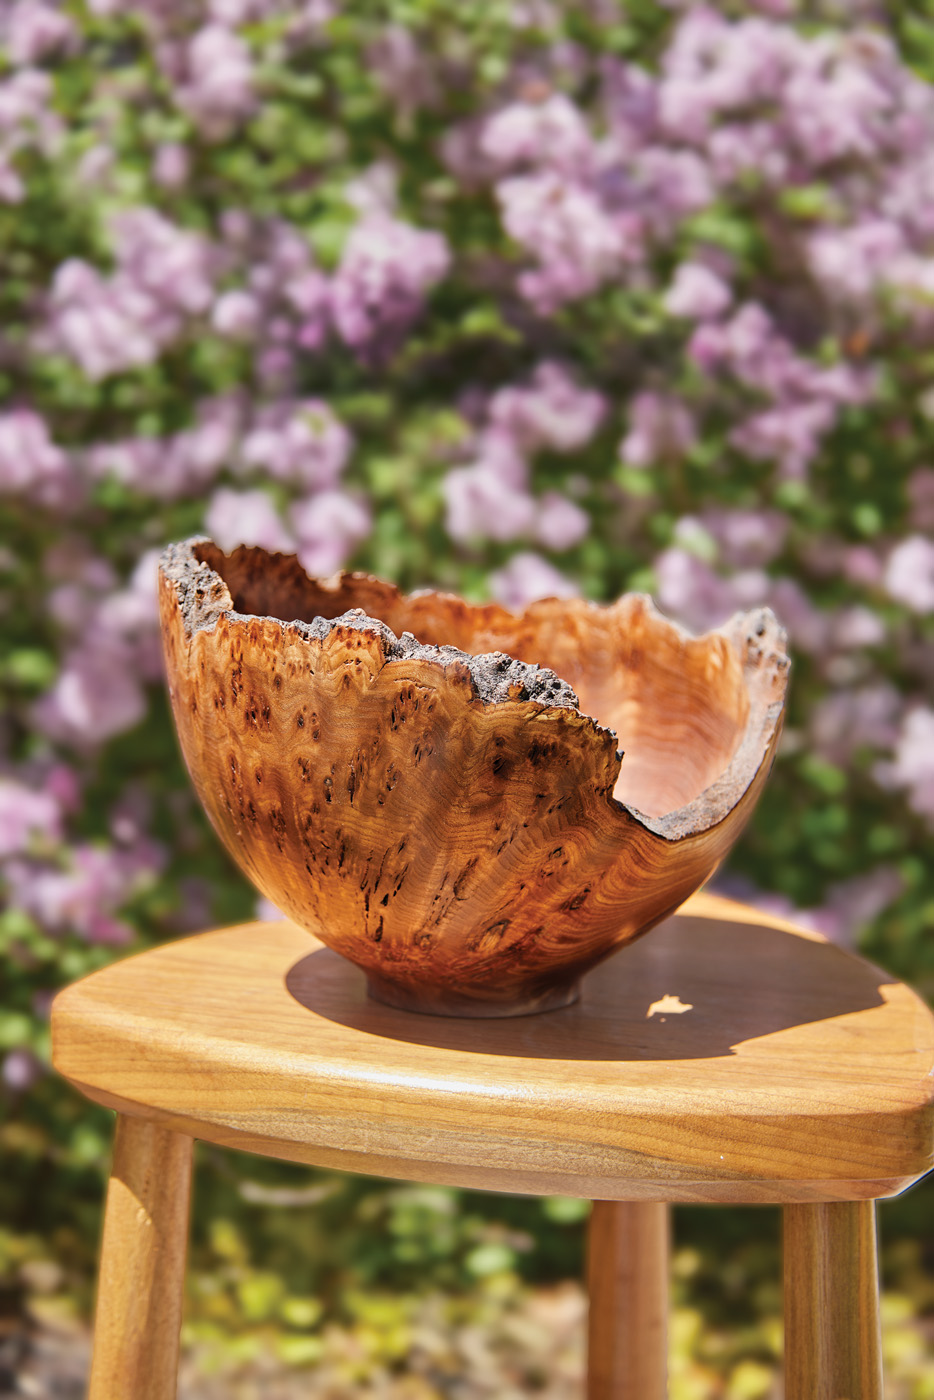
 Turning a live edge bowl is the perfect way to showcase a special piece of wood, such as this Burr Elm.
Project #2414 • Skill Level: Intermediate • Time: 1 Day • Cost: $5-200
Turning a live-edge piece of wood while keeping the natural edge and bark intact can be tricky. But, with careful planning and cuts, you can be left with a stunning piece.
 Prep & Mount
 Prep & Mount
To mount the blank, I prefer to drill a 1“ hole into the top of the piece with a Forstner bit and use a 4-prong drive, driven in with a mallet. This is relatively safe as the 4 prongs are in a hole in solid wood.

1 On an uneven surface, drilling a hole in the blank and driving in a prong drive is a secure way to hold the blank.

2
I mark the center of the base to locate the revolving center. (Note: I would advise against using a center directly in the bark of any natural edge. If the bark loosens or gives when turning, the piece could come off the lathe). The tailstock and revolving center are used to support the bowl blank between centers. Be sure to avoid placing the blank between the centers and forcing the 4 prongs into the wood with the tailstock. This could result in damage to the bearings in the revolving center and headstock.
True Up & Get Started
When the piece is mounted in the lathe, I like to true up the blank using a push cut with an Irish grind bowl gouge. This particular grind has several names: Irish grind, Celtric grind, Ellsworth Grind, and Swept-back wing grind. They all basically have the wings swept back to varying degrees.

3 True up the outside of the blank using a push cut.
In order to get a smooth surface after the cut, make sure that the bevel is parallel to the cut you are making and the bevel is floating on the surface behind the cut. Photo 3 shows the appropriate tool position.
If the surface is not smooth after the cut, more than likely the bevel is not rubbing. Even a hair will make a difference.

4 Remove some excess weight by starting to shape the bottom.
If the surface is spiraled after the cut and has a sheen, it could be that you are pressing too hard with the bevel which will cause the tool to “bounce” through the cut.

5 A draw cut removes a lot of material quickly, but is not a clean cut.
After the blank is trued up on the outside, I then start to use the draw cut with the grain. You can see this in Photo 5. On a bowl blank, that is cutting towards you (cutting from the foot to the rim). This method removes some of the outside excess wood very quickly, which allows me to then true up the base with more ease as there is less wood to remove.

6 True the bottom of the blank.
Form the Tenon
Use a pair of dividers to get the measurement of the inside diameter of the jaws of your chuck. I used a Vicmarc VM120 and the measurement is 2-1/8“ diameter.

7 Measure the diameter of your chuck jaws.

8 Then transfer that measurement to your blank.
Remove excess waste using a draw cut until you start to get close to your tenon mark. Then, use a parting tool to make a plunge cut to form the tenon. Remember to cut to the left side of the line, as otherwise the tenon will be too small! I made my tenon 3/8“ deep for a stronger hold in the chuck. Also, depending on your jaws, the tenon may need to be dovetailed. The Vicmarc jaws are slightly dovetailed, so I angle the walls of the tenon.

9 Make a draw cut to remove excess waste away from around the tenon location.

10 A parting tool, plunged to the left side of the line, will form the tenon. If you have dovetailed jaws, make sure to angle the walls of the tenon slightly.
Shape the Outside
Now that the tenon is formed and acting as a reference for the rest of the curve, you can remove the excess wood to the desired curve of the bowl. Remember: The grain on most bowls is always running from the base towards the outside edge.

11 After making several cuts, and inspecting the surface, this blank decided it wanted to be cut from the rim towars the base.

12
Some exceptions can be burls, in that the grain could be running in several directions in close proximity. If this is the case like in the piece I chose. As I was turning, I experimented with several different cut directions and found that the least amount of tearout was caused by cutting from the rim to the foot. You can see this in the photos above, and this goes against standard bowl-turning practices.

13 As you get towards the bottom, start to shape the foot of the bowl.

14 A gentle curve lifts the bowl shape nicely off the table.
After completing the initial shape of the bowl, I then use a shear cut to refine the edge. This shear cut is done with the gently curved wing of the tool, presented at a high angle, with the flute almost completely closed. It is critical that the edge is honed before doing this — a 1000-grit diamond hone gets a really sharp edge beforehand. As long as you are cutting with the grain, this shear cut will remove any slight tear out.

15 This shearing cut is done with a sharp edge and the flute nearly closed. The whispy, angle-hair like shavings tell you you’ve got the edge at the correct angle.
Sand & Finish Outside
After completing the outside, we can now sand and finish it. I raise the grain first by spraying the surface with denatured alcohol and allowing it to dry. I started sanding with 180 grit through to 400. Don’t miss a grit or you will leave scratches from the previous grit. The natural edge can be sanded with the piece stationary, which is safer and more accurate.

16 Contrary to popular belief, Denatured Alcohol will raise the grain slightly.

17 Knock back the raised grain.
For a finish, I apply a thin coat of Zinsser’s transparent shellac and allow it to dry. When dry, I take a small piece of 0000 steel wool and with the lathe stationary, cut back the shellac.

18 Apply a coat of shellac.

19 0000 steel wool is a great way to buff out the shellac.
My favorite part of any woodwork is applying the final finish and watching the grain pop! For this piece, I used Howard’s feed and wax, a simple beeswax and orange oil cream, which is available from several large DIY stores. This product feeds the wood and has a very pleasant aroma. After leaving it for several minutes, I used a soft cloth to wipe off the excess.

20 A final top coat of a wax and oil mixture deepens the burl and adds luster to the wood.
Hollowing the Inside
With the outside completed you can remove the piece from the 4 prong drive and remove the tailstock and revolving center. Attach the chuck and mount the bowl in the jaws.

21 Remount the blank in the chuck jaws.
Make sure that the piece is running true in the chuck. If it’s not, it could be that the spru (the nub left from the revolving center) will not fit through the middle of the chuck and is pushing it off square.
For most of the hollowing, I used my “Mega Mate” Nano-carbide, cup cutting tool. The design allows for a continuous cut and is difficult to get a catch with. The cup cutter is sharpened with diamonds and can be rotated 4 times before needing replacing depending on the wood you are cutting.
I find you have more control when hollowing by pushing the tool into the wood as opposed to drawing the cut out towards the rim. If you do not have a cup cutter like the Mega Mate, use traditional bowl gouges to hollow it.

22 Start hollowing from the inside, working out.
I start hollowing from the middle of the bowl and work toward the outside, pushing the tool into the wood and using my left hand as a pivot point. I hollow to about half way, leaving the guts of the bowl intact for support. I’ll get the walls to the final thickness, and in this case, it’s approximately 3/8“.

23 Slow, light cuts will help with the hit-and-miss of the live edge.

24 A negative scraper can help remove tool marks.
When used correctly and with good tool control, the finish from the Mega Mate can be adequate to start sanding, however, I prefer to make a final finishing cut (push cut) with the 1/2“ bowl gouge. With a wavy live-edge, the tool may bounce and leave ridges. If this is the case, a sharp negative rake scraper can be used to remove the ridges.

25 Work in sections, doing 1/3rd of the bowl at a time.
When you are happy with the surface left from the tool on the top half of the bowl, you can keep working down deeper. Don’t worry about sanding yet, you can do the whole bowl at once. As you get deeper, you may need what is known as a bottom-feeding bowl gouge to complete the curve around the bottom of the bowl. This tool has a more obtuse bevel angle and will generally have the heel ground away slightly so it does not crush the fibers behind the cut. The obtuse bevel angle will help to keep the bevel in contact with the wood whilst not interfering with the rim of the bowl. The angle on the bottom-feeding gouge is approximately 80° as opposed to 60° on my standard gouge. The tool is generally thicker as well, at 5/8“. This extra mass means less flex as it’s hanging off the toolrest.

26 Spritz the inside of the bowl with alcohol.

27 Sand back the raised fibers. Dust will pack into the burl, so blow it out with compressed air.
After sanding there may be dust caught in the natural edge and any of the voids that are within the blank. Once that dust has soaked up finish, it can be very hard to remove. So, I use compressed air to blow away any dust, then apply the shellac to the bowl surface. Don’t put shellac on the natural edge. When the shellac is dry, finish the piece as before. To finish the natural edge, I use a soft brush, dip it in the Howard’s finish, and gently work it into the bark and natural edge. You may need to make stabbing motions to get it down into the nooks and crannies.

28 Apply shellac to the inside.

29 A soft brush will help push the finish down into the uneven surface of the live edge.
To remove the tenon, use a sacrificial “jam chuck” to wedge the bowl between the chuck and tailstock. I keep several of these blocks around the shop for this purpose. They’re simply a domed over piece of wood (in different radius for different applications). On top, I have applied some adhesive backed strips of foam. This adds a little cushion, as well as grab to the surface. Position the bowl over the jack chuck and bring up the tailstock. You’ll notice that you still have the original tailstock mark from initial shaping. Now you can start working the tenon away. Take small cuts and leave a small nubbin where the tailstock is holding. A pull saw with a thin kerf will remove the last of the material. You’ll have a little bit of a rough area where you cut away the nub — just sand it out.

30 This jam chuck is a dome of wood with foam strips on it.

31 The tailstock pinches the blank against the foam and wood dome.

32 Use light cuts to remove the tenon.

33 Once you get down to just a small nub, cut it away.
Turning a live edge bowl is a great way to showcase a special piece of wood, like this burl. However, don’t think that you cant use a regular piece of wood for this either. Using a fresh-cut, green section of log with the bark still on is a good bit of fun. If you turn it thin, the bowl will warp and distort as it dries, which can lead to some spectacular organic shapes. Once you do several, you can start to predict the way in which the blank will start to move. (Growth rings will try to straighten out as they dry).
The biggest thing to remember with green wood is that the entire bowl needs to be a constant thickness. Otherwise, the bowl will want to crack as it dries. Of course, you need to have access to green wood, which is a little hard if you live in the desert like me!
Here are some supplies and tools we find essential in our everyday work around the shop. We may receive a commission from sales referred by our links; however, we have carefully selected these products for their usefulness and quality.


