We may receive a commission when you use our affiliate links. However, this does not impact our recommendations.
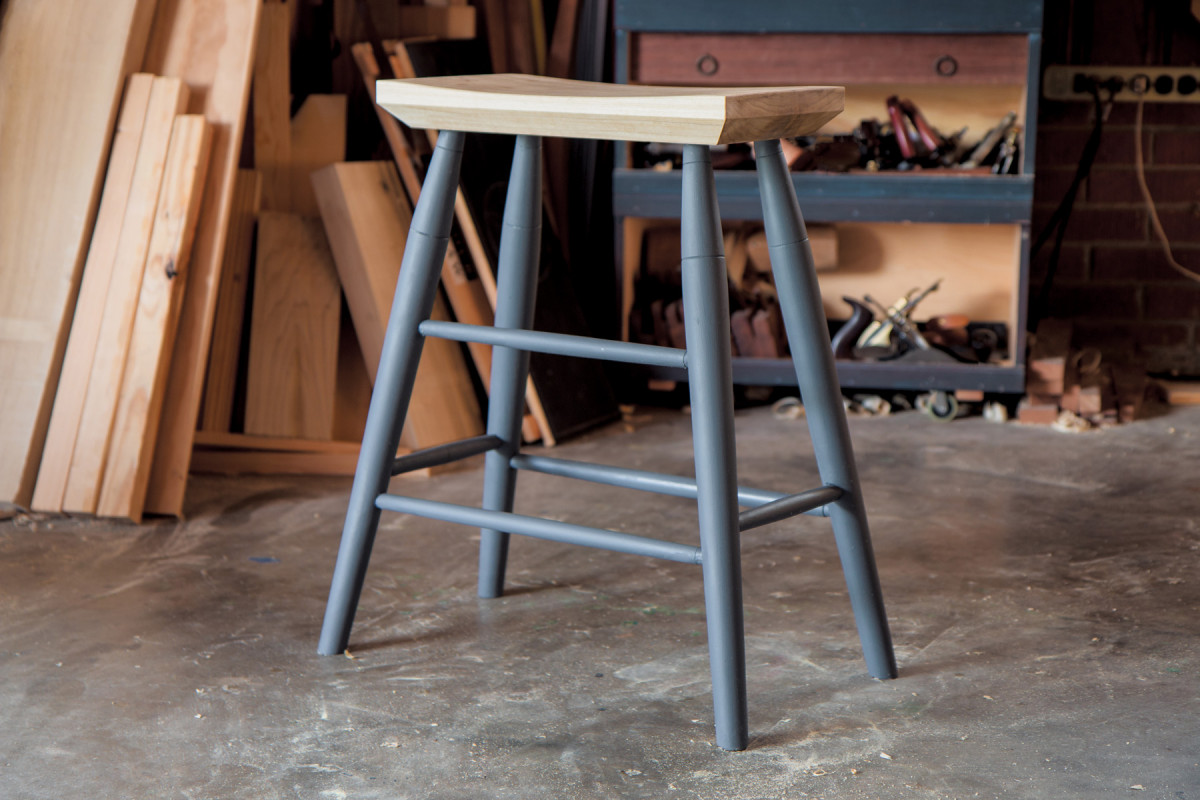
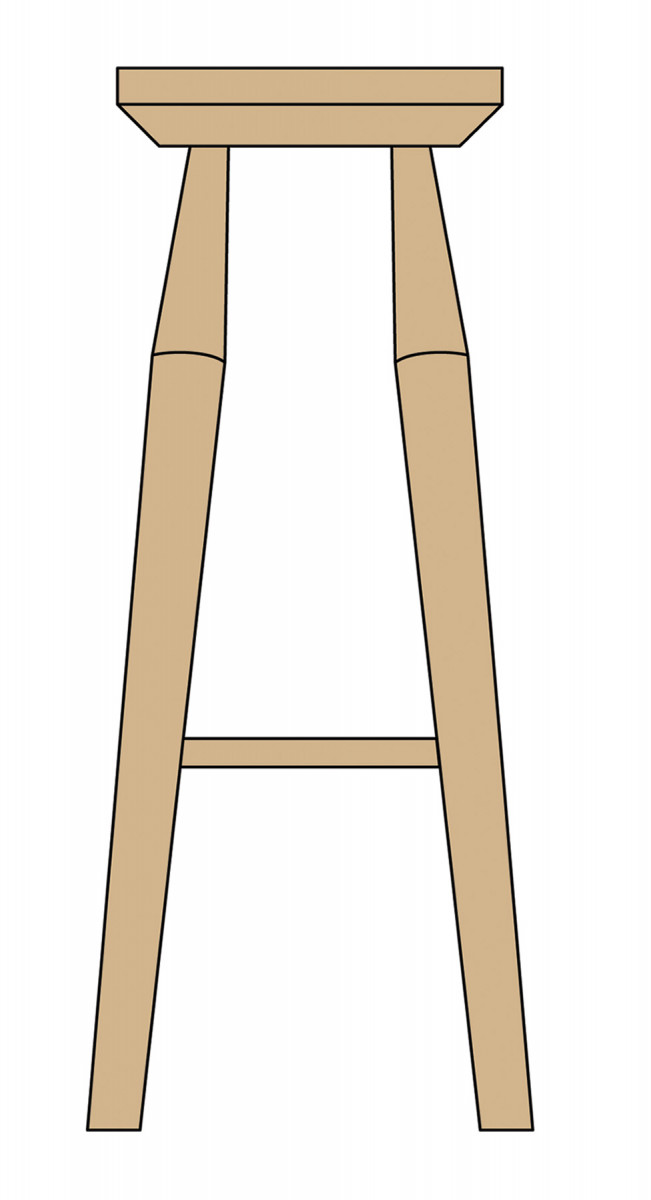
This understated design is at home in any setting.
When it came time to replace the dated and worn bar stools at our kitchen island, I wanted something simple, sturdy and elegant and so I took a few design cues from the Torii gates marking entrances to Shinto shrines in Japan. The curved tops and simple lines of these beautiful thresholds provide the perfect inspiration for a streamlined stool that looks at home with any décor.
Start With the Seat
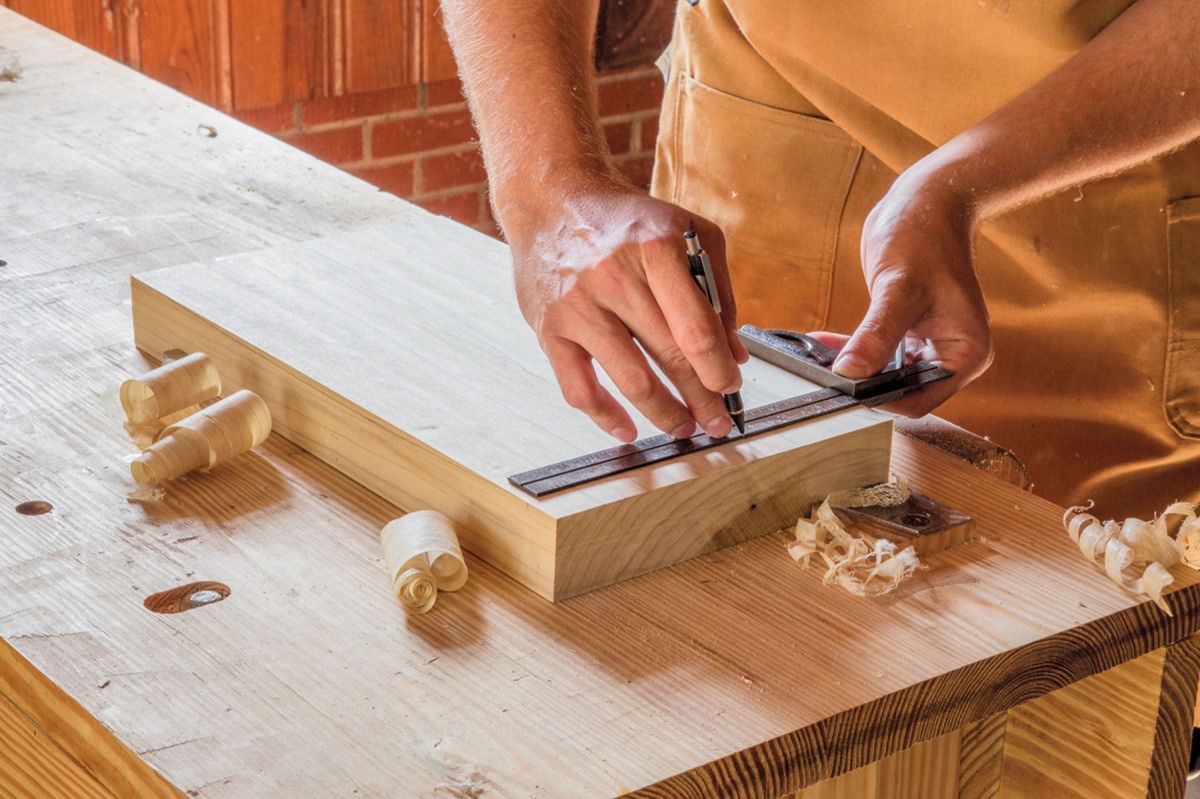
1. Mark the leg mortises 2″ in from the front and 21/2″ in from the sides. Connect the dots so that you can lay out your sightlines.
The heart of this stool is the simple, shapely seat. This will be a visual focal point of the finished stool, so choose a species that looks good and doesn’t split easily. I used
poplar. It’s inexpensive and, as a “softer” hardwood, it makes strong, workable chair seats.
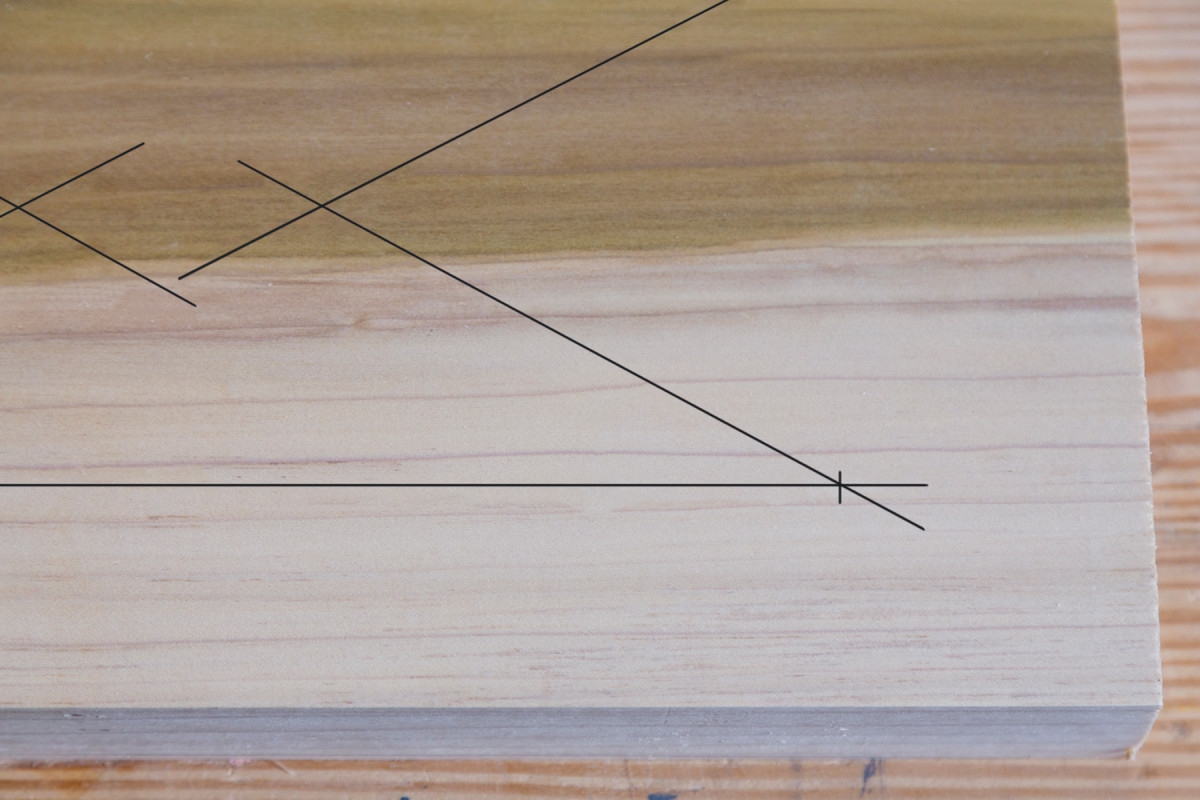
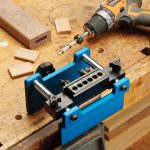
2. Skip the math and use sightlines to drill your mortises.
Begin with a slab of 8/4 lumber. Square and flatten all faces, edges and ends to final measurements of 171/2” x 91/4” x 17/8” before laying out the four leg mortises. These four points are located on the bottom of the seat, 2″ in from the front and back and 21/2” in from each end. Use a straightedge to connect the points along the front and back of the seat and draw sightlines at 30° from each of the four points toward the center of the seat using the connecting line as a reference.
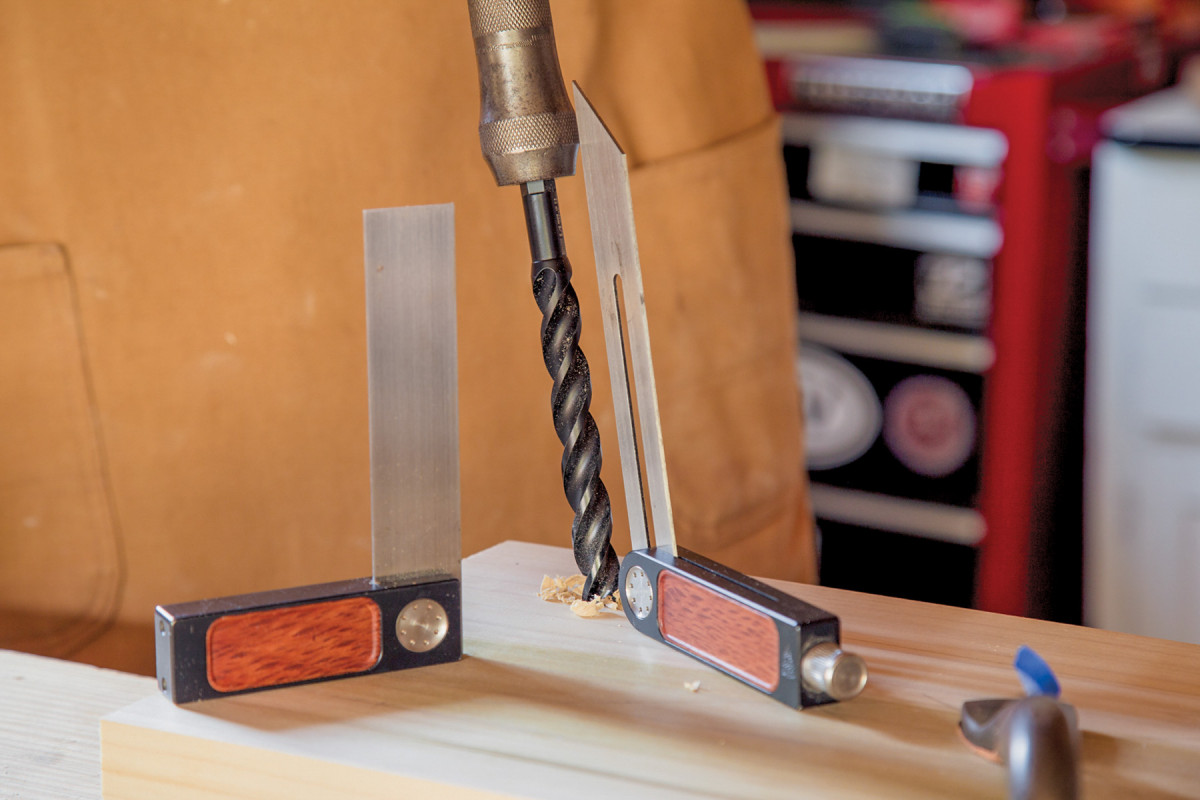
3-4. A 90° square will help you see if you’re wandering left or right from the bevel that rests on the sightline.
 The mortises are bored at compound angles giving the legs an eye-pleasing rake and splay. This increases stability, keeping the finished stool from tipping in any direction. To account for this rake and splay without dusting off your high-school trigonometry, use a 30° sightline and 12° resultant angle. Begin by marking drill points for the mortises on the bottom of the seat. Set your bevel gauge to 12° and tape it to the seat in line with the sightline. Bore 5/8” mortises at this angle in line with each sightline.
5. A homemade drawing bow will help you lay out the seat.
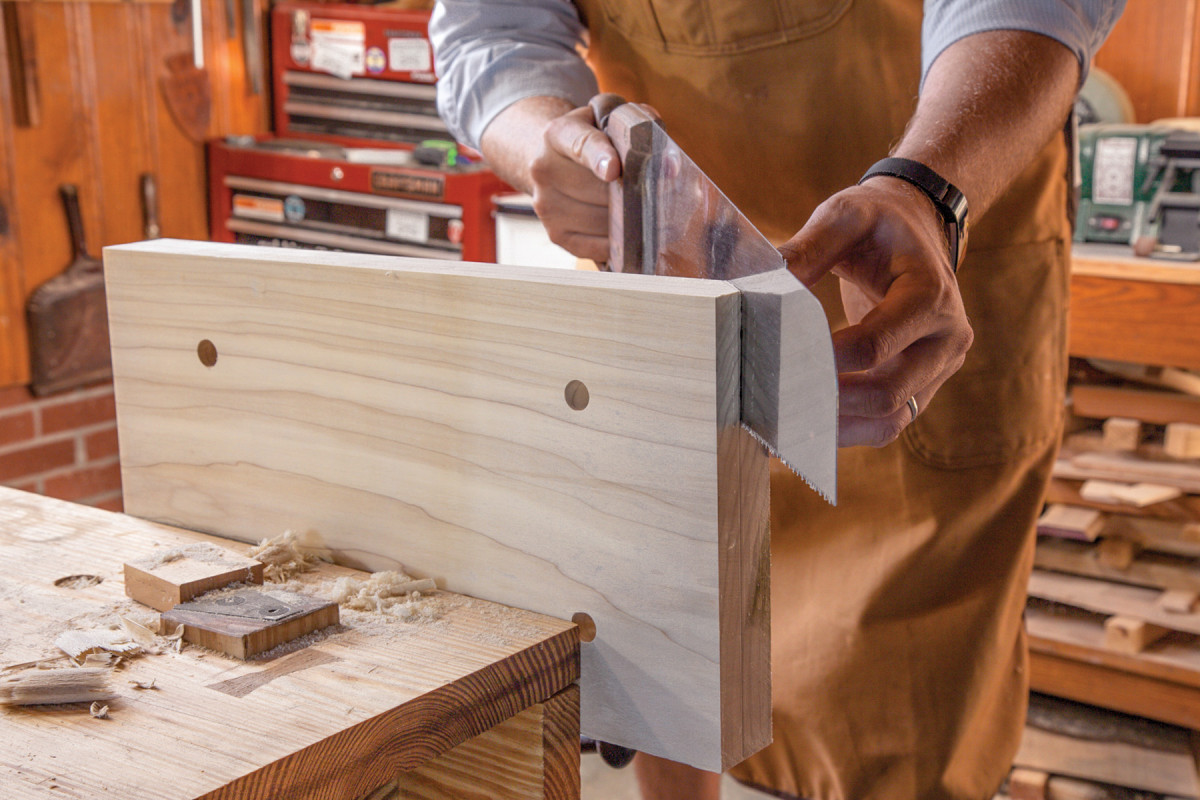
6. Remove the bulk of the chamfer on the end grain with a panel saw.
Sight from behind the bit to make sure it doesn’t lean to either side and periodically check the angle from the side. A small try square placed at 90° to your sightline and a pause from time to time, is all you need. It’s difficult to change course once the auger is more than a third of the way into the wood, so make corrections early on. This process sounds more complicated than it is, and once you’ve done it once or twice, it becomes second nature. After all mortises are bored, switch to a tapered reamer and power drill to open them up so that they will accept tapered leg tenons. I’ve found the matching tapered reamer and tenon cutter from Lee Valley / Veritas to be ideal for this sort of construction. Use a 1″ dowel tapered down to 5/8” as a “dummy leg” to periodically check the angle as you ream.
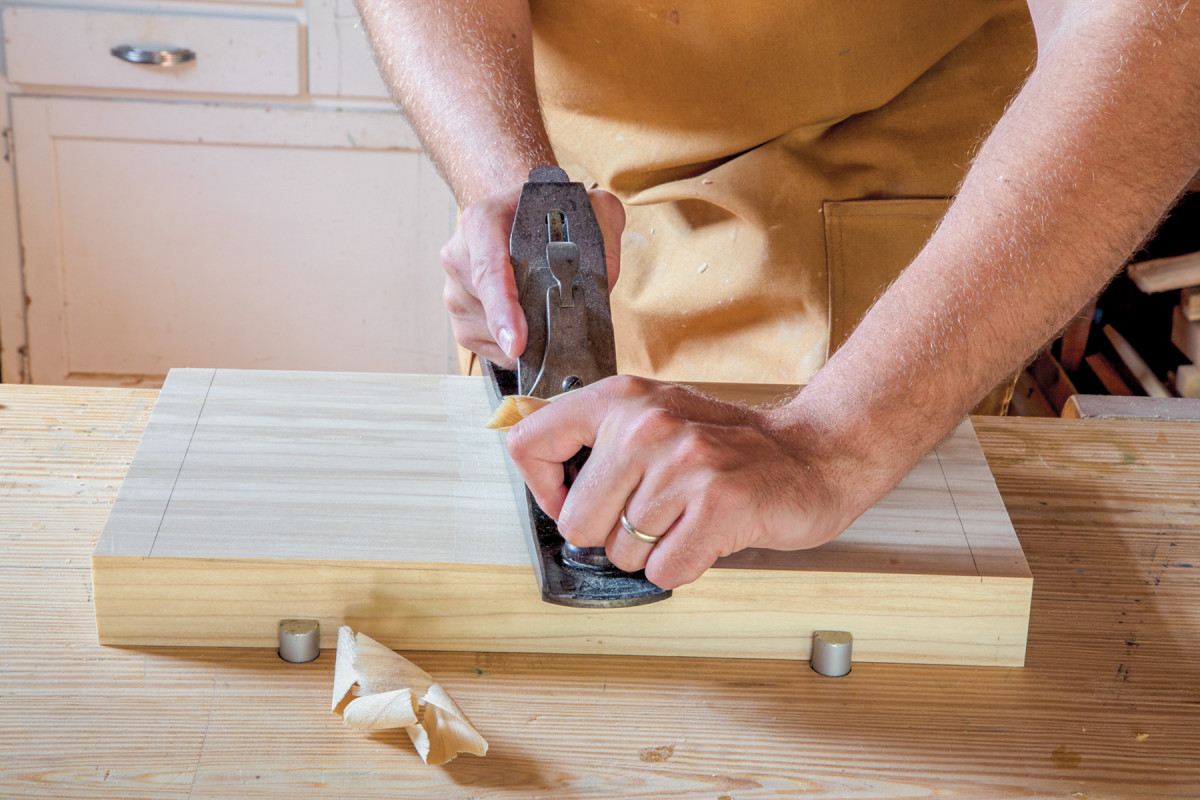
7. Traversing strokes with a plane will remove the bulk of the material before you finish with sandpaper or a spokeshave.
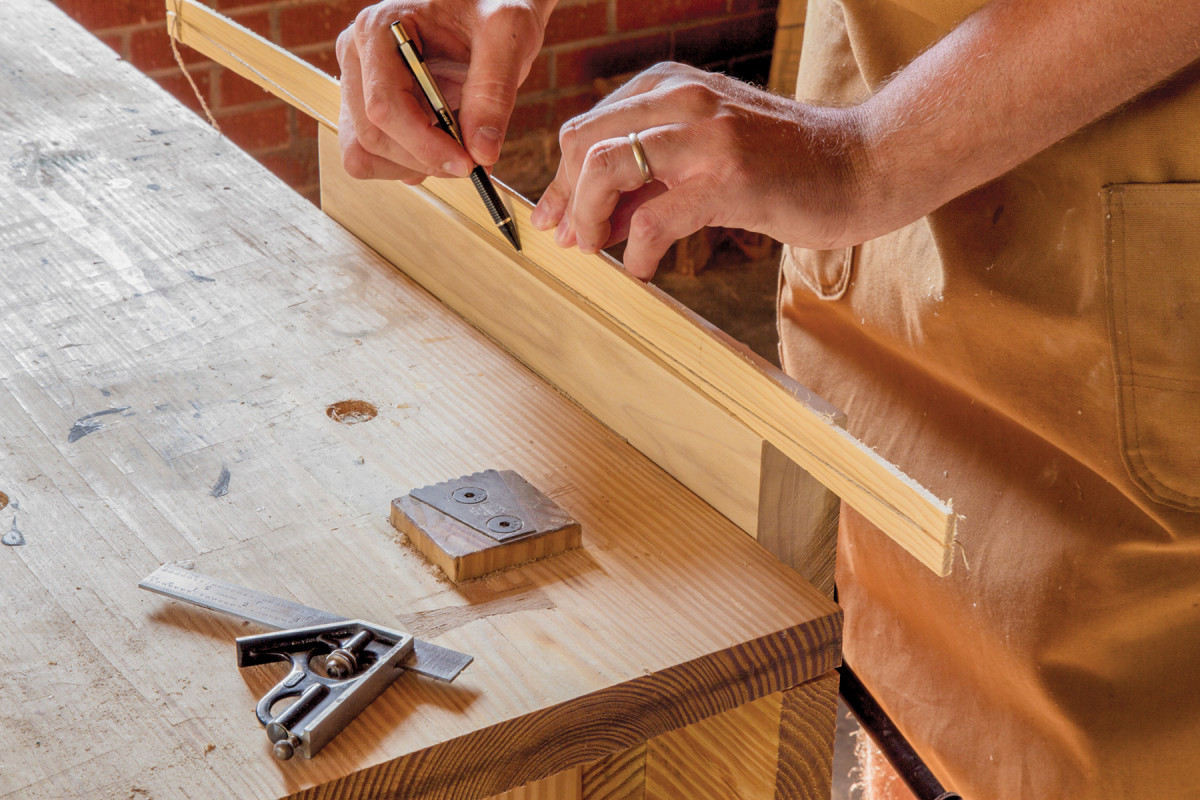
After the mortises are drilled and reamed, it’s time to give the seat some visual interest (and make it comfortable!). Lay out the curve for the saddle, making two pencil marks along the top of the front edge 1″ in from either side and another mark 1/4” down from the top directly in the center. Mark a fair curve between these points with a template or drawing bow. Commercial drawing bows are available, but you can make your own from a thin strip of wood notched on either end and a string. Set the bow to hit your pencil marks and trace the curve. Mark the back to match. Pencil in guide lines across the seat from front to back 1″ in from either end, and then hollow out the saddle with traversing strokes using a jack plane starting in the middle and working out to the lines.
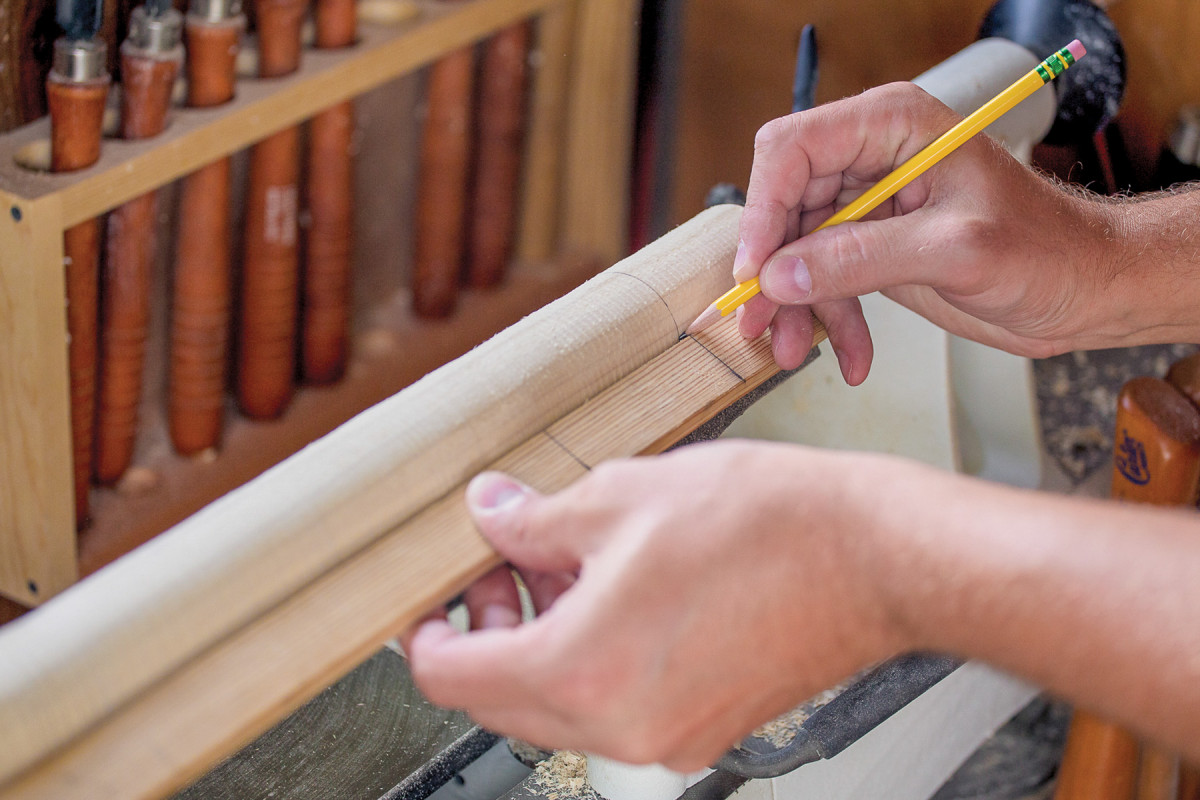
8. A story stick will help ensure that your legs all look similar. Mark the beginning of the taper and the halfway point before turning the end of each taper with a parting tool.
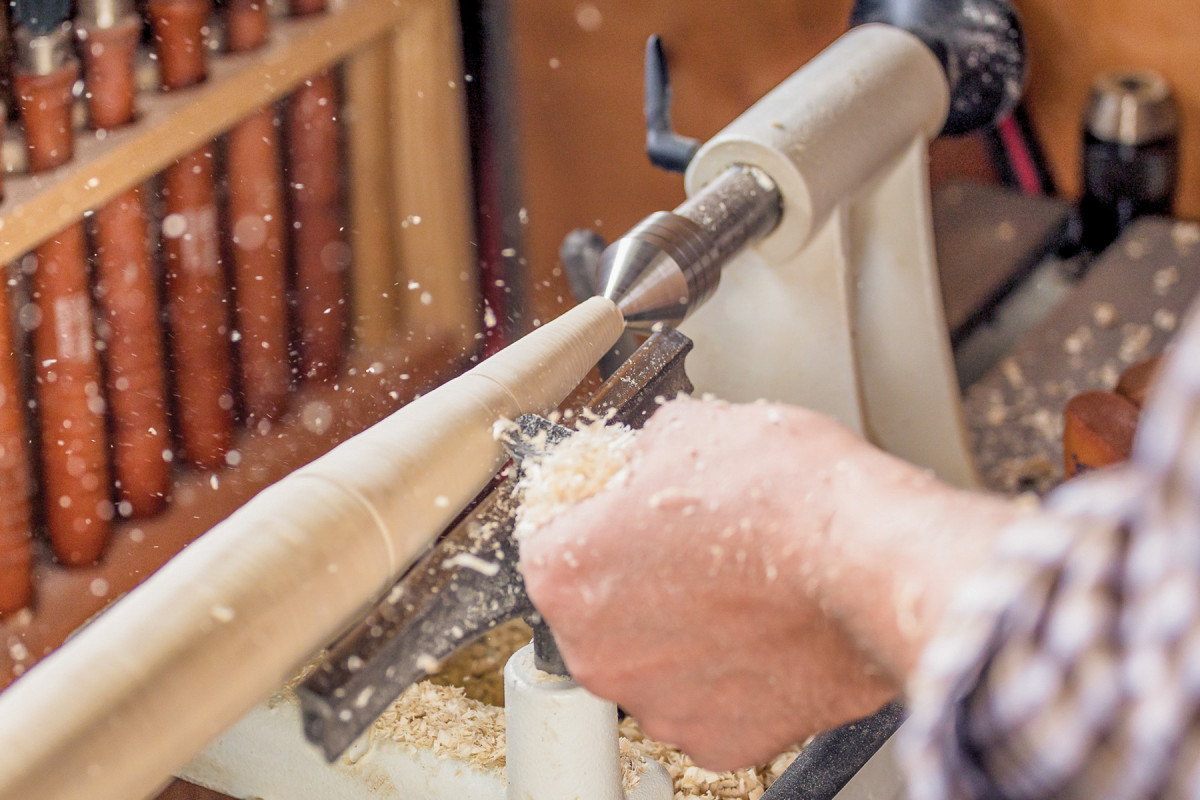
9. Work from the major diameter to the middle and on to the turned end. The taper at the top of the leg will receive additional treatment from the tenon cutter, so don’t fuss over it too much.
Bevel the underside of the seat in order to reduce the visual weight. The bevels on this stool are created by laying out lines 1″ in from the sides and 1″ up from the bottom. Work to those lines with your tool of choice. If you’re using hand tools, you’ll want to use a panel saw to remove most of the waste on the end grain bevels. A drawknife and handplane make quick work of the long edges. Finish all beveled surfaces with a sharp handplane and ease sharp edges with sandpaper or a spokeshave.
Shinto-Inspired Bar Stool Cut List
No. Item Dimensions (inches)
t w l
1 Seat 2 x 9 1/2 x 18
4 Legs 2 x 2 x 26
3 Long Stretchers* 1 x 1 x 21
2 Short Stretchers* 1 x 1 x 11
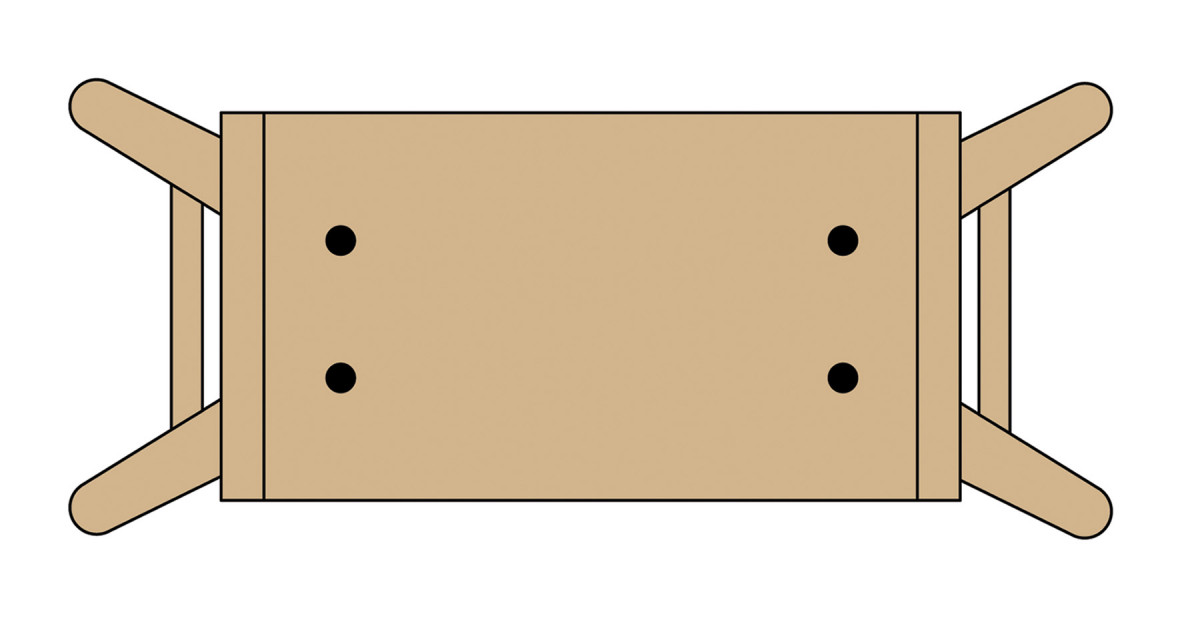
Top View
Side View

Front View
Simple, Sturdy Legs
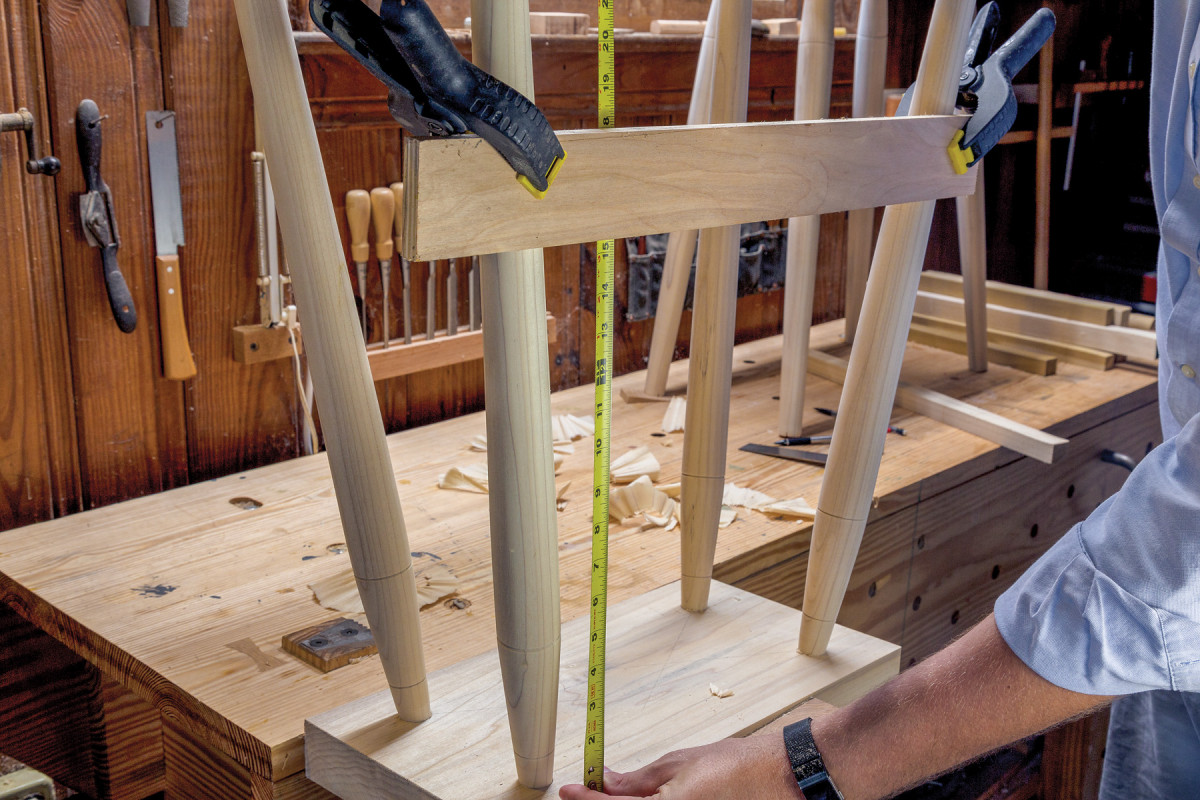
10. Use the bottom of the seat as your reference for the stretchers. Marking 151/2″ down for the front bottom stretcher will give you an ideal place to rest your feet. The upper stretcher is just 8″ below the seat.
Each leg is turned from a blank 26″ long x 2″ square into a simple “cigar” shaped leg. There are only two tapers to the design with the lower taper drawn out to lighten the visual weight of the piece. After rounding the blank, layout the target diameters at the bottom and top of the leg with a parting tool and caliper. The diameter of the top is 5/8” and the bottom is 11/4“. Next, mark the major diameter and the midpoint of the upper taper.
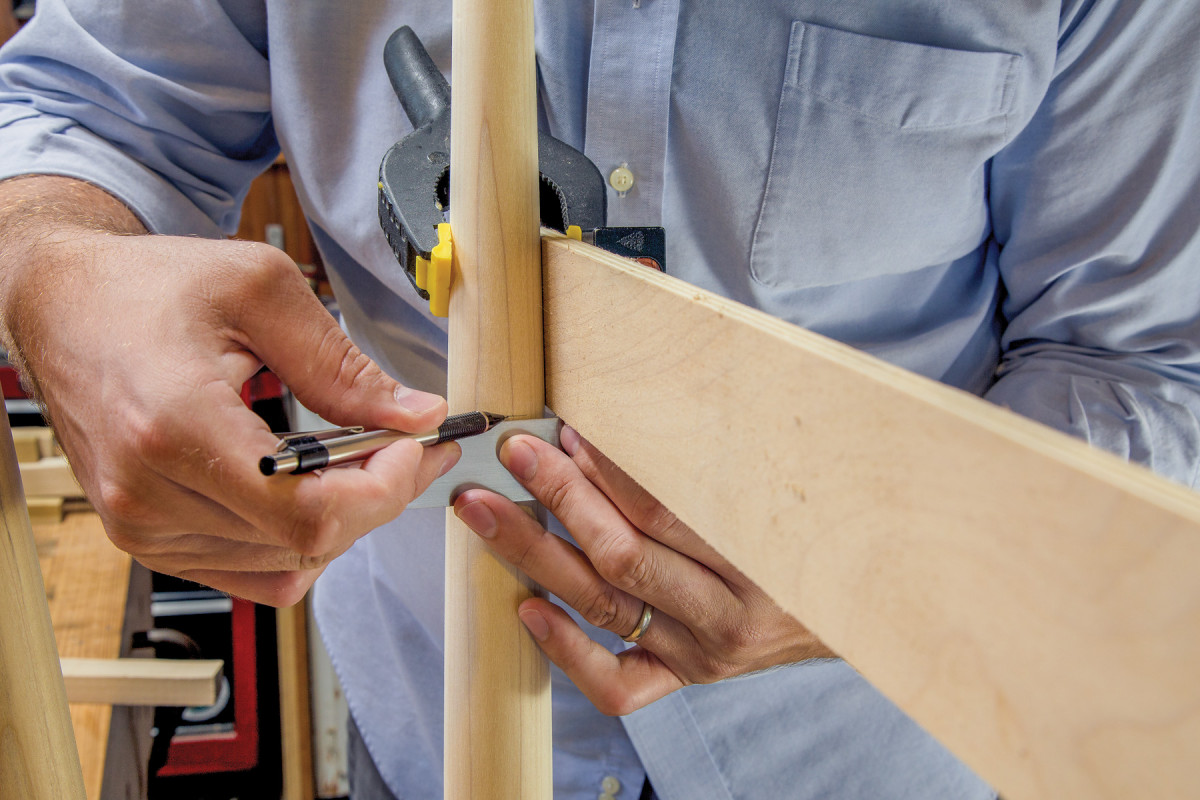
11. Use a square to mark where the holes for the stretcher will be drilled. The side stretchers are just 1″ above these. Mark the orientation of your legs to keep everything organized.
The major diameter is 13/4” located 7″ from what will be the top of the leg. The midpoint of the upper taper is 11/4” in diameter and 31/2” from the top of the leg. Establish the diameter and then use a skew or a detail tool to mark these positions. A quick story stick with these positions marked ensures a measure of uniformity among the legs. Use a tapered tenon cutter to fine-tune the tapers that will enter the seat.
Sight the Stretchers
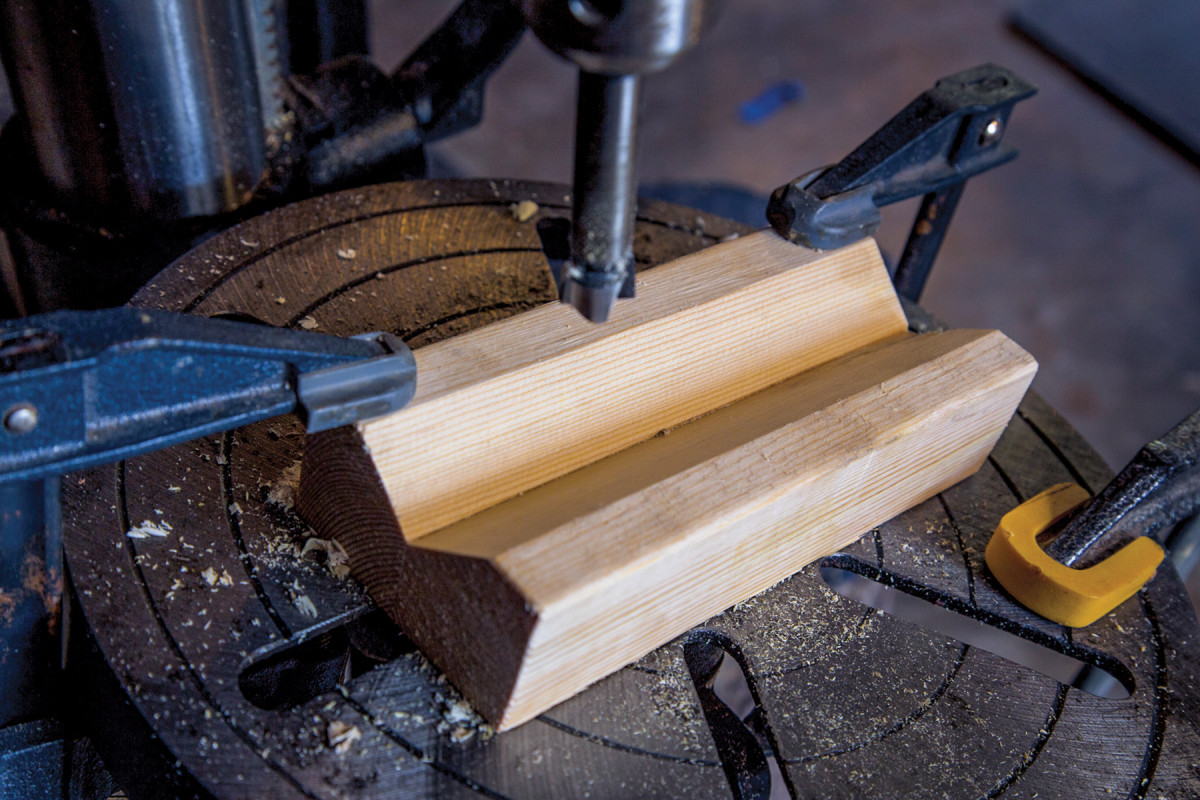
12-13. Use a cradle to keep the leg locked in place. A 5/8″ Forstner bit will give you a clean mortise for the stretcher.

The easiest way to get the stretchers even and parallel is to measure the stretcher location from the seat. With the legs firmly seated but not driven home, clamp a long scrap with a known straight edge to both legs across the front of the stool. Adjust the height until the straight edge is 151/2” from the seat. Use a square to mark this height on the inside of the leg. This is the center for the position of the lower front stretcher. Before measuring for the next stretchers, place a bevel gauge directly on the leg and set the angle by eye to match the angle between the leg and the straight edge.

14. Liquid hide glue will provide all the strength you need and give you a chance to reverse the process if things go sideways during glue up.
On the same set of legs move the straight edge to a height of 8″ from the seat and repeat for the upper stretcher. The side stretcher locations are achieved in the same manner but marked 1″ higher (closer to the seat) to offset the mortises. Set a second bevel gauge to the angle between the legs and side stretcher. Repeat the first procedure for the spindle across the back legs.
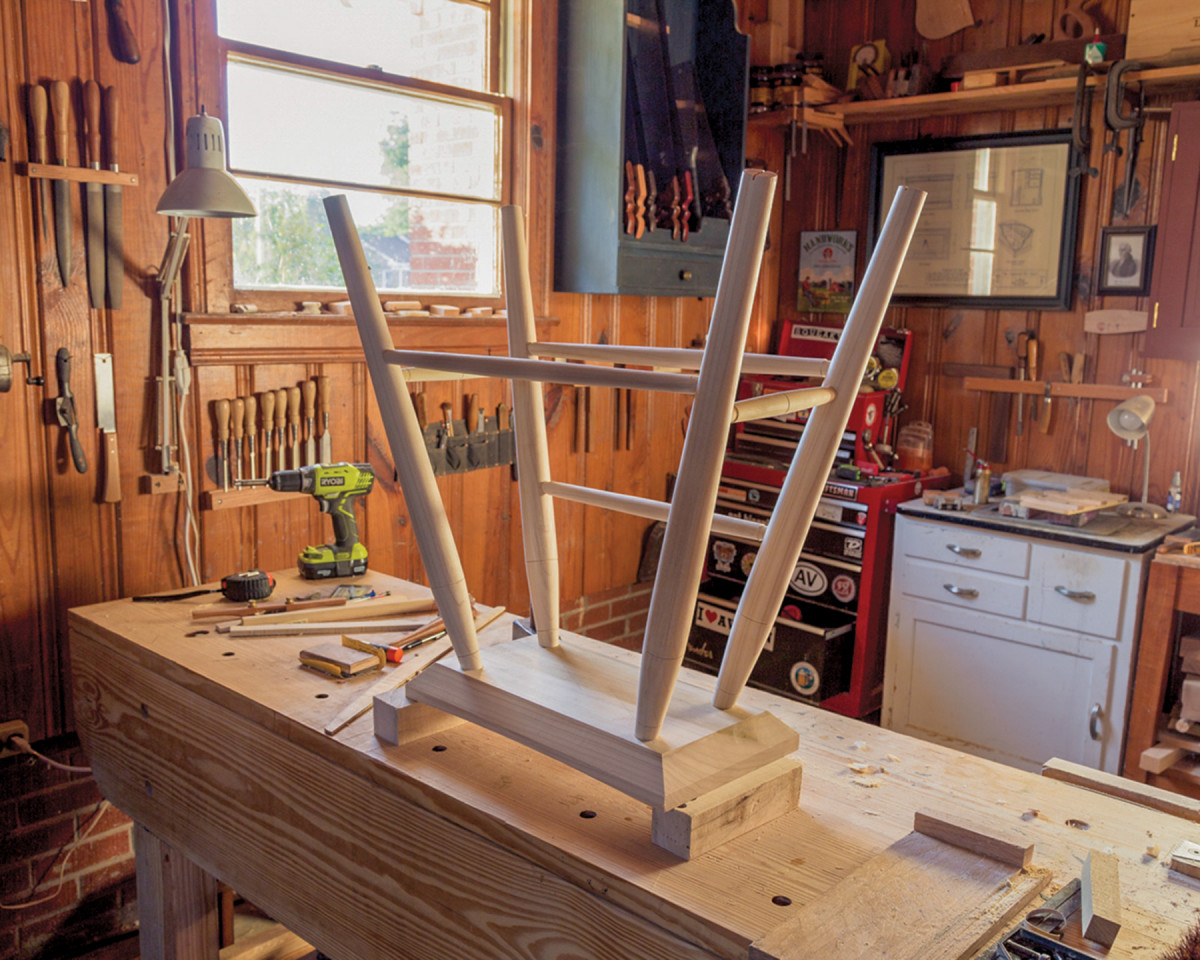
15. The tapered tenons on the legs may be long at this point. Place the seat on risers so that you can pound the legs home without the bench interfering.
Accurately drilling the 5/8” mortises for the stretchers is easy with a simple drill press jig and the bevel angles set above. Using a V-shaped cradle centered and clamped to your drill press table, place the leg in the cradle and angle the table to match the angle of the drill bit to the angle of the bevel gauge. Drill the holes at least 5/8” deep. Repeat the process finding the angles for the side stretchers and the second front stretcher. Grain orientation is important here. You’ll want to orient the grain of your legs 90° to the grain of the seat. This means for the front stretchers you’ll be drilling into the “face” grain and for the side stretchers, you’ll be drilling into the “edge” grain.

16. Pound wedges into the tenons perpendicular to the grain. The legs are now locked in place.
Reassemble the legs and seat and measure for stretcher length from the inside of the mortises. Turn the stretchers from 1″ square stock to length making sure to bring the last 3/4” of the ends down to 5/8” in diameter as tenons. I usually start by turning the tenons and then shape the simple double tapers from a 3/4” maximum diameter in the center.
Assembly
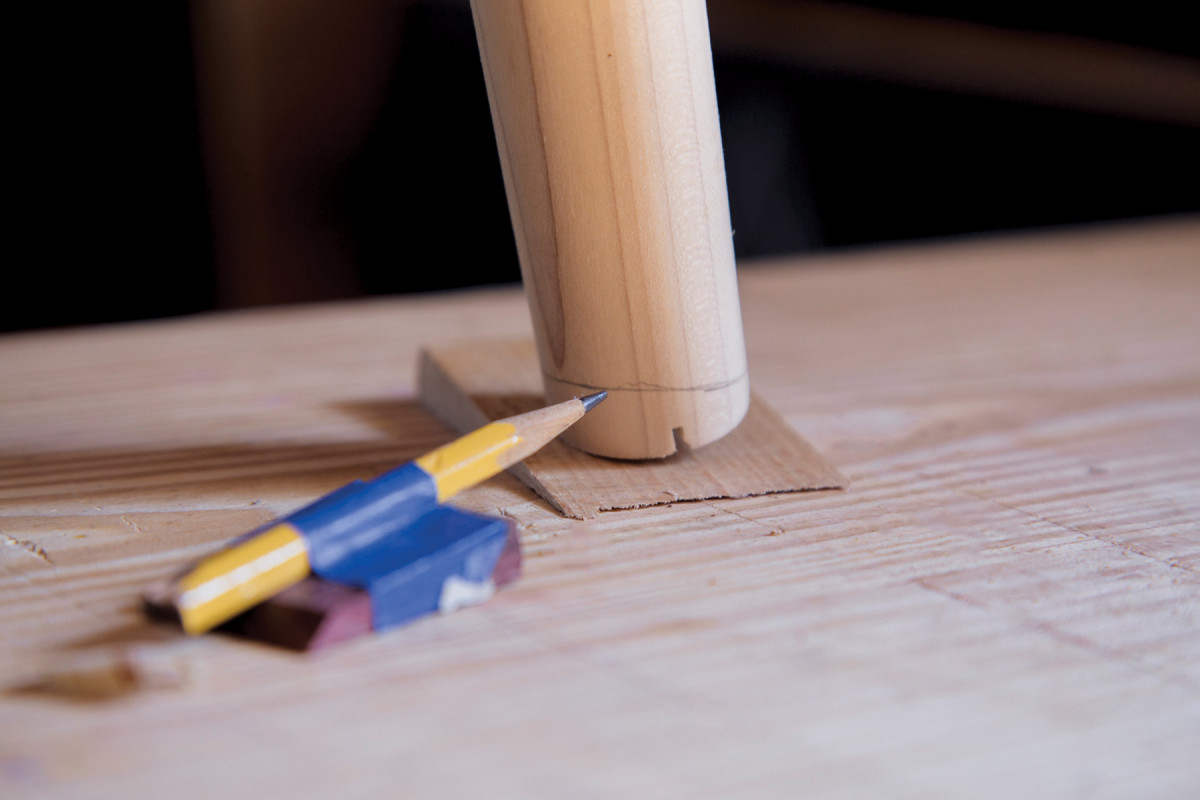
17-18. After scribing the legs with a pencil, crosscut with a backsaw.
 Check to make sure all the parts fit before you get the glue out. I use liquid hide glue for these stools. It lubricates the parts as they come together and doesn’t swell the wood like PVA. The tops of the legs will need kerfs to accept wedges. Orient the wedges with the grain of the legs and 90° to the grain of the seat.
When all parts are ready for assembly, begin by assembling the front and back flat on the bench. Add the side stretchers and then work the tops of the legs into their mortises. Place the seat on two riser blocks and drive the legs home with a heavy mallet. After the legs are seated, double-check to make sure the tenons are still tight and turn the stool over onto its feet. Check everything for square by eye (from the front and side) and make any adjustments before driving the wedges home.Trim the wedges flush to the seat removing the bulk of the waste with a flush cut saw, and carefully trim the remainder with a wide gouge or chisel. Use a card scraper and some sandpaper to clean the seat up and get it ready for finish. Level the stool with wedges and mark a line around the bottom of each foot with a half pencil and a small scrap block. Trim the legs level along those lines with a crosscut saw and chamfer the feet with a spokeshave or sandpaper.
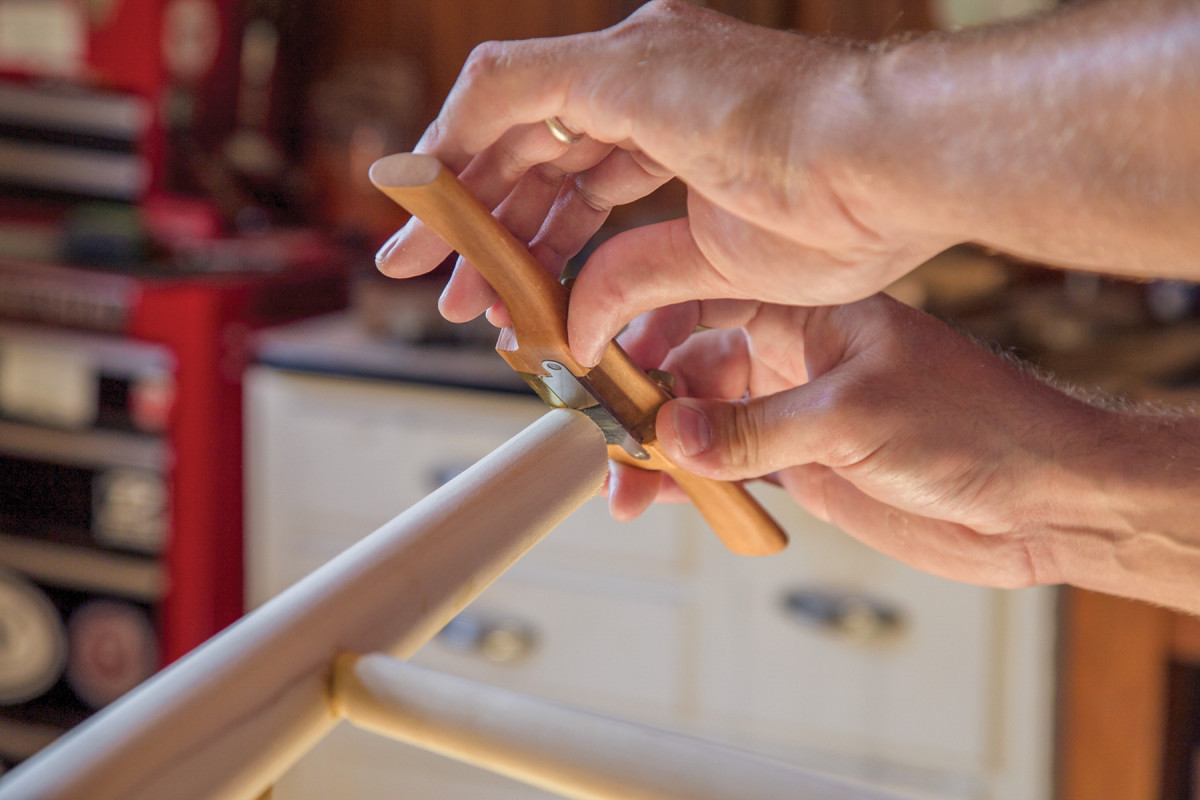
19. Chamfer the legs with a spokeshave or block plane.
The finish is entirely up to you. I used three coats of General Finishes Arm-R-Seal (satin) on the seat with a topcoat of wax. The legs are painted and waxed to accentuate the design and add a contrasting pop of color. These simple, yet elegant bar stools have quickly become favorite perches in our house. Hopefully, they’ll find a place in your home as well.
Here are some supplies and tools we find essential in our everyday work around the shop. We may receive a commission from sales referred by our links; however, we have carefully selected these products for their usefulness and quality.