We may receive a commission when you use our affiliate links. However, this does not impact our recommendations.
Turn trash into treasure.
I love hard cheeses and hard-crust bread. Although my cheese-making skills are limited and my baking talent is only admired in our household and among close friends, I use woodworking to make distinctive boards to serve the foods I like.
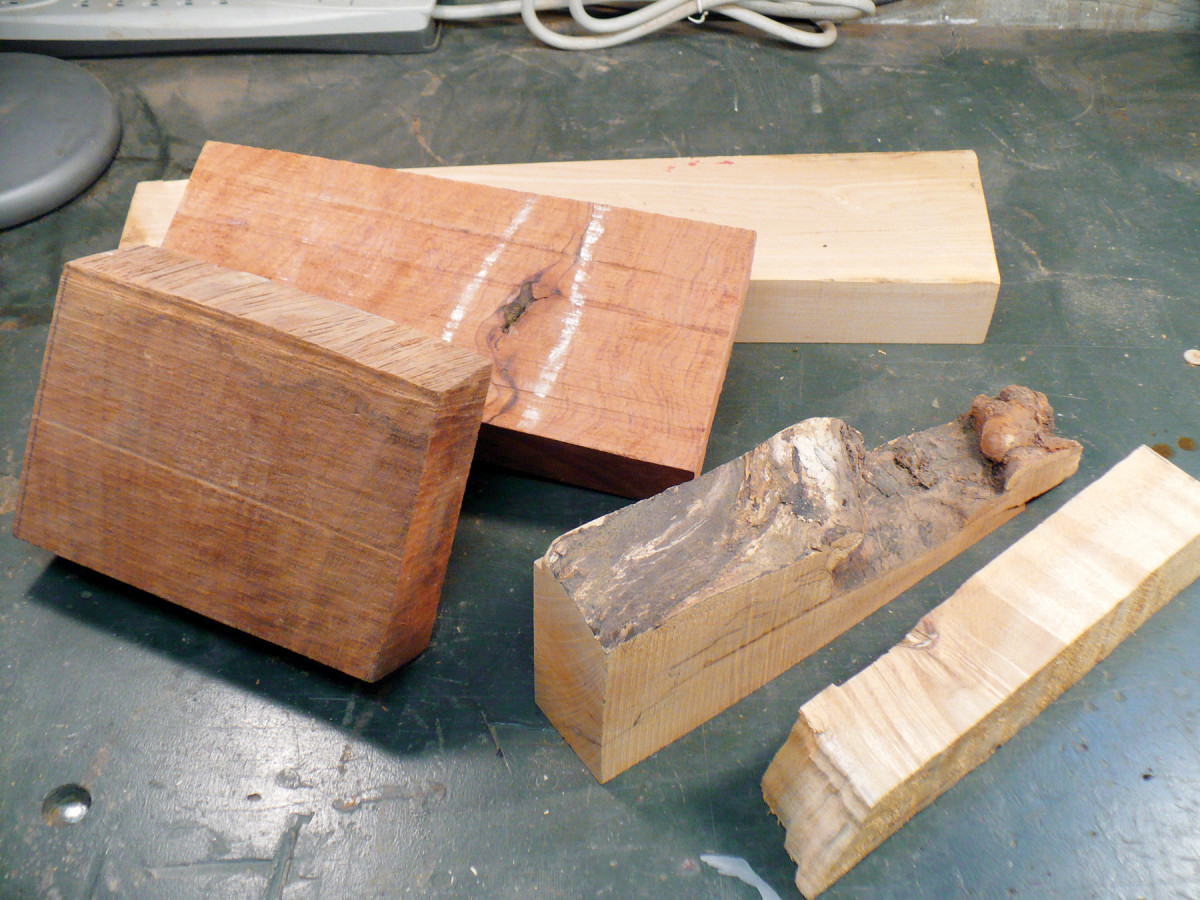
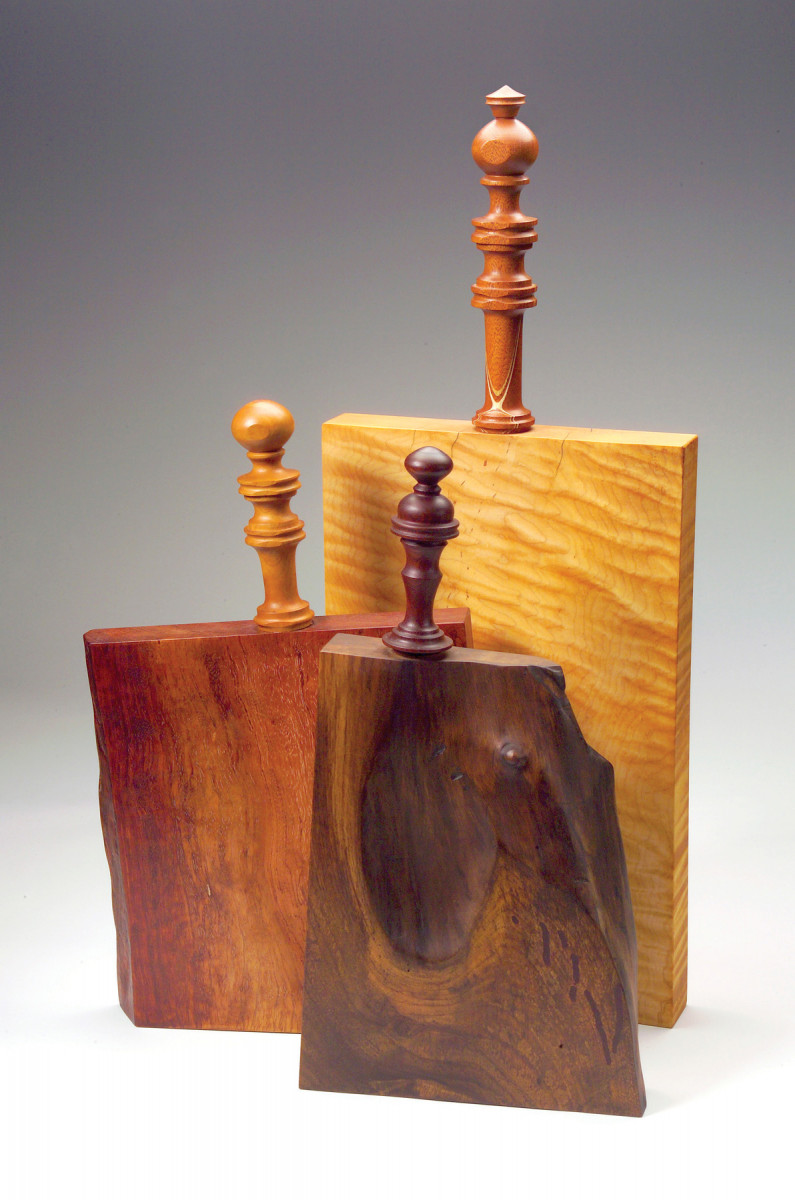
Photo 1. I make beautiful cutting boards from gnarly offcuts. Maple, beech cherry and birch are appropriate woods to use for serving food.
The secret to my designs is using cast-off lumber, those short offcuts and deformed pieces that usually get thrown out or burned (Photo 1). I’ll demonstrate how I deal with the imperfections that characterize the scrap pieces I use. I’ll also explain how to turn a handle that’s functional and decorative.
Choose Food-Safe Wood
Hard, close-pored woods such as maple, Beech, cherry and birch are generally known to be food-safe, that is, without any known toxins or allergic agents. Stay away from rosewood, olivewood and cocobolo in particular and exotic woods in general.
Prepare the Board
Scrap pieces usually need two or three operations: Removing bark, flattening the surfaces and filling voids with epoxy. If you have to remove bark, clean the surface with a brass brush to get rid of grit and other loose material.
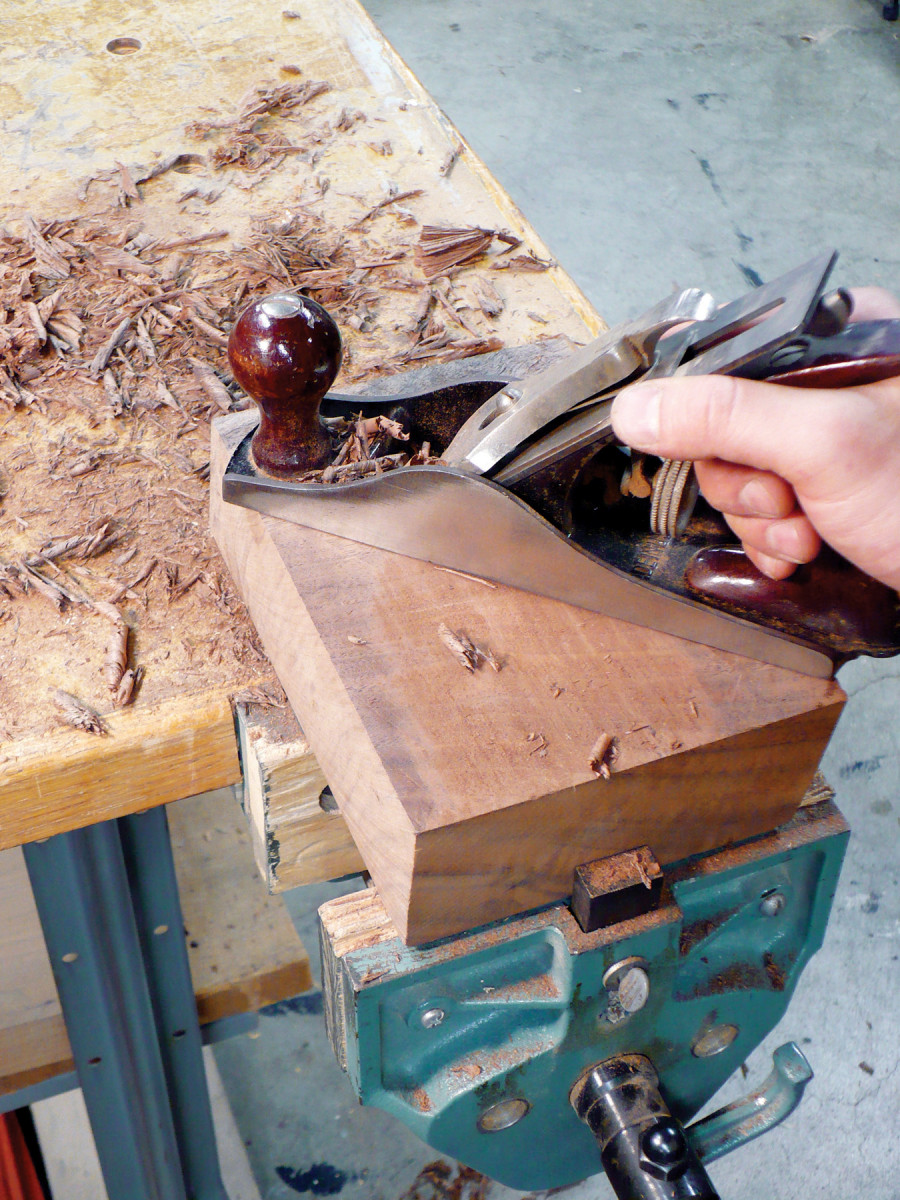
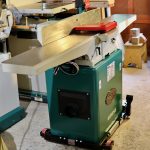
Photo 2. Hand plane boards that are too short to flatten using your jointer and planer
Flattening before you fill the voids takes longer, but whether you flatten first also depends on how you feel about sharpening. Most machine knives and hand-tool blades can handle minor amounts of epoxy without any problem. But if your board requires large amounts of epoxy, you may spend time replacing knives or sharpening blades (Photo 2).
If the board you’ve chosen is 12″ or longer, you can use your jointer and planer to flatten and dimension it. If the board is too short to be milled, savor the moment; this is a great opportunity to hone your hand-planing skills.
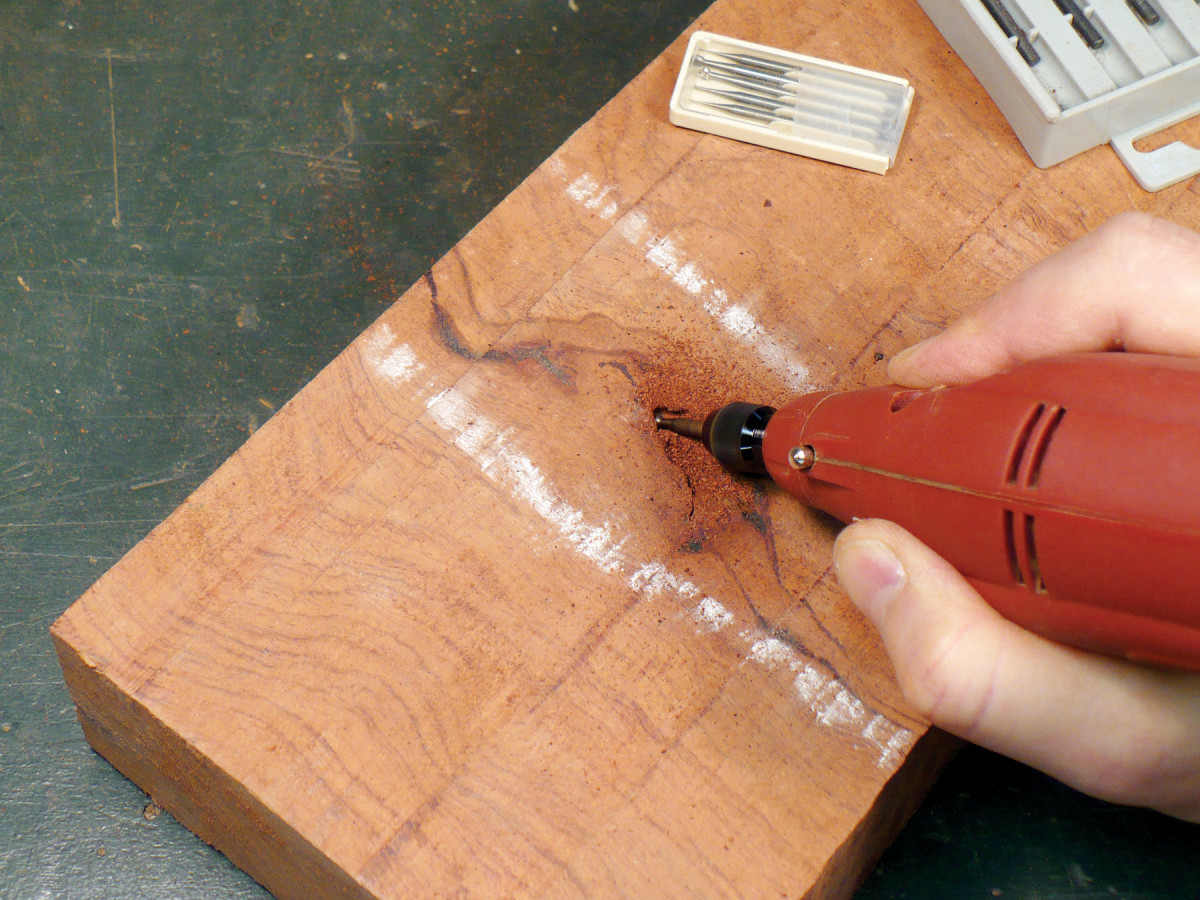
Photo 3. Remove decayed or unstable wood using a high-speed rotary tool equipped with a round or pear-shaped burr.
If your scraps are adequately long, but too wide for your jointer, try using your planer as a jointer: Mill the piece with the planer set to shave a minimum amount; flip the scrap and shave the other face. Continue flipping until the board is flat and true. This method works best with thick stock (more than 1-1/2″), because it can resist the flattening force of the planer’s feed rollers. If the board is cupped, run it cupped-face down until the opposite face is flat. Then flip the board and flatten the cupped face. If the board is twisted, use a sled. Shim unsupported areas of the board caused by the twist before planing. Once you’ve planed one face, you won’t need the sled to flatten the other face.
Clean and Fill the Cavities
Photo 4. Size the burr according to the amount of wood you have to remove.
Cavities in a board are a natural home for minerals, sand and dirt, which have settled in over the years and will dull your chisels and carving gouges. That’s why I use a high-speed rotary tool fitted with a round or pear shaped burr to extract decayed wood from the board’s holes and cracks (Photos 3 and 4).
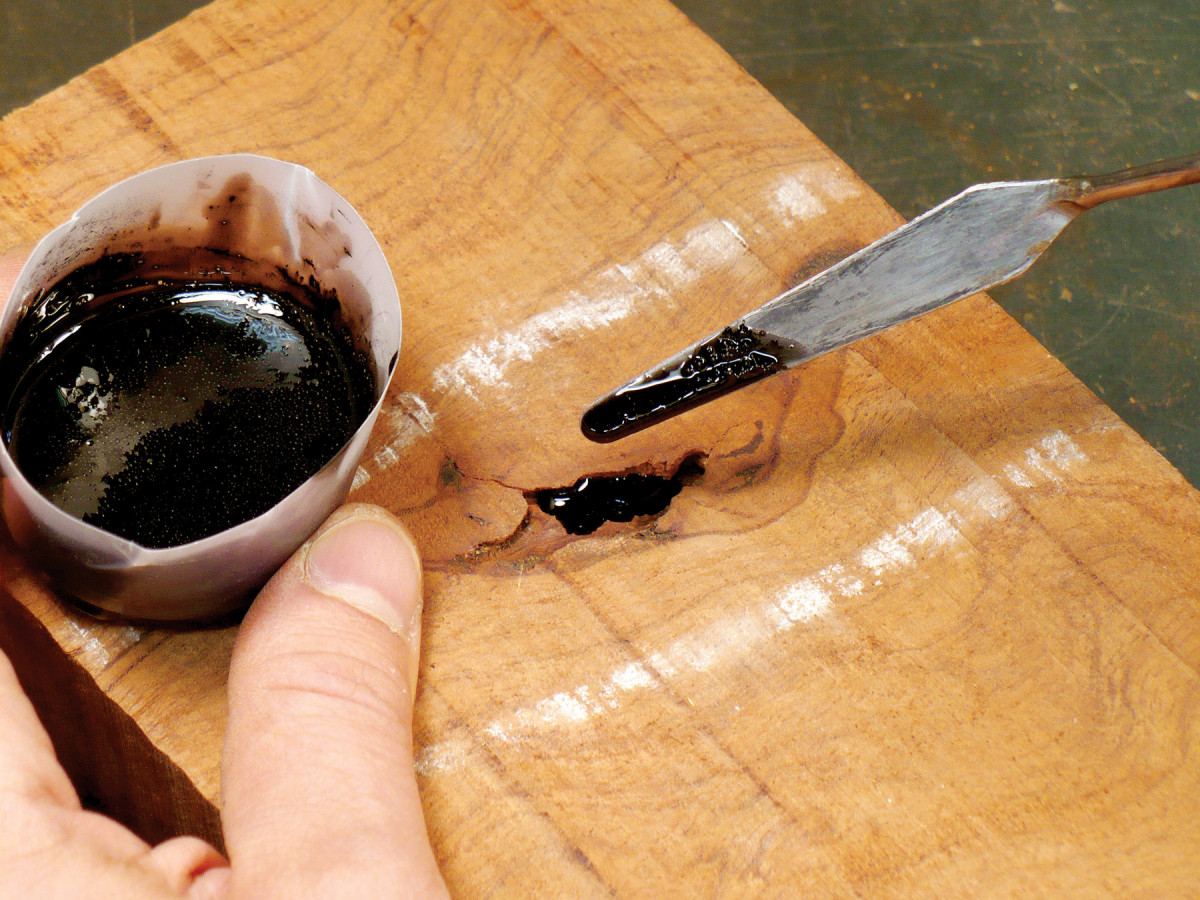
Photo 5. Fill cavities with slow-setting epoxy. I mix in powdered pigment to add color. Fine wood dust from the same board will also add color—and thicken the epoxy—but the color will match to the board’s lightest tone. I think a darker color looks better.
Use slow-setting epoxy to fill cavities. I usually add powdered pigment to make the epoxy opaque (Photos 5 and 6).
Photo 6. Be daring! Striking color transforms imperfections into focal points and makes each cutting board unique. Add multiple colors by applying epoxy in layers.
For shallow cavities, just pour in the epoxy. If the void travels all the way through, you’ll need to seal the back side of the board with masking tape. Add an epoxy thickening powder or fine wood dust to keep thin epoxy from bleeding through the masking tape.
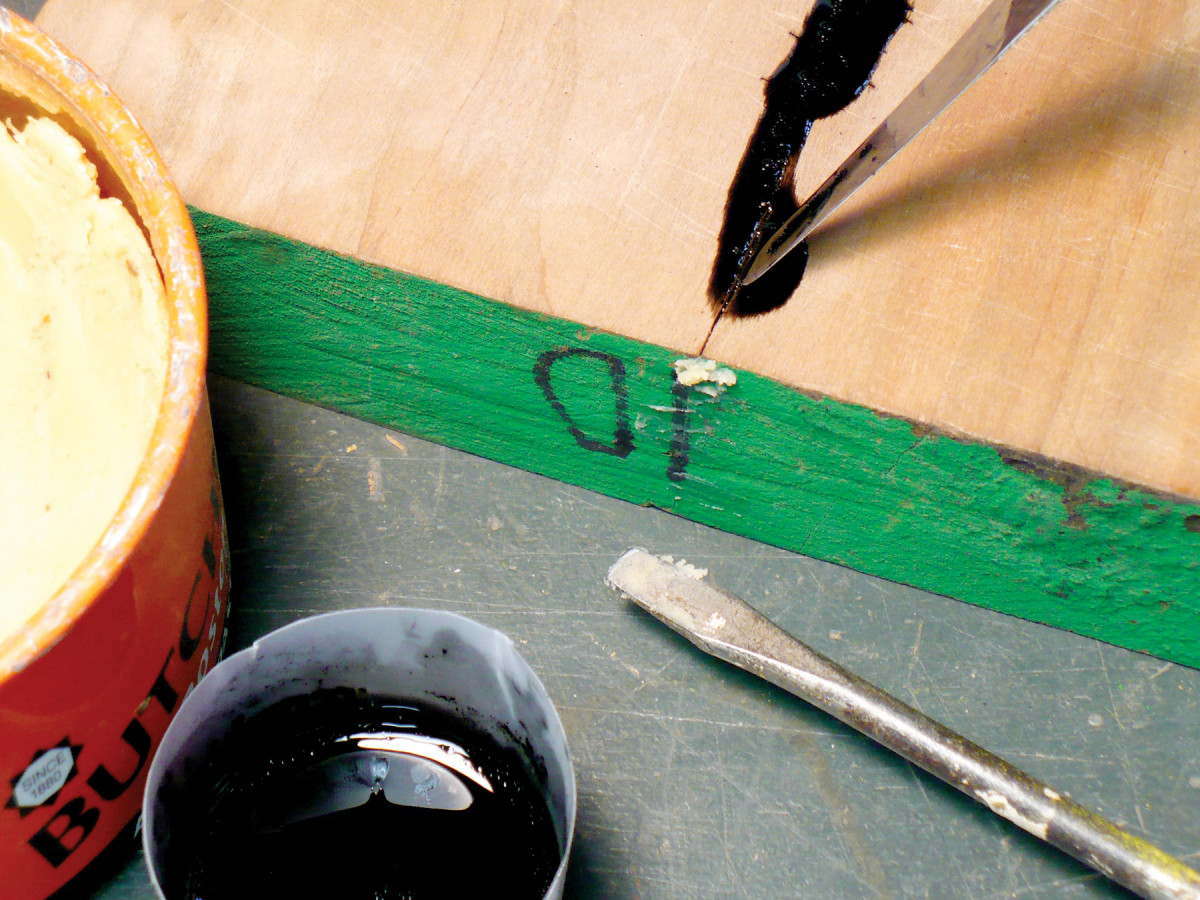
Photo 7. Use the thin-bladed spatula to work the epoxy into narrow cracks and checks. Dab on wax to keep the epoxy from draining out the end of a check.
Continue to add epoxy as necessary, as air trapped in the cavity slowly escapes. Use a spatula to work the epoxy into awkward cracks and small dents (Photo 7).
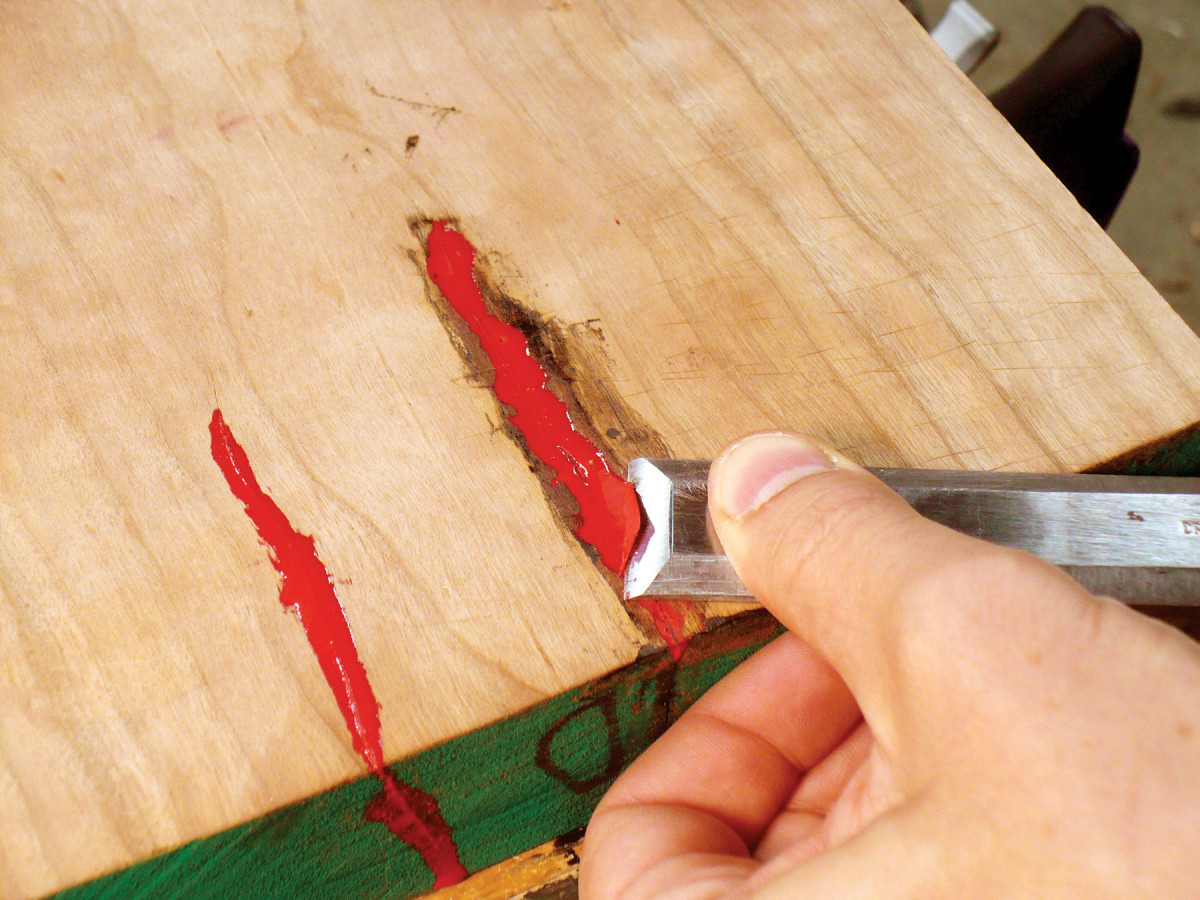
Photo 8. Sheer the epoxy level with the board’s surface before it reaches maximum hardness. Fully cured epoxy will dull the blade faster.
If you started by jointing and planing the board to thickness, you’ll have to remove the excess epoxy by hand, using a chisel, plane or sandpaper (Photo 8). If you filled the cracks and crevises first, wait until the epoxy has fully cured before you joint and plane the board.
Turn and Install the Handle

Photo 9. I sketch new handle designs for each cutting board. All of the boards I use are unique, so it makes sense that the handles should be, too.
I never make two handles alike, so I have to come up with novel shapes every time I turn a new one (Photo 9). I use this as an opportunity to research interesting resources in the environment around me.
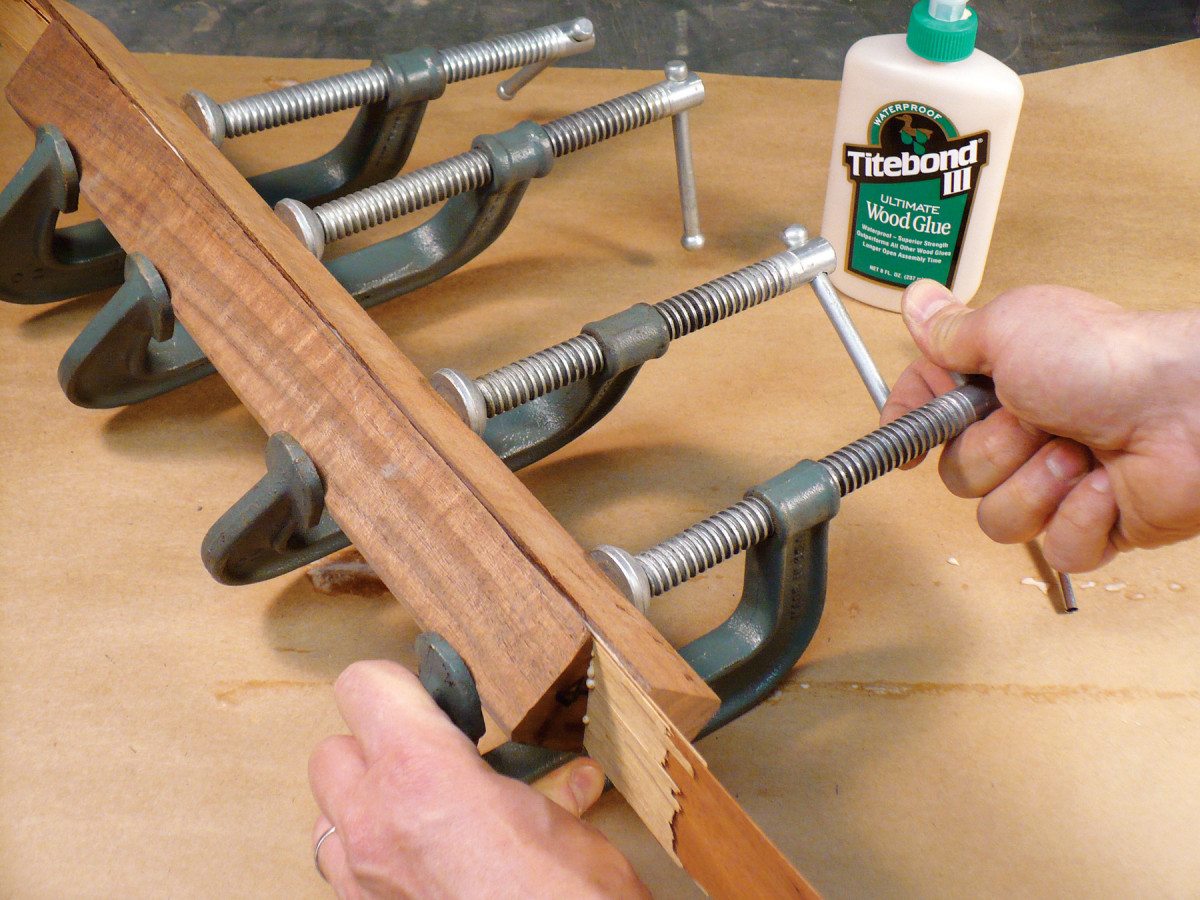
Photo 10 and inset. Laminating thin veneer strips of contrasting wood into the handle blank adds visual appeal.
Architectural details, mechanical components and natural formations are all great sources of inspiration. Sometimes, instead of using solid wood, I laminate the handle blanks (Photo 10)
 It’s most efficient to turn two handles out of one long blank (Photo 11). The tenons on the handle ends are the only parts that must be accurately turned. Turn 1″ diameter tenons for thick cutting boards (1-1/2″ and up); anything thinner gets a 3/4″ tenon. Always make the tenons longer than necessary. They’ll be cut to final length after the handle is fitted to the board.
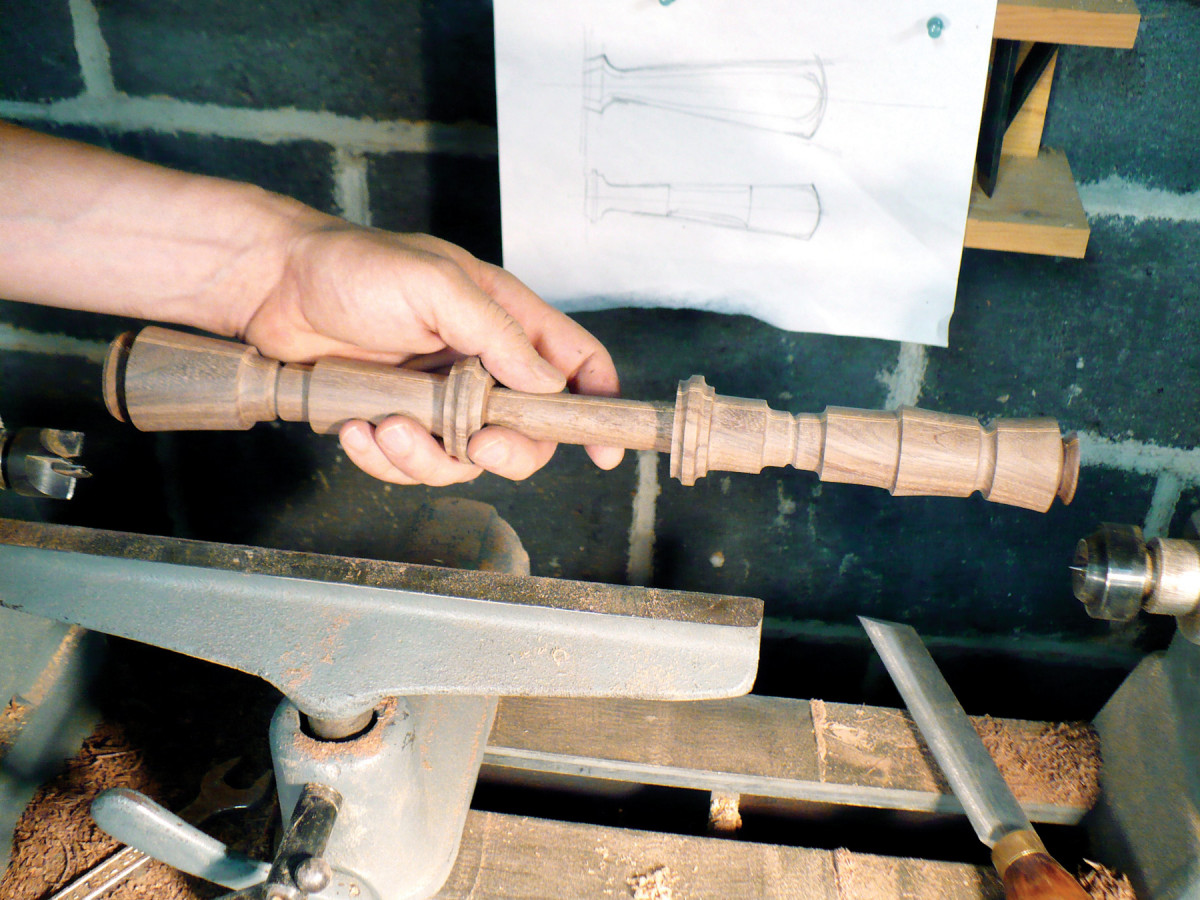
Photo 11. It’s easiest to turn two handles on the same blank, with the tenons facing one another. Leave the ends unfinished until the handles are glued to the board, so they act as clamping pads.
If you orient the handles so they meet in the middle, you can turn one long tenon. But if you’re used to working in one direction on the lathe, from the headstock toward the tailstock, for example, it may be easier to orient the handles in the same direction.
Start the tenon by cutting slots along its length with a parting tool, using calipers to gauge the depth. Remove the waste with a spindle gouge and finish with a skew chisel. Use spindle gouges and the skew to shape the handles’ beads, coves, and fillets. Sand the handles while they’re still on the lathe.
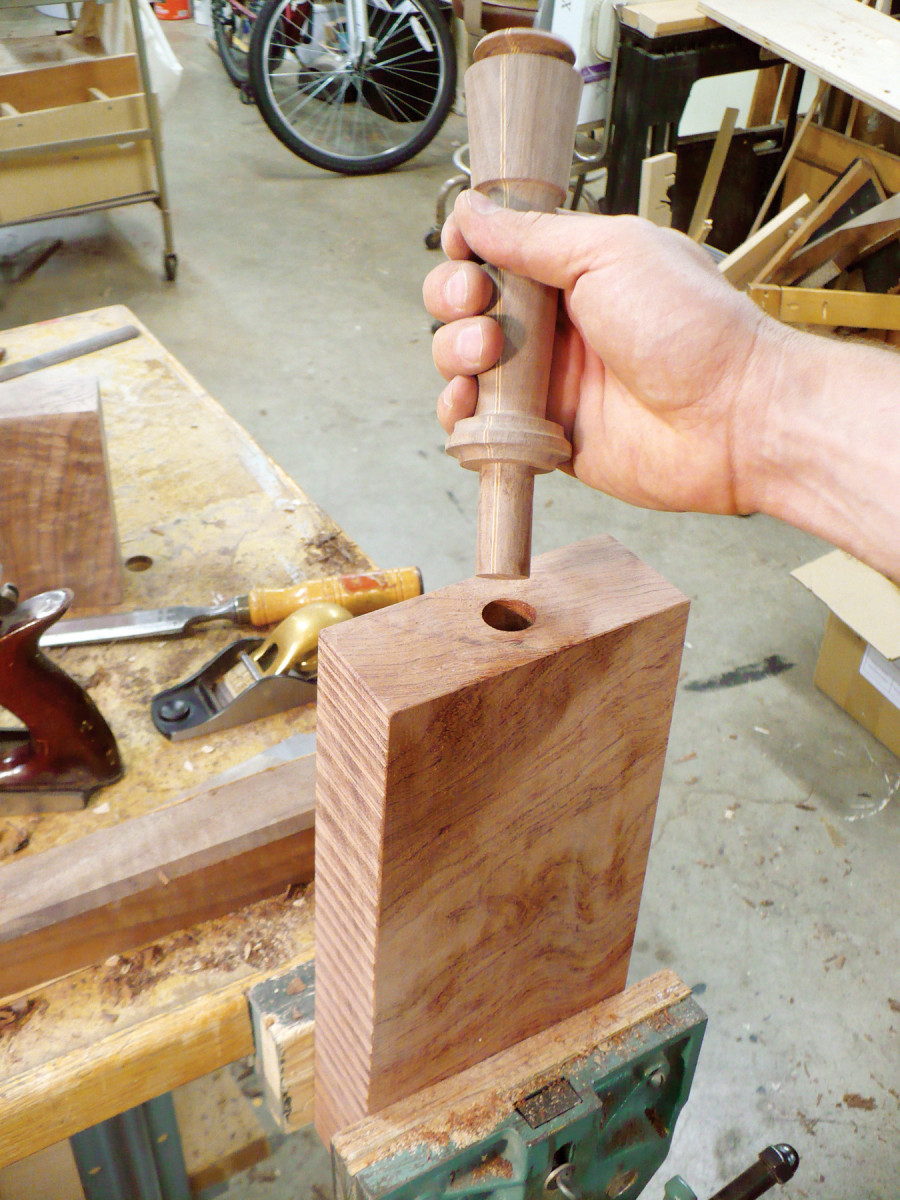
Photo 12. Test fit the handle to make sure it seats fully in the hole you’ve drilled. It’s okay if the tenon is a bit loose, because the epoxy will fill in the gaps and create a strong bond; a tight fit can be troublesome
Remove the handles and cut them apart. Use the unfinished ends as clamping surfaces when you glue in the handles.
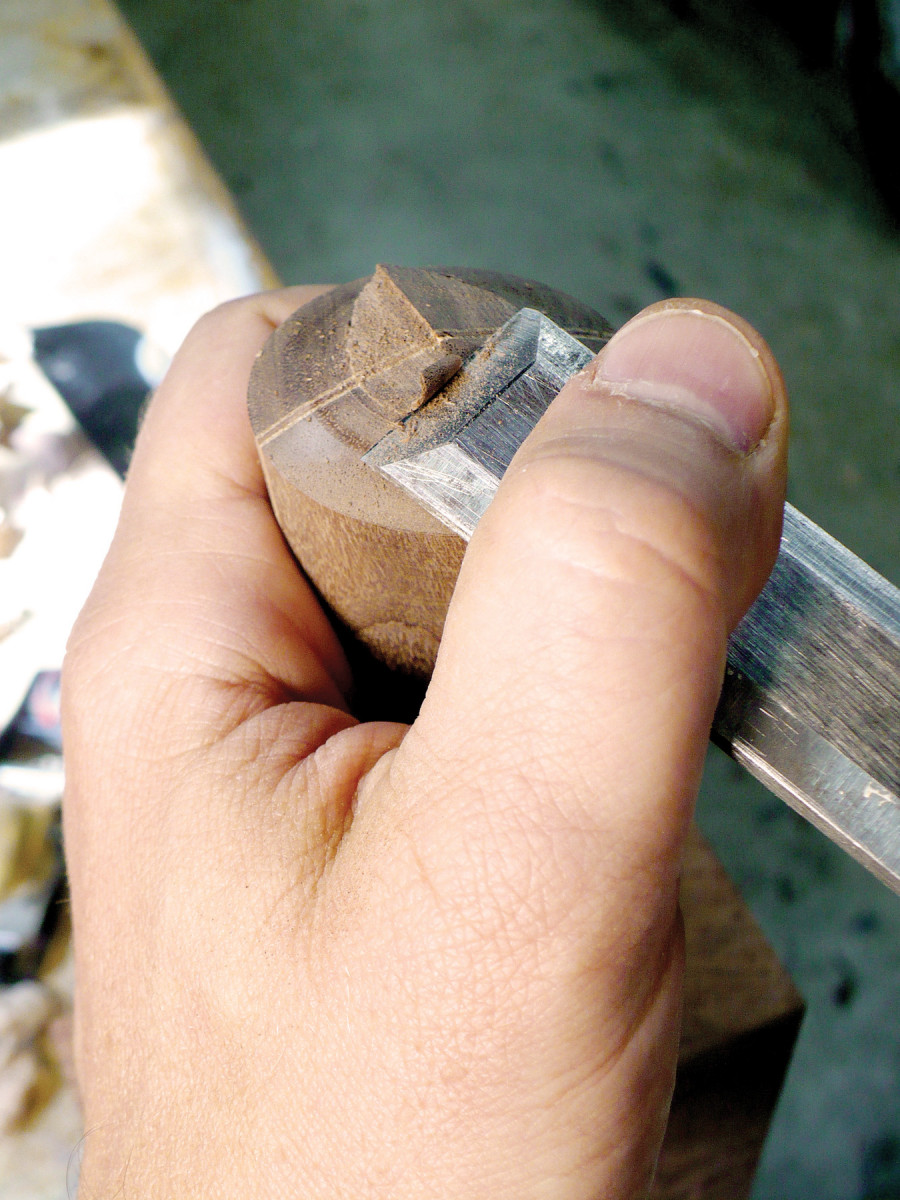
Photo 13. Finish shaping the handle with a chisel after it’s glued to the board. Saw off the waste first and complete the job by sanding.
Drill a hole in the board’s end-grain 1/8″ deeper than the handle’s tenon to assure that the handle base will sit flush. Test fit the handle (Photo 12) Then brush epoxy into the hole and around the tenon. Install the handle and clamp it until the epoxy cures. Remove the clamps and lay the board on your bench. If it rocks because the handle is too wide, plane the handle flush, so the board will sit flat. Then finish the end of the handle (Photo 13). Sand each board with 150-, 220- and 320-grit sandpaper before you apply the finish.
Safe finishes for wood utensils
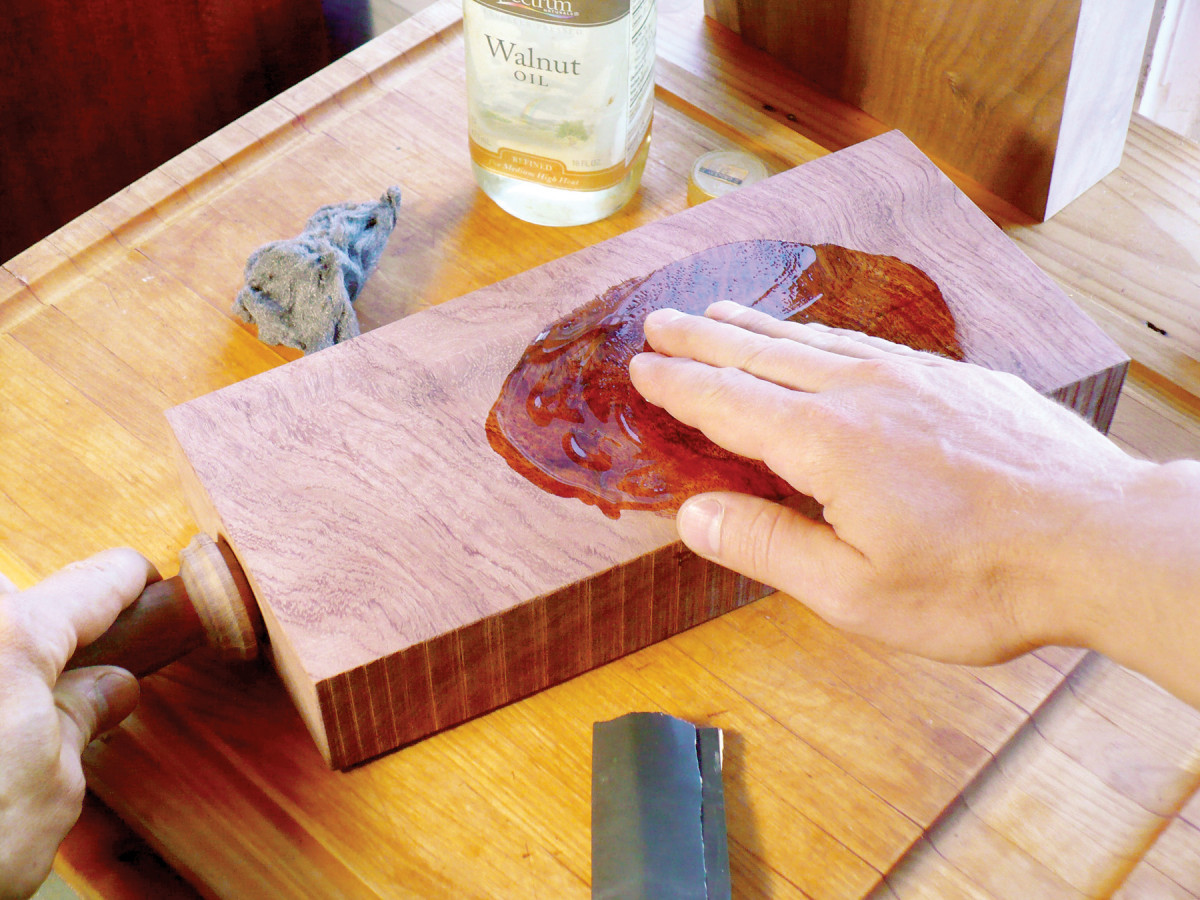
Photo 14. Rub on flaxseed or walnut oil. Then sand with 400-grit wet/dry sandpaper. Wipe the board dry and let the oil cure for several days.
I prefer to use flaxseed oil or walnut oil for finishing (Photo 14). Both are commonly available at health food stores. They’re very easy to apply, they enhance the wood’s natural beauty and scratches don’t show as they do on varnish and other surface-film finishes. Unlike vegetable or mineral oils commonly used as food-safe finishes for wood, flaxseed and walnut oil completely cure and polymerize. You should be aware, though, that some people are allergic to walnuts. If this is a concern, go with flaxseed oil.
Here are some supplies and tools we find essential in our everyday work around the shop. We may receive a commission from sales referred by our links; however, we have carefully selected these products for their usefulness and quality.