We may receive a commission when you use our affiliate links. However, this does not impact our recommendations.
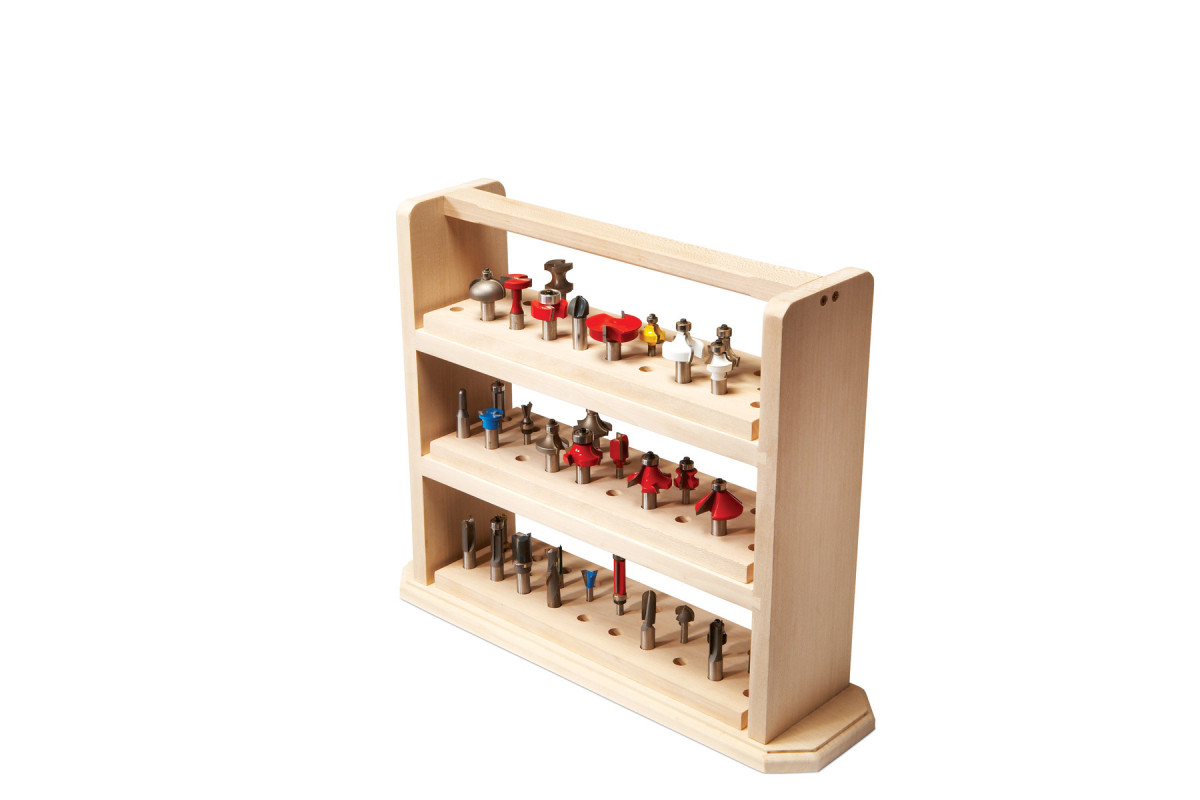
Separate, sort, and see your collection
With just five different parts to make, this easy-to-build caddy accommodates bits with both 1/2″ and 1/4″ shafts. It can be customized to handle just about any collection. Long bits have plenty of room on the top shelf. The caddy stands solidly on its wide base, stores easily on a shelf or in a cabinet, and is light enough to tote around the shop or take to a jobsite.

 Cut Sliding Dovetails
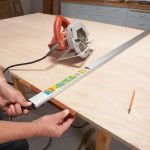
1. The caddy is held together with sliding-dovetail joints. Start by cutting dadoes in the sides to remove most of the waste.
Cut the sides (A) and shelves (B) to size. Cut two small dadoes on the inside face of each side (Photo 1). Set up the router table with a 1/2″ dovetail bit and enlarge the four dadoes, making sliding-dovetail sockets (Photo 2). Joint the edges to remove any tear-out.
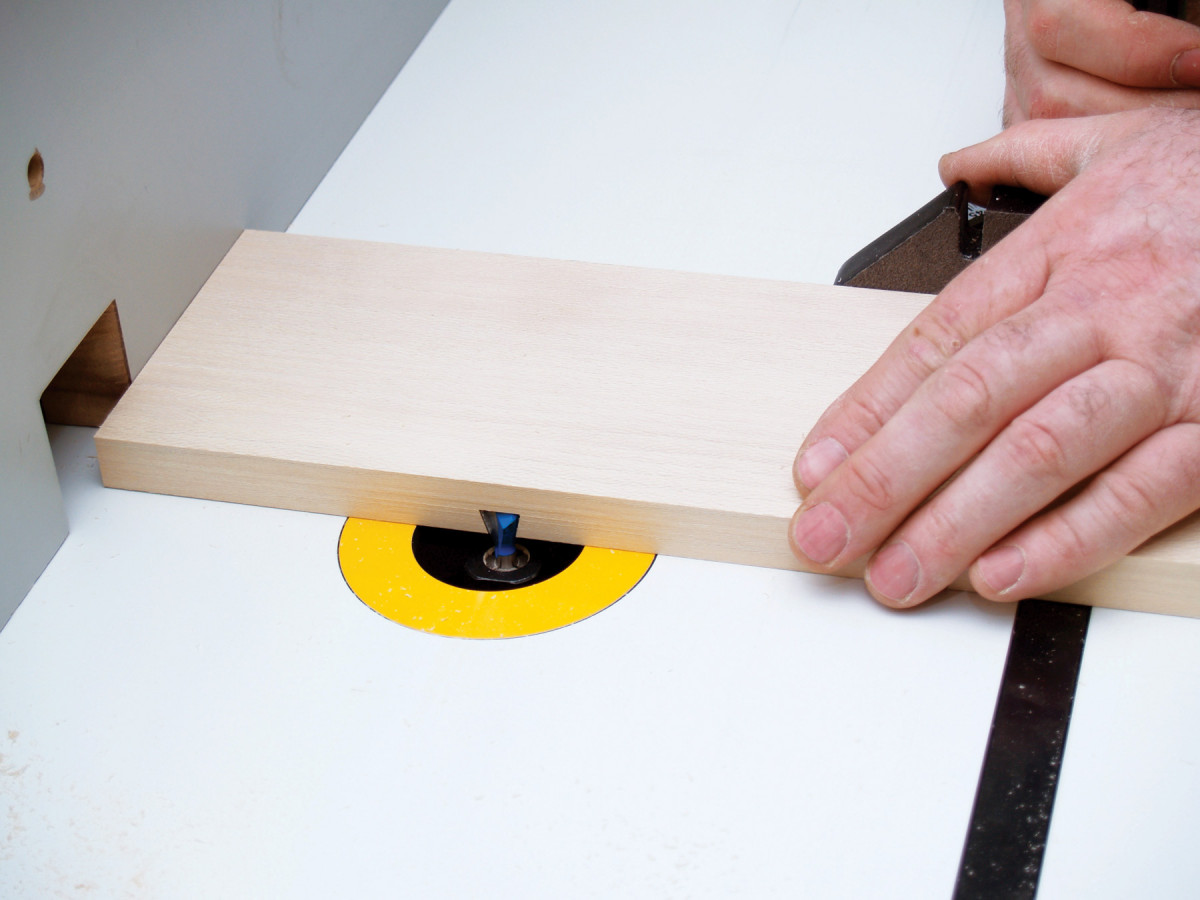
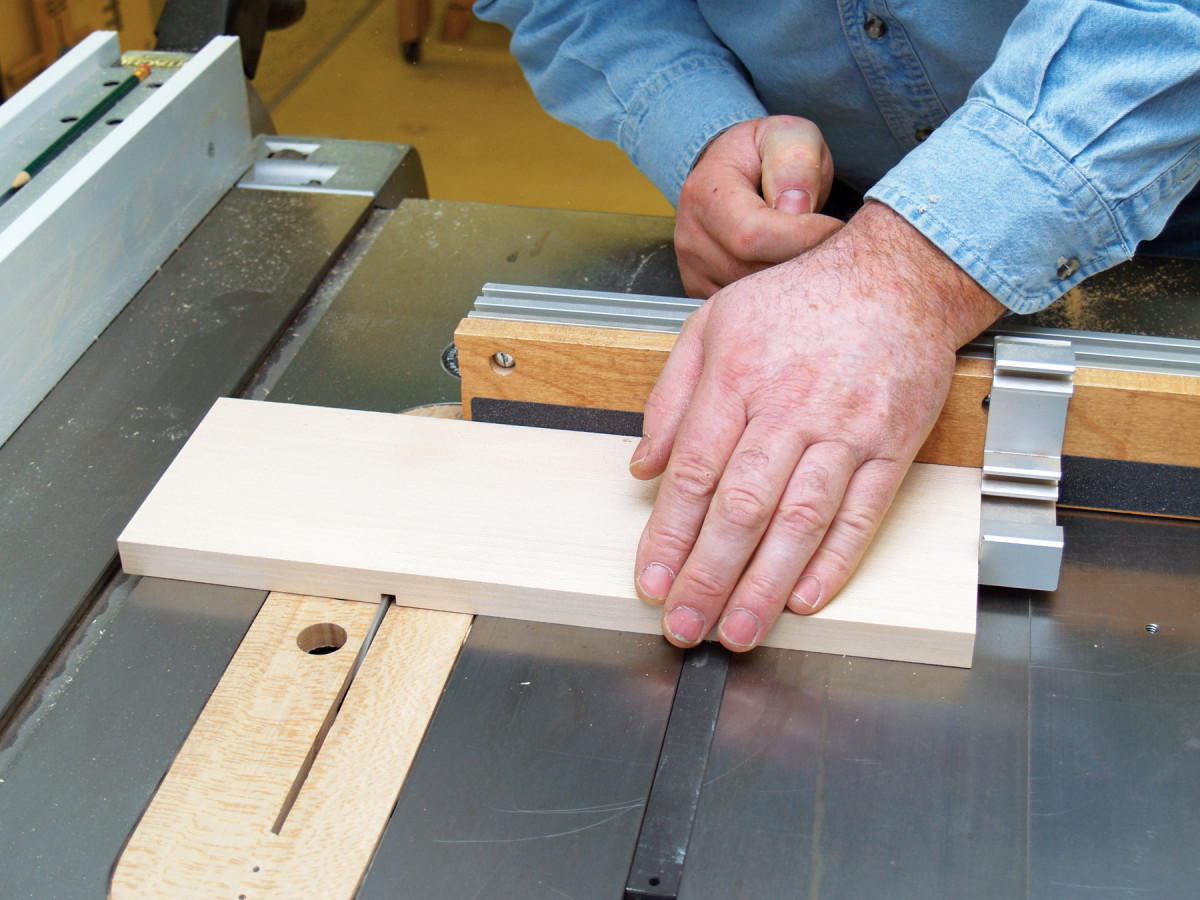
2. Widen the dadoes into dovetail sockets using a router table.
Use a scrap piece exactly the same thickness as the two shelves to set up the router table for cutting tails (Photo 3).
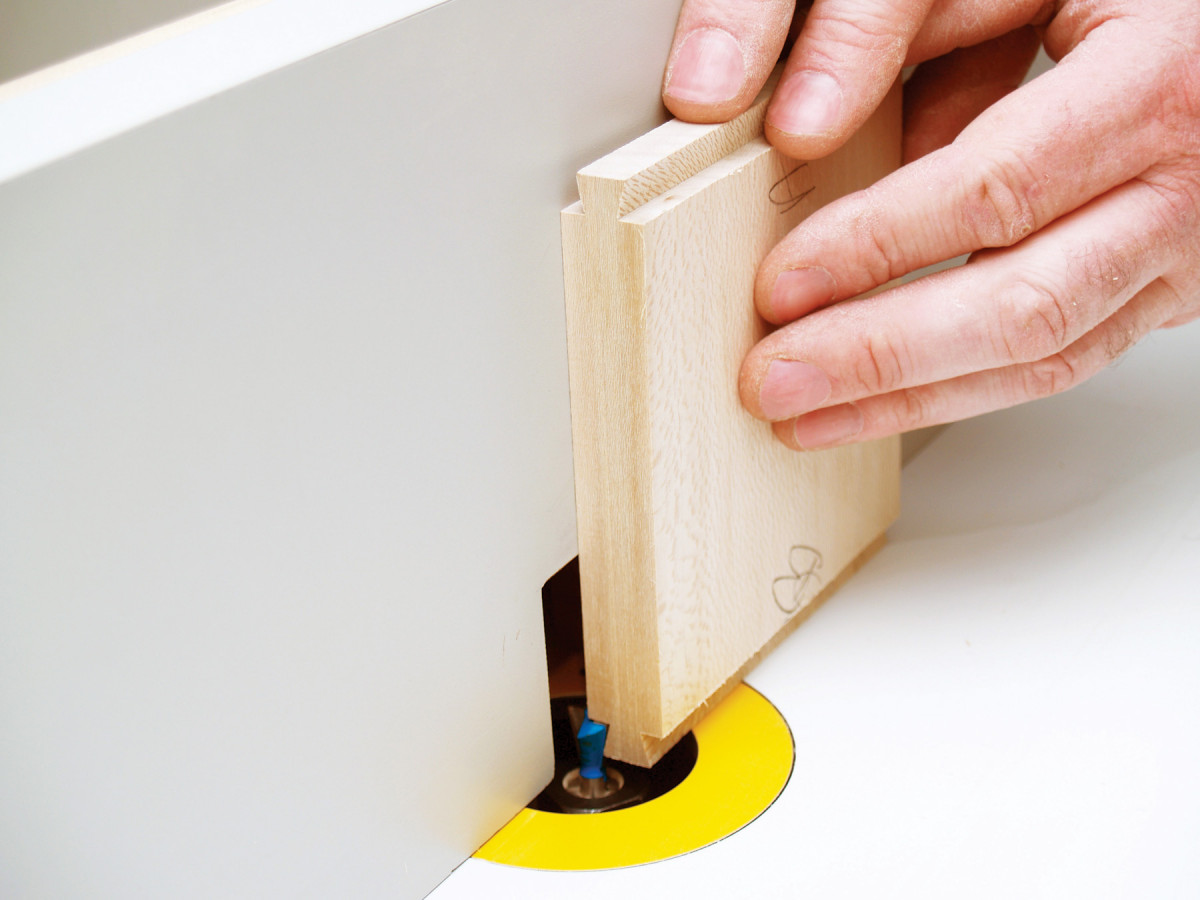
3. Using the same bit, make test cuts on a piece of scrap until it slides easily into the dovetail-shaped dadoes. Then cut the real shelves.
Use the same dovetail bit and leave it at the same height. Adjust the fence so the dovetails are loose enough to slide in the sockets without using any force. Mill the tails on the real shelves, and glue and clamp the shelves to the sides.
Make Shelf Inserts
Cut the shelf inserts (C) to size. At this point, their lengths are 5″ longer than their final dimensions will be. On each insert, lay out the holes according to your needs, staying at least 3″ from each end. I drilled sixty holes for 1/2″ shafts and twenty-seven for 1/4″ ones. Use a sharp 1 7/32″ bit for 1/2″ shafts and a 9/32″ bit for 1/4″ shafts. These oversize holes make it easier to remove or replace the bits. Drill all the way through each insert.
Run the inserts through a planer or across a jointer to remove any tear-out from the drilling. Trim the inserts to fit on the shelves. I left about 1/8″ gap on each end for aesthetics.
Assemble the Caddy
4. Glue the boards onto the shelves. This two-piece construction creates deep holes for the bits, so they won’t tip over when you tote the caddy around.
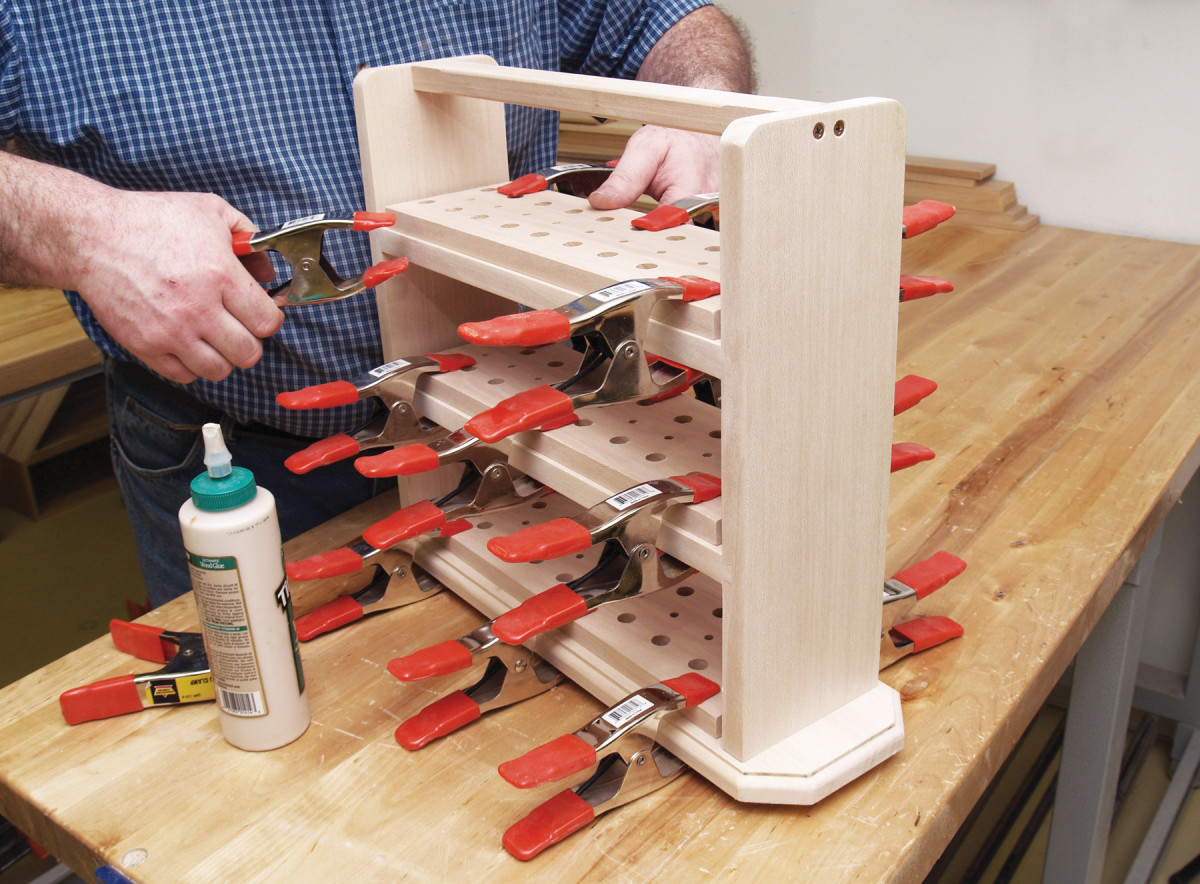
Cut the handle (D) to size and use a 1/4″ roundover bit to ease all four edges. Stop the cut 3″ from each end. Install the handle with glue and screws.
Cut the base (E) to size and saw the corners. Rout a decorative profile along the top edge, then ease the edges with sandpaper. Center the carcass on the base and attach it with glue and screws.
Glue and clamp the inserts onto the base and shelves (Photo 4). Apply a finish, and load it up!
Here are some supplies and tools we find essential in our everyday work around the shop. We may receive a commission from sales referred by our links; however, we have carefully selected these products for their usefulness and quality.