


We may receive a commission when you use our affiliate links. However, this does not impact our recommendations.

Brush up on your precision miters, and build this mid-century-inspired record player stand.
Project #2416 • Skill Level: Intermediate • Time: 3 Days • Cost: $250
I’ve always appreciated vinyl for its aesthetic qualities as much as the analog experience of putting a record on. Yet for some reason, my collection has always lived inside of cabinets or cupboards. I decided it was finally time to change that and give my records a prominent spot in my living room. The added benefit is that with everything out on display, I’m actually using my record player more often.
Design
One of my favorite parts of the entire woodworking process is the design phase. I spent months bookmarking ideas on Instagram and looking at mid-century pieces.

The case design itself came together fairly early; after making several furniture pieces with plywood, I wanted to construct something entirely out of hardwood, and I wasn’t about to pass up the opportunity to use a Domino. The legs were a different story though.
My original plan was similar to the nightstands I made for the February 2022 issue, just mounted lower on the case. Over time it evolved to a more Maloof-esque organic shape, which I really fell in love with in my head. When I started prototyping the legs with the case though, it looked all wrong. The balance was off, looking like a weightlifter that did nothing except skip leg day.
Finally I settled on the design you see here. That Maloof bug is still bouncing around my head though, destined for a future project.
Record Stand Expanded Gallery
Cutlist and Diagrams


Rough Stock Prep
This project started life as a walnut slab with plenty of imperfections, as most slabs have. That doesn’t mean you can’t get plenty of good boards from it though. With a rough cutlist in hand, I laid out all the boards needed, plus an extra here and there, and cut them out with a jigsaw. I gave myself an extra inch in all dimensions so I had room to cut to final size later. The leftovers from the slab could be turned into firewood, but I prefer to save them for box making. A quick trip to the band saw brings one edge slightly closer to square, which will save time at the jointer.
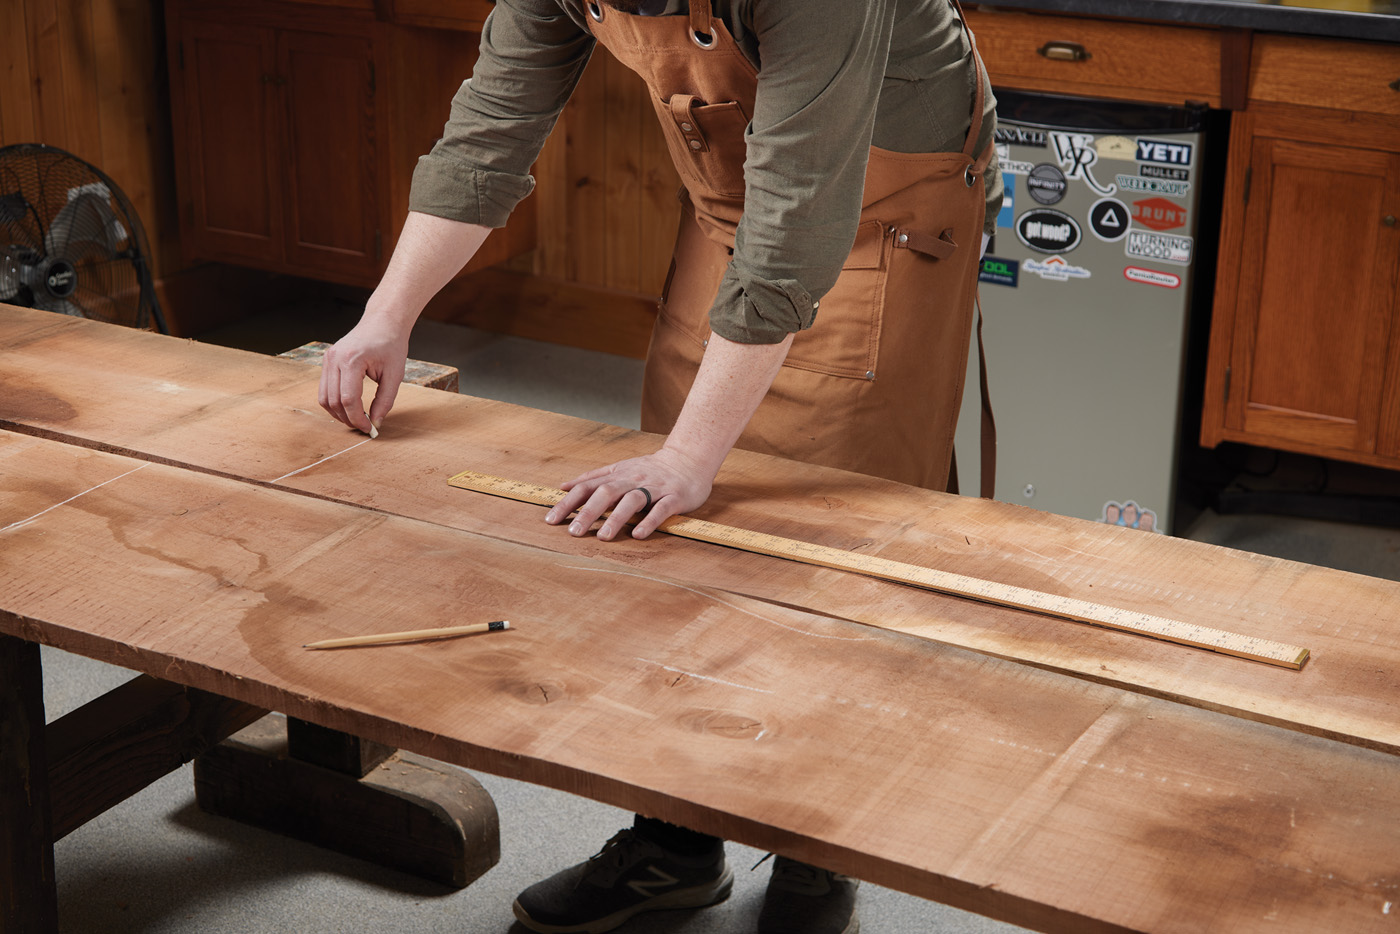
1 Laying out your cuts in advance helps you get the most material out of the board efficiently.

2 Rough cut each one using a jigsaw.
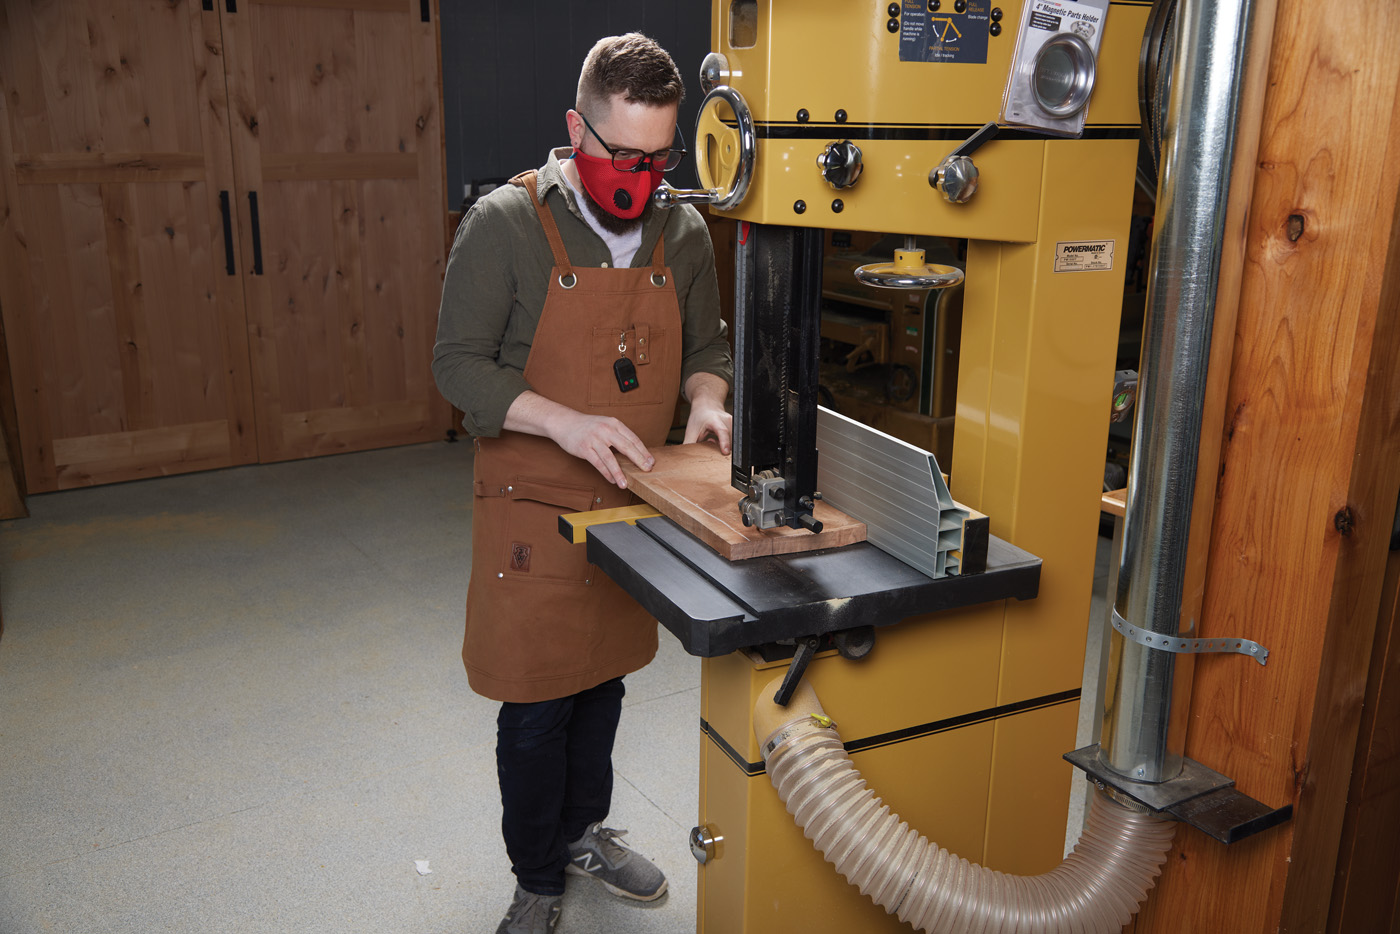
3 Using a fence on the band saw helps get each board to a uniform width.
With a stack of rough boards in hand, it’s time to turn them into proper woodworking stock. Like clockwork, the voice of my high school shop teacher pops into my head with the correct order of operations: joint better side, joint better edge, plane to thickness, cut to size. Thirty minutes later and I have a pile of boards ready for gluing.
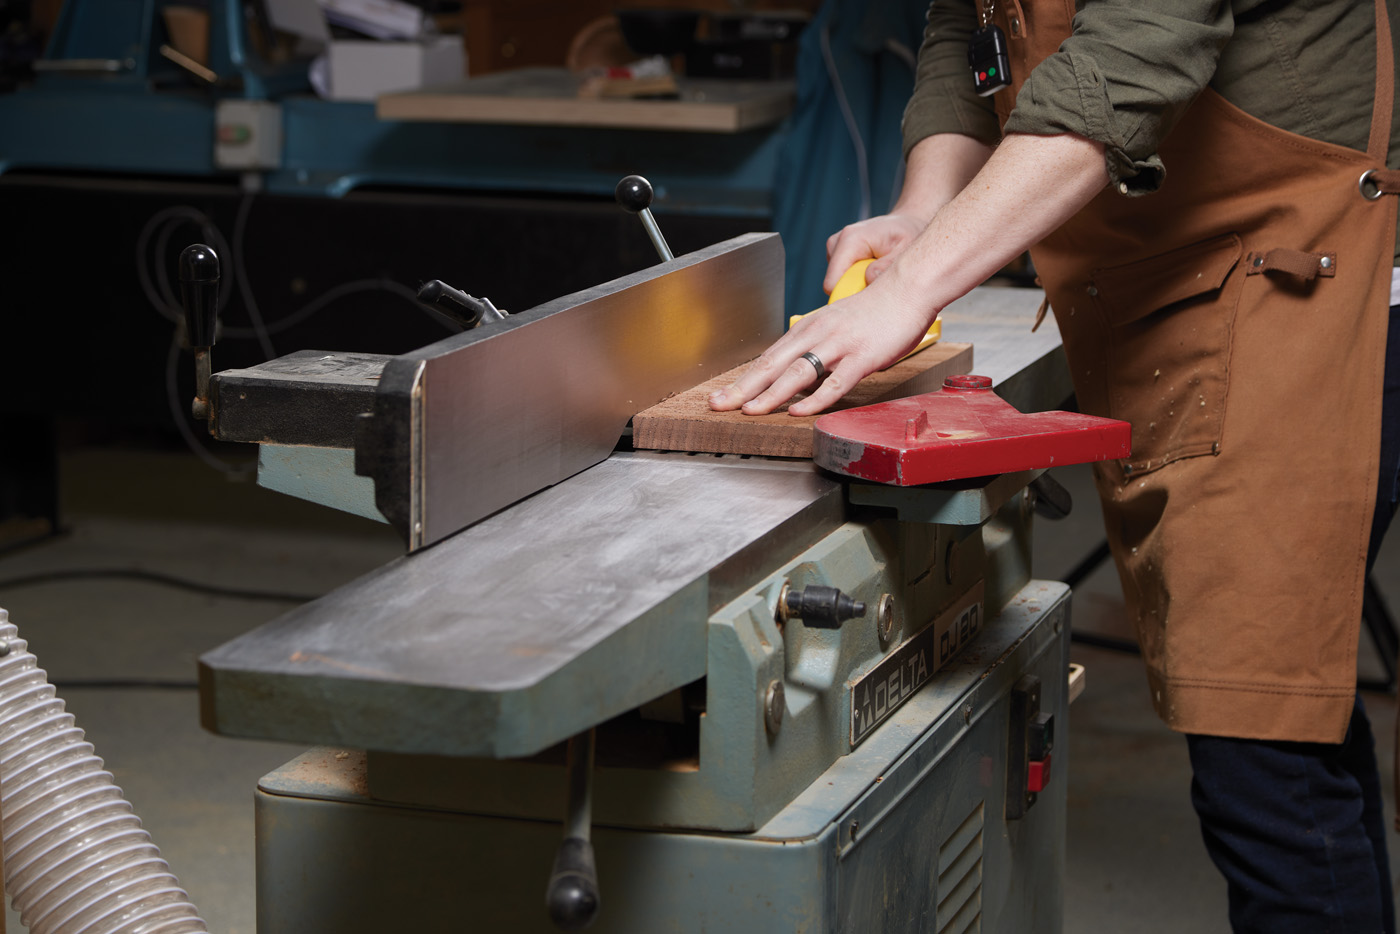
4 Make passes at the jointer until one face of the board is flat.
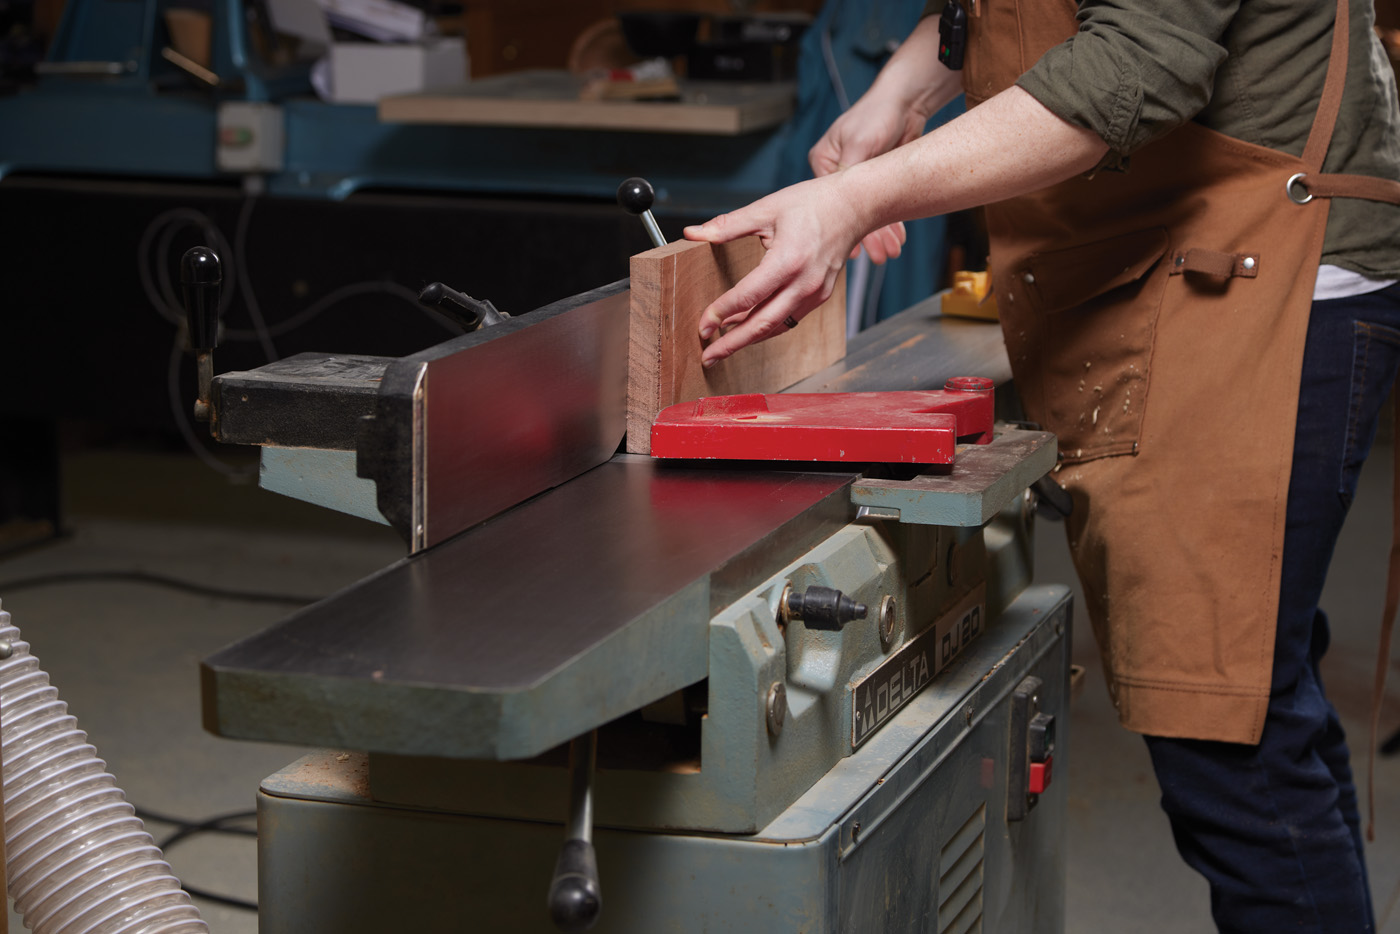
5 Square the edge of the board using the flattened side against the fence.
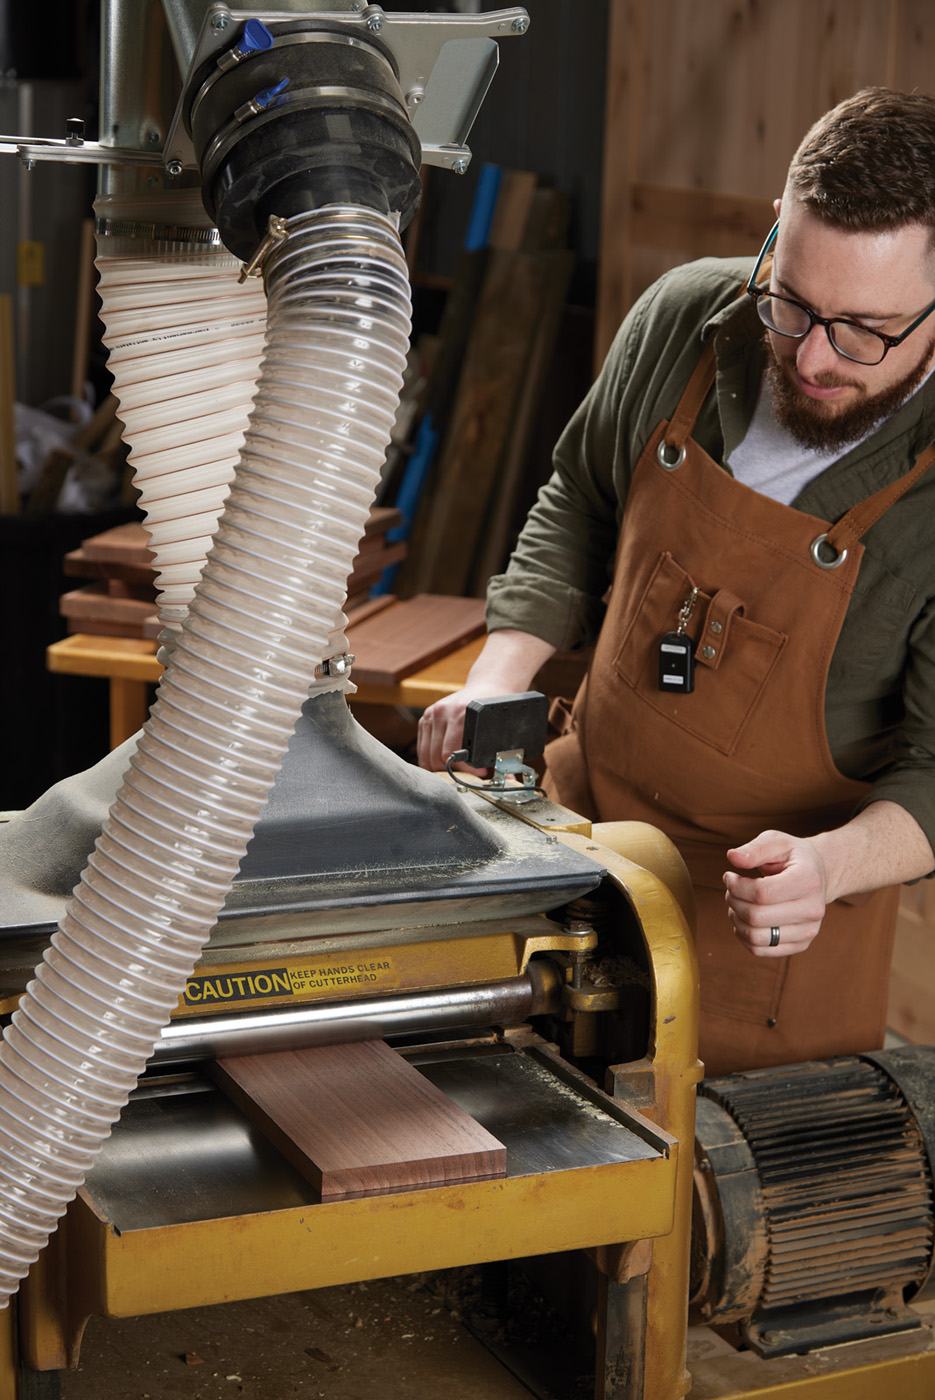
6 With a square edge and end, it’s time to plane to thickness. Congrats, you’ve made S3 lumber.
7 Now you rip to width.
Casework
With all the boards cleaned up, it’s time to take stock of what I have and where it’s going. There are a few previously invisible imperfections and knots that I want to avoid seeing in the final product. I start by grouping the boards by level of perfection, then testing different layouts to see how the grain patterns line up. Once I have a combination I like, I mark it with a triangle and number each board. After all the parts are laid out, I glue them up.
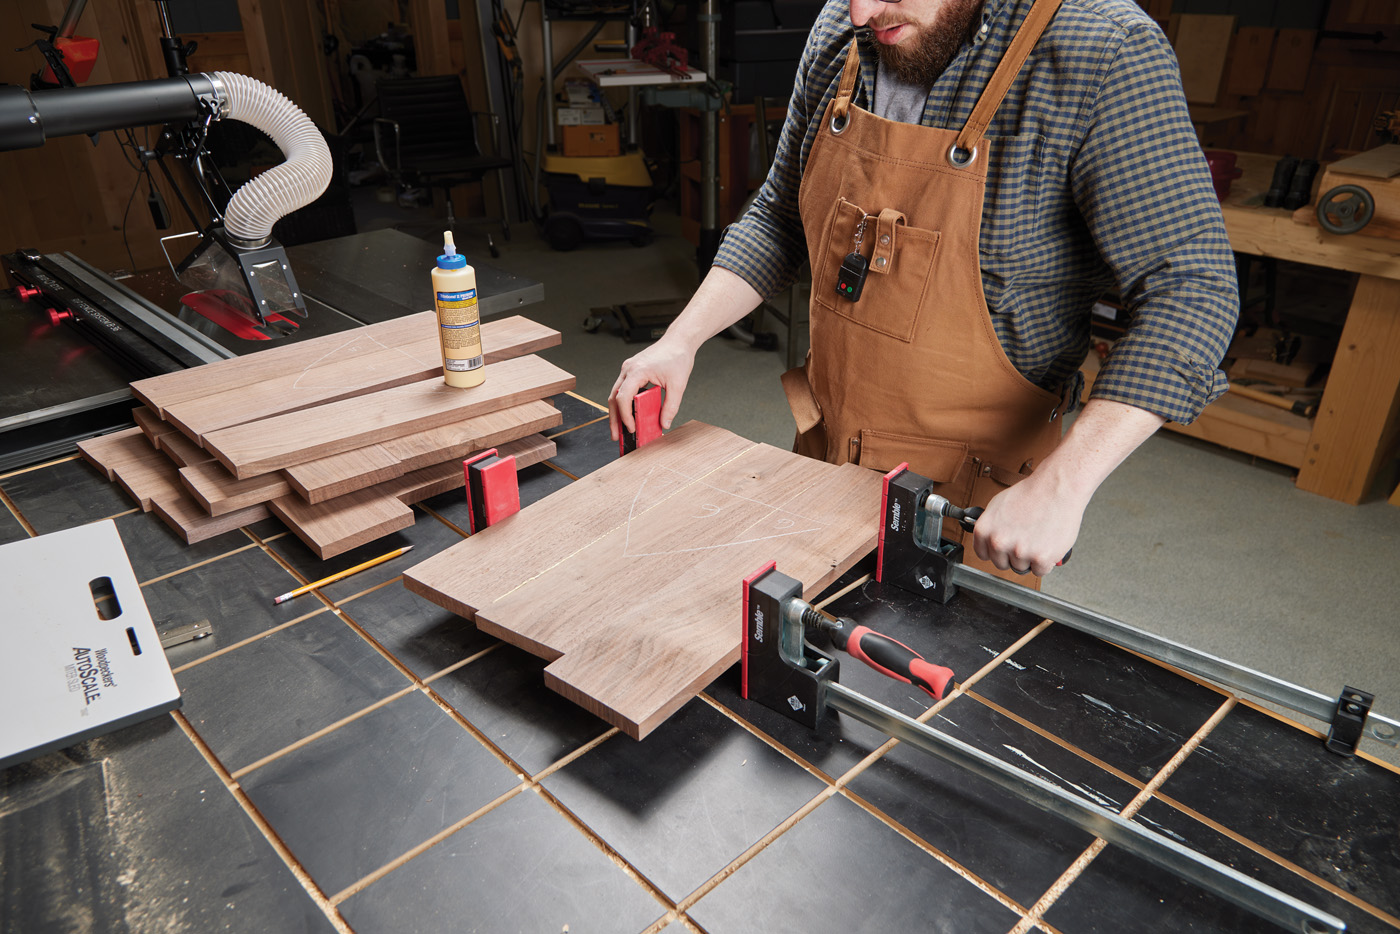
8 Lay out and mark board orientation before gluing.
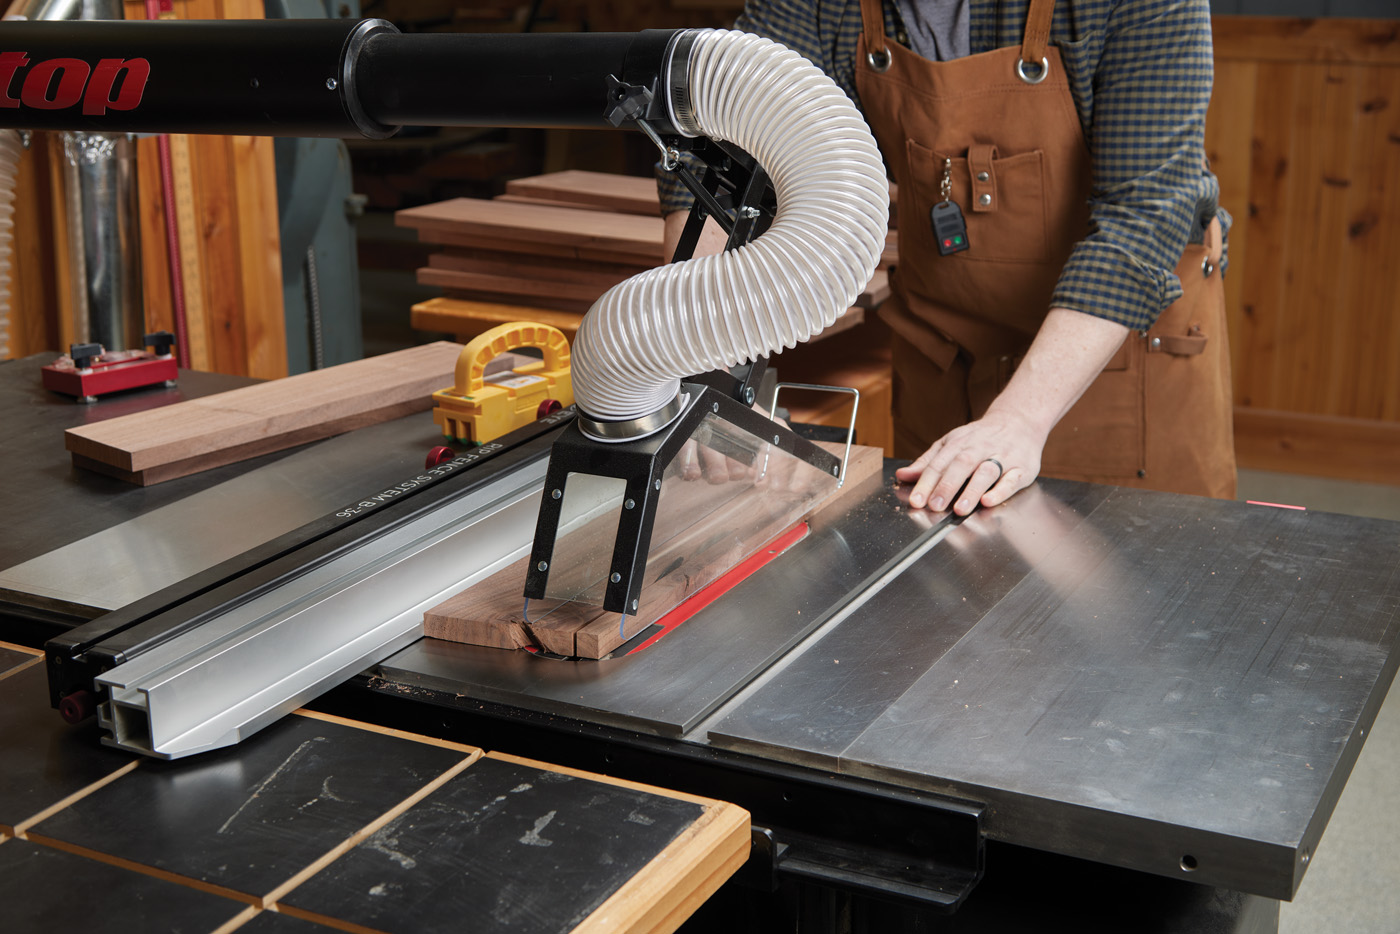
Once everything is dry, I can start making my mitered joints. Anyone who has worked with miters before knows they can be a bit of a pain—being even a fraction of a degree off will multiply into a noticeable gap when it comes time to assemble. I’ve had the best luck getting perfect 45° cuts on the table saw, so that’s what I chose this time. After carefully setting the angle, I cut two test pieces and put them together to make sure they make a perfect 90°.
9 A miter gauge is used to make the first 45° cut.
I used a miter gauge to cut the first mitered edge of each case component. I tried a stop block with the miter gauge for the opposite end, but when making test cuts, I kept running into issues with consistency. A miter sled would have been perfect for this, had I had one handy. Instead, I set the table saw fence and carefully held the workpiece against it to make the second cut. If you do it this way, make sure you don’t press too hard against the fence, or you risk marring the mitered point.
Domino Layout
As with all things woodworking, a little bit of patience and prep before cutting the mortises will pay off. One last time I checked the appearance of everything to make sure any imperfections would be hidden after assembly. Then, I marked the location of all of the mortises.
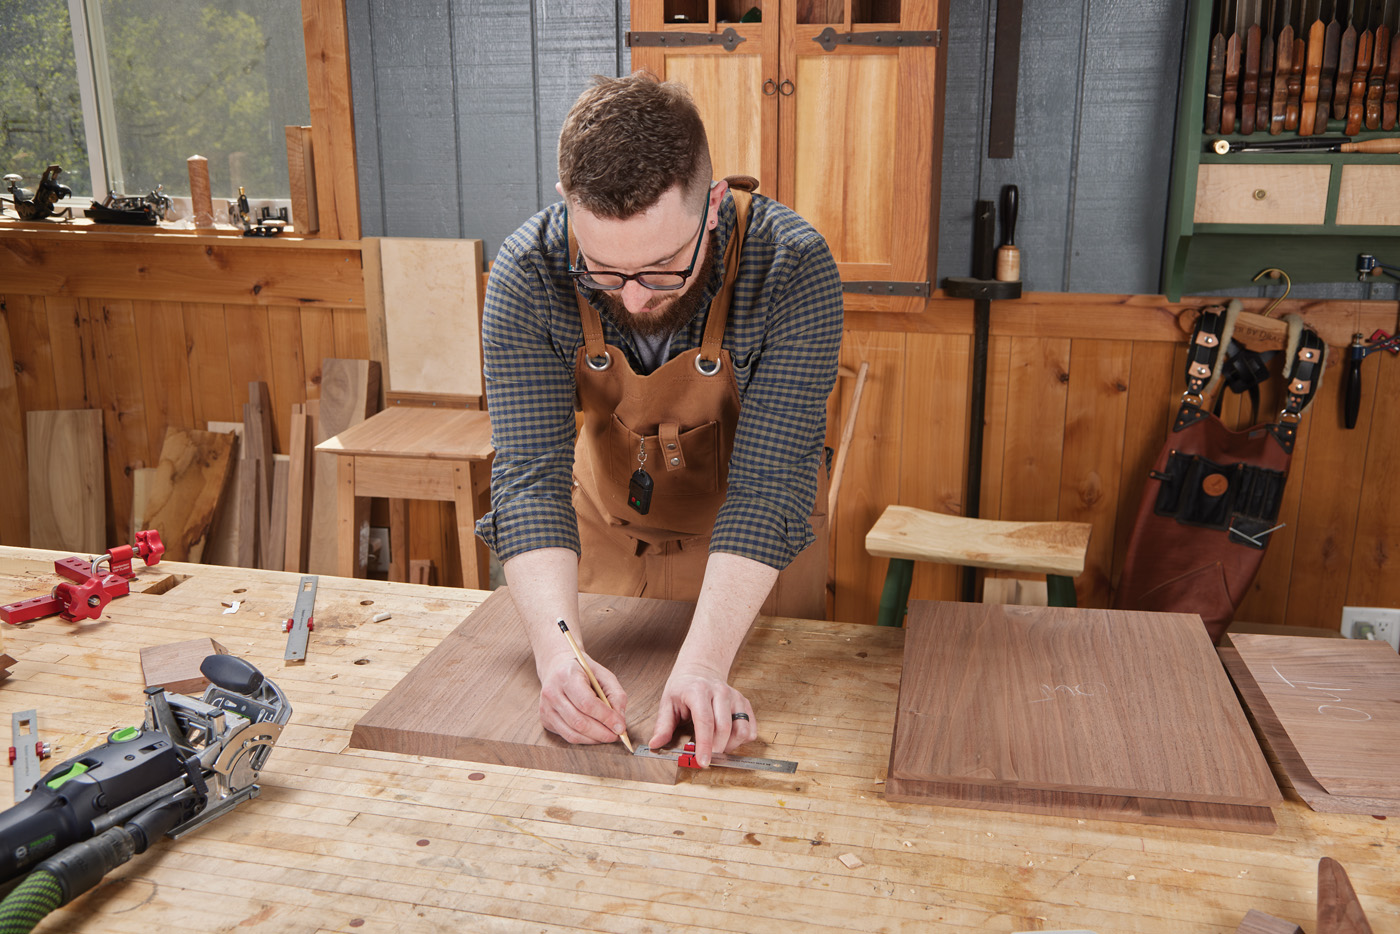
10 A pocket rule with a sliding stop helps layout.
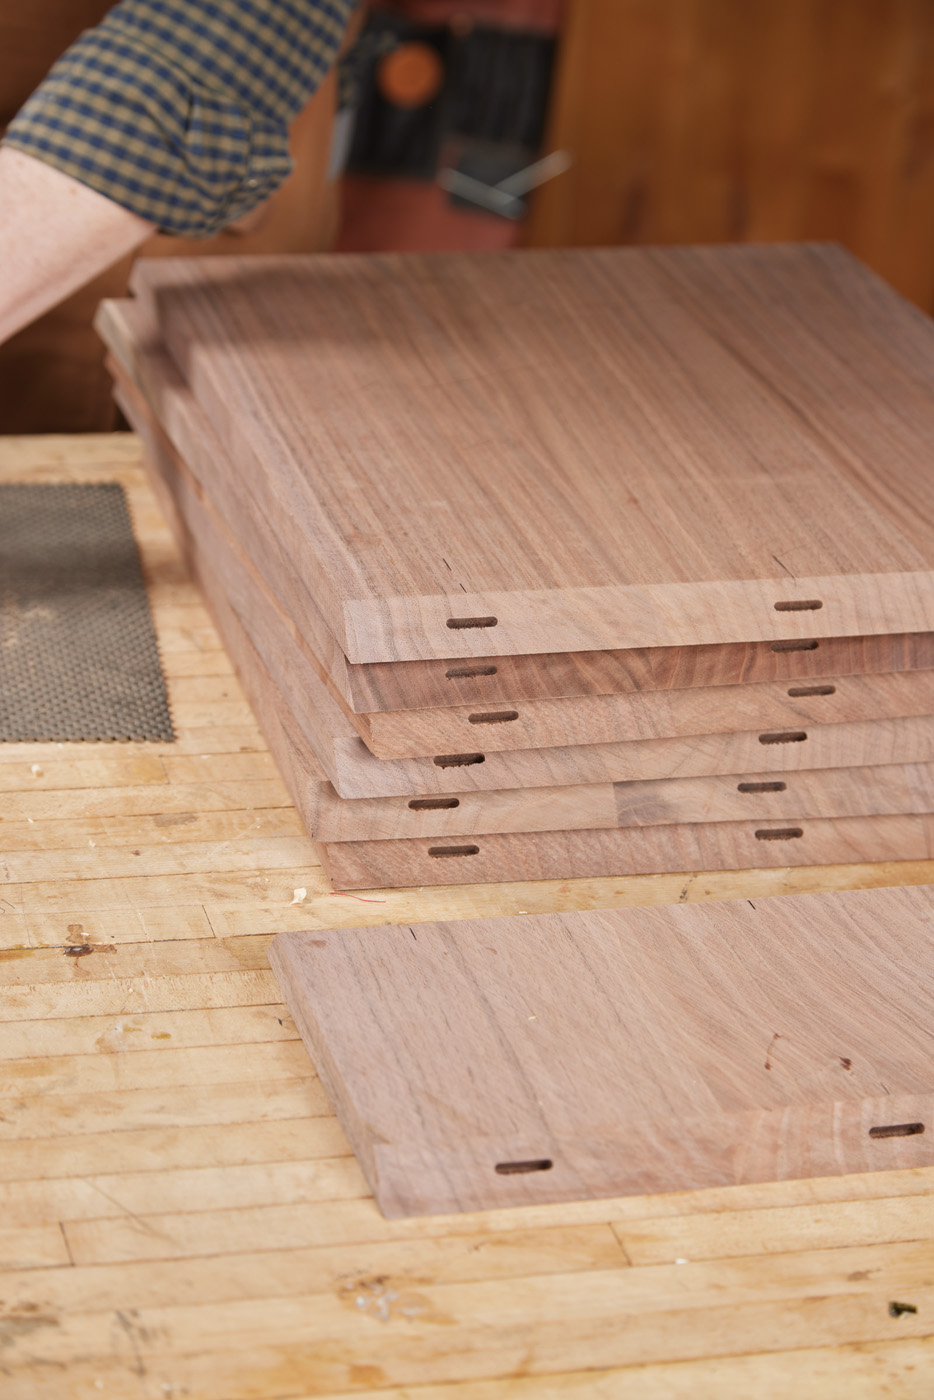
Even though I was extra careful with my layout, I went with the medium-width setting on the Domino to ensure I had some wiggle room. I chose a 6×40 Domino mortise and a 20mm depth of cut. This gave me a joint that would be plenty strong, but wouldn’t get too close to going through my stock. I used my leftover mitered stock from before to dial in the fence height so the mortise would be exactly centered.
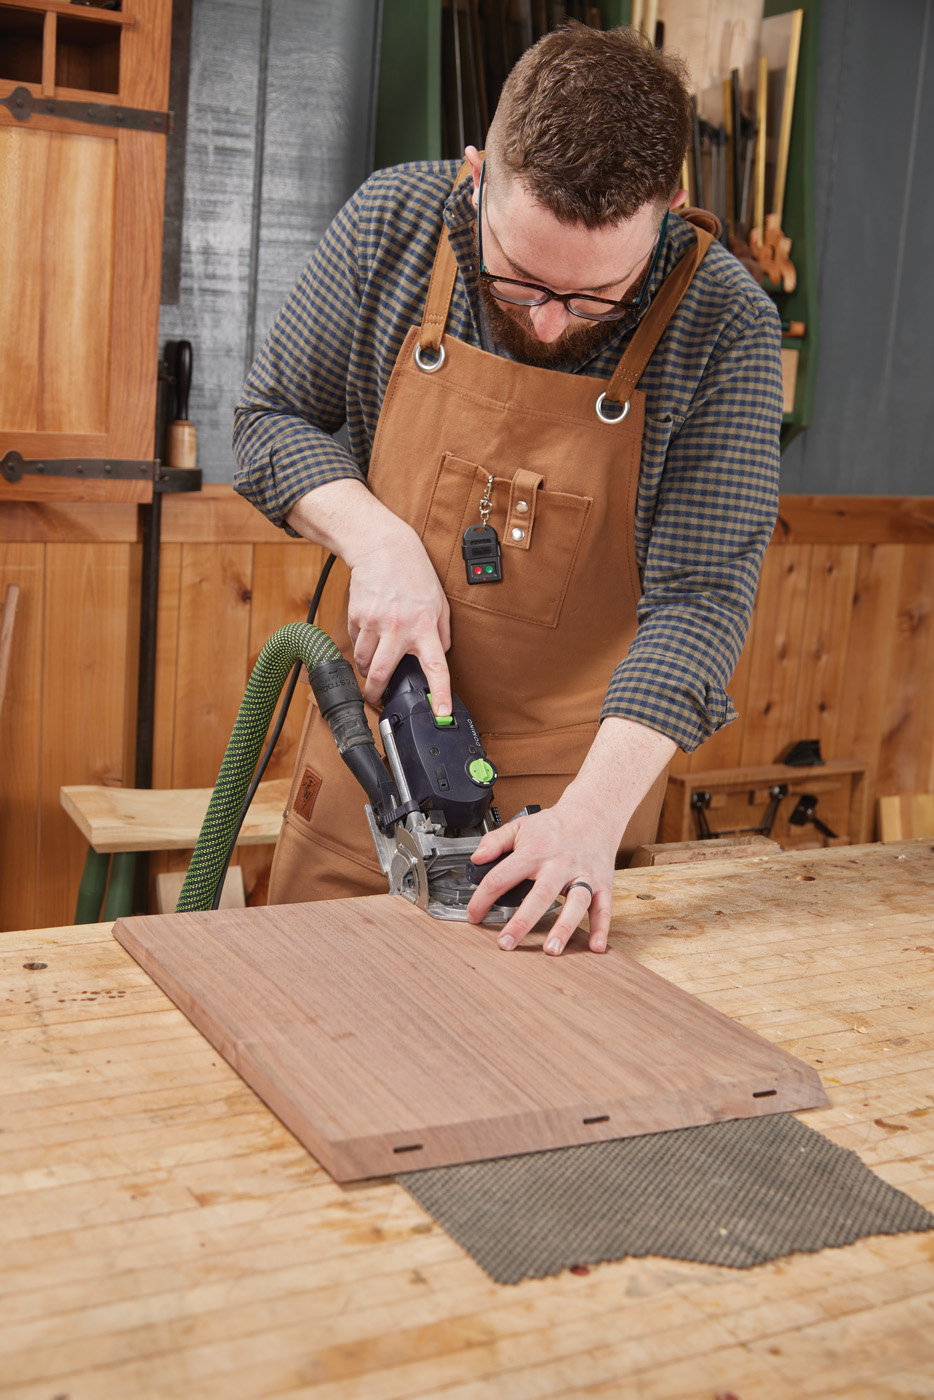
11 Holding the fence firmly against the face of the board means nothing shifts while cutting.
Cutting the mortises themselves after all this prep work was a breeze. I would line the Domino up with the mark, turn on the motor, press down firmly with my left hand to hold the tool in place, then cut the dowel hole.
12 Once I found a rhythm it took no time to make all of the cuts.
Case Glue Up
At this point, it was the moment of truth. Is everything going to align? Will it be square? Why was I doing a project with miters once again? Truth be told though, there was almost no drama.
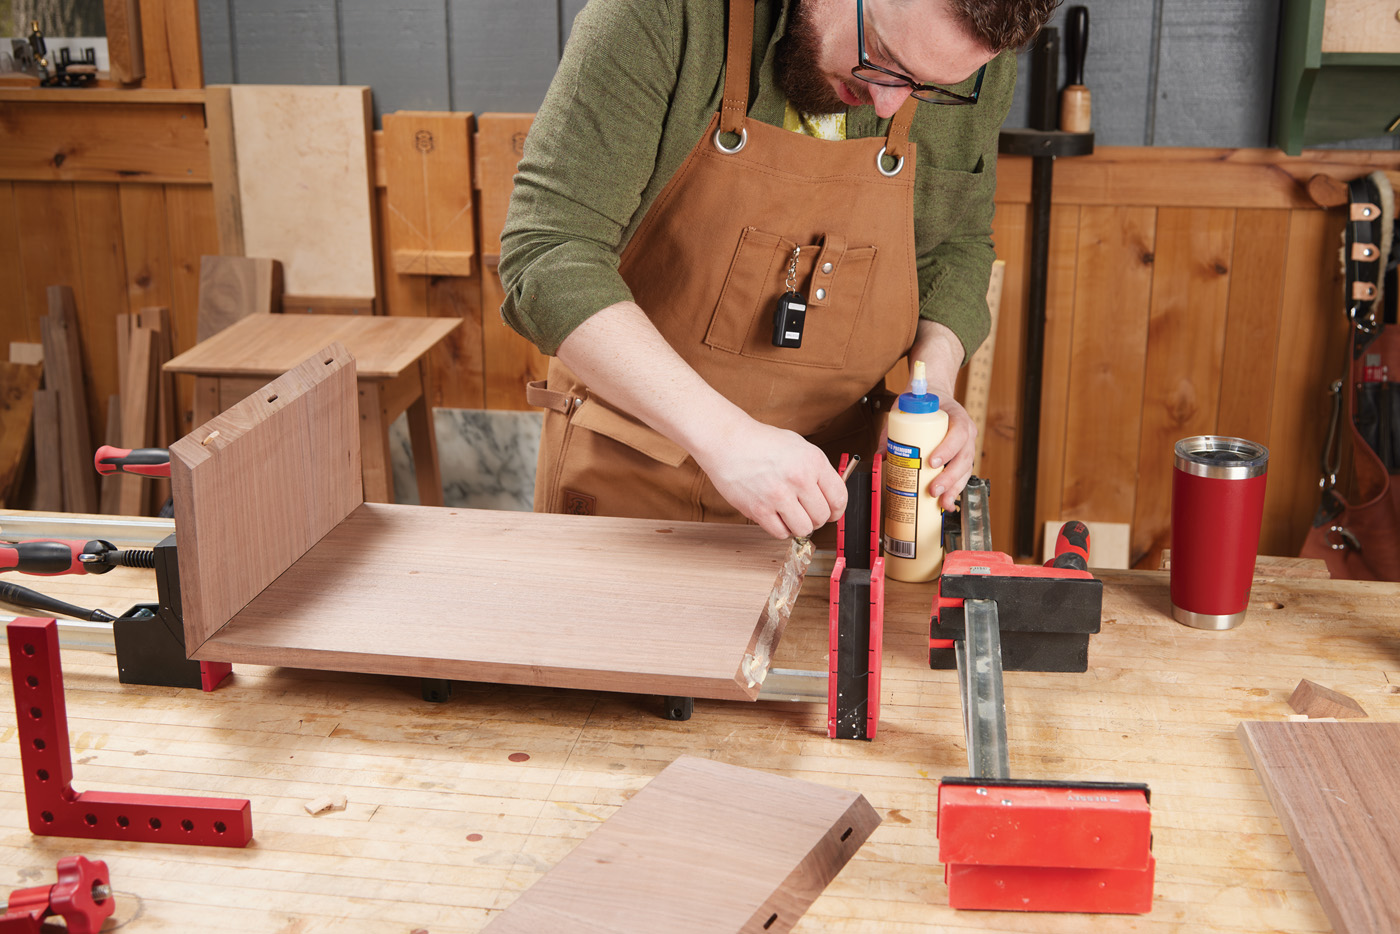
13 Make sure to spread glue on all of the mating surfaces, including the tenons.
I went with Titebond II for final assembly, as I was on a bit of a deadline and didn’t need the extra open time thanks to a second set of hands from Logan. If I was doing this on my own I definitely would have gone with a longer open time to reduce stress. I applied a liberal amount of glue to each surface and each Domino tenon, then popped all four pieces into place. The upper unit was almost exactly square from the get-go, and only needed a handful of clamps to secure it. The lower case went together just fine, but didn’t measure completely square after the clamps were on. It wasn’t off by a lot, but since I had some wiggle room thanks to those oversized mortise slots, it was worth correcting. Squaring up the case itself meant some of the faces were offset by a fraction of an inch in the corners. Thankfully that was an easy enough problem to solve with a block plane once everything was dry.
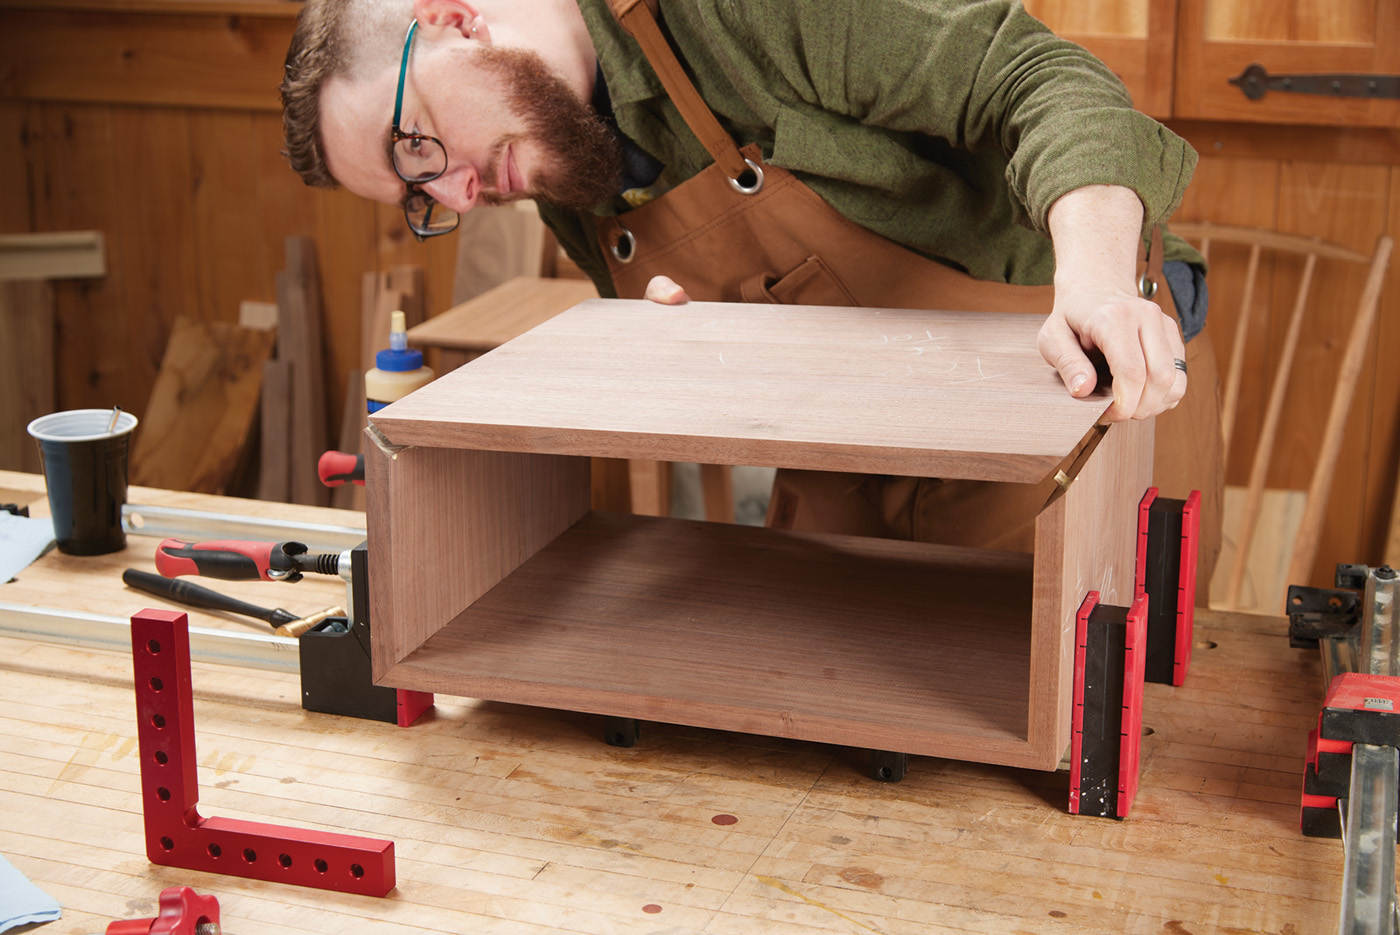
14 Leave the clamps just loose enough to allow the sides to flex when installing the top of the case.
Legwork
I’ll say right off the bat that it would have been easier to cut a simple (as opposed to compound) angle, then taper and finish angling after the fact. There are two reasons for not doing it that way though. For one, the end result looks better with the angle of the miter and the nice straight grain. And two, I wouldn’t have been pushing myself to learn new things.

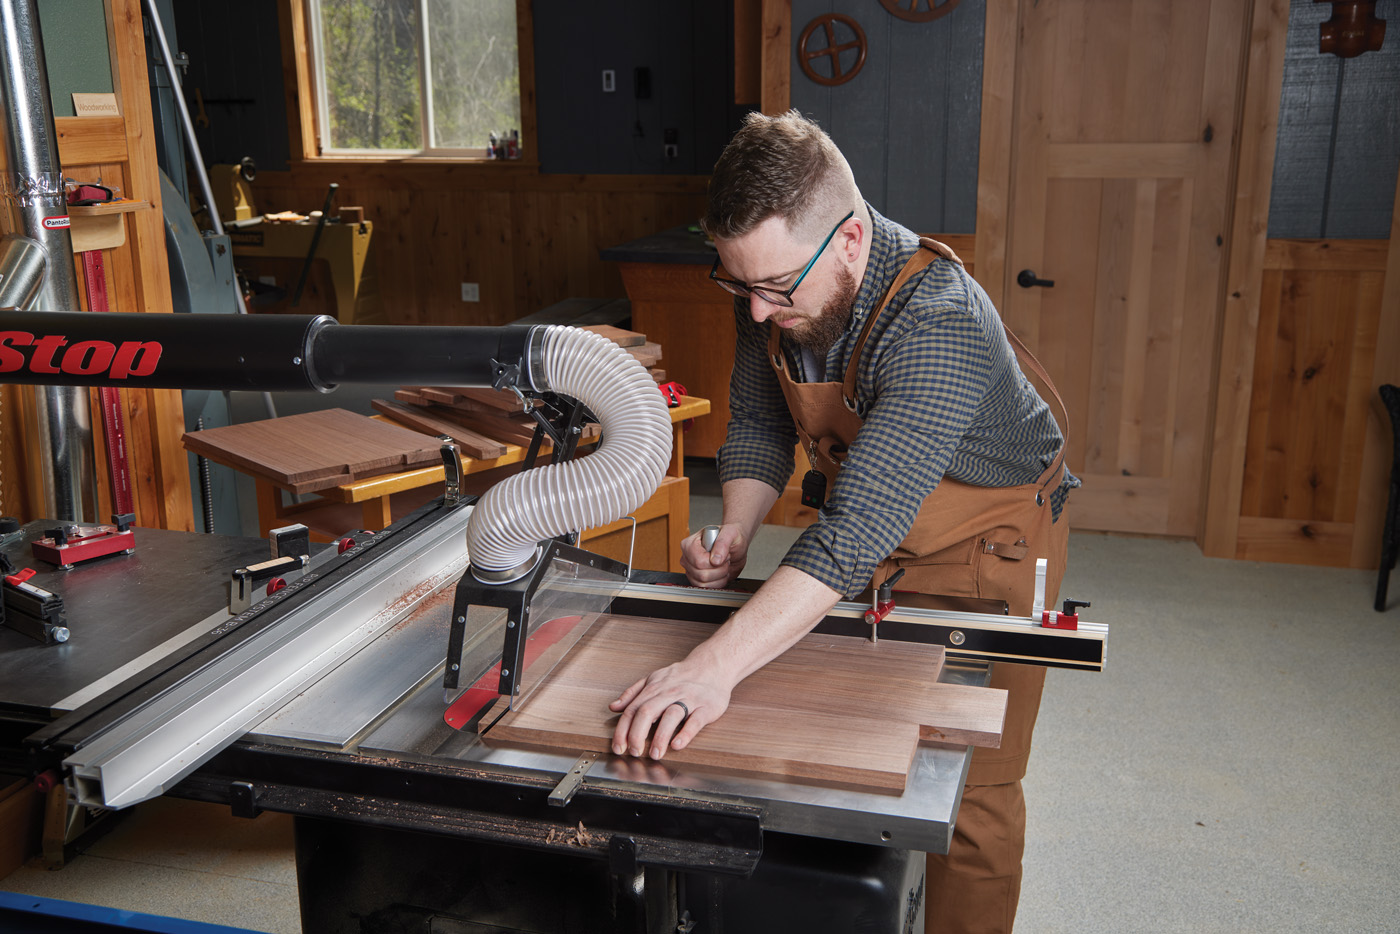
15 With the right fence, you can dial in dead-accurate compound miters on the table saw.
The legs start as some 2 x 1-1/4 stock. With precision being essential, I chose to cut my compound miters on the table saw. The miter fence was set to 26°, and the blade tilted at 3.5°. These dimensions were chosen because they looked “right” as opposed to some sort of mathematical calculation.
As you make your cuts on the table saw, keep in mind what’s going where and what piece can correspond with it. You can get half your cuts done with your first setup, then you have to adjust the fence so it’s angled 26° the opposite direction for the second half. This will get you a full set of leg components with the correct corresponding angles. Label the legs and position of each part before continuing. Also, go ahead and mark the centerline for your Domino tenons.
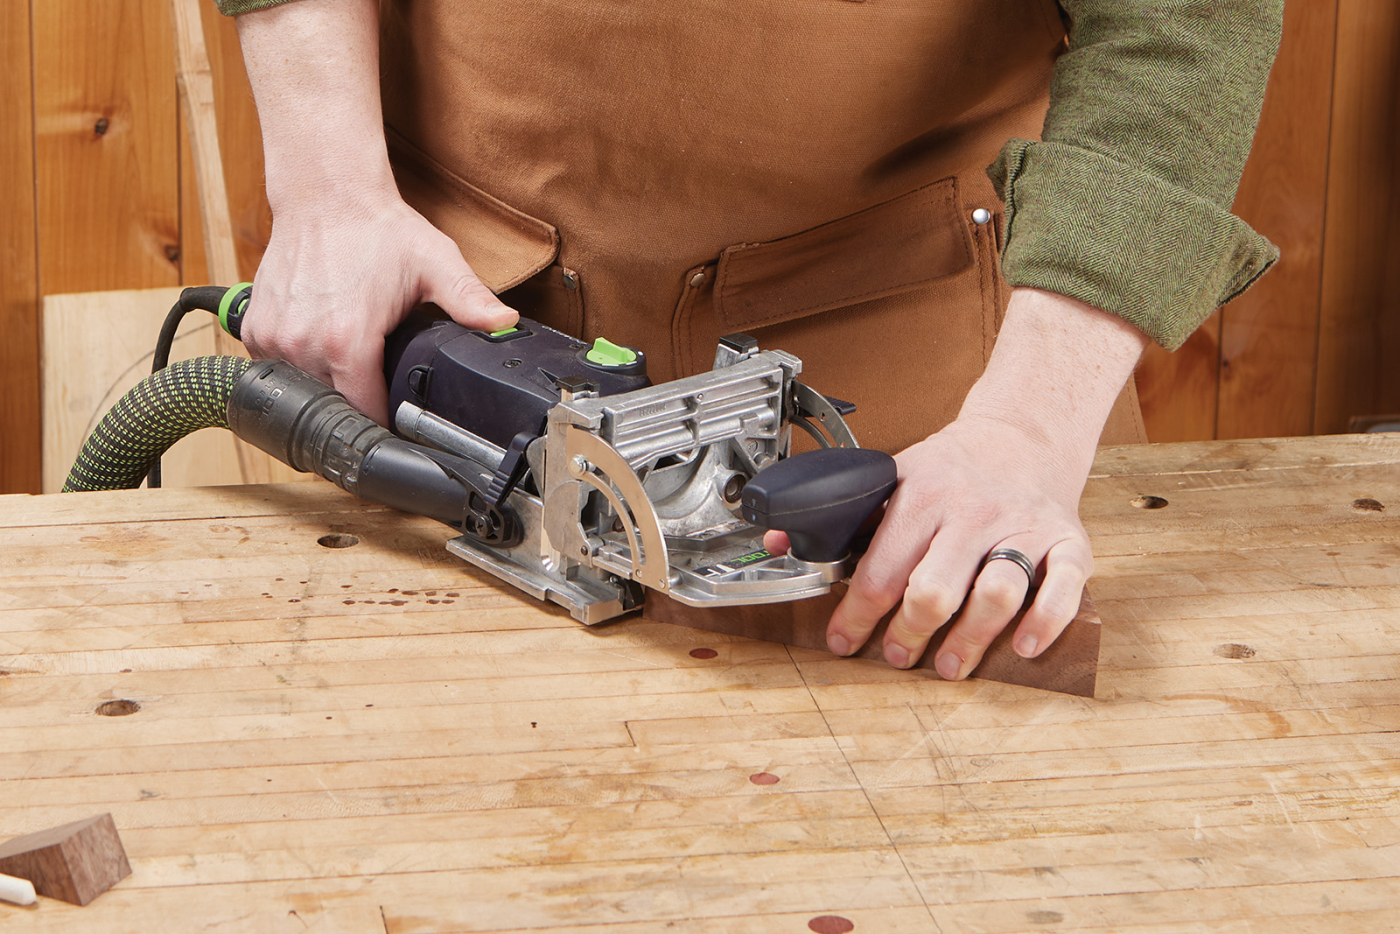
16 It’s hard to tell from the photo, but the fence is set at a slight angle so the domino is flush to the board.
These angled ends might sound like they’re a headache to cut the Domino mortises on, but it’s actually straightforward. Start by loosening the fence lock lever and getting the cutting surface of the Domino pressed securely on the angled end of your board. Then lock down the fence. This is the angle you will use for all of your cuts on all surfaces. Since the Domino cutter is now square and parallel to the mating surface of the parts, the tenons will align exactly across the joint.
For extra strength, each joint gets two tenons. The first is cut approximately 3/8“ from the face, and the second at a distance of 7/8“. That left about one tenon space between each hole. I completed all my cuts at the first depth before adjusting the fence height and making the second round of mortises. I used the 8×40 size tenons here for some extra strength.
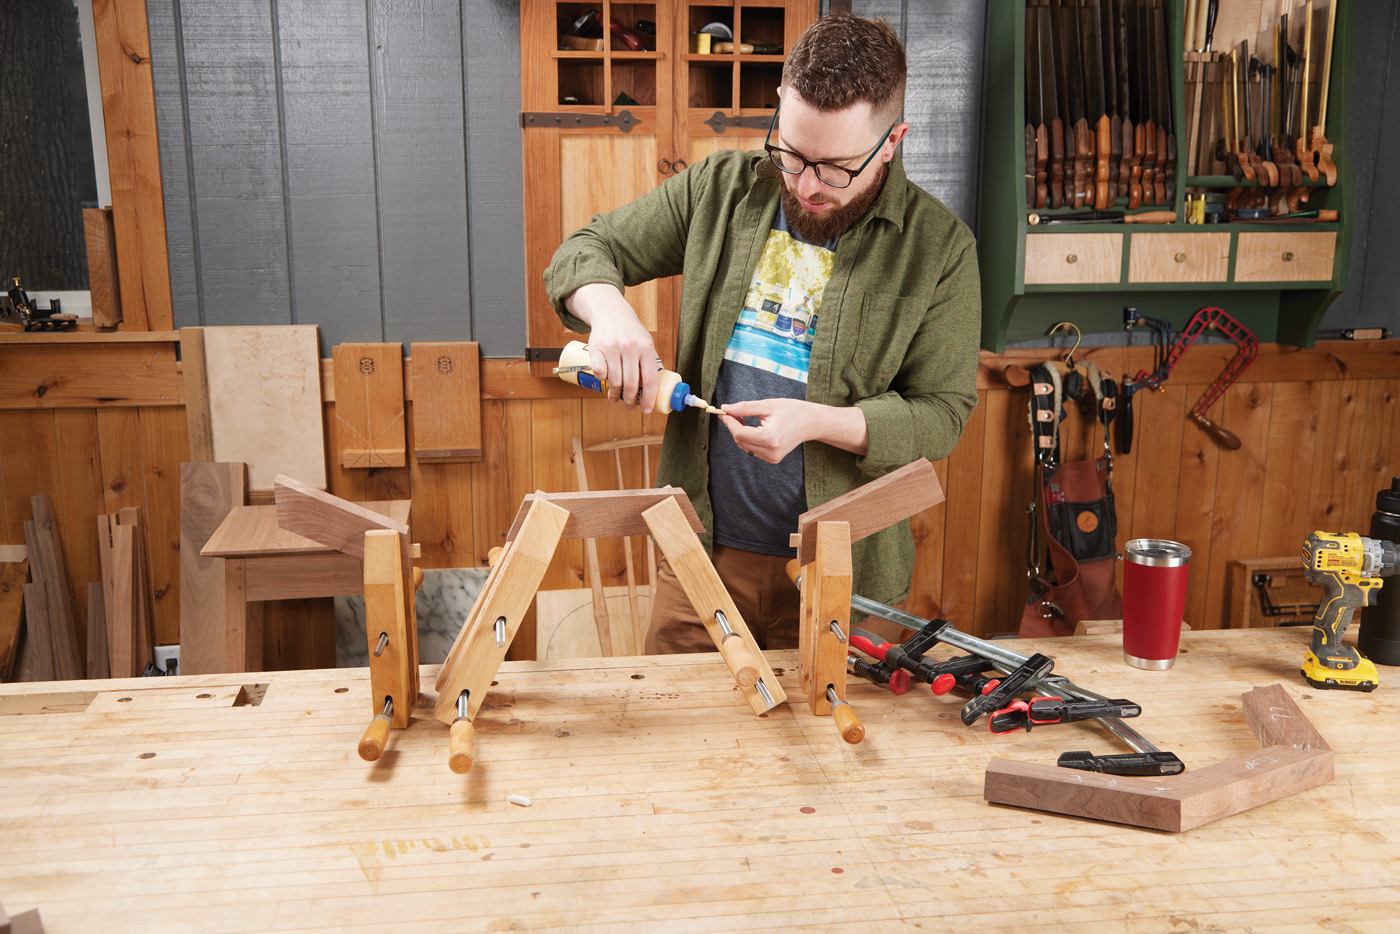
17 Handscrew clamps don’t get enough love from woodworkers, but they’re perfect for stuff like this.
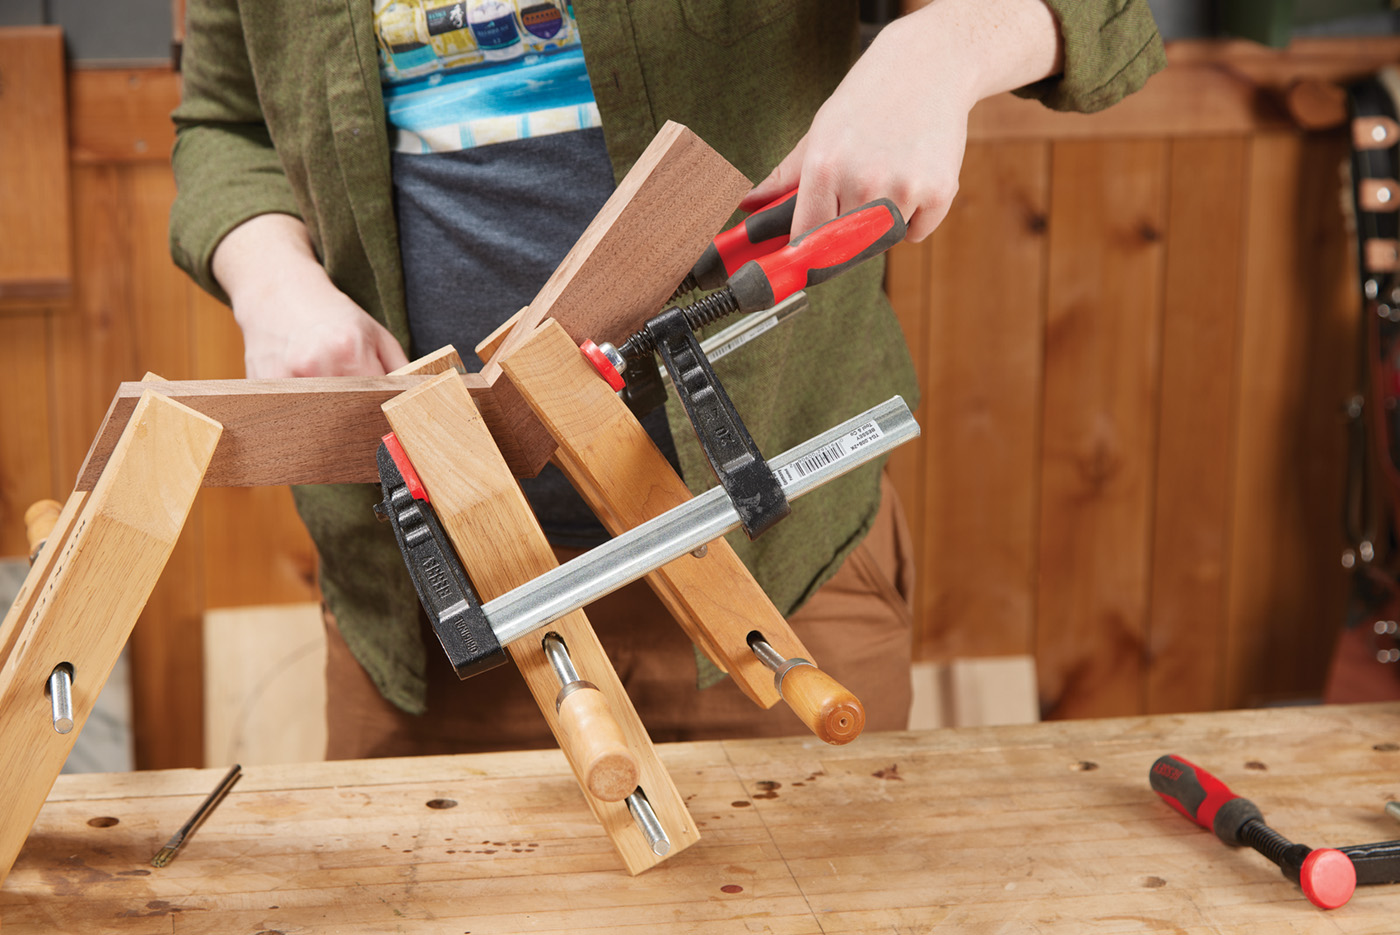
18 It takes a good amount of clamping force to keep everything perfectly tight.
Glue up was a little bit tricky, with a lack of parallel surfaces to clamp to. I wanted the joints to be nice and tight, so I tried attaching some clamping blocks with double-sided tape. They kept peeling off when I tightened down though, so I switched to handscrew clamps on top of double-sided tape. That allowed me to exert a significant amount of clamping force.
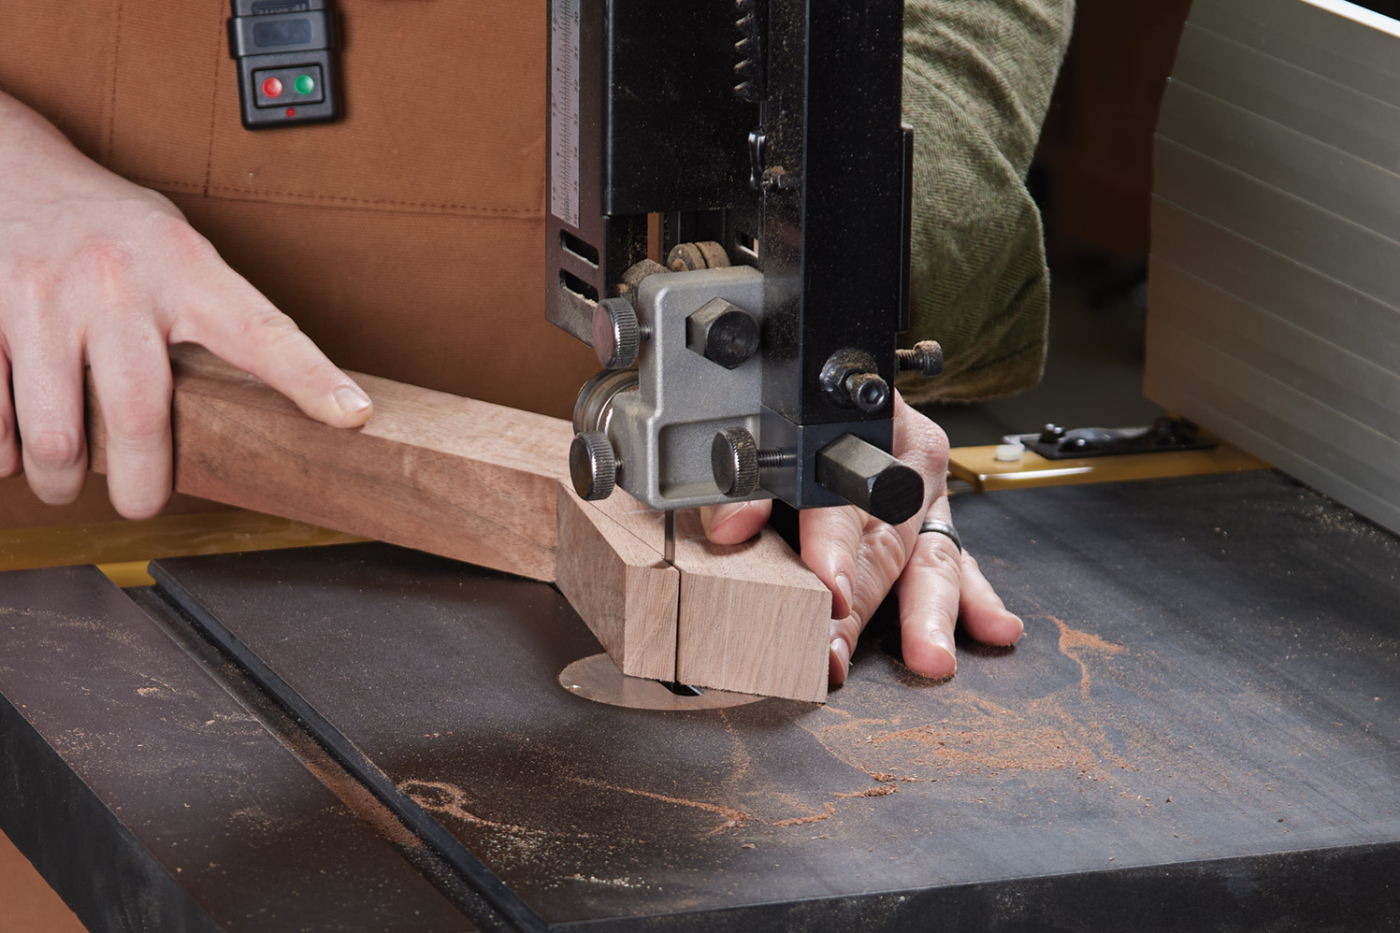
19 The band saw trims the underside and inside of the legs, where it’s least visible.
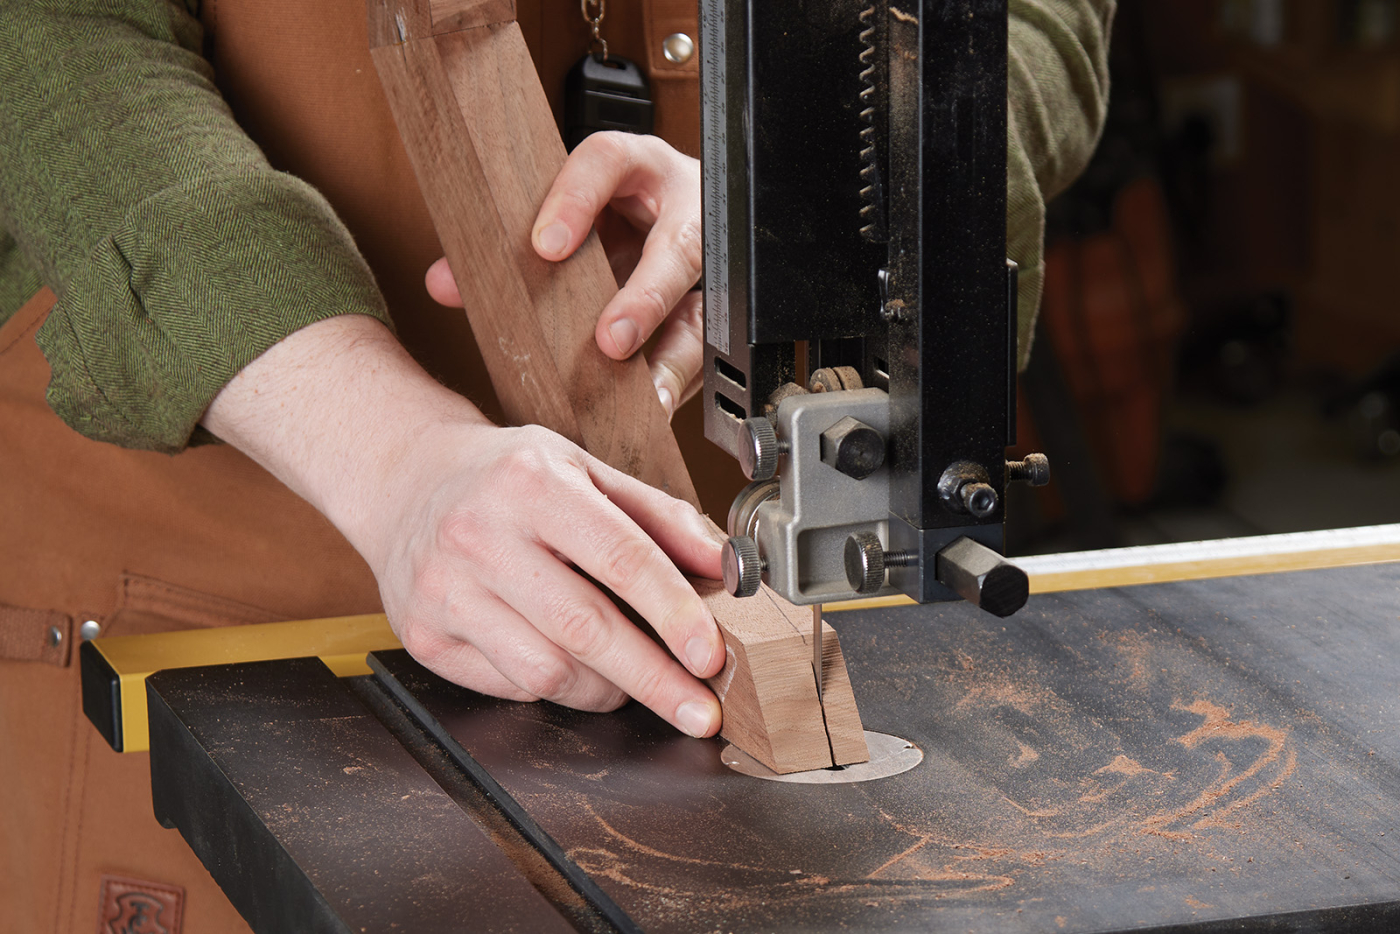
20
After the glue was dried, I tapered the legs on the band saw. A block plane was used to finish smoothing out any unevenness, with a little help from a card scraper on the corners.
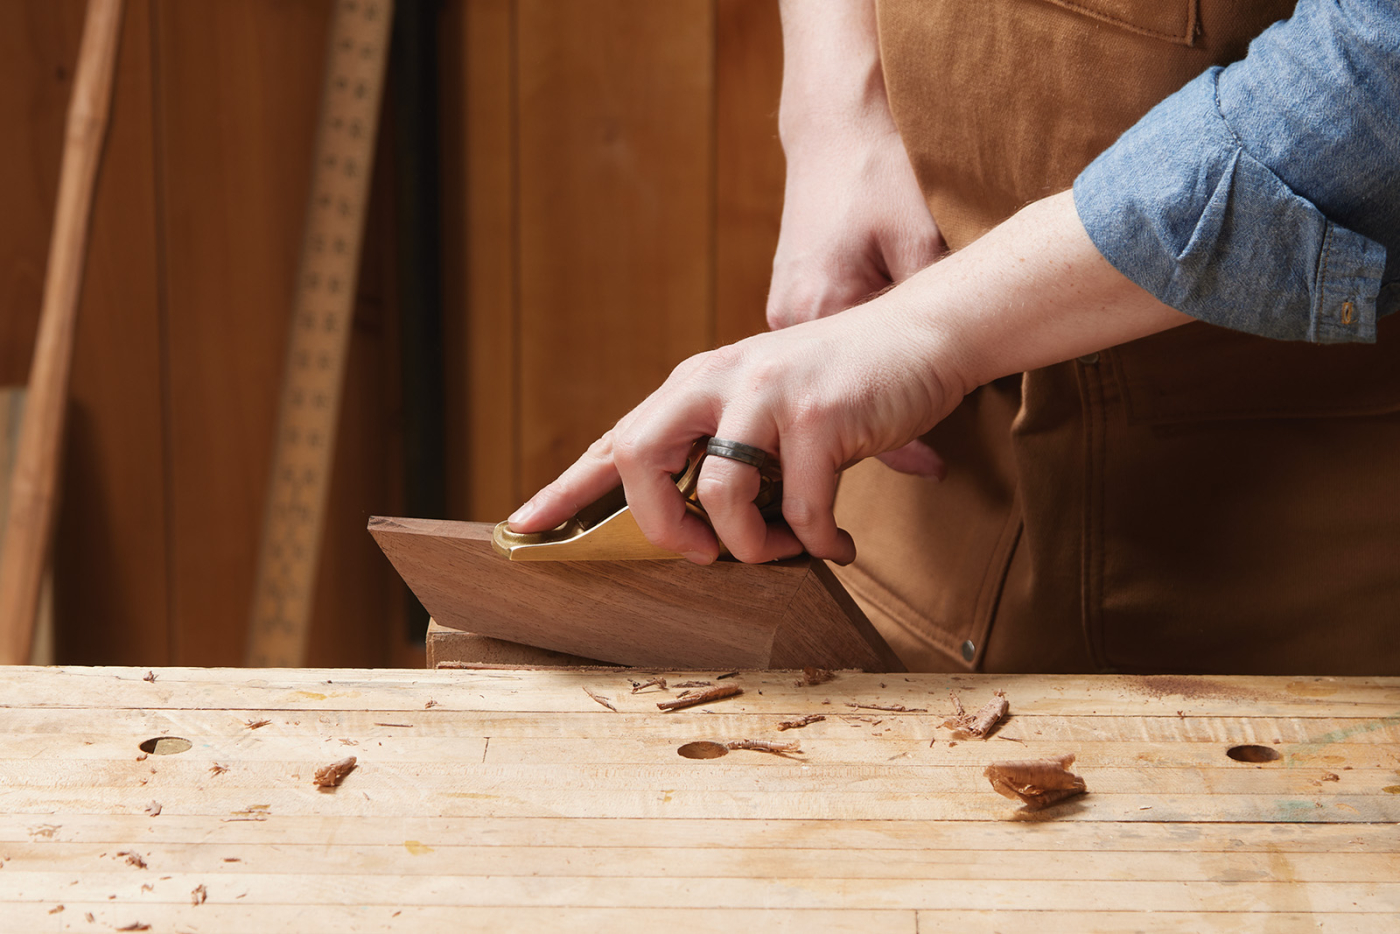
21 Clean up the saw marks with a block plane.
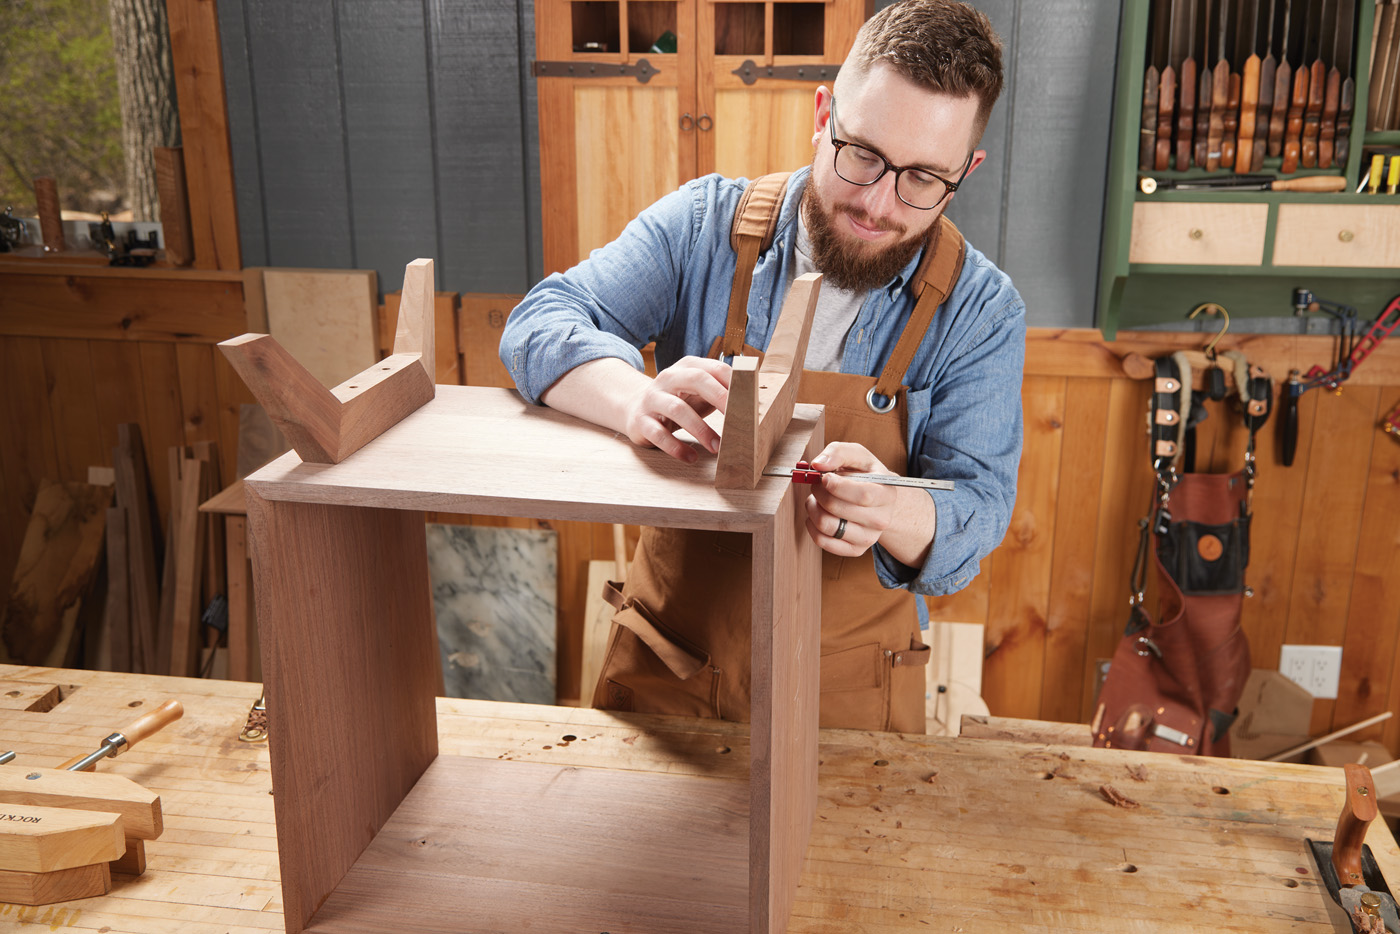
Final assembly
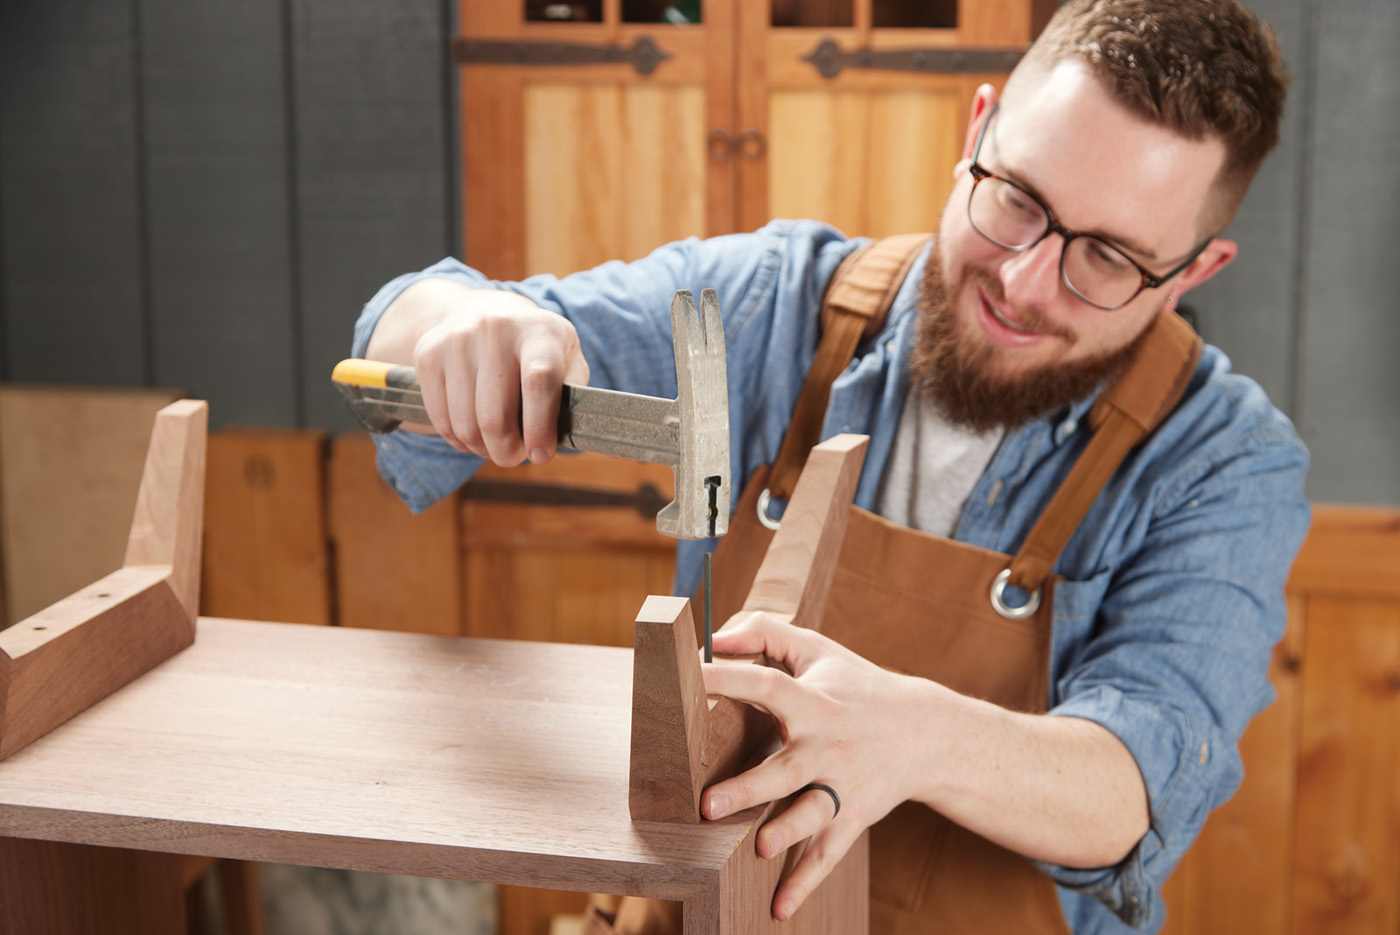
The final little trick was getting the negative space between the upper and lower cases correct. I ended up using a 3/4“ diameter hollow brass tube cut to 5/8“ tall. After cutting the spacers, I stacked the cases with the brass tube between them to get their position just right. I wanted the upper case to appear to be floating, with the brass spacers a nice little reveal for those who look closer. Once I was satisfied, I lifted the top case off and marked the locations to drill.
22 The legs just barely extend beyond the boundaries of the case.
23
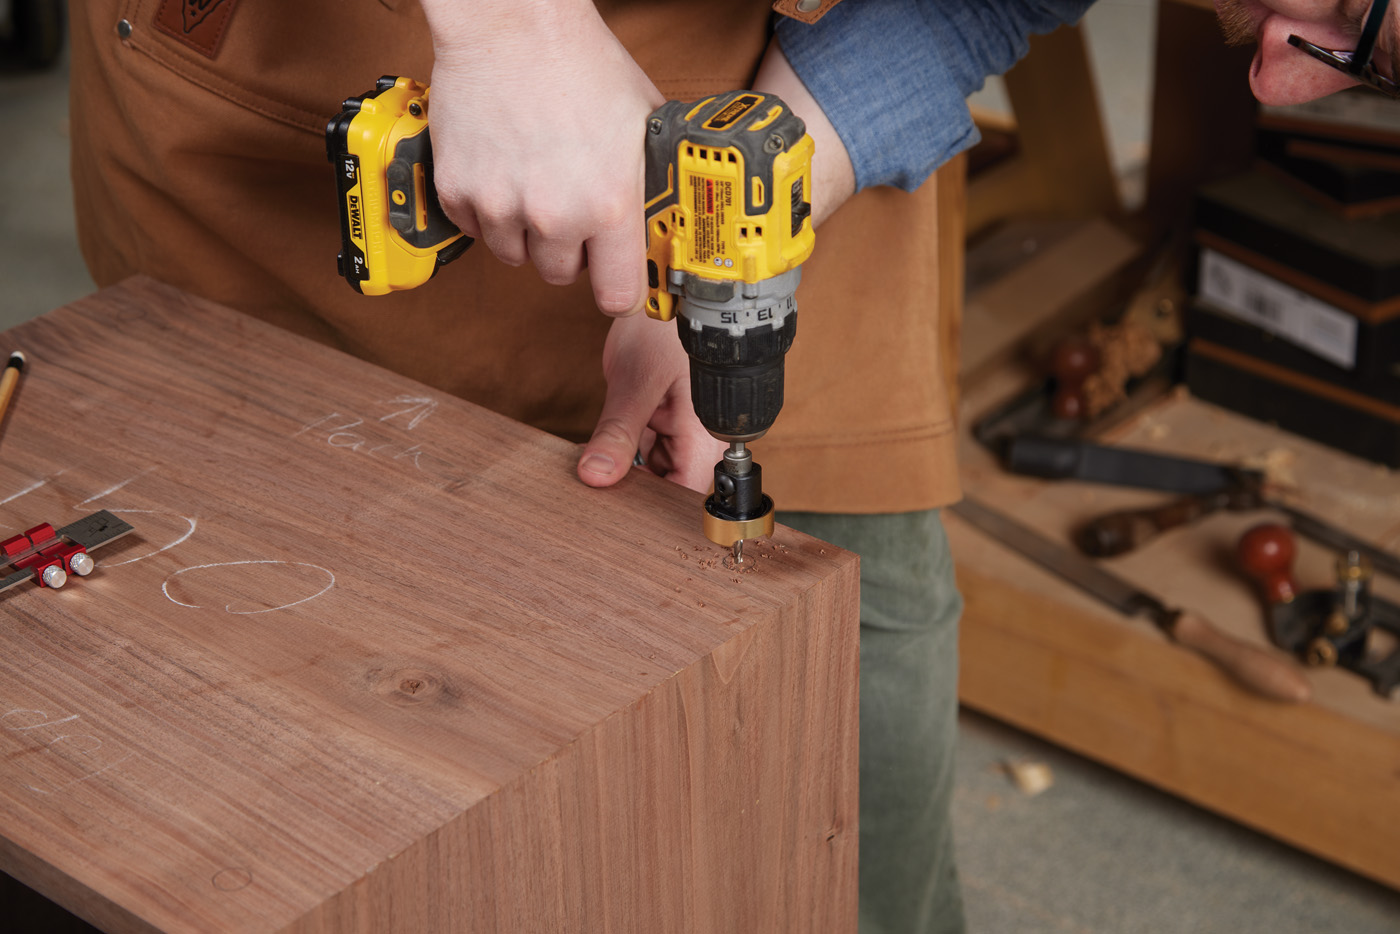
24 While the transfer punch does leave a nice indent to drive a screw into, I wanted to play it safe and pre drill the screw holes.
From the top, I drilled the through-holes for each screw. Then, from the inside of the case, I drilled the countersinks. I stacked the cases upside-down (without the brass tube), and a transfer punch was used to mark the location of the screws in the upper unit. A stopped bit was used to pre-drill those holes to make sure everything would still be aligned correctly.
I re-stacked the case with the brass spacers in the exact position I wanted them. Screws were then driven from the lower case into the upper unit, hidden inside the tube.

25 The screws for the legs are the final assembly step.
Finally, the legs were also attached with screws from below. A quick trip to the drill press bored the through holes and recess holes in the legs. I precisely lined everything up, then used the transfer punch once again so I could pre-drill the holes. Just make sure to not apply too much torque when driving the screws.
 For finishing, I rubbed and wiped a few coats of linseed oil to really highlight the grain and rich color. After that dried, I applied a few coats of Watco liquid satin wax, which I then buffed with a cloth.
Here are some supplies and tools we find essential in our everyday work around the shop. We may receive a commission from sales referred by our links; however, we have carefully selected these products for their usefulness and quality.


