We may receive a commission when you use our affiliate links. However, this does not impact our recommendations.

Protect your “cheaters” in style.
Sooner or later everyone’s eyes need a little help—especially for reading or close work. One popular solution is to buy a pair of “cheaters,” those stylish reading glasses that are available in bookstores and practically everywhere else. How to protect these delicate, inexpensive glasses—especially the compact versions—is always an issue.
A turned wooden case with a friction-fit cap is a perfect solution. It’s a unique gift that fits in pockets, purses and briefcases. It can also hold more than glasses. It would make an outstanding one-cigar humidor, for example, if you used the appropriate wood. In either case, this project provides an opportunity to develop skills in end-grain drilling, turning delicate details and creating just the right fit between the base and the cap.
Materials and tools
A 1-1/2″ square by 9″ to 10″ long block of wood should be more than adequate, although the glasses’ size is the ultimate determinant (the glasses shown here measure 11/16″ x 3/4″ x 5-3/8″). Almost any wood will work, but stronger woods such as maple, cherry, cocobolo, purpleheart, goncalo alves and boxwood will allow creating thinner walls. Make sure the wood is at the drier end of the spectrum.
 A spindle roughing gouge, a spindle/detail gouge, a parting tool, a thin-kerf parting tool and a skew chisel will suffice for turning. You’ll need a scroll chuck equipped with a small set of jaws to hold the wood for drilling. You’ll also need two high-speed steel or carbide Forstner-style drill bits. An extension to allow drilling deep holes and an adaptor/holder with a #2 Morse taper end, designed to mount in the tailstock quill, can be purchased with the bits. The glasses and the wall thickness of the case determine the bit sizes. For the glasses shown here, I used a 1-1/16″ dia. bit to drill out the case’s slip-on cap and a 13/16″ dia. bit to drill out its base.
Determine the proportions
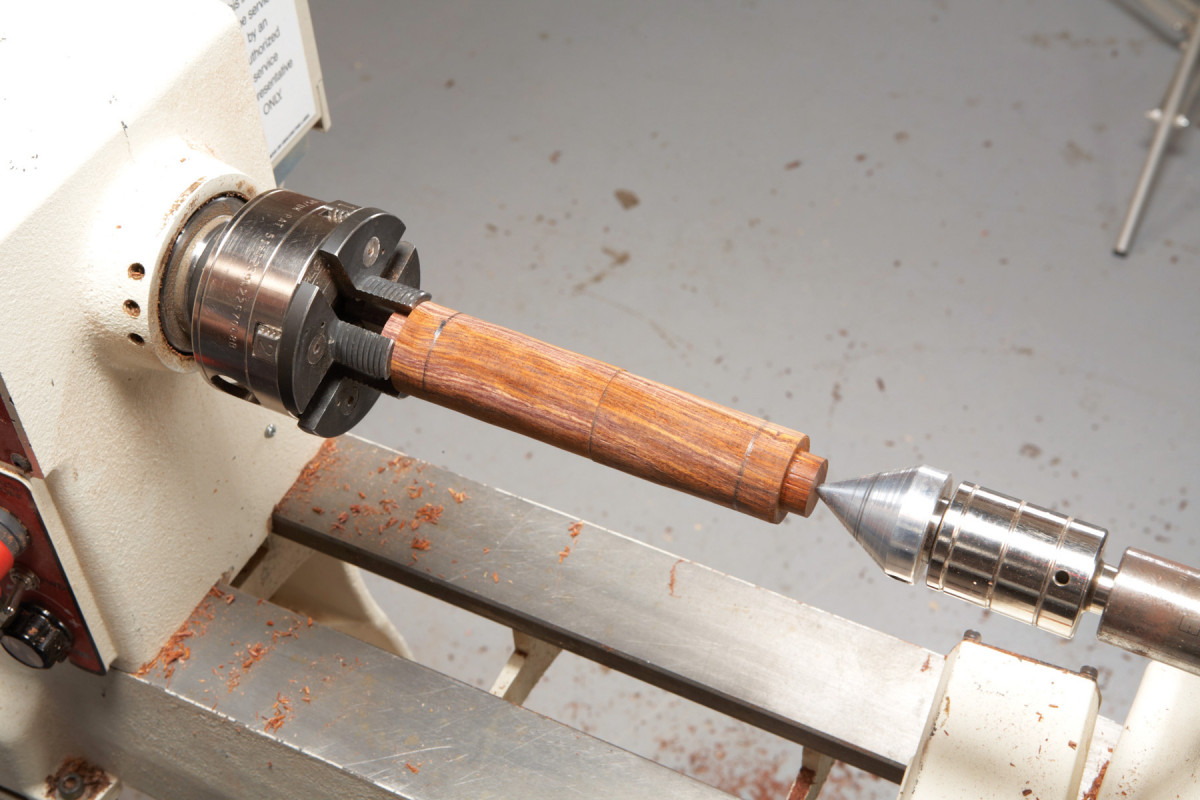
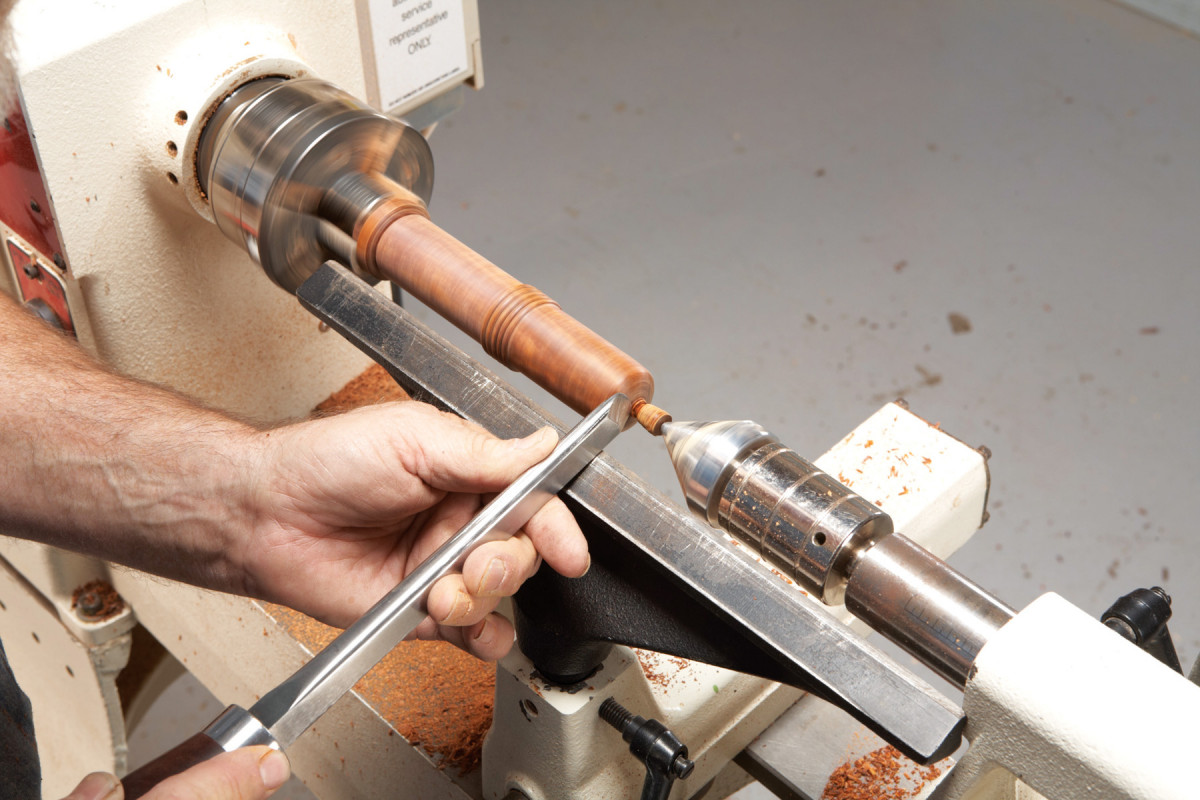
1. Start by cutting tenons on both ends of the blank. These tenons will be used later, when the cap and base pieces are drilled out.
Mount the blank between centers and knock down the corners using the spindle roughing gouge. Then turn tenons at both ends (Photo 1). These tenons will be used later, to mount the cap and base blanks in the scroll chuck. The tenons should be about 3/4″ long and about 1″ in diameter, and their shoulders should be slightly concave.
Lay out the base and cap on the blank. Their overall lengths depend on the depth of the holes drilled in them. Use your glasses and the overlap of the friction-fit joint to calculate the depth of these holes. I normally allow 3/4″ for the joint on both parts (the tenon is on the base; the mortise is in the cap), and I drill into the base far enough to house the glasses by about two-thirds their length, so they won’t easily fall out when the cap is removed. For the glasses shown here, I drilled a 3-3/4″ deep hole in the base and a 2-1/2″ deep hole in the cap.
The overall lengths of each part must be longer than the drilled holes, of course—by at least 1/4″. Decide which end of the blank will be the cap and which will be the base. When you mark the dividing line on the blank, allow about 1/2″ additional length on both parts for shaping their ends, finish sanding and parting off.
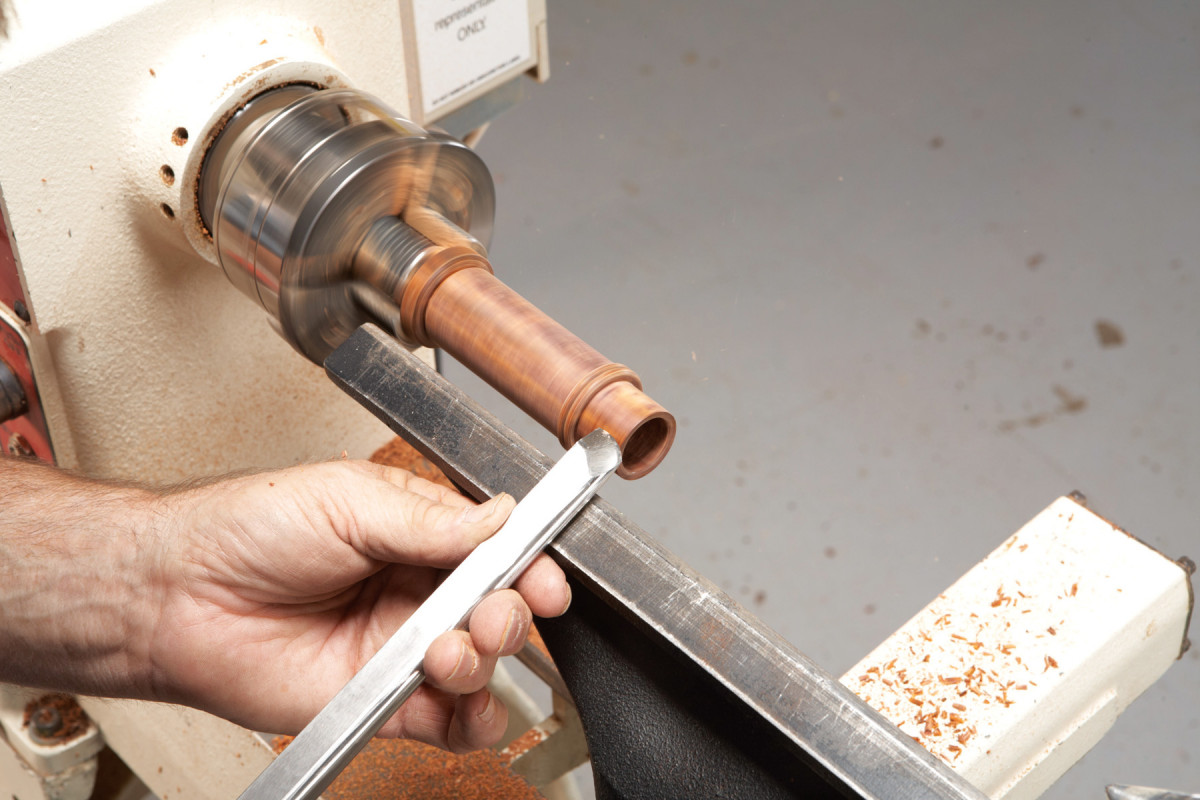
2. Separate the cap from the base by cutting in with a parting tool. Stop just before cutting through. Then twist the blank to break the pieces apart.
Use a parting tool to separate the cap and the base (Photo 2). Although not essential, a thin-kerf parting tool minimizes the wood loss, resulting in a slightly better grain match between these two parts on the completed case.
Drill the holes
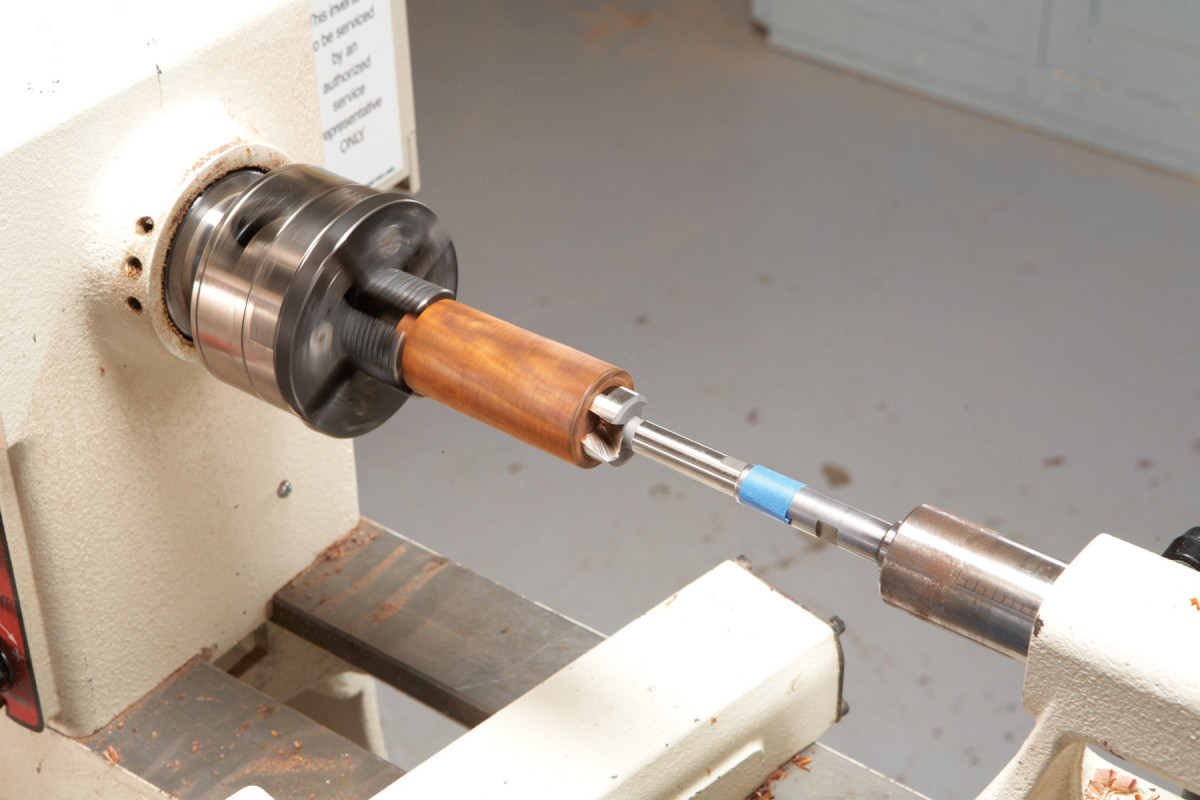
3. Drill out the cap with a Forstner bit attached to an extension for deep drilling and an adaptor for mounting in the tailstock. Slowly advance the tailstock to move the bit into the spinning blank.
It’s much easier to fit the tenon on the base to the hole in the cap than vice versa, so start with the cap. Mount the cap blank in the small jaws of the scroll chuck. Then lightly face off the end with a parting tool or skew chisel—this makes it easier to center the drill bit. Drilling holes on the lathe is different than ordinary drilling because the workpiece rotates instead of the bit.
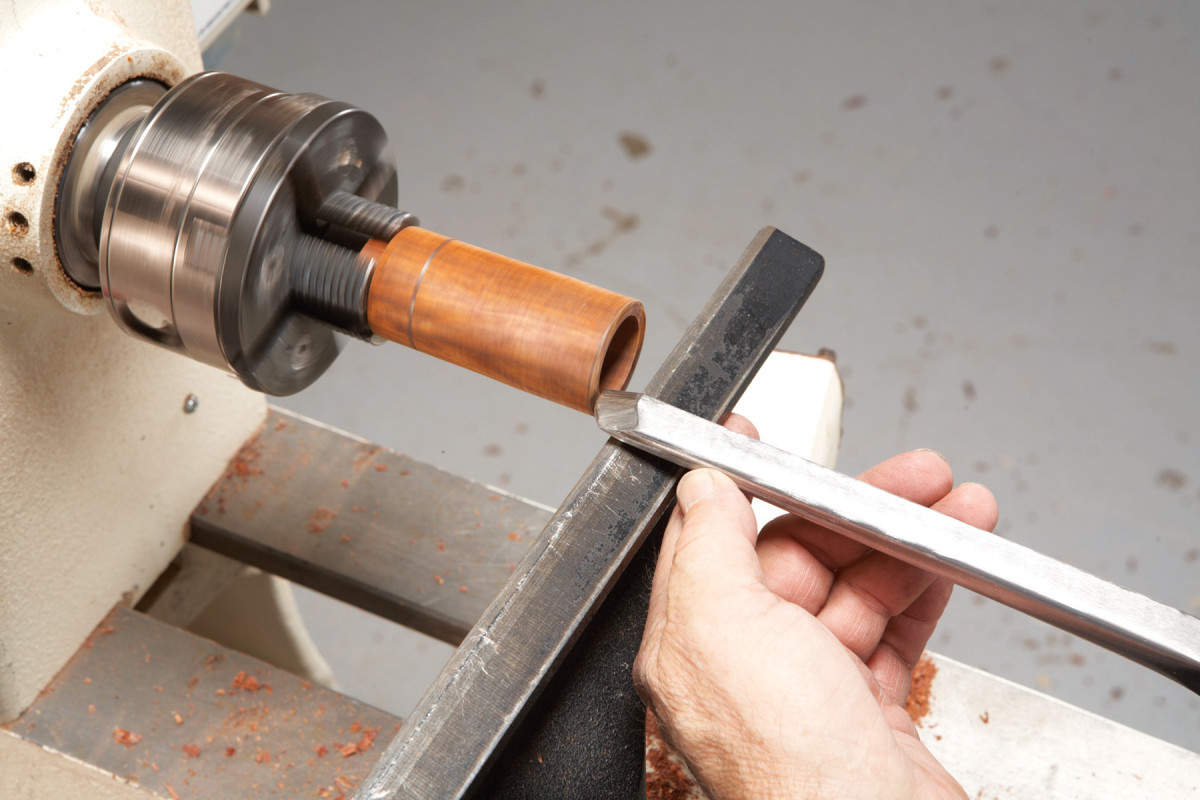
4. Face off the cap’s rim by scraping with the skew chisel. The rim must be flat or taper slightly to the inside. Mark the depth of the drilled hole on the blank.
Mount the large Forstner bit and its extension in the tailstock quill, using the Morse taper adaptor or a Jacobs-style chuck. Then drill into the cap by slowly advancing the bit (Photo 3).
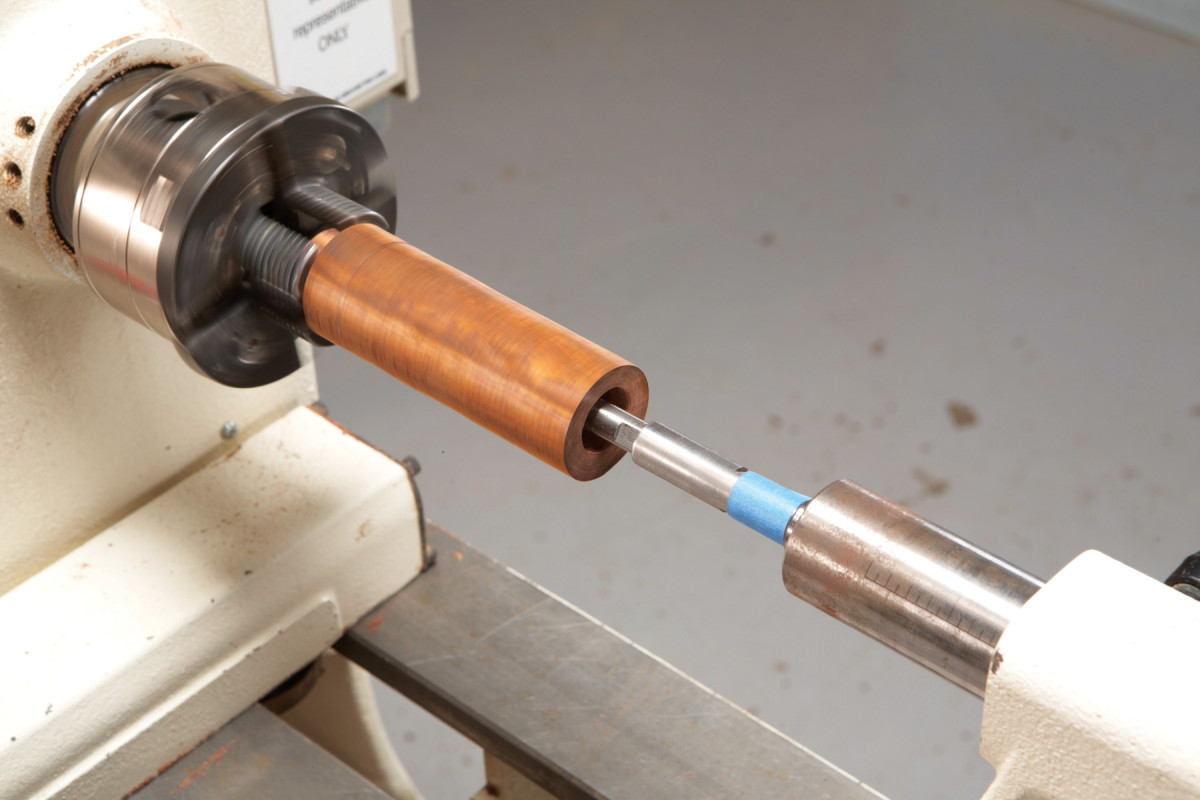
5. Follow the same procedure to drill out the base. Use a smaller Forstner bit and drill the hole about two-thirds as deep as the glasses are long.
The cap’s rim must be perfectly flat or tapered to the inside, so scrape it lightly with the skew chisel (Photo 4). Mark the hole depth on the outside of the cap blank. Then remove it from the chuck and mount the base blank. Lightly face off the end. Then install the small Forstner bit and its extension and drill into the base (Photo 5).
Turn the tenon
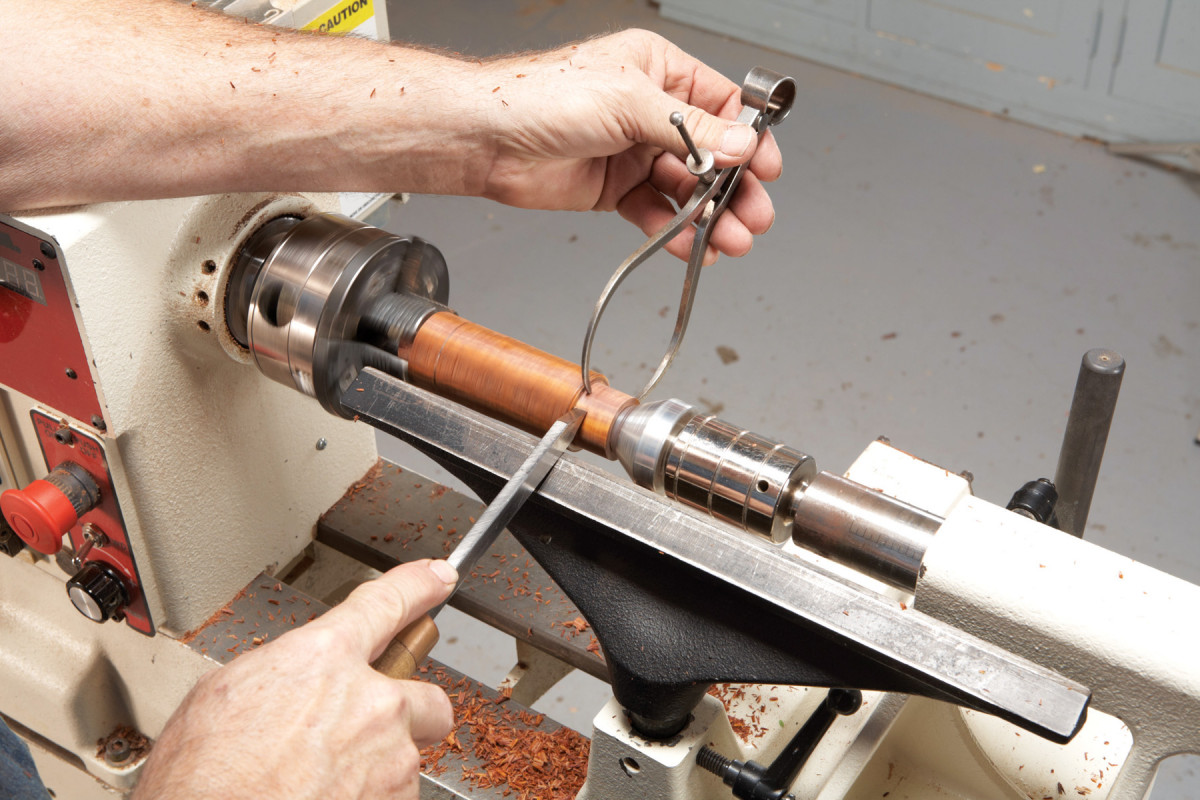
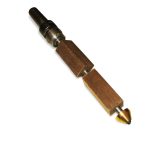
6. Turn a tenon on the base to fit the hole in the cap. Start oversize and reduce the diameter to create a very tight fit. A cone center supports the drilled-out end.
I install a cone-type live center in the tailstock to support the base blank while turning the tenon. Another solution is to fill the drilled hole with a piece of wood that’s slightly tapered (like a bottle’s cork), so you can use a standard live center.
7. Mount the cap. Make sure that the assembled joint does not slip and that the ends of both drilled holes are marked. Bring up the cone center to support the end of the reassembled blank.
I like the sure feel that a 3/4″ long tenon gives the case’s friction-fit joint. Use a parting tool and outside calipers to turn the tenon (Photo 6). Be sure to round the calipers’ ends, so they don’t catch and get launched at you by the spinning blank. Set the calipers about 1/16″ oversize and then reduce the diameter in very small increments. Stop frequently and use the cap to check the fit. The goal is to create a very tight fit, so the joint won’t slip—but not so tight that you can’t remove the cap without breaking the wood.
Shape the outside
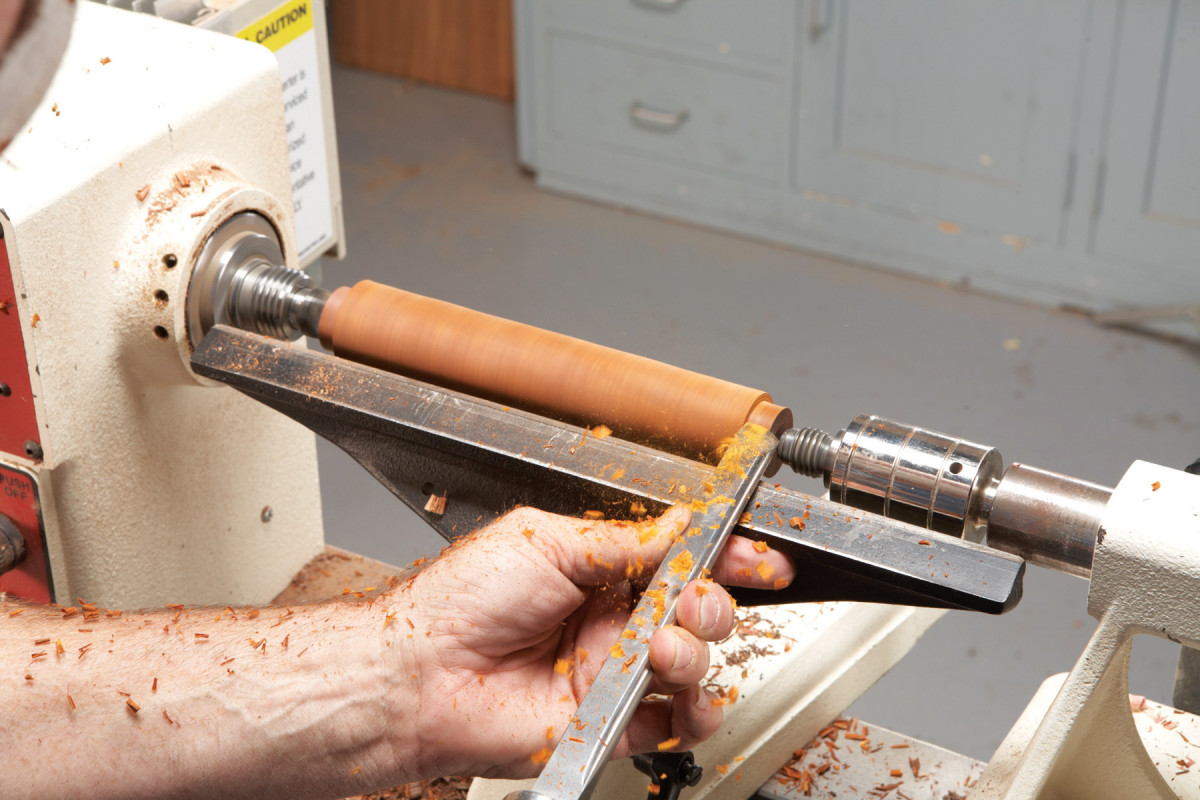
8. Turn the case to a cylinder after establishing the ends by cutting in with the parting tool about 1/4″ beyond each end mark.
Mount the fitted cap on the base and bring up the tailstock for support (Photo 7). Then establish the final outside lengths, which are based on the depths of the holes drilled in both pieces (Photo 8).
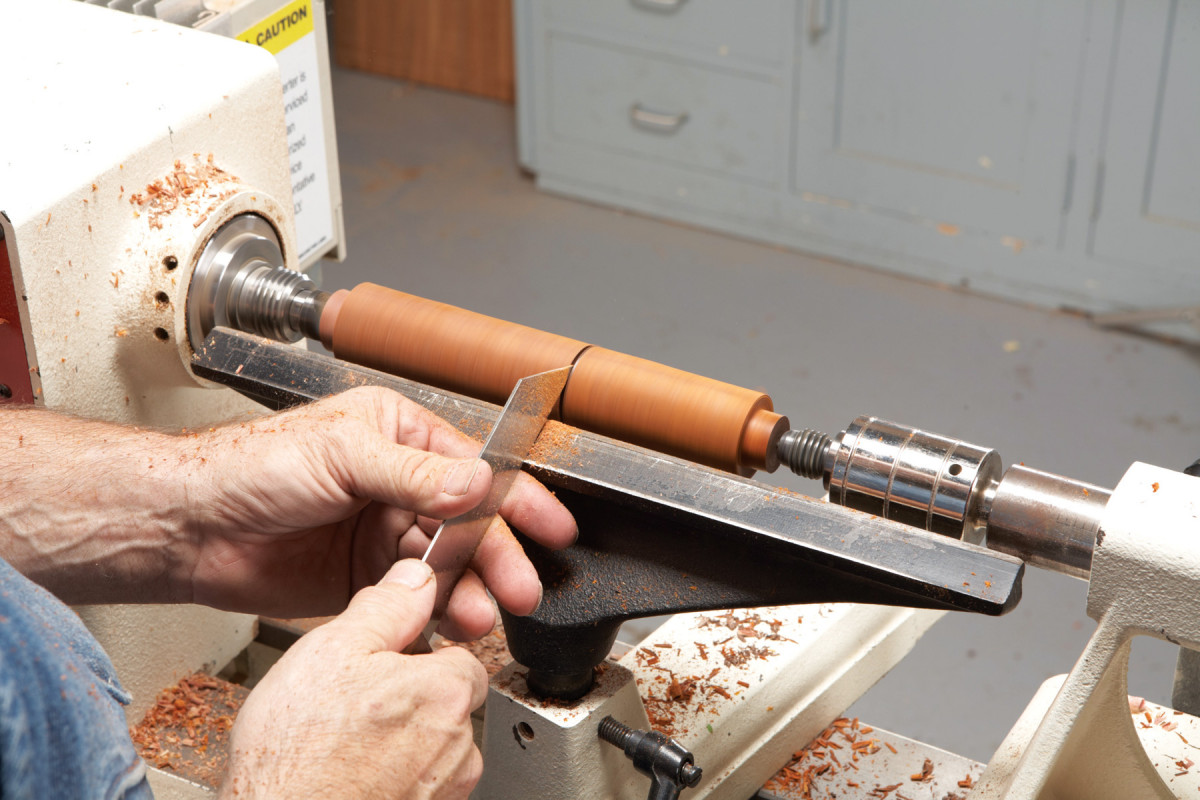
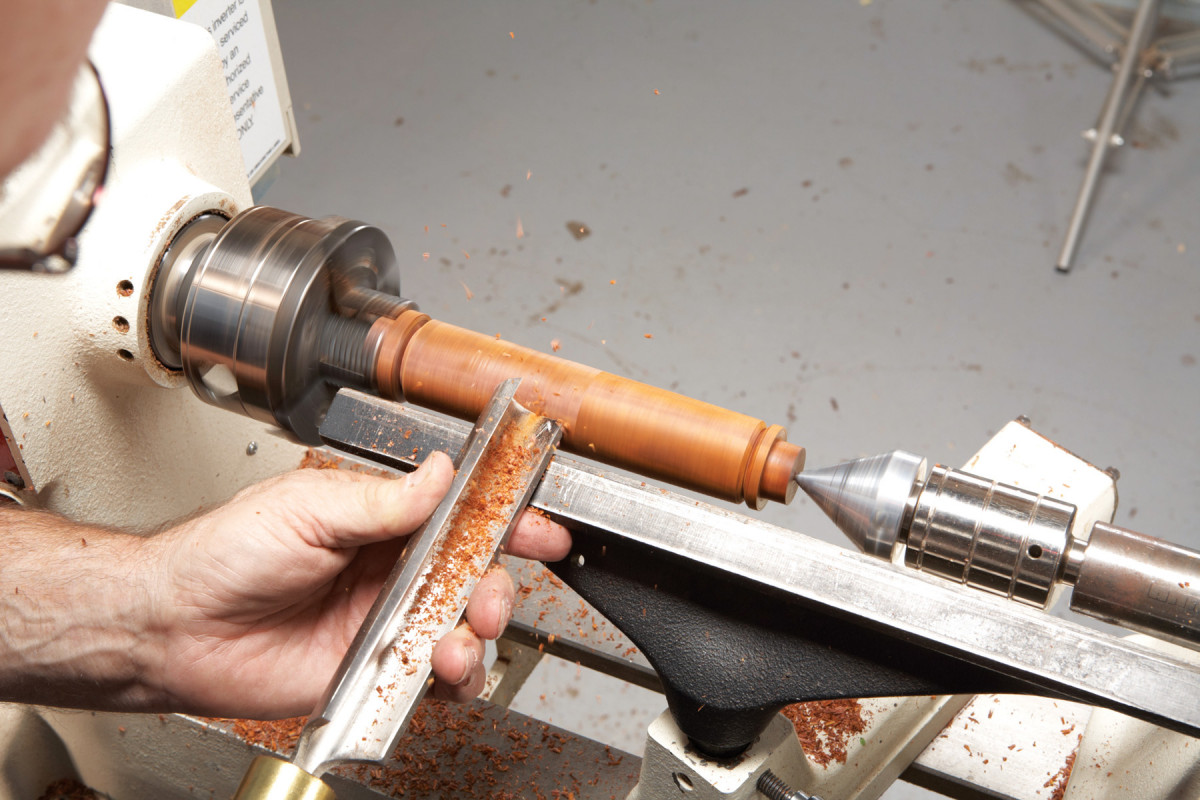
9. Create tactile surfaces and disguise the joint by adding decorative details such as the beads shown here, using the skew.
Turn the case to a cylinder with the spindle roughing gouge and add details with the skew chisel or detail/spindle gouge at the same time (Photo 9).
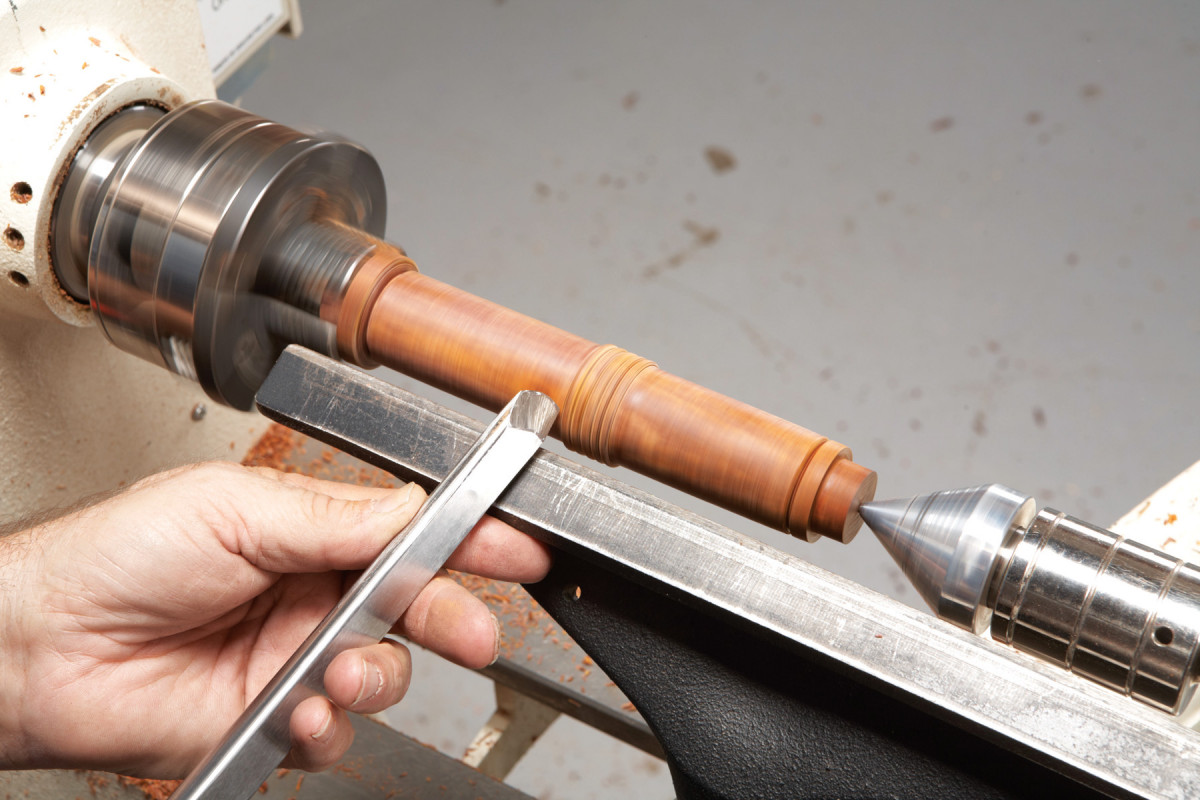
10. Round the end of the cap by making rolling cuts with the spindle/detail gouge. Then finish-sand both the cap and the base.
This time the goal is to leave just enough wood for strength in both length and diameter, so the case doesn’t feel excessively heavy. Obviously, the hole in the cap ultimately determines the outside diameter.
11. Use the skew to part off the cap. Then remove the cap from the base and finish-sand its parted-off tip.
Round the end of the cap and finish-sand the entire case (Photo 10). Part off the cap, remove it from the tenon, and hand-sand its parted-off tip (Photo 11).
Final details
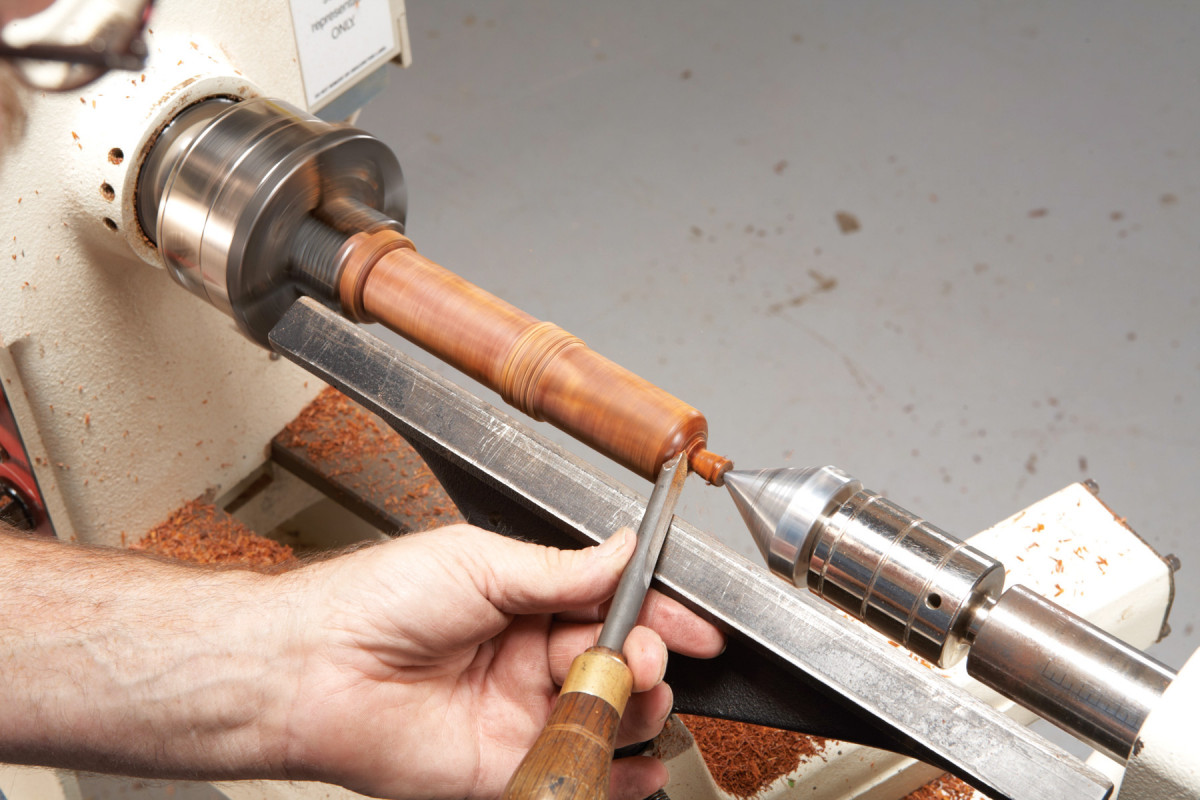
12. Tune the joint’s fit by removing a tiny amount from the tenon with a peeling cut. Ideally, you’ll hear a vacuum pop when you pull off the cap.
Fine-tune the fit between the cap and the tenon by adjusting the tenon (Photo 12). Make a peeling cut (not a scraping action) to lightly remove a very small amount of wood. The goal is a piston-like fit. You should feel resistance between the parts; ideally, you’ll hear a vacuum pop when you pull them apart (the same sound you hear when pulling a cork from a bottle).
Round and finish-sand the end of the base using the same method used earlier on the cap. Then part off the base and hand-sand the tip. Apply the finish of your choice. I often use pure tung oil, especially for darker woods. For the cocobolo case shown here, I simply applied paste wax.
Here are some supplies and tools we find essential in our everyday work around the shop. We may receive a commission from sales referred by our links; however, we have carefully selected these products for their usefulness and quality.