We may receive a commission when you use our affiliate links. However, this does not impact our recommendations.
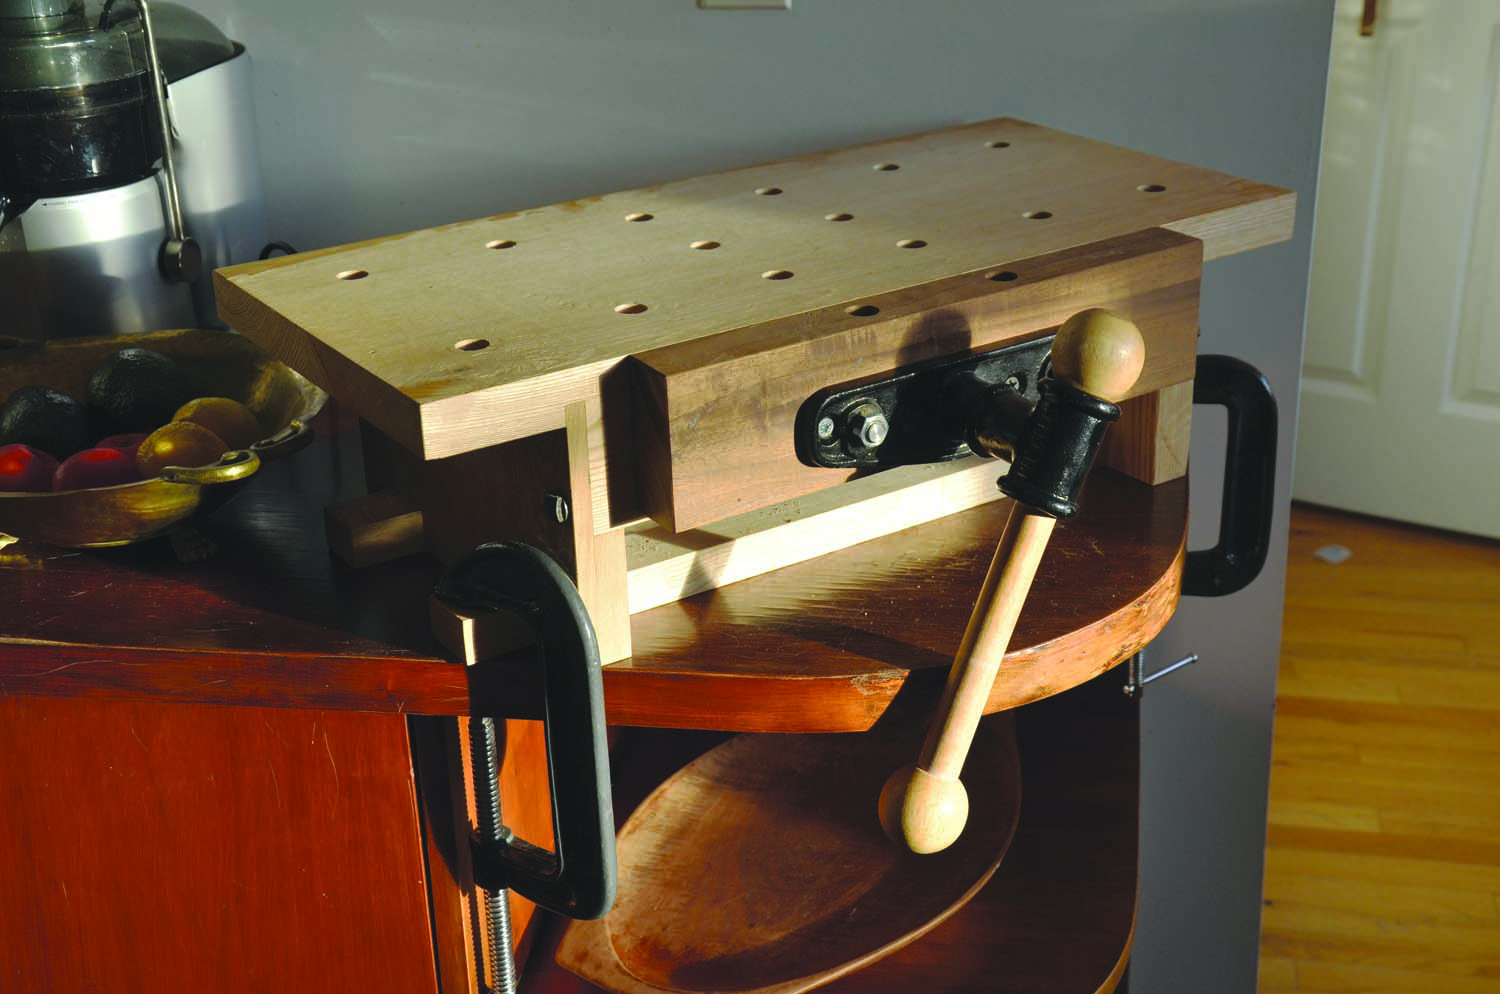 Even though you can carry this bench in one hand, it has the same desirable features as a full-size bench: A thick top, solid construction, a quick-release vise and dog holes that make it easy to securely hold work. Suitable for small-to-medium projects, it’s perfect for an apartment dweller like me: I simply clamp it to a table or countertop and turn my kitchen or living room into an “urban” workshop. I’ve acquired several clamping devices that are perfect for use with this bench.
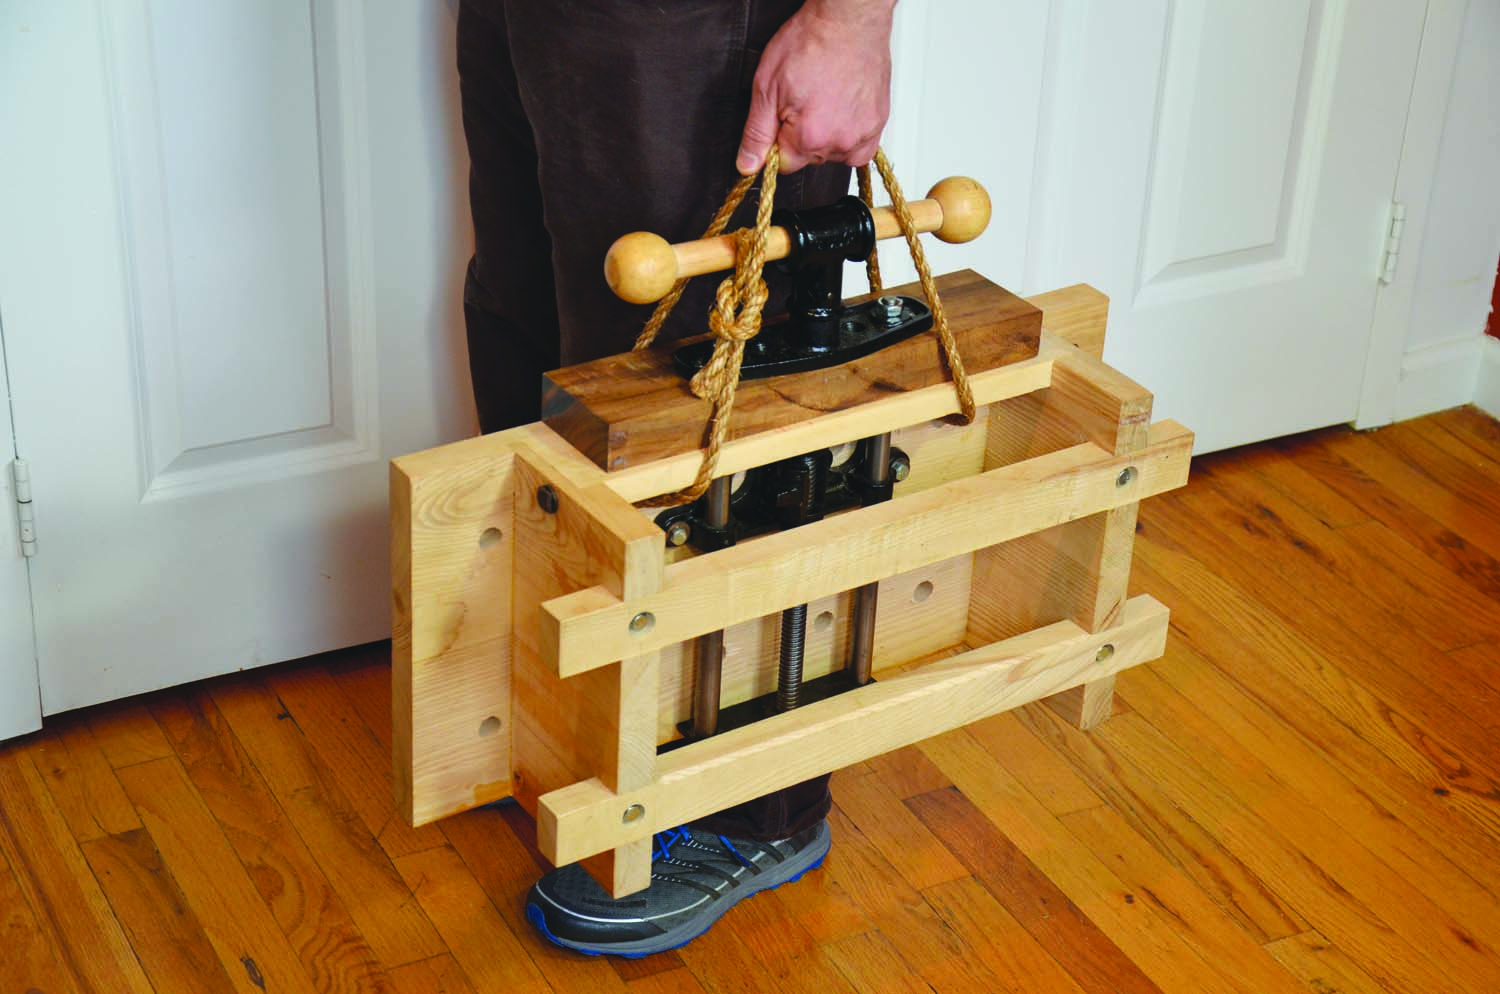
Take it anywhere: Add a strap or handle, use a cart or just pick it up; this bench weighs only 25 lbs.
In a traditional shop, clamp this bench onto a standard-height workbench to create a higher, more comfortable working position for carving, planing or hand-dovetailing. This bench travels well, too. Take it to club meetings, craft fairs or even on your next vacation. Let’s face it; sometimes you just need to do some woodworking on a beach underneath a coconut tree.
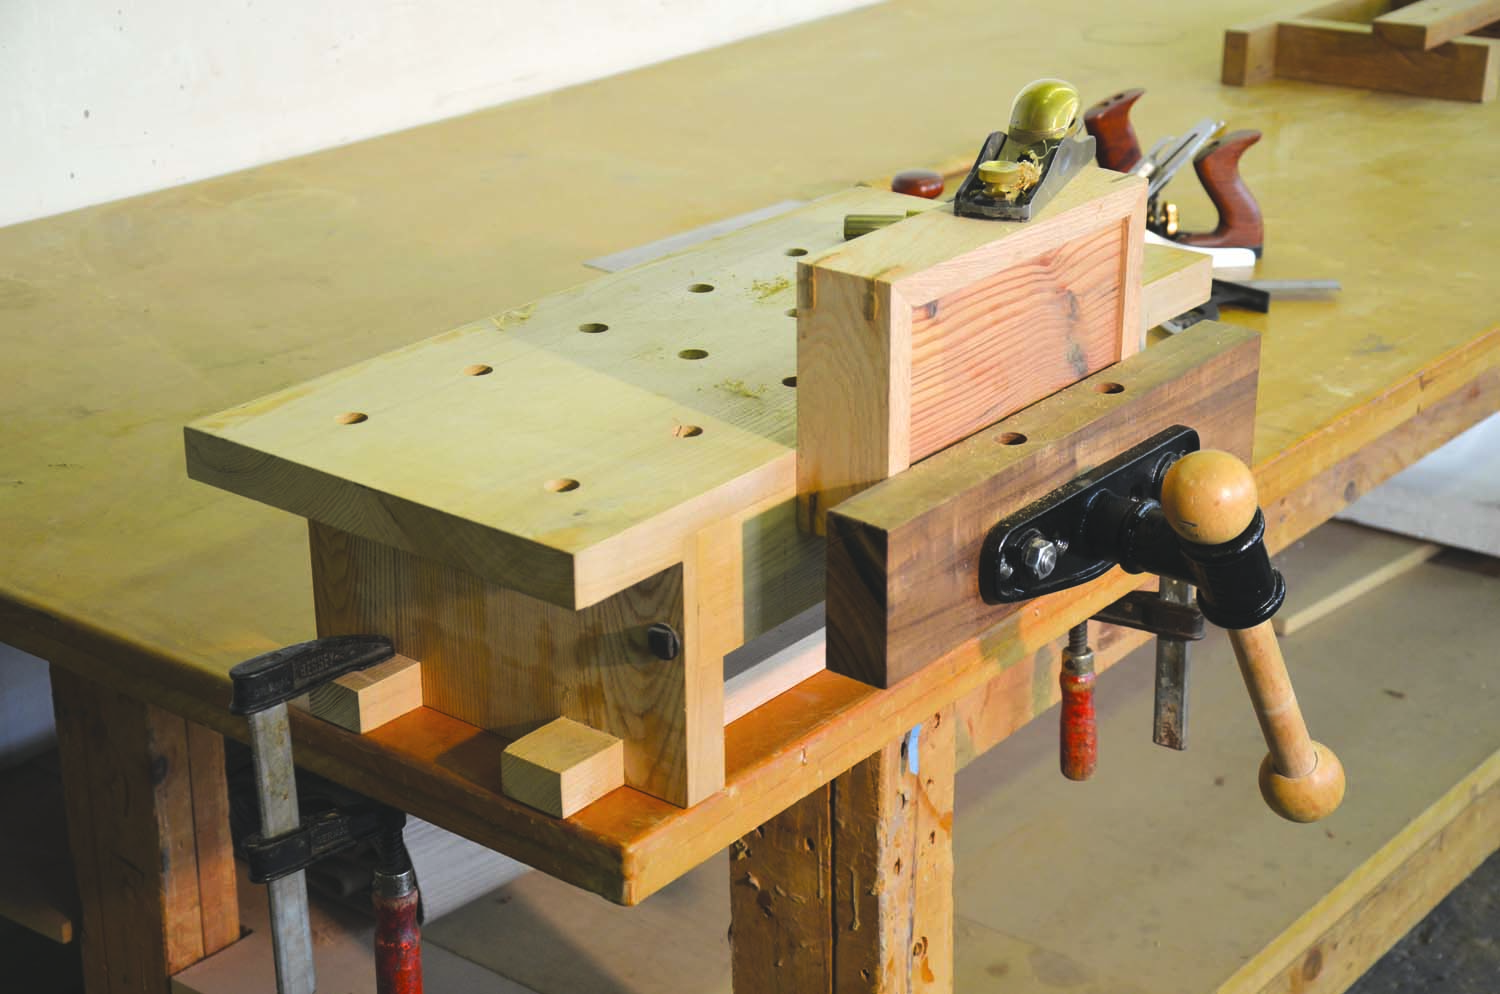
Clamp it anywhere: Protruding feet on both ends allow clamping at a corner, on a straight edge or across a radius.
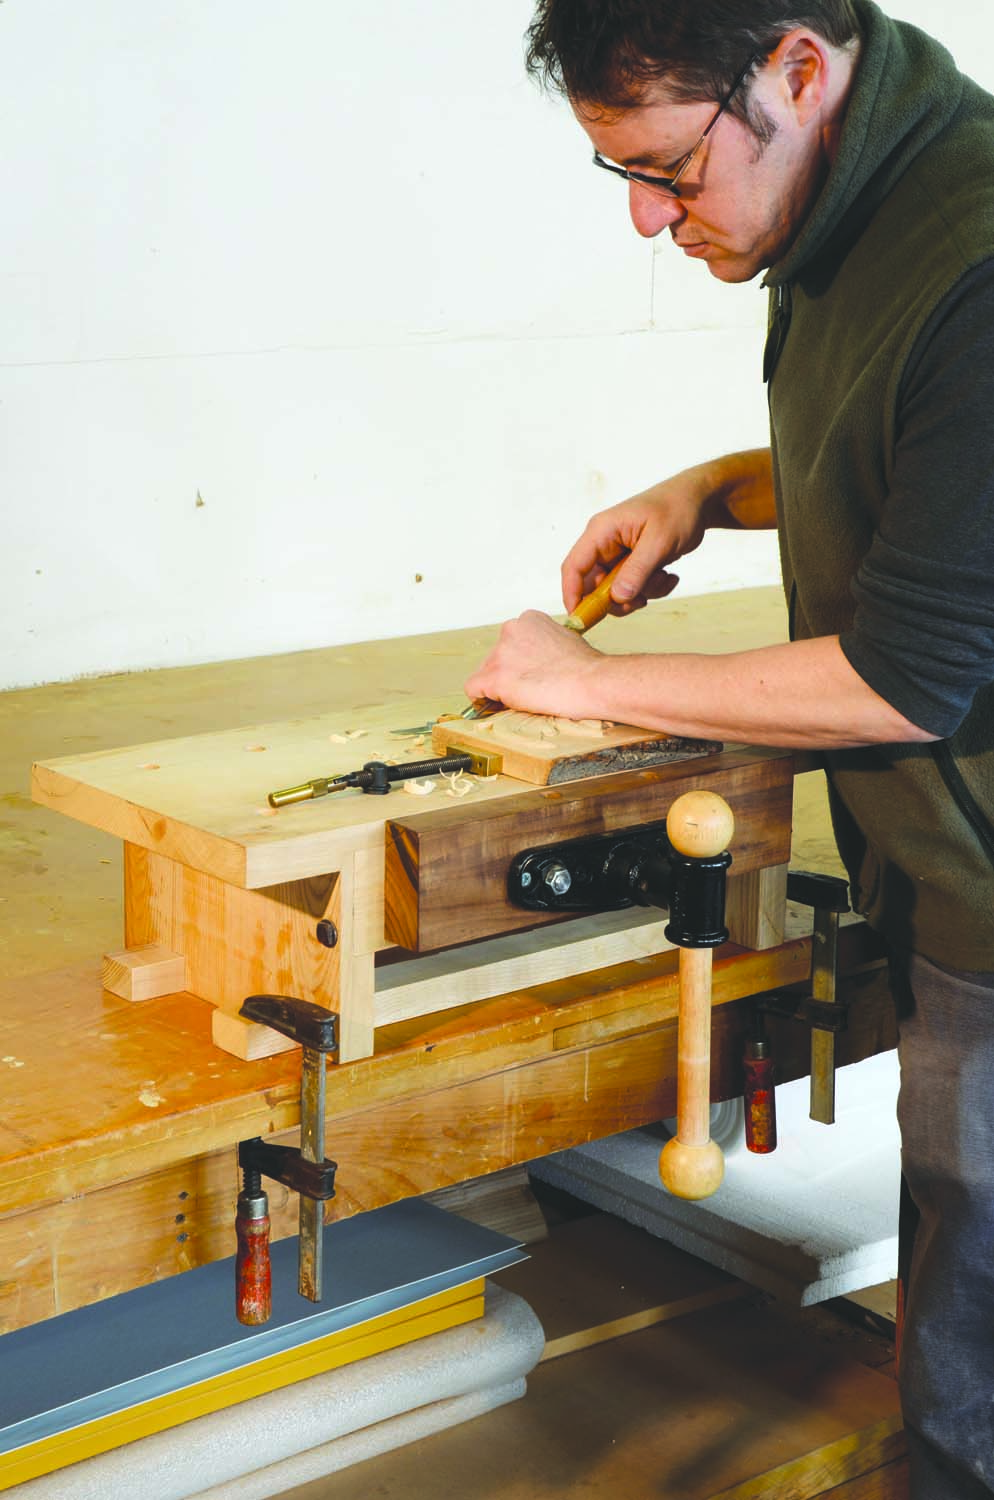
Save your back: Elevates the work so you can carve or plane with less fatigue and better control.
Easy to build
Start by gluing up a blank of hardwood such as maple or ash and milling it to 1-1/4″ x 12″ x 40″. Cut the blank into three pieces to create the bench’s top and legs (A, B, Fig. A and Cutting List, below). Dado the top to house the legs and rout a rabbet between the two dados for the vise’s fixed jaw (C). Similarly, rout a stopped rabbet in each leg to house the jaw. After routing, use a chisel to square the corner of each rabbet. Cut notches in the legs for the feet (D), using a tablesaw or hand tools.
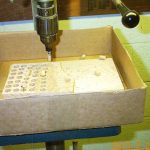
Install a small vise. Lay the top bottom-side up on and temporarily install the legs and fixed jaw. Place the vise’s base flush against the jaw and use a pencil to locate the holes for the screw and the two steel bars. Disassemble the parts and drill these holes slightly oversize, using the drill press.
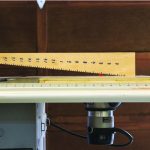
Lay out and drill the bench dog holes on the top, using the drill press. Then glue and screw together the bench, using lag screws to secure the fixed jaw and the feet. Make sure to drill adequately-sized through and pilot holes for the lag screws and wax each screw to ease installation.
Place the vise’s adjustable jaw (E) flush with the bench’s fixed jaw and a little proud of the bench’s top. (You’ll hand-plane this jaw flush later.) Use a pencil to transfer the holes drilled in the fixed jaw to the adjustable jaw. Drill these holes and then insert the jaw over the vise’s bars. Assemble the vise and anchor it to the bench using 1-1/4″ lag bolts. Then use screws to fasten the adjustable jaw.
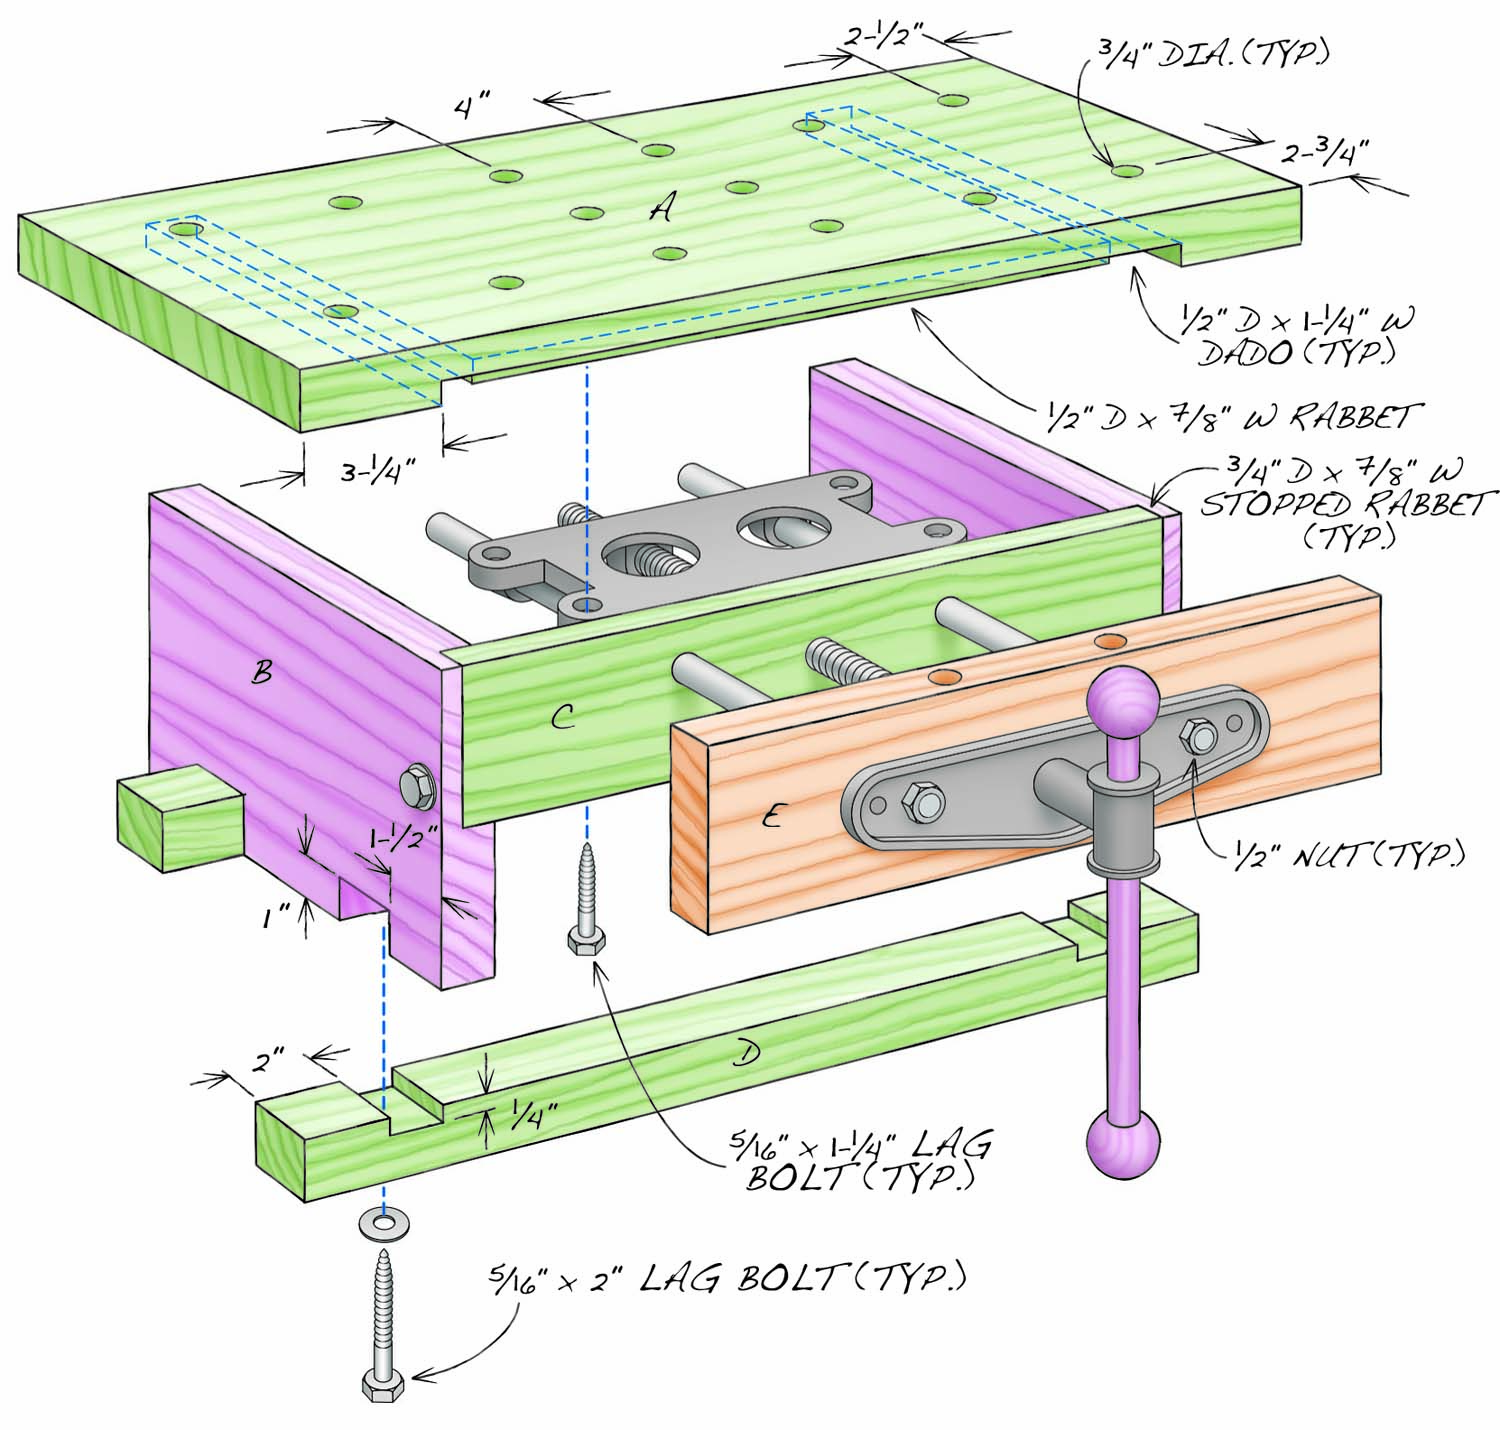
Fig A. Exploded View
Cutting List
|
Benchtop Bench Overall Dimensions: 7-1/8″ x 12″ X 25″ |
|||
|
Part |
Name |
Qty |
Th x W x L |
|
A |
Top |
1 |
1-1/4″ x 12″ x 25″ |
|
B |
Leg |
2 |
1-1/4″ x 12″ x 6-3/8″ |
|
C |
Fixed jaw |
1 |
7/8″ x 3-1/4″ x 17-1/2″ |
|
D |
Foot |
2 |
1-1/4″ x 1-3/4″ x 22-1/2″ |
|
E |
Adjustable jaw |
1 |
1-1/2″ x 3-5/8″ x 15-1/4″ |
Bio
Yoav S. Liberman is a studio furniture maker, teacher and writer residing in New York. He manages the woodshop at Robert Lighton Furniture and teaches woodworking at the Rudolf Steiner School in Manhattan.
Here are some supplies and tools we find essential in our everyday work around the shop. We may receive a commission from sales referred by our links; however, we have carefully selected these products for their usefulness and quality.