


We may receive a commission when you use our affiliate links. However, this does not impact our recommendations.
 Simple to Super Durable
Outdoor finishes have one thing in common; they all require maintenance. Of course, paint is unequaled at protecting the wood from its two biggest enemies: moisture and ultraviolet (UV) light. Moisture causes the wood to rot, and sunlight bleaches out its natural color. Still, who wants to cover up beautiful wood with paint? If you want the wood to show through on your outdoor projects, you need a clear finish.
There are three basic clear finishes for outdoor furniture: exterior oil, exterior varnish, and an epoxy sealer with an exterior varnish topcoat. Application ease and service life are the two major differences between these finishes.
Of the three clear exterior finishes, exterior oil is by far the simplest finish to apply. Just flow it on, let it soak in, and wipe off the excess. Unfortunately, oil offers the least amount of protection and it must be reapplied every season. Exterior varnish, on the other hand, is more difficult to apply: up to 8 coats have to be carefully brushed on. While exterior varnish offers excellent protection from moisture and UV light, it has to be recoated every few years to maintain that protection. An epoxy sealer with an exterior varnish topcoat is the most durable outdoor finish and can last for many, many years. However, the initial application does take longer than exterior varnish.
 Exterior Oil
An exterior oil finish is definitely the simplest, quickest way to treat an outdoor project. On the downside, it will only give you about a year of protection from the ravages of outdoor life. Oil finishes don’t provide a protective film that sits on top of the wood like varnish does. Instead oil soaks into the wood fibers and dries. Exterior oils have added trans-oxide pigments for UV protection and mildewcides to protect against mold and mildew. You’ll find colors ranging from dark brown to light amber.
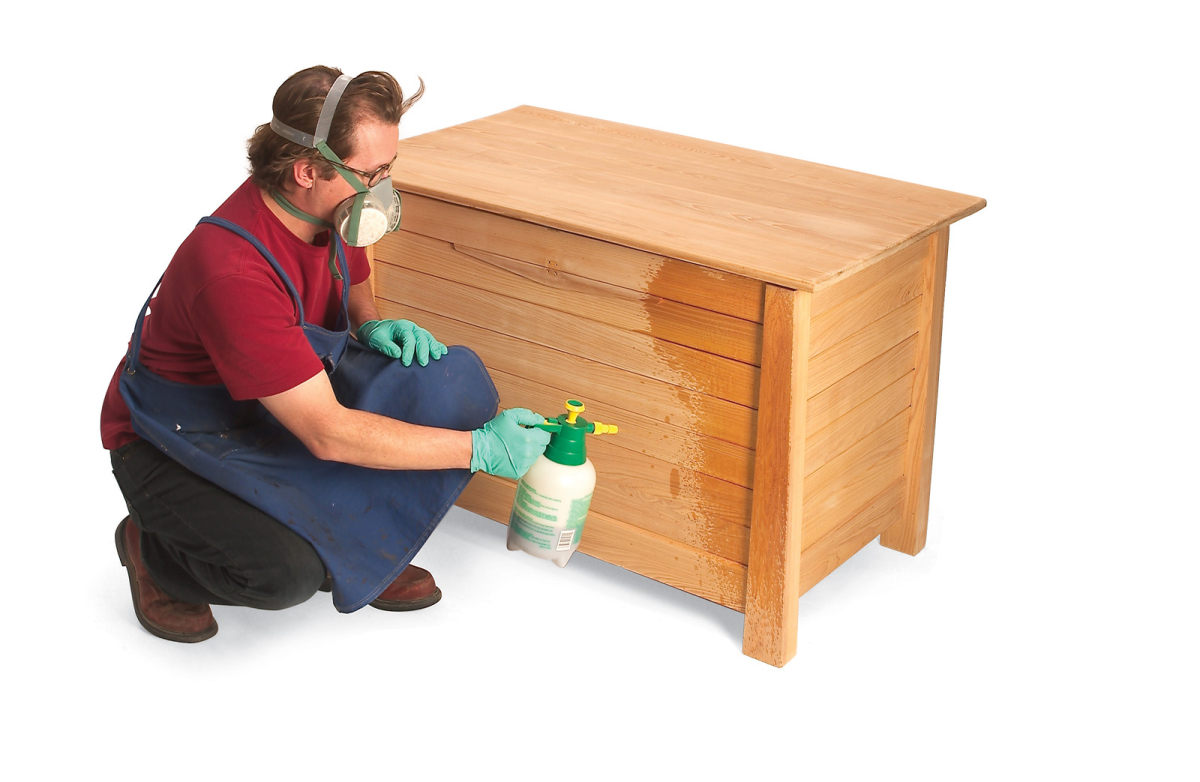
 Application is simple: a garden sprayer and a rag are all you need. First, flood the surface of your project with oil. I use an inexpensive hand pump garden sprayer. Its fast, easy and only costs about $15.00. Let the oil soak in according to the manufacturer’s directions, then wipe it off. That’s it. Done! Depending on local conditions, you’ll have to reapply about once per year. The built-in UV protection should keep your wood looking natural for many years (as long as you keep up with the applications).
 Exterior Varnish or Urethane
Exterior varnish or urethane (both finishes are technically “varnishes”) builds a protective layer over the wood. It offers superior protection and durability over an oil finish. Often, the term “Spar” is found in the name, but this does not indicate any additional or special ingredient. The term “Spar” originates with its use as a coating for the spars on sailing ships. All exterior varnishes are formulated to protect against moisture and UV radiation.
Exterior varnish is applied with a natural bristle brush in multiple coats. Manufacturers recommend eight thin coats for maximum protection and a deep lustrous finish. Sand the hardened varnish lightly between each coat.
 Exterior varnishes cure to a more flexible film than ordinary varnish. The flexible coat is not as likely to crack from seasonal wood movement caused by humidity extremes in an outdoor environment.
Exterior varnish will usually last 2-3 years before it starts to look chalky. As soon as you see a chalky film start to develop, it’s time to freshen the finish. Simply sand the topcoat smooth, and apply a new coat of varnish. Don’t put this important maintenance step off too long or cracks will develop in the finish allowing moisture to penetrate and degrade the wood. That will necessitate a complete strip and refinish to restore the furniture. You don’t want to go there.
 Epoxy with Exterior Varnish
An epoxy sealer with exterior varnish topcoats is the most durable, but also the most labor-intensive finish you can apply to outdoor furniture. This is the finish favored by boat builders so you know it’s going to last a long time. Epoxy and exterior varnish enjoy a symbiotic relationship: The epoxy forms an impenetrable moisture barrier that prevents seasonal swelling and shrinking of the wood. This dimensional stability in turn gives longer life to the exterior varnish because it no longer has to stretch and shrink with the wood The exterior varnish returns the favor by providing UV protection, without which the epoxy would rapidly deteriorate.
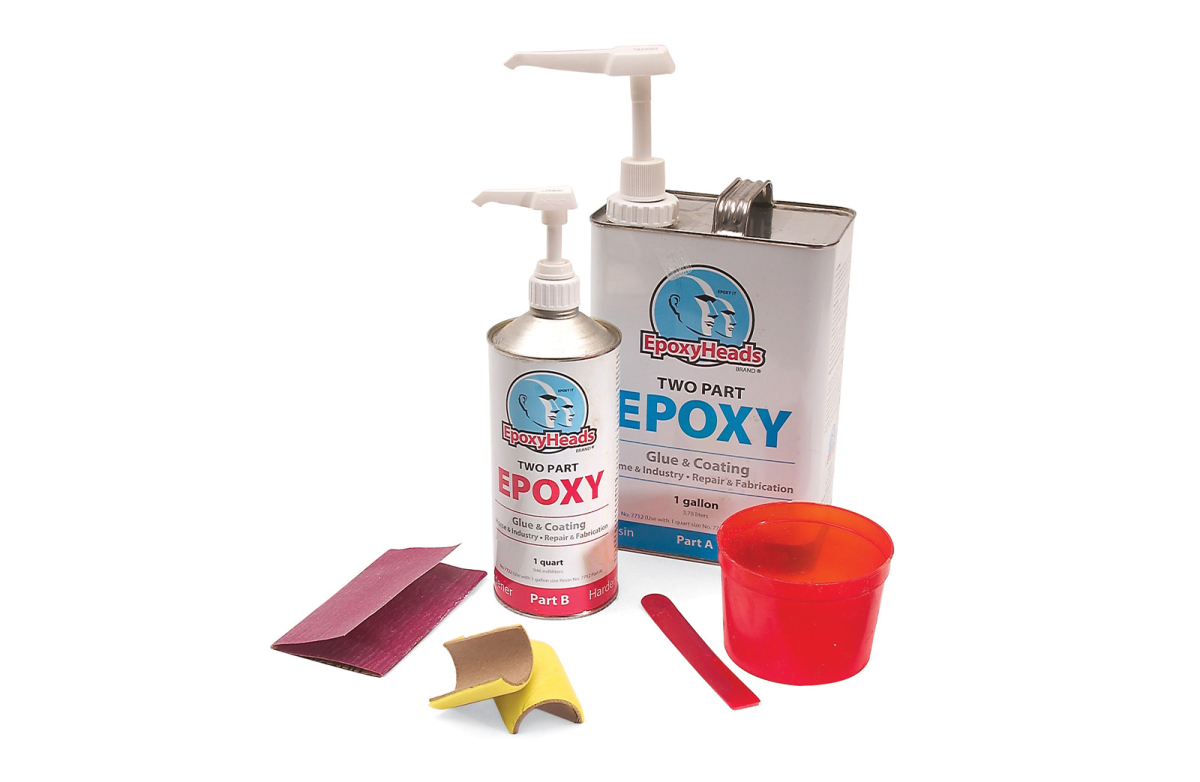
The yellow half-cylinder is a foam roller that has been cut in half.
Apply three thin coats of epoxy. The best way to get thin, even coats is to use a foam roller cut in half. It works kind of like a squeegee. Epoxy cure times vary depending on their formulation and the ambient temperature. Be sure to use an epoxy with a long enough open time (approximately 30 minutes), so it doesn’t set up before you’re done putting it on. For large projects, mix the epoxy in small batches so you can finish an area before the epoxy sets. Also, for optimal flow out and penetration into the wood fibers, make sure the epoxy you use doesn’t contain any thickeners. Always read and follow the instructions that come with your epoxy. If possible, apply the epoxy undercoat prior to assembling the parts. You can recoat without sanding while the previous coat is still soft but not sticky. If the epoxy seems uneven or bumpy, allow it to harden. Then, sand it smooth and apply the next coat.
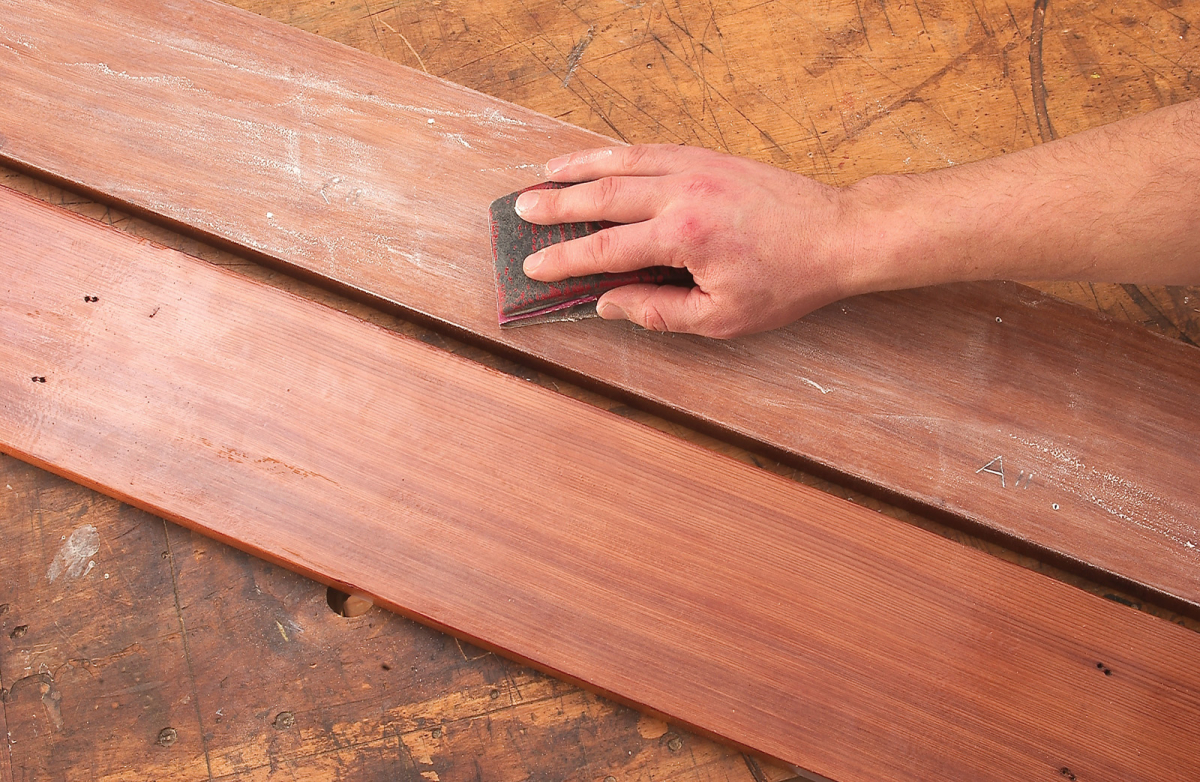
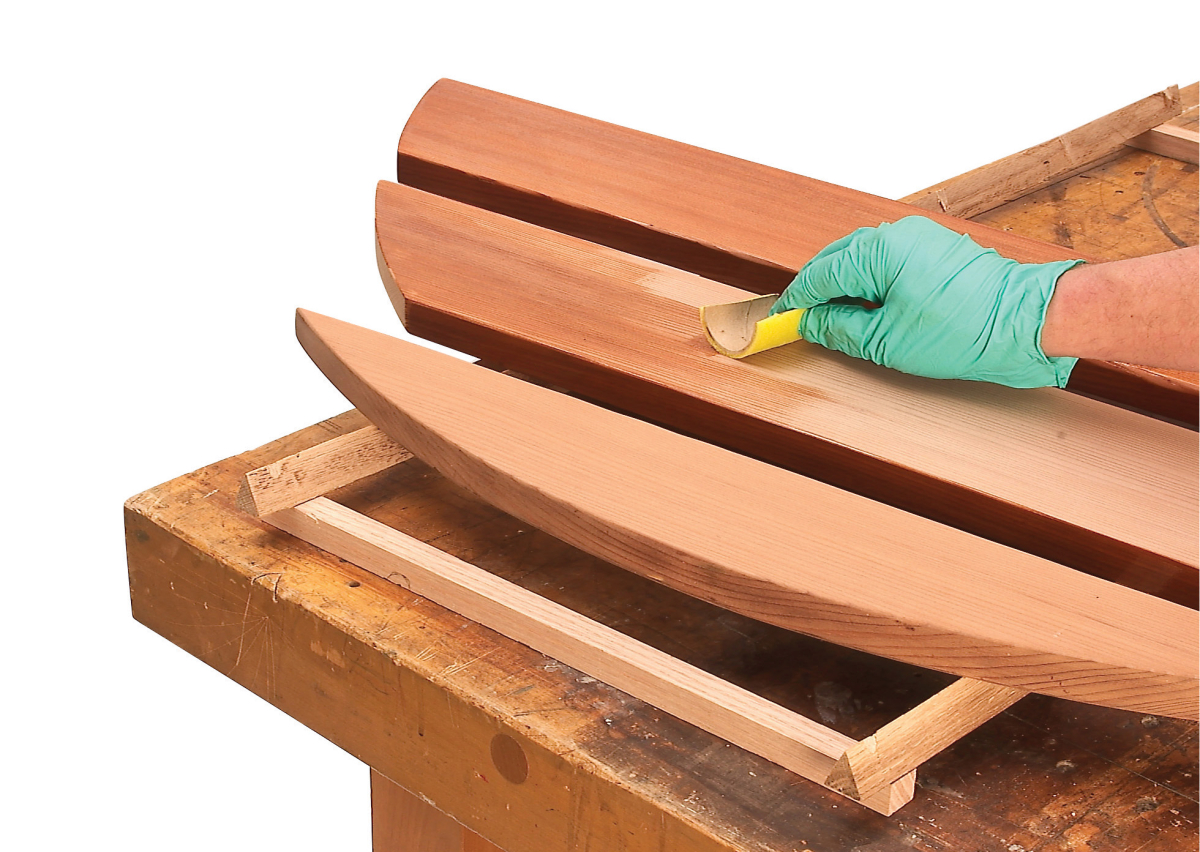
Sand out any unevenness and defects in the cured epoxy before applying the exterior varnish topcoats.
Before applying the varnish topcoats, I use a card scraper or sanding block with100 – 120 grit sandpaper to level the cured epoxy. The sanded surface also provides some tooth for the spar varnish to adhere to.
Rinse the sanded epoxy with clean water and dry with paper towels. The rinse water should not bead on the surface. Beading indicates that contaminants from the epoxy curing process are still on the surface and could interfere with the varnish bond. To remove the contaminants, wipe down with mineral spirits and dry with paper towels or a rag. Follow this with eight coats of exterior varnish, sanding lightly between coats.
Here are some supplies and tools we find essential in our everyday work around the shop. We may receive a commission from sales referred by our links; however, we have carefully selected these products for their usefulness and quality.


One critical piece of information is missing in this blog. UV light is deleterious to wood, not just because it bleaches the colors of the wood. Actually, it can actually enhance the appearance of wood-cherry for example. The big problem is UV light causing the breakdown of lignin in the wood structure. If you can see the wood through the finish, then so can UV. Some exterior finishes can inhibit this process, but not entirely prevent it. This is one reason wooden boat owners refinish their cherished teak and mahogany decks every couple of years. As the lignin deteriorates, the finish begins to scale off, losing the surface it’s adhering to. This is one cause of that whitening often seen on outdoor wood. When one of my customers has our shop build any exterior products, I have a conversation with the client to manage their expectations. If they want something that requires the least maintenance, I tell them they’re best off with an opaque finish, or, as we like to call it, paint.
I put 8 coats of varnish on my exterior teak table (whew!). I have never put that many coats on anything. With so many coats, one thing I did was to rub out the finish with extra fine -0000- steel wool after coating #7. That made the last coat go on super smooth and it facilitates the final rub out.