We may receive a commission when you use our affiliate links. However, this does not impact our recommendations.
Modular Desk System
Mix-and-match components make a desk that fits your needs.
By Bruce Kieffer
Download this Modular Desk System Project with complete plans and step-by-step instructions from AWBookstore.com.
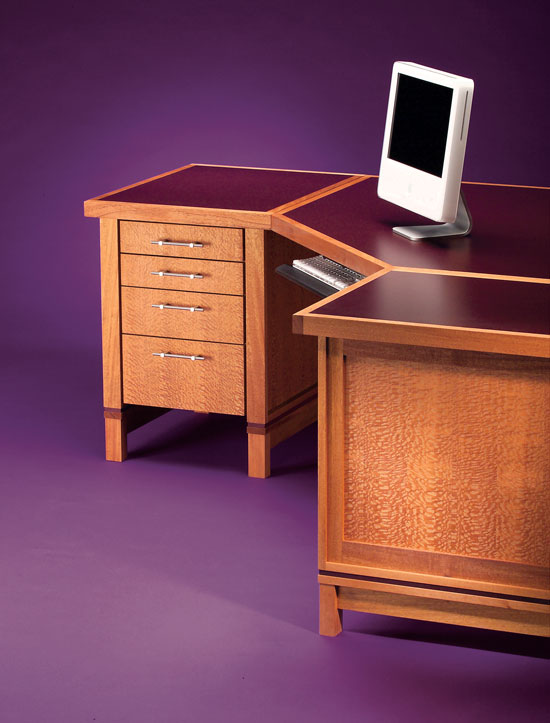
This computer-desk system has more going for it than great looks. The
system is based on modular components that can be assembled in a
variety of ways to make the “perfect” desk, whether small, giant-size,
or somewhere in between. Making the components is as easy as it gets—no
complex joinery, just screws and biscuits.
I designed two different drawer configurations. The two-drawer unit
has one drawer sized to accept hanging files and the other sized for CDs
(see drawer photo, below). The four-drawer unit features two pencil
drawers, a letter drawer and a CD drawer. The drawers are built around a
European undermount slide system that greatly simplifies drawer
construction.
An easy-access wire track neatly takes care of wire management. The
channel also supports the top and provides an attachment point for the
modesty panels.
|
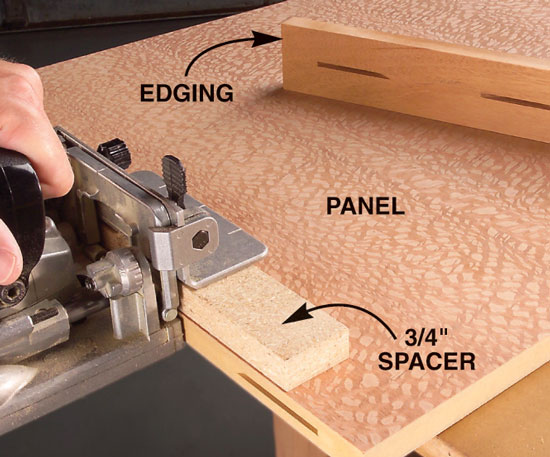
1. Align the panel’s front and back edging with biscuits. To center the edging, place a 3/4-in. spacer on top of the panel and adjust your biscuit jointer’s fence to center the grooves on the panel. Then cut the biscuit slots in the edging without using the spacer. |
Click any image to view a larger version.
|
|
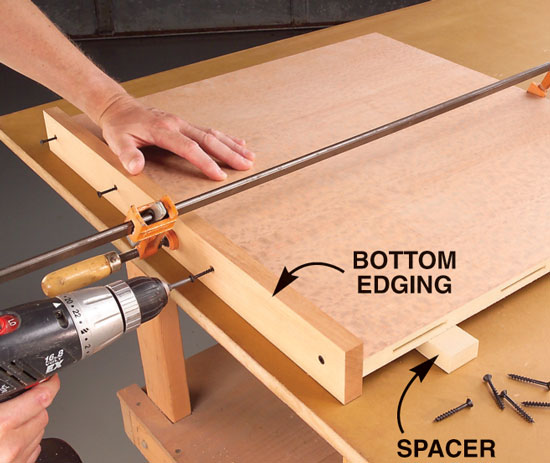
2. Fasten the top edging with screws. Support the panel on top of two 3/4-in. spacers. That centers the bottom edging with the panel. Use a small amount of glue so squeeze-out is minimal. Predrill countersunk pilot holes before you insert the screws (Fig. L, below). |
|
|
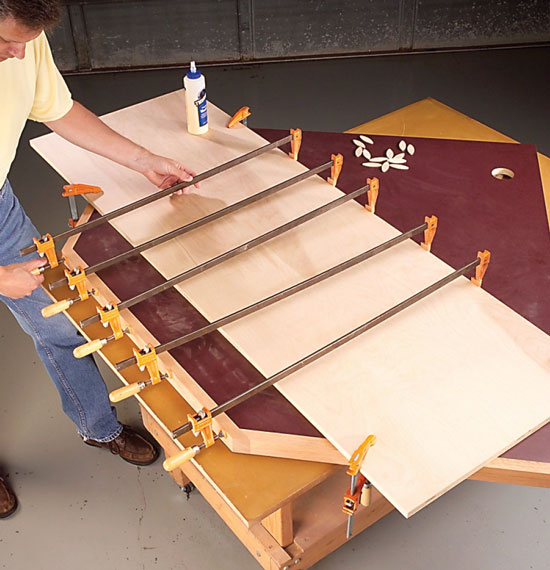
3. Angled glue-ups can be tricky. Use a wide piece of 3/4-in. plywood to create an edge parallel to the front. Crank the clamps that hold the plywood to the top, and use moderate pressure on the clamps that hold the edging. Otherwise, the plywood may slip. |
|
|
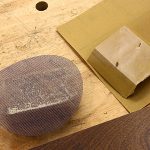
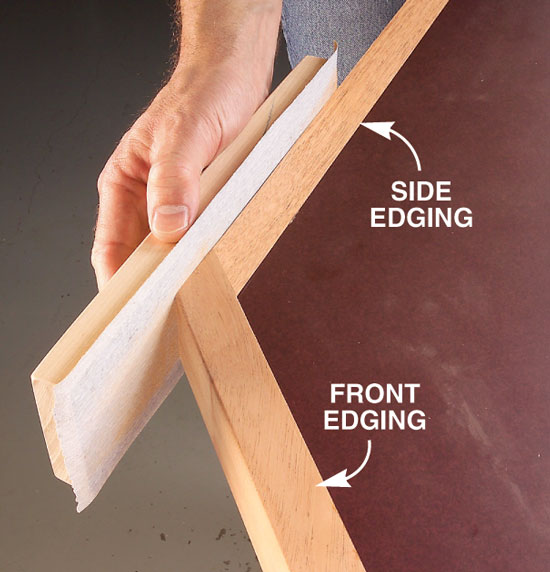
4. Sand the front edging flush with the side edging using a long sanding block. PSA sandpaper and an 8- to 10-in. block of MDF work great. The long block is guided by the side edging to ensure a perfectly flush joint. |
|
|
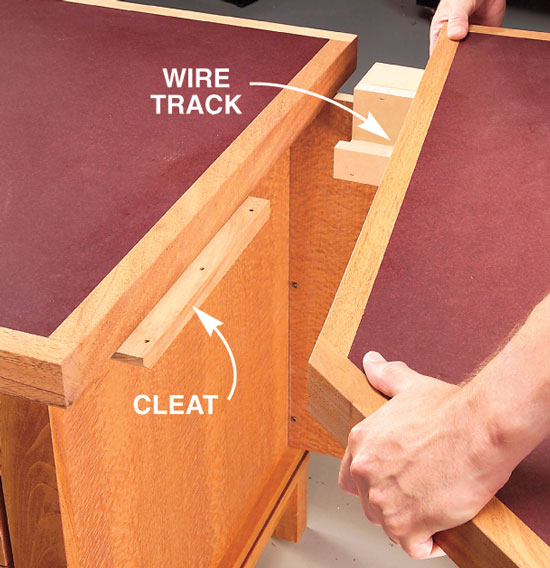
5. Assembling the corner unit is a two-person job, because the unit is large and heavy. The wire track and cleats support the corner unit top. Note: The wire track is screwed to the modesty panel first. This story originally appeared in American Woodworker October 2005, issue #117.
|
Download this Modular Desk System Project with complete plans and step-by-step instructions from AWBookstore.com. |

Here are some supplies and tools we find essential in our everyday work around the shop. We may receive a commission from sales referred by our links; however, we have carefully selected these products for their usefulness and quality.