


We may receive a commission when you use our affiliate links. However, this does not impact our recommendations.
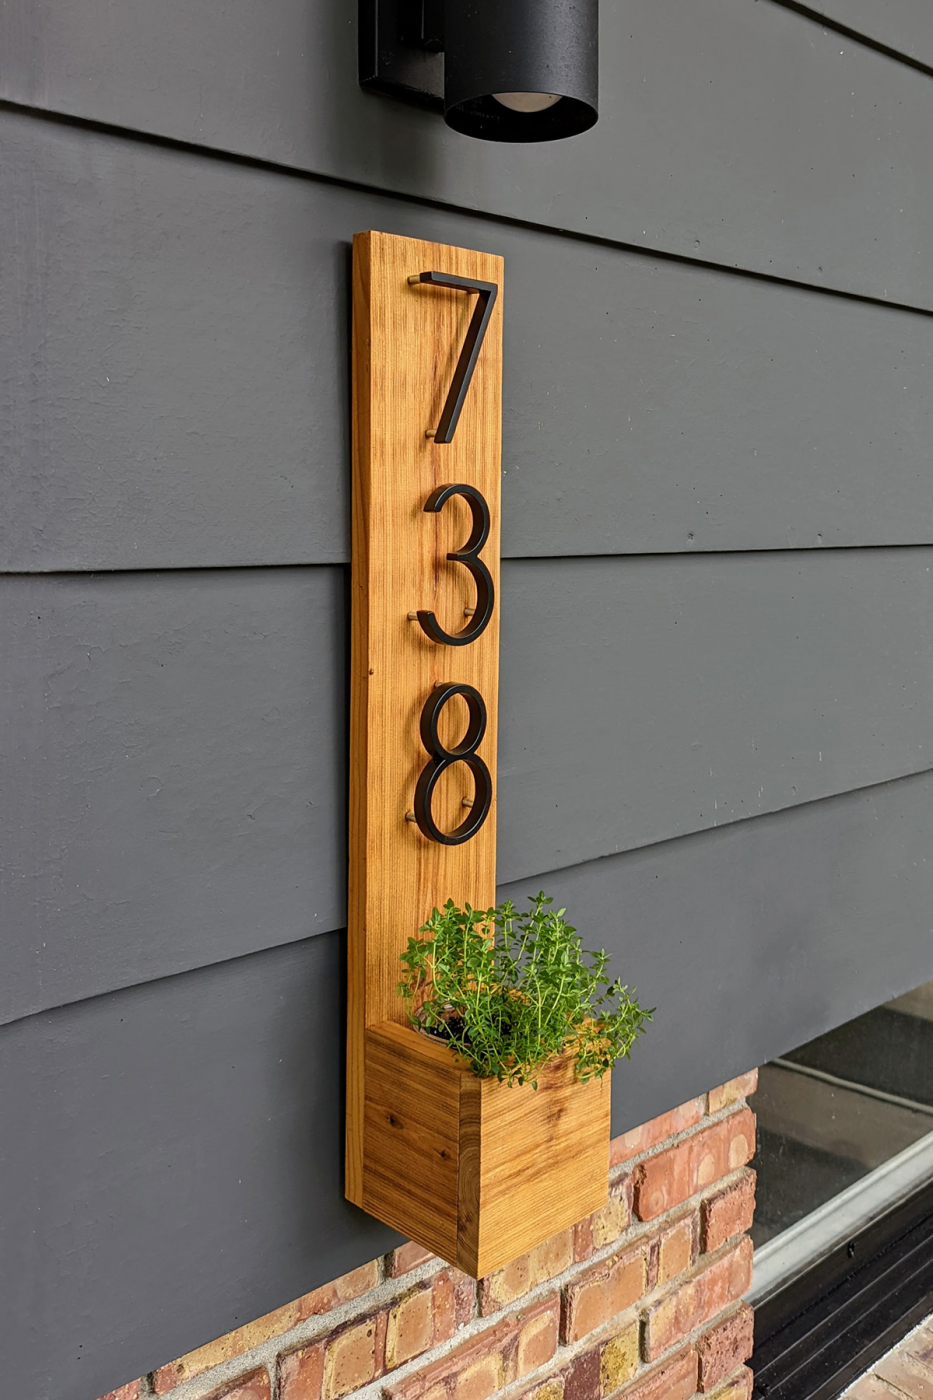
I was browsing Houzz recently for some exterior renovation inspiration recently when I stumbled upon an address planter that I liked. Wanting to learn more, I followed the product link where I found it was going for an eye-watering $150 on West Elm. I found a handful cheaper on Etsy, but I wasn’t about to spend $60 for something with visible nails, so I headed out to the shop to see what I had for scrap. I happened to have all of the cedar I needed on hand, but even if you’re picking up all of the materials you’ll only be spending $30, give or take, depending on how long your address number is.
Cutlist

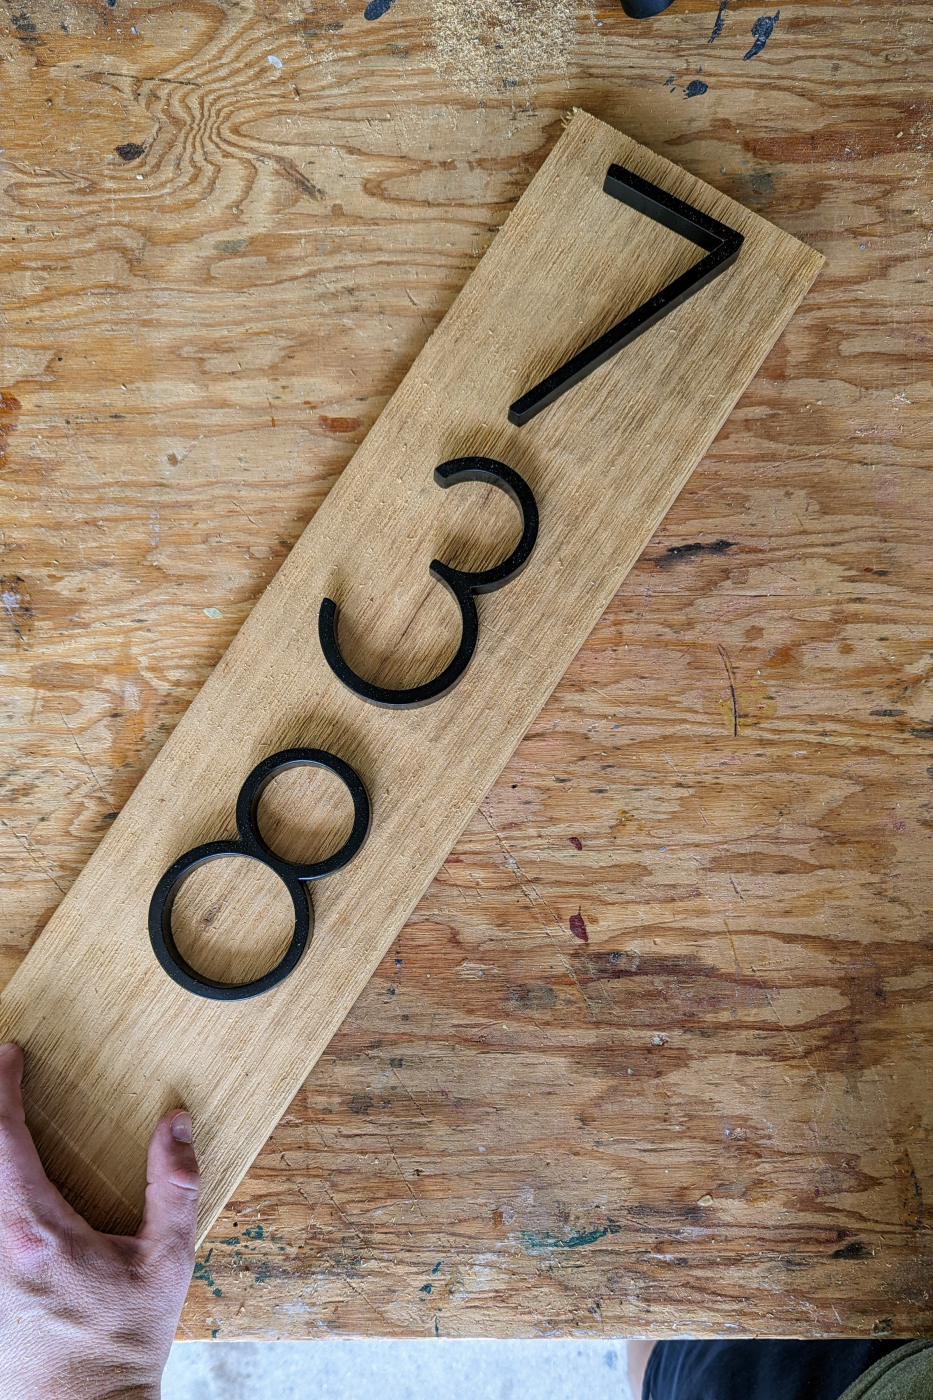
Lay out your numbers before cutting anything to length. There’s no perfect formula for what looks “right”, but in my case, I put 1 1/8′ between each number, and left 11″ from the lowest number to the bottom.
Initial Prep
The first step of the process is laying out your numbers and determining the correct overall size for your address. Feel free to experiment with different spacing to find the aesthetic you like. After all, this is the first thing most guests will be looking for when visiting your house. Once you know your dimensions, go ahead and cut everything to length. I intentionally left the bottom of the planter undersized so water could drain out.

2. With everything cut to length, it’s time for assembly.
Order of Assembly
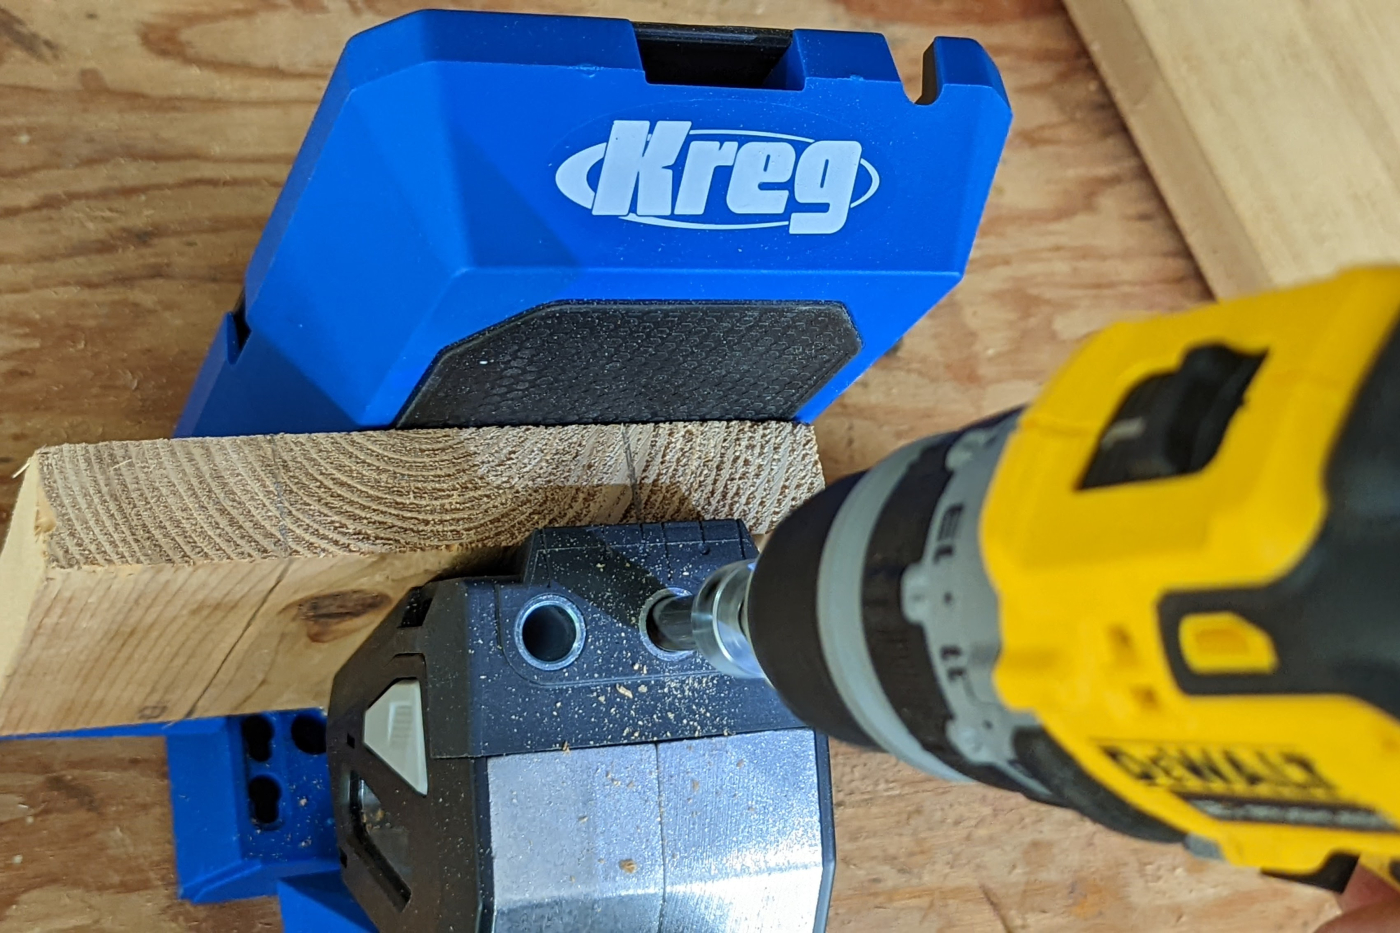
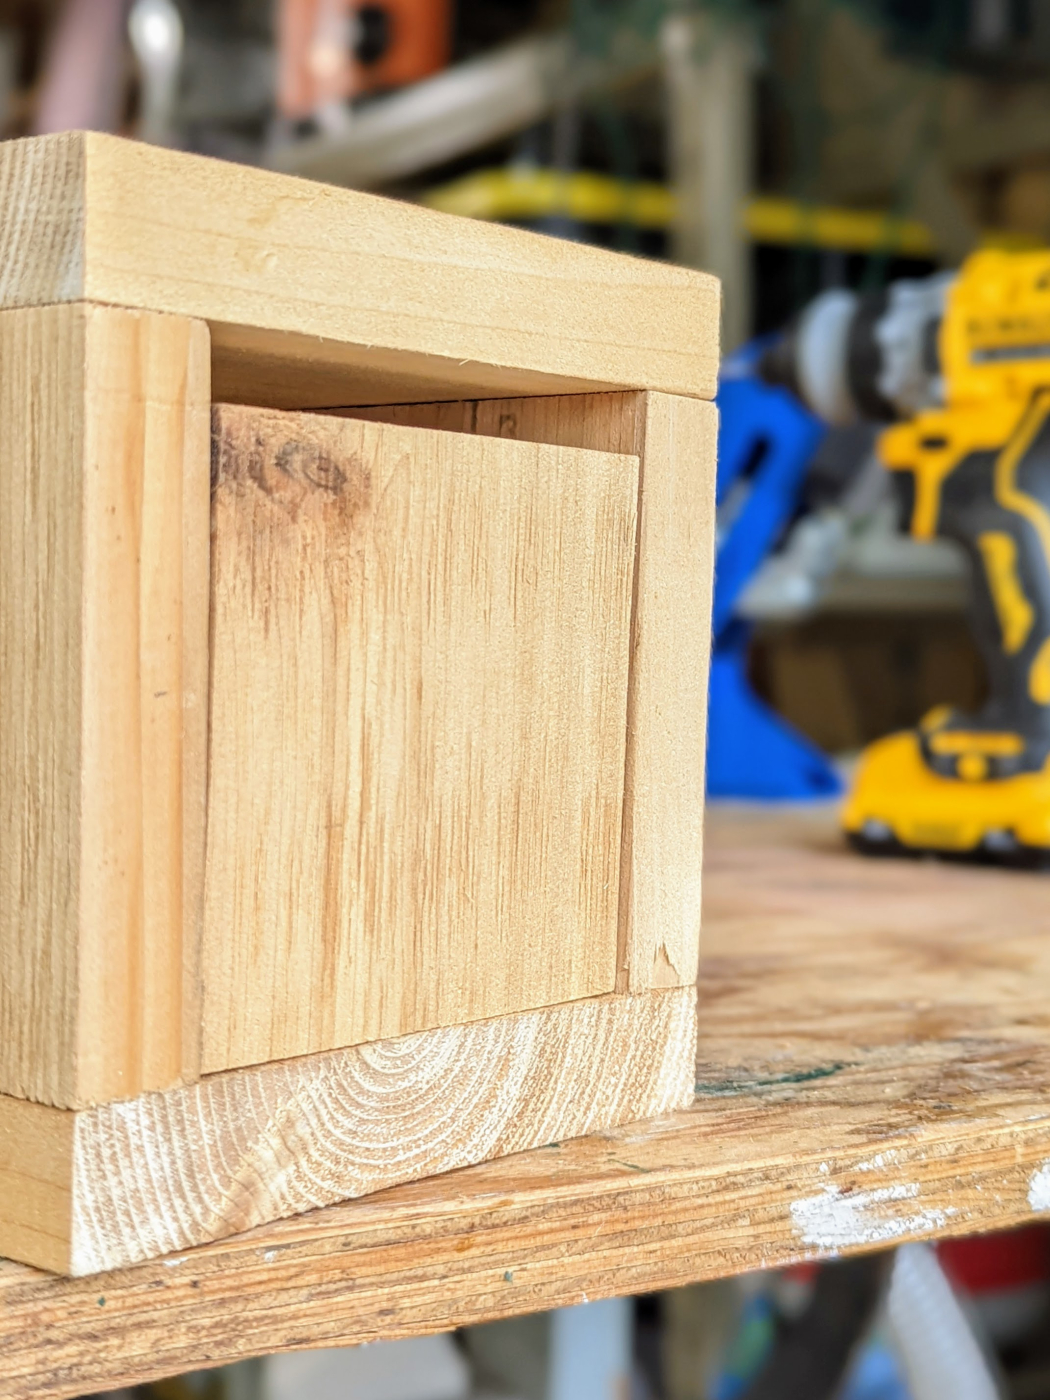
Since I was using pocket holes for the construction of the planter, order of assembly was an important consideration. Put it together in the wrong order, and I wouldn’t have the room to drive the screws. Each side would be attached to the front via pocket holes, then I would attach it to the address plate from behind with countersunk screws. I wanted the water to drain out the front, so the bottom was also attached with countersunk screws. All of the assembly hardware was rated for exterior use so it wouldn’t rust.
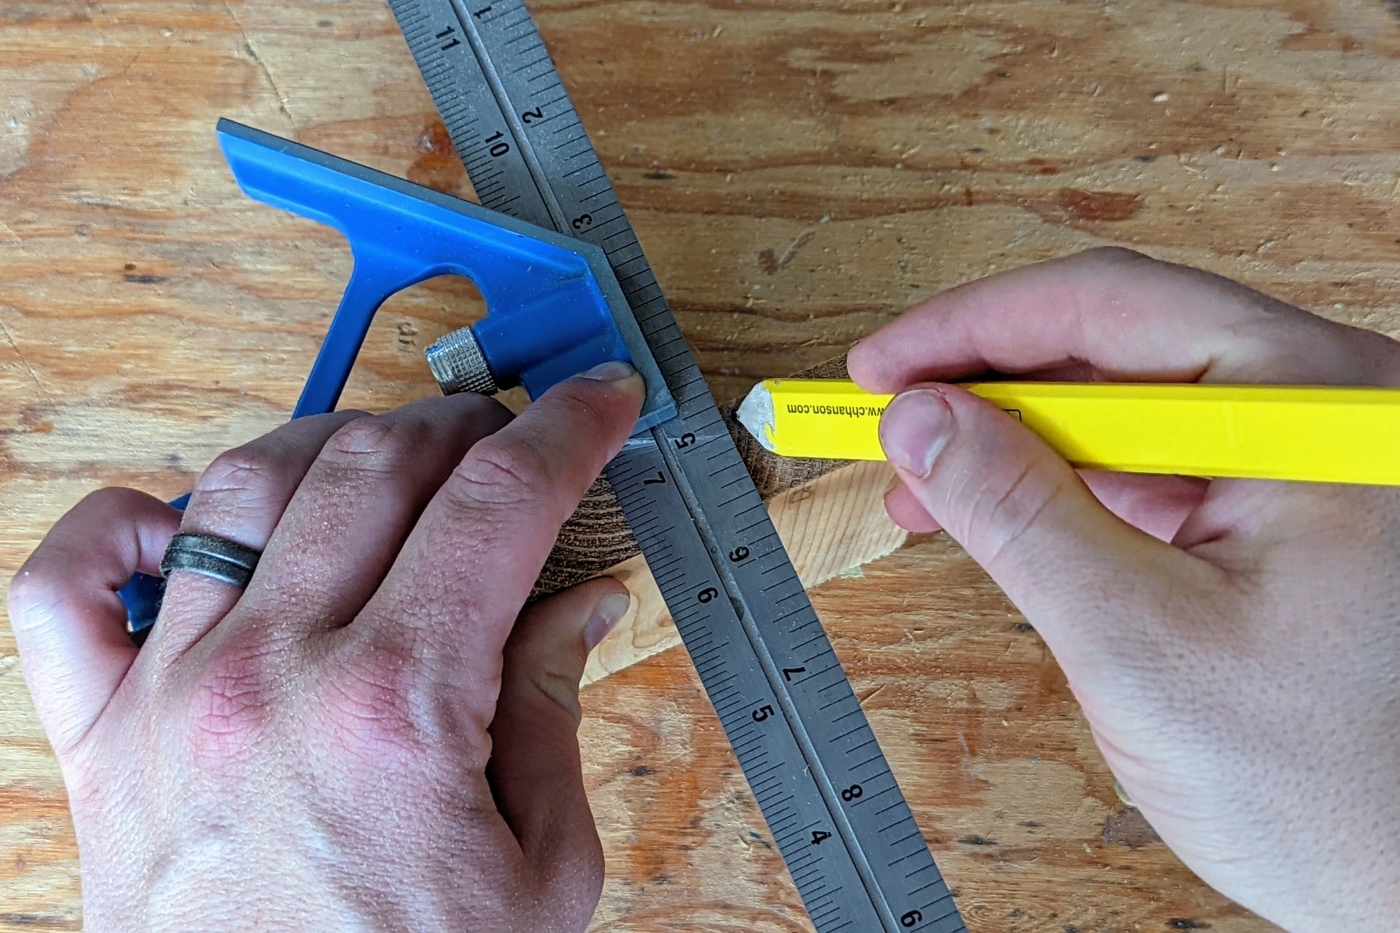
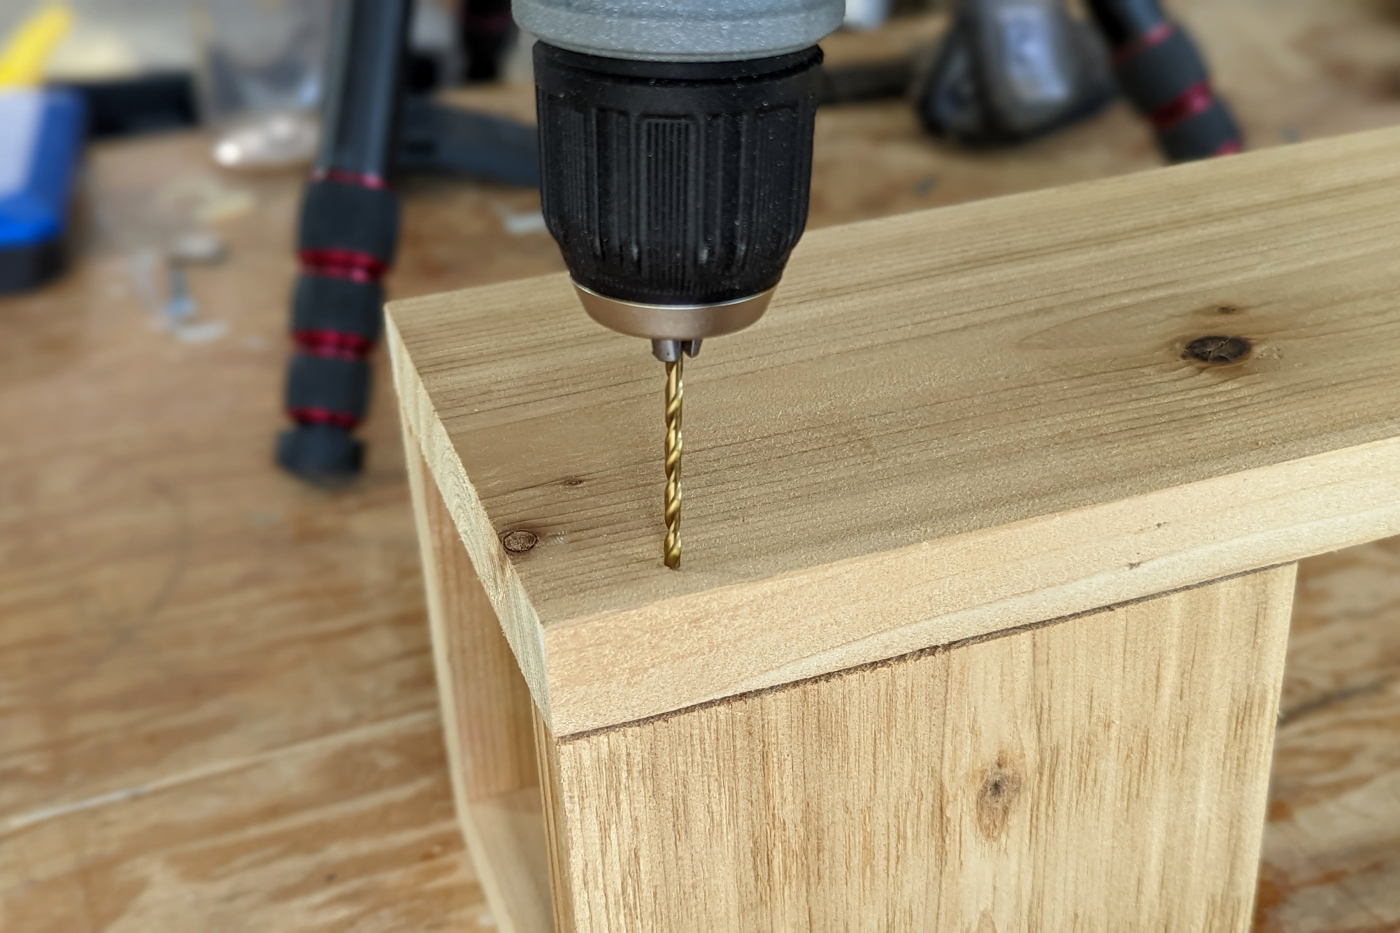
3. Do you need to mark the exact location for drilling pocket hole screws? No, but it’s a good practice anyway.
4. With the pocket hole lines clearly marked, you’re less likely to drill in the wrong spot.
6. The stop block helps prevent the joint from shifting when driving the screw.
7. Cedar is a soft wood, but I decided to drill pilot holes just in case.

8. Once you’ve attached the planter on one side, made sure to line up on the edge on the other before screwing it in.
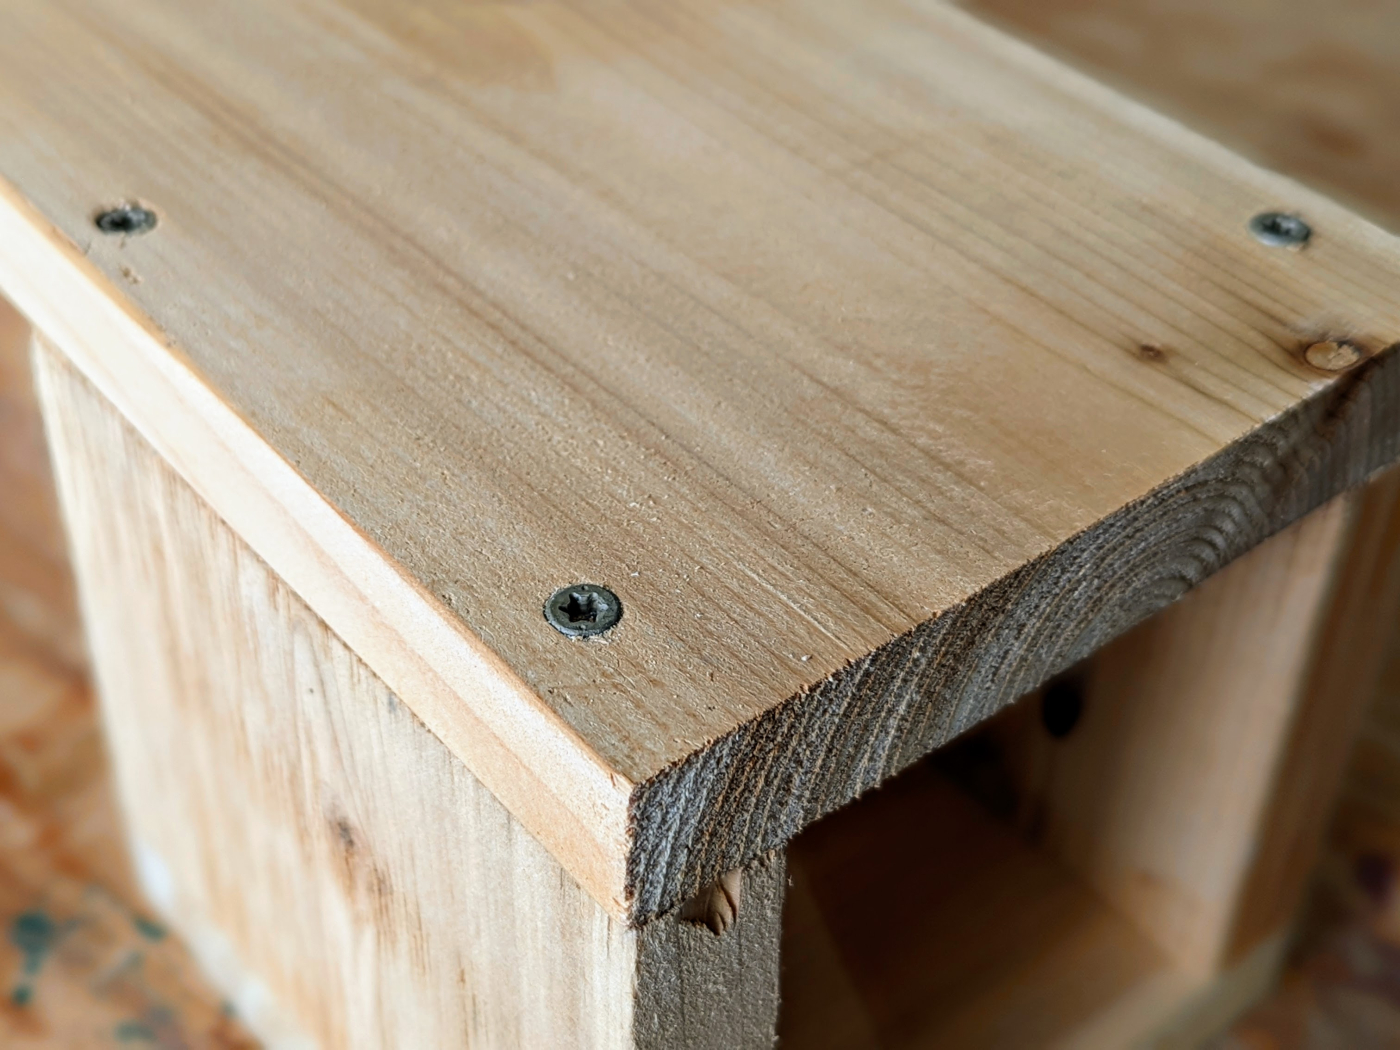
9. The screws countersunk themselves, no pre-drilling needed.
10. The bottom of the planter has a slight slope for water runoff.
Number Considerations
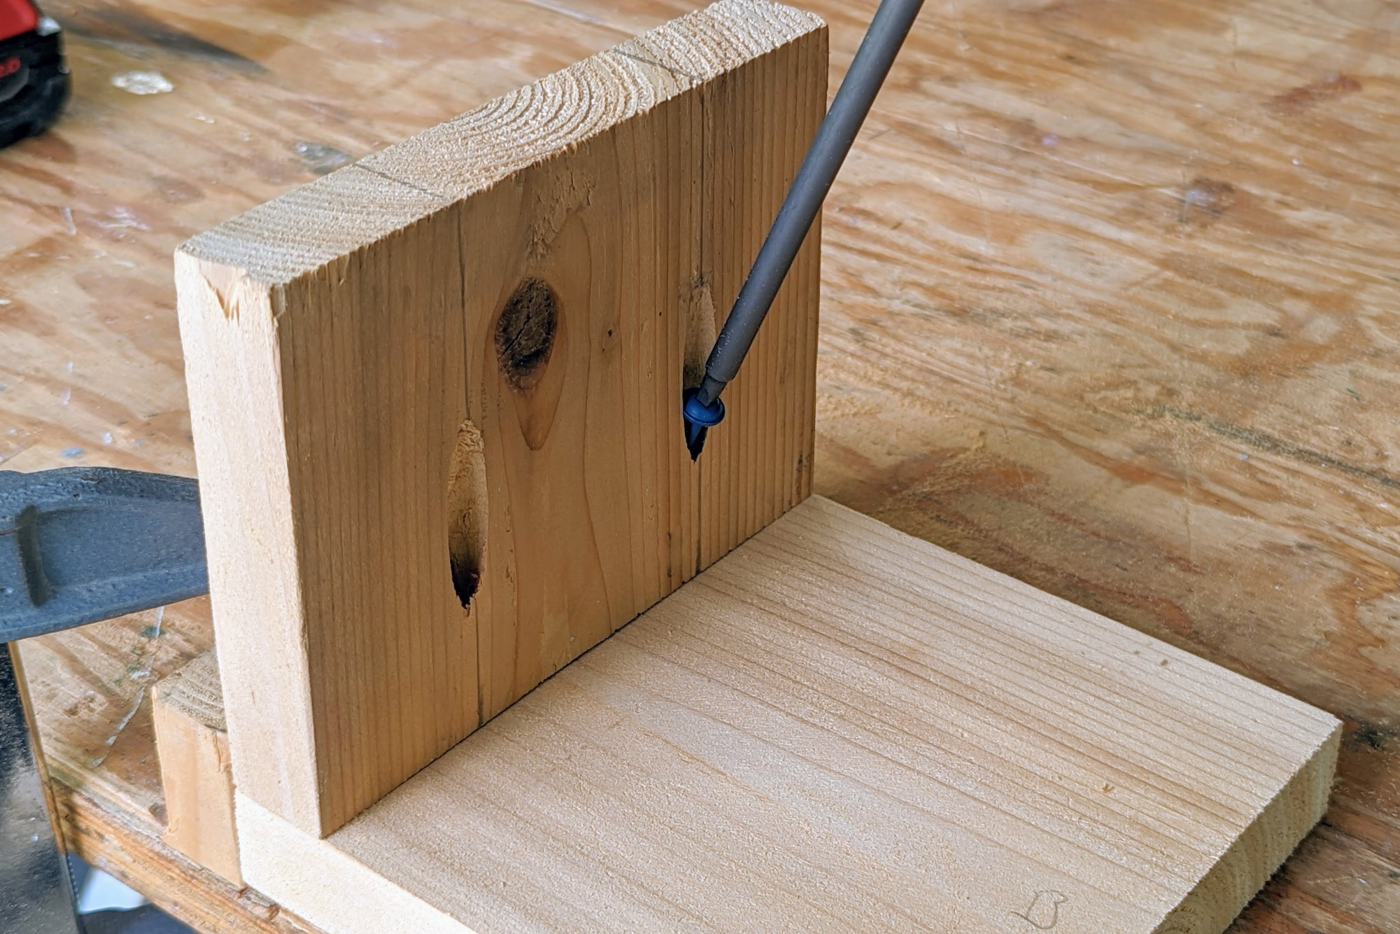
I used Hillman Distinctions house numbers, which are widely available in home stores as well as online. While overall I think they’re a great product, there are a few things to make note of when installing them. Take your time though, and you’ll be happy with the end result.
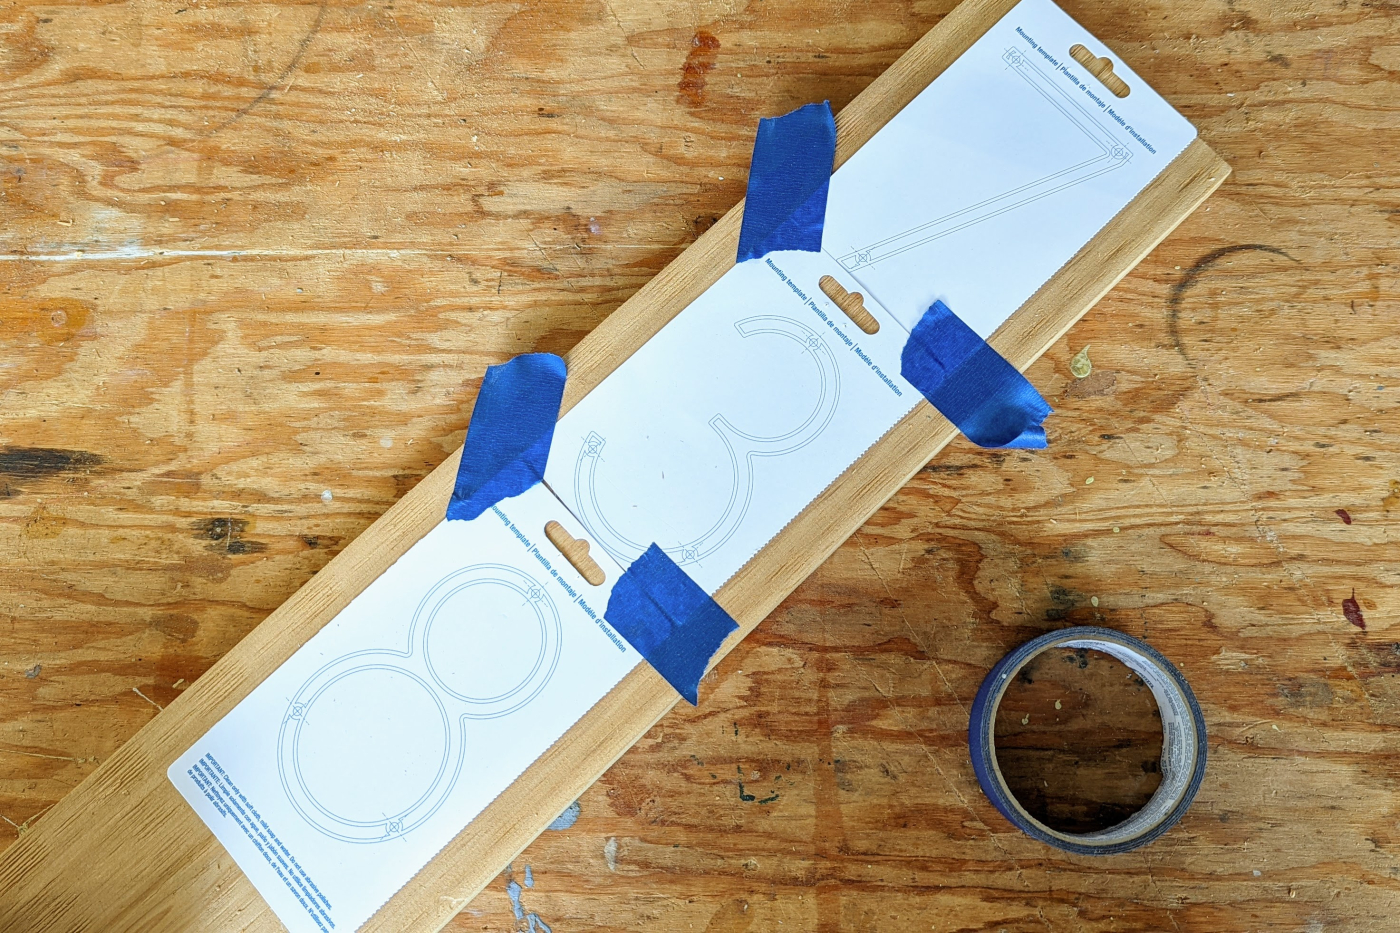
11. Utilizing the included number templates will help ensure everything in lined up and spaced out evenly.
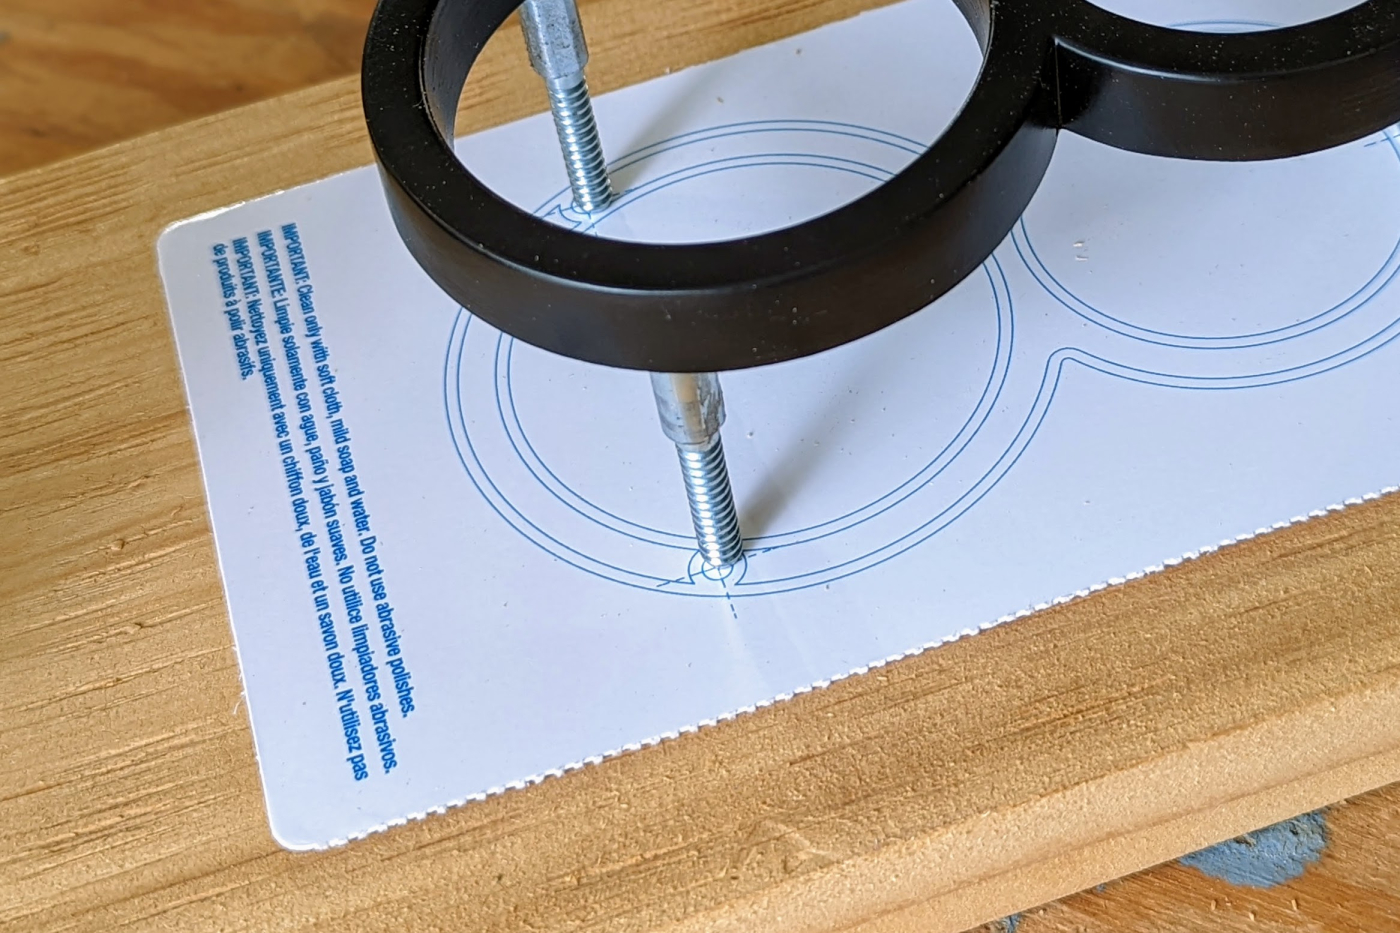
12. The posts aren’t always 100% straight, so double-check the locations before drilling.
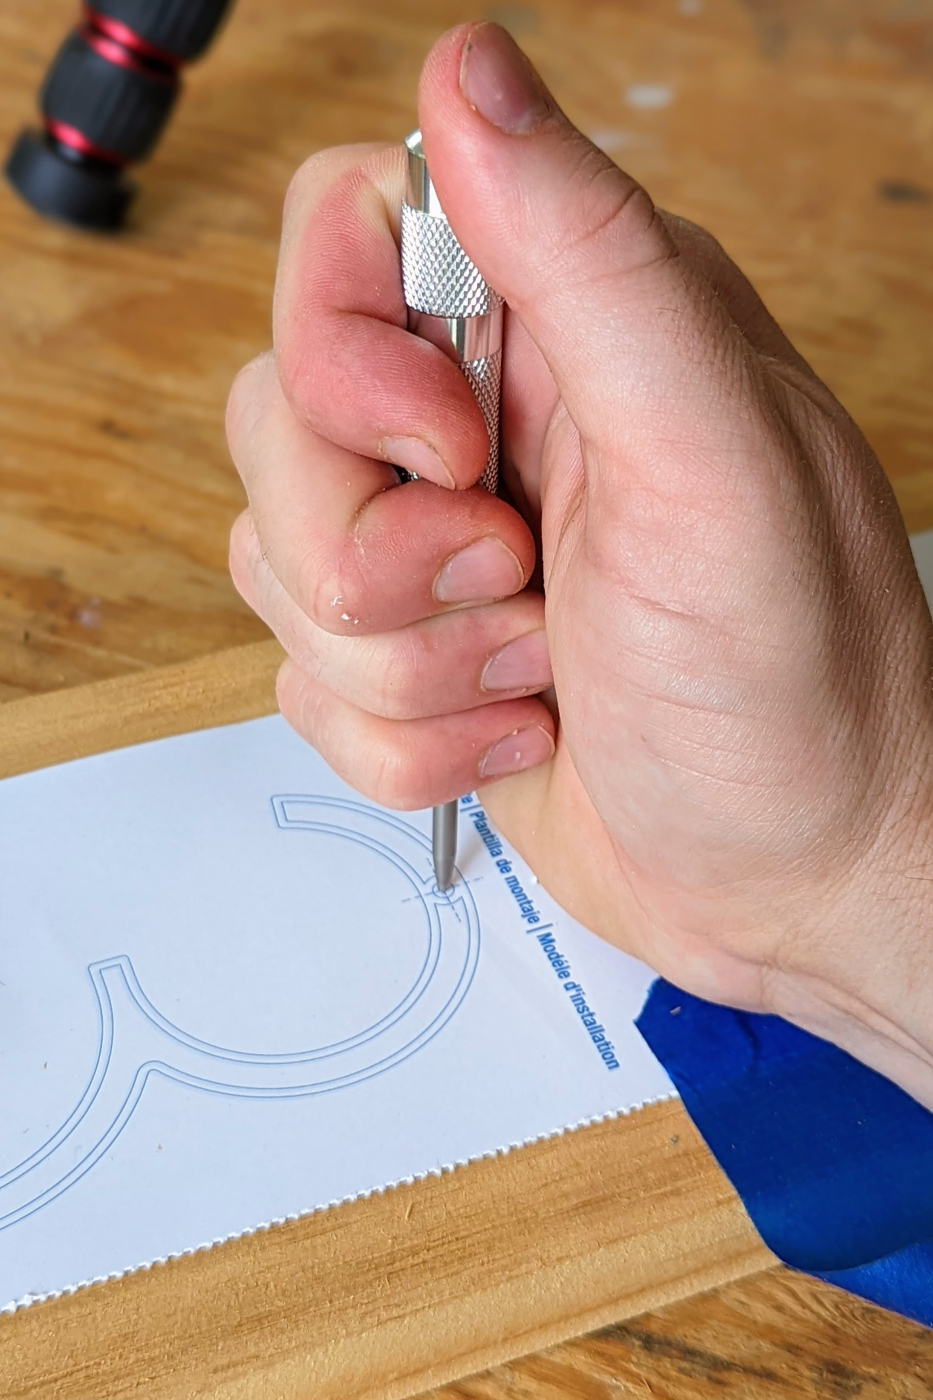
13. A punch will help the drill bit start exactly where you want it.
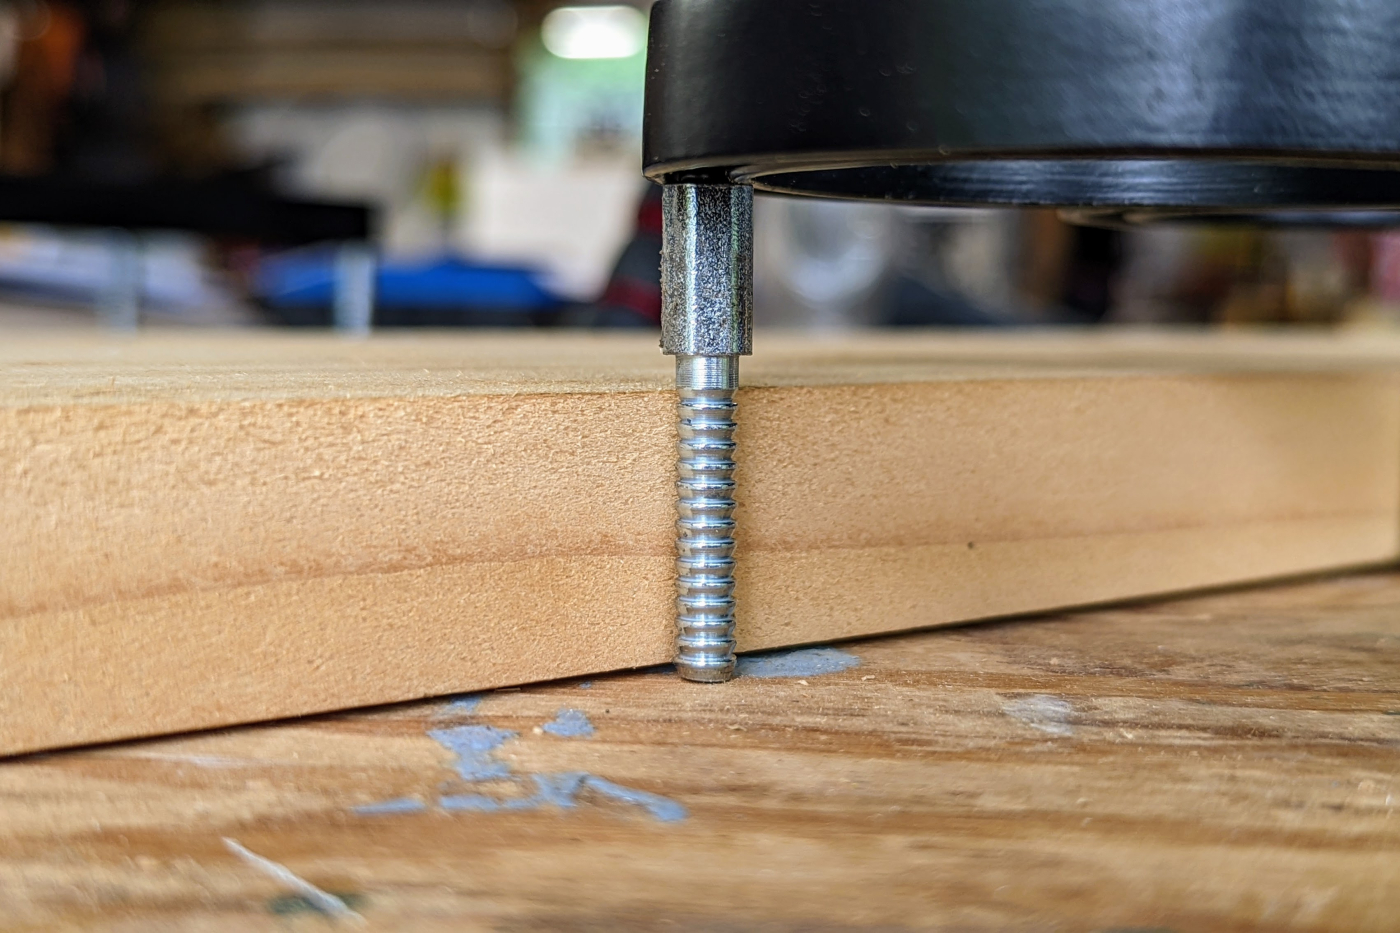
14. The posts are a bit too long for the thickness of the wood, so they need to be trimmed. A Dremel with a metal cutoff wheel works great.
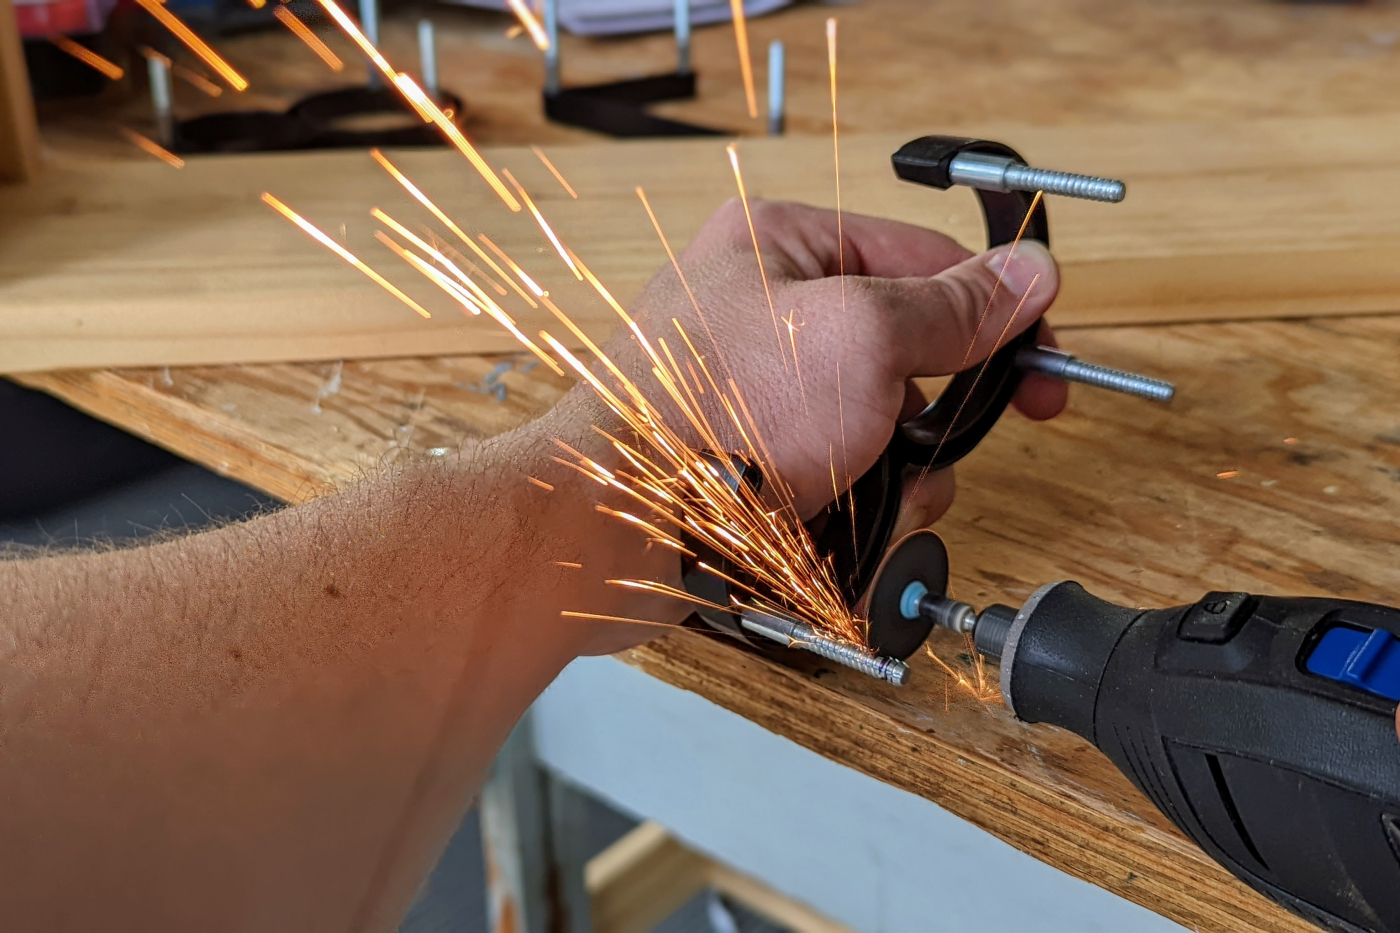
15. I picked this angle because it photographed nicely. Normally you don’t want sparks shooting directly at your face.
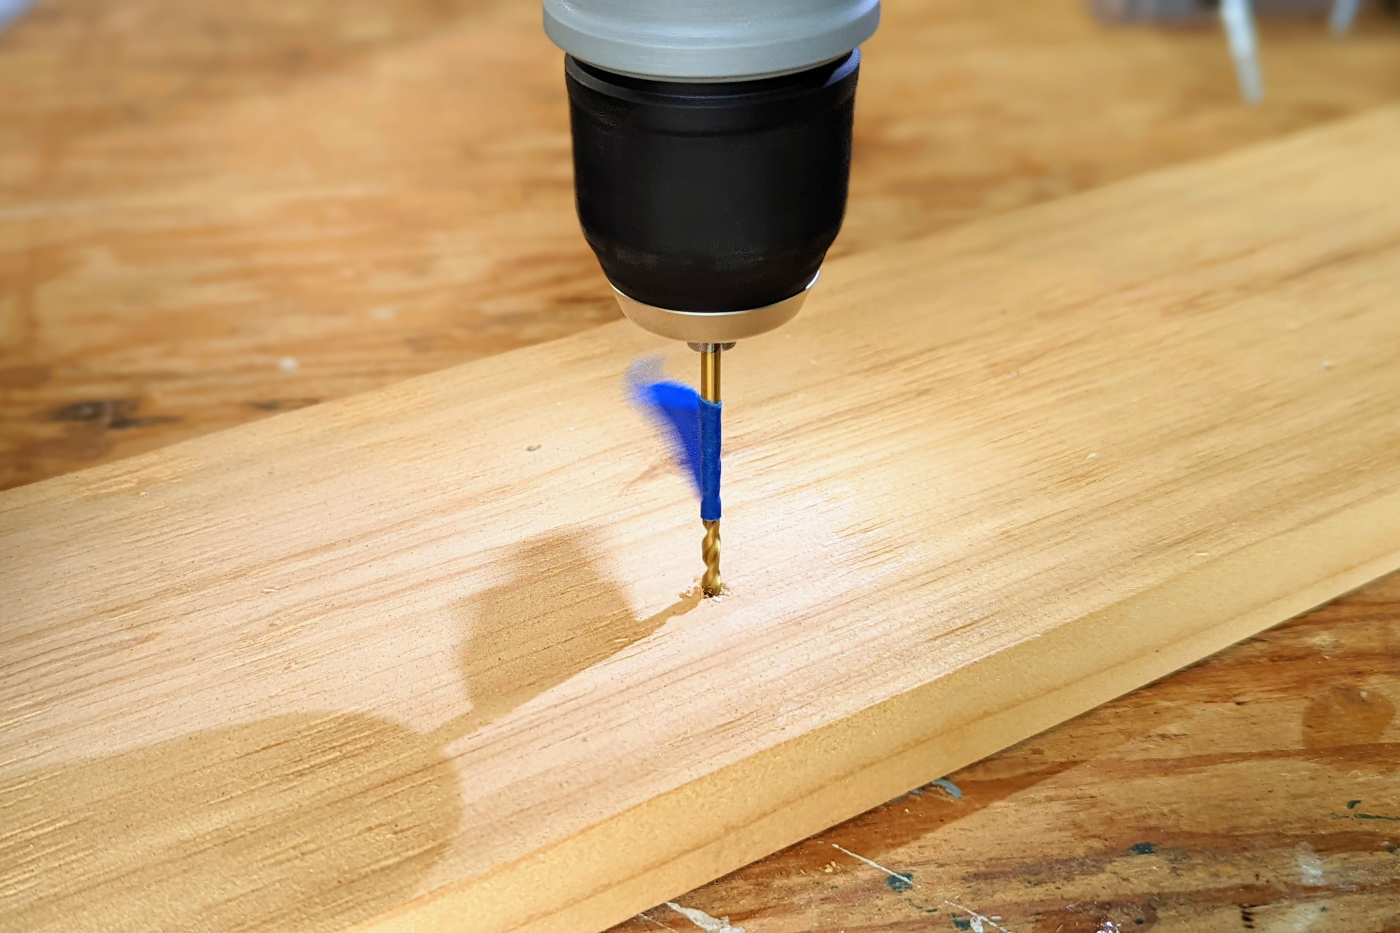
16. It won’t really hurt anything if you drill through the board, but I didn’t like the thought of doing it. Some painter’s tape on the bit helped set the depth.
Finishing
Exterior finishing has been covered extensively at Popular Woodworking, and there are pros and cons to every option. I decided to use teak oil, since it could be reapplied around the letters when the time came. We’ll see how I feel about that after a few years, but maybe I’ll prefer the look of the weathered cedar by then. Paint is also a viable option, especially if you used a wood that isn’t as water resistant.
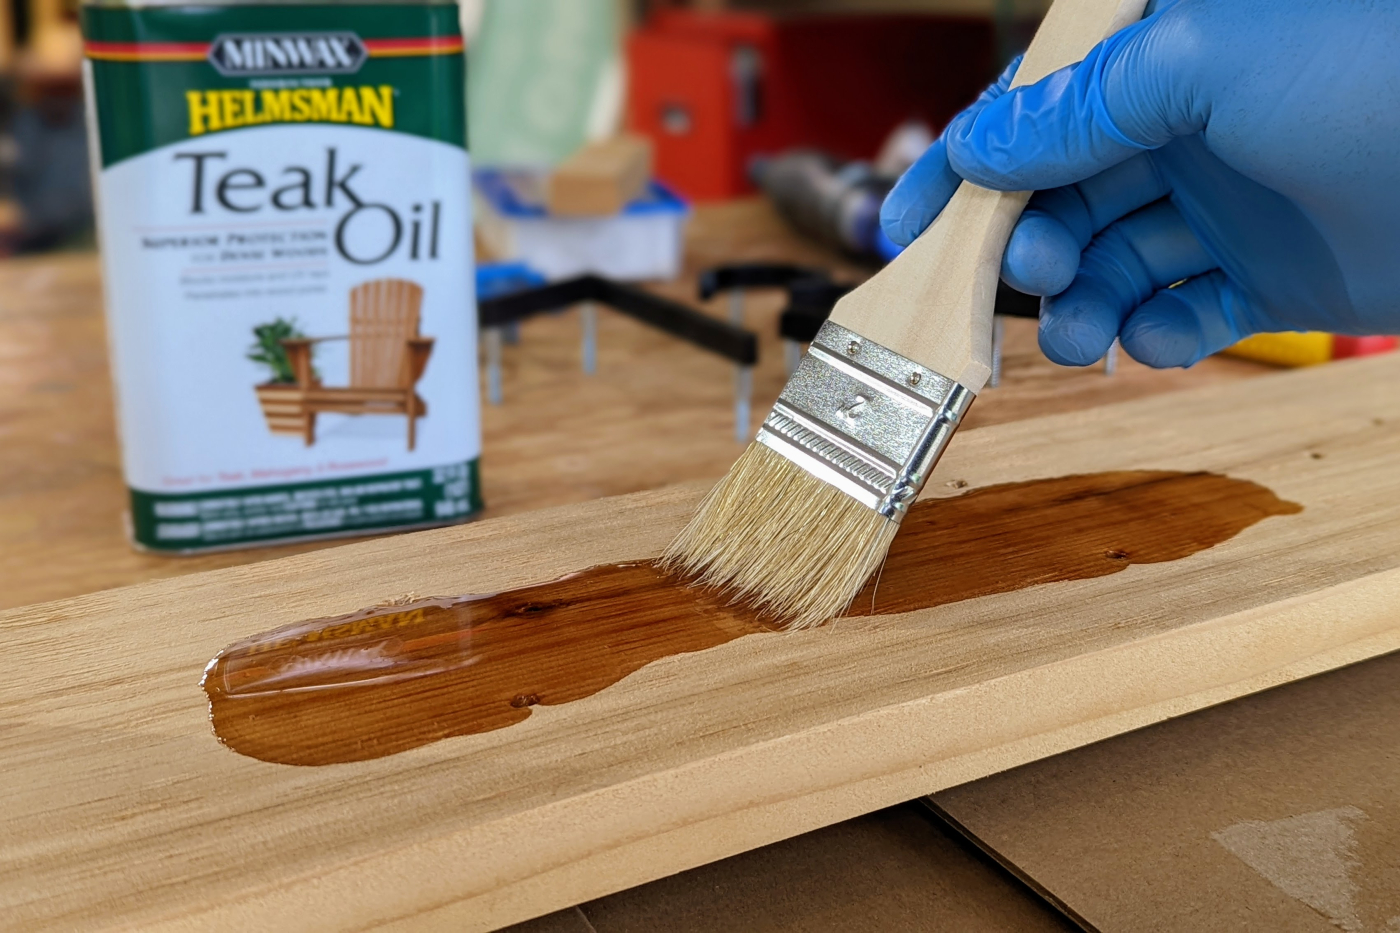
17. Teak oil is easy to apply (and reapply).

Here are some supplies and tools we find essential in our everyday work around the shop. We may receive a commission from sales referred by our links; however, we have carefully selected these products for their usefulness and quality.


Great idea and plan layout! This will make a great gift idea especially; for a housewarming etc.!
Thanks,
Ken
Thanks so much!