We may receive a commission when you use our affiliate links. However, this does not impact our recommendations.
 This small-scale curio cabinet is the perfect size to sit on a shelf, or in a bookcase.
 This small-scale curio cabinet is the perfect size to sit on a shelf, or in a bookcase.
Project #2222 • Skill Level: Intermediate • Time: 3 Days • Cost: $200
If you’re like me, you spent your formative years outdoors climbing trees, riding bikes, scraping knees, and enjoying the offerings of the natural world. This newfound form of self-government often resulted in day-long excursions where various items were collected and brought home (some living, much to our parents’ chagrin). These acquisitions were seen as tokens of liberation; a way to define our personalities, escape boredom, and satiate the endless curiosity about the world around us.
As an adult—believe it or not—I still possess many of the items I collected in my youth. I needed a way to exhibit these relics, a place for the imagination of my past to converge in a tastefully arranged display.
 My remedy? A miniature version of a curiosity cabinet. Follow along to construct your own scaled-down version of what the Renaissance aristocrats often referred to as “wonder-rooms.”
Cutlist


Start with the Sides
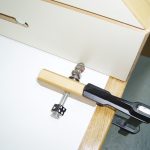
Begin by cutting a rabbet on the front edge of the left and right sides of the case. Then, create the groove along the bottom (which houses the bottom panel). This can be done using the table saw or router with a 1/4“ straight bit.
1 Use a sacrificial fence at the table saw to help form a rabbet along the back edge of the sides.
2 A dado along the bottom edge of the sides will hold the bottom.
Once this is complete, create the opening on the panel by first tracing the outline onto the piece using a premade template. From here, drill a couple of pilot/relief holes to accept the width of the jigsaw blade. Next, rough cut the opening approximately 1/16” away from your layout line. Reapply the template using double-sided tape and proceed to clean up the opening using a pattern bit. To ease the edge, I created an 1/8“ chamfer on the outside of the panel opening.
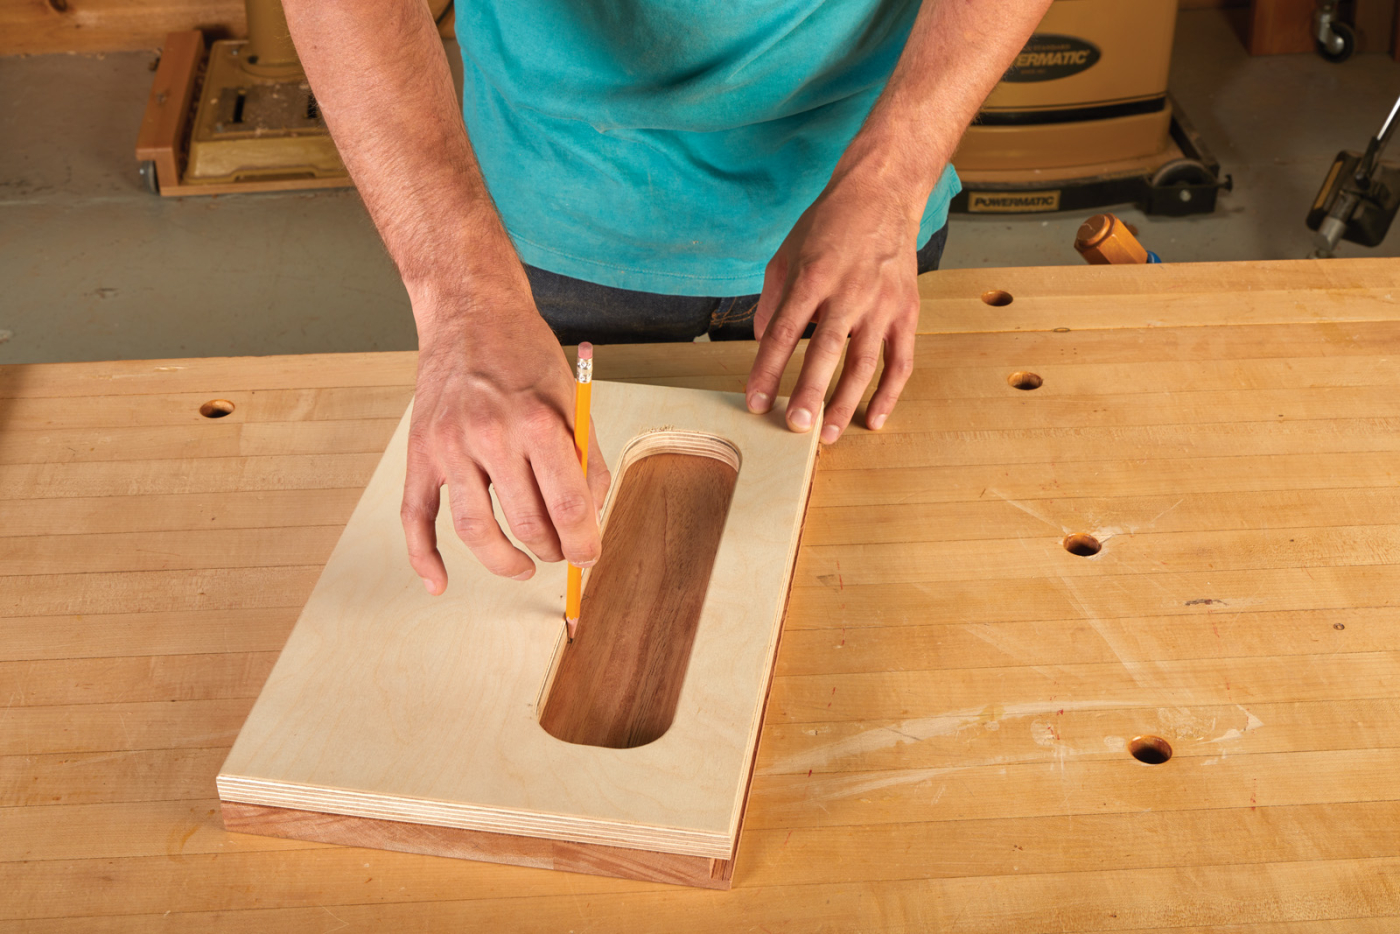
3 Trace a pattern to transfer the openings to the side panel.
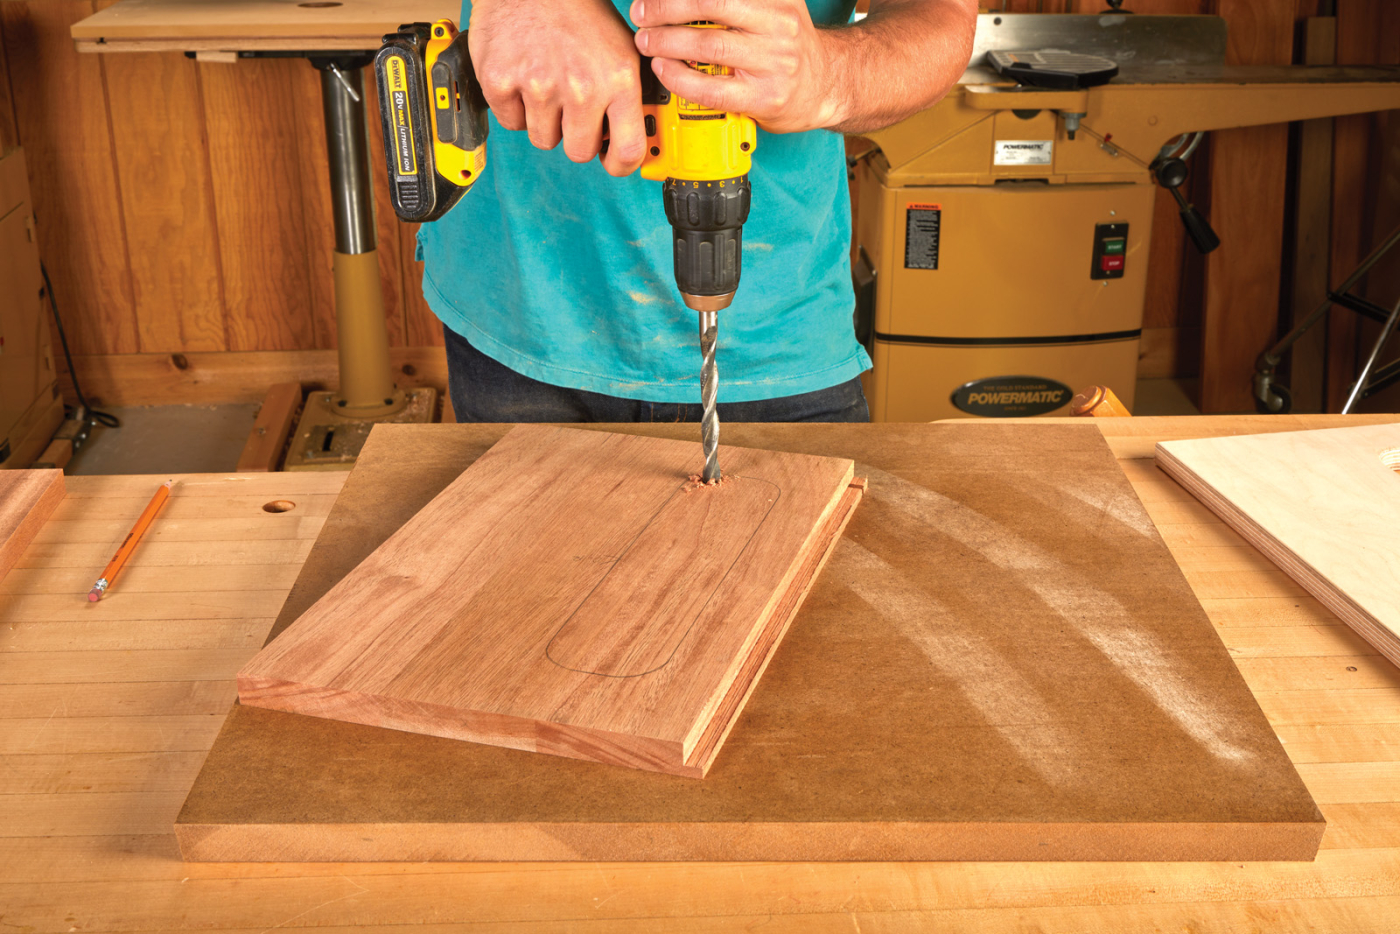
4 Drill a pilot hole to start the cut in the sides.
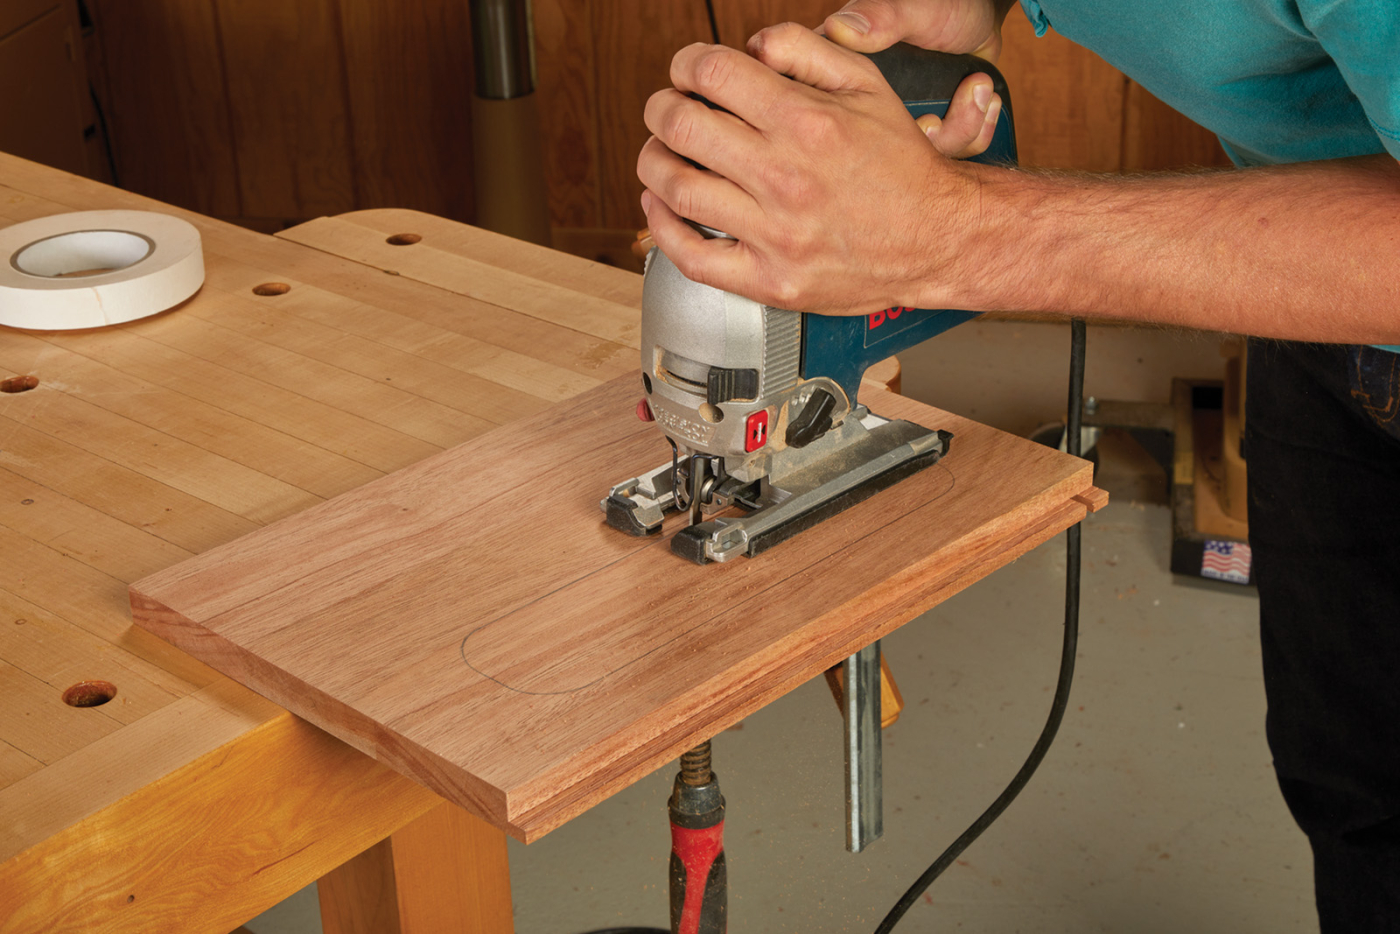
5 Rough in the opening on the sides with a jigsaw.
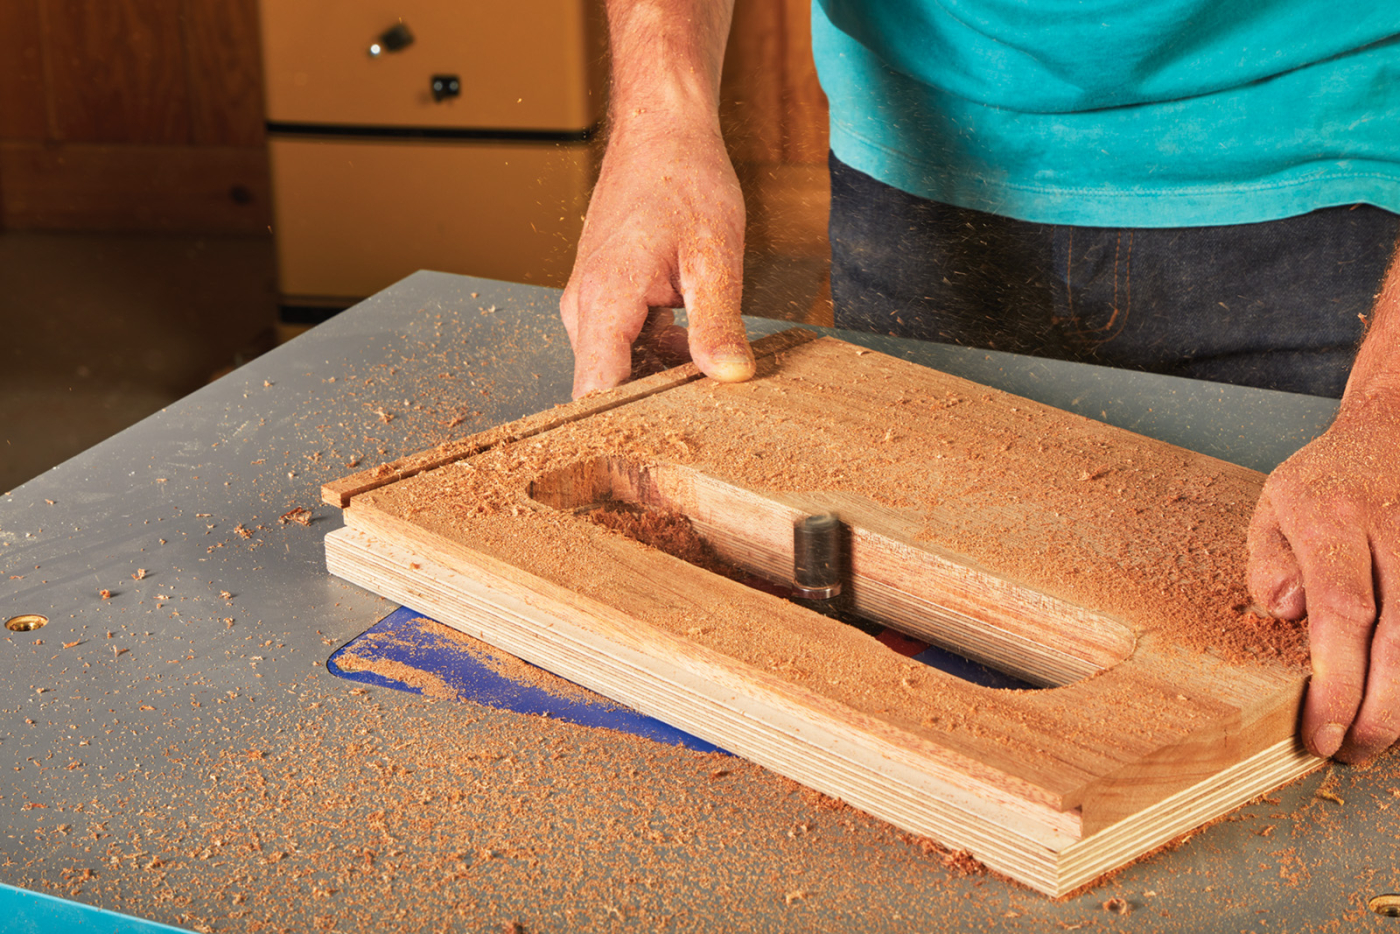
6 Make a final pass around the openings with a template bit, following the template.
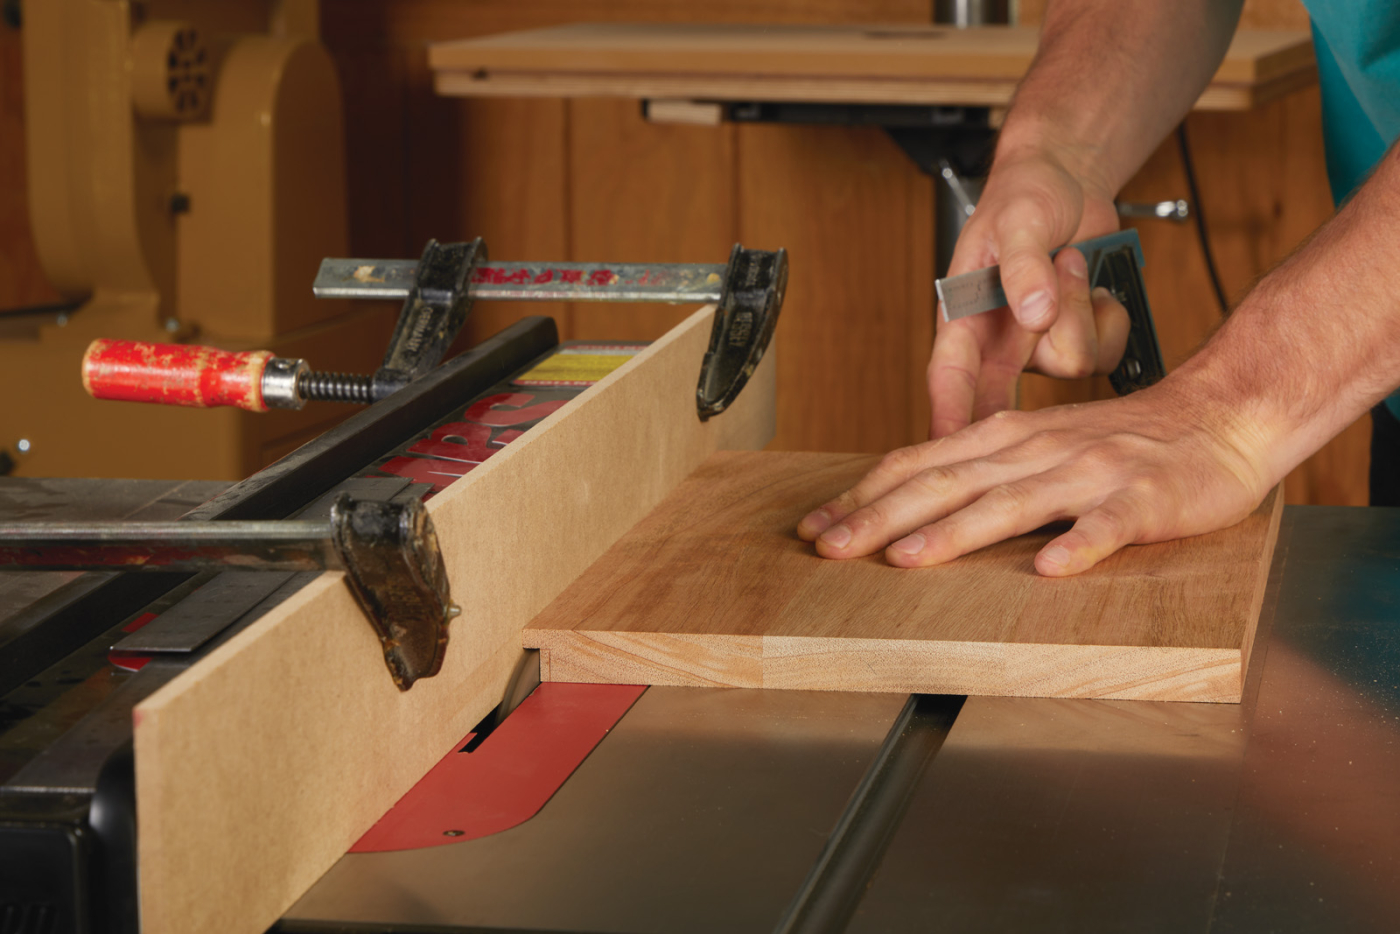
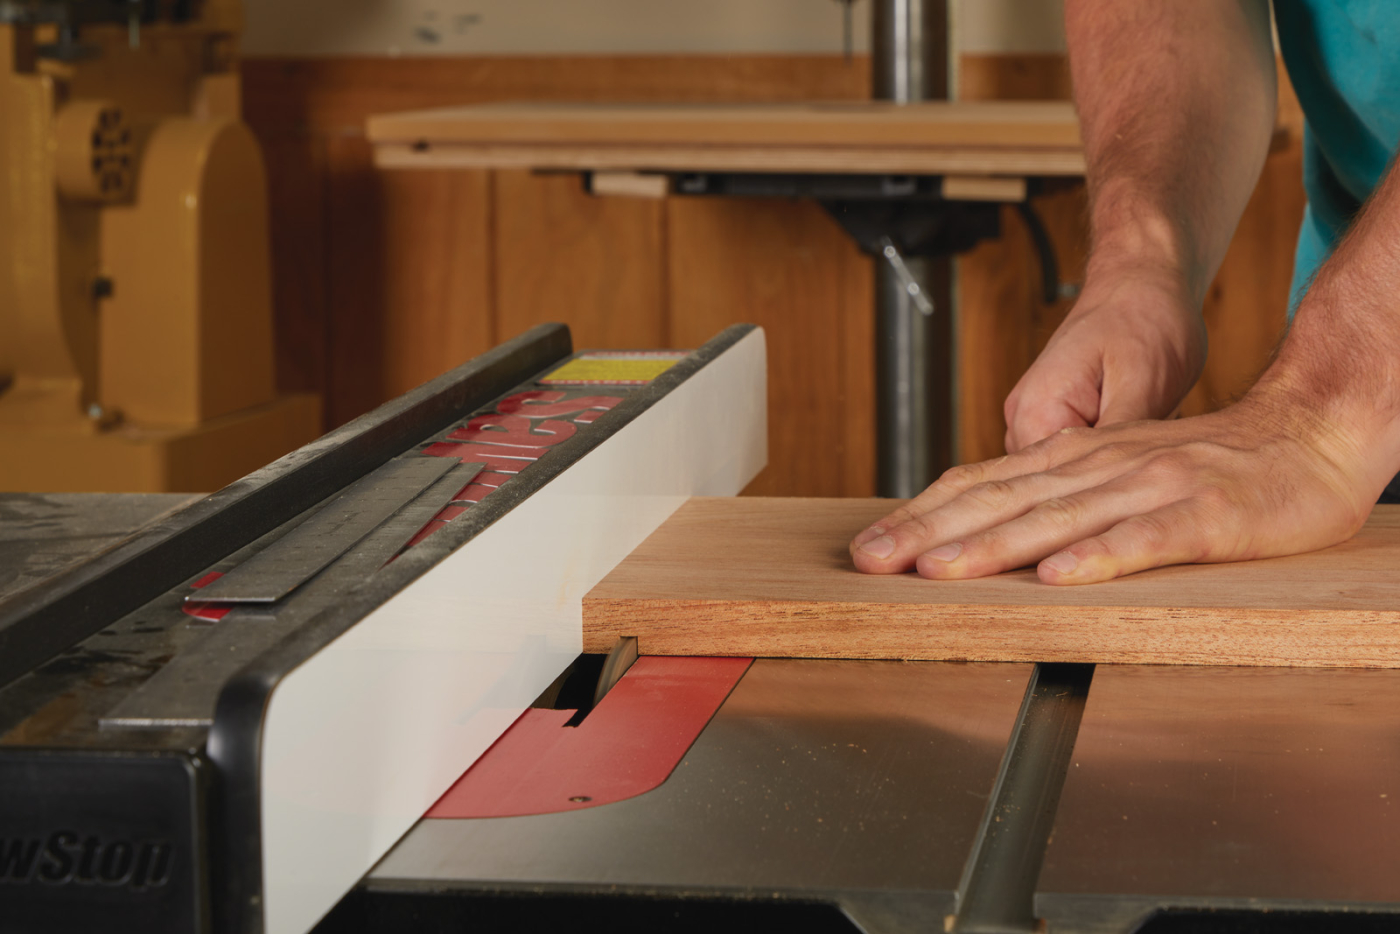
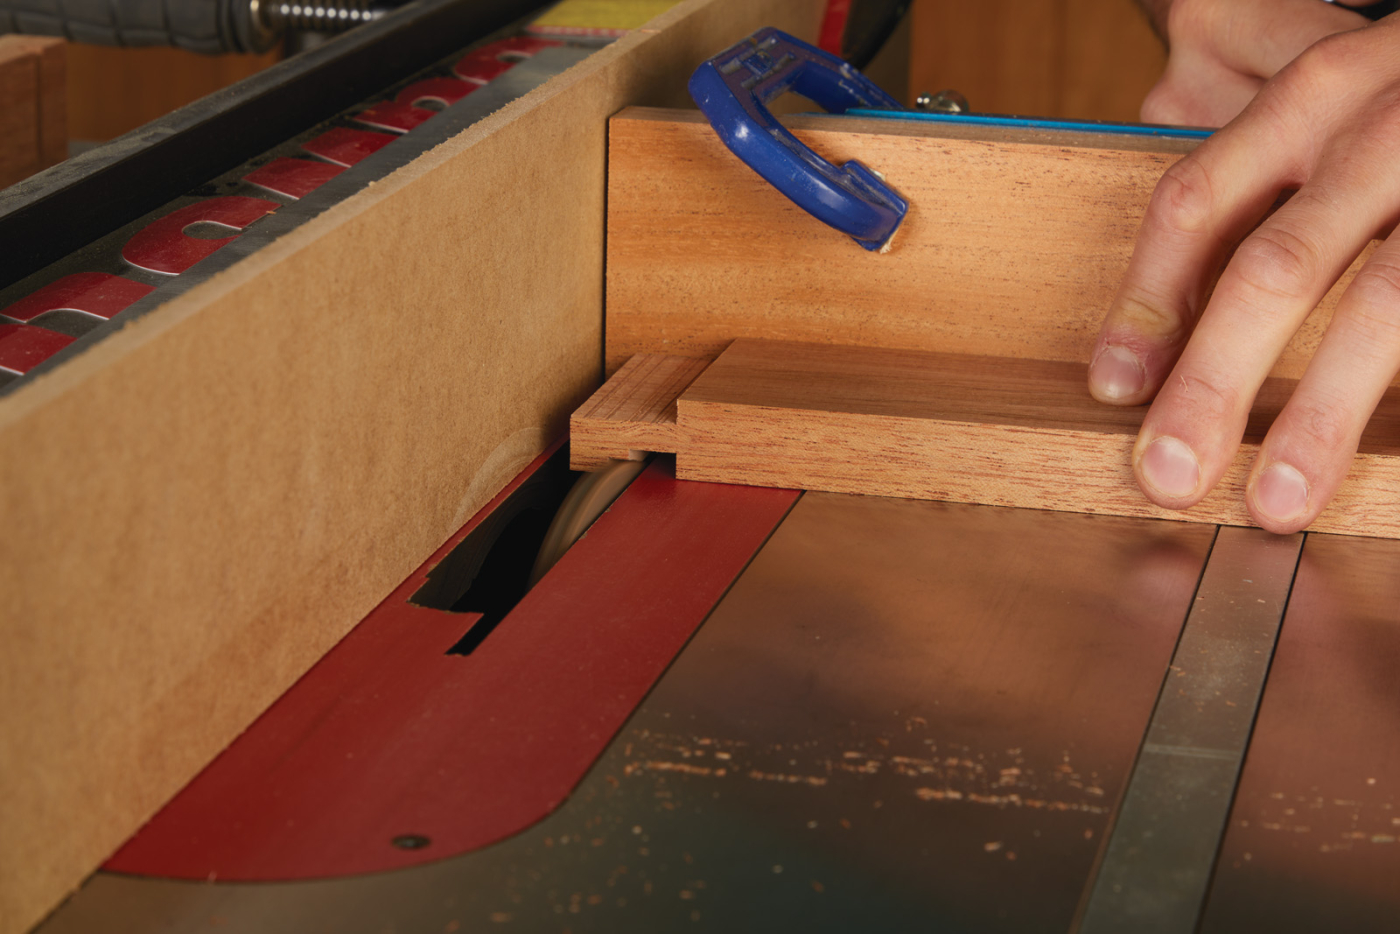
Next, create the grooves that house the glass shelf using the table saw. If feasible, use an 1/8“ flat-kerf joinery blade. Otherwise, a standard crosscut blade will suffice.
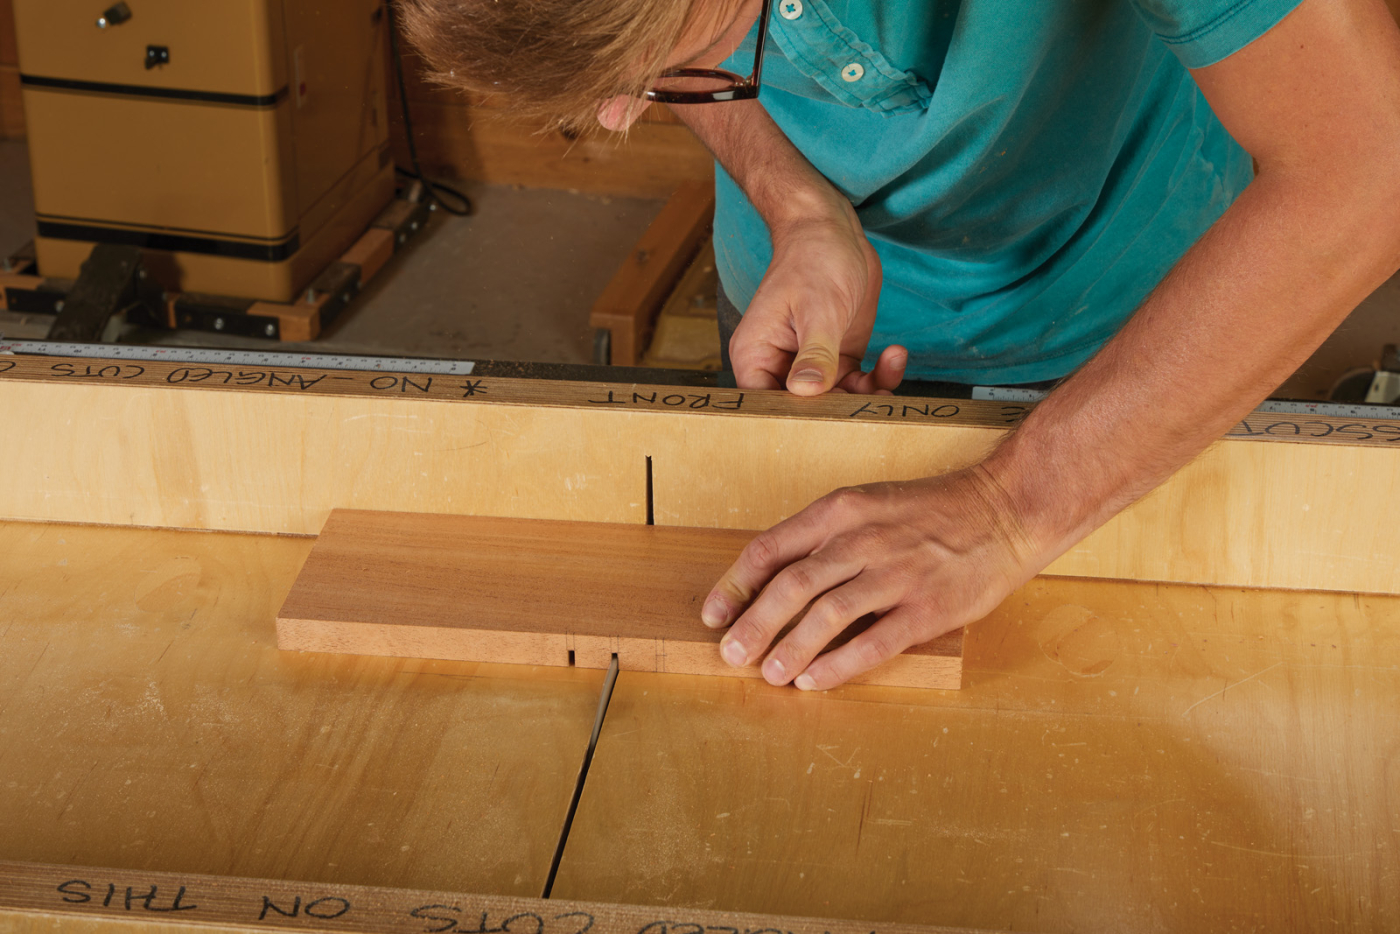
7 Cut dadoes in the shelf sleeve.
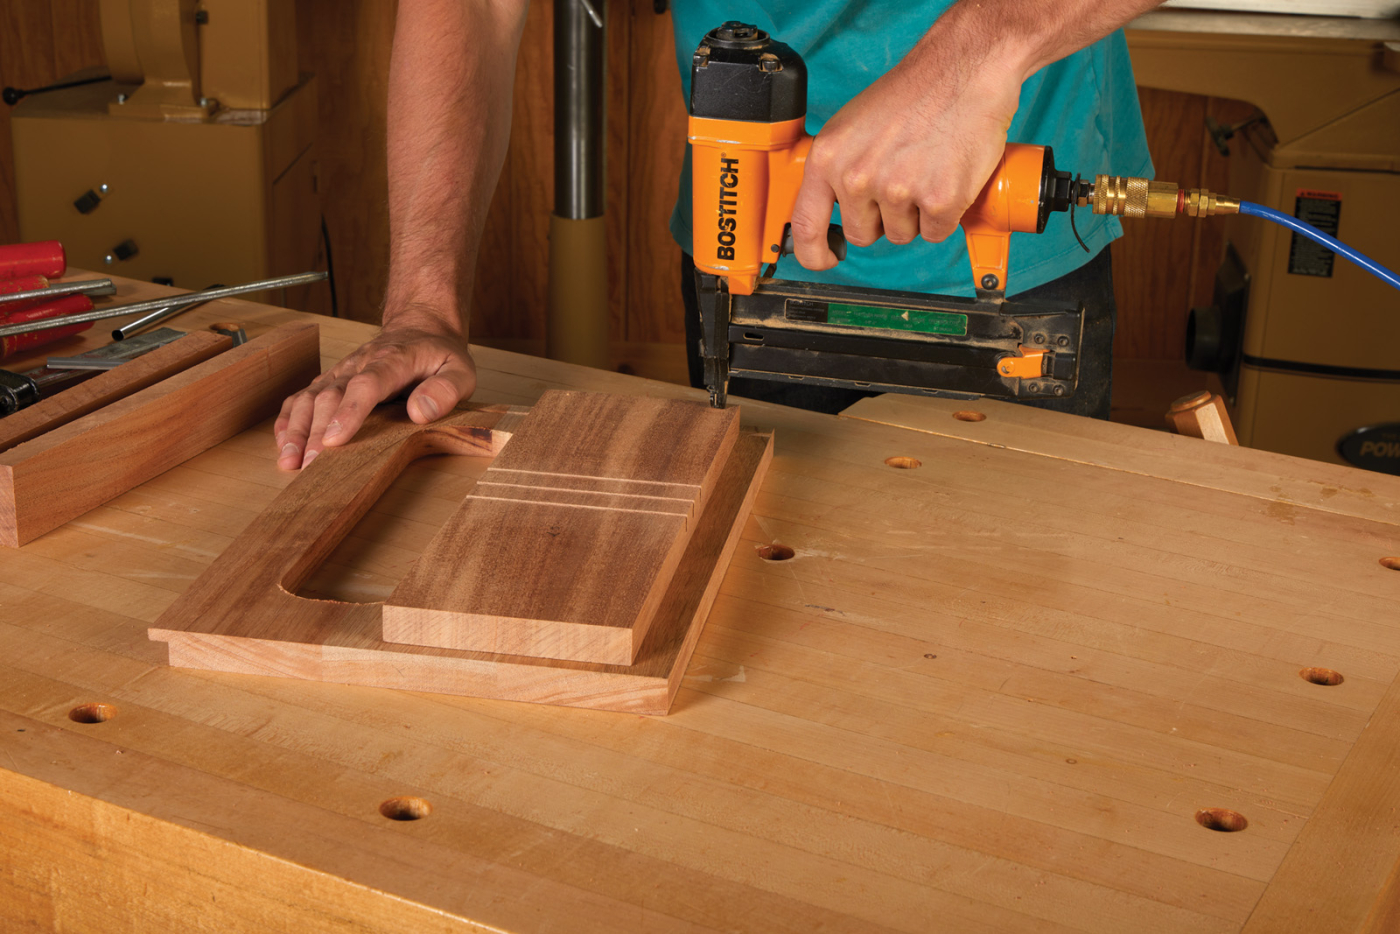
8 Glue and pin nail the shelf sleeve to the sides.
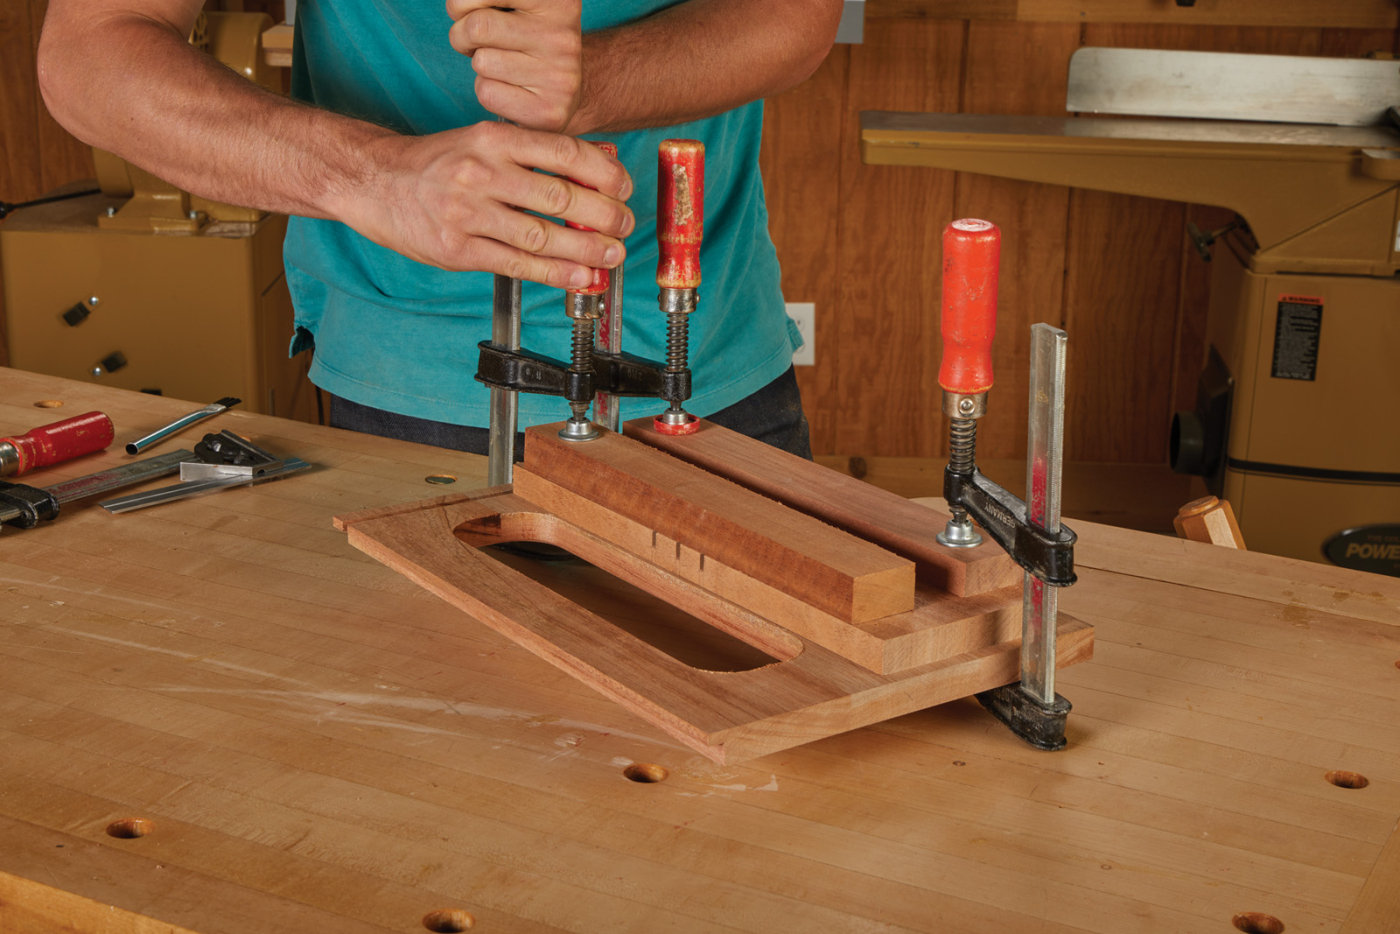
9 Long cauls will help apply even pressure.
Make two 1/2“ diameter recesses on the back side of each shelf panel— these will be for magnets to hold the back panel in place (which we will discuss later in the article). After this has been completed, glue the shelf panels to the inside of both panels.
Top and Bottom
The top and bottom are not identical in size or shape. However, the method of joinery applied is similar. Begin by creating the 3/4“ wide rabbet on the top using a dado setup at the table saw, and then trace a 3/4“ wide radius onto the front side of the panel using a compass. Cut close to your line and refine the edge with a sanding block. Cut more rabbets on to three sides of the bottom panel using your dado setup.
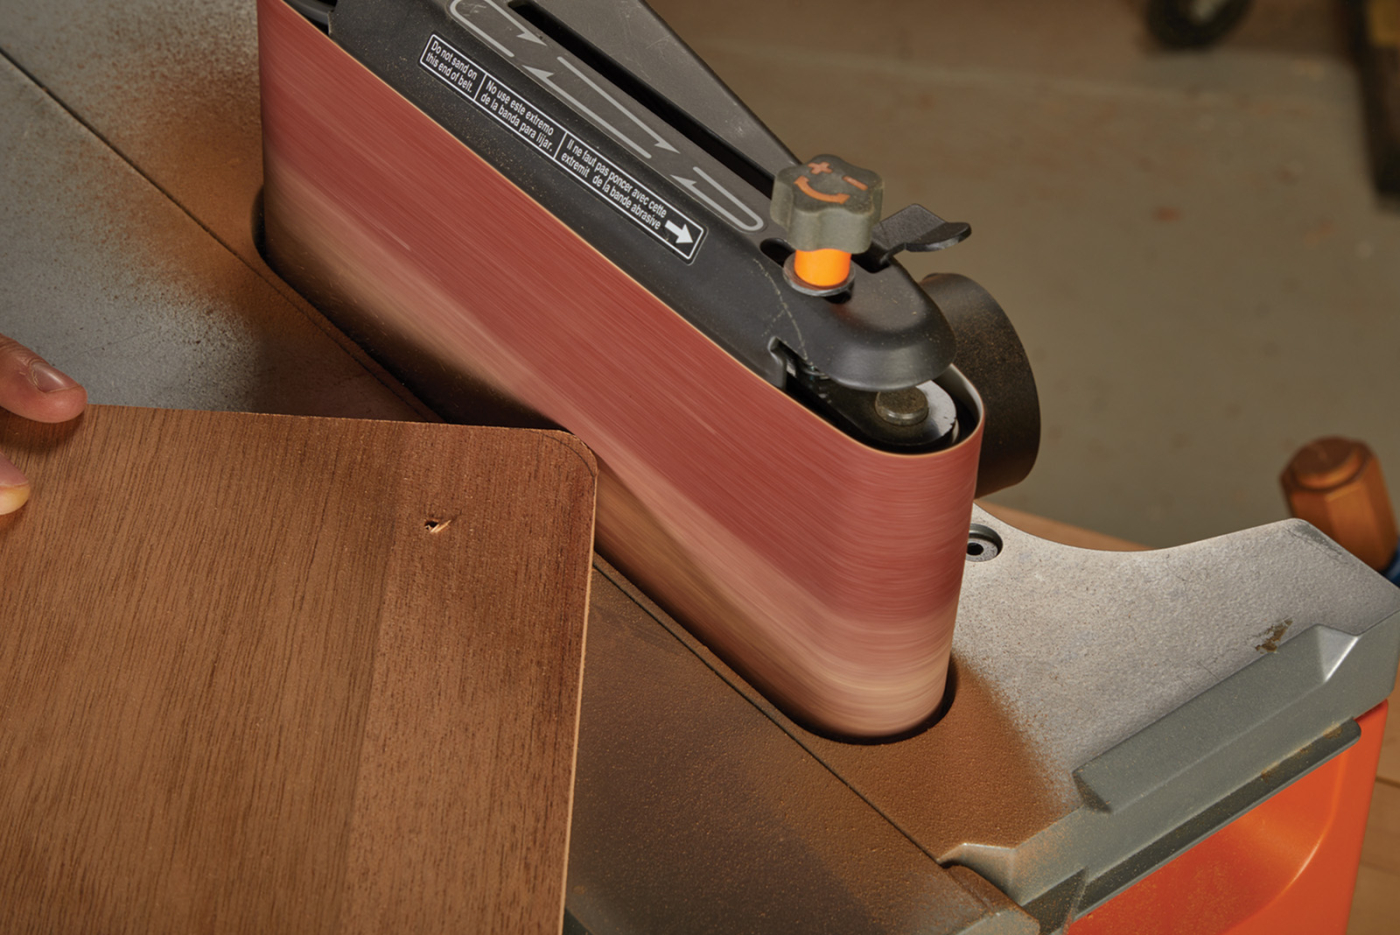
10 Round over the corners of the bottom panel. A jigsaw and sanding block works, but a belt sander can take care of all the work quickly.
The base for the curio cabinet is a solid panel attached using six no. 8 wood screws. You will notice the front edge of the base has radiused corners. Go ahead and repeat the same methodology used for the case top.
Front Panel
Cut stiles and rails to their final dimensions. Create the stopped mortise using a 1/4“ straight bit at the router table. I scribed my joinery layout onto the ends of the rail to use in reference to the router bit. Once the bit is centered, go ahead and make the first stopped cut. Since the mortises are 1“ deep, make sure to create the cuts in several passes.

11 Rout a mortise on the end of each of the front and back rails.
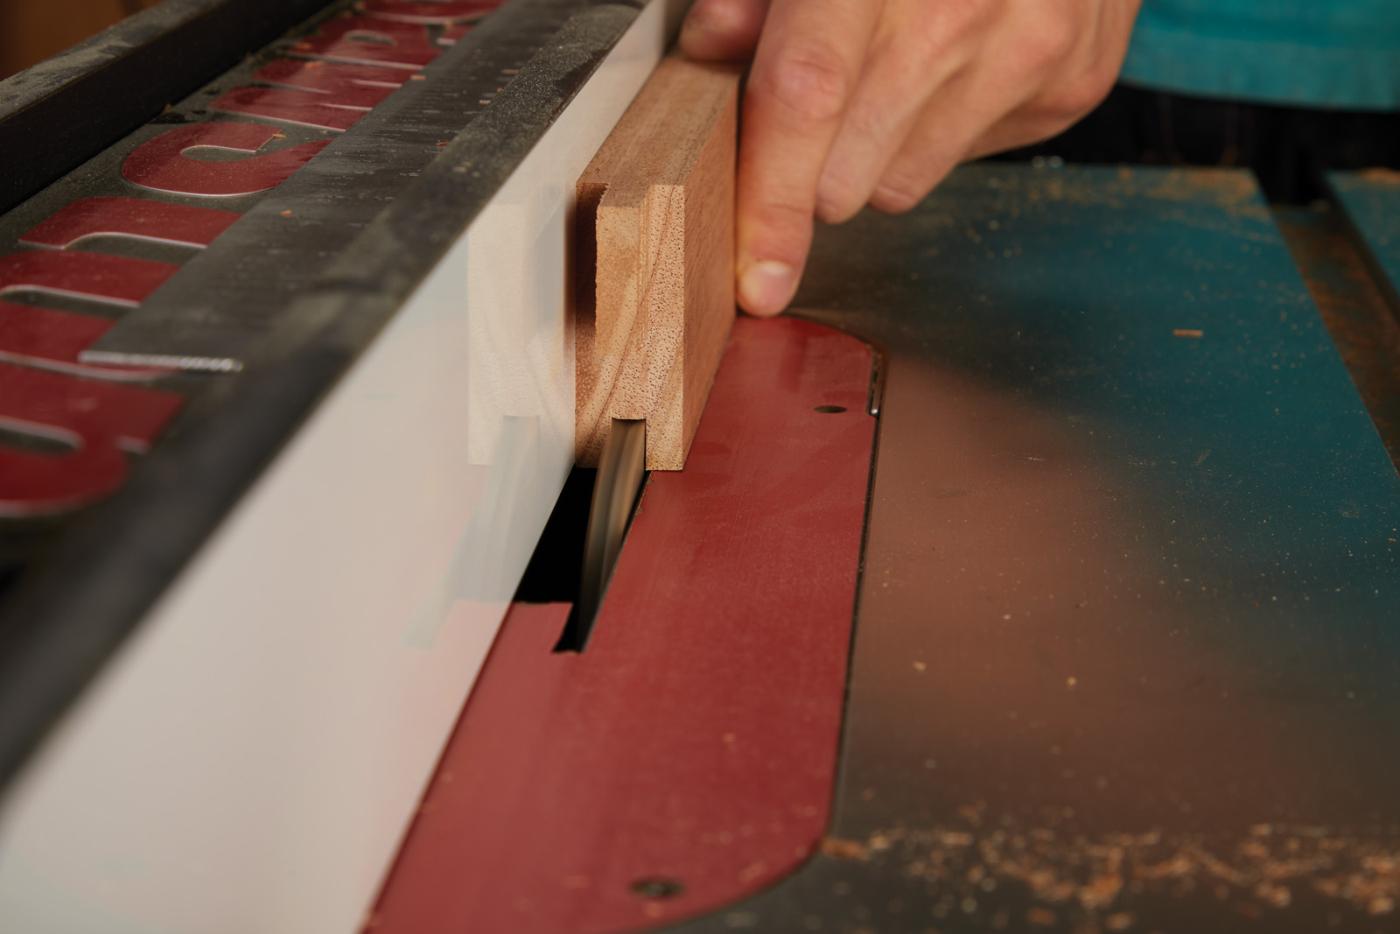
12 Cut a tenon on the ends of the upper and lower rail.

13 Stand the rails on edge and remove the waste in several passes.
The tenons on the two stiles were fashioned over at the table saw using a dado stack. Start by creating the 1/4“ shoulder cuts on both faces of the stile. Gradually move your piece away from the blade to finish off the cheek cut. Once this is done, flip the piece on edge and proceed to adjust the blade height to create the 1 1/2“ shoulder. Check the fit of the tenons before committing to glue.
14 Groove the inside of all of the front and back panels using a dado blade at the table saw.
With a 1/4“ bit, rout the two grooves and one dado that accept the two sides and bottom. Notice that the dado running along the bottom is stopped as well as shallower than the two that run vertically. Adjust the bit and use the vertical grooves as a reference to start and stop your cut.
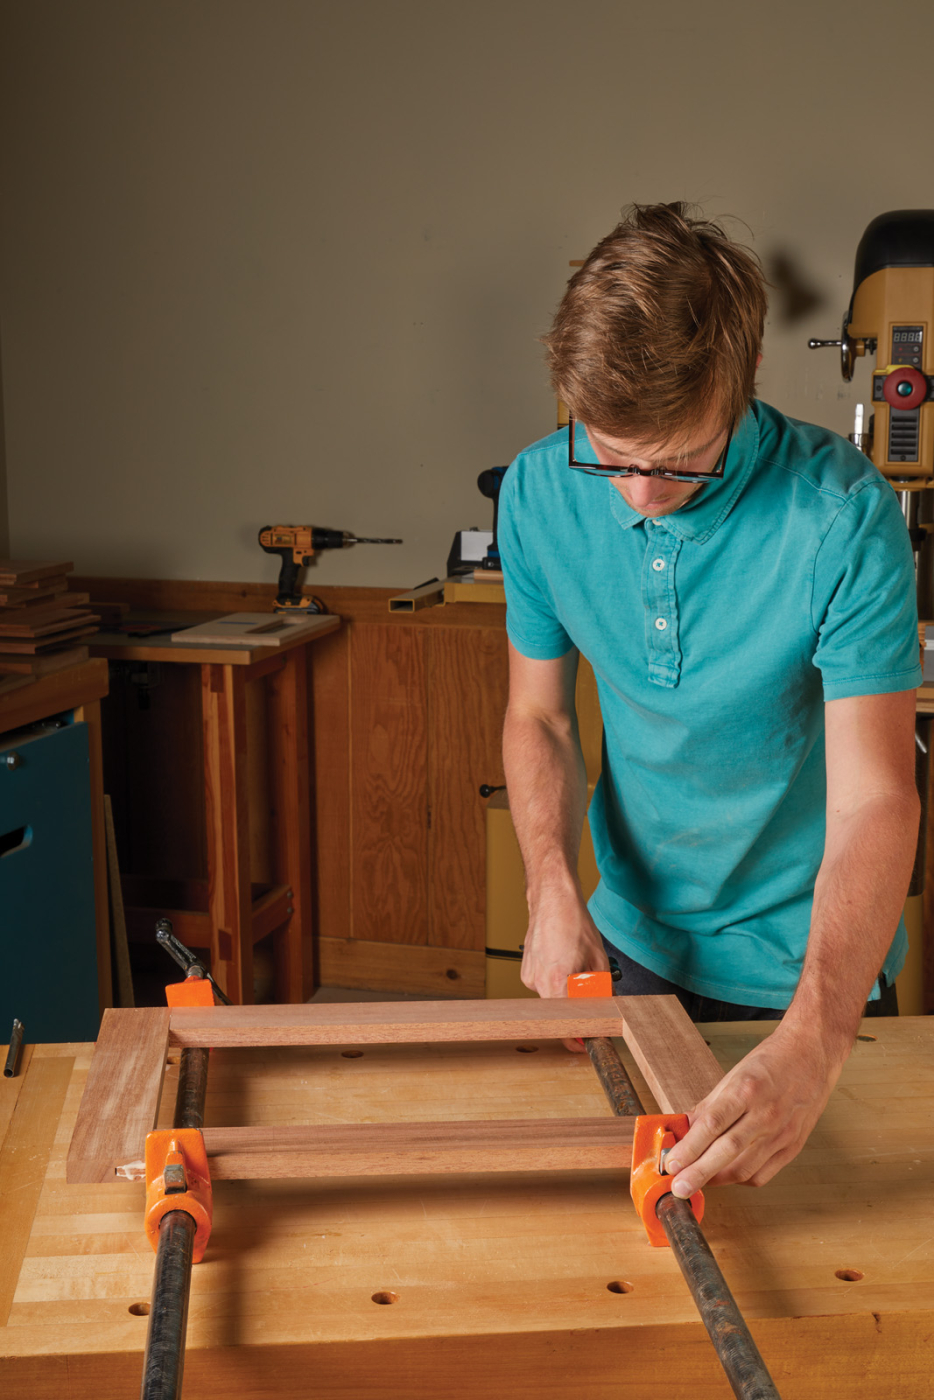
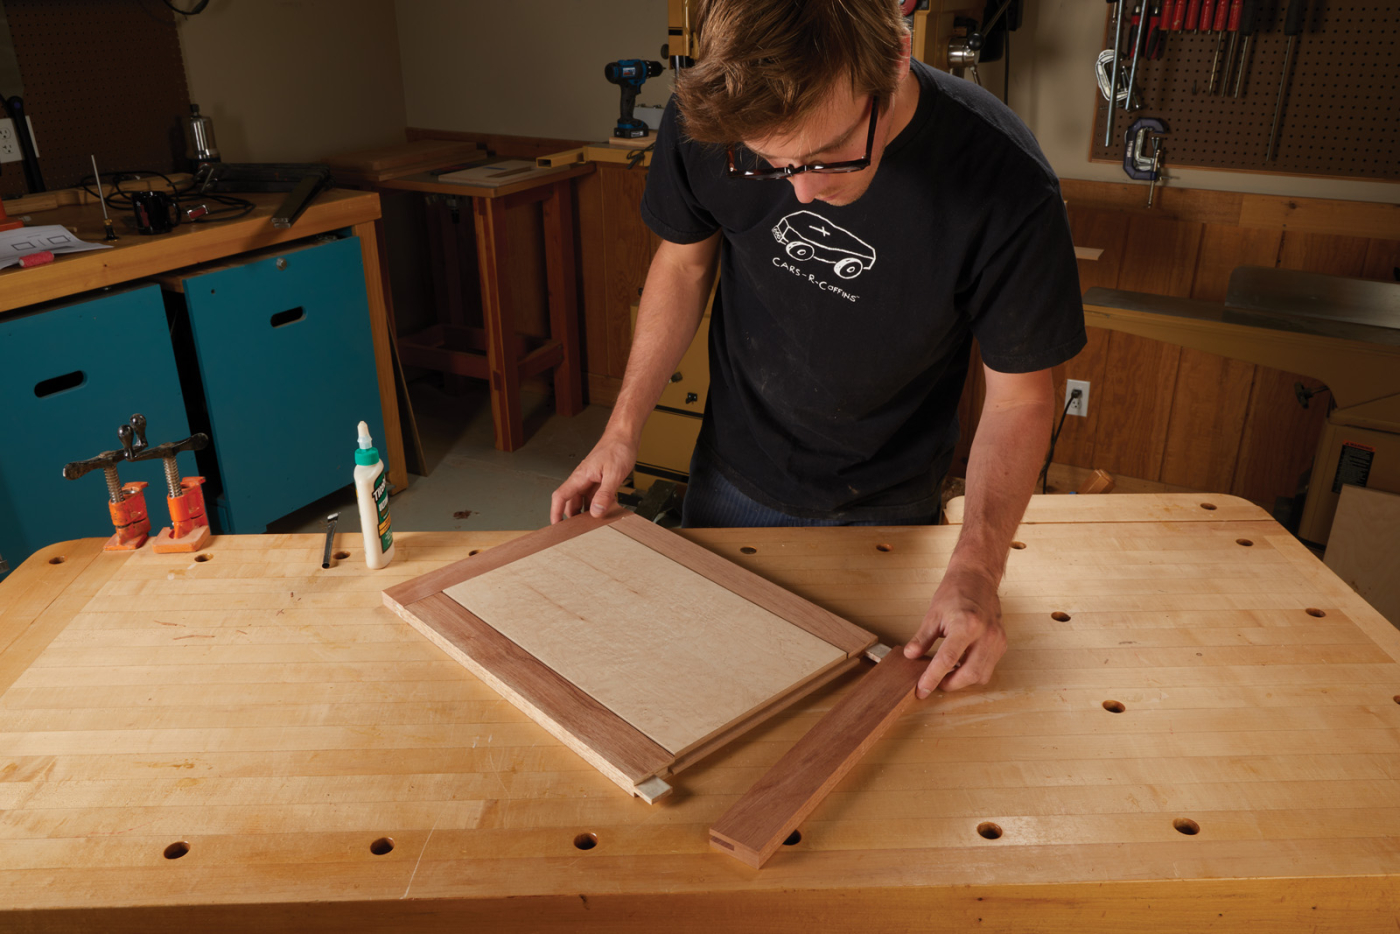
15 Apply glue and clamp up the front panel. Make sure to leave the back panel apart until the veneered panel is complete.
16 After removing the clamps, rout a rabbet along the inside edge of the front panel.
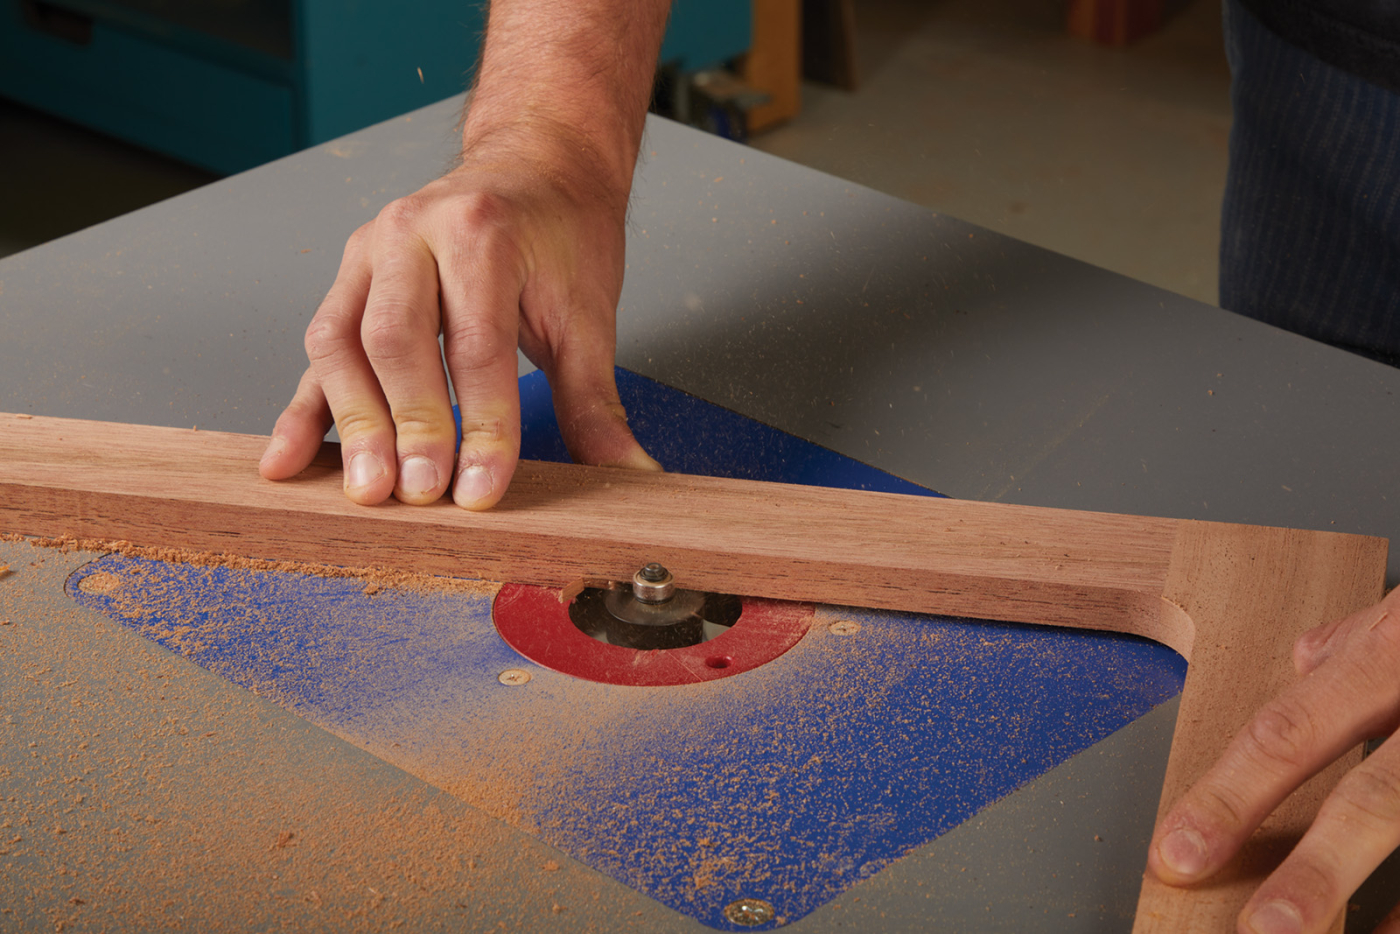
17 Round over the front edges of the front panel. Take this in a couple of passes to avoid chipout.
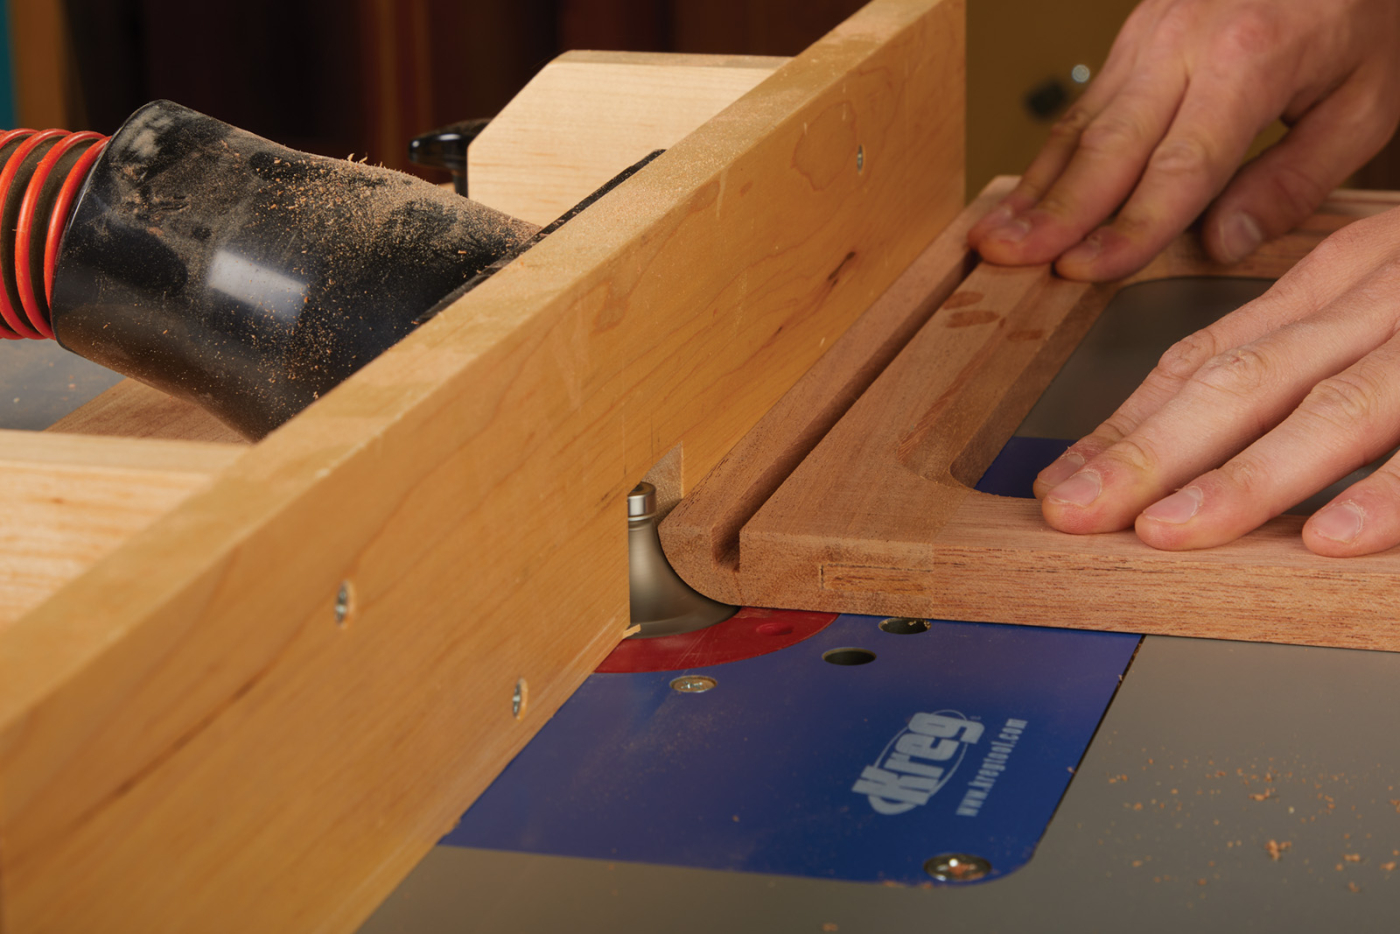
Like the opening on the side panels, a template was used to create the radiused corners on the front panel. After the layout line is established, drill a pilot hole and continue to cut out the shape. Reapply the template and flush-trim the frame using a pattern bit. Swap out the pattern bit for a 1/2“ rabbeting bit. This creates the recess that will house the glass panel. Finish off the cut by squaring up the router corners with a bench chisel, then give the left and right sides of your panel a 3/4“ round-over.
Back Panel
The back panel construction is similar to that of the front. Begin by creating the panel groove over at the router table. This will need to be implemented on both stiles and both rails. Once complete, create the stopped mortises on the stiles. This is done by raising the bit (about a 1/4“ at a time) until you have reached the 1“ depth. With the stiles complete, move over to the table saw to create the tenons for the rails. Start with the shoulders on both faces, then continue to pull your piece away from the blade to finish off the cheeks. Flip the piece on edge and proceed to cut the 1“ shoulder.
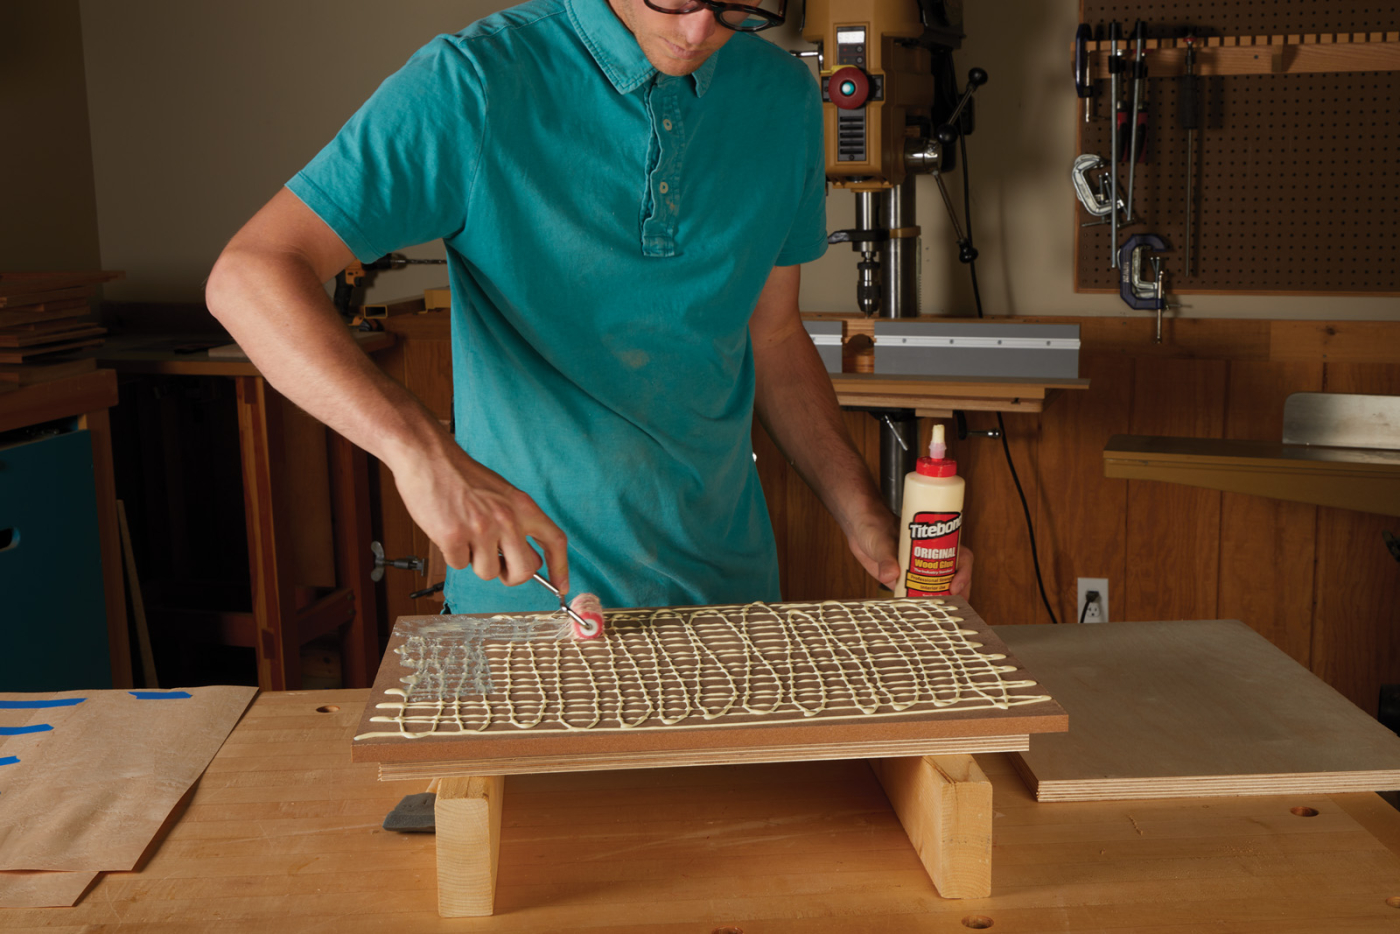
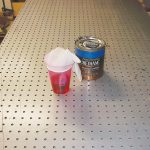
18 Apply glue to a piece of MDF. Use a roller for even glue coverage.
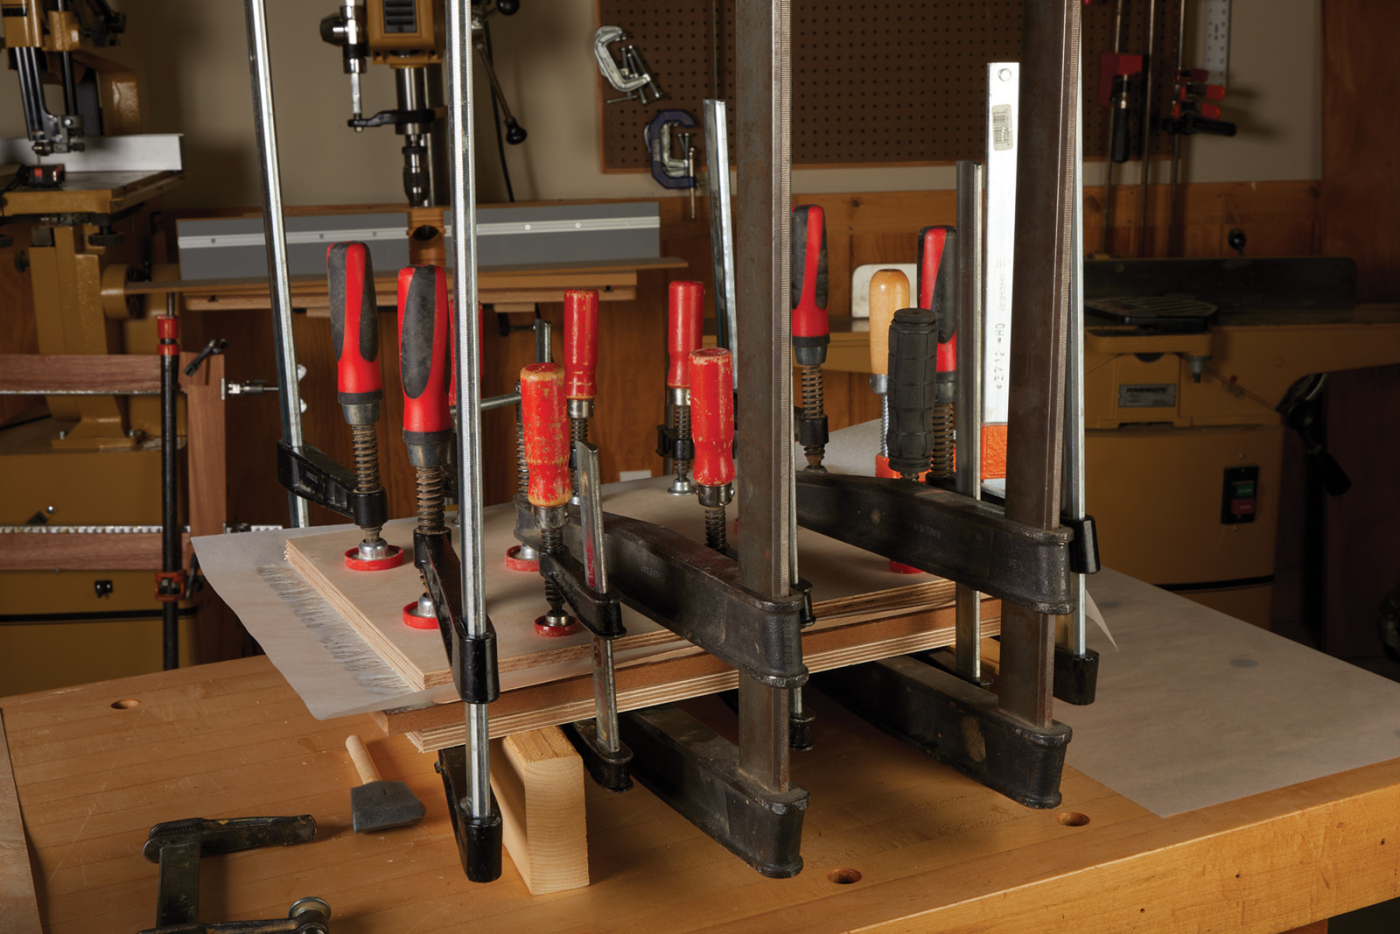
19 After laying down the veneer and rolling it flat, use a couple of pieces of plywood as cauls and apply as many clamps as you think you need, plus four more.
The back panel is 1/2“ MDF that is veneered on the front and back. For this application, I chose to use an unbacked veneer. This requires a few extra steps, but the results are well worth it. Raw veneer is typically sold as individual pieces or in matched sets. Here, a four-way, sequence-matched set of Birdseye maple was used. Considering the scale of our panel, two sheets could be used for each side. Start by stacking the sheets with the preferred mating edges facing the same direction. To create a flush joint line, I like to sandwich the veneers between two pieces of MDF and run them across a jointer. Once this is done, match up the sheets and begin to apply veneer tape across the joint line.
20 After rabbeting the veneered panel, it can be slipped into the back frames. Apply glue to the tenons and glue up the back panel.
To adhere the veneer to the substrate, you will need to create a “clamp sandwich” using a similar technique applied for the jointing. Evenly apply glue to the substrate and place the veneer (tape side up) onto the glue surface. When clamping, begin in the middle and work towards the edges to eliminate the possibility of telegraphing and ensure even clamping pressure. Repeat this step for the back side of the panel and proceed to trim your panel to its final dimensions. Lastly, remove the veneer tape using a card scraper and finish it off with some light sandpaper. The rabbet joint is then cut, and the panel can be fitted to the frame.
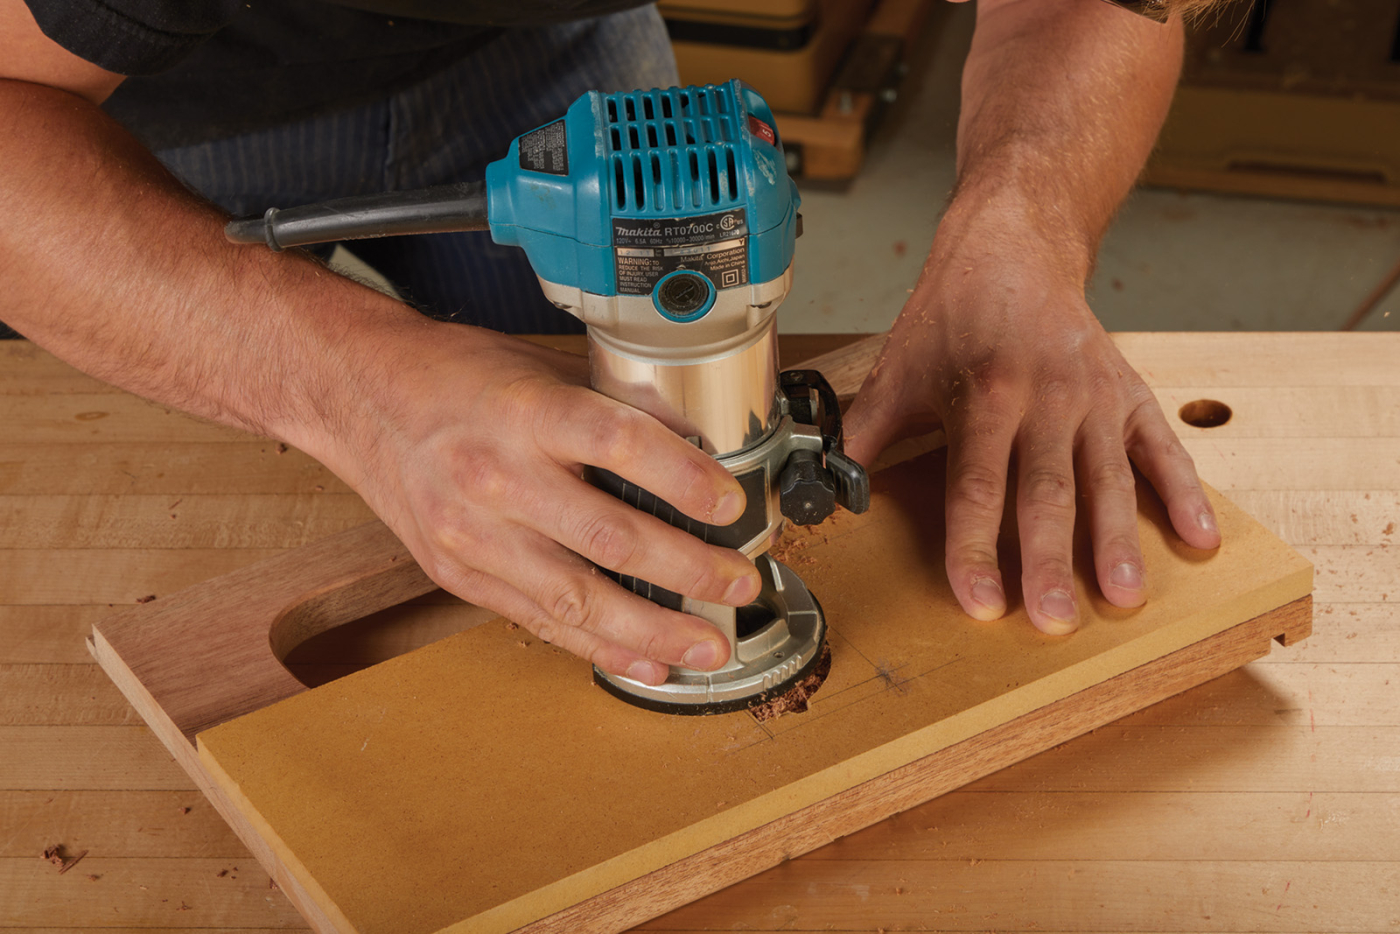
21 Use a template to rout handle locations on the side panels.
Removable Back
To further secure the back and make the interior of the cabinet accessible, I drilled a couple of 3/8“ diameter recesses on the stiles facing the interior of the cabinet to house rare-earth magnets. The corresponding holes were then drilled on the backside of the shelf sleeves. Follow up by creating a cove on the top side (back of the panel) over at the router table. This detail acts as a finger hold to assist in removing the back.
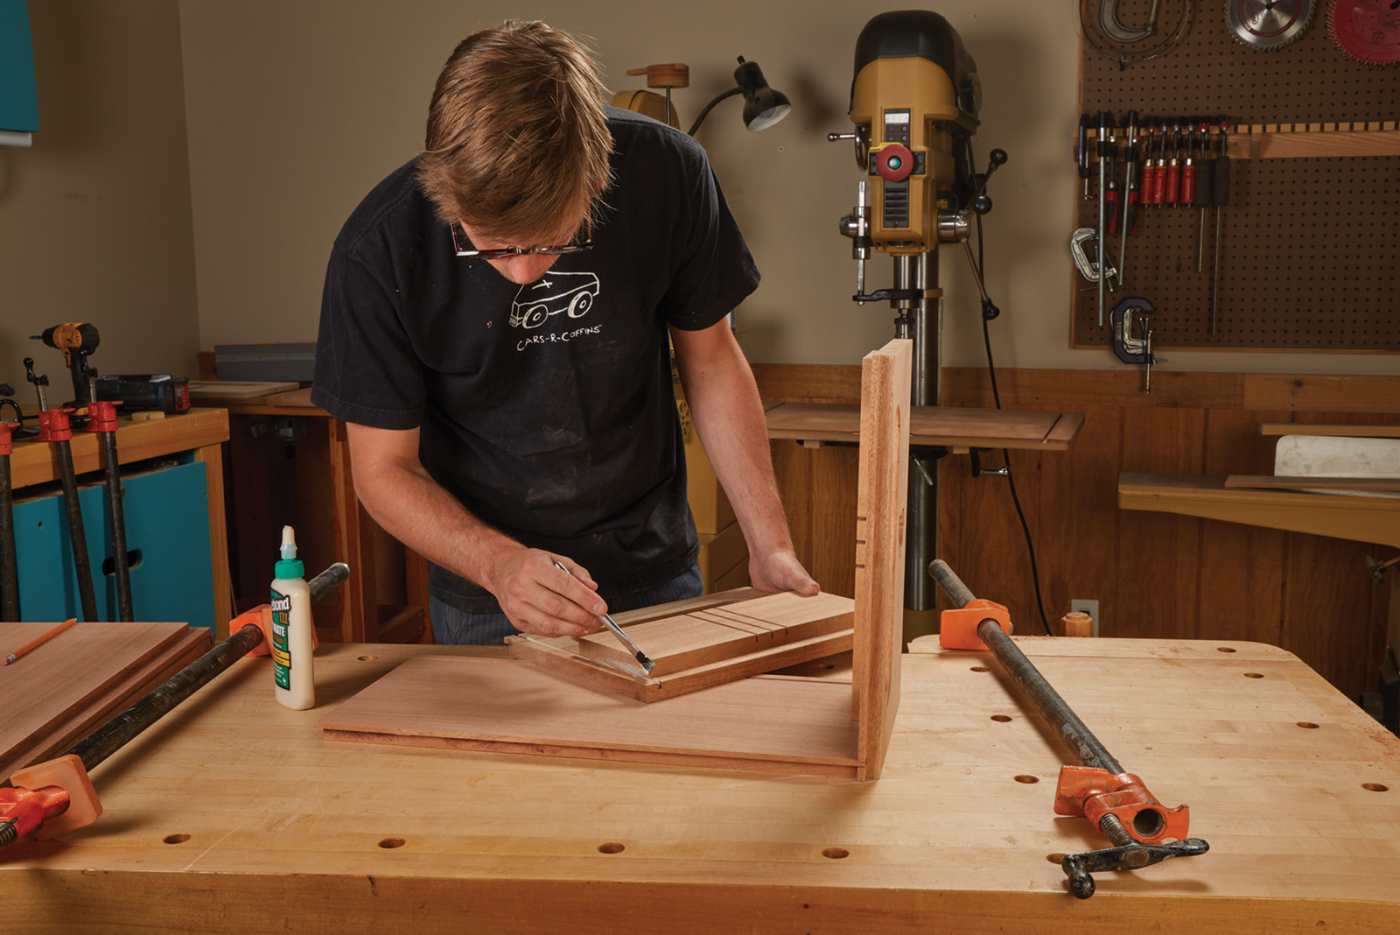
22 Apply glue to the dadoes, grooves and rabbets on the side panels
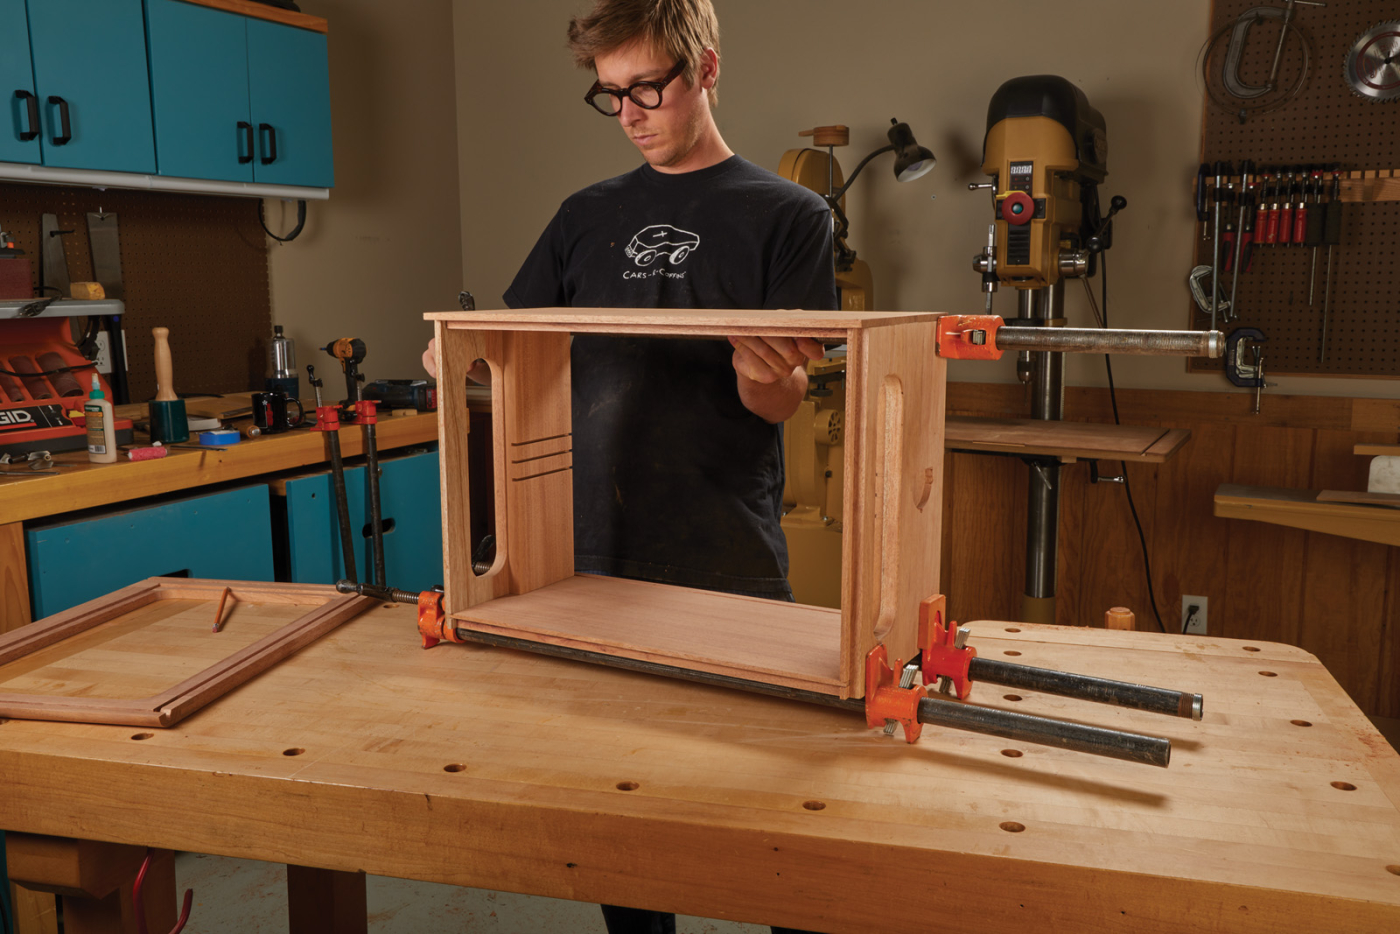
23 Clamp the case together, making sure to check for square.
24 Slip the front panel into place, using it to hold the case square.
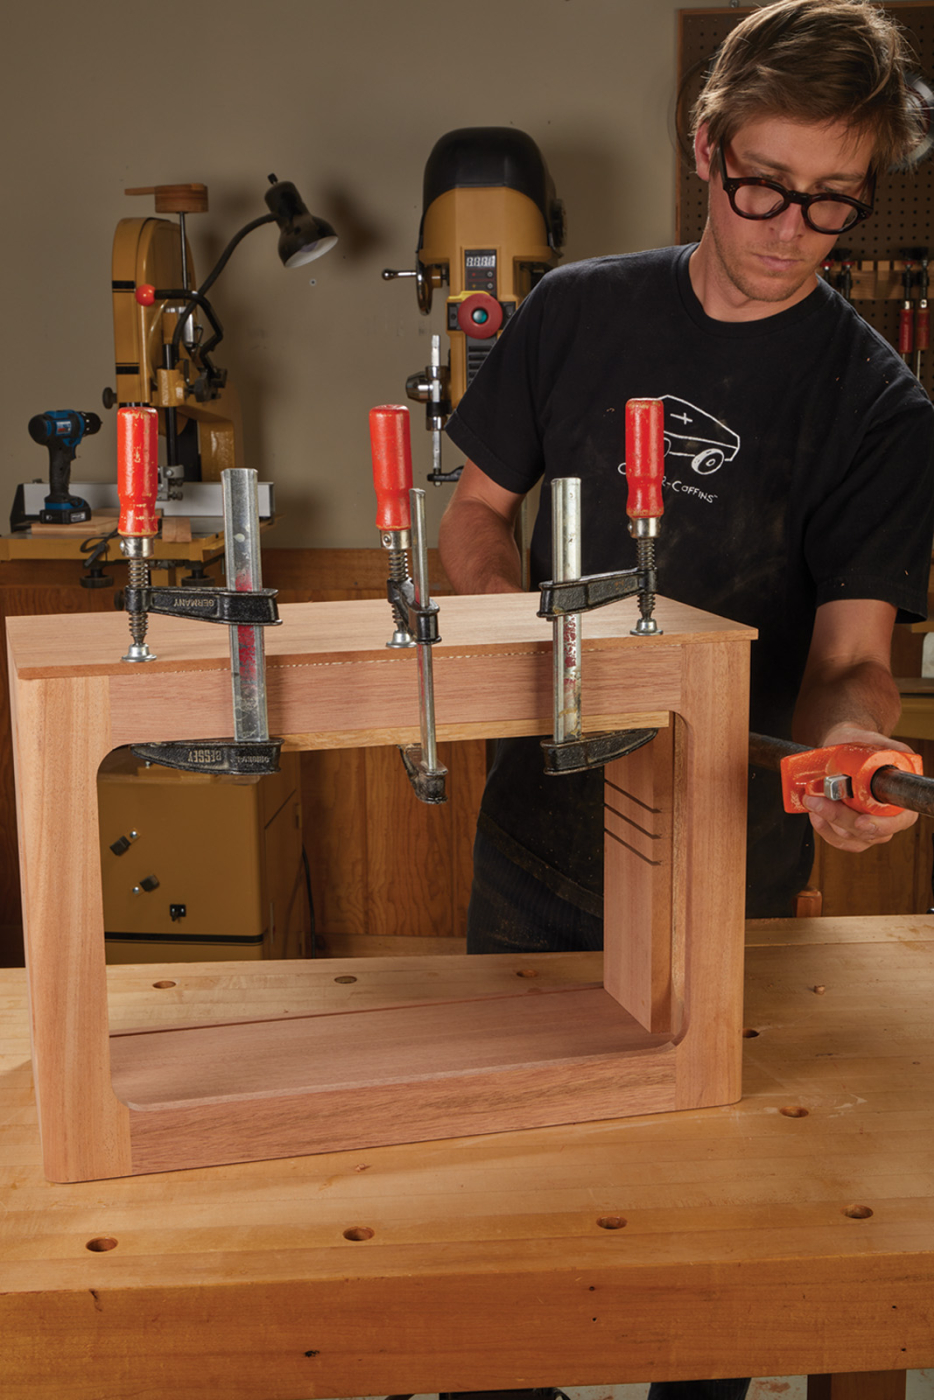
25 Clamp the front to the top and sides.
Assembly
For the finish, I took a rather unorthodox approach. Normally recognized as a sanding sealer, I used General Finishes’ “Seal-A-Cell” to accomplish my finish. While this product is more commonly used to control stain penetration and prevent blotching in softer woods, it can be applied (in several coats) to achieve a finish paralleling of more common applications. Like a traditional lacquer or polyurethane, it can be applied using a brush and will need to be sanded in between coats. Once your final coat of finish has cured, you are ready to install the glass.
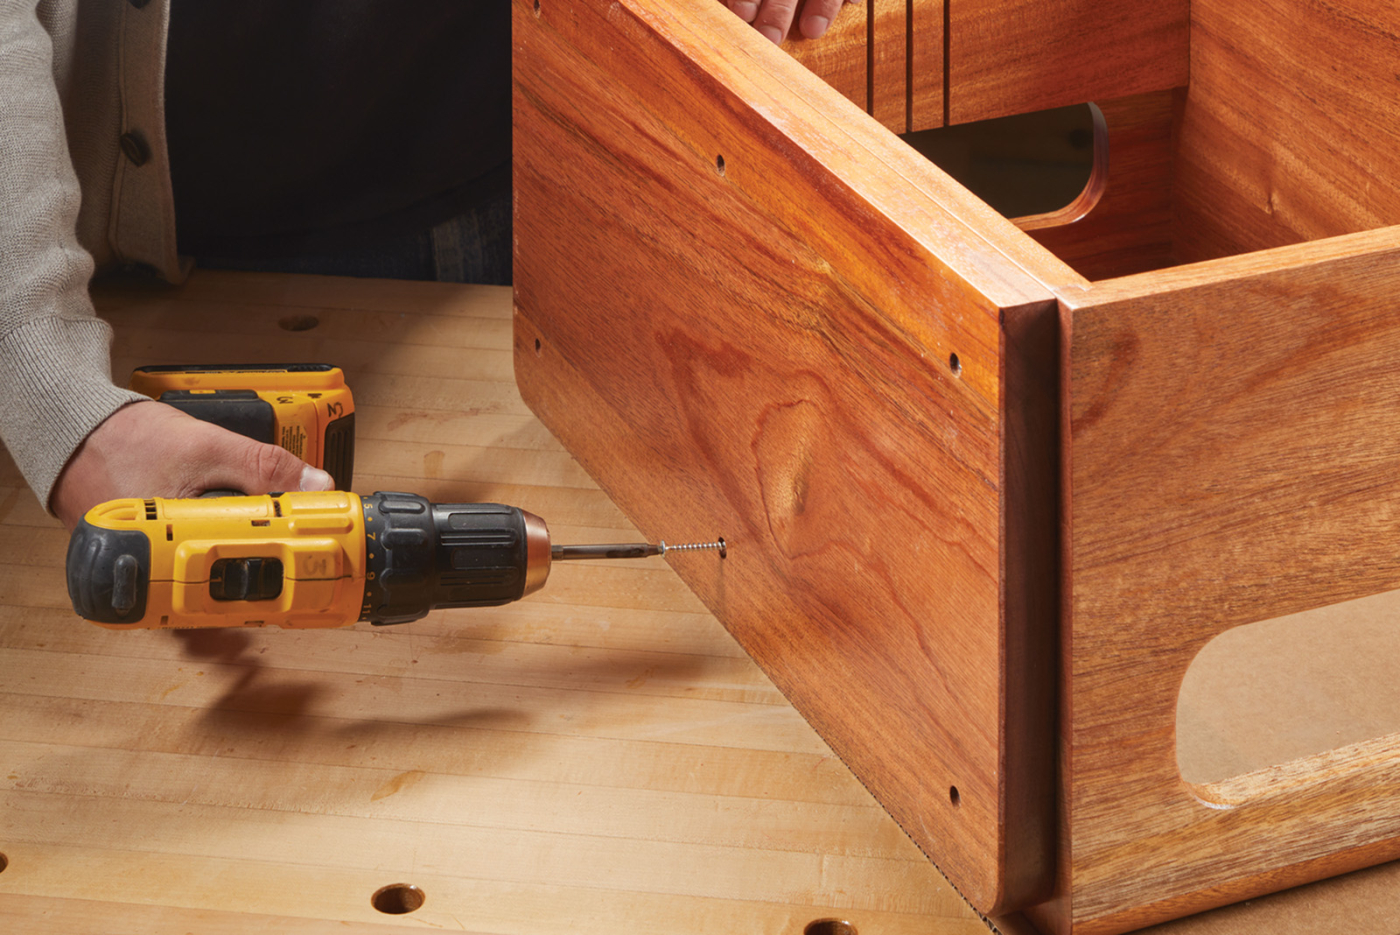
26 Attach the bottom to the case with several screws.
Final Touches
The front panel is attached by using glass retainer clips which can be purchased at your local home improvement store. Typically, with vertical glass installations, I like to apply dabs of clear silicone caulking in the corners of the panel. This prevents the glass from chattering and acts as a secondary line of defense in securing the pane. The shelf is then slid into one of the three dadoes created earlier in the process.
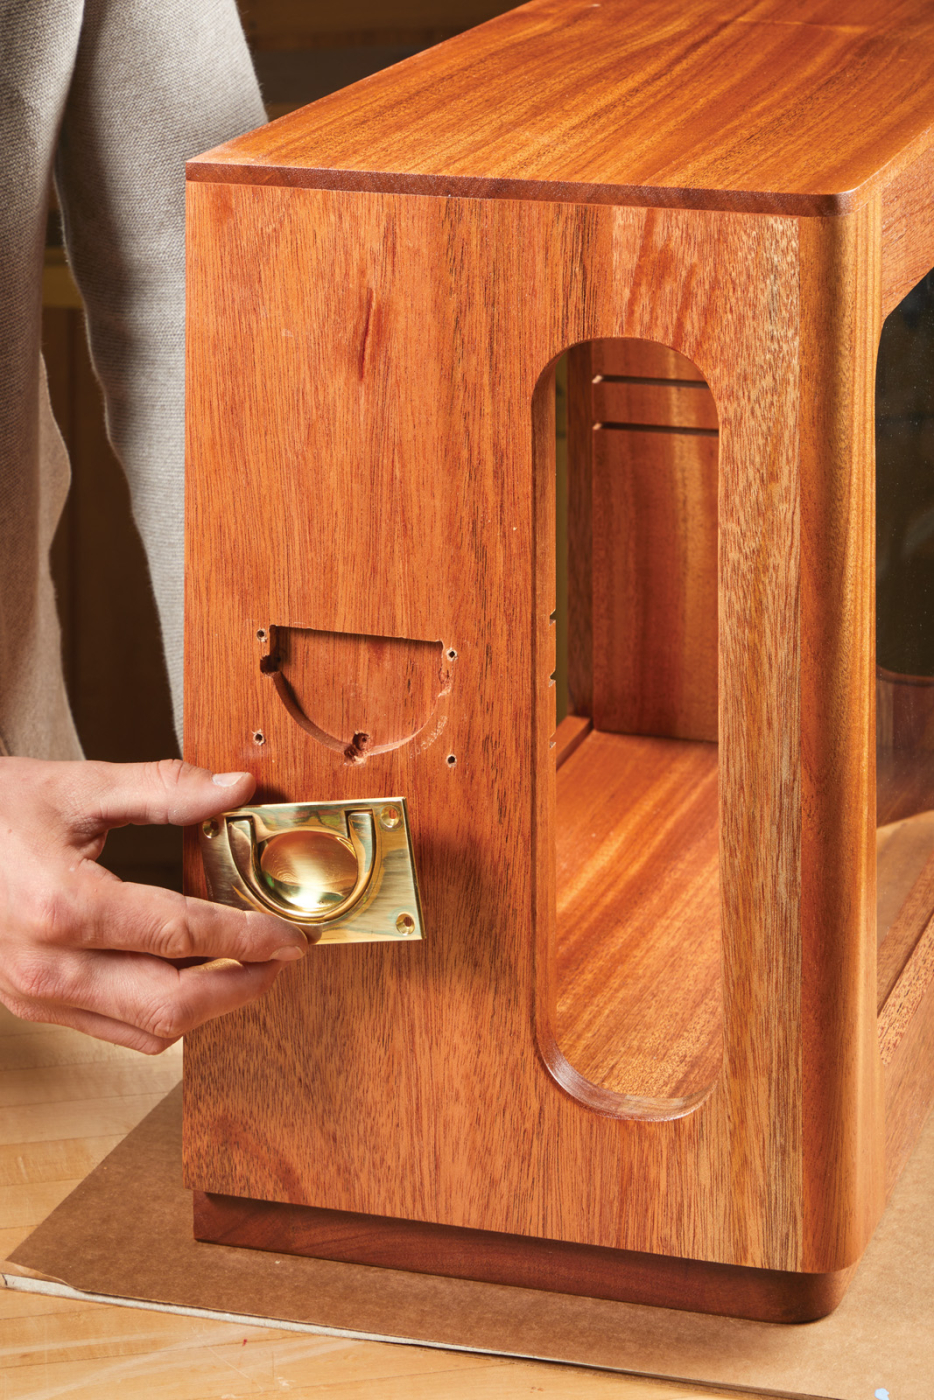
27 The flush mount handles are attached with screws.

28 Slip the glass shelf into one of the dadoes in the shelf sleeves.
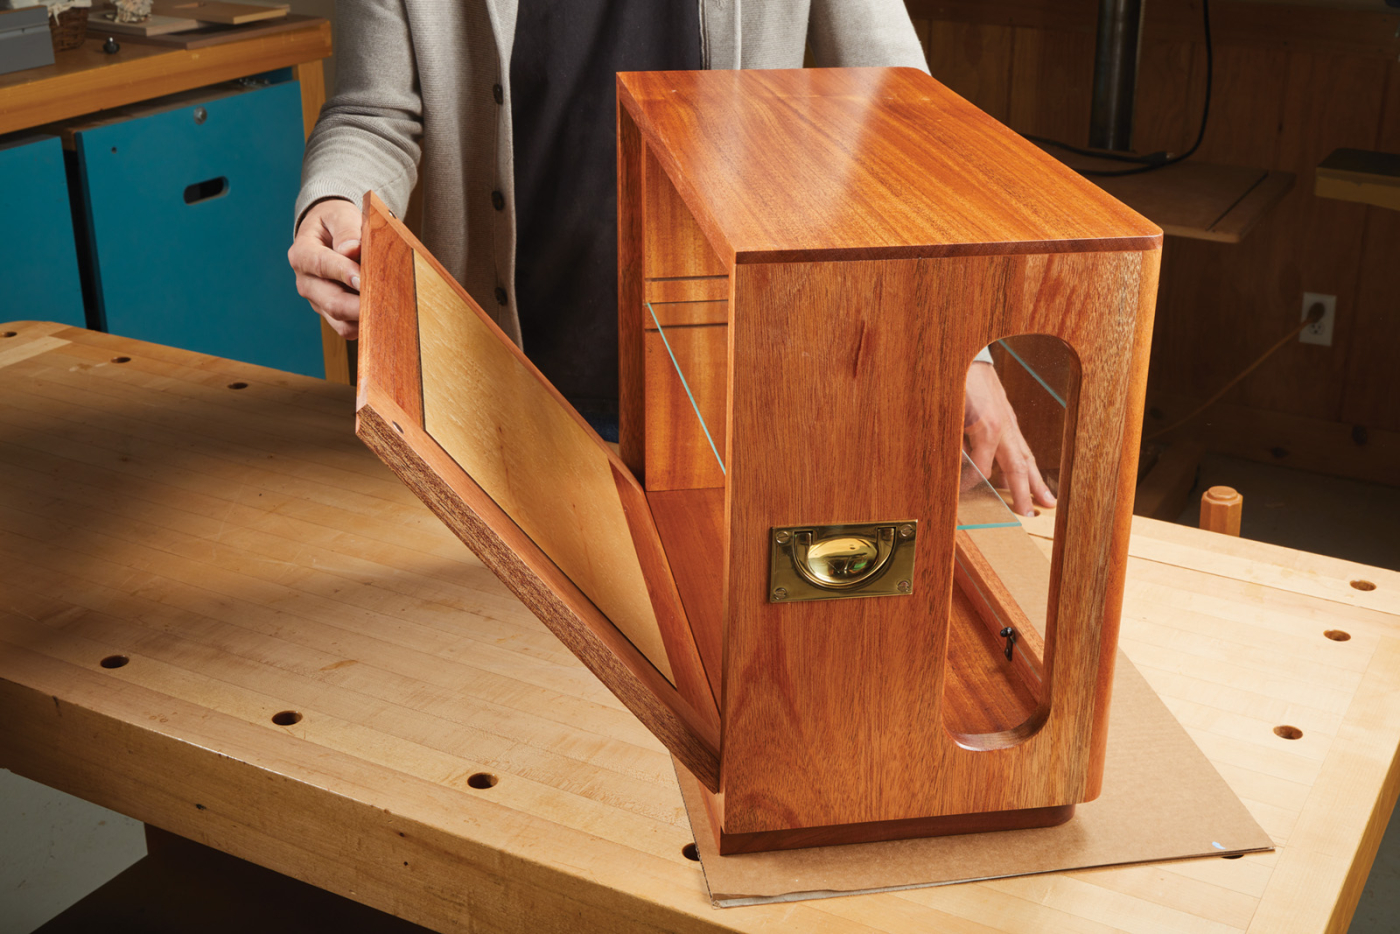
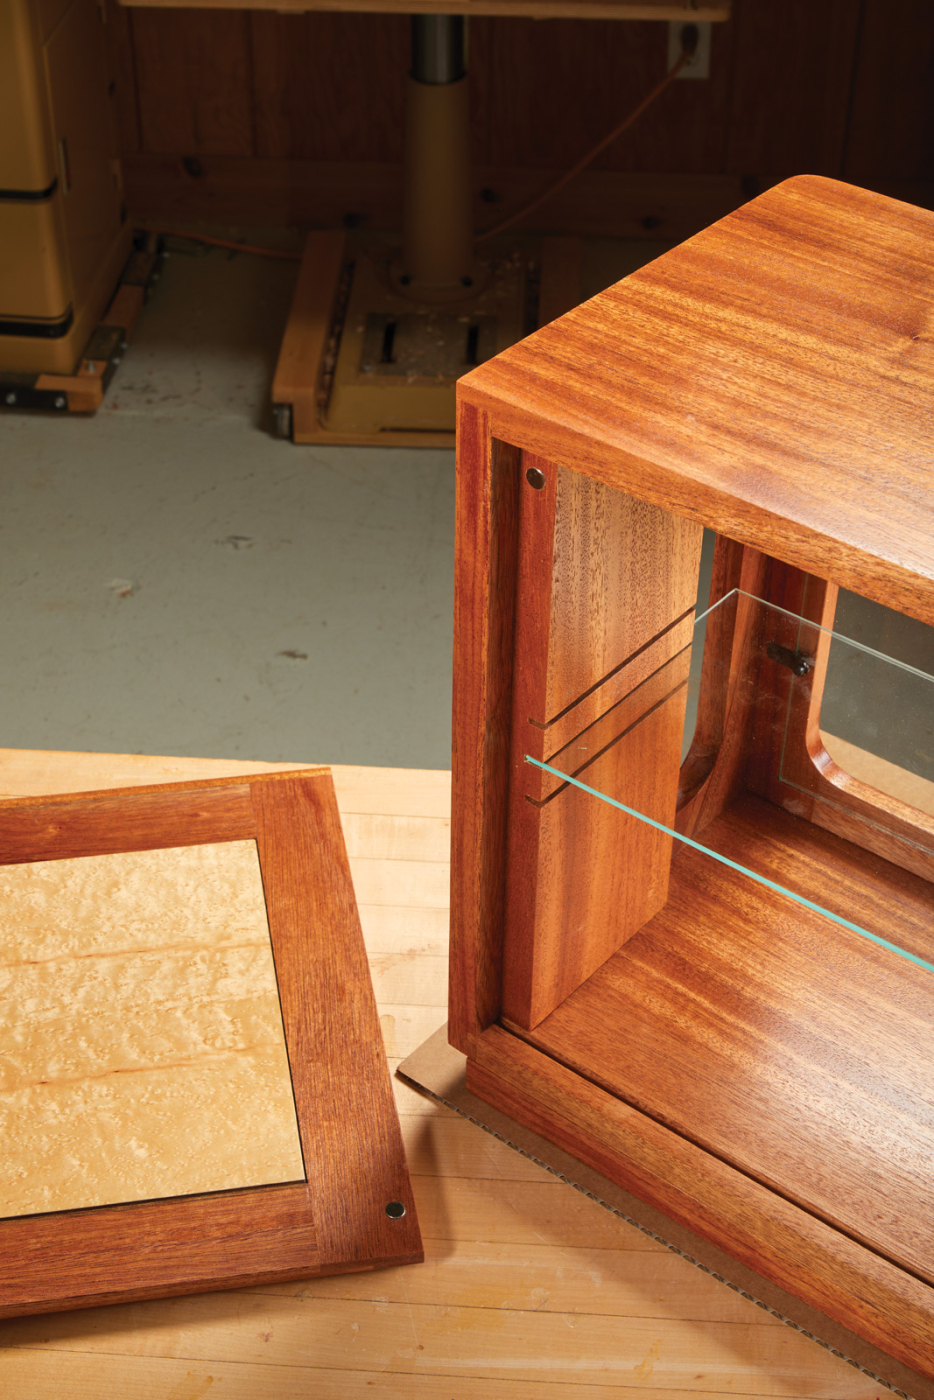
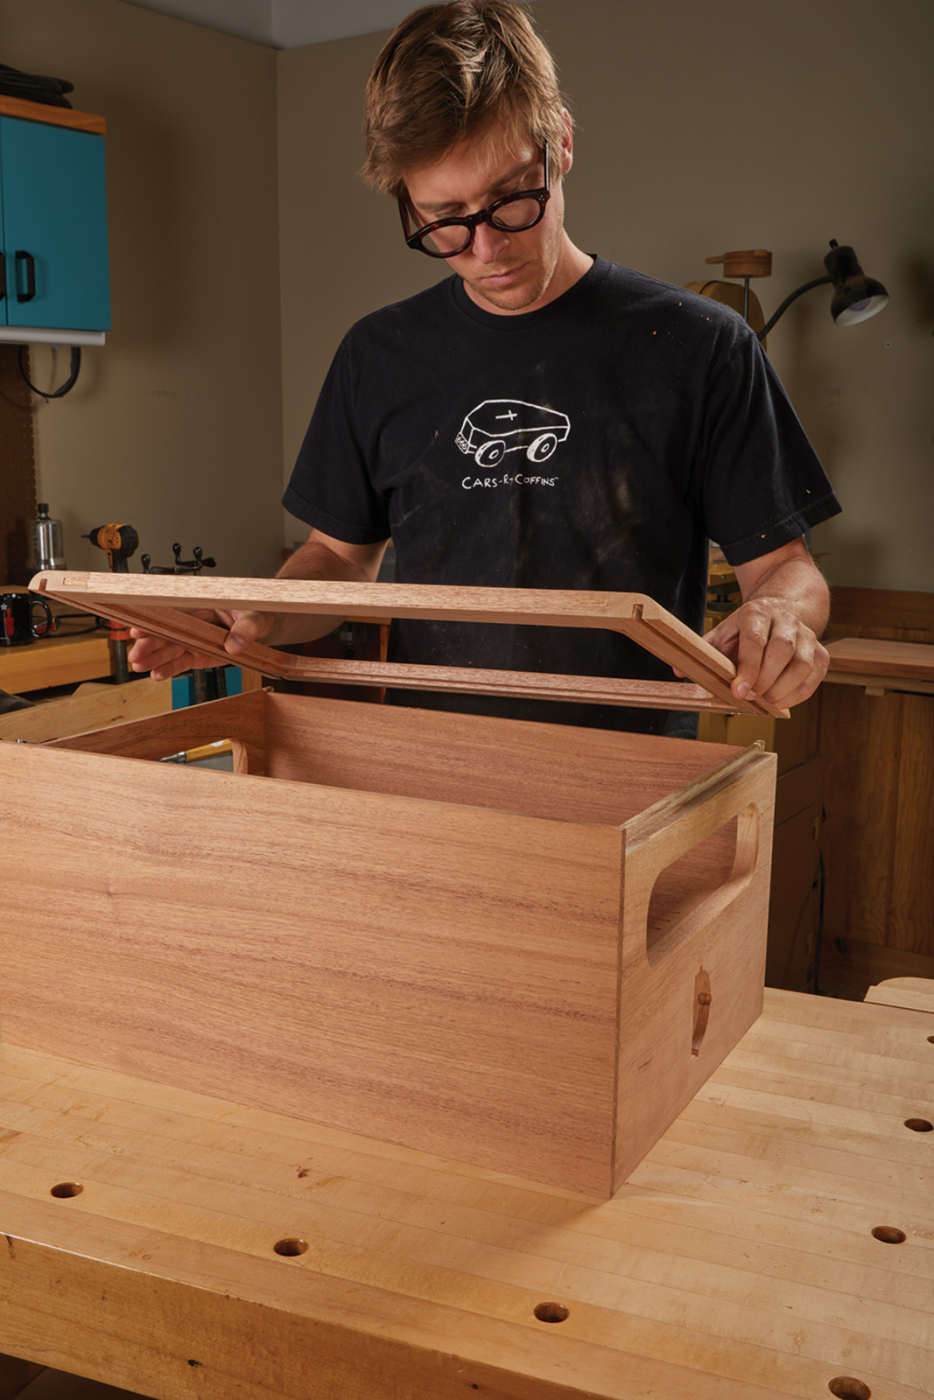
29-30 The back panel is slipped into place and is held in with a pair of recessed rare-earth magnets.
Finally, fill your cabinet with notable nick-nacks, precious stones, relics of youth or any other items that remind you of (and show off to others) the artifacts of a life well lived.
Here are some supplies and tools we find essential in our everyday work around the shop. We may receive a commission from sales referred by our links; however, we have carefully selected these products for their usefulness and quality.