


We may receive a commission when you use our affiliate links. However, this does not impact our recommendations.
 I recently made a few softwood handles on the table saw using a method that streamlines a simple yet elegant design—handles that can handle a lot. These handles are thick, tactile, strong, and visually appealing. They’re great for pulling drawers or lifting boxes.
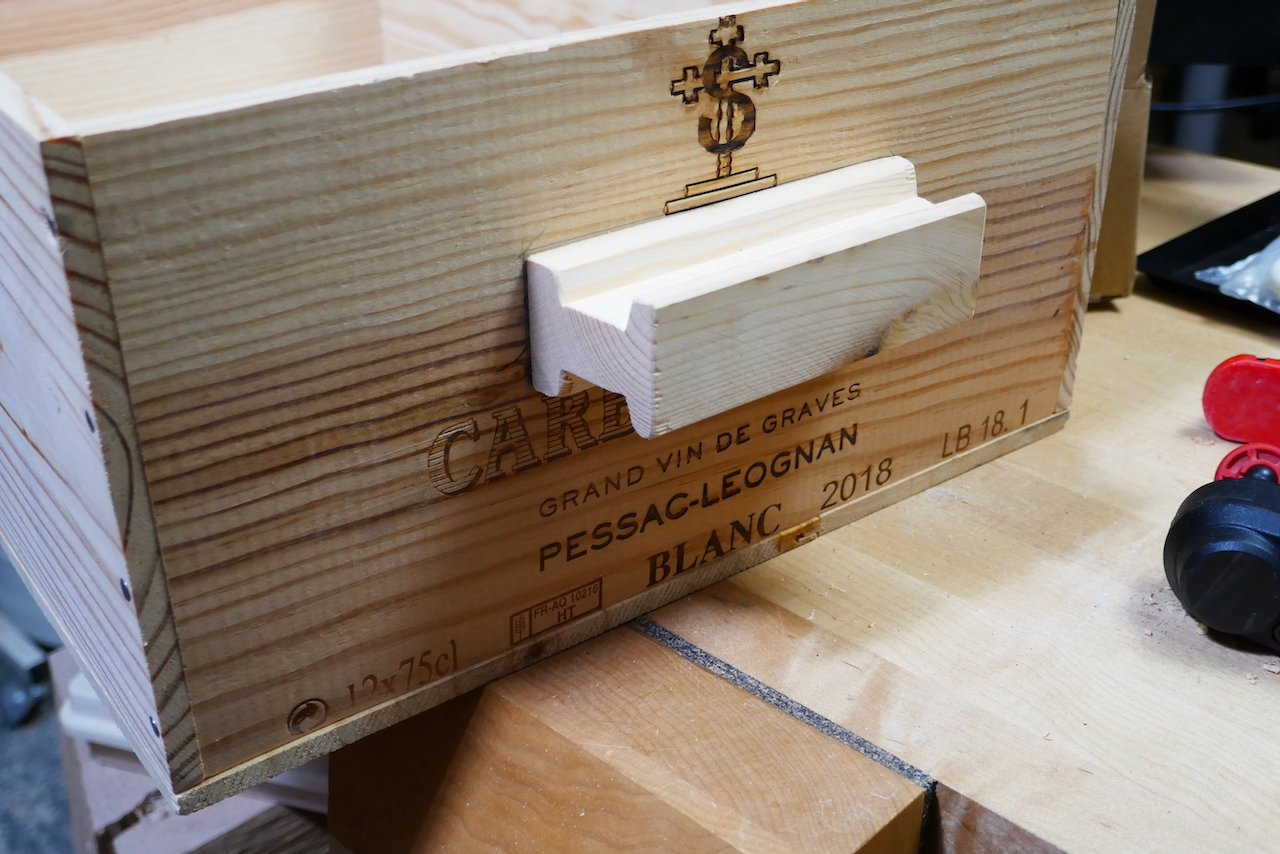
In my case, I installed them on repurposed wine crates that I use in my shop to store hardware, scrap wood, and sometimes tools. Pulling these crates out of the shelves was always a bit of a hassle, since they never came with handles. So, I decided to make my own—simple, efficient, and with just a touch of elegance.
Here’s how I did it:
Materials and Planning
I started with some scrap 2x4s. Each 2×4 yields two rows of handles, with each handle about 5 inches long. For example, a 12-inch piece of 2×4 will give you four handles.
The cross-section of the handle resembles an I-beam, with a slanted inner wall dropping down to the channel floor—giving your fingers a solid grip point.

Cutting the Grooves
- Tilt the Saw Blade: I tilted the table saw blade to an angle of my choosing (anywhere between 50° and 80°, depending on the look you want).

- Cut the Outer Slants: Place the scrap against the fence and run it over the blade to make the first slanted groove. Then rotate the piece so the opposite edge faces the fence and make the second groove.
- Flip and Repeat: Flip the board and repeat the process to make four slanted grooves total—two on each side.


Cutting the Channel
- Set the Fence for the Inner Cuts: Adjust the fence to align with the inner wall of the handle. Run the workpiece over the blade four times to form the inner channel walls.
- Clear the Channel: Use a single-blade set at 90°, or a dado stack, to remove the center material and create the finger recess.


Final Shaping
- Rip the Board: Split the board down the middle to separate the two rows of handles.
- Clean and Refine: Use your preferred tools to chamfer the edges and clean out the channel. You can leave the handle ends square, or use a miter gauge to cut them at a slight angle for a more refined look.


Installation
Installation is straightforward: drill holes in the face of your box or crate, then drive screws from inside the box directly into the handle.


This project is quick and highly practical—it’ll make a noticeable difference in how you move things around your shop. But the same techniques can be used to create handles from more exquisite hardwoods, possibly with added grooves or fillets, for use on furniture drawers or cabinet doors.
Here are some supplies and tools we find essential in our everyday work around the shop. We may receive a commission from sales referred by our links; however, we have carefully selected these products for their usefulness and quality.


