We may receive a commission when you use our affiliate links. However, this does not impact our recommendations.

Heavy-Duty Folding Shop Table
You can build this
workhorse in a day,
using little more than
a tablesaw, jigsaw,
hacksaw and a drill.
By Tom Caspar
| Need more bench space? Who doesn’t? Here’s a terrific solution: a folding worktable that’s both big and strong.And we mean strong. You can set it up in only a minute and be ready for |

You may also like… |
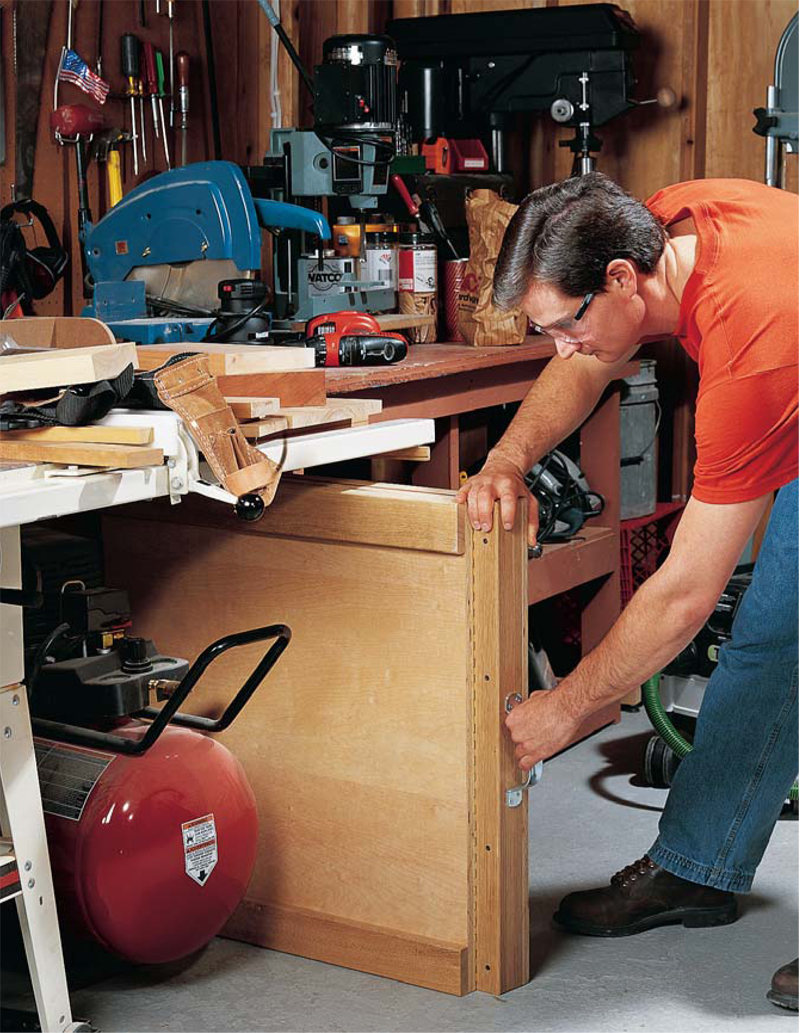
| 1. This worktable is built for strength. It won’t wobble, sag or walk across the floor. Weighing 70 pounds or so, it’s not going anywhere until you stow it away. |
Click any image to see a larger version.
|
| 2. This table is built like a rock but knocks down in only a minute. You don’t need any tools and you don’t have to keep track of any loose pieces. Simply unscrew four knobs, fold the rails and legs on top of each other and tuck the worktable away. |
 |
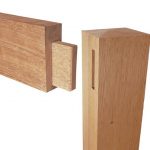
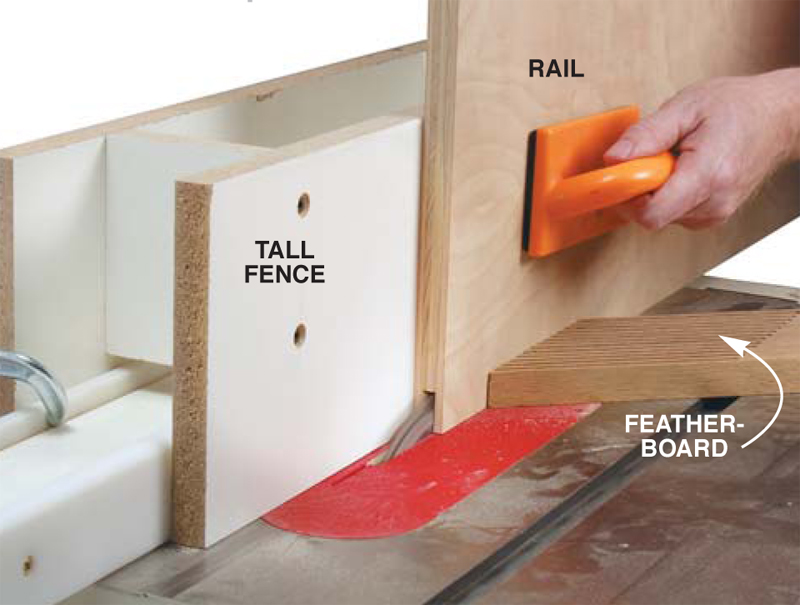
| 3. Cut one long groove in each rail to receive the four pieces of threaded rod that hold the table together. Use a tall fence and a featherboard to steady the workpiece.Then, cut out an arch in the rail so your hands have room to turn the knobs on the threaded rods. |
 |
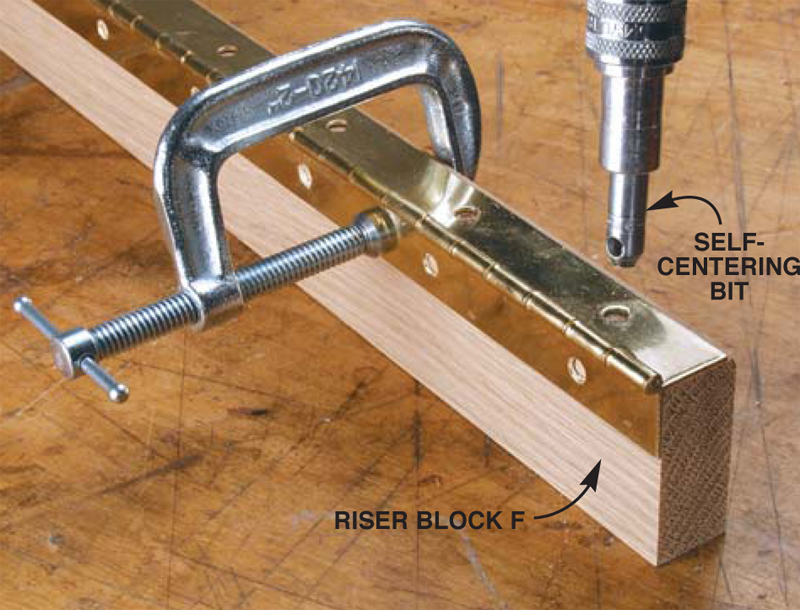
| 4. Mount the hinges before assembling the table. Positioning the hinges is critically important, but easy to do. Simply fold a hinge over one of the hardwood riser blocks and clamp it in place. Drill pilot holes with a self-centering bit. Drive in the screws, unfold the hinge and you’re good to go. |
 |
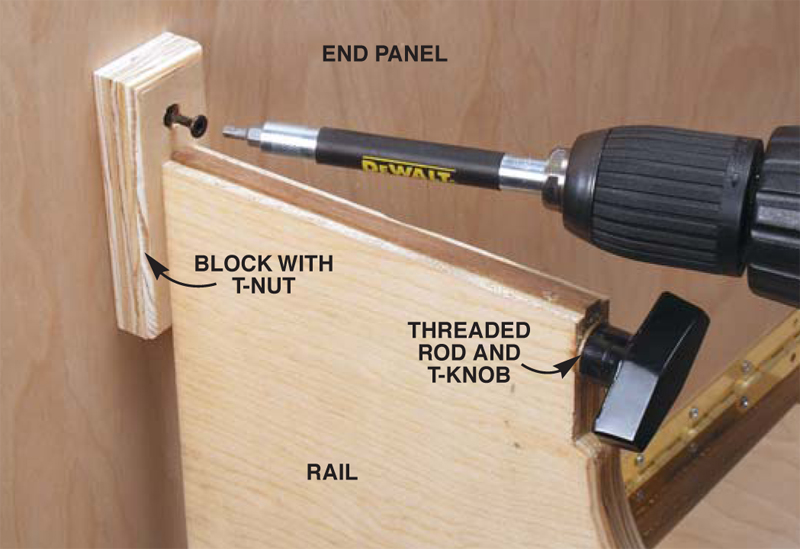
| 5. Lock the table together with bolts and T-nuts. The T-nuts are buried in wood blocks that are screwed to the table’s end panels. Locating the blocks in exactly the right spot is easy. Step 1. Thread the blocks onto the threaded rod buried in the rail. Step 2. Swing the rail upright.Then drive a screw through the T-nut Step 3. Unthread the bolt from the T-nut block. Fold the rail down and This story originally appeared in American Woodworker April 2002, Issue #93.
|
|
Here are some supplies and tools we find essential in our everyday work around the shop. We may receive a commission from sales referred by our links; however, we have carefully selected these products for their usefulness and quality.