We may receive a commission when you use our affiliate links. However, this does not impact our recommendations.
 Built to hold hoses, store garden tools and to last for years.
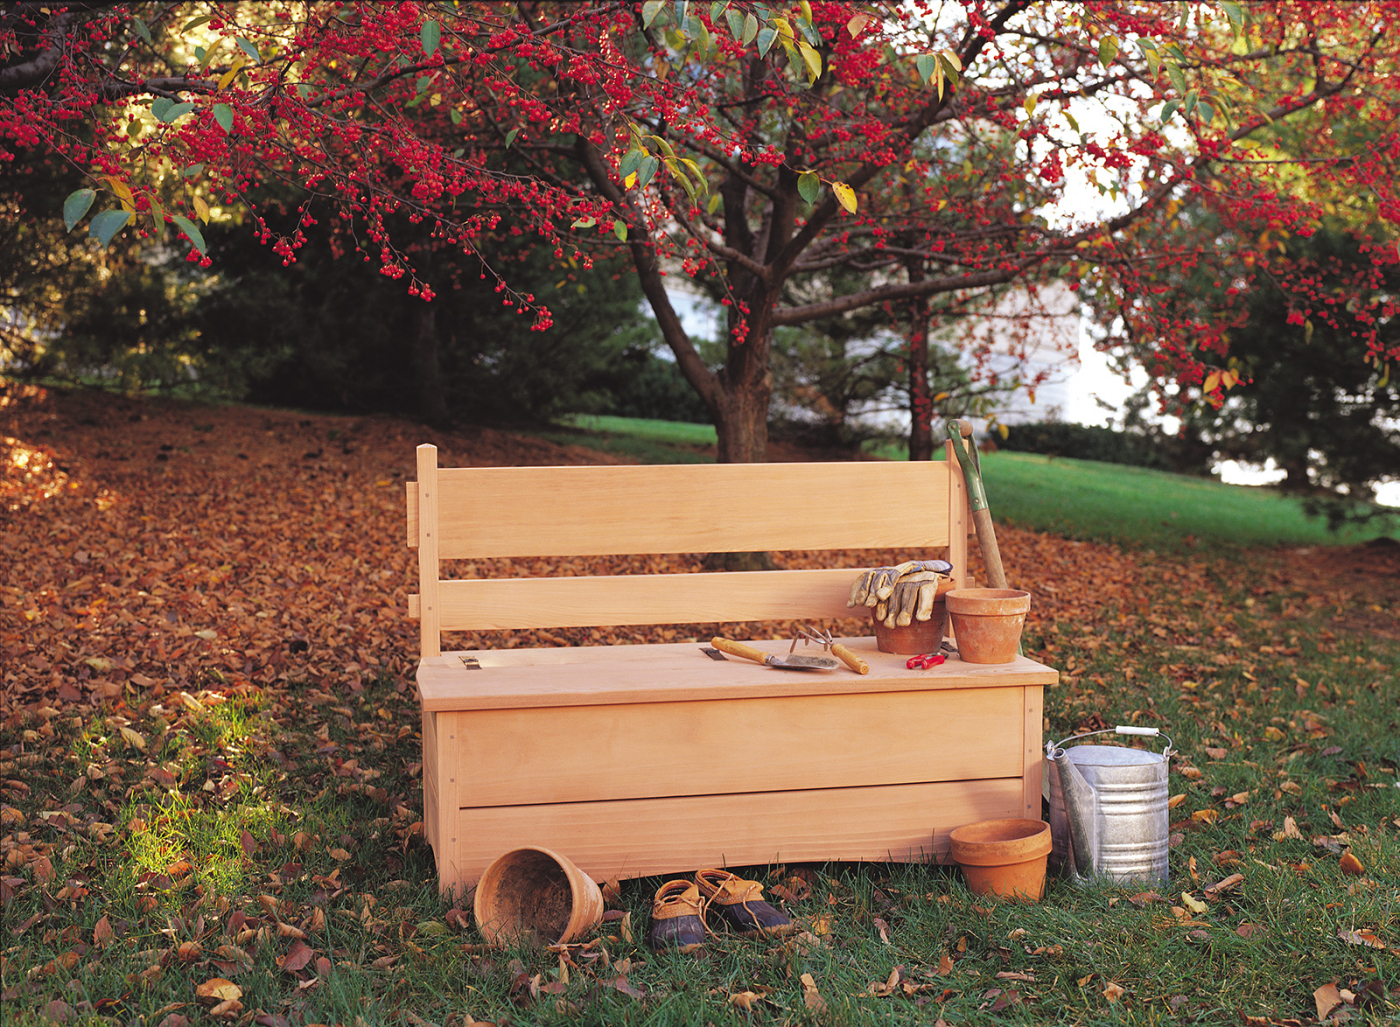 Built to hold hoses, store garden tools and to last for years.
Outdoor Arts & Crafts furniture was almost always made from wicker or hickory sticks, so when it came to designing a garden bench in that style I had almost no examples to turn to. However, after collecting and building this type of furniture for almost a decade, I knew one thing had to be true: it would have to be built to last.
Fact is, I could have glued and screwed this whole thing together in a few hours. But because this bench was built for my sister-in-law as a gift for her new home (and because I don’t want to be haunted by the ghost of Gustav Stickley), I decided to take the most traditional approach I could. That meant pegged mortise-and-tenon joints.
Cutlist and Diagrams


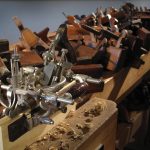
All Tenons, All the Time
Begin by cutting all your parts to size and laying out the 1⁄2“-thick x 2″-wide x 1”-long mortises on the four legs. Each 7-1⁄4“-wide slat in the lower case gets four tenons — that’s two on each end. If I’d put only one wide tenon on each end, I would have had to remove too much material in the legs for the mortises. The detail drawing above shows you how the mortises and tenons are spaced. Now cut your mortises. You’ll notice that the mortises on the two adjacent sides meet in the middle of the leg. This means you’ll have to miter your tenons on down the road.
Now lay out and cut the through-mortises on the back legs. The through-mortises for the top rail measure 1⁄2“-thick x 5-1⁄4“-wide. The through-mortises for the bottom rail measure 1⁄2“-thick x 2”-wide. Now cut your tenons and miter the ones for the lower case. To clean out the area between the two tenons on the lower case pieces, use a backsaw and a coping saw.
Cut the 2″ arches on the front, sides and back pieces using a band saw. Clean up your work with sandpaper. Now locate where the center seat support will go and cut biscuit slots to hold it in place. Sand everything to 150 grit.
Assembly
After first dry-assembling your bench, glue up the bench in stages. First glue up the front pieces between the front legs and the back pieces between the back legs. I recommend polyurethane glue here for two reasons. One, it’s quite weather-resistant; and two, it has a long open time, which helps with this glue-up. Put glue in the mortises only, and be stingy. You don’t want a lot of foamy squeeze-out. After the glue has cured, glue the side pieces and center seat support between the front and back leg assemblies.
Screw the two slat support pieces to the inside of the frame (one on the front, one on the back). Then screw the eight slats to the supports with about 21⁄2” between each slat. Once that’s done, peg all the mortises. I used 1⁄4” x 1⁄4” x 11⁄4” strips of walnut. First drill a 1⁄4” hole that’s 11⁄8” deep. Carve the walnut strips round on one end, then hammer them home. Cut the waste flush.
Now work on the seat. Notch the rear seat piece around the legs. Attach it to the frame using cleats and screws. Then attach the front seat piece to the rear seat piece using the hand-forged hinges from Lee Valley. These are rustic, inexpensive but of excellent quality. You’ll need to scare up some equally rustic screws to attach the hinges. I used some old #7 x 1″ flathead screws.
Editor’s note: This article originally appeared in the April 2000 issue of Popular Woodworking Magazine.
Here are some supplies and tools we find essential in our everyday work around the shop. We may receive a commission from sales referred by our links; however, we have carefully selected these products for their usefulness and quality.