We may receive a commission when you use our affiliate links. However, this does not impact our recommendations.
Read Part 1 of this series here.
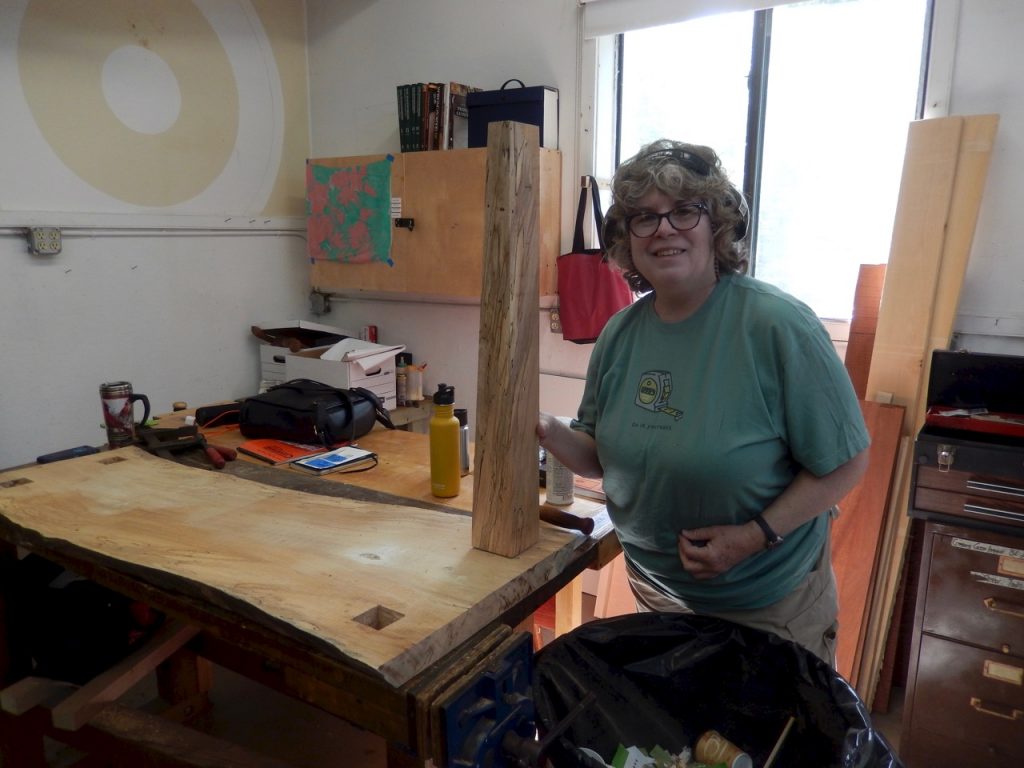
Lisa M Parent and the desk that she built during my Live edge class at Peters Valley School of Crafts.
Click here for part 1
The Mortises
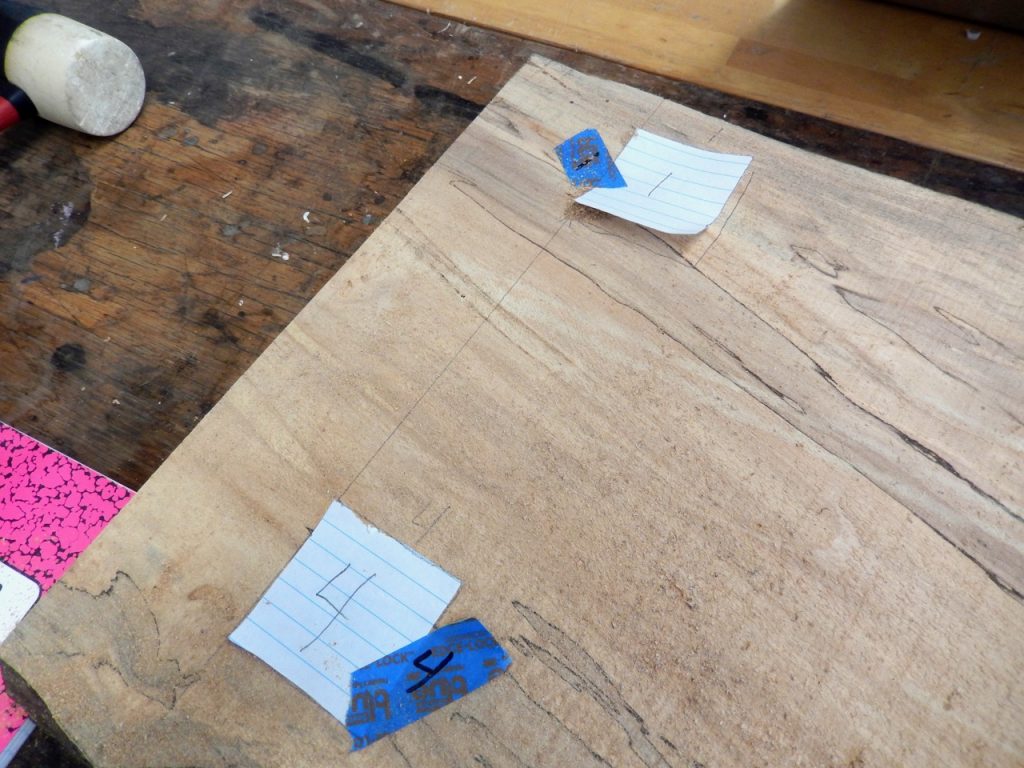
Since this was one of Lisa’s first projects in which she intended to use hand tools, we decided that it would be good opportunity for her to attempt through mortises using a drill bits and chisels. After the tenons were ready Lisa traced their parameter on the underside of the slab and drilled a through hole in each of the four corners of the squares. Drilling the corners is a practical way to indicate the location of the mortise on the other side of the slab (the desk’s top).
Lisa’s desk top design called for the tenons to be visible on the surface of the desk. If we’d had enough time we would have wedged the tenons to add extra strength and a dramatic visual effect.

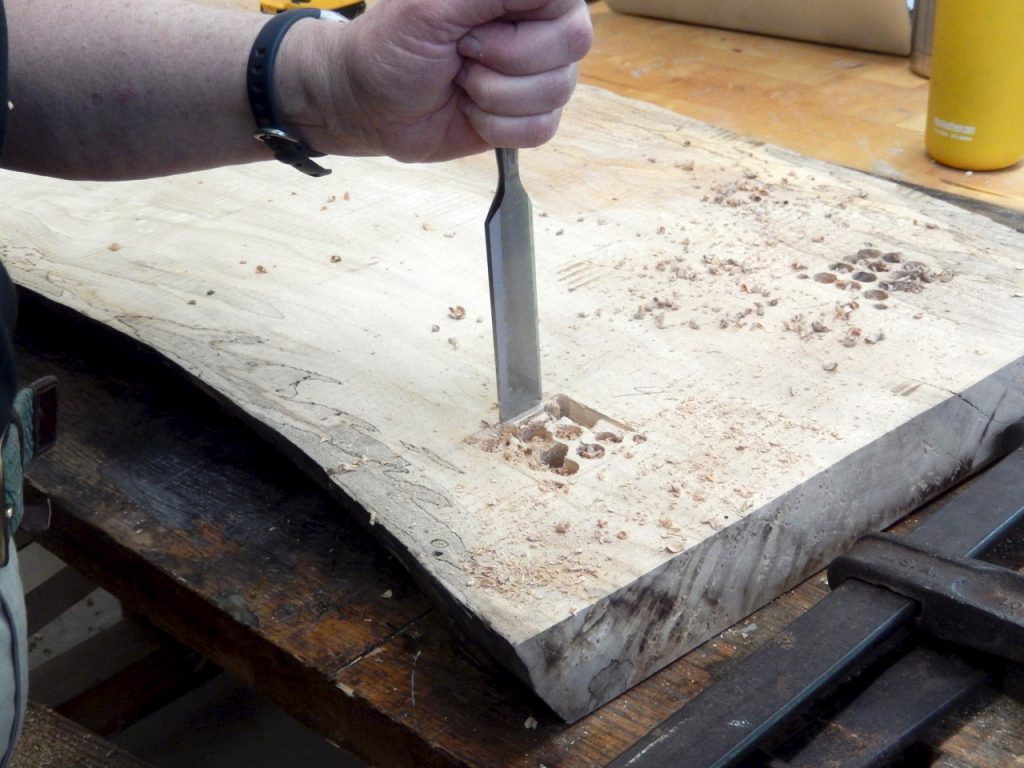
Lisa excavated the mortises half depth from the top down and then flipped the slab and excavated the remainder mortise form the bottom of the slab upwards.
For the most part the mortises end up clean and tight. But in two instances spalted wood conners on the top side broke off and presented an aesthetic challenge.
Our solution was to use epoxy resin and tint it black to create a visible and distinct border around the tenons. This black frame also worked well with the veins of the spalted wood that embellished the desktop and the legs.
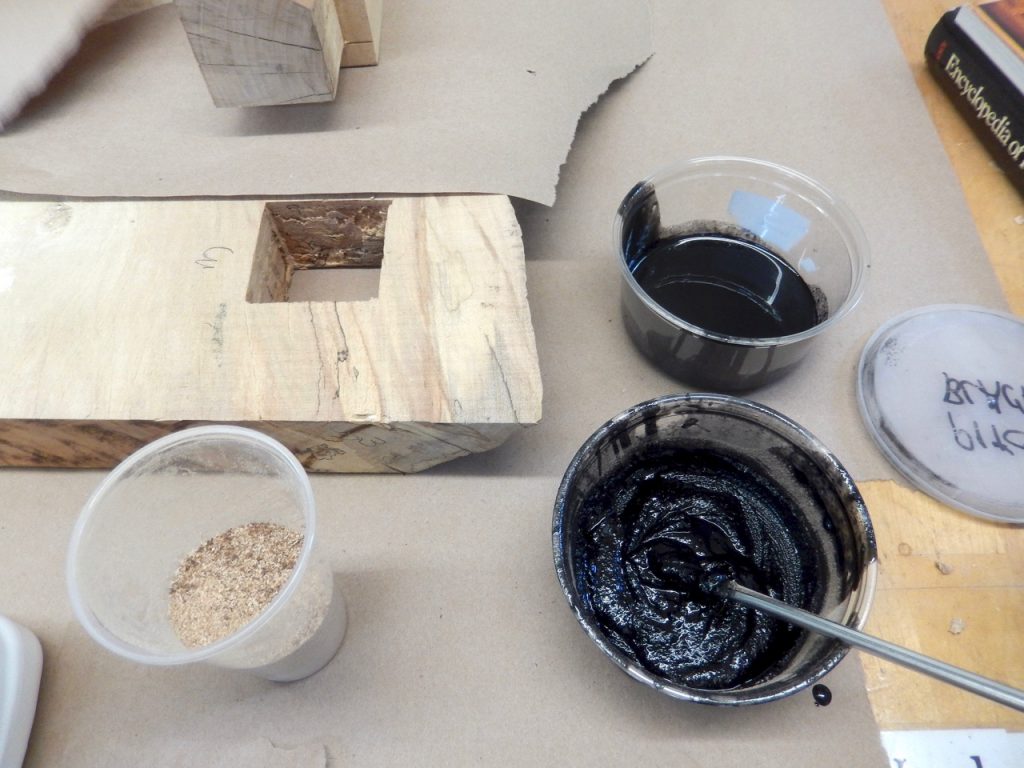
The thin epoxy formula (top right) and the thickened with sawdust formula (bottom right).
We created two batches of the black epoxy: A thick “formula” fortified with saw dust, for the inside of the mortise, and thin clean cut “formula” to be poured from above to fill in any gaps.
First we brushed the thick epoxy over the tenon and in the mortise. The “peanut butter” properties of the thick formula prevented it from running all over the place and allowed us to have a cleaner procedure.
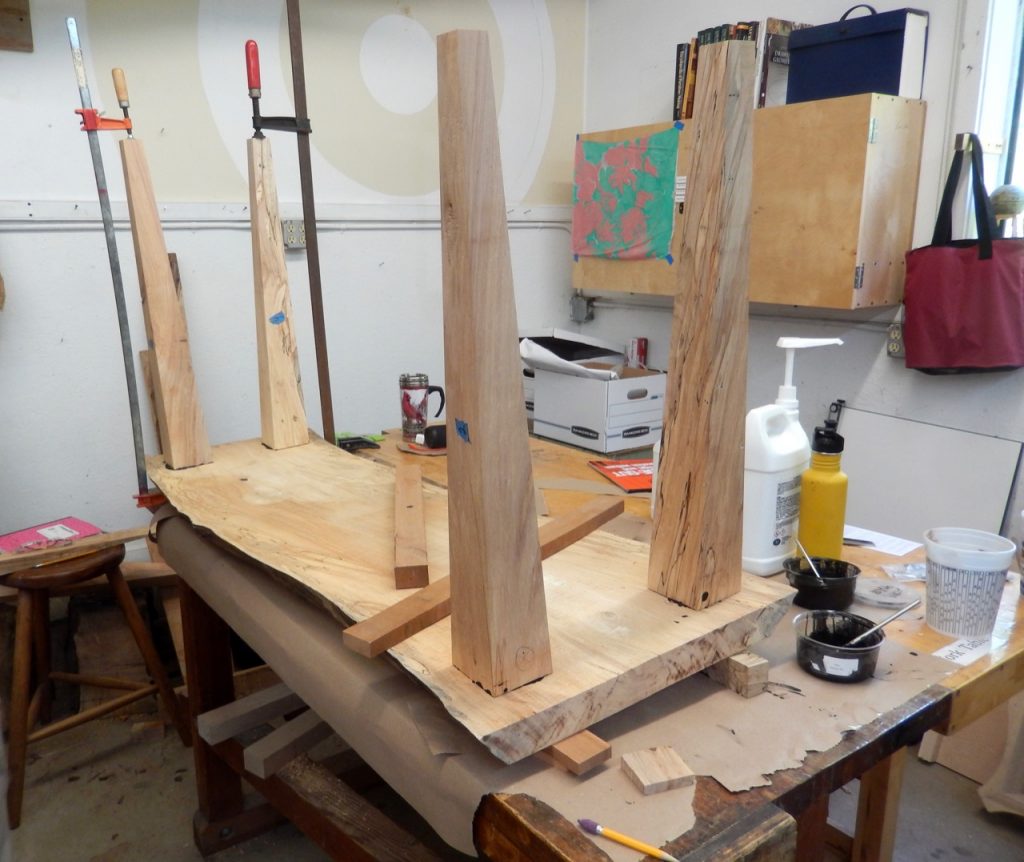
After the legs were glued in with the thick epoxy formula.
After we inserted the tenons we bordered the leg/slab seams with aluminum duct tape and turned the table over. Lisa then poured the thin epoxy into the voids.


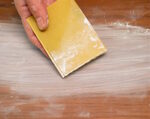
After the epoxy solidified completely Lisa trimmed the top of the tenons flush with the table top and sanded the table.


Now all that remained was to apply a few coats of varnish – which she managed to do after the class ended. Lisa told me that the desk fits well in her home office and that the juxtaposition of a modern computer and the natural edge piece carries exactly the look that she envisioned on the first day of our class.

Here are some supplies and tools we find essential in our everyday work around the shop. We may receive a commission from sales referred by our links; however, we have carefully selected these products for their usefulness and quality.