We may receive a commission when you use our affiliate links. However, this does not impact our recommendations.
 For camping, conquering and contemplating, these stools have a long history among artists, soldiers and rugged individualists.
 For camping, conquering and contemplating, these stools have a long history among artists, soldiers and rugged individualists.
 Plan: Download patterns for the leather seat and pocket.
Web: Learn all about leather terminology.
By Christopher Schwarz with David Lyell
There are few things that British military officers and plein air painters of the 19th century would agree upon. But this stool is at the top of that (quite) short list.
Three-legged folding stools were a popular way to carry a comfortable place to sit during the 1800s and early 1900s, whether you were trying to (unsuccessfully) subdue the Zulu or capture the way the light reflected off the River Thames at sunset. As a result of the stools’ light weight and portability, they also became popular among campers, hunters and anyone else who needed to squat comfortably outside.
 The key to the design’s success is its three legs. Three legs sit on any terrain without wobbling. The stool is folded easily into a small bundle and tucked under your arm or into a rucksack.
Plus, they are remarkably easy to build, no matter the tools you own or the wood you have on hand. You can make one of these stools using old broom handles, cheap hardware and pieces of your leather jacket from college. Or you can go full “officer” and use fancy woods, fancy harness leather and hardware that is machined like a clock.
Finally, the stools are quick to construct. The stools shown in this article each took about two hours to build, start to finish. You can begin building one after breakfast and sit on the finished stool to eat your lunch. So let’s start with the “squeegee stool.”
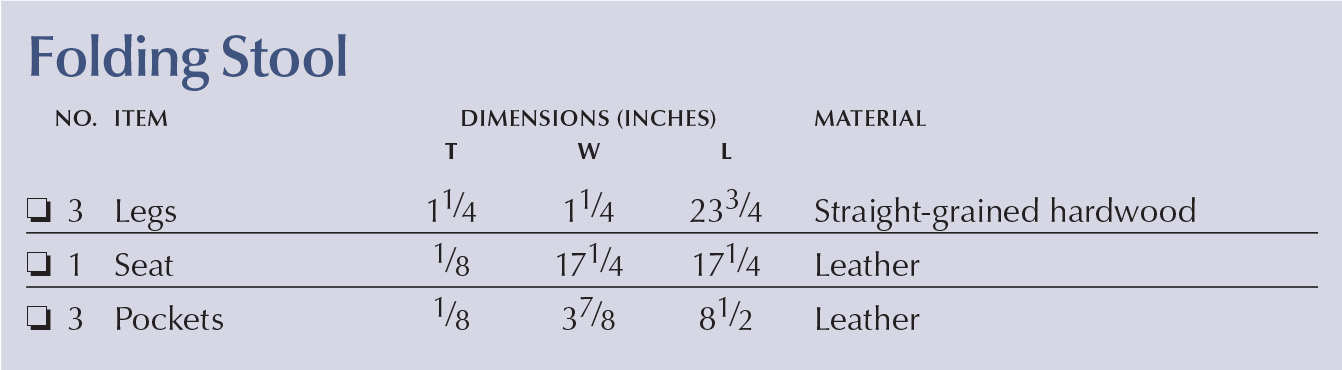
Folding Stool Cut List and Diagrams

 The Thick Stick
 The Thick Stick
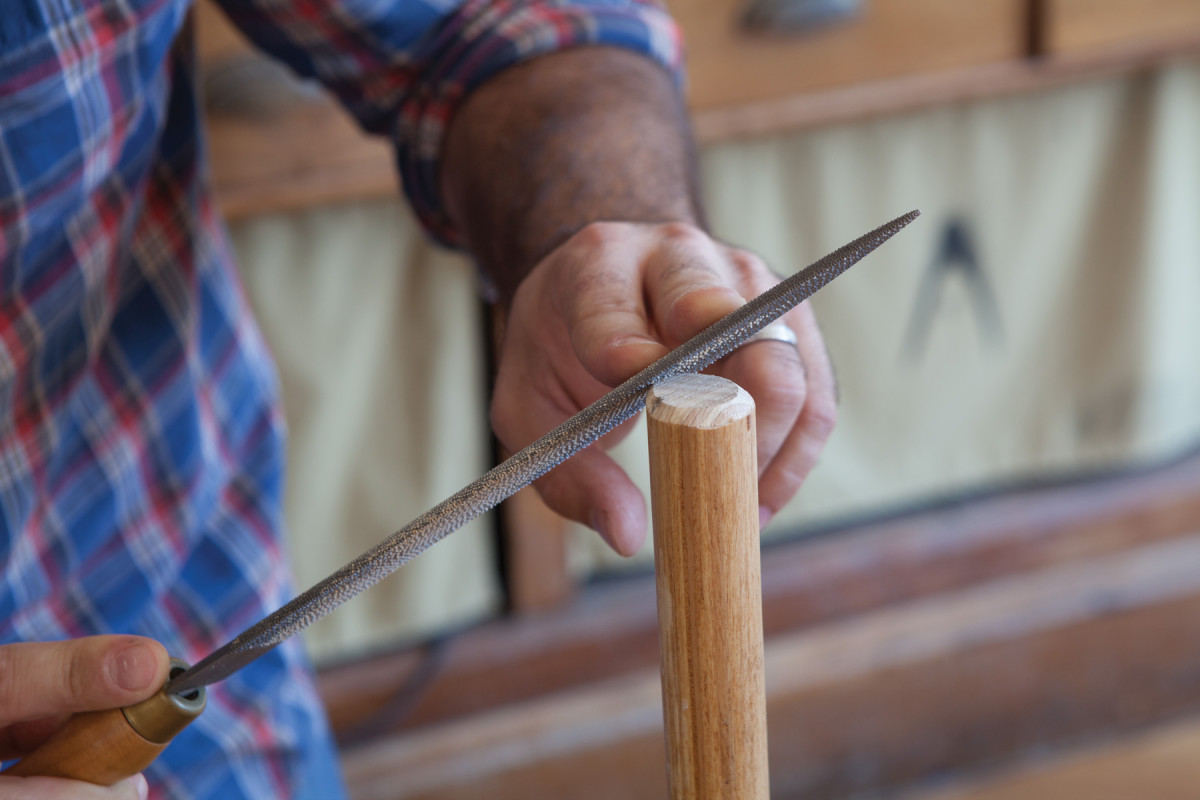
Mr. Pushy. Rasps and files cut only on the push stroke. Don’t drag the teeth back over the work or you’ll shorten the life of the tool.
During the last five years I’ve built a lot of these stools. I began making them, as always, by building copies of historical examples. These, however, presented a problem. They broke under standard North American Buttock Pressure.
After much experimentation, I determined that beefing up the stools’ legs to 1-1⁄4” in diameter made them strong enough for most body types. So when I began to make basic, hardware-store versions of these stools I looked for sticks that were 1-1⁄4” in diameter.
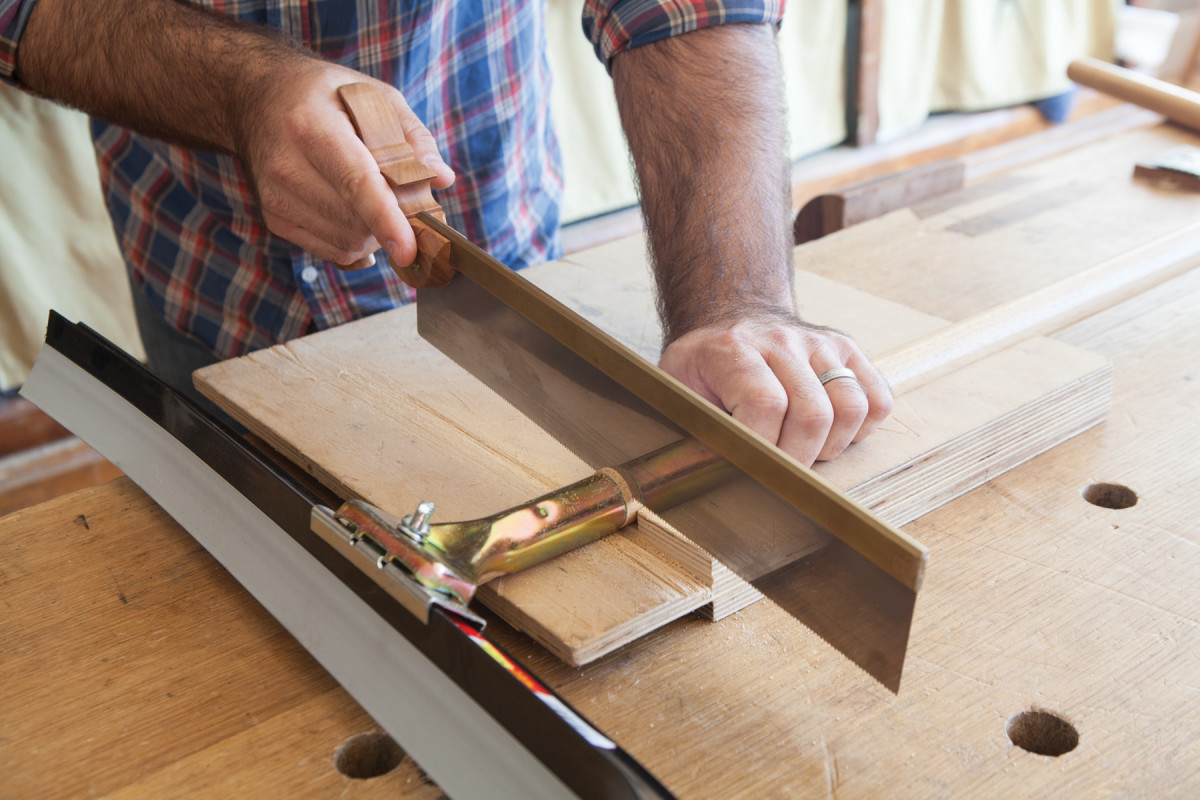
Sorry squeegee. The handle of this tool was the perfect diameter for a folding stool. So the first order of business was to saw off the squeegee part.
Most of the broom handles at my hardware store are about 7⁄8” diameter or a touch more, but some are thicker. During one trip to my local store we found handles that are 1-1⁄4” in diameter attached to a squeegee tool (about $23). We snatched that plus a replacement handle (about $6) and headed back to the shop to make some quick stools.
Sawn, Rasped & Bored
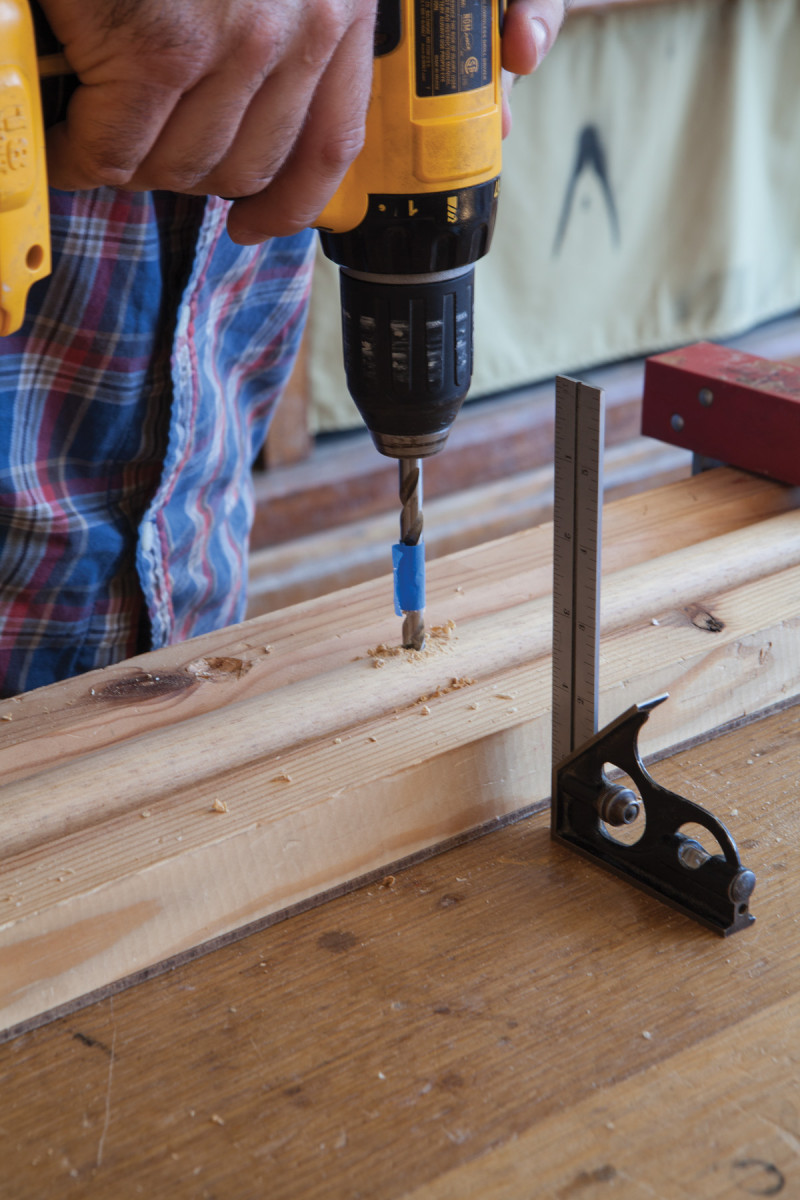
Square off. Use a square to help you keep your bit perpendicular to the leg and in line with its diameter. Don’t trust your lying eyes.
Cut the three legs to 23-3⁄4” long. This will result in the seat being about 17″ off the floor. Use a rasp to round over the sharp corners on both ends of the three sticks. This will make the stool look nicer and make the seat last longer.
Go deep. To prevent your screw from bottoming out, drill the pilot hole to 11⁄2″ deep.
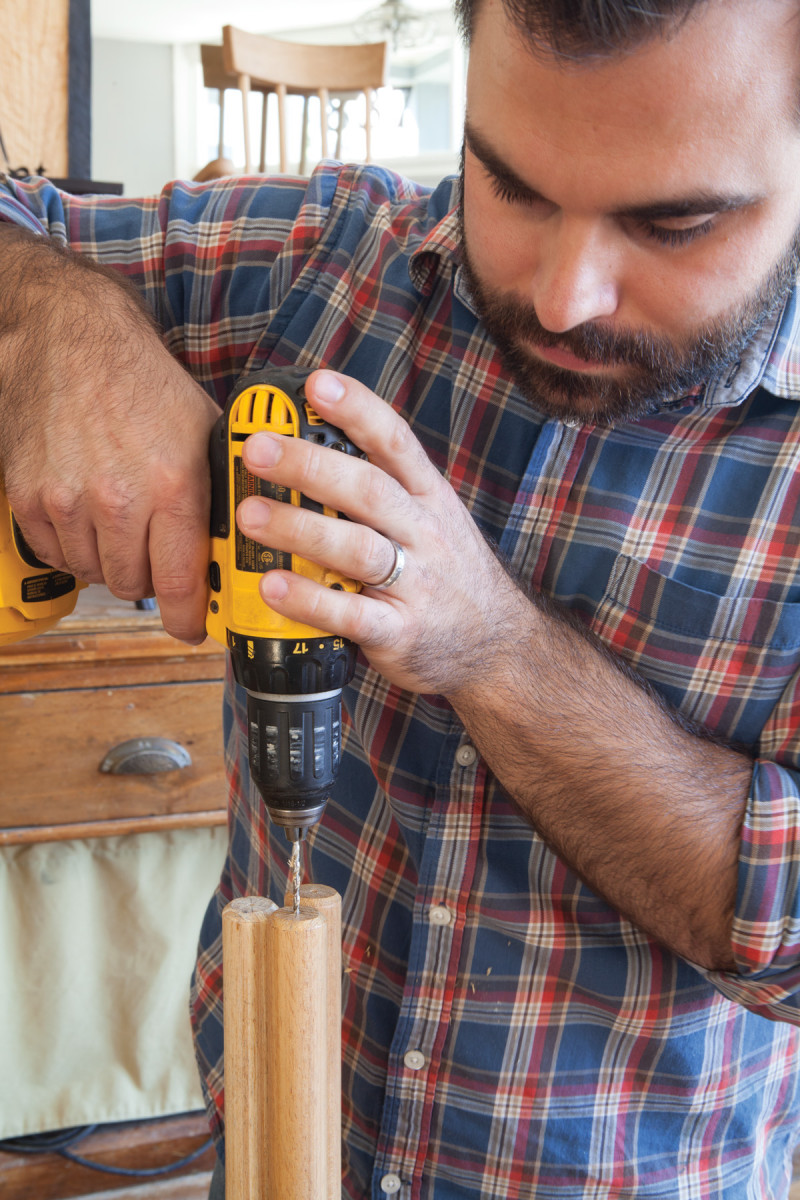
Remove the stickers and finish from the handles using a cabinet scraper or sandpaper. Then bore a 5⁄16“-diameter hole through the diameter of the handle. The hole should be exactly at the middle of the stick, both its length and diameter. Put a piece of tape on the drill bit at the correct depth so you will stop boring right when the tip of your brad-point bit pokes through the other side of the leg.
Drill the hole from one side of the leg. Flip it and finish the job. While your drill is out, drill the pilot holes in the tops of the legs to accept the #10 x 11⁄4” screws that will attach the seat to the legs. Depending on your particular #10 screw, the pilot might be 7⁄64“, 1⁄8” or a little bigger (screws are not all the same).
Homemade Tri-bolt
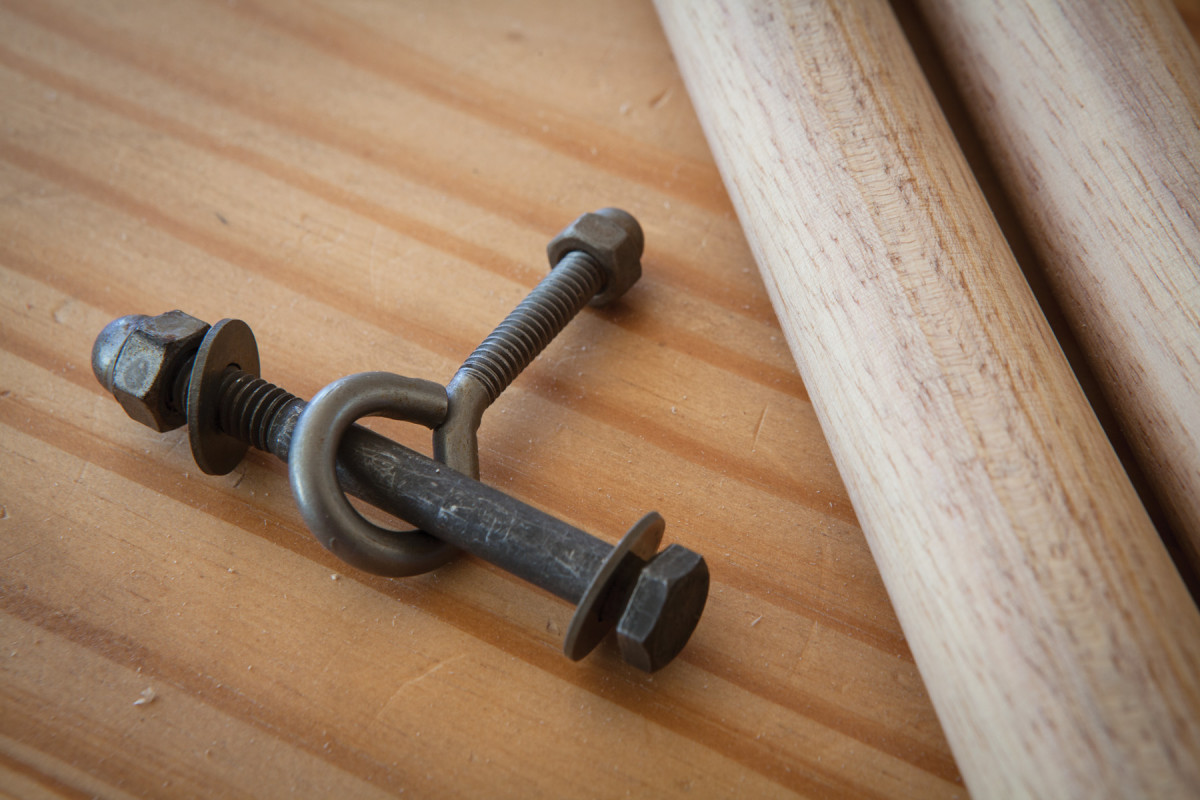
Bolt from the internet. I got the idea for this tri-bolt from a tutorial on the internet. I’m so glad it’s useful for more than just cat videos.
The hardware that makes the stool work – the tri-bolt – can be cobbled together from the hardware store or you can buy a beautiful version from Lee Valley Tools. If you are using the hardware store stuff, here’s your shopping list:
• One 5⁄16” x 3″ hex-head bolt
• One 5⁄16” x 21⁄2” eye bolt
• Three 5⁄16” washers
• Two 5⁄16” acorn-headed nuts
There’s about a 100-percent chance that the hardware will be zinc plated. I dislike shiny zinc bits so I remove the plating with the help of citric acid. Put the hardware in a coffee cup, fill it with warm water and put a couple tablespoons of citric acid in the water. In a couple hours, the zinc will be gone. Remove the hardware and oil it.
Before installing the hardware, add a finish to the legs. We used a coat of beeswax for the squeegee stool. Thread the legs and hardware together and use a little bit of a thread-locking fluid to keep the two acorn nuts in place.
Leather Seat

A punch in the gut. This rotary punch makes several sizes of holes. A 3⁄16″ hole works fine with #10 screws.
A piece of thick leather is ideal for the seat. Look for something 8 oz. (1⁄8” thick) or thicker. Be aware that how the leather was tanned can affect its pliability and strength. So trust your gut when looking at the animal’s gut. (“Would this leather hold me?”) You’ll need a piece of leather that is about 17-1⁄4” square – see the drawings up at the top of this article.
Use the drawings to create a pattern for the seat. I use hardboard (sometimes called Masonite) for the pattern. Place the pattern on your leather, hold it firmly and use a sharp utility knife to cut the seat to shape. Tip: For cleaner cuts, strop your utility knife like a straight razor.
Now punch three holes in the seat that are big enough to thread your #10 screws through. A leather punch makes clean holes (unlike a drill bit). Punches are also available at most craft stores.
Screw the seat to the legs. I recommend using a brass screw cup (available at any hardware store) under the head of each screw. The cups will hold the leather tighter and prevent it from getting easily damaged.
Now take your stool for a nice squat. Want to make it fancier? Read on.
Different Legs
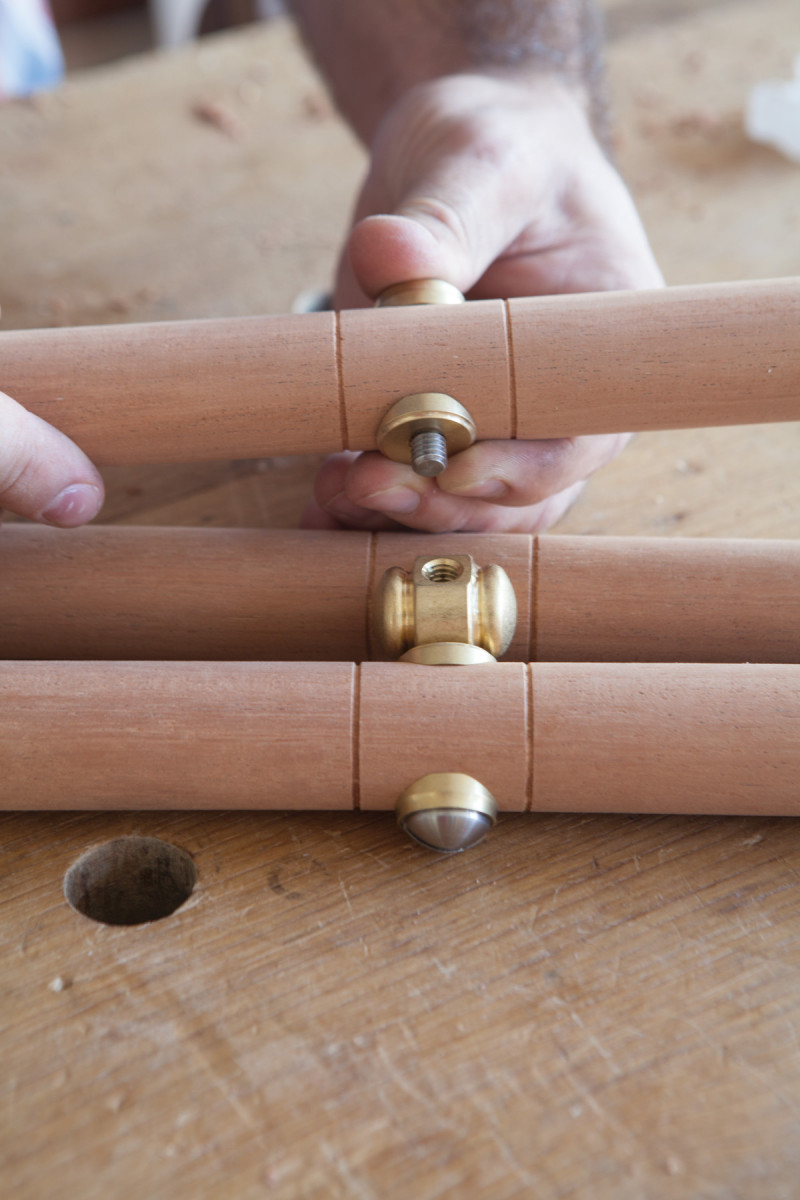
A better bolt. The Lee Valley hardware for this stool is quite nice. It costs more than the hardware-store bolts but is worth the investment.
There are lots of ways you can improve the look of the legs. If you have a lathe, you can turn them. My only advice is to not turn any section of the leg thinner than 7⁄8” in diameter. The turned leg shown in the drawings has a small foot with chamfers at top and bottom. Another traditional shape is to turn the foot so it resembles a teardrop.
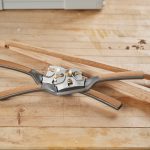
If you don’t have a lathe, consider tapered octagonal legs, as shown in the photo at the beginning of this article. These legs are 1-1⁄4” at the top and 1″ at the foot. Rasp the corners at the top and bottom like shown for the broomstick stool.
The remainder of the operations on the legs are the same as for the broomstick stool. Boring 5⁄16” holes will allow you to use either the hardware-store hardware or the Lee Valley stuff. Also, instead of using a wax finish, I used super blonde shellac followed by a coat of wax.
Upgrade the Seat
Set rivets. This handy tool sets the burr.
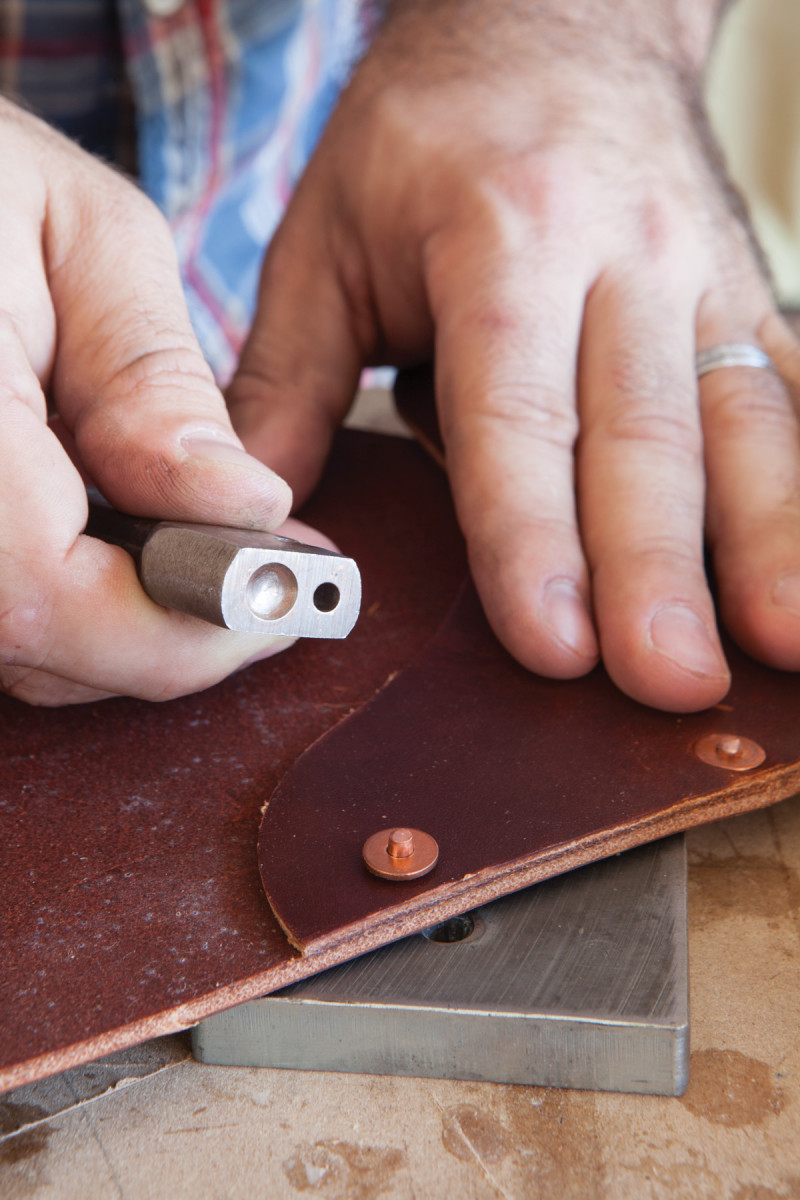
Instead of a plain triangular seat, you can improve the strength and appearance of the seat by adding “pockets” to the three seat corners. These are attached with 15 #9 copper rivets. Make a hardboard template of the pockets using the drawings and use the template to cut out three pockets for the seat.
Use the drawings to mark out the 30 holes needed for the rivets in the seat and pockets. A 3⁄16” hole is correct for a #9 rivet. Thread the rivet through the matching holes in the seat and the pocket (the flat head of the rivet should face your buttocks). Now place the “burr” on the shaft of the rivet and use a rivet-setting tool to drive the burr onto the rivet. Place the rivet on a block of metal, snip away the waste above the burr and peen the rivet with the rivet setter or a hammer.
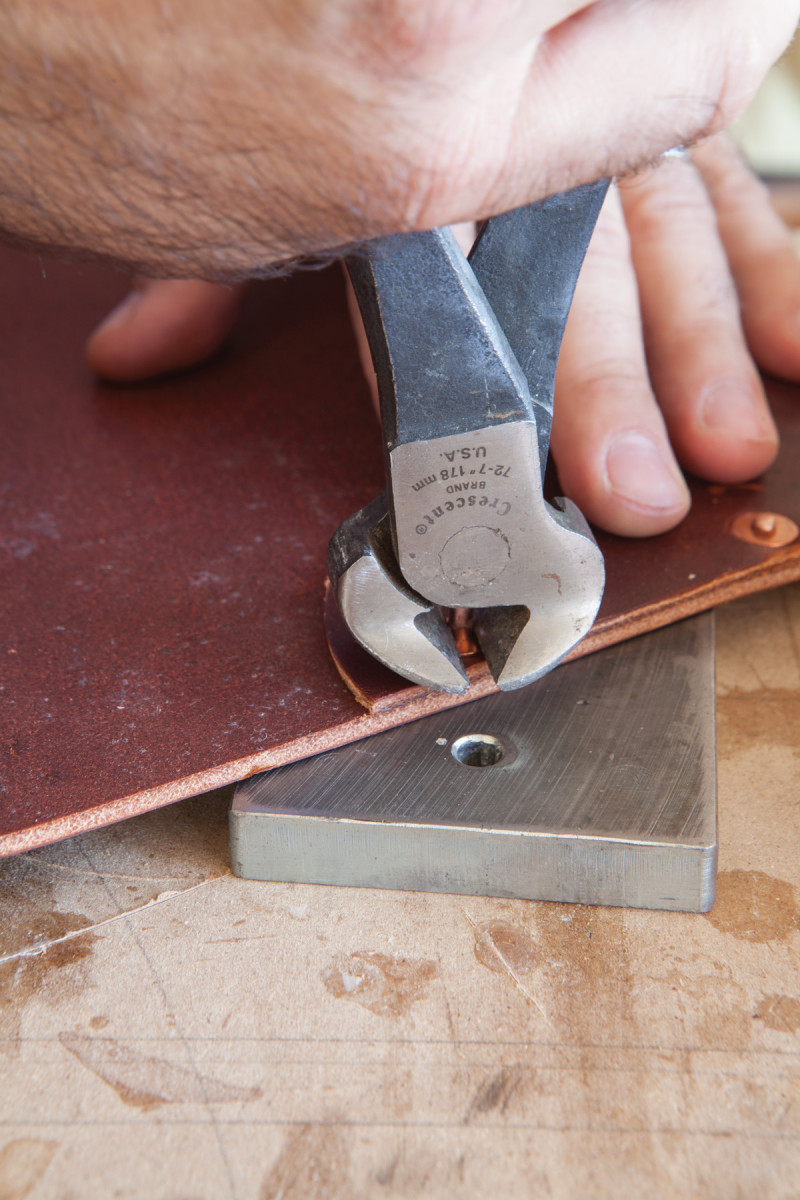
After setting the burr, nail snips can remove the excess. Then use the rivet setter or a hammer to peen the rivet. Note the metal plate under the leather; it helps when setting the burr and peening the rivet.
Now punch the 3⁄16” holes in each of the pockets for the screws and screw cups. Attach the seat to the legs with the #10 screws and screw cups.
You can also add a leather carrying strap to the stool. Rivet a metal D-ring (from any leather store) to one end of the strap. Loop the strap through the D-ring and put the stool’s legs inside the loop. Fasten the other end of the strap near the top of one of the legs. Use brass screws and screw cups as before.
These stools are so quick to build you’ll find they make great gifts – I think I’ve made almost 20 of them and have given them to so many people that some people have received two.
One last thing: I beg you to note that I wrote this entire article without a single “stool” pun. See, I can act like a grown-up. PWM
Christopher is the editor at Lost Art Press, a furniture maker and the author of “Campaign Furniture”
(Lost Art Press).
Here are some supplies and tools we find essential in our everyday work around the shop. We may receive a commission from sales referred by our links; however, we have carefully selected these products for their usefulness and quality.