We may receive a commission when you use our affiliate links. However, this does not impact our recommendations.
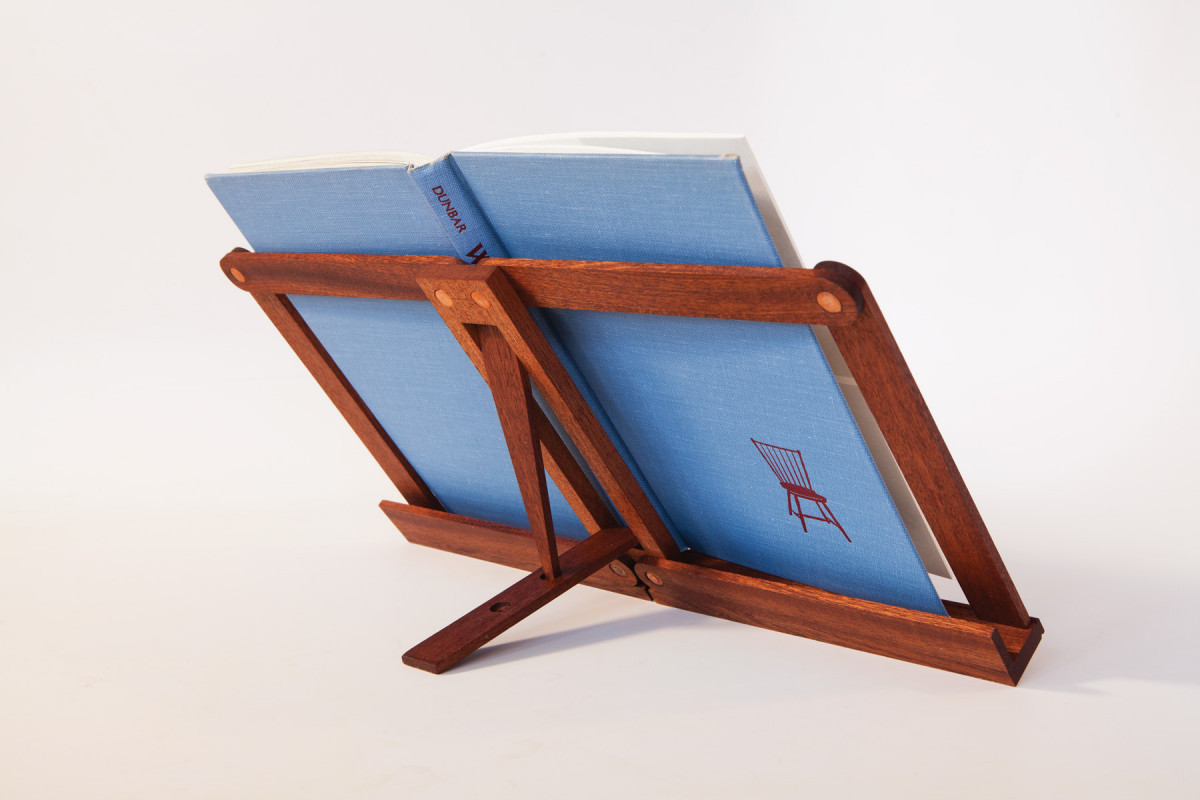
It starts out the size of a smartphone and opens to make your reading (or cooking) easier.
How-to books, cookbooks and sheet music are inconvenient to use while you’re in the workshop, kitchen or concert hall. That’s why bookstands (and music stands) were invented.
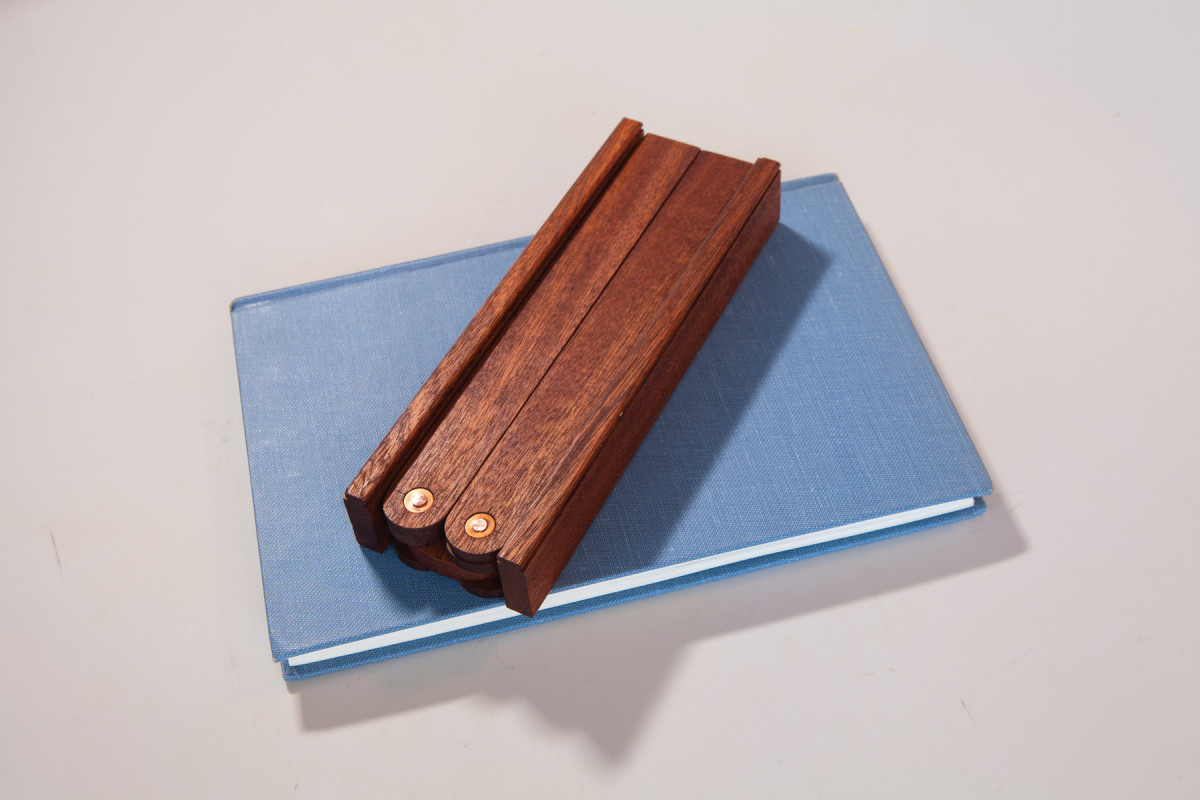 These, however, can be bulky. And so the mechanical minds of the 19th century devised several clever ways to fold up a bookstand so it can fit in your pocket.
This version is based on several British and Chinese versions I have studied and is designed to be robust and easy to make with standard workshop equipment. It requires less than one board foot of wood to build, so root through your scrap pile and get started.
How It Works
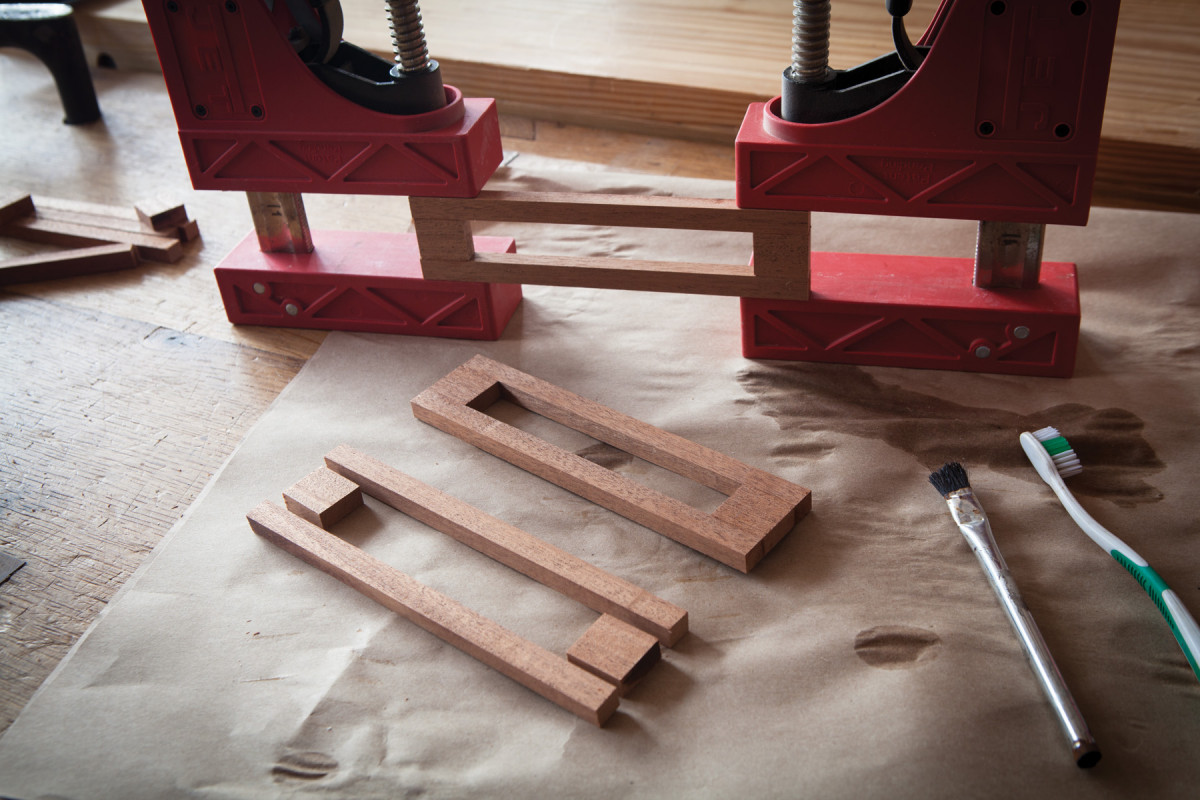
Make a hole. Glue up the rails and stiles of the middle section to create a hole for the kickstand and foot of the project.
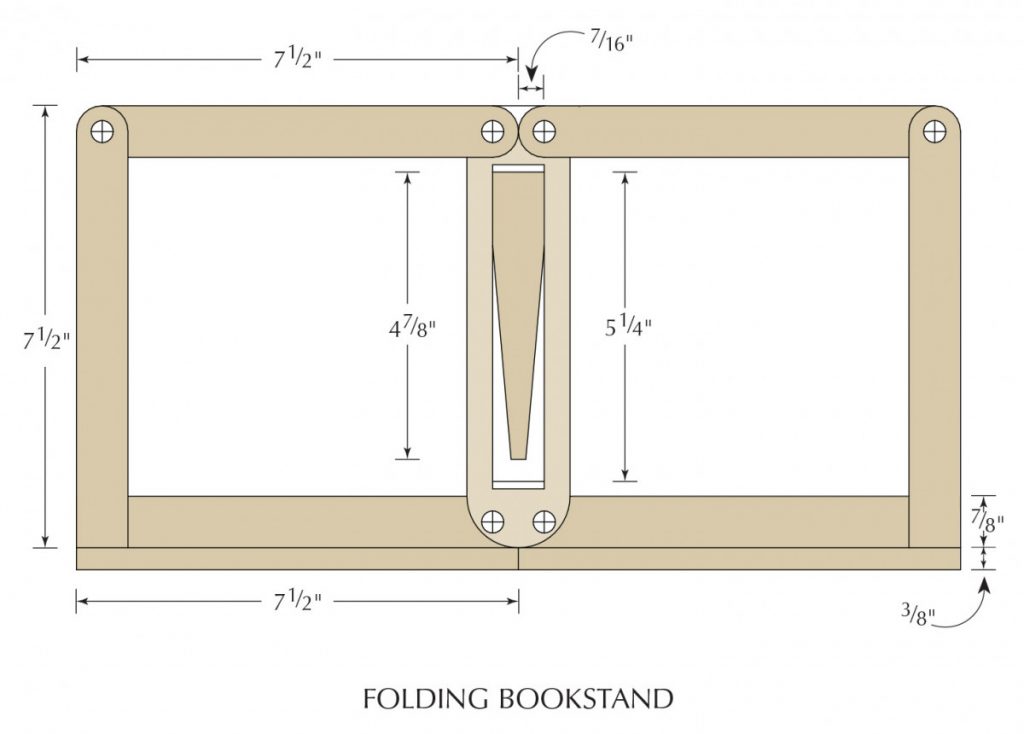
The bookstand is basically a bunch of sticks that have been glued or riveted together. The middle section of the bookstand is created by gluing up three pieces of wood, which creates an opening to hold the kickstand and the foot of the piece – these bits of wood make the bookstand adjustable.
Around the middle section are sticks that are attached with copper rivets, which work like hinges and allow the whole thing to unfold. If you’ve never used copper rivets, don’t worry. Installing them is as easy as drilling a hole and hammering a nail.
Note: To make the nomenclature easy for this project, I call horizontal members “rails” and vertical members “stiles” – just like in a door or a face frame.
Begin with the Middle Section
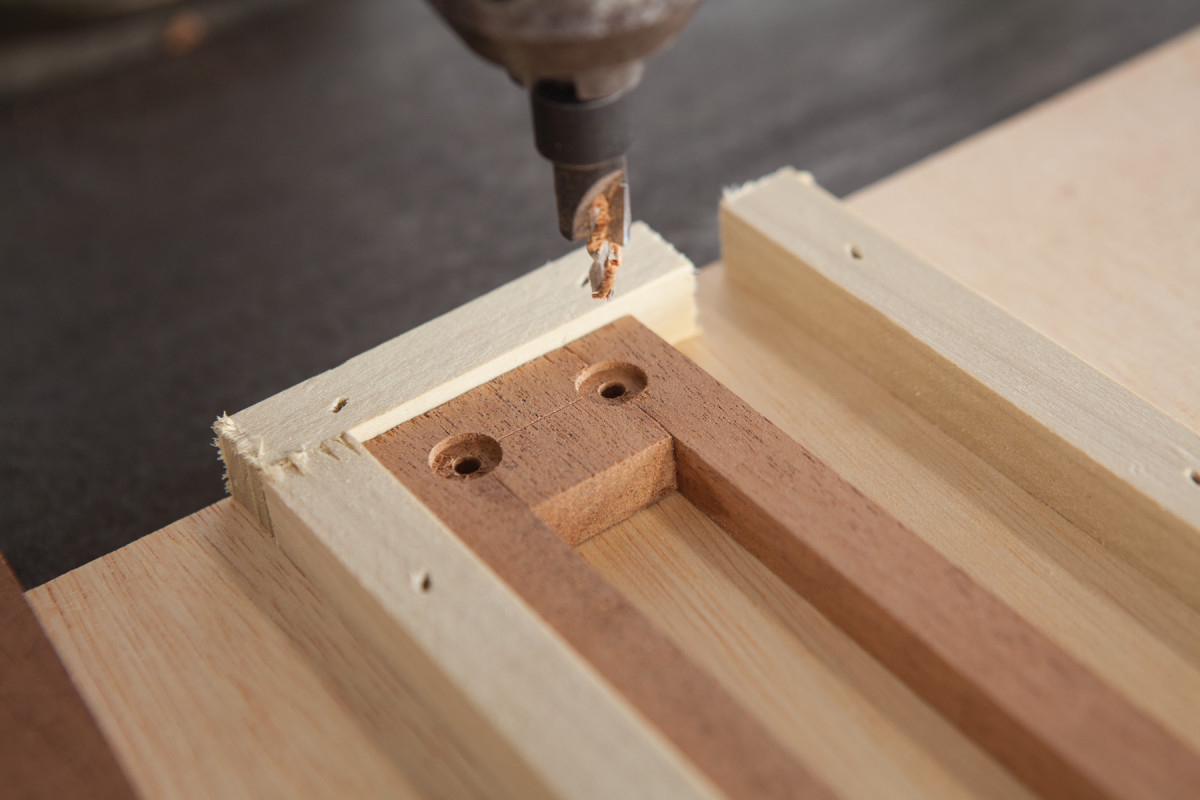
Quick work. The two fences on this jig allow you to slide the center assembly left and right to bore the holes and counterbores exactly 7⁄8″ apart.
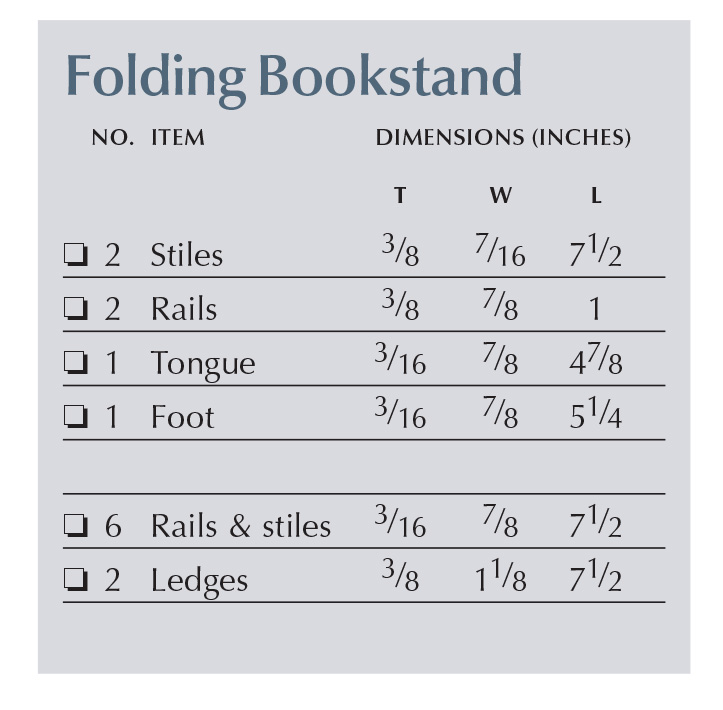
The middle section of the bookstand is what everything else is attached to, so it’s a good place to start. Cut the rails and stiles of the middle section to size according to the cutting list, then glue and clamp the parts together. After the glue is dry, square the ends of the assembly and make a jig to drill the counterbores and holes for the rivets.
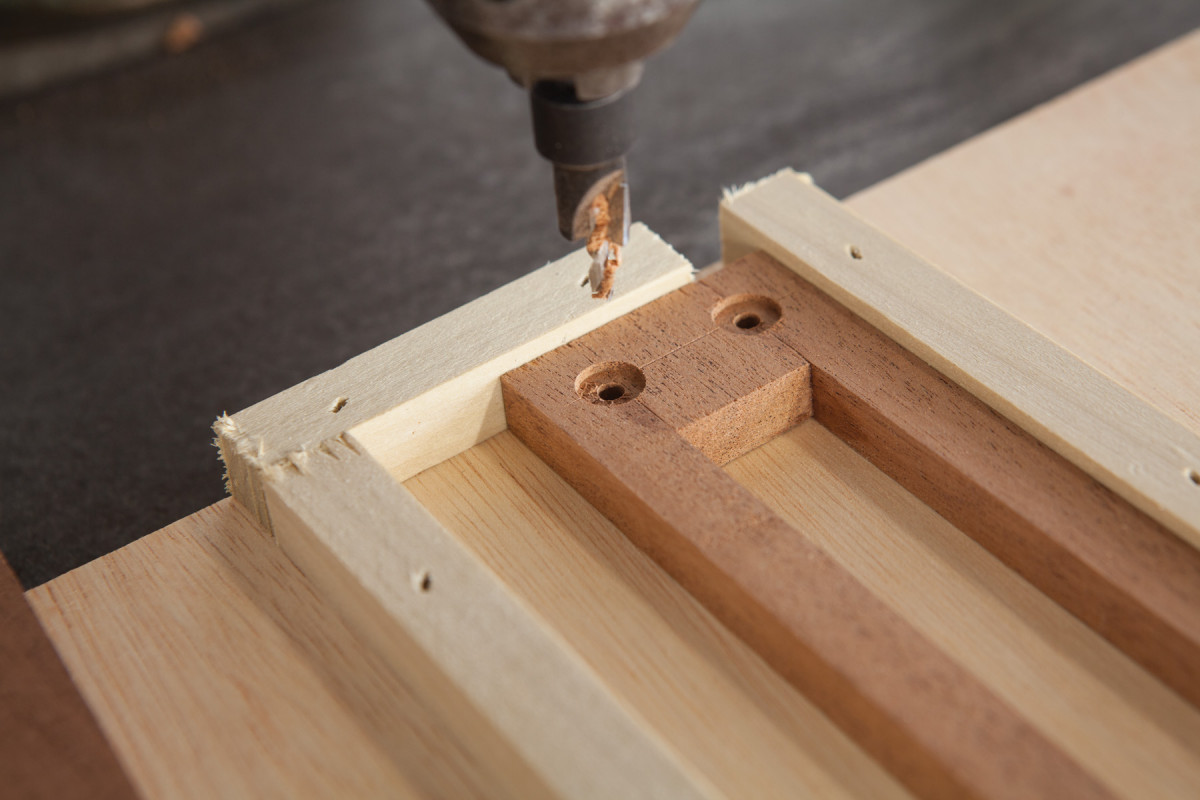 Note that each rivet requires a counterbore for the head of the rivet and a counterbore for the “burr” – the washer-like part of the rivet. On the middle assembly you need counterbores on the front face of the top, and on the backside of the bottom. It sounds confusing, but you’ll figure it out when you study the photos.
The holes for the rivets are 1⁄8” in diameter. The counterbore is 3⁄8” in diameter. I used a special boring bit from Timberline (No. 630-100) that bores the hole and counterbore in one operation.
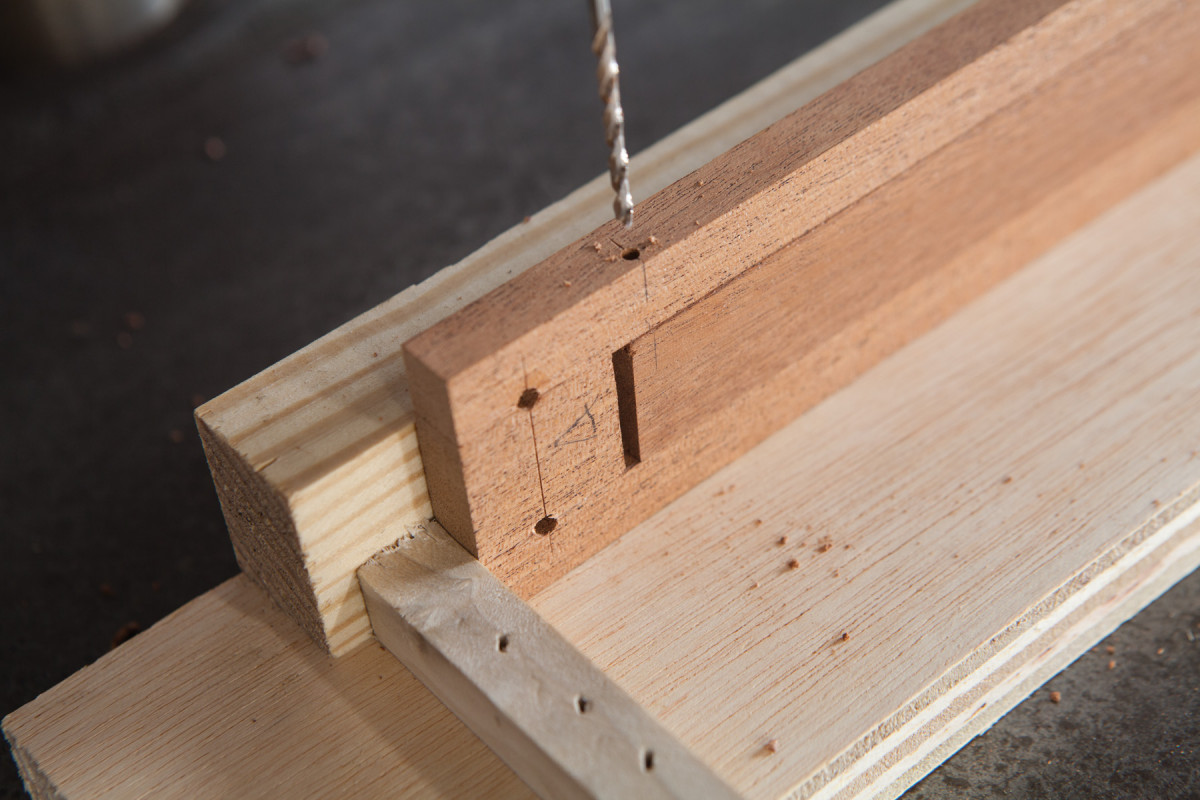
Make a hinge. Drill a 3⁄32″ hole through the middle assembly and kickstand. Then use a nail as the barrel of the hinge.
The jig is made from scraps and allows you to bore all the holes and counterbores in the middle section with one set-up.
The two fences on the jig are 25⁄8” apart. This allows the center assembly, which is 13⁄4” wide, to slide left and right so you can bore your holes exactly 7⁄8” apart. Set the depth stop of your drill press so the counterbore is 1⁄8” deep. Drill all your holes.
Next you need to create hinges so the kickstand and foot of the bookstand can pivot out. The “hinge” is merely a 3⁄32” hole through the middle section with a nail pushed through to act as the barrel. To do this, press the kickstand and foot into the hole in the middle section. They should fit snug inside. Center them in the opening as best you can. Then mark a location for the hinge barrel. It should be 3⁄32” from the face of the middle assembly and in a place that allows the pieces inside to pivot. The exact location isn’t critical otherwise.
Drill the hole for the kickstand, then flip everything around and drill the hole for the foot.
The last step on the middle assembly is to cut a 7⁄8“-radius curve on the bottom edge of the middle assembly. Mark it with a compass and rasp or sand it to shape.
Rails & Stiles
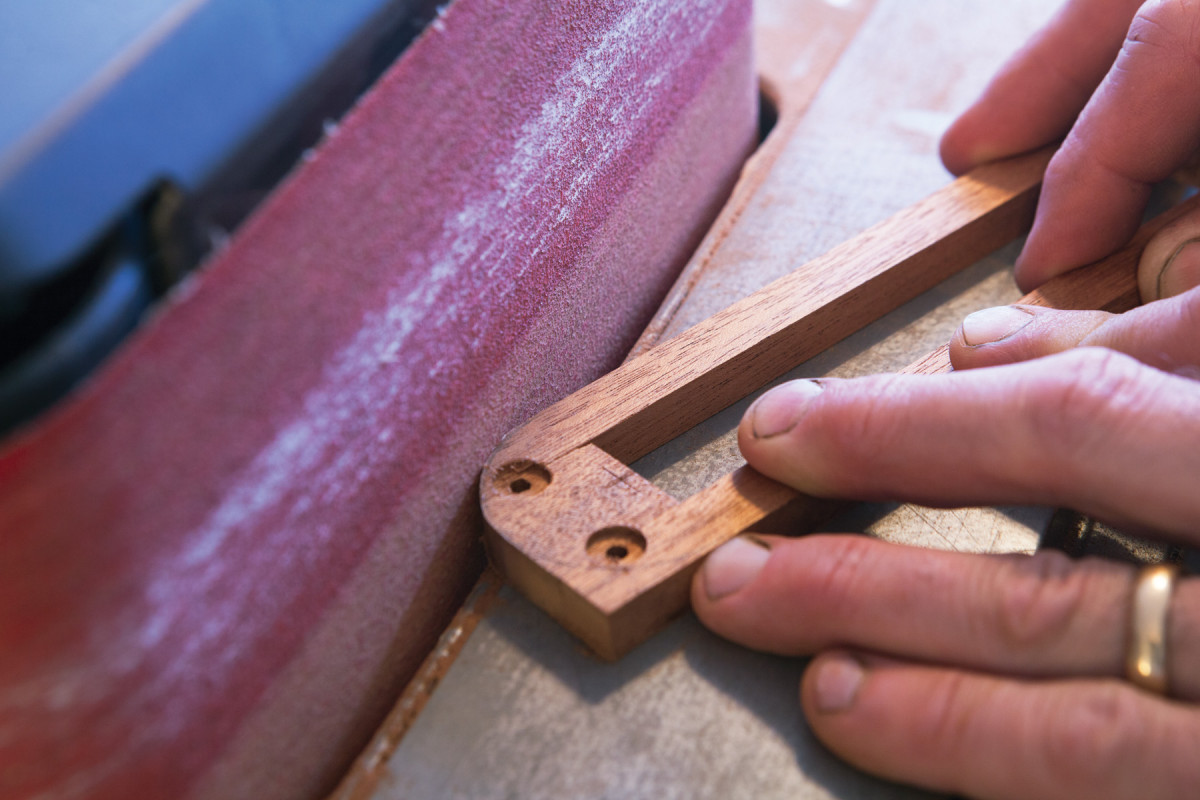
Sand the curve. Mark the 7⁄8″-radius curve on the end of the middle assembly and sand it to shape.
The rails and stiles that attach to the center section are simple in comparison. The first thing to do is make a drilling jig to hold the rails and stiles so you can drill a hole and counterbore for a rivet in the ends that is centered on the piece and located 7⁄16” (on center) from the end. And you need to sand a 7⁄16” radius on the ends of some of the pieces.
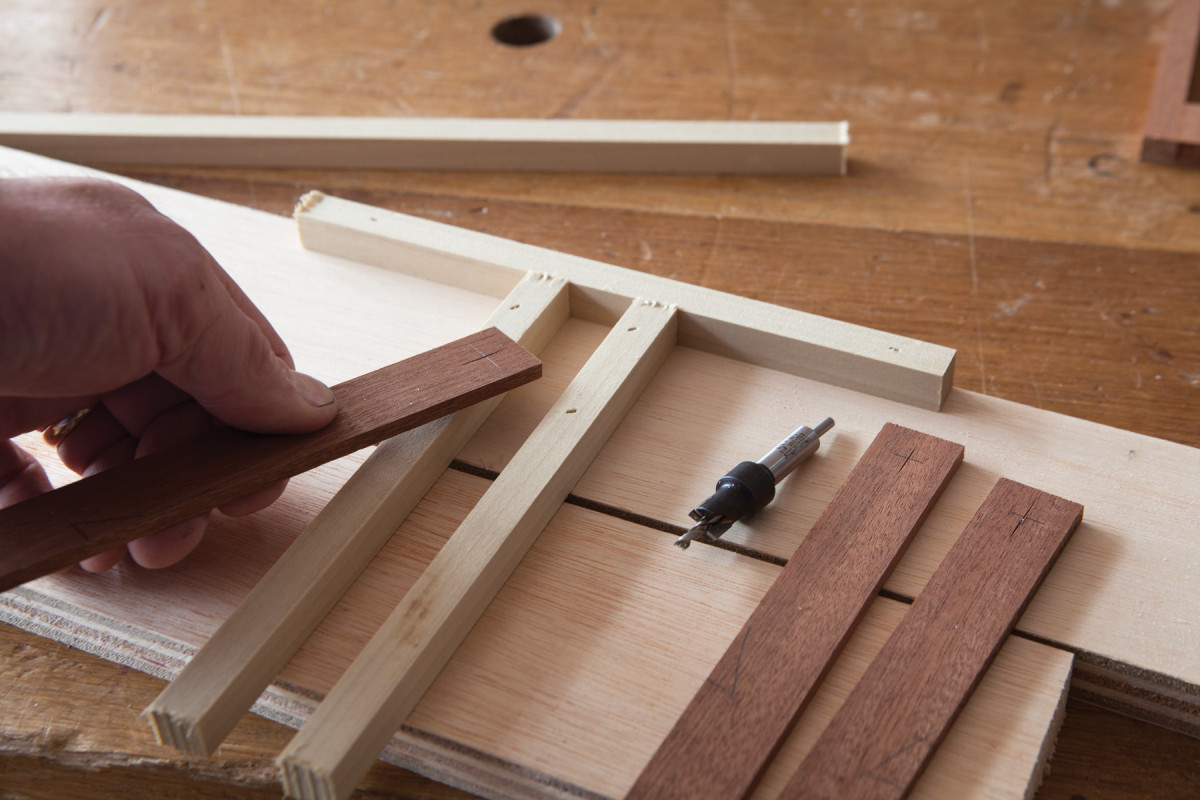
Even simpler. The jig for drilling the holes and counterbores in the rails and stiles is similar to the other jig, but the workpiece doesn’t slide.
There are three different kinds of parts – top rails, bottom rails and stiles. Here are the operations you need to do to each piece:
• Top rails: Bore a hole and counterbore on one end. Flip the piece over and turn it around. Bore a hole and counterbore on the other end. Sand a curve on both ends.
• Bottom rails. Bore a hole and counterbore on one end. Sand a curve on that end.
• Stiles. Bore a hole and counterbore on one end. Sand a curve on that end.
The Ledge
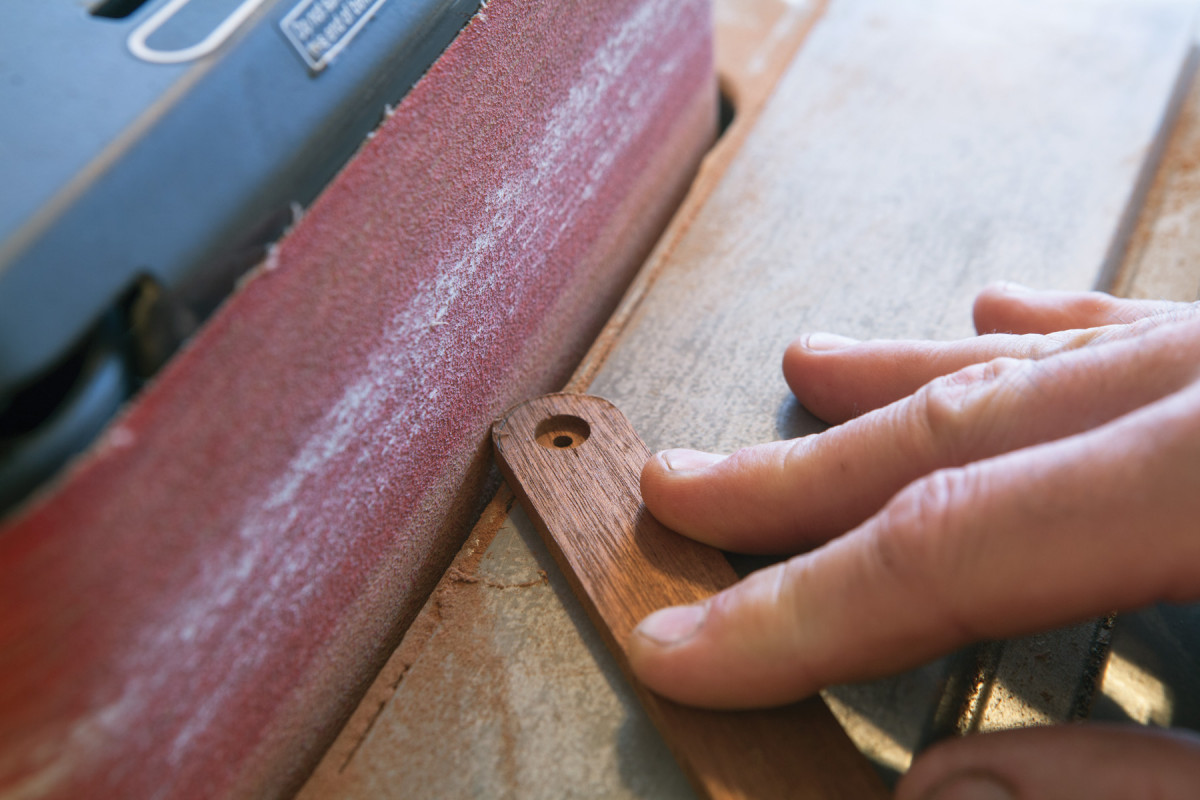
Around the end. Shape the 7⁄16″-radius curve on the rails and stiles with a rasp or a belt sander.
One last little bit of work is to create the bottom ledge, which is what your books or sheet music will sit on. These ledges are simply glued to the bottom edge of the bottom rails.
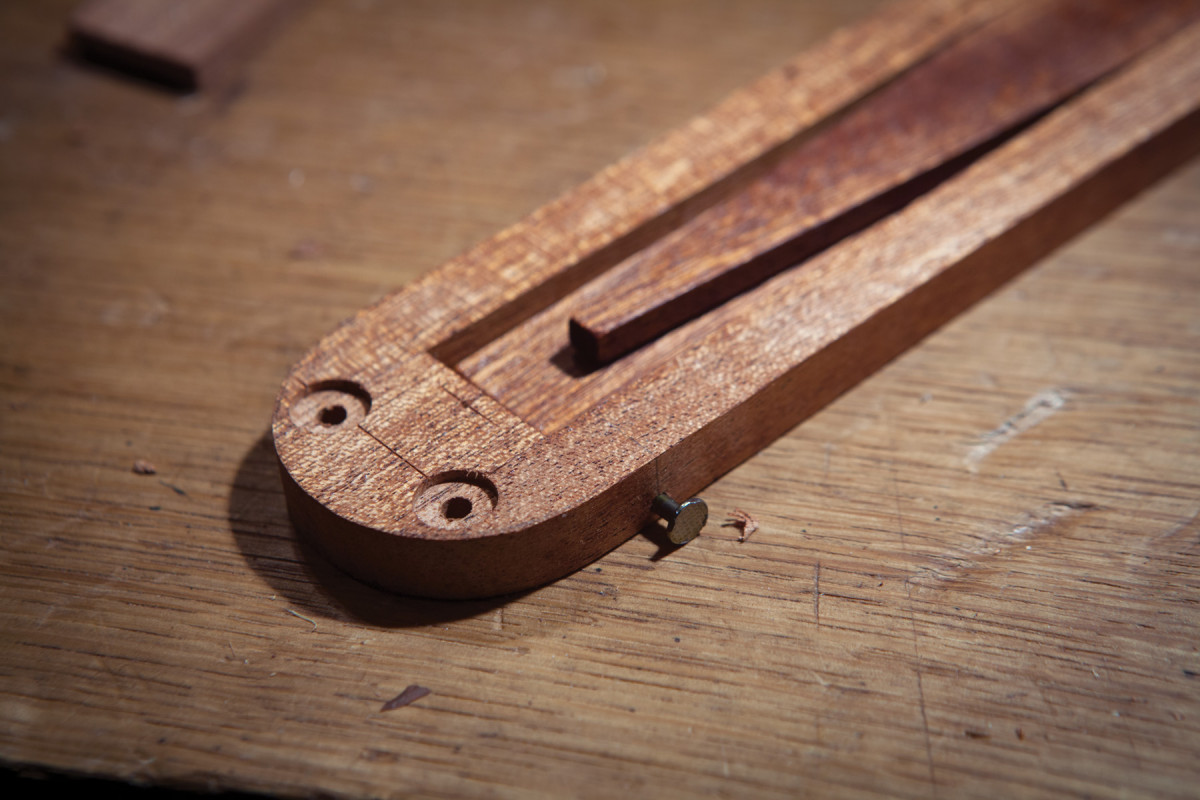
The right nail. This 6d nail is 3⁄32″ in diameter and fits perfectly in the hole. A few hammer taps sets the nail for good.
Feel free to decorate the ledges as you like. I planed a 1⁄8” bead on the front edges.
Finish Before Assembly
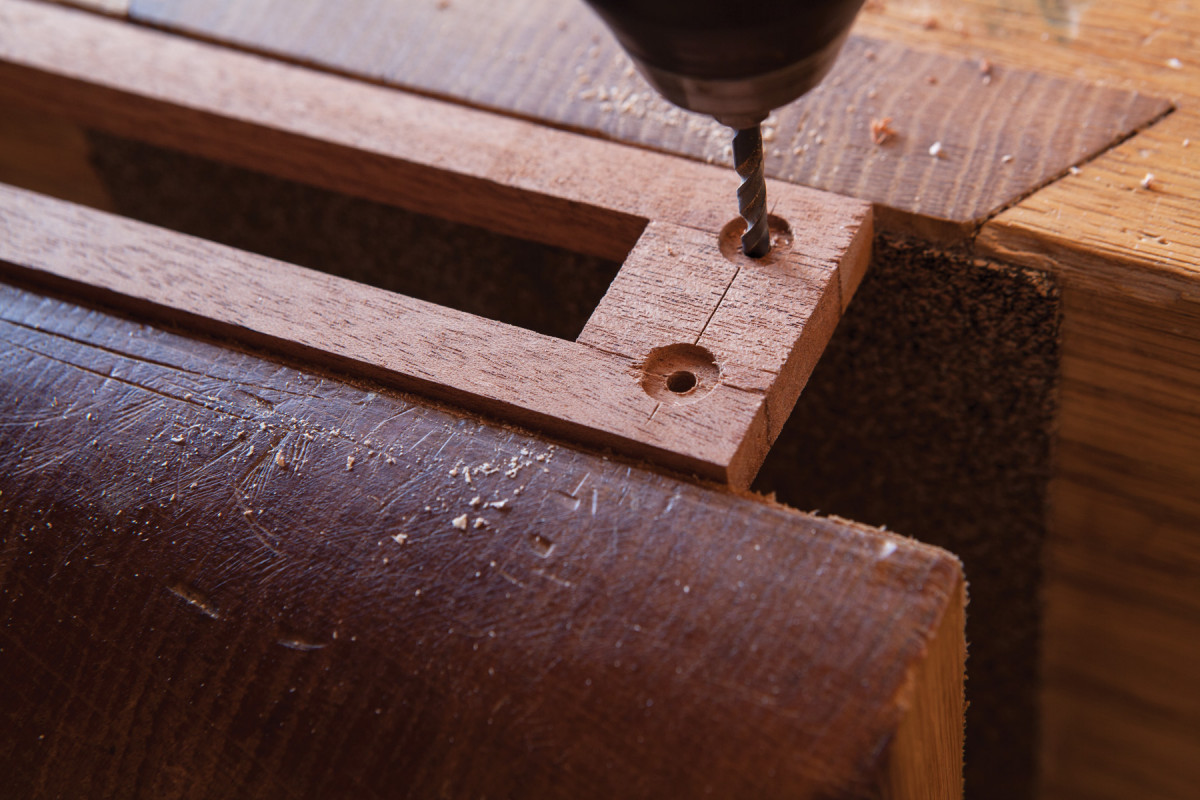
Safety ream. Opening up the hole by 1⁄64″ makes it less likely that your riveting will split the work.
It’s best to finish all the pieces before riveting them together. Remove all the machine marks. Clean up the edges. Break any sharp corners with sandpaper. You need to saw the kickstand to final shape. Its exact shape isn’t important, but it does need to end in a 1⁄4” x 1⁄4” point.
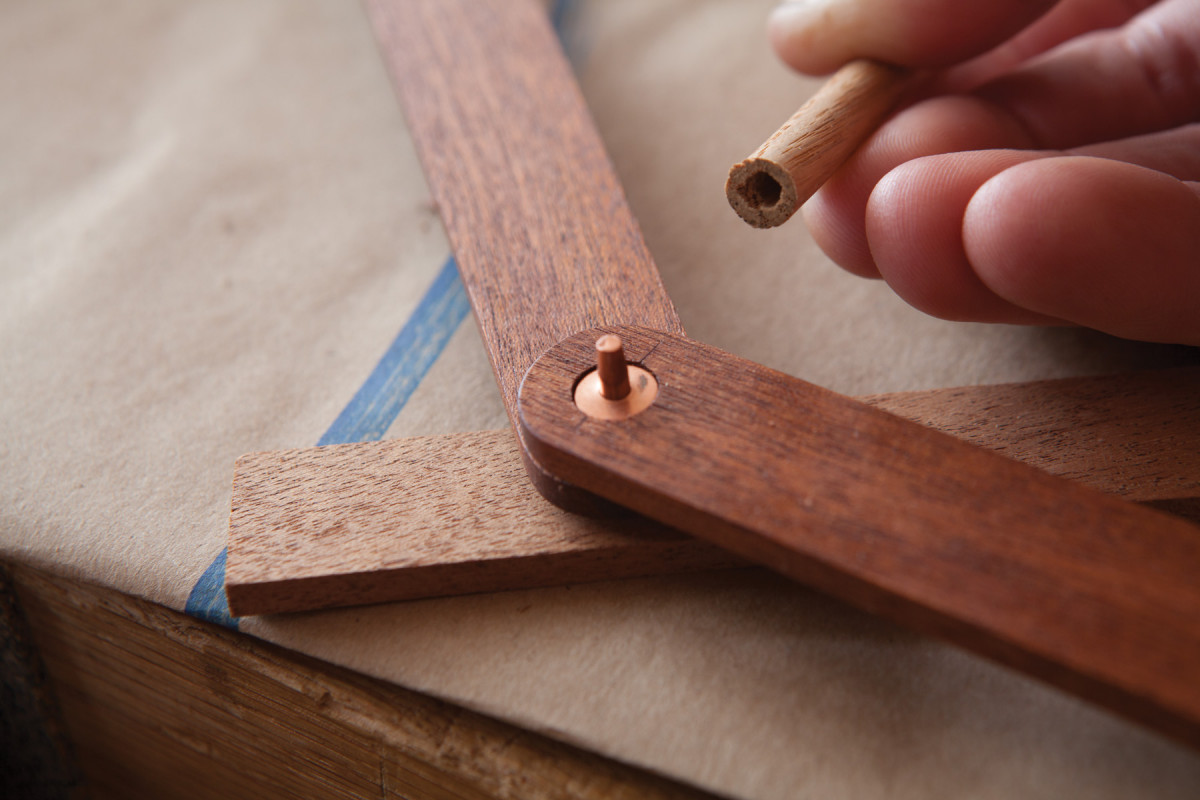
Cheap rivet setter. A 1⁄4″ dowel with a hole in the end makes an excellent (if temporary) rivet-setting tool.
Then apply a finish to all your parts. I used a linseed oil and beeswax finish that is good for items that won’t see hard use.
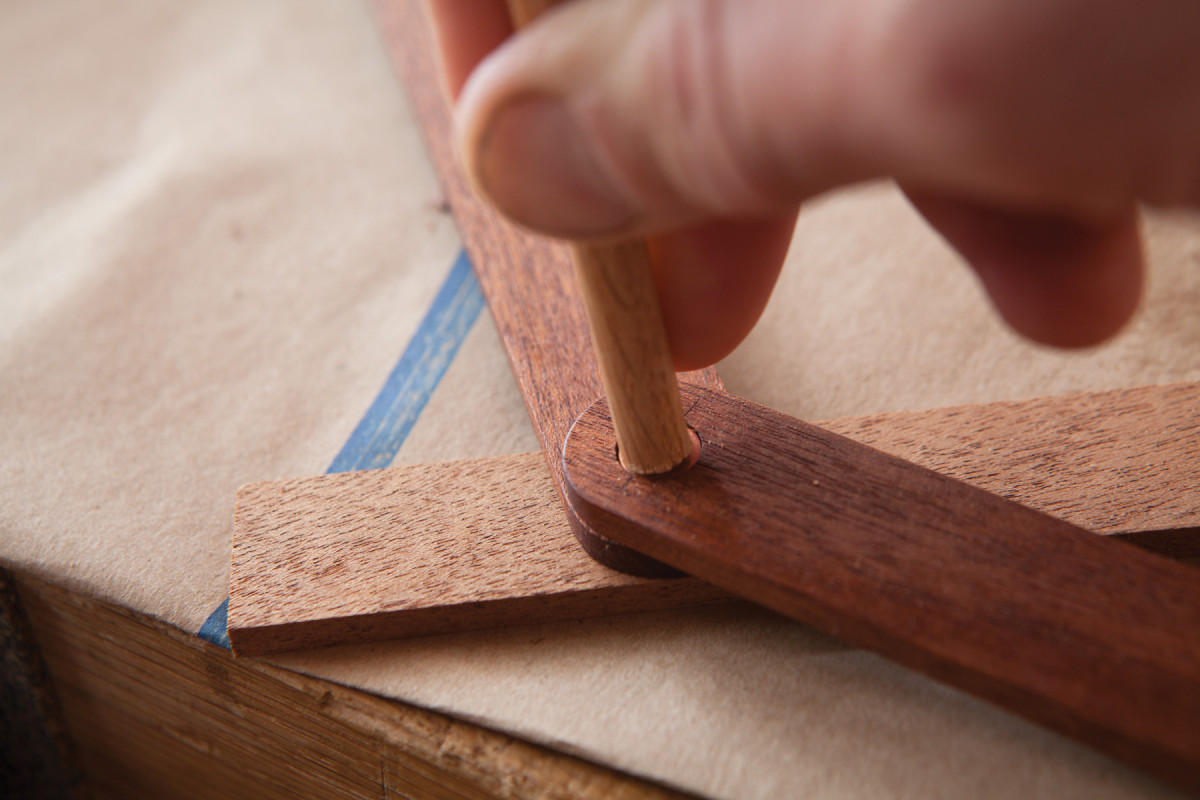 After the finish dries, it’s time to put things together. The first step is to connect the center assembly to the kickstand and foot. Push nails through the 3⁄32” holes you drilled earlier. Tap the heads with a hammer to set them. Snip the heads off and file what’s left flush.
On Riveting
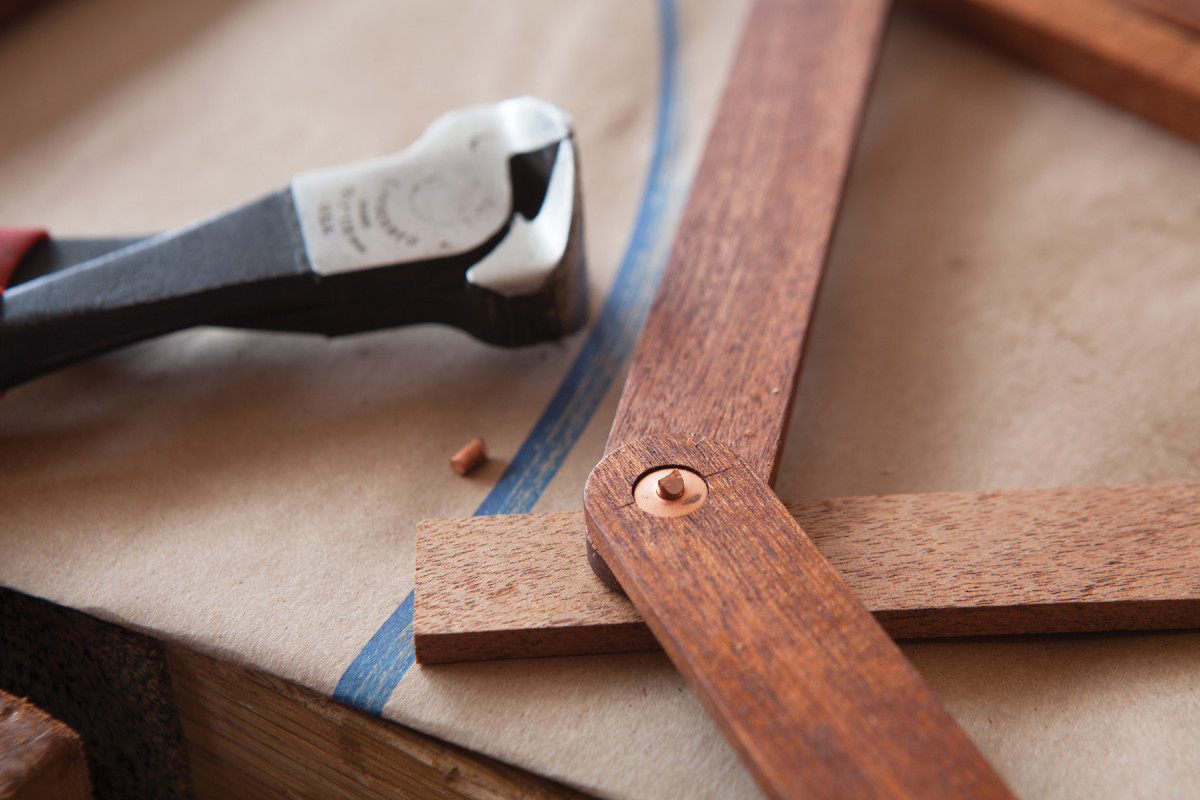
Swift snip. Nail snips make quick work of soft copper rivets.
Riveting is easy. My best advice here is to take it slow and don’t use too much force; it’s easy to split the work. The first step is to ream out all the holes with a 9⁄64” drill bit. This reaming will allow the shaft of a No. 12 copper rivet to fit perfectly.
Press the shaft of the rivet through the pieces you wish to join. Press the “burr” onto the top of the shaft. It should stop after 1⁄16” or so. You need to “set” the rivet by pressing it onto the shaft. You can buy a rivet-setting tool, or you can make one from a 1⁄4“-diameter dowel.
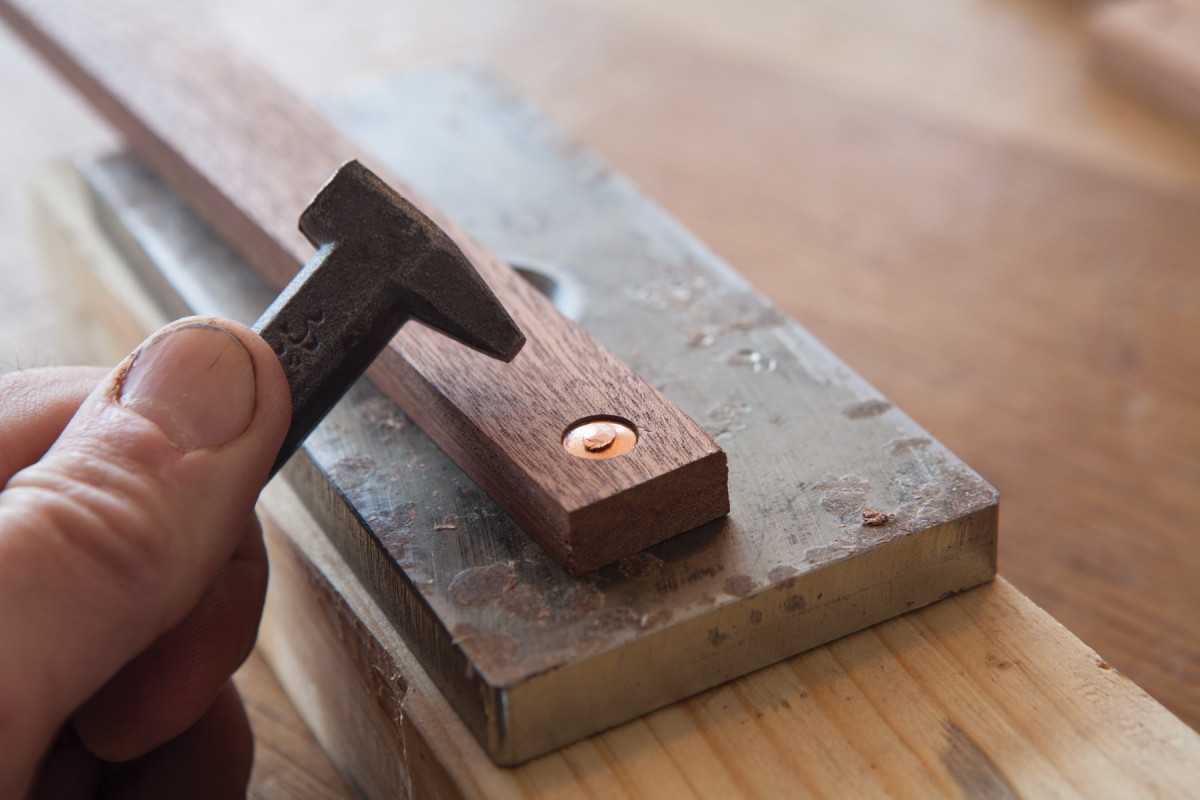
Careful pounding. Tap the rivet with care. Each hammer strike could send your nail set skittering toward the finished wood (and disaster).
Here’s how: Take a 3″-long section of dowel and drill a 9⁄64“-diameter hole into the end. Then place the dowel over the shaft. Tap the dowel until the rivet stops moving. Snip the excess of the shaft as close as you can get. Then file the top of the rivet flat. Then mushroom – aka peen – the top of the shaft with a nail set or other tool.
Folding Bookstand Cut List
The Final Bore
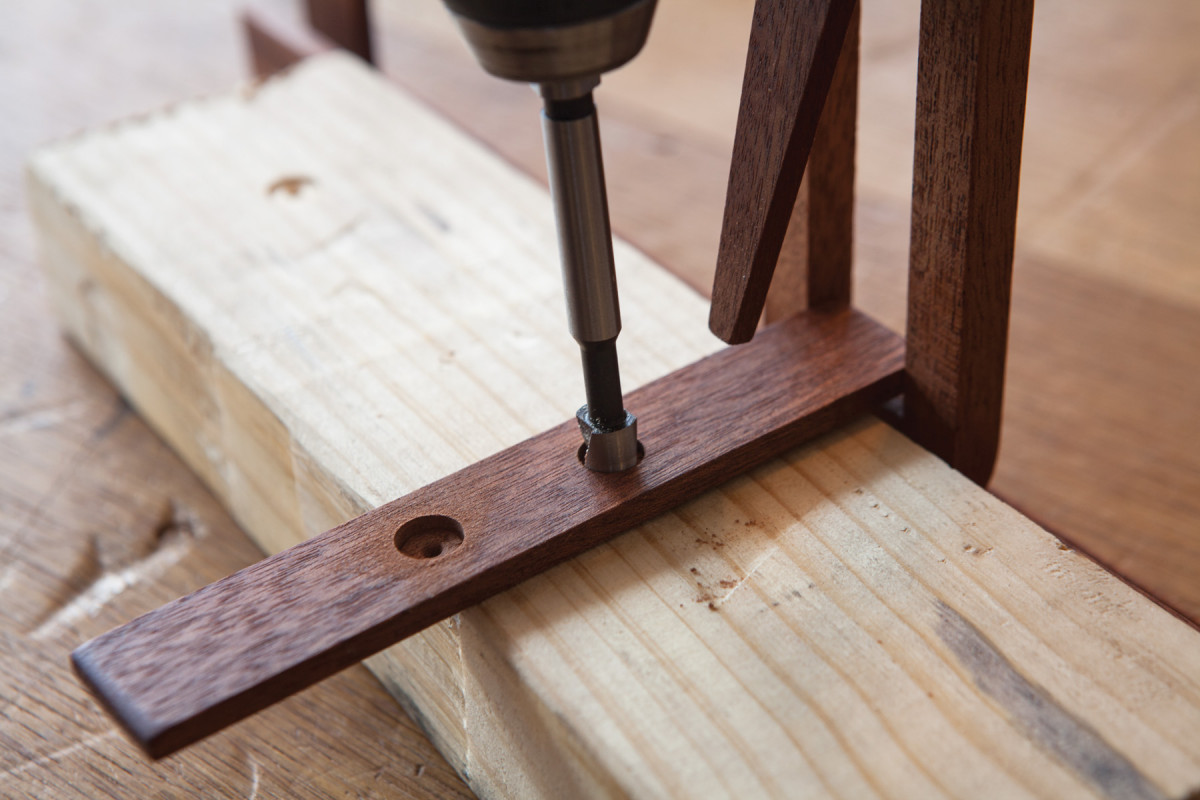
Bore with care. I used a 3⁄8″-diameter Forstner for this job. Run the drill up to full speed before plunging into the foot. A fast-turning bit ensures a clean entry hole.
With all the parts assembled, bore holes in the foot of the bookstand to receive the kickstand. We saved this step for the end to ensure that the holes were in the right place for the final user.
Stand the bookstand on a flat surface and adjust the kickstand until the project is at an ideal angle for you. Mark the foot where it meets the kickstand and drill a shallow 3⁄8“-diameter hole at that location. The foot of the kickstand should drop right in. If you like, move the kickstand to another location, perhaps one ideal for a thicker book, and repeat the process. Then, dress the rims of the holes with fine sandpaper and apply a little finish.
This bookstand can be altered to hold books (or digital tablets) of almost any size. The only principle that has to be obeyed is that the stiles cannot be longer than the rails – otherwise it won’t fold up nicely. Obey that simple rule and you’ll be able to hold almost any reading material without an assist from your hands. And that’s an idea that will never go out of style. PWM
Christopher Schwarz is the editor at Lost Art Press and a furniture maker in Covington, Ky.
Here are some supplies and tools we find essential in our everyday work around the shop. We may receive a commission from sales referred by our links; however, we have carefully selected these products for their usefulness and quality.





Chris what was the length of the #12 copper rivets that you used?
This is really cool and I’m going to make it. It will work best for travel. The one I use in my shop is the Roy Underhill hinged bookstand made from a single piece of wood.