We may receive a commission when you use our affiliate links. However, this does not impact our recommendations.
 One of magic’s oldest box tricks.
Magic boxes… Secret compartments… Items that do more than meets the eye… There is such a mystique surrounding these pieces. The world of magic and magicians is full of these. In fact, most of the magic box “secrets” we see today were invented between the mid-19th century to the early 20th century. By 1920, almost all of the secrets and methods of hiding objects and people in the compartments were explored by the magic builders of the day.
One of the classic magic boxes is the Drawer Box, which is a wooden box with a sliding drawer fitted with a secret compartment. It is used to vanish and produce small objects or animals.
 One of the first recorded explanations of the Drawer Box in the magic literature can be found on page 343 of Professor Hoffmann’s “Modern Magic,” written in 1876. Such book contains three different construction methods for this box. Another version can be found in Chapter XV of Edwin Sach’s “Sleight of Hand” written in 1877. Since then, the trick can be found in other sources in magic literature and advertised in magic manufacturer catalogs. Currently, this effect is a popular addition to magic sets and can be purchased in magic stores worldwide.
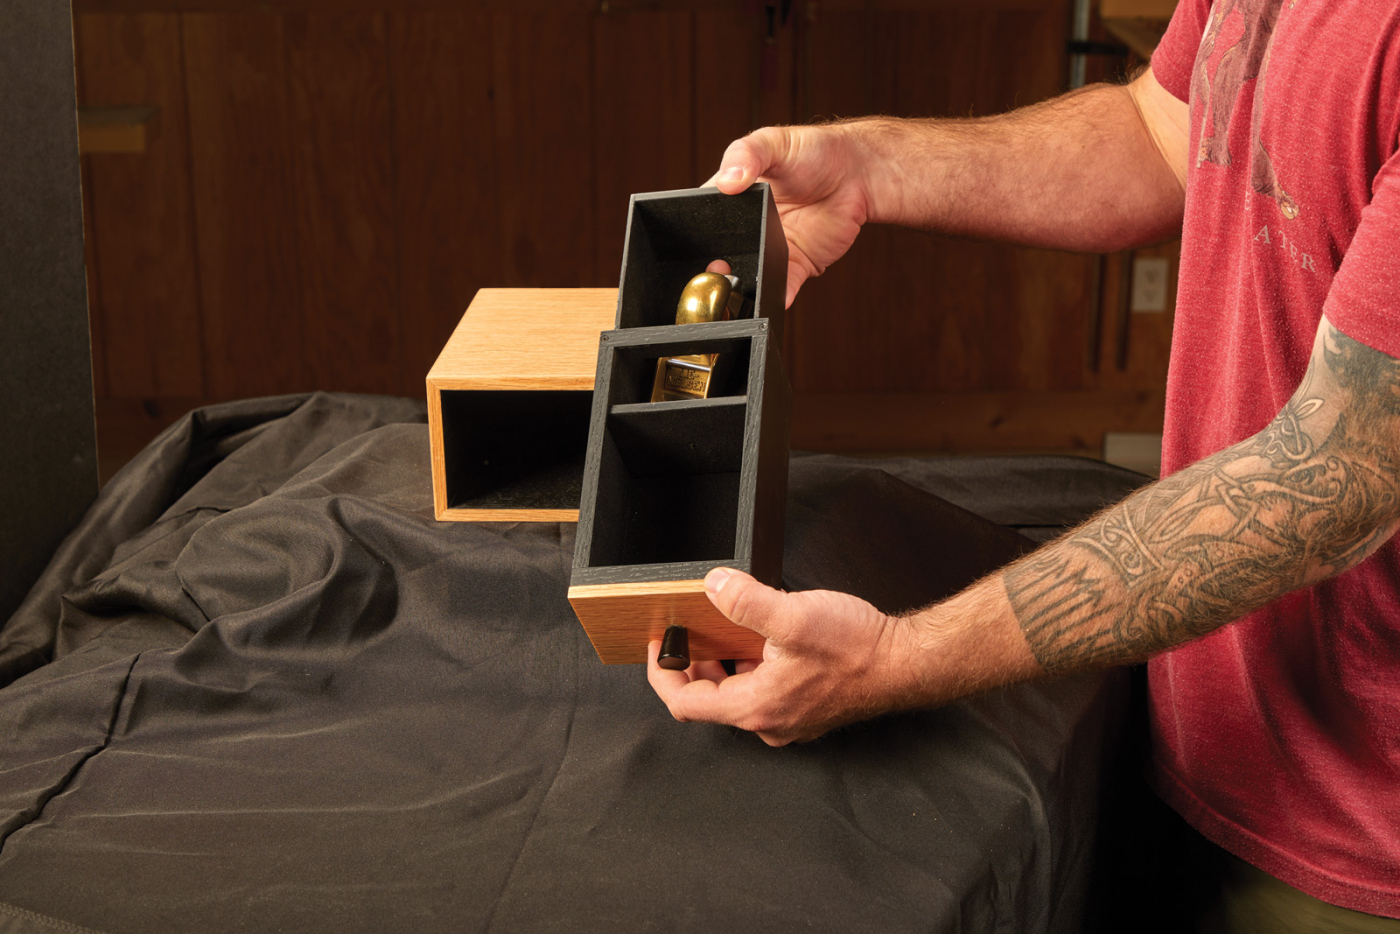
Shhh, don’t tell the secret.
I am going to describe a simple version of this effect, which is a nested set of three boxes. Two of the boxes make an “interior drawer with a secret compartment” that gets housed within an exterior wooden box. What follows is my procedure for the construction of the magic trick. Once you understand what the box does, you can make this item as elaborate as you like (with different and elaborate joinery), and even change the dimensions or proportions to fit your style.
The final dimensions of this box are 8“ long x 5“ wide x 4“ tall. I chose these measurements arbitrarily. The box proportions are attractive and, in part, follow the golden ratio.
Cutlist and Diagram


Interior Assembly
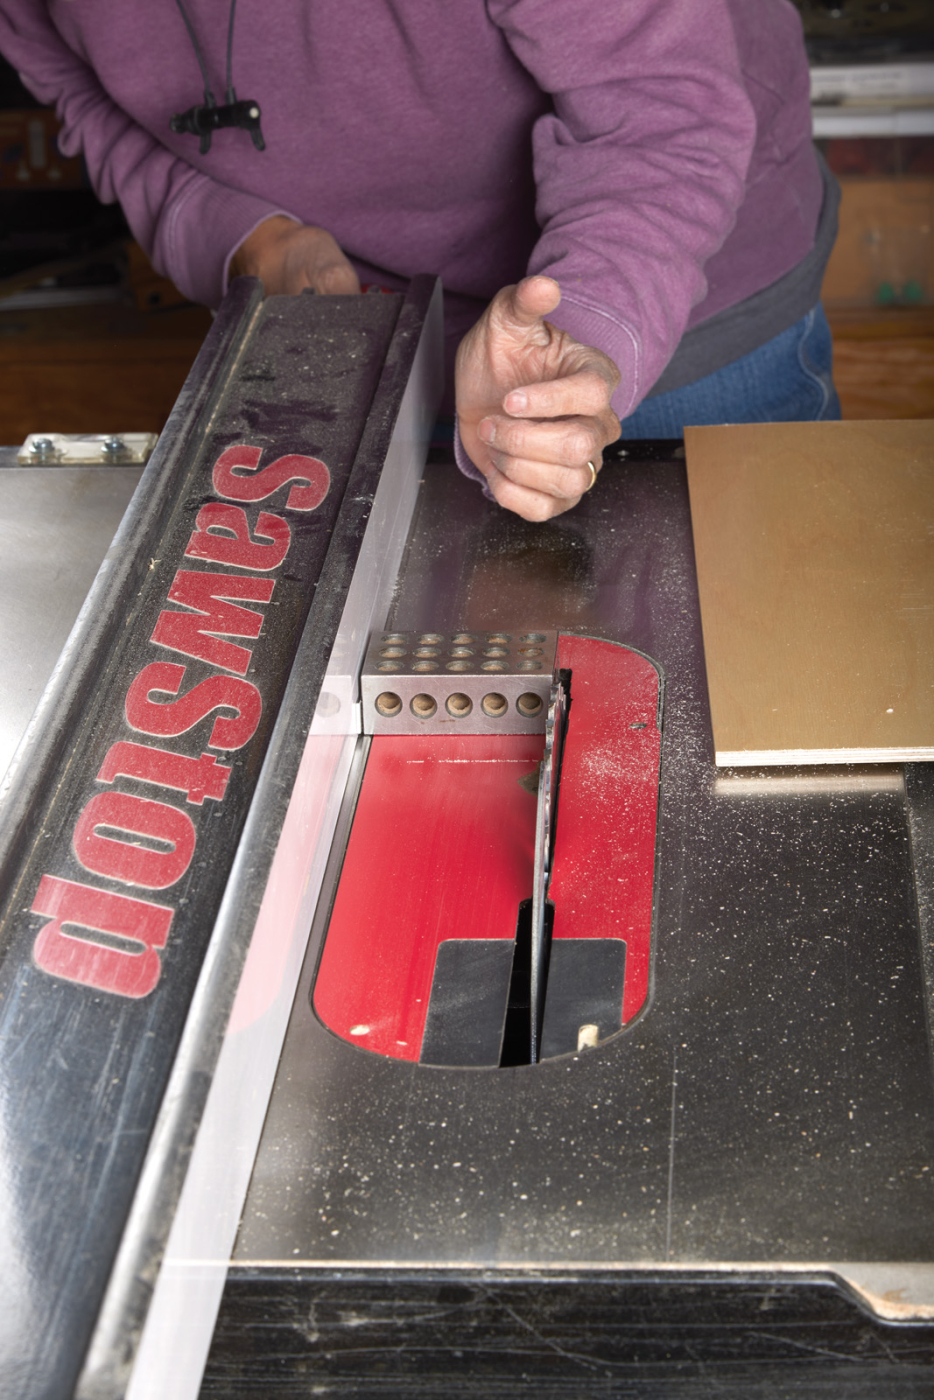
1 The precise sizes of this project require exact setup. I prefer to use setup blocks for dialing in these measurements.
The easiest way to construct this box is from the inside out. We will make the two interior boxes first. For these, the following amount of material should suffice:
• 1/8“ thick Baltic Birch: 8“ x 6“
• 1/4“ thick Baltic Birch: 16“ x 12“
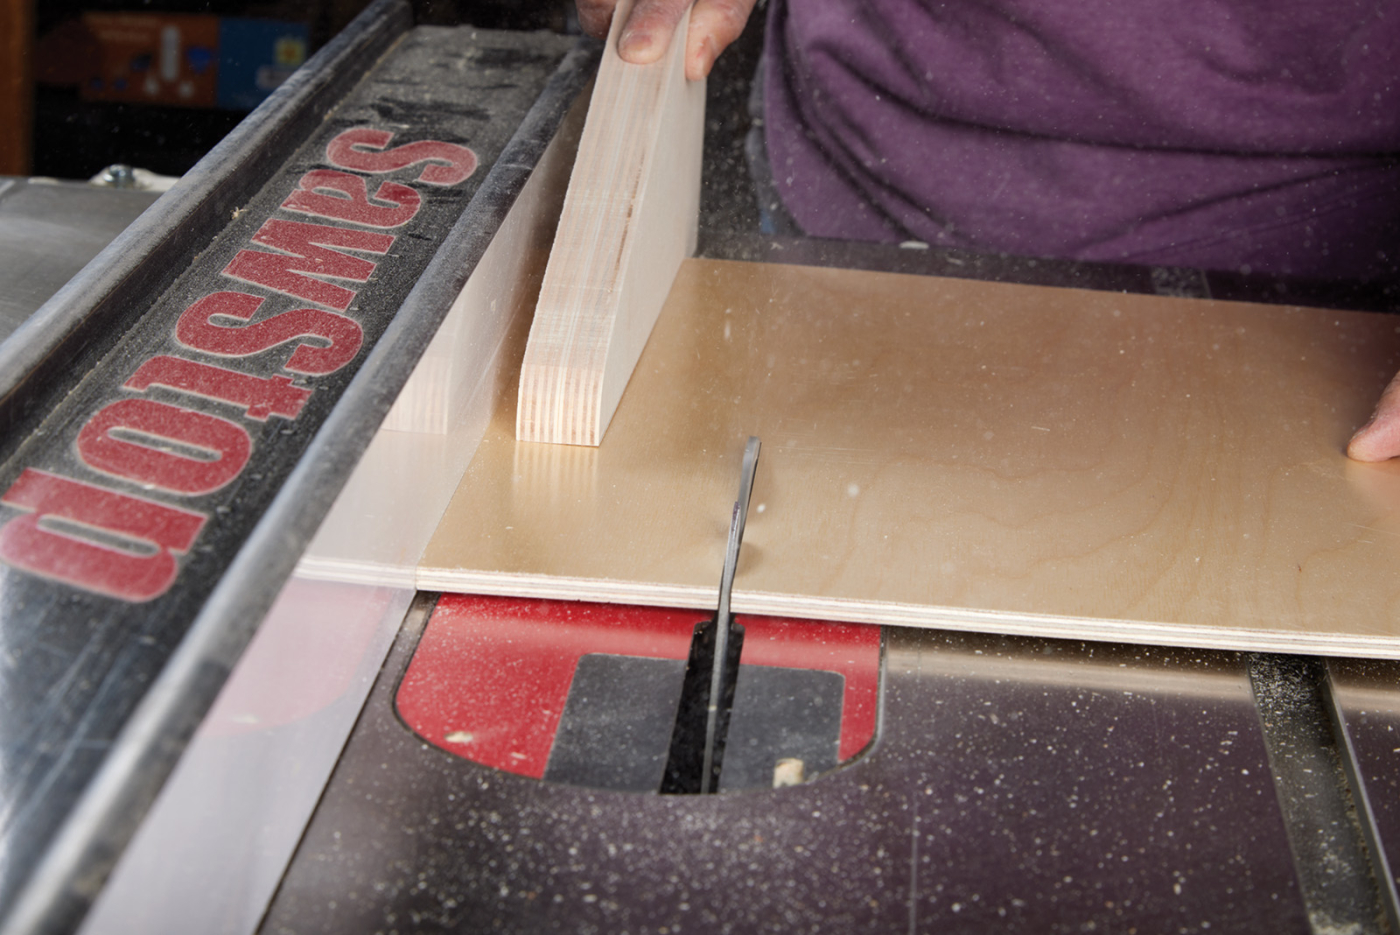
2 Rip the interior box parts to width.
I prefer plywood for this assembly because of the stability of the material and the piston fit of the boxes. This material will remain stable in spite of humidity and temperature. Also, all the components will be painted black, which hides the joinery and the edges of the material. Black is also pivotal in hiding the secret compartment using a magic principle called “Black Art” in which a black surface or object remains hidden when it is placed in front of the black background.
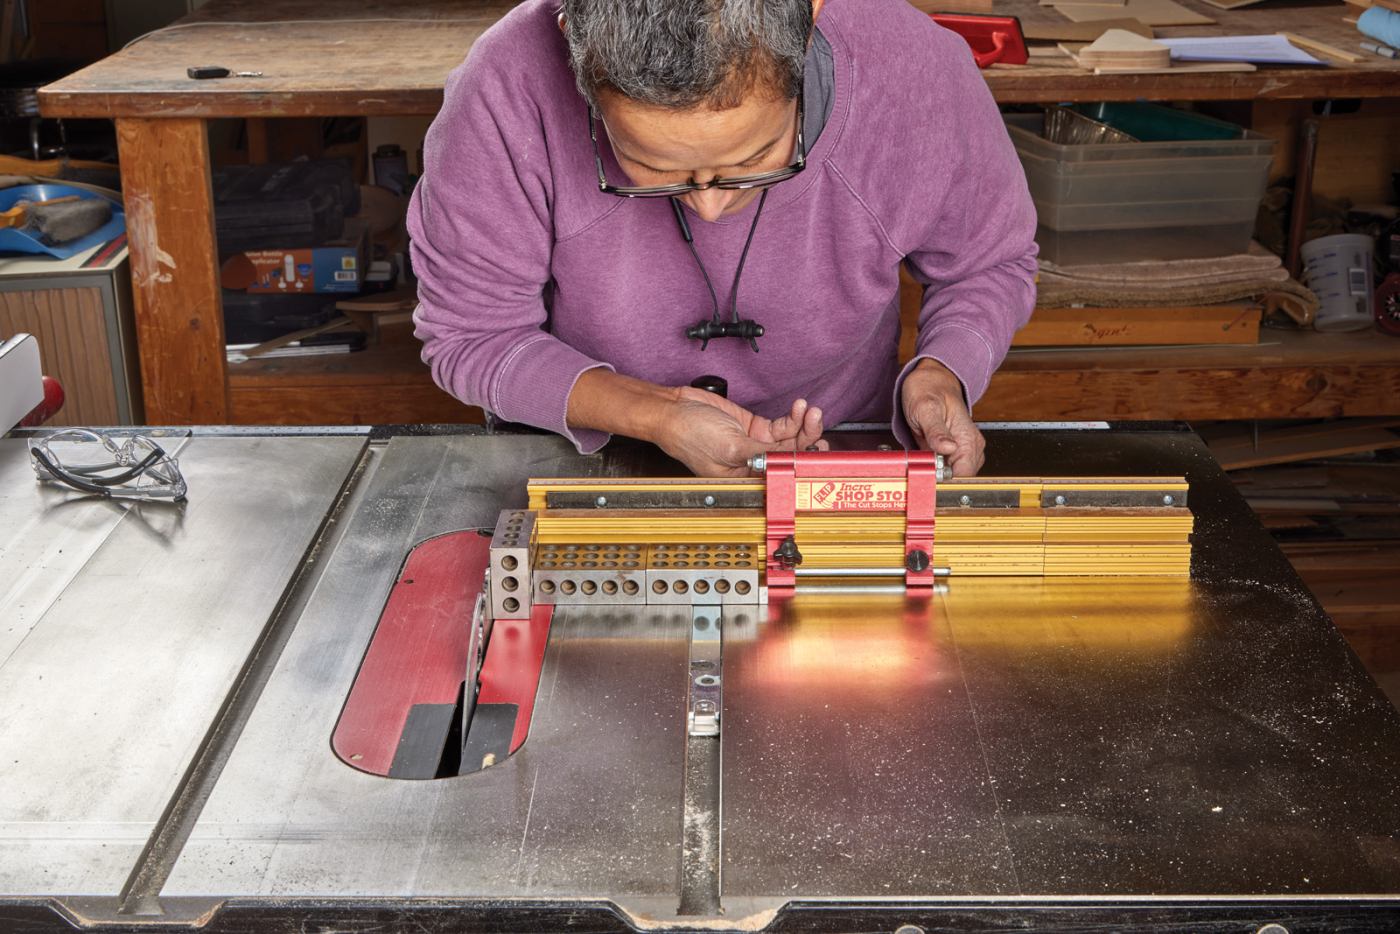
3 Set up a miter gauge to cut the parts to length.

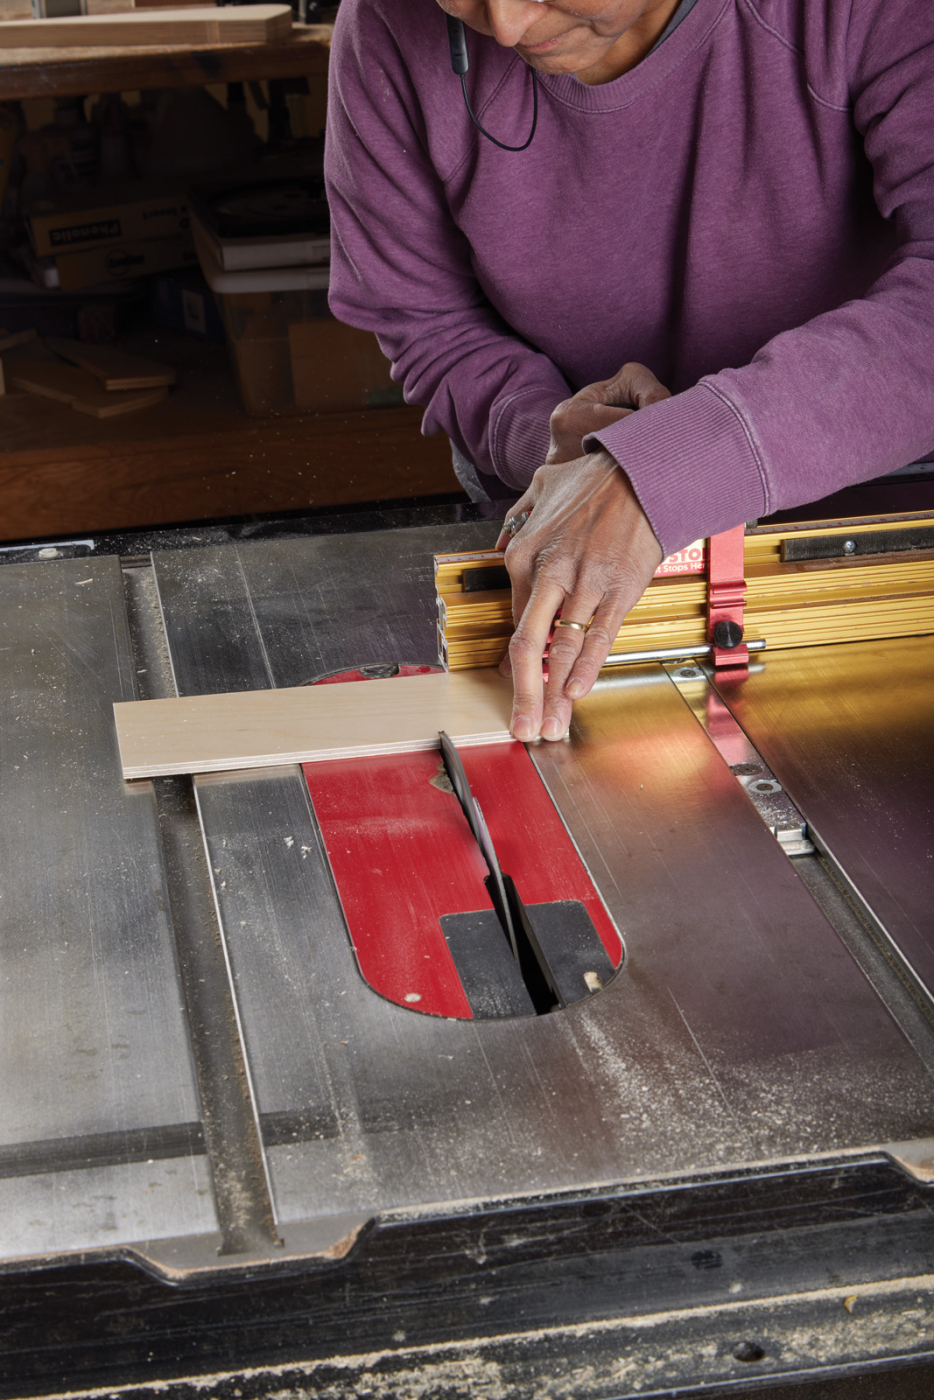
4-5 Cut the interior box sides and ends.
Inner Interior Box
The interior box fully enclosed with 2 sides, 1 bottom, and 2 ends. The joinery for this piece is simple: glued and pinned butt joints. I pin the wood with 23-gauge 1/2“ brad pins. Glue and pin the ends to the bottom sections, then glue and pin the sides in place. The result: a little open top box measuring 7“ long x 3-11/16“ wide x 2-3/4“ high.


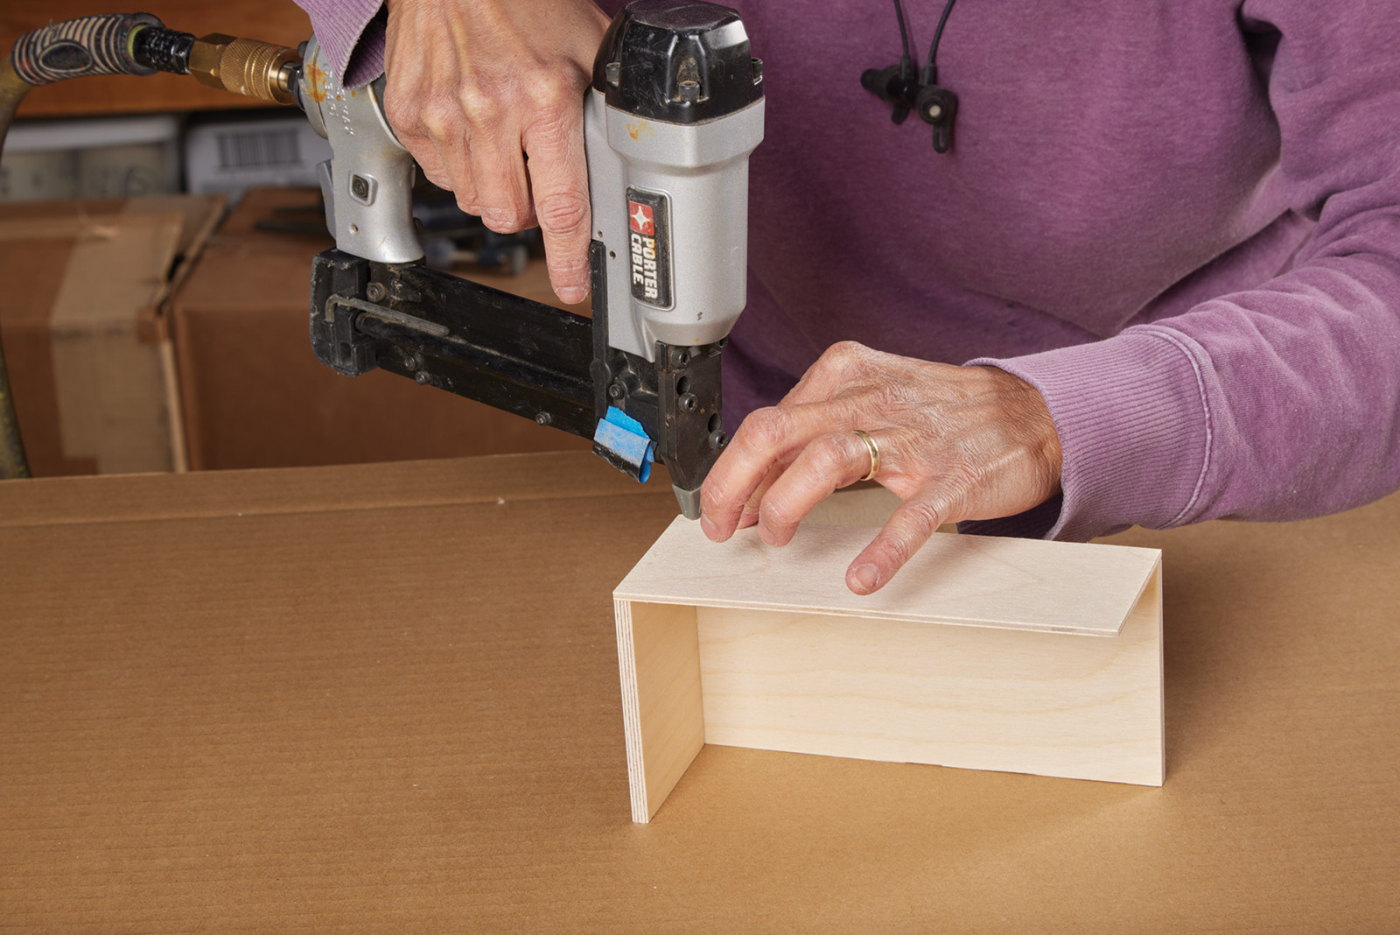
6-8 Carefully line up the interior box parts and glue and nail them together with a pin nailer.
After the box is assembled, drill a 3/4“ hole in the bottom. The center of the hole is located at a distance of 3/4“ from one of the ends and centered from the sides (at 1-27/32“).
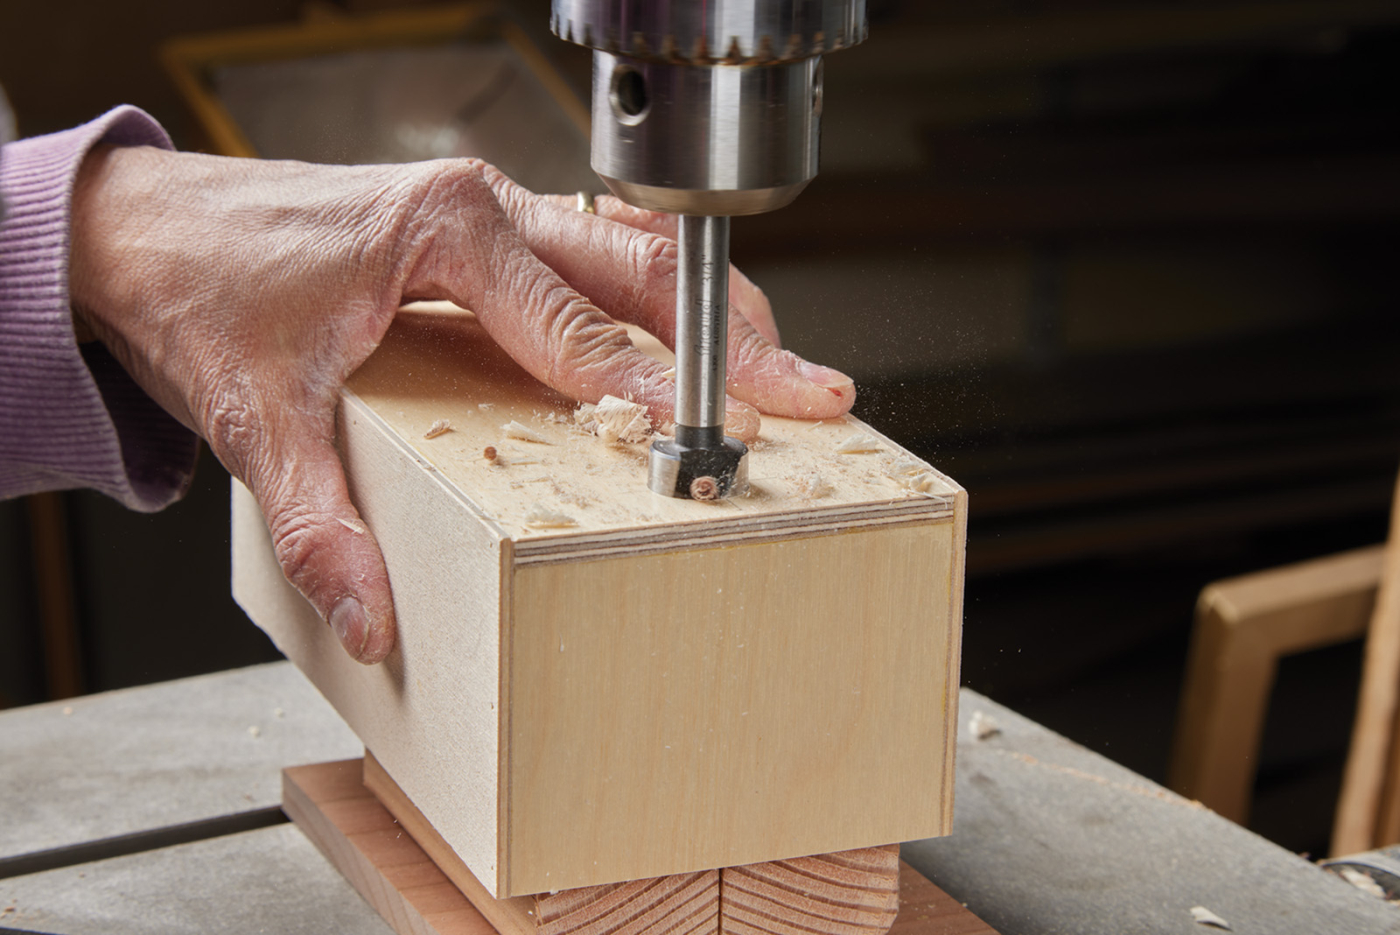
9 Drill the finger hole on the interior box.
To add neatness to the project, fill the pin holes with wood filler, sand the exterior—starting with 150 grit, up to 220 grit—and lightly sand the interior. Put the box aside.
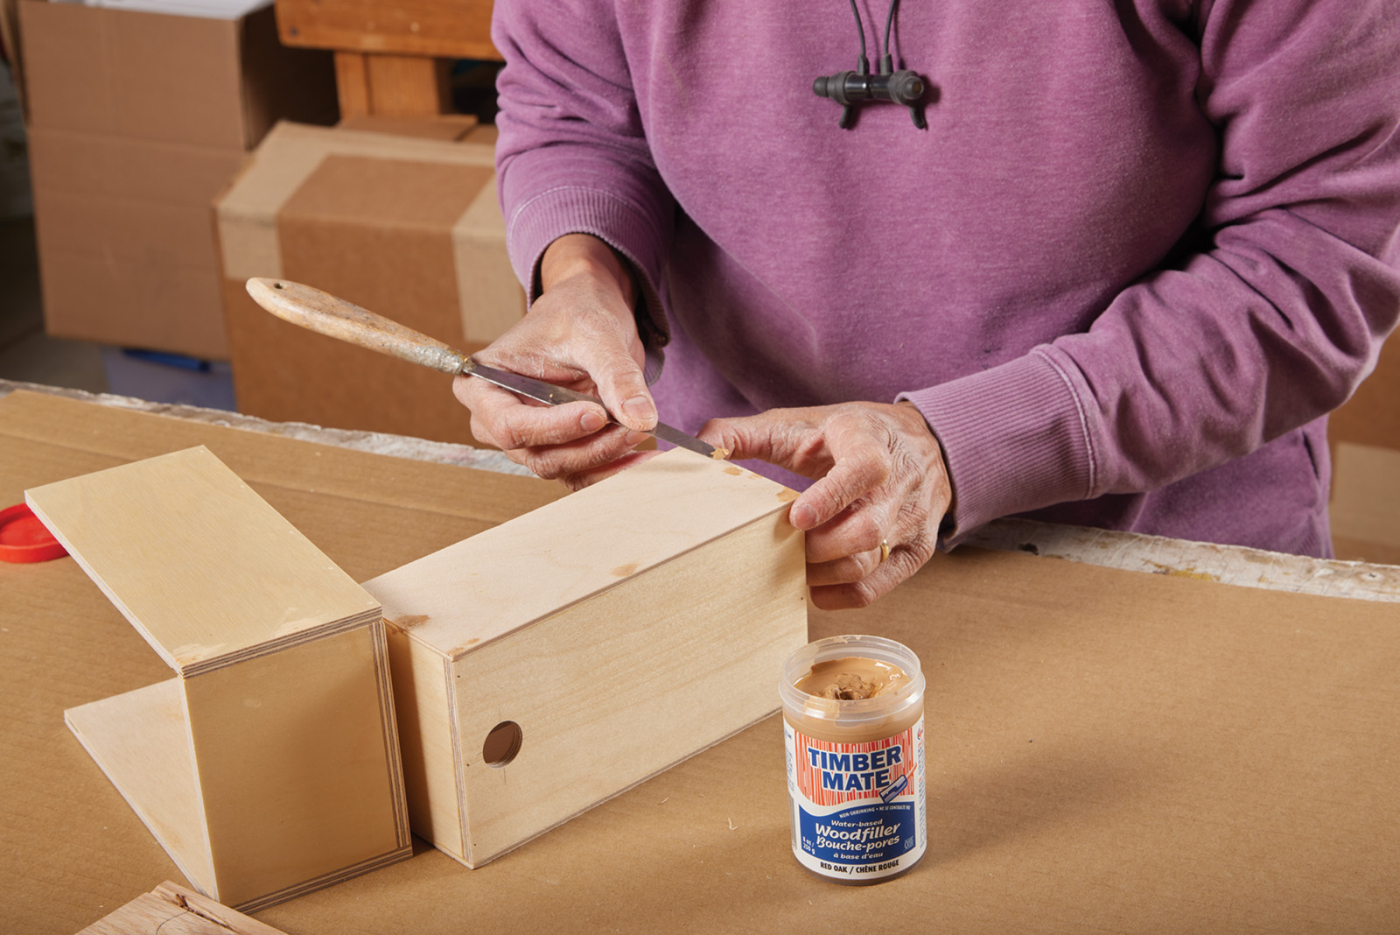
10 Because this will be painted, I fill all of the holes with putty, no matter how small.
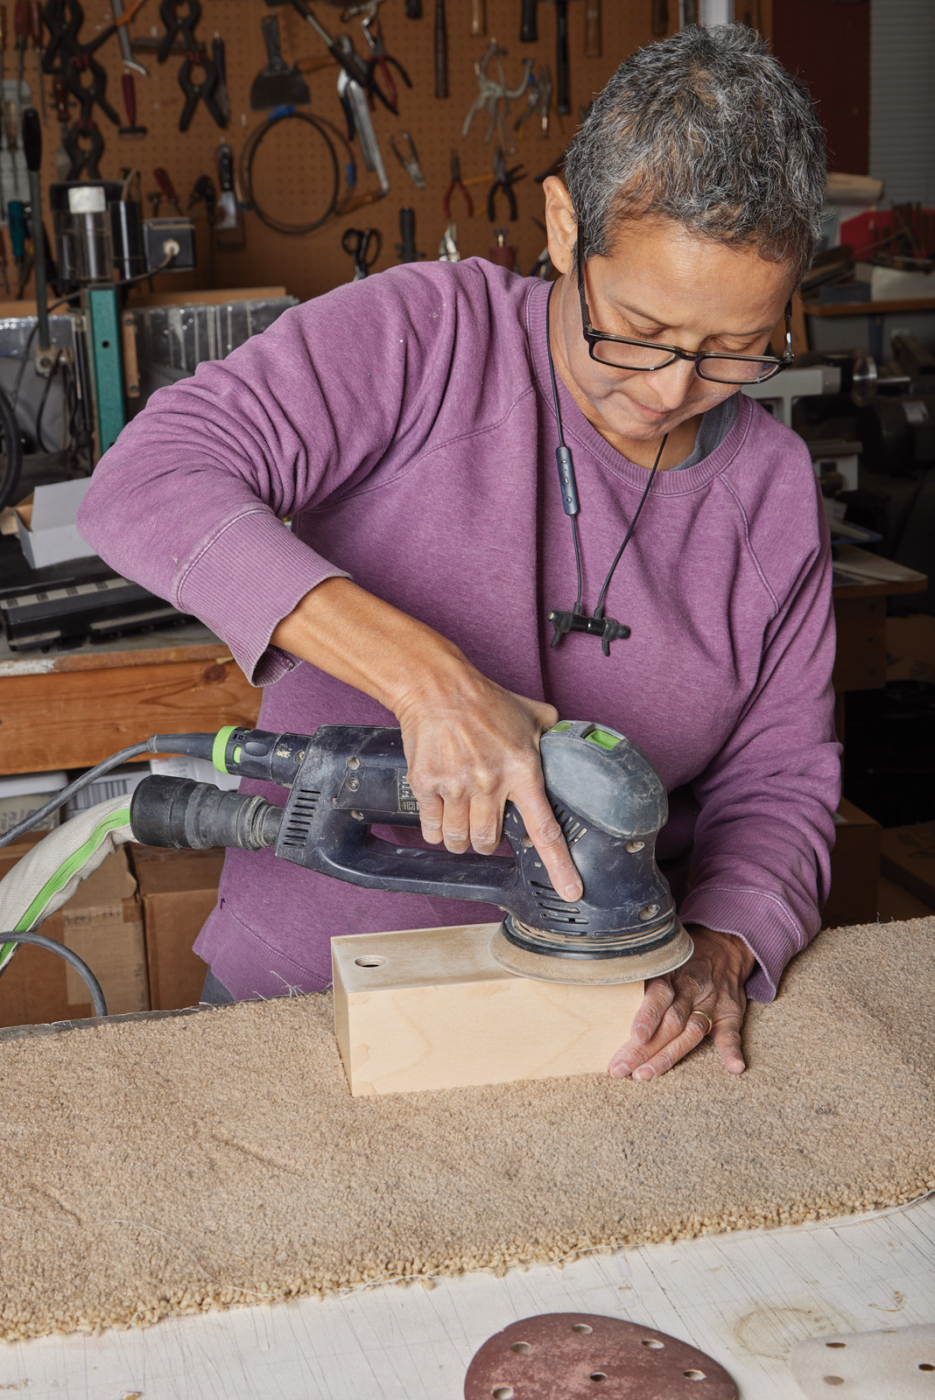
11 Sand the entire inner box
Outer Interior Box
This box will be made out of a sturdy 1/4“ (3mm) Baltic birch plywood. It consists of 2 sides, 1 bottom, and 1 end. Once again, the assembly will be simple, using the same butt joints fastened with glue and brad pins.

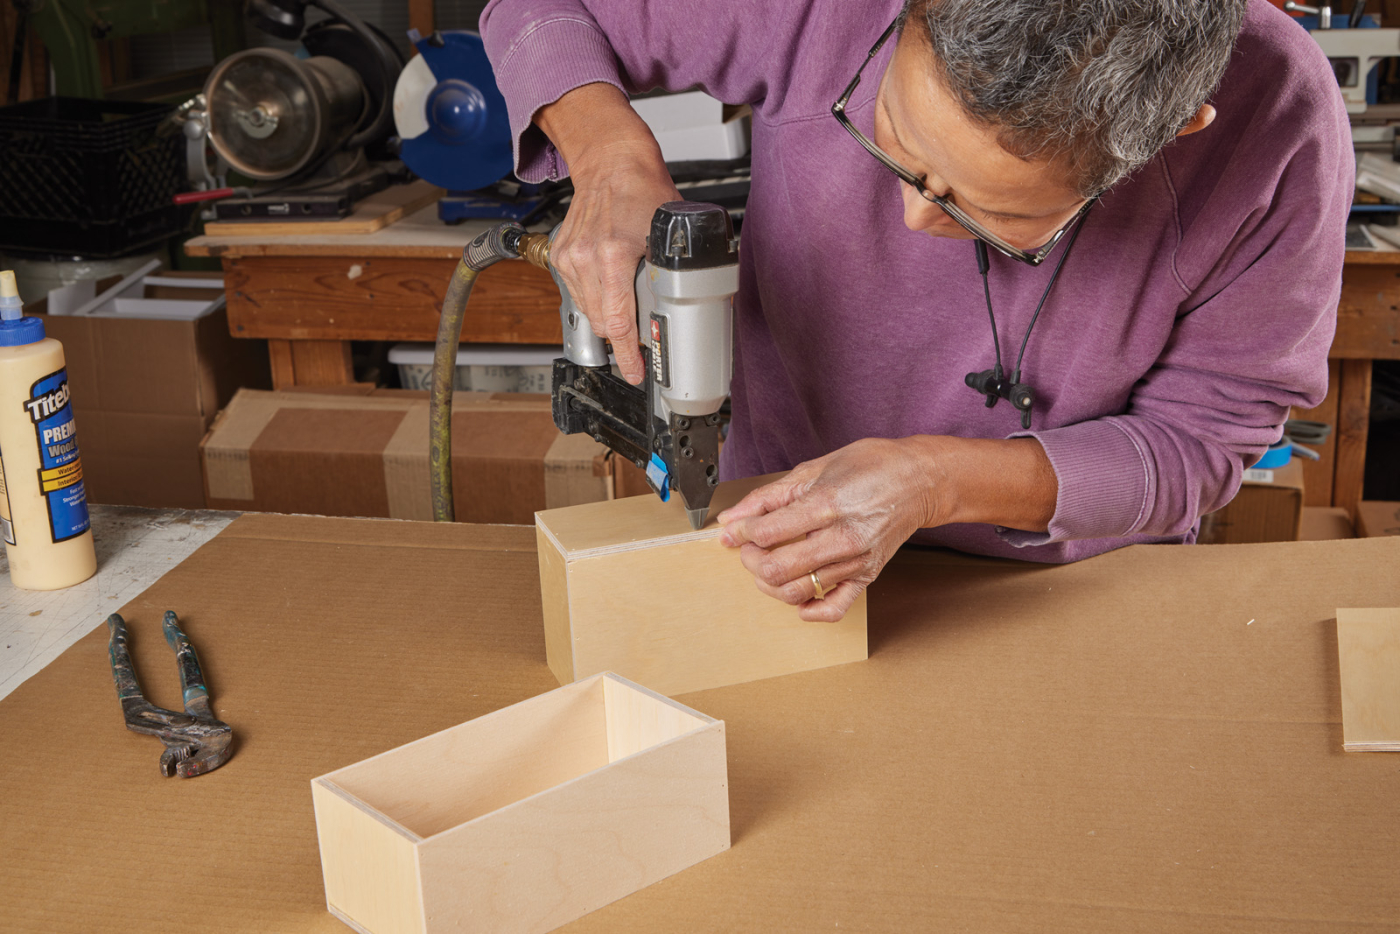
12-13 The outer box is slightly larger than the inner box, and is assembled the exact same way—glue and pin nails.
Attach the end to the bottom of the box, followed by the sides. The resulting box will be open on the top and an opening on the back.
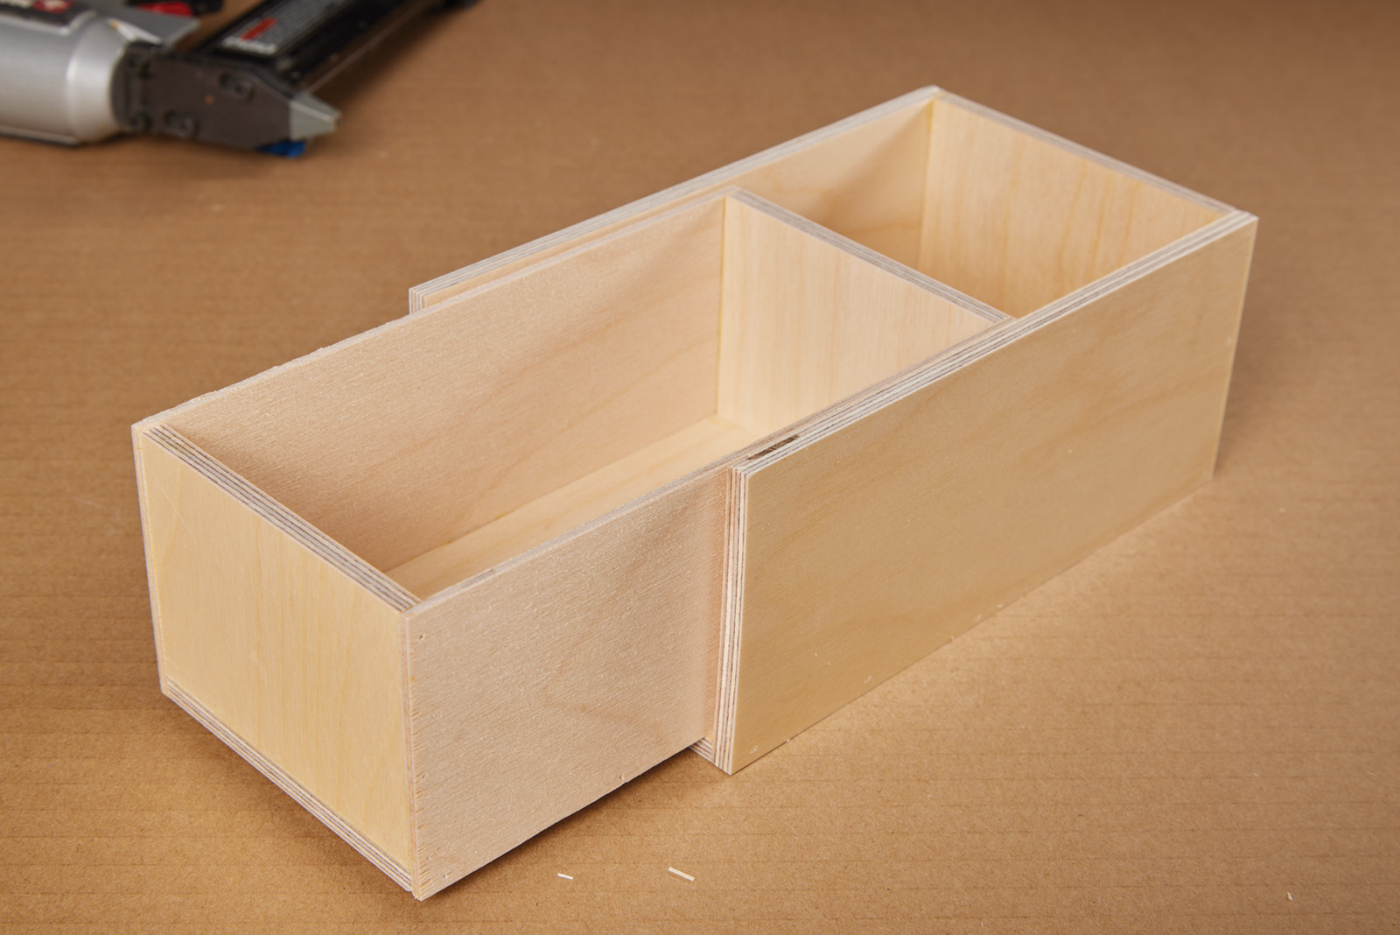
14 After assembly, make sure that both boxes slide together. You’re looking for a fit that is just loose enough to allow room for flocking later.
Drill a 3/4“ hole in the bottom of the box 3/4“ from the opened end and centered from side to side at 2-1/8“ center. We want this section to become a slot. After drilling the hole, draw two tangential lines from the hole to the end of the box. With a bandsaw, cut along these lines to form an elongated opening or slot.
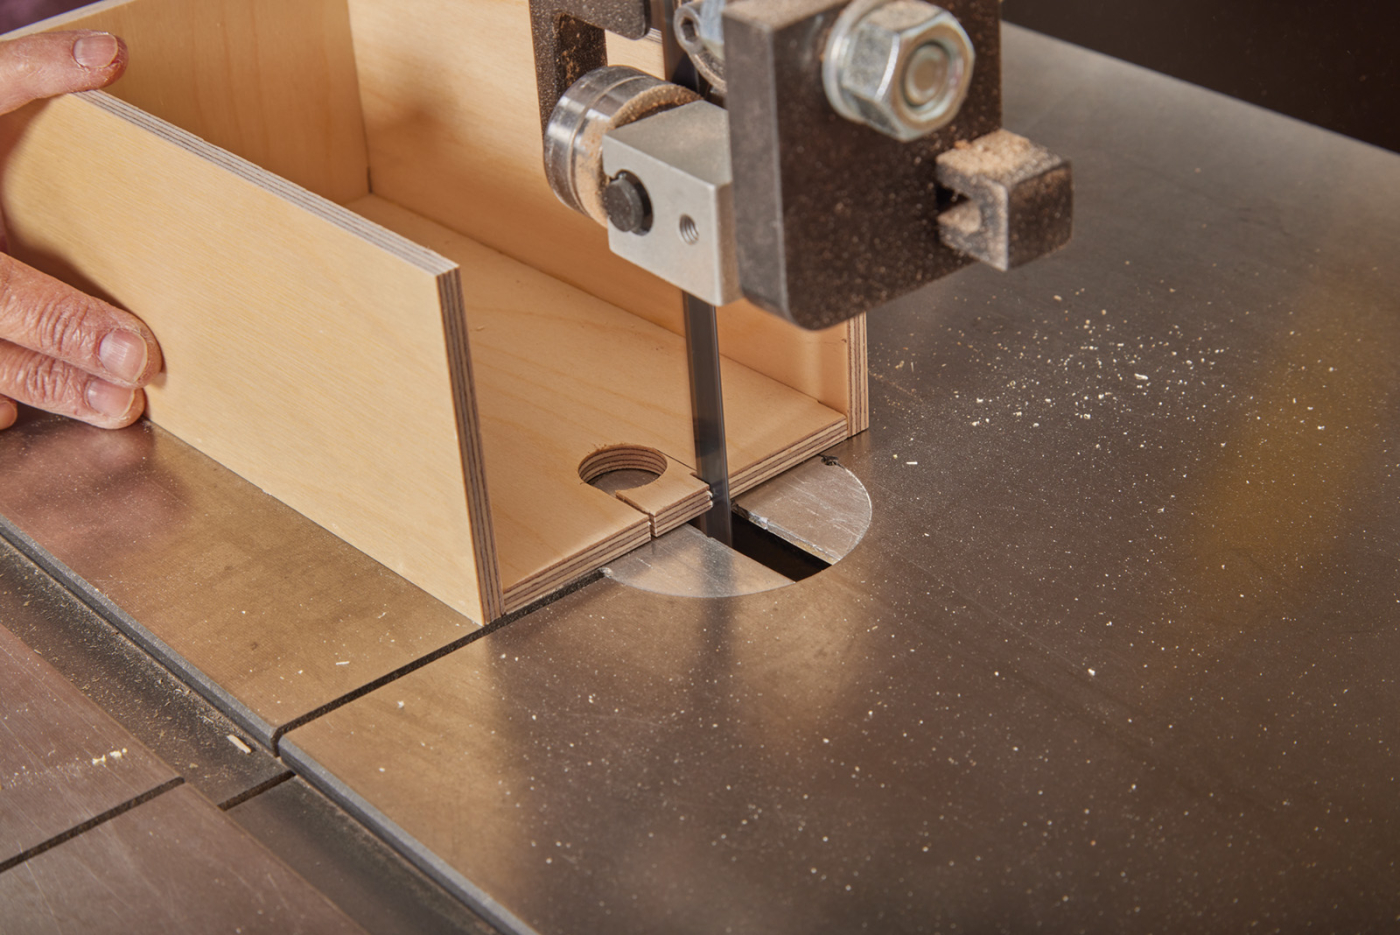
15 The outer box has a slot cut in it instead of a finger hole.
Fill the pin hole with wood filler and sand the exterior. Lightly sand the interior as well.
Making the Trim for the Interior Box Assembly
We need trim to hide the plywood edges and the fact that 2 boxes (or drawers) are inside the box. Make 1/8“ thick strips of wood. Using the table saw with a thin rip table saw jig. Refer to the diagram at top of article for the number and length of strips needed.
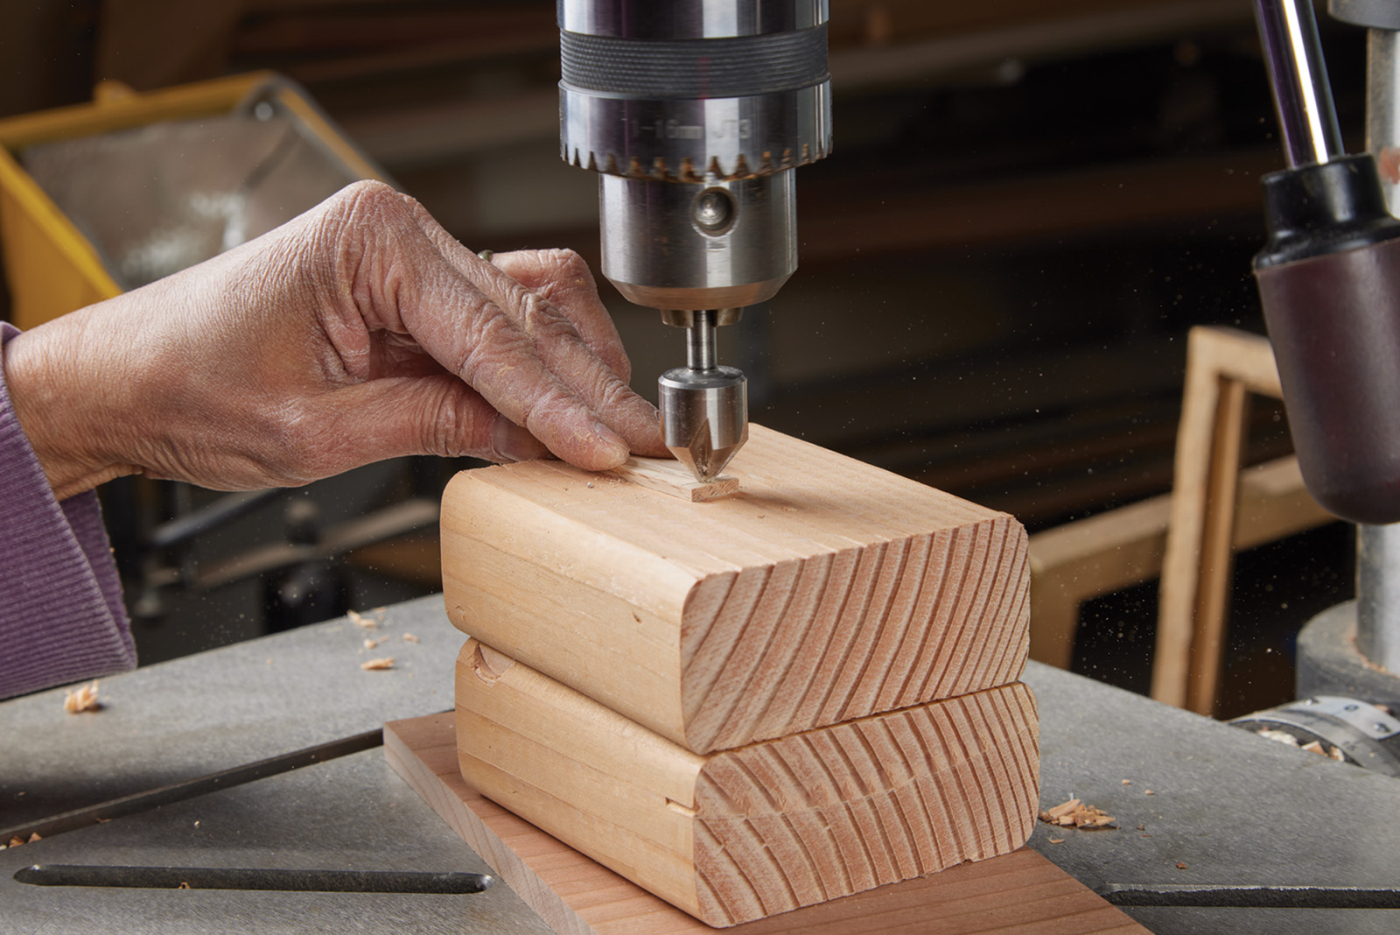
16 Make the trim for the top edges of the box. Drill and countersink two holes on one of the short trim pieces.
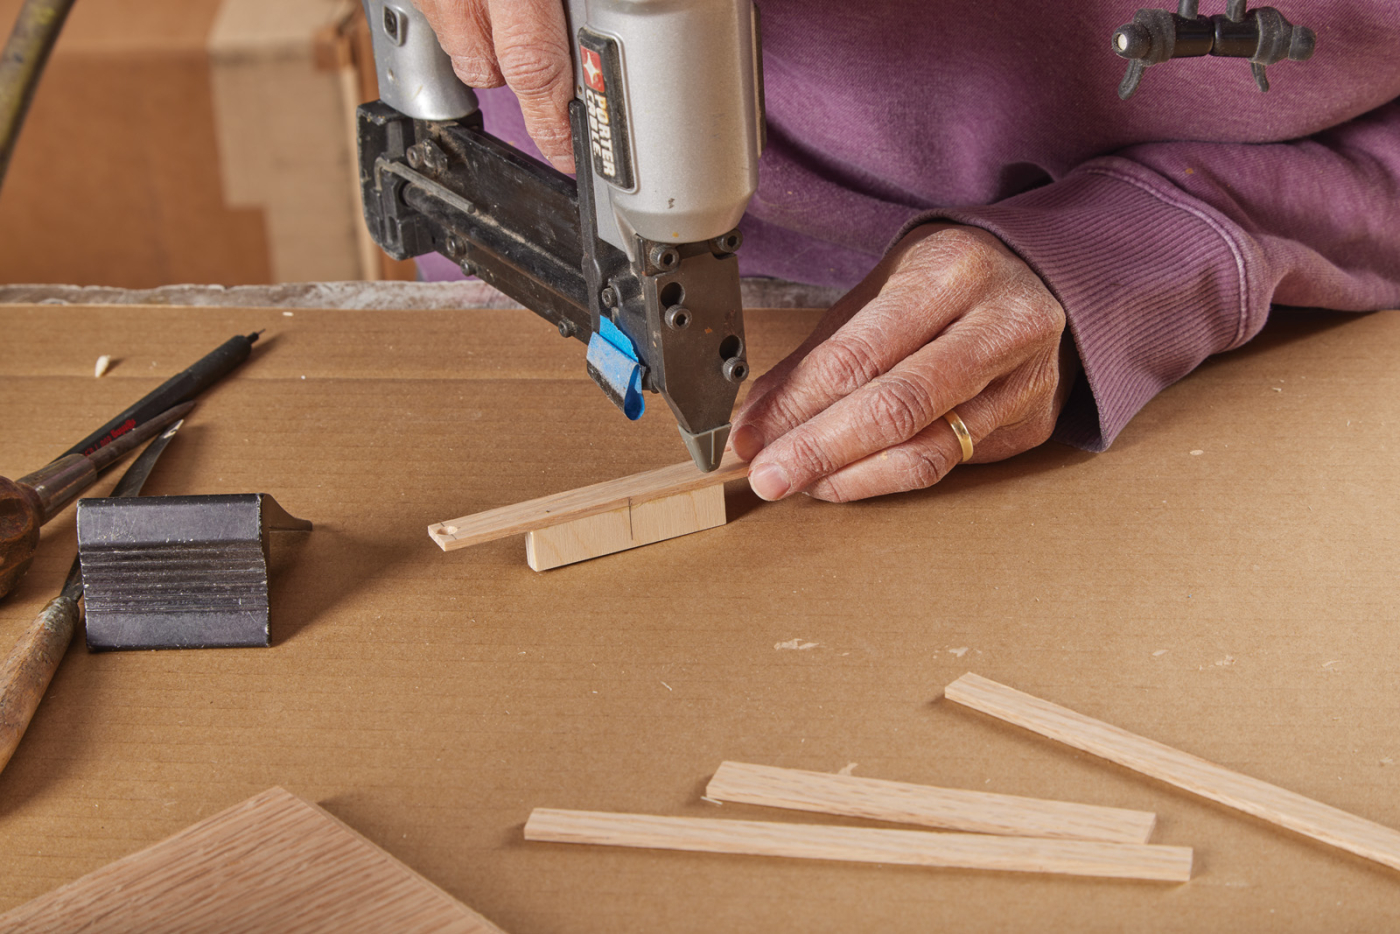
17 A small stop gets nailed to this trim.
We will also need to cut a tiny block of 1/4“ thick plywood. This little block will be glued and pinned to one of the short interior trim strips of wood. The block will be centered and flush with one of the long edges. Also, drill and countersink two 5/64“ holes—each centered on the ends at 1/8“ from the short edges on the little 4-1/4“ strip of wood containing this small block of plywood.
Hiding all the Sins: Add Finish & Assemble Drawer
Mask the upper edges of the outer interior box with masking tape before painting, as that is the area that will be receiving glue for the trim. The drawers and trim edges get painted with two coats of an automotive primer, followed by a light sanding. The primer is followed with two or three coats of flat black lacquer finish. Remember that only one side of the trim gets finished, as the other side will be glued to the outer interior box.
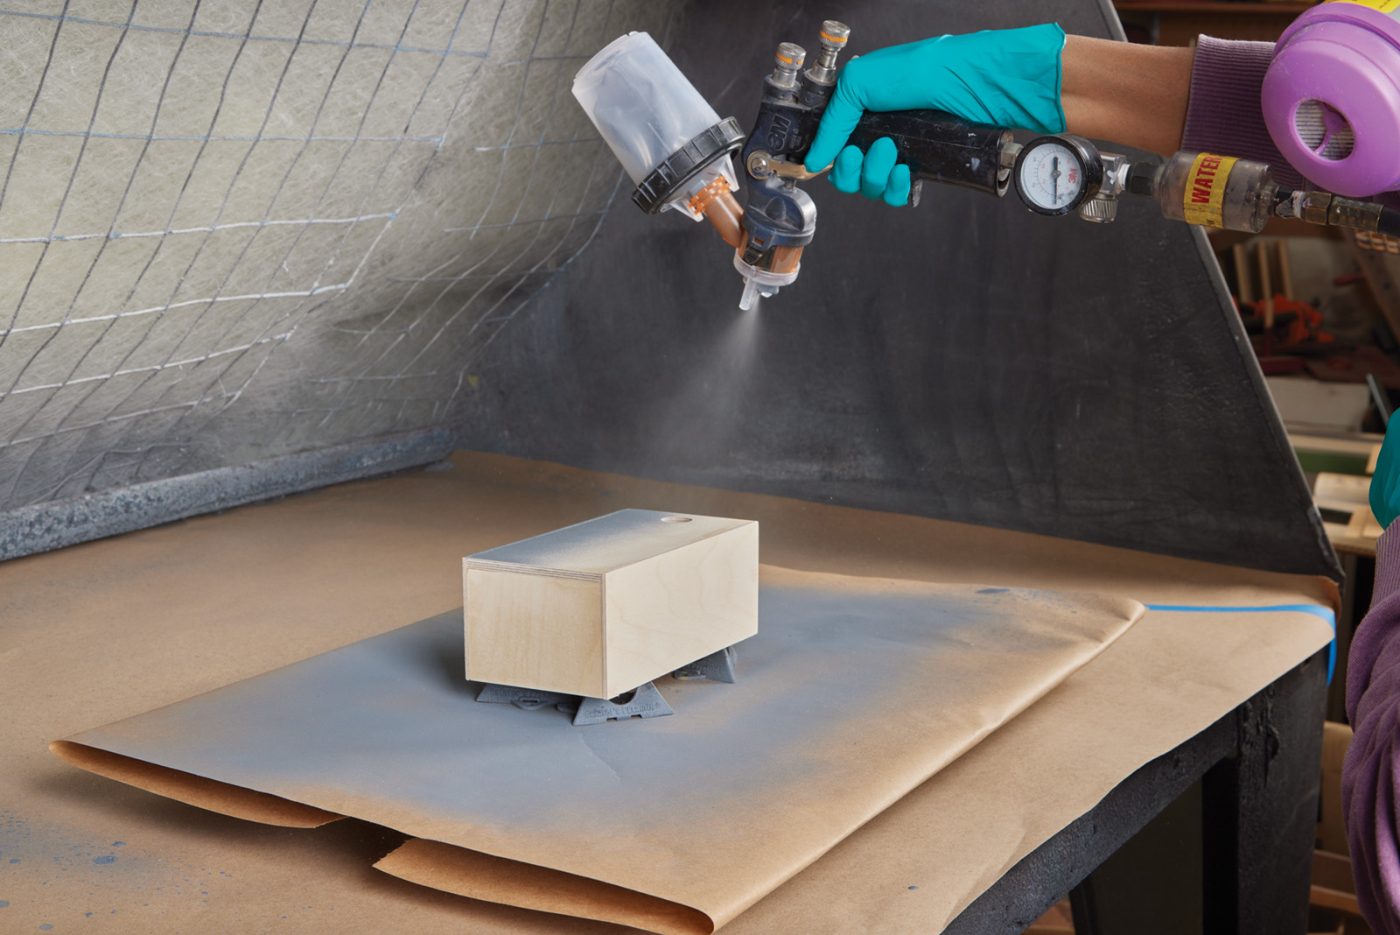
18 I use automotive lacquer in both a primer and black top coat for most of my painted props. It lays down nicely and dries quickly.
Flocking a few surfaces comes next. The following are flocked:
• Entire inside of the inner interior box; also the outside end of this box (the end opposite to where the hole is drilled).
• Inside of outer interior box

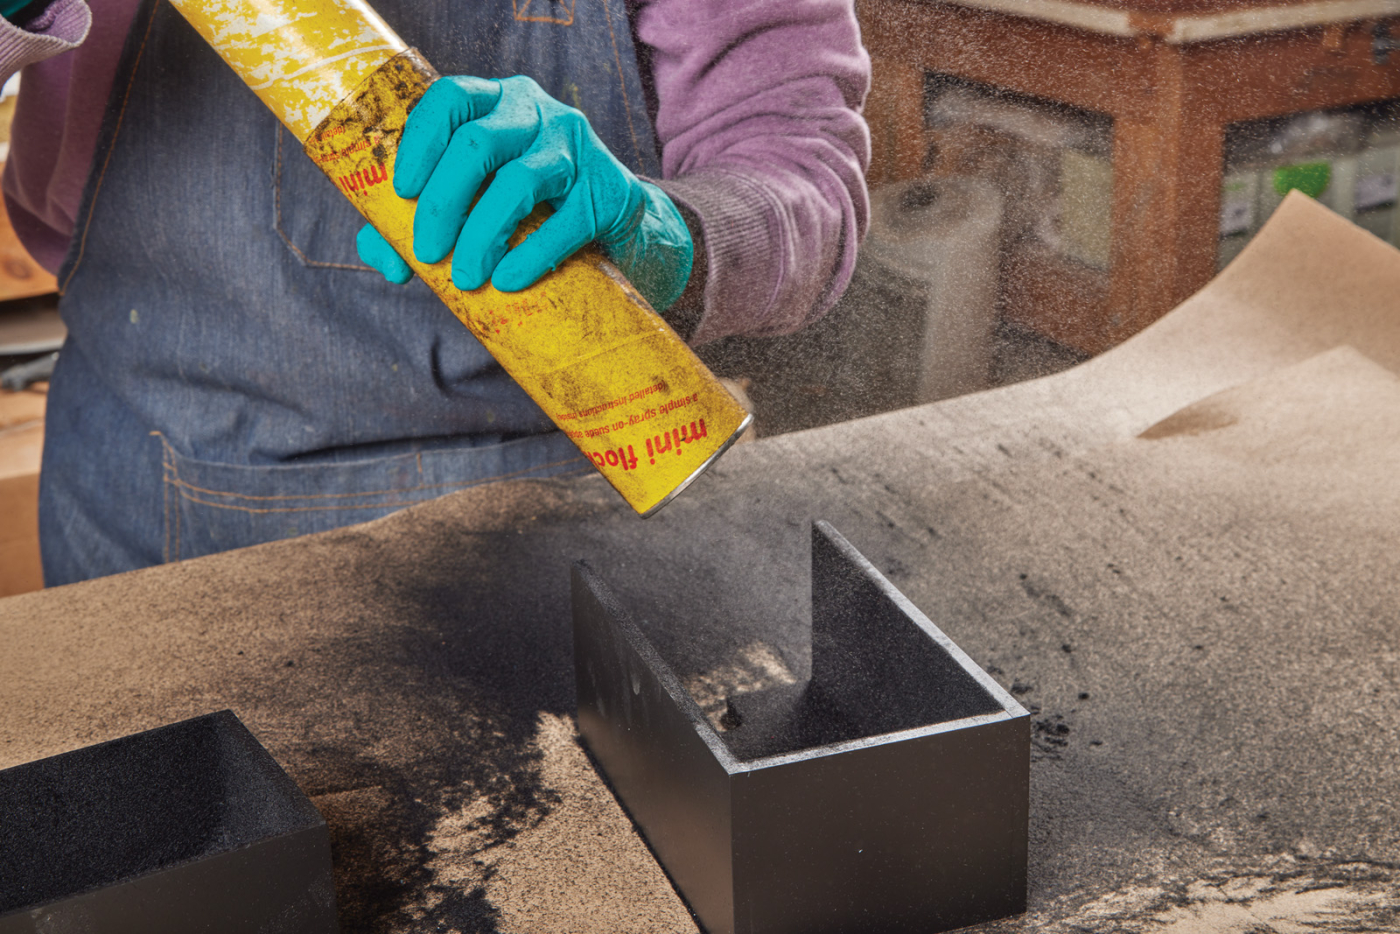
19-20 The interior of both boxes is flocked. Paint on the flocking glue, then use a flocking cannon to apply the flocking.
For detailed instructions on flocking, check out this article in the August 2020 issue of Popular Woodworking.
Let the flock dry for 24 hours. In the meantime, move on to the exterior box.
The Exterior Box
I like to make the exterior out of any domestic wood. My wood of choice is “wide” material of at least 8-1/2“ provided by my local lumberyard. For the sake of this article, I found a beautiful piece of quartersawn red oak that met the “wide” criteria. I like it this way because I am going to use miter joints to put this box together. The box is 8“ long, and I like the grain to wrap around the exterior. A 30“ x 8-1/2“ piece of 4/4 material will suffice for the entire project.

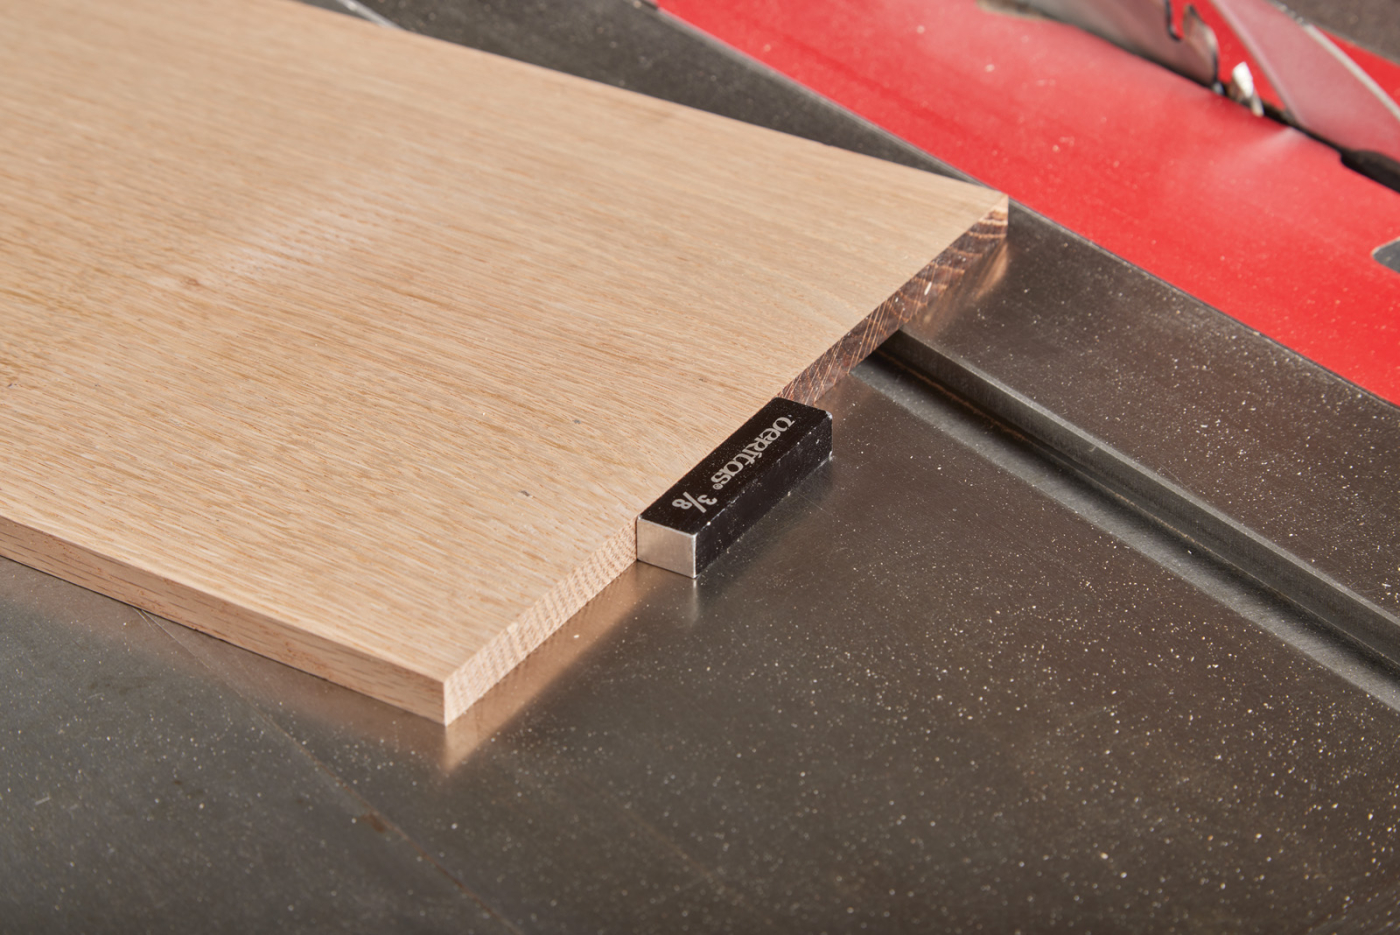
21-22 Plane the stock for the exterior box to thickness. With my diminishing eyesight, I check the thickness against a setup block.
NOTE: You can save even more if you get thicker material that can be resawn on the band saw. Narrower pieces can also be used, but they have to be glued accordingly to make a panel that measures at least 8-1/2“ wide. Once you have the material, cut a piece measuring 20“ x 8-1/2“ wide for the project. This will be the wood used for the box. Mill the wood to a thickness of exactly 3/8“. I like that thickness for small boxes: It is not too heavy or flimsy, yet it is a delicate and pleasing thickness. Once we achieve the thickness, we cut the piece to the final width of 8“.
Four Box Panels
To make the box, I need 2 exterior sides (with a measurement of 8“ long x 4“ wide), along with 2 exterior top and bottom pieces (measuring 8“ long x 5“ wide). I want the grain to wrap around the box, so they have to be laid out in an alternating fashion. I mark my layout with a pencil and number the pieces: 1-left side; 2-top side; 3-right side; 4-bottom side. I don’t measure, but I know roughly what section of the wood I will use for each side. As you mark them, keep in mind that you are looking at the grain that will be the exterior of the box.
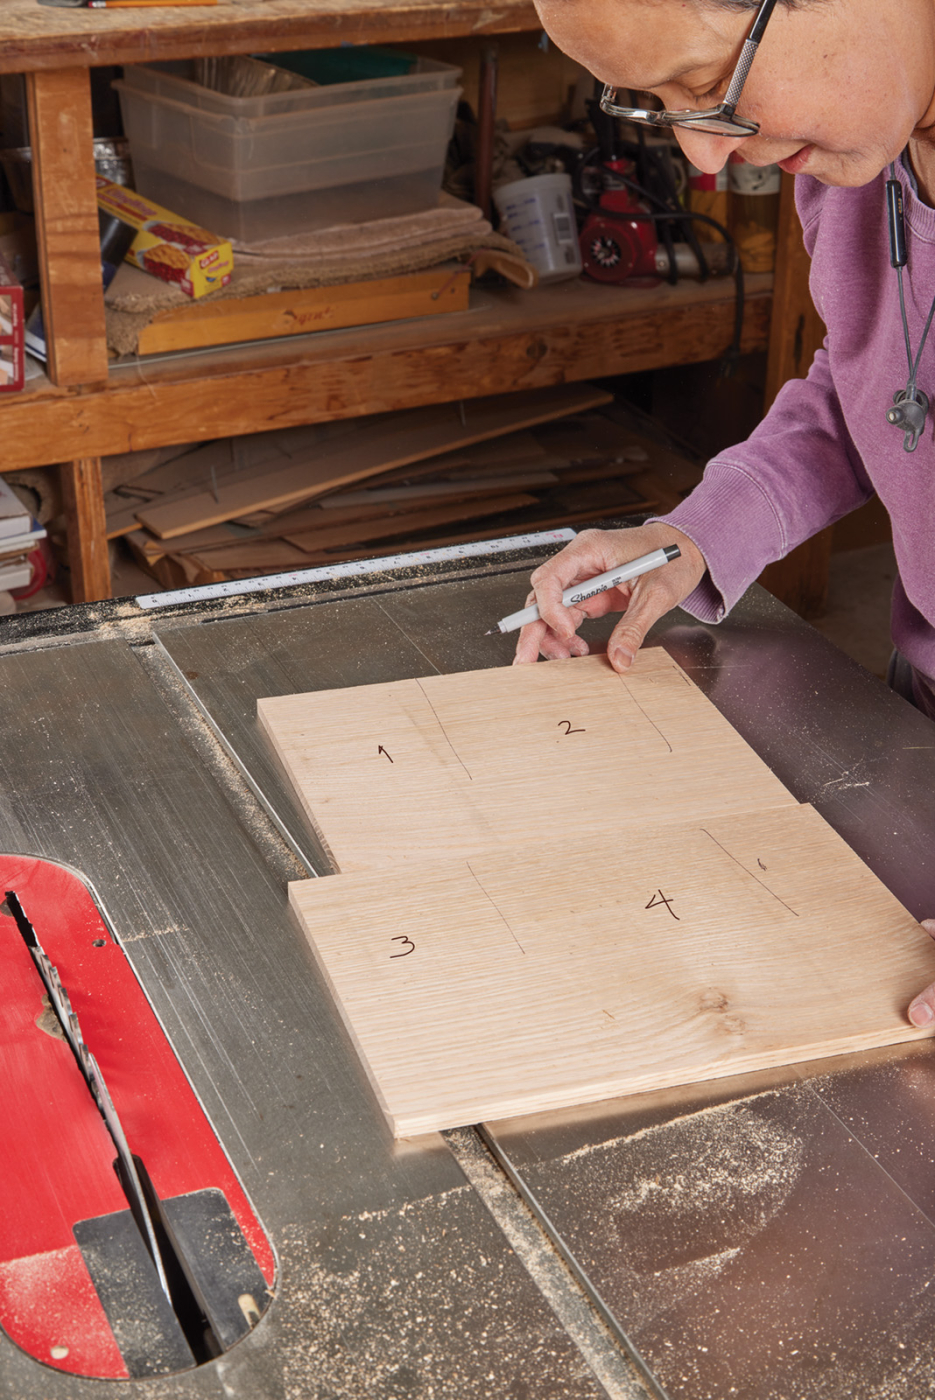
23 I layout the part locations for a grain match around the box.
Cut the piece in half, knowing that one piece will be used for sides #1 and #2 and the other piece will be for sides #3 and #4.
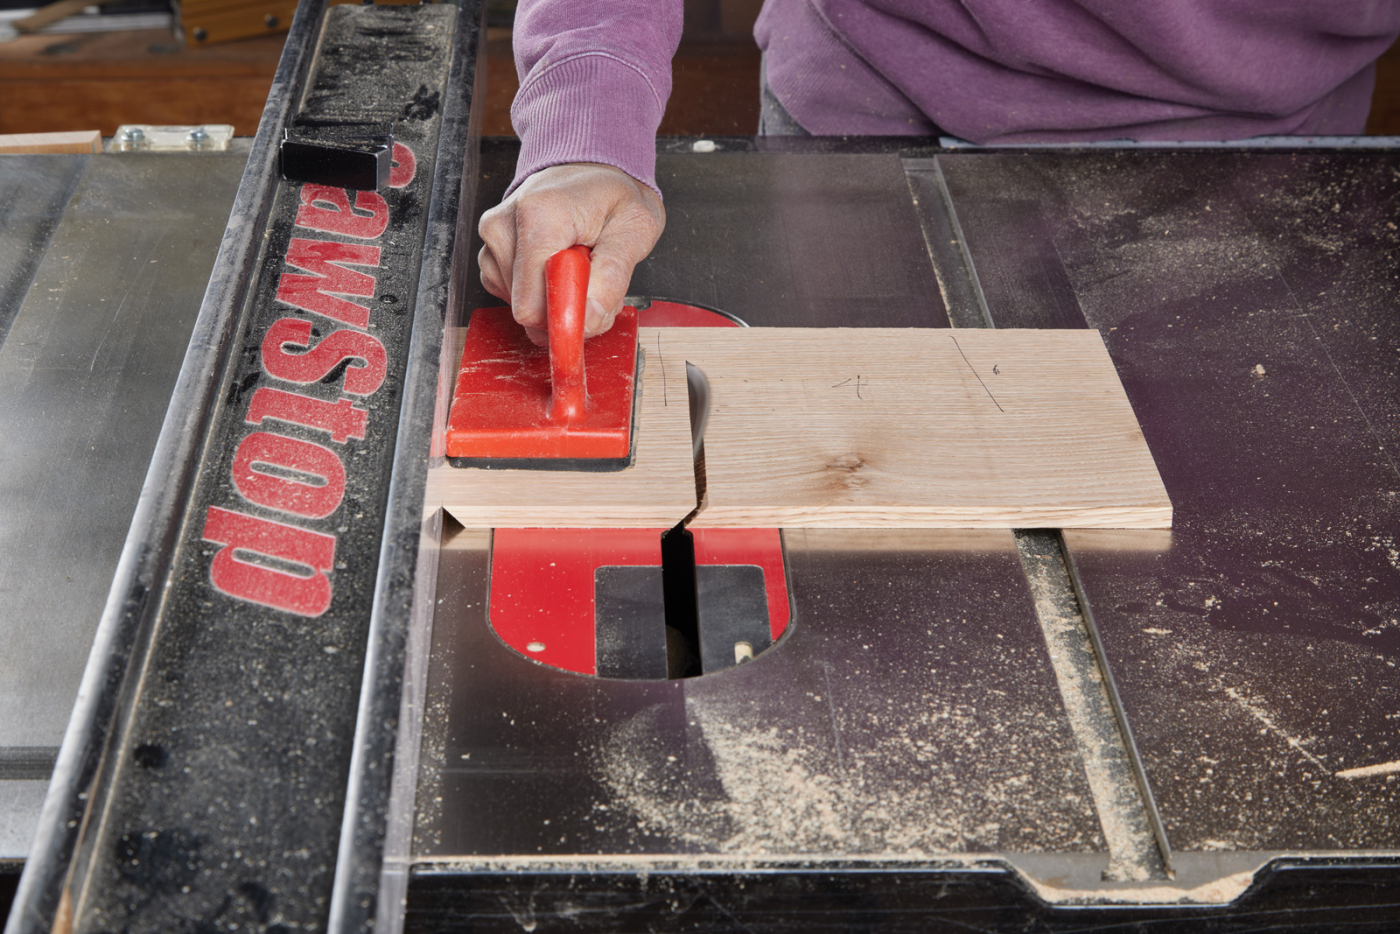
24 Miter the edges of the parts at the table saw. Make sure to pay attention to the part locations and measurements between the top/bottom and sides.
Set the blade of your table saw to 45°. Rip the first edges of the pieces of wood to this angle. You will now have a 45° cut along the #1 and #3 sections, which are the narrower piece that have a final measurement of 4“. Set your table saw fence to 3-5/8“ (calculated by subtracting the thickness of the material (3/8“) from the desired measurement of 4“). Flip the boards sideways 180° and make the miter cuts. You now have 2 identically sized pieces (#1 and #3, the left- and right-side pieces).
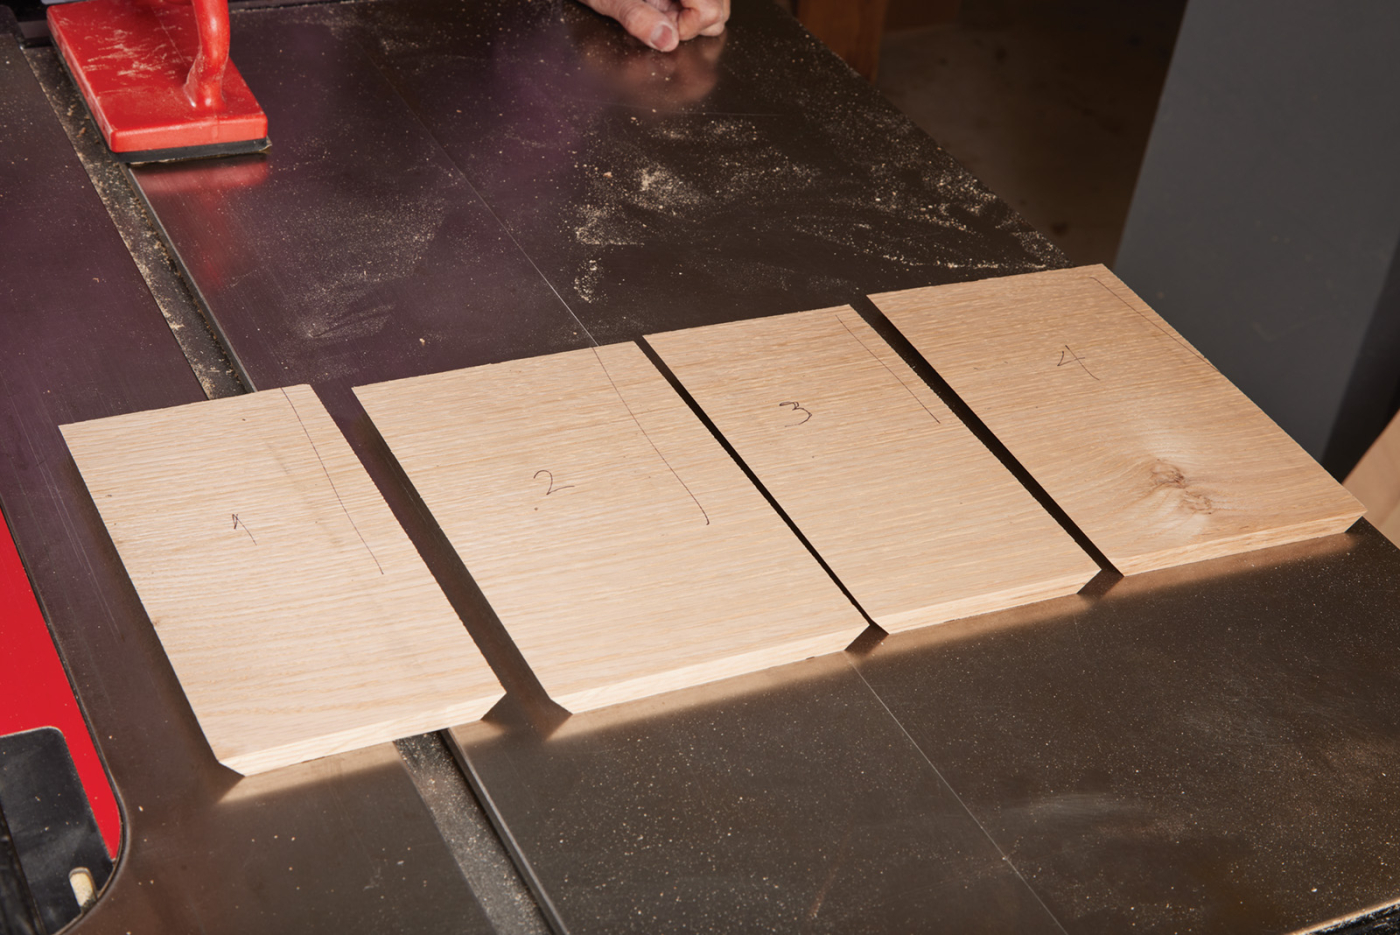
25 Laying out the parts, you can double-check the grain orientation.
Do the same with the remaining components, only that when cutting them to size, you set your table saw fence to 4-5/8“ so that the resulting size will be 5“.
The next stop is to cut a groove to fit a floating bottom in the box. For this step, I like to change the blade of my table saw to a Forrest #1 Grind Box Blade. With it, I cut a 3/16“ deep and 3/16“ wide groove 3/16“ from away from the bottom. The box blade has flat carbide cutters that leave a very clean finish on the bottom of the groove.
If you follow the instructions above, you will have 4 box panels with a continuous grain along the sides.
Components for the Ends
Rip 3-9/16“ of the remaining 10“ x 8-1/2“ material and plane it down to 3/8“. Cut what will become the door of the box out of this piece. The remaining piece, measuring roughly over 6-1/2“ has to be dimensioned down to 3/16“ thick to make the bottom of the box. Because the piece is too short to run through the planer, I use a small drum sander for this final operation.
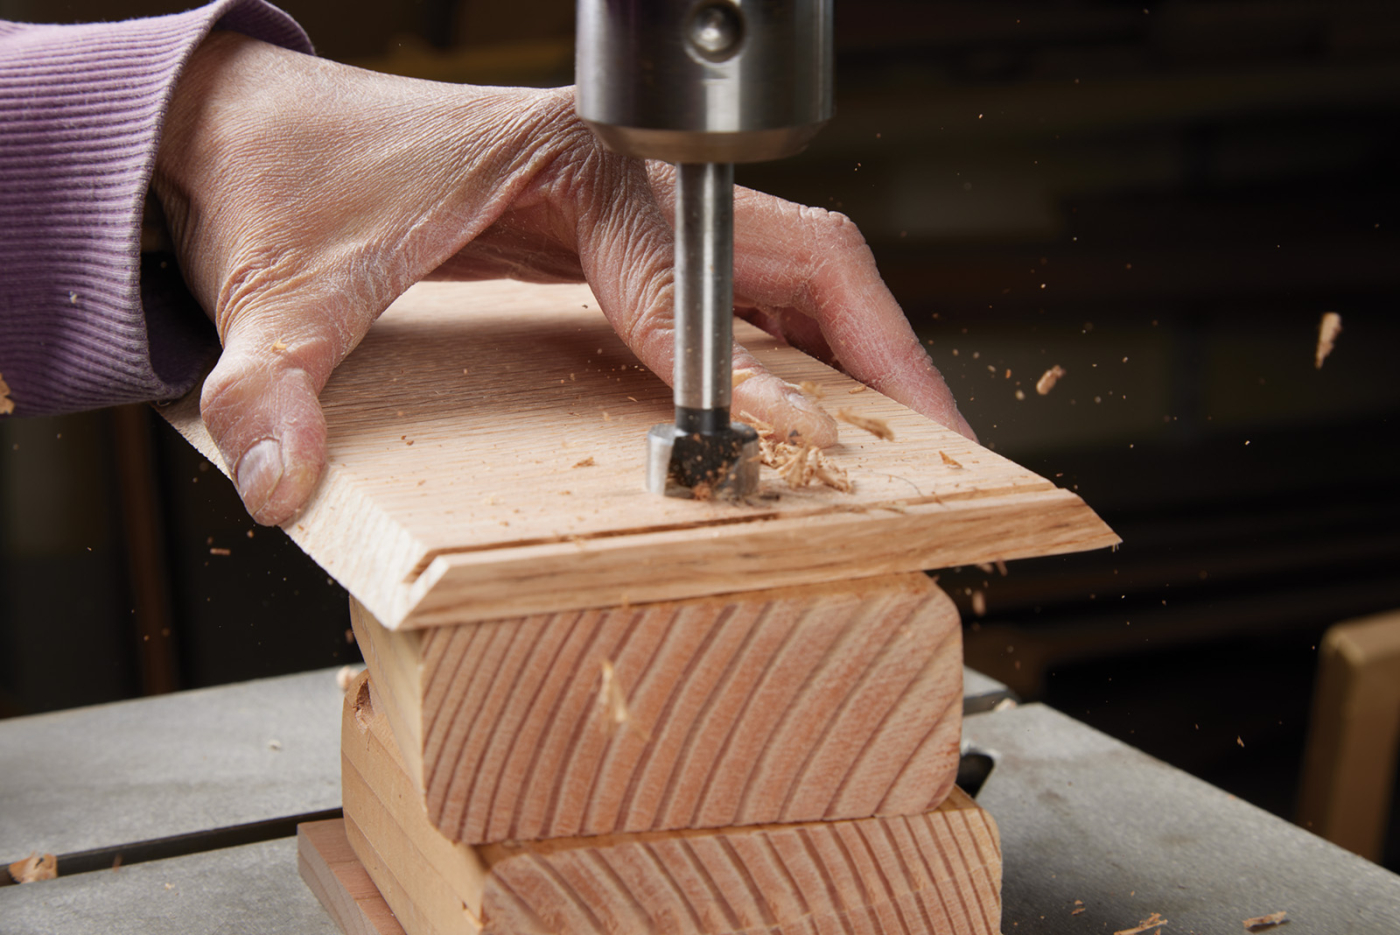
26 Drill a finger hole in the bottom of the exterior box.
Once the “floating bottom” section is cut to size, insert it into the groove of what the bottom panel of the box would be—panel #4. You are going to drill a 3/4“ hole with a Forstner bit in the center, located 3/4“ above the bottom of the box and centered on the panel. This hole will eventually be aligned with the holes on the black drawer assembly that we made before.
Interior Finish of the Exterior Box
After the above components are cut, we are going to finish the interior of the exterior box before gluing it together. I like to do this because it is very difficult to finish the interior neatly after the box is assembled. I use lacquer for the finish but try to avoid overspray and inconsistencies in the interior.
Admittedly, finishing a box like this is optional, as no one is going to examine the box after it is finished. From a craftsmanship standpoint, it is just nice to know that someone took the time and attention to properly finish the prop on the inside as well as the outside.
To finish it, I sand all the surfaces using a rotary sander with 150 grit followed by 220 grit sandpaper. I then mask all the miters with blue masking tape—as these will be glued together later. The color of the interior will be black. I spray two coats on the interior surfaces with an automotive primer. This is followed by a light sanding with 600 grit sandpaper, followed by two to three coats of flat black lacquer. The paint I use is 10% sheen black Mohawk brand.
Assemble the Exterior
Once the interior is completed, it is time to unmask the miters and glue the entire box together. To do so, I spread the components in order on the bench, making sure that the grain flows continuously, and hold them from the back with a few strips of masking tape. I apply the glue to the miters, put the bottom in place, and bring all the components together. 
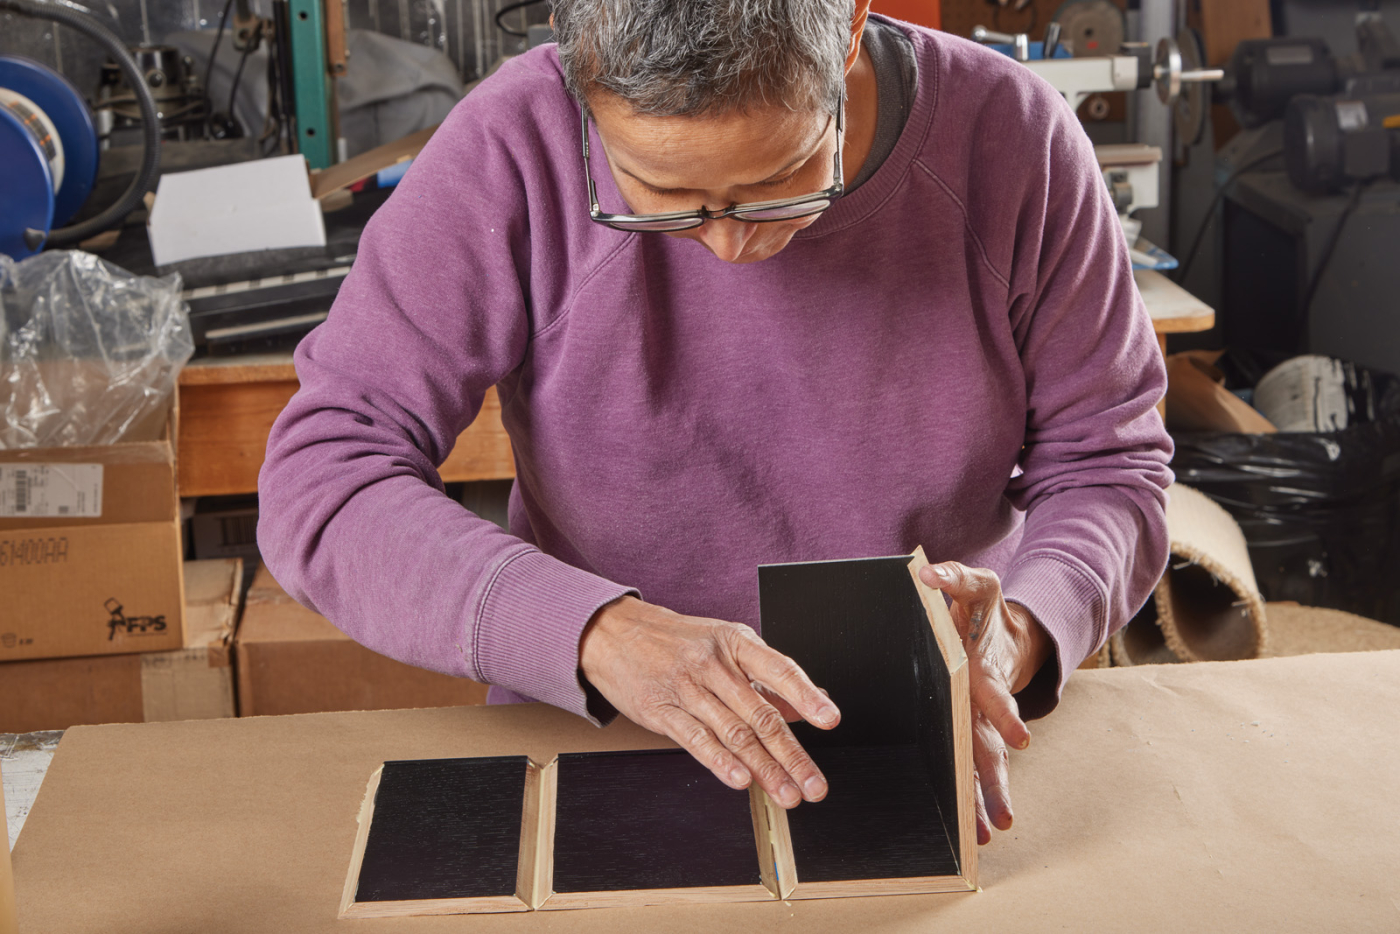
27-28 After painting the interior, you’re ready to assemble. Use tape as a hinge as you’re gluing up the box. Apply glue to the miters and roll the box up. Don’t forget to add the back panel in the groove.
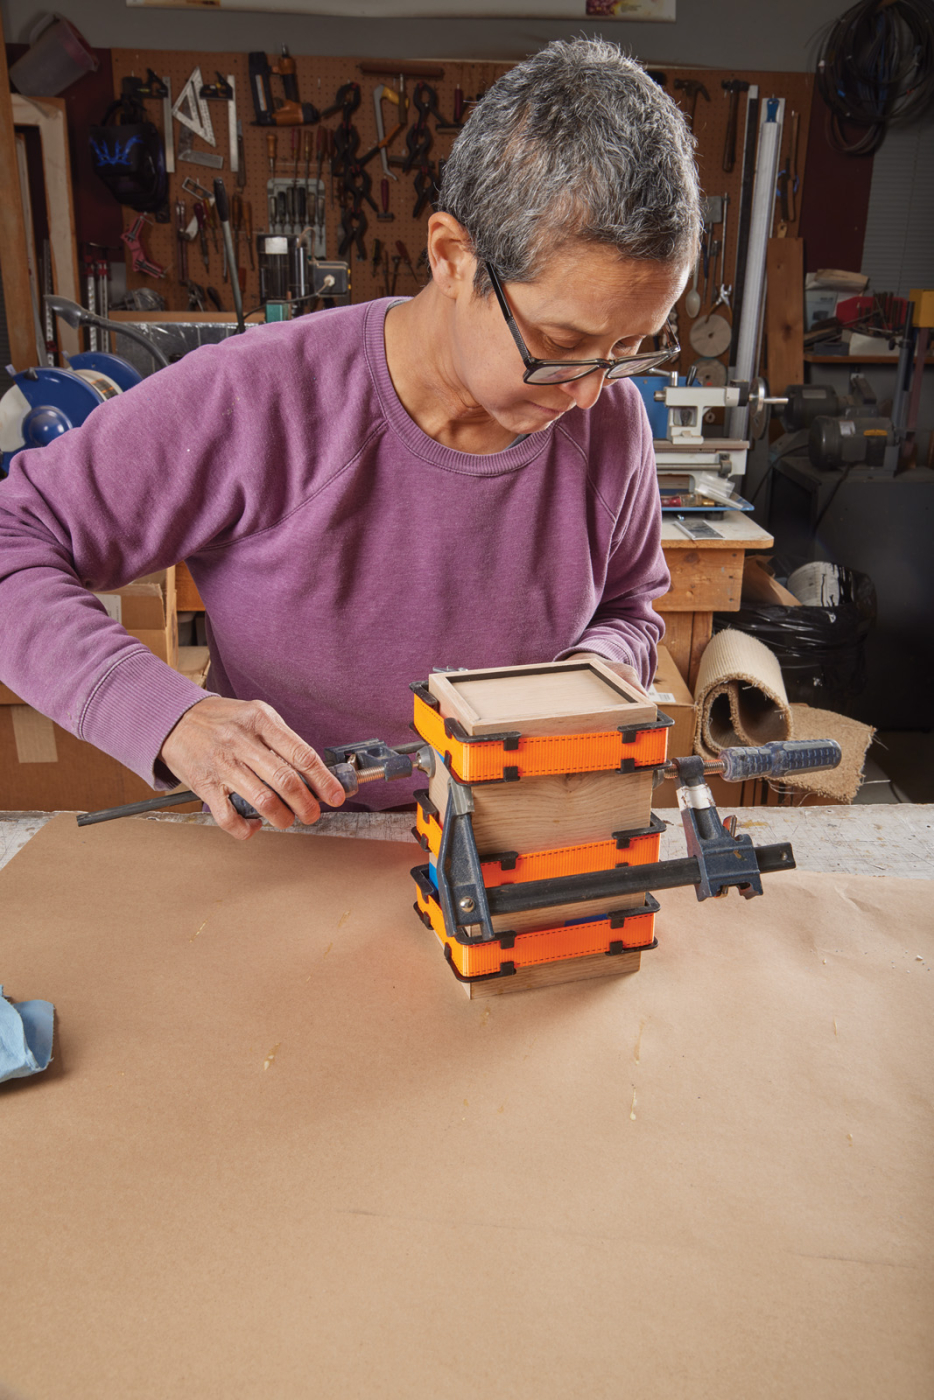
29 Clamping a mitered box can be tricky. Band clamps work well, and if there’s any small gaps along the miter, you can apply extra clamps in those areas.
The clamps of choice for this operation are 3 Pony-Jorgensen band clamps. Two go onto the ends, while one applies pressure in the middle. Make sure the pressure is even, and the miters are as straight as possible. If the box was cut correctly and the wood was perfectly straight, there should be almost no lifting or unevenness in the miters. If there is, use another clamp to bring all the sides together. Let dry for a day before removing the clamps.
Magic Box Assembly: Add the Door to the Outer Inner Box
Insert the drawer assembly in the exterior box and make sure that everything fits properly. You will notice that there is enough space in the front for the front face of the box to be installed. Take the door (or drawer front) and place it in this space. If it is tight, trim it slightly with a block plane until it fits. I like to leave about 1/32“ gap around this drawer front. You might also notice that the 3/8“ measurement might be too thick. You can either plane it or sand it slightly with a drum sander until it is flush with the front of the box.

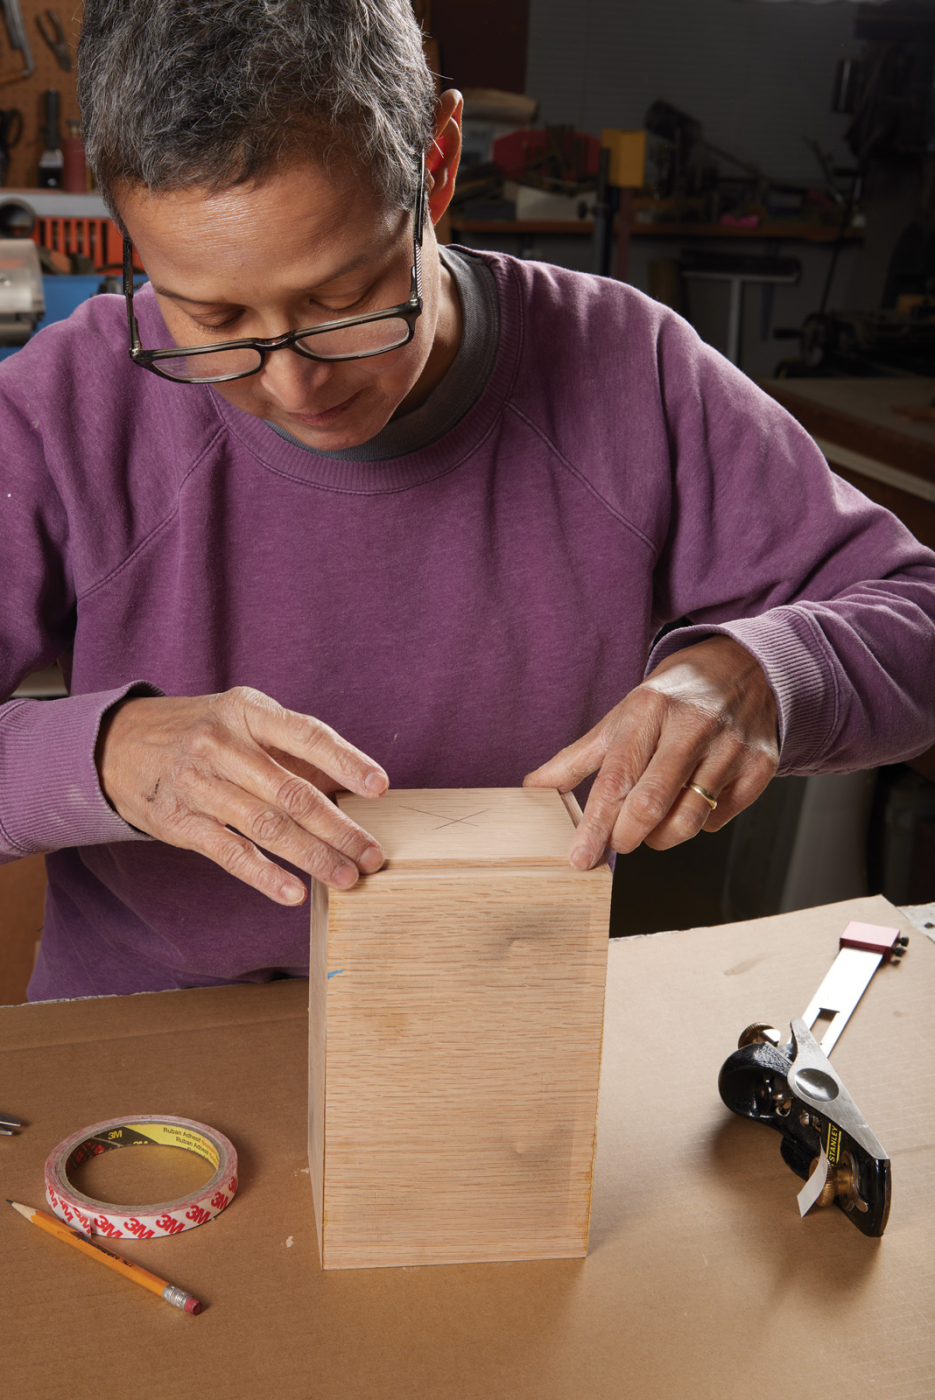
30-31 Position the front of the box with double sided tape, aiming for an even reveal.
Once the drawer front fits, locate the center of it and stick it to the drawer assembly with a few pieces of double-sided tape. We are going to attach a small drawer knob to the drawer assembly and drawer front. I purchased a small knob on Amazon and calculated the diameter of the hole needed to fit the screw that came with the knob. The screw was too long for the narrow wood, so with a hacksaw, I cut it to the right length: approximately 1“ long.
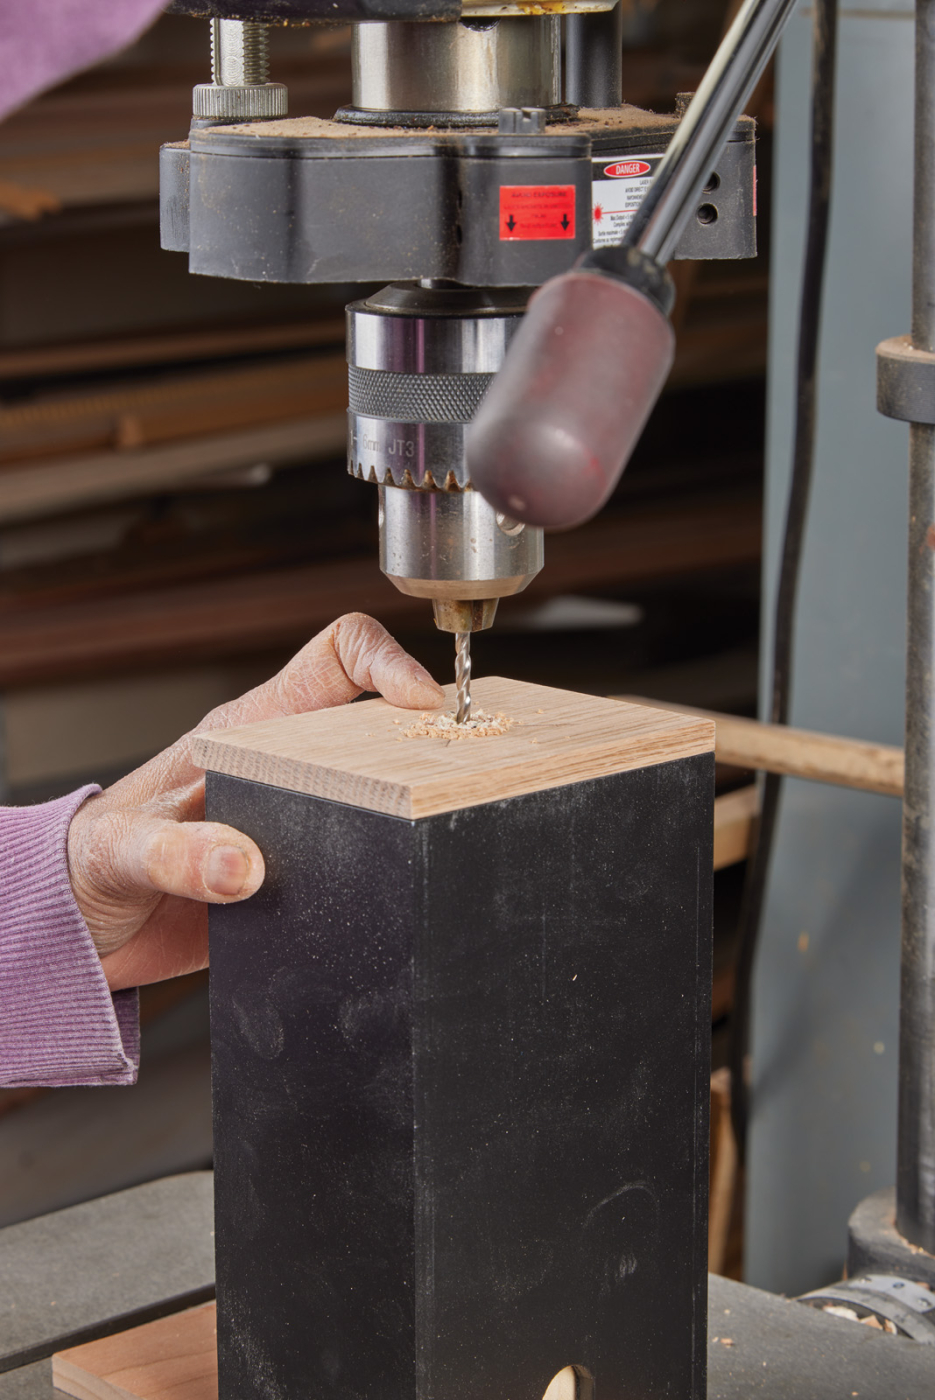
32 Drill a hole through the box for the knob.
Take the above assembly to the drill press and drill a 5/32“ hole in the center, through both the drawer front and the outer interior box. After the hole is drilled, because we need the screw to be flush with the interior surface of the drawer (as not to interfere with the inner compartment), we have to expand the hole from the inside with a counter sink attached to a hand-held drill.
Assemble Interior Box
Unmask the edges of the outer interior box. Glue and pin the short interior box trim (part G) without the tiny block on the front of the box, along with the two long interior box trims (part H) on the long sides. These are meant to hide the edges of the double drawer.

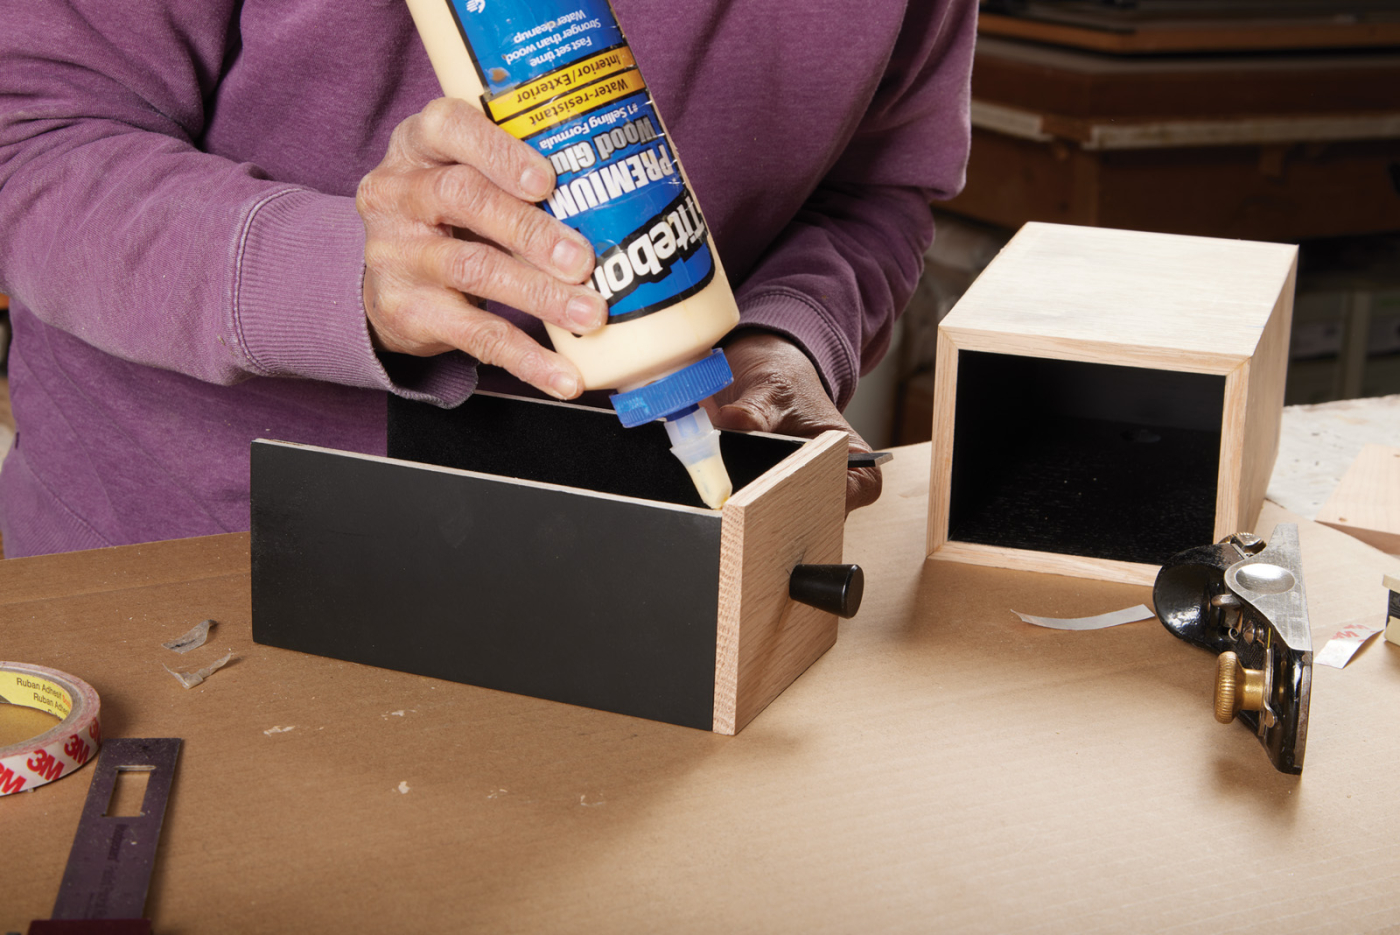
33-34 Peel the tape off of the top edge of the outer box to install the trim. The front and side trim is glued and nailed.
Insert the small drawer into the large drawer, which should fit snugly into it. You are now going to lock the small drawer inside the large drawer by attaching the short interior trim (part G) with the tiny block on the other end of the large box. As you see, the block of wood prevents the inner drawer from coming out of the assembly. Put this trim in position and drill two 1/16“ pilot holes into the edges of the outer box, that correspond to the 5/64“ holes that you drilled earlier. Attach the trim with two #2, 3/8“ flat head screws to keep it in place.

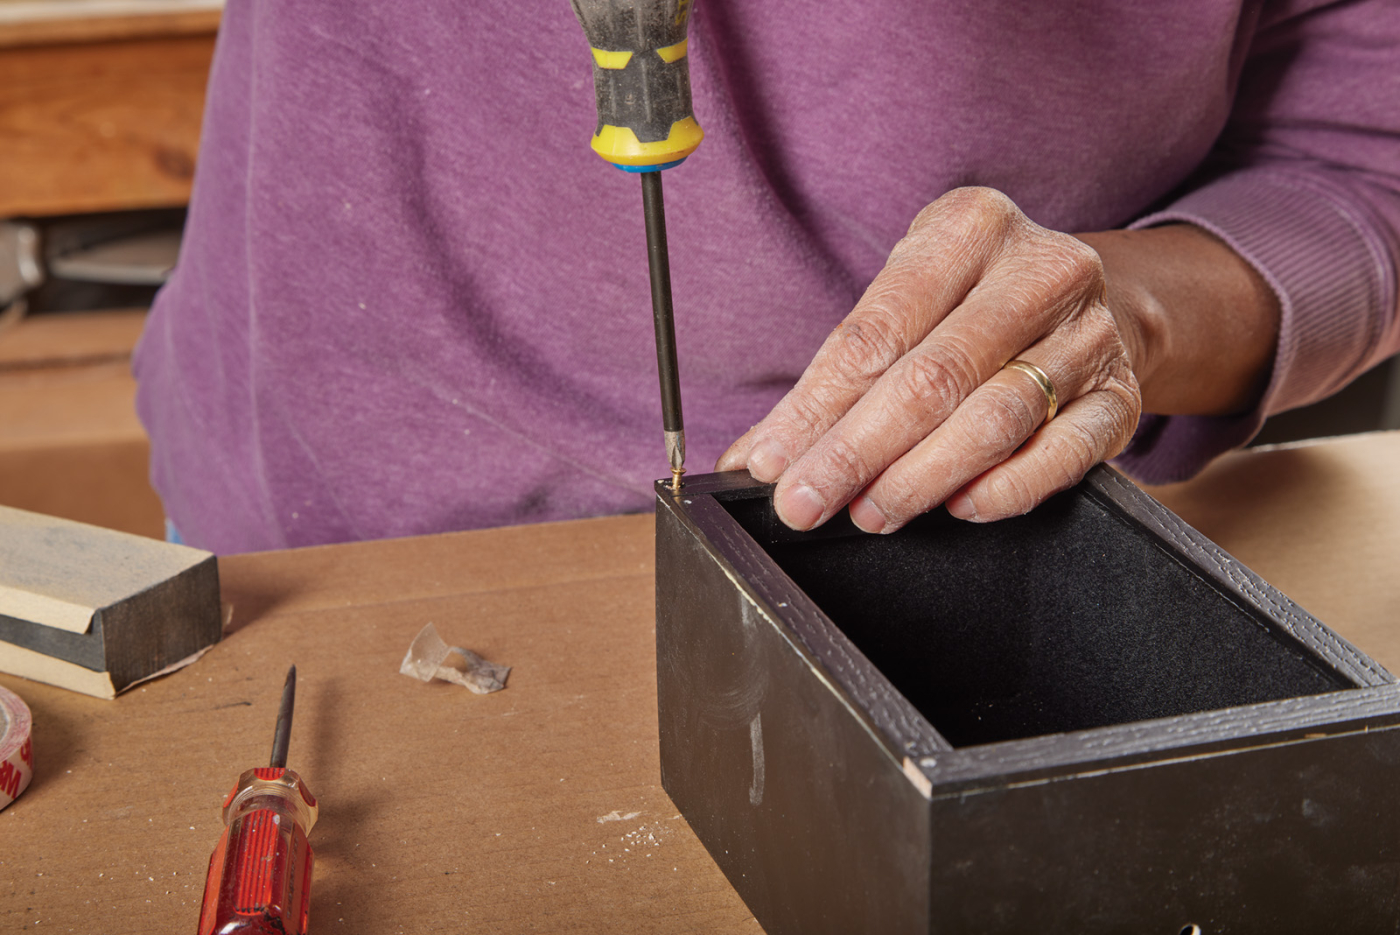
35-36 The back trim is installed after inserting the interior box. This trim is held on with screws in the countersunk holes. This is in case you need to disassemble the box at a later date.
After everything is assembled, there might be a visible edge of the trim on the sides, along with the couple of pin holes left from attaching the trim and the screw heads. We want this entire assembly to be black. At this point, I mask the interior of the assembly with a piece of cardboard, along with the rear end of the assembly. I then add another coat of flat black to the exterior of this assembly.
The result: You now have a black drawer within another black drawer that can open and close in a telescoping manner.
The Final Touches
What remains is quite simple, as all that is left is to finish the box and the drawer front.

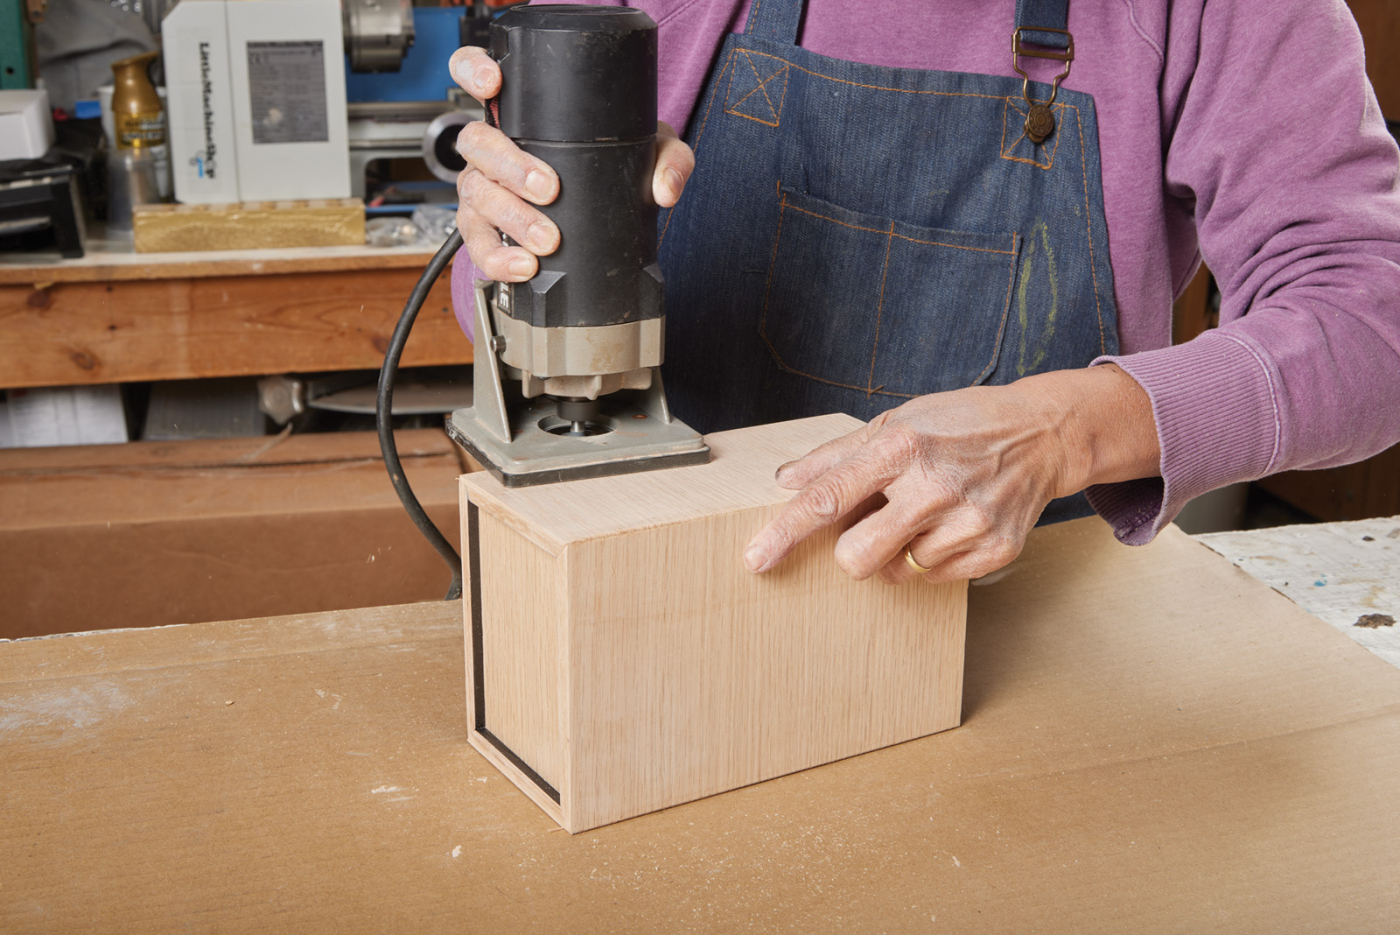
37-38 Sand and roundover the edges of the exterior box.
Make sure you sand off any glue residue from the glue up and round the sharp corners of the box with a 1/8“ radius router bit. Sand the exterior of the box with 150 grit followed by 220 sandpaper, and sand and round the sharp corners of the drawer front with the sandpaper as well.
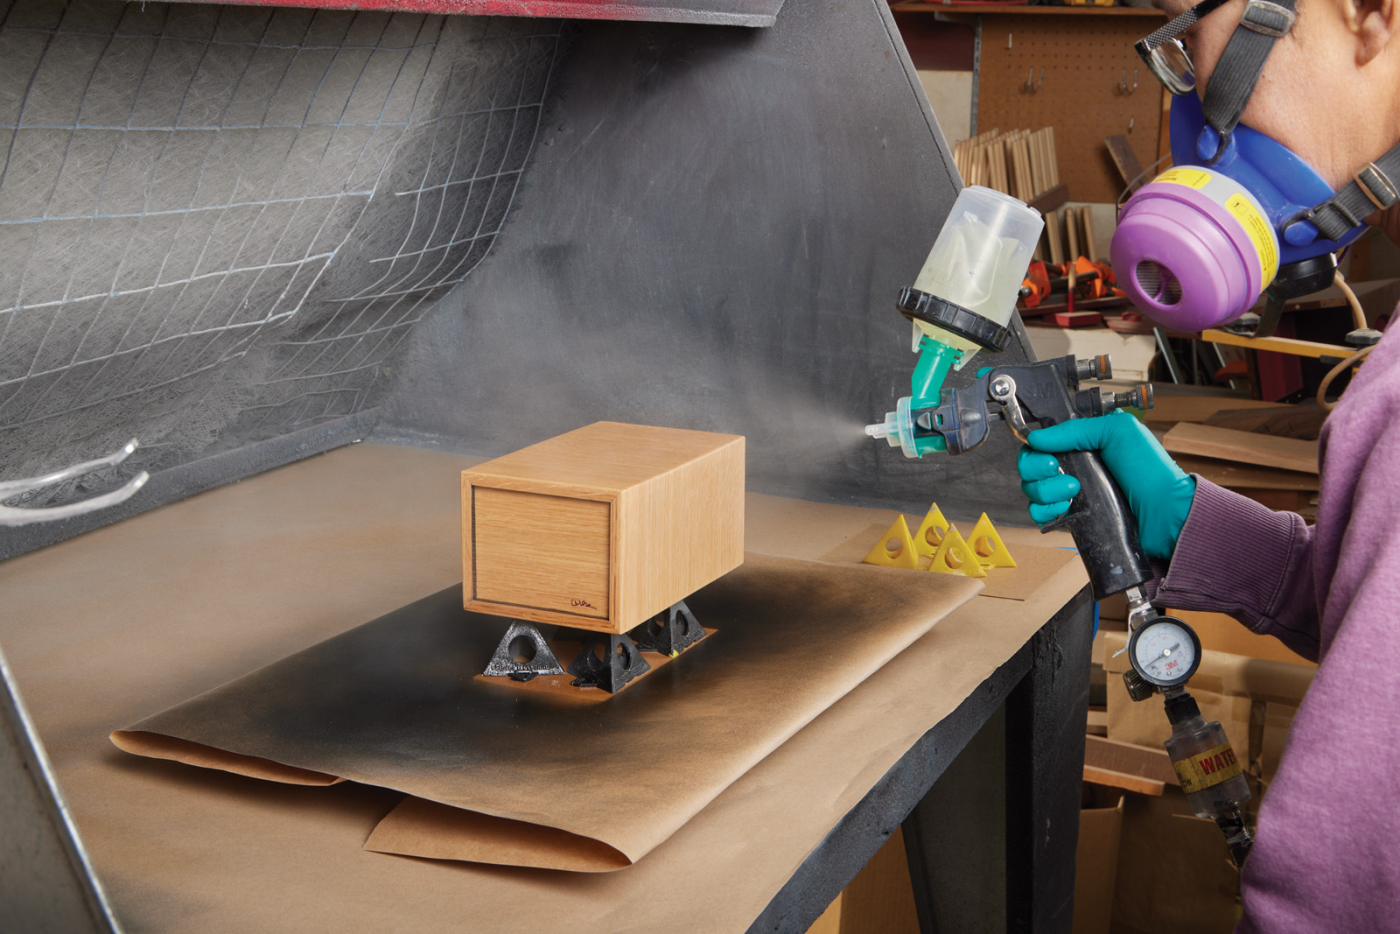
39 Apply your finish of choice. Mine is a clear spray lacquer.
Spray sanding sealer on both the exterior of the box and both sides of the front. Sand lightly. Spray 2-3 light coats of clear 10% sheen lacquer on the box.
Wait for it to dry, install the knob, add felt pads on the bottom of the box, and there you have it: A Magic Drawer Box!
To operate the trick, hold the box in your hand and open the drawer. When you place an item in the box, you can make it “disappear” by inserting your finger in the hole after you’ve closed the drawer. When you open the box, only the outer box slides out, giving the illusion of an empty box. Make your item reappear by closing the box and removing your finger before you open the box.
Lupe Nielsen is a full-time magic prop builder in Las Vegas, Nevada. While her training is in magic and theater, Lupe is in love with the craft of woodworking. When she takes a break from her day job (nnmagic.com), she’s often found attending woodworking classes for several weeks at a time. You can view Lupe’s work on Instagram at @nmagic.lupe.
Here are some supplies and tools we find essential in our everyday work around the shop. We may receive a commission from sales referred by our links; however, we have carefully selected these products for their usefulness and quality.


 One of magic’s oldest box tricks.


