We may receive a commission when you use our affiliate links. However, this does not impact our recommendations.
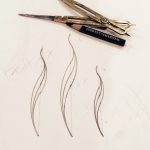
Practice a centuries-old technique on this small contemporary piece.
Found on everything from refined 18th-century highboys to muscled Arts & Crafts tables, breadboard ends are a handsome and time-tested way to prevent wooden panels from warping over time. Correctly made, breadboard ends not only keep panels flat, but also allow them to expand and contract with seasonal (or other) changes in humidity.
Key to successful breadboard ends are the pins that join the tongue of the panel to the groove on the end piece. For this application, the center pin is fixed in both the panel and end, but the outer pins are installed in elongated holes that allow the panel to move freely with shifts in humidity. But other breadboard ends, such as those found on a drop-front desk, for example, feature fixed pins on one end to force expansion and contraction to happen on the unhinged edge.
Cutting Board with Breadboard Ends Cut List
No.ItemDimensions (inches)Material
t w l
❏ 1 Center panel 2 x 12 x 16 Hickory
❏2 Breadboard ends 2 x 2 x 12 Walnut
❏ 6 Pins 1⁄4 dia. 1 1⁄4 Hardwood dowel
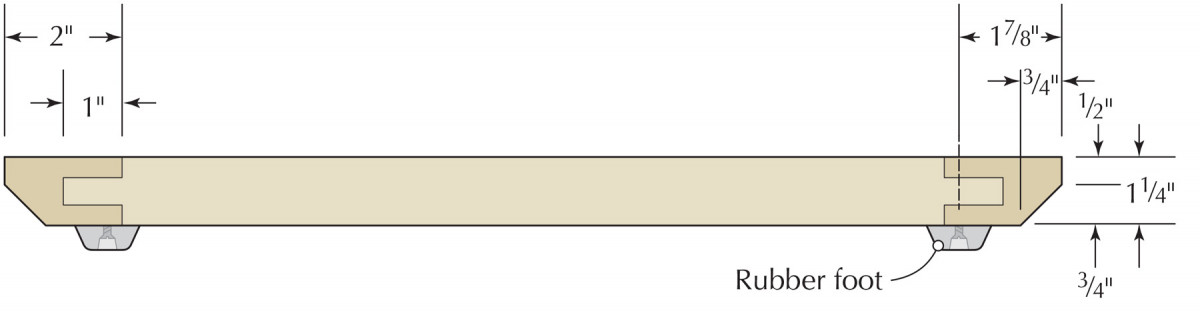
Profile
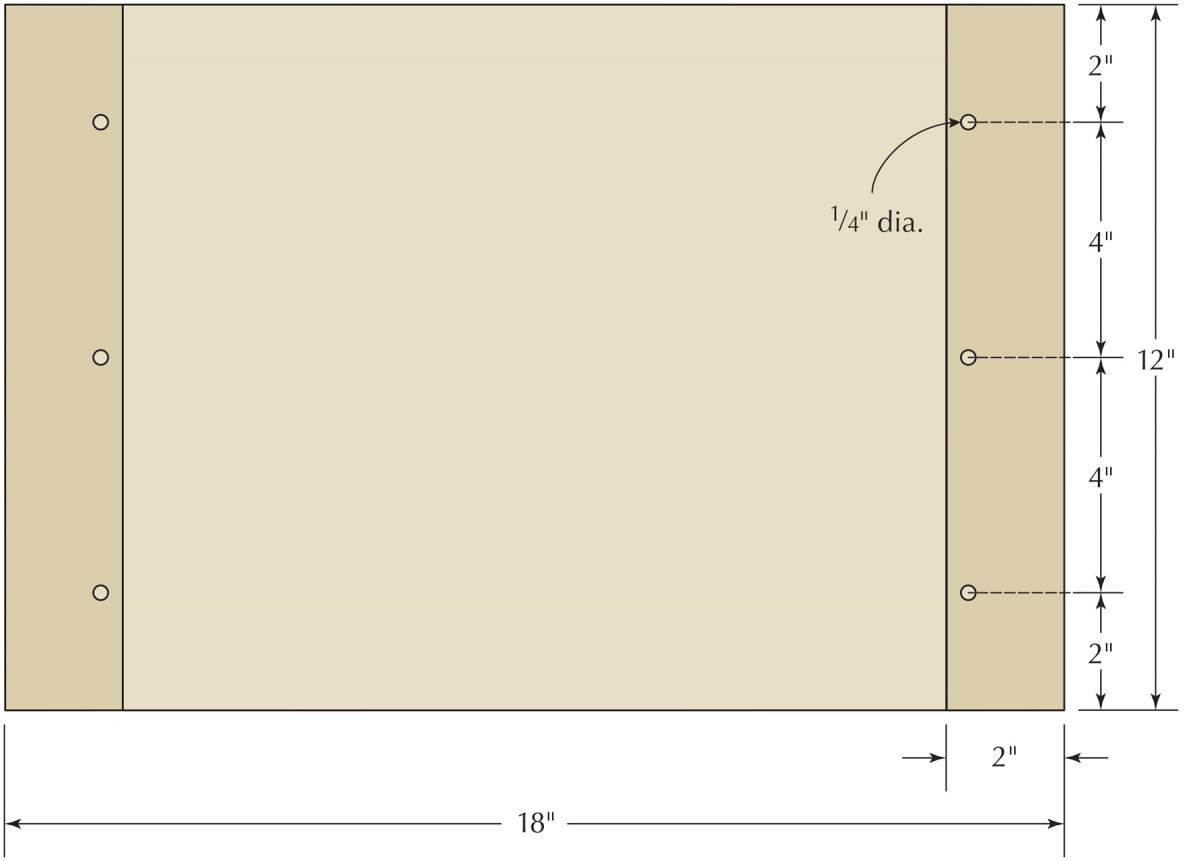
Plan
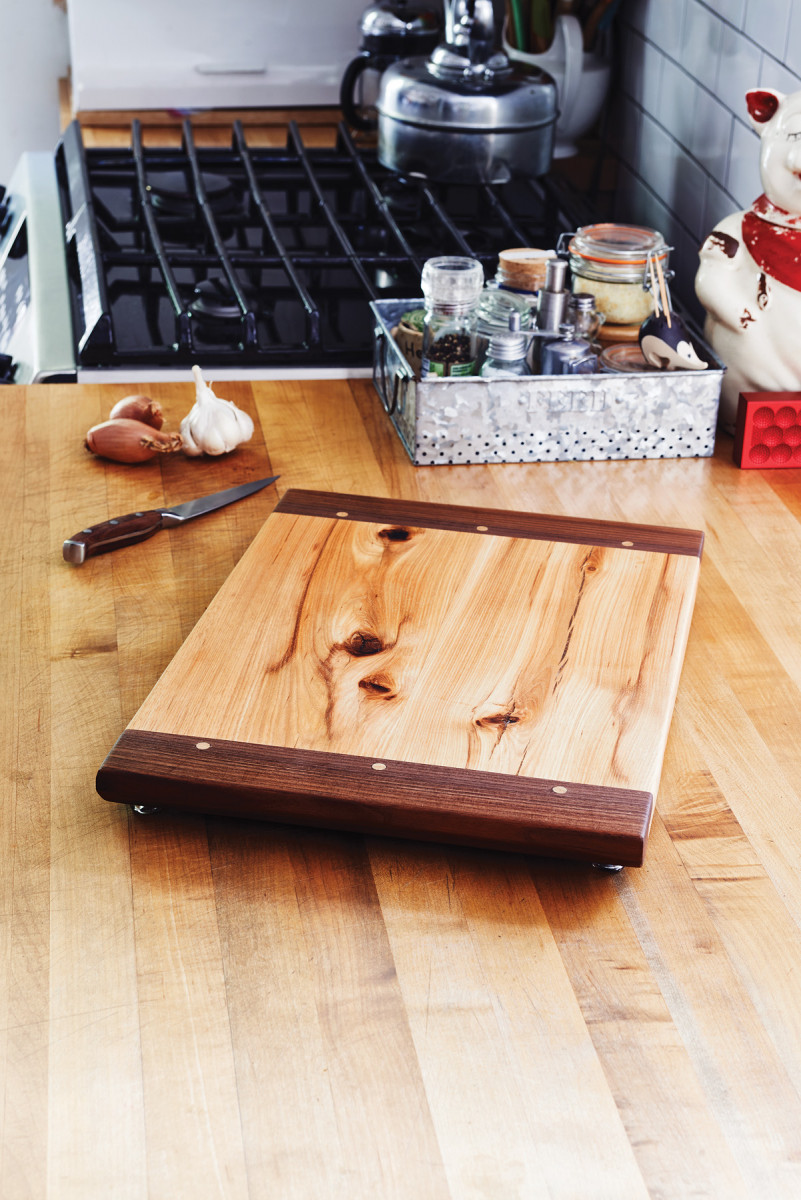
This small cutting board is a great project on which to get started with breadboard ends, and it features a modern look with its use of contrasting woods. PWM
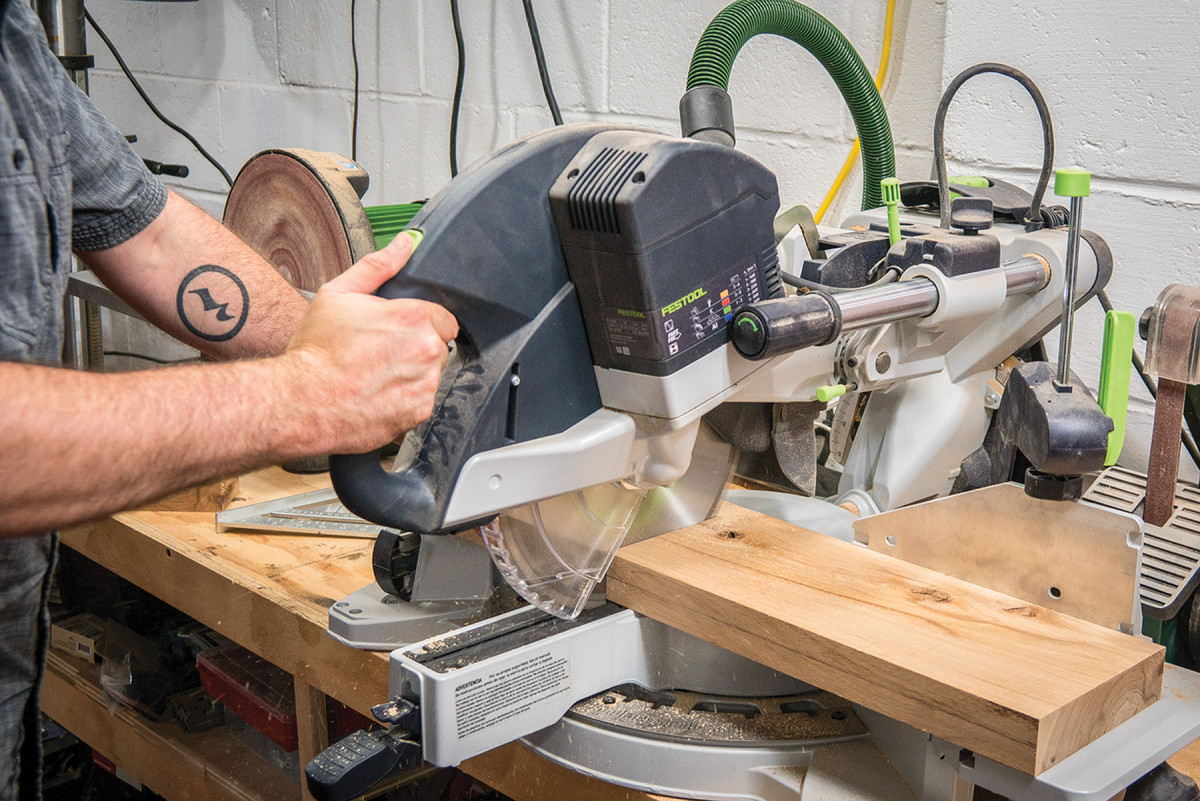
1) Rough cut the stock. Begin by cutting lengths of 8/4 (2″ thick) hickory stock to a length of 18″. Cut enough pieces to create a cutting board 12″ wide when glued up edge to edge.
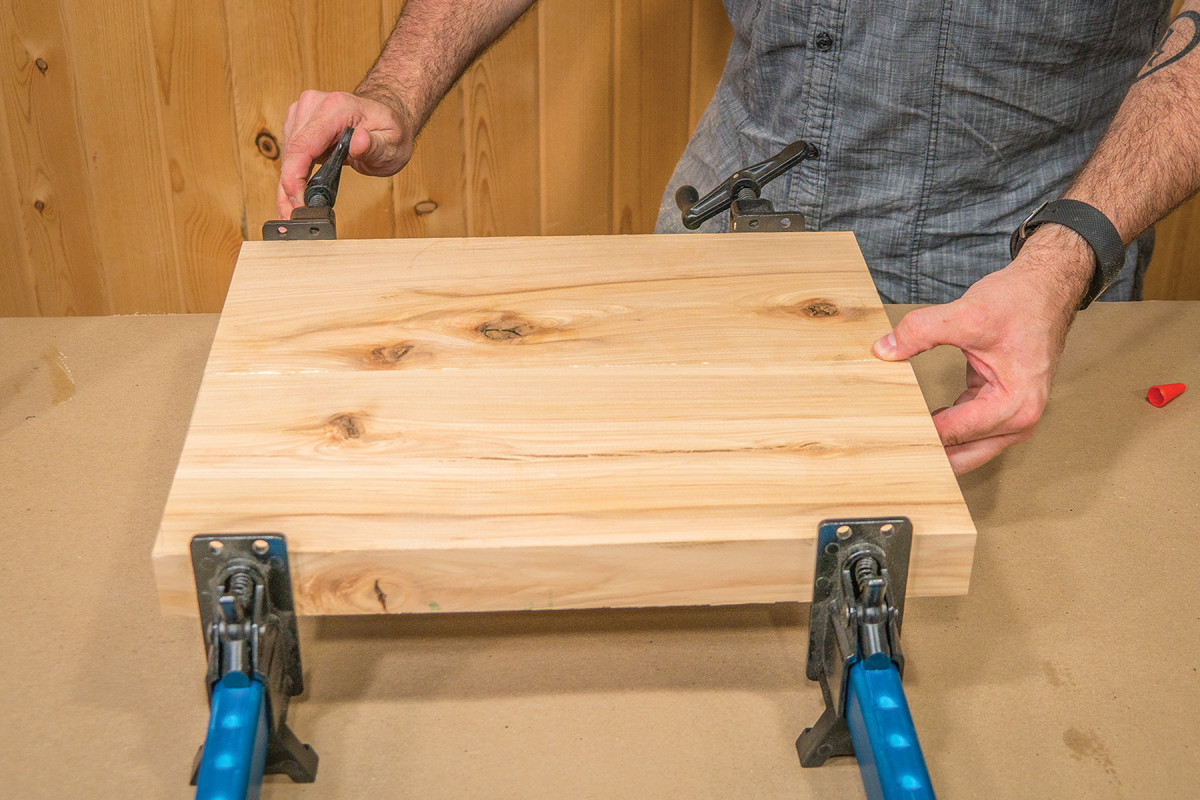
2) Glue up the panel. Spread a thin layer of glue (Titebond III or another waterproof glue is best) onto all mating edges and clamp them together to create a single panel at full width. Try to get at least one side flush to create a flat surface.
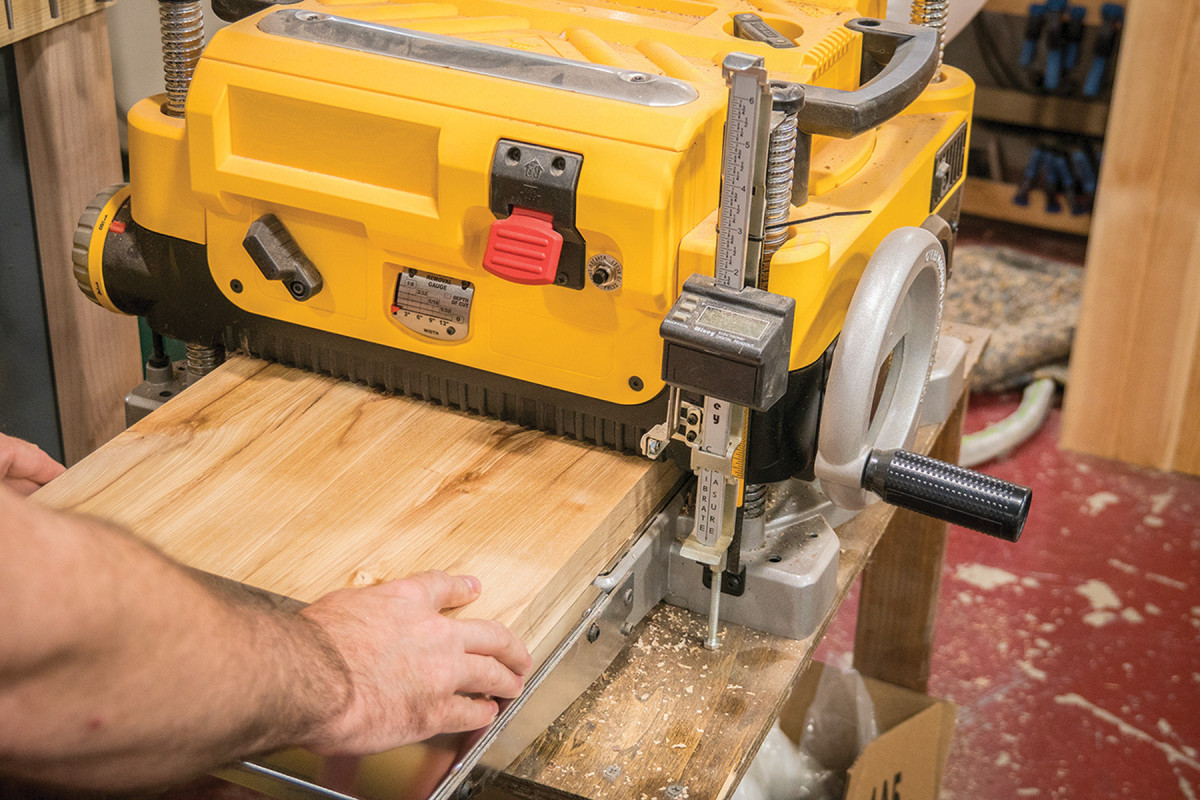
3) Thickness the stock. Run the panel through your thickness planer, flattest side down, until the top is flat. Then flip the board over and flatten the other side as well. The exact overall thickness is less important than making sure the entire panel is of uniform thickness.
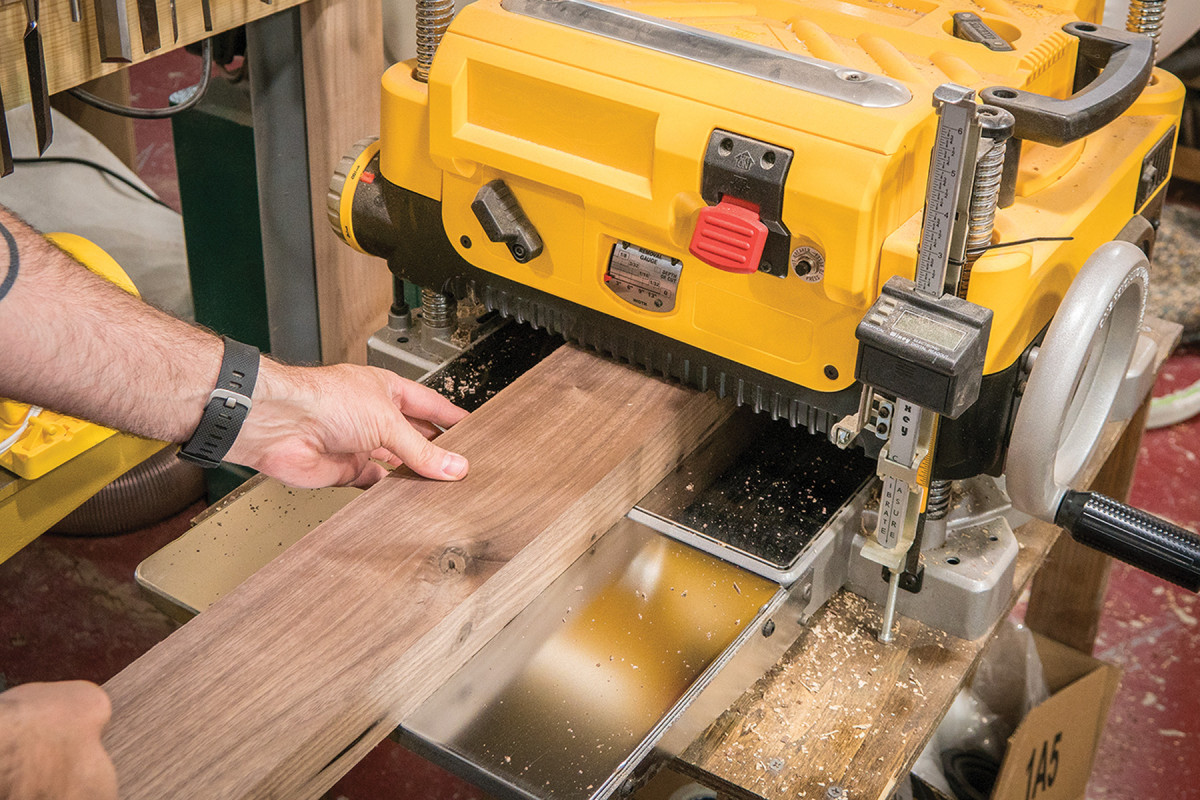
4) Prepare the breadboard ends. Plane the stock you plan to use for breadboard ends down to the same thickness as the center panel.
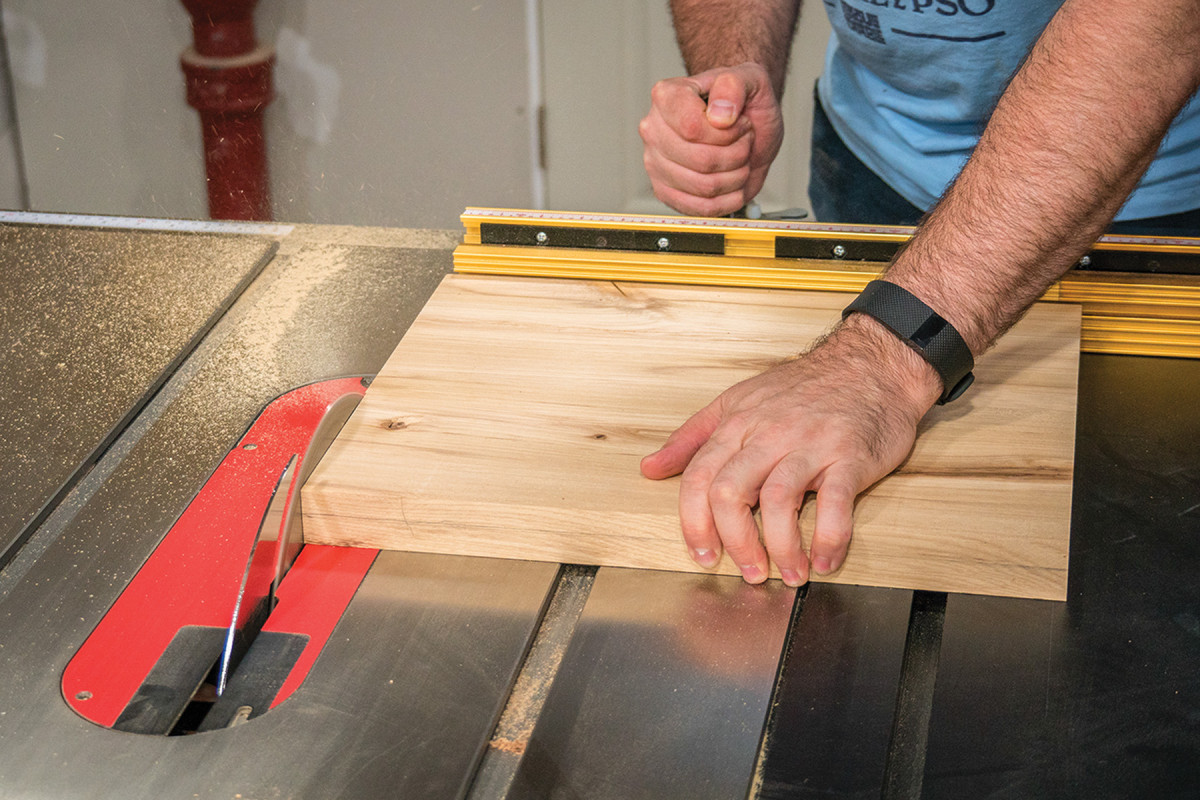
5) Square it up. At the table saw, use a miter gauge to square up the two ends of the center panel.
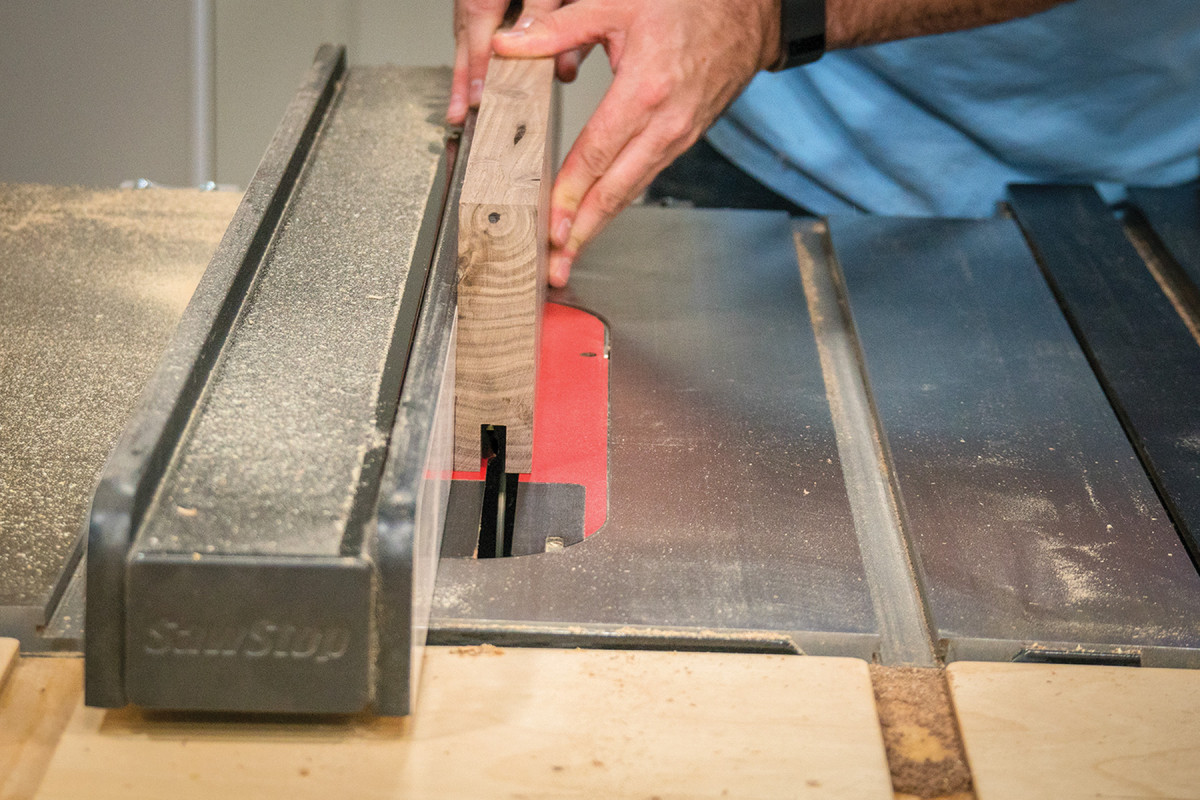
6) Cut the tongue. Position the fence 1″ from the blade (including the blade width) and raise the blade to 3⁄8″. Take multiple passes with a single blade to hog away the waste on the ends of the stock, with your last pass guided by the miter gauge but flush against the fence. Because you’re removing the same amount from each face of the panel, the tongue is perfectly centered.
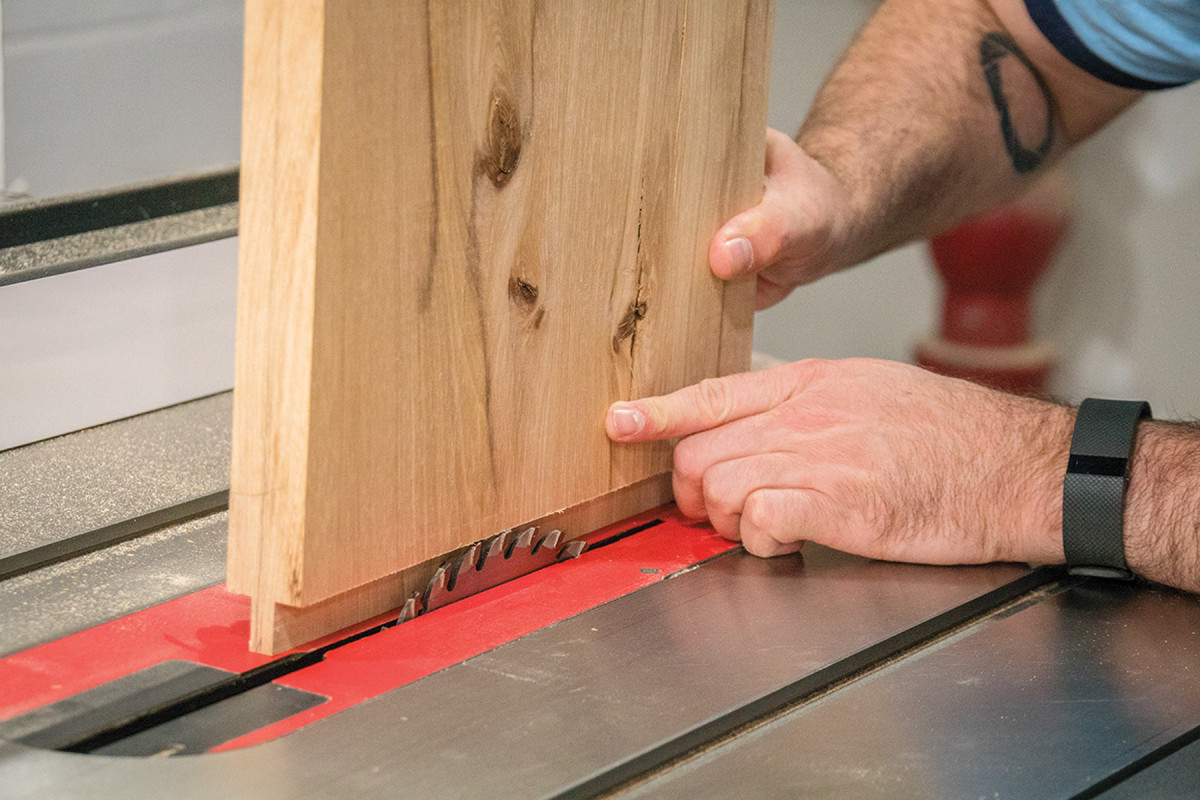
7) Raise the blade. With the saw switched off, raise the blade until its height matches the length of the tongue.
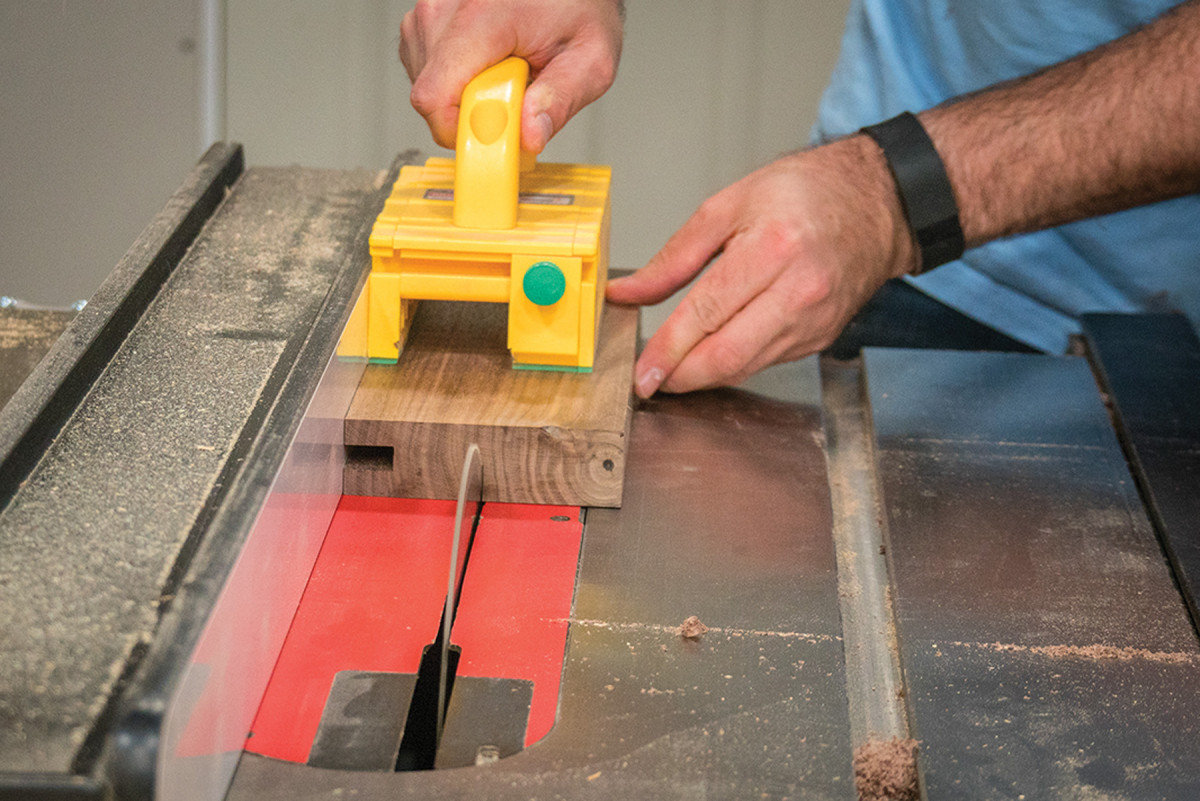
8) Cut the groove. On the stock you’re using for breadboard ends, take multiple passes to hog out the waste to accommodate the tongue. Be sure to flip the stock and take passes with each face against the fence so that the tongue will be centered. Aim for a fit that is snug but goes together with only hand pressure.
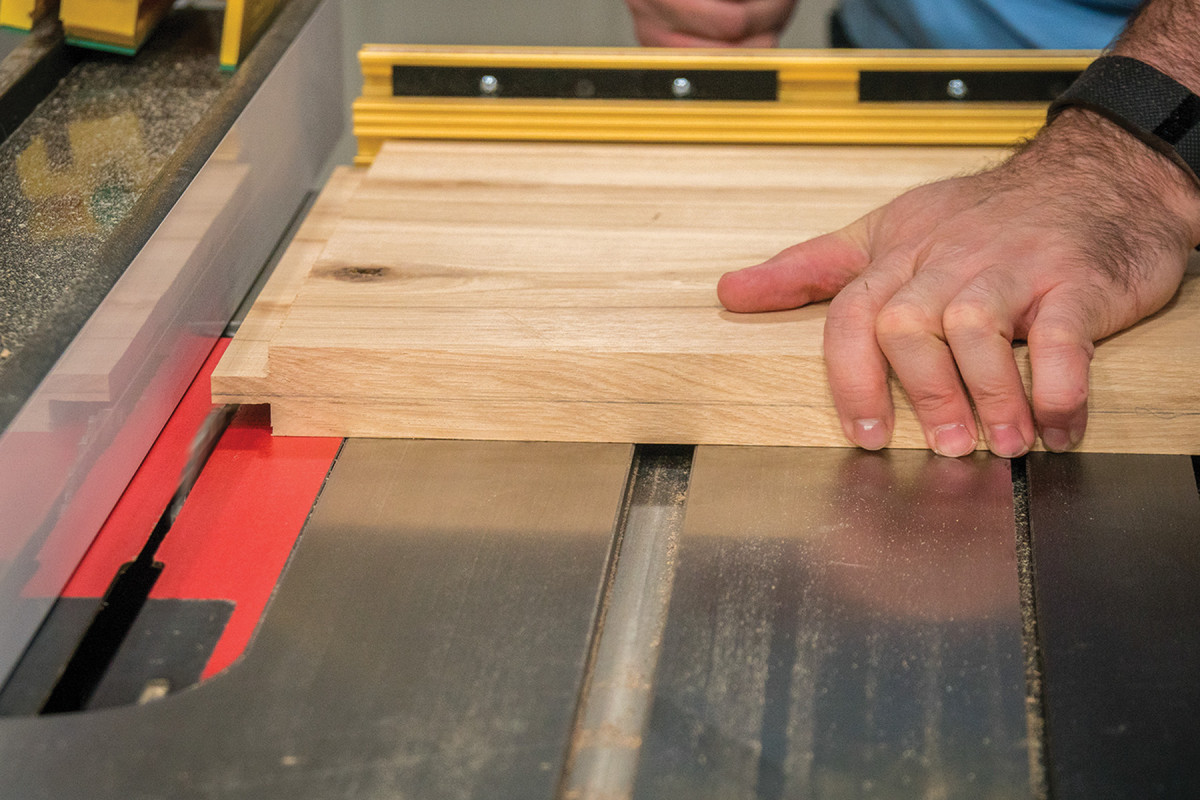
9) Crosscut the breadboard ends. Mark the width of the center panel directly onto the stock you’re using for the breadboard ends. Use your table saw and miter gauge to crosscut it to length.
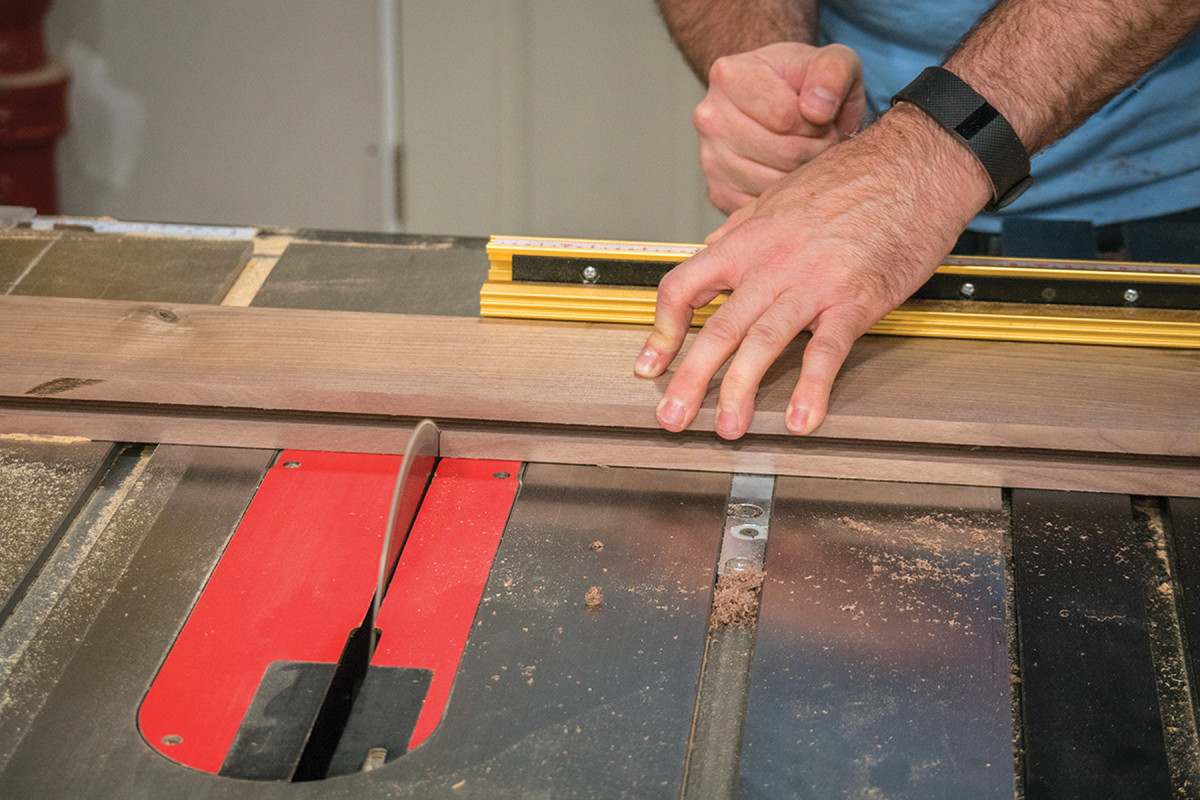
10) Rip it to width. Now that all of the joinery has been cut, remove any excess width on the breadboard ends by ripping them at the table saw.
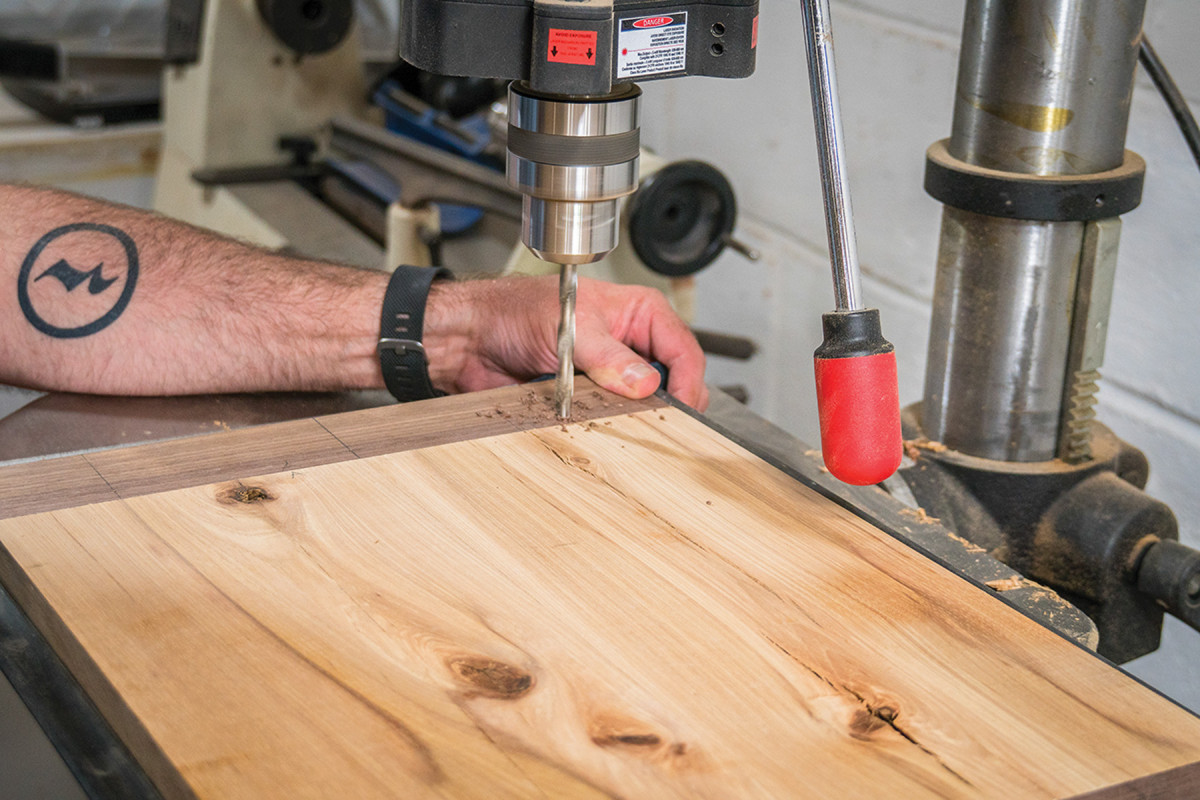
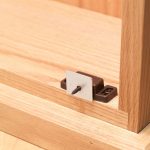
11) Prepare for pegs. Set the breadboard ends into position on the panel and drill three 1⁄4″ holes on each end. The holes should go through both sides of the breadboard end as well as the tongue on the panel.
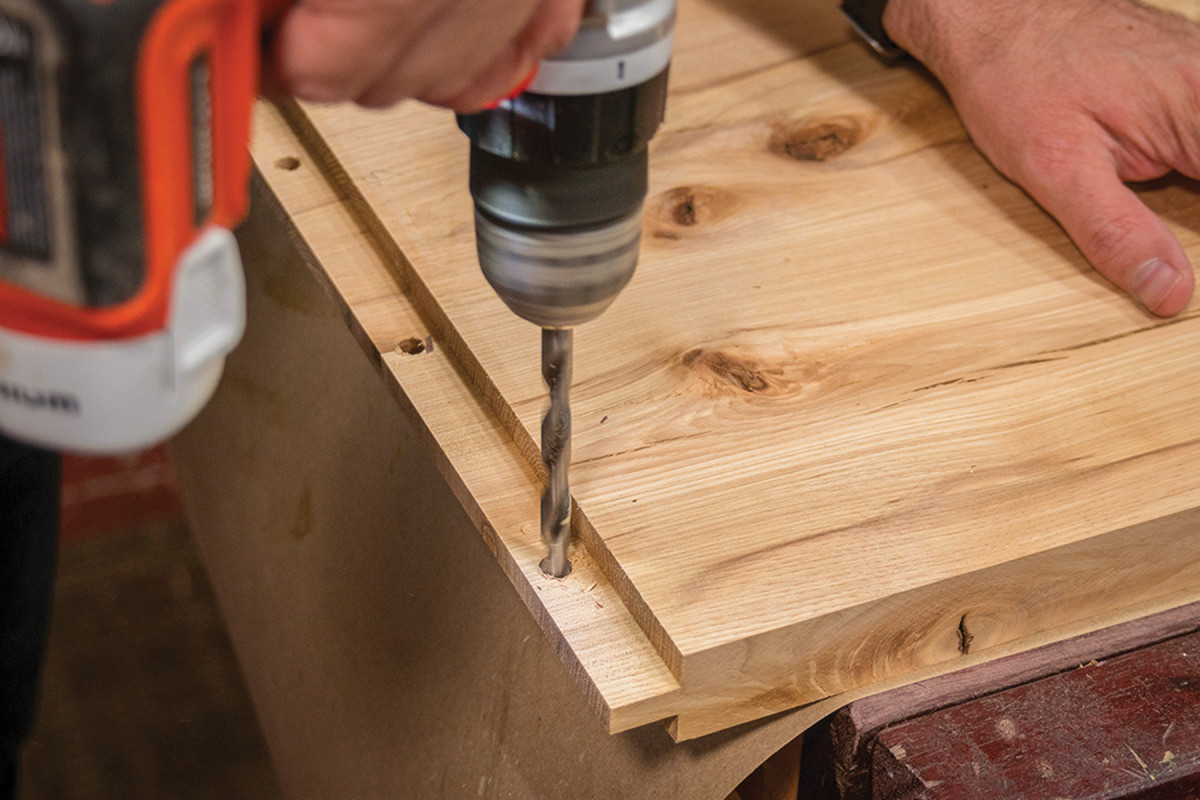
12) Allow wood to move. The center holes on each tongue should be drilled straight and true. But use a hand drill to ream out (left to right) the four outer holes. These slightly wider holes will allow the pegs to stay in the same spot on the breadboard ends as the main panel expands and contracts.
13) Glue it up. To allow for inevitable wood movement, glue only the center 3″ of the panel to the breadboard ends. The outer pegs will keep the ends flush against the shoulder on the panel even as the panel changes with humidity.
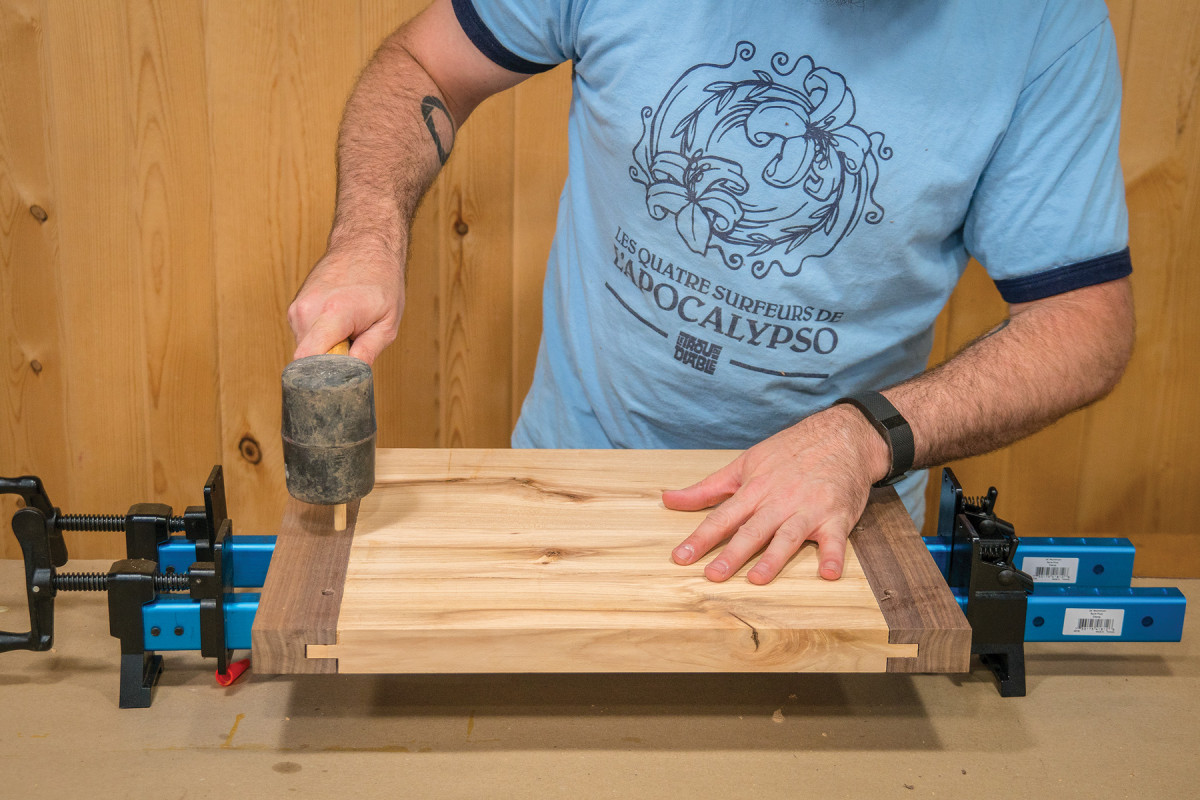
14) Install the pegs. Clamp the breadboard ends to the panel tightly in place. Use a mallet or hammer to drive short lengths of 1⁄4″ dowel through the breadboard ends and tongue. Round over the leading edge of the pegs so they are easier to tap into place. On the center dowels only, add a drop of glue before you sink the pegs.
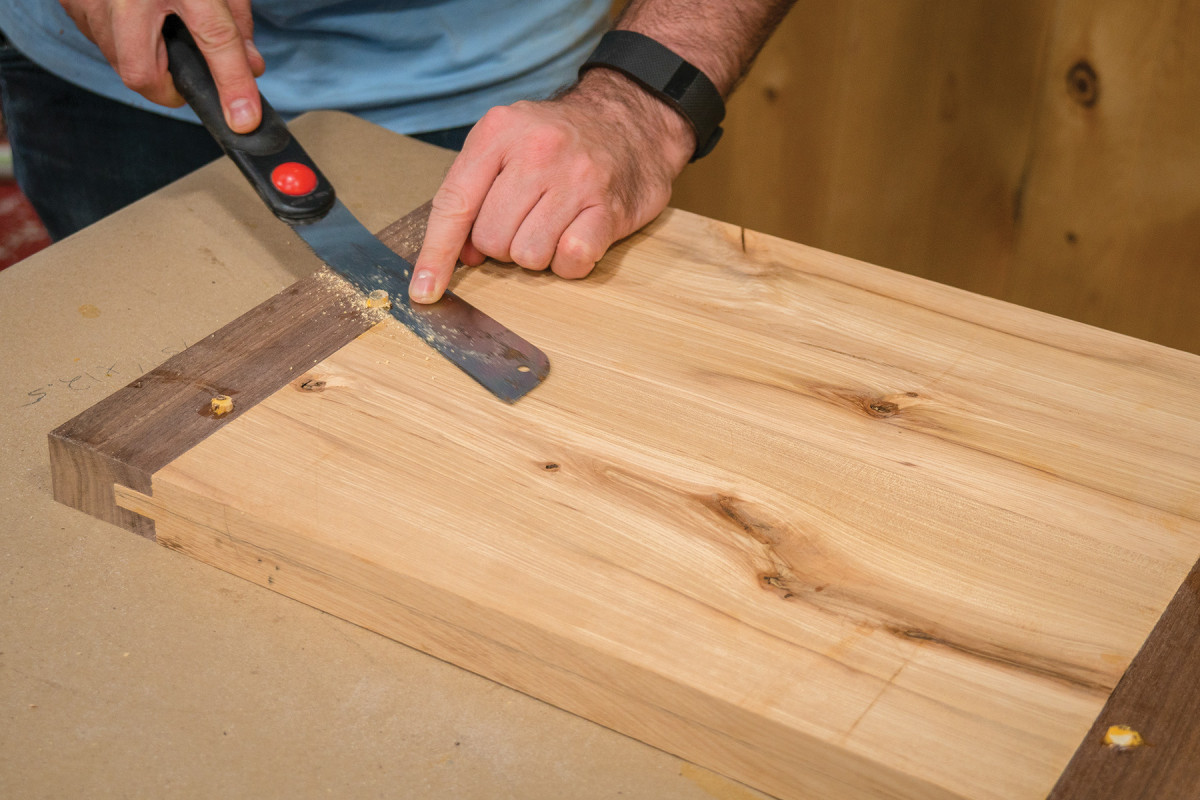
15) Clean it up. Use a flush-cut saw to trim away the ends of the pegs. If they’re not quite flush with the breadboard ends, use a sharp chisel to clean up the cuts.
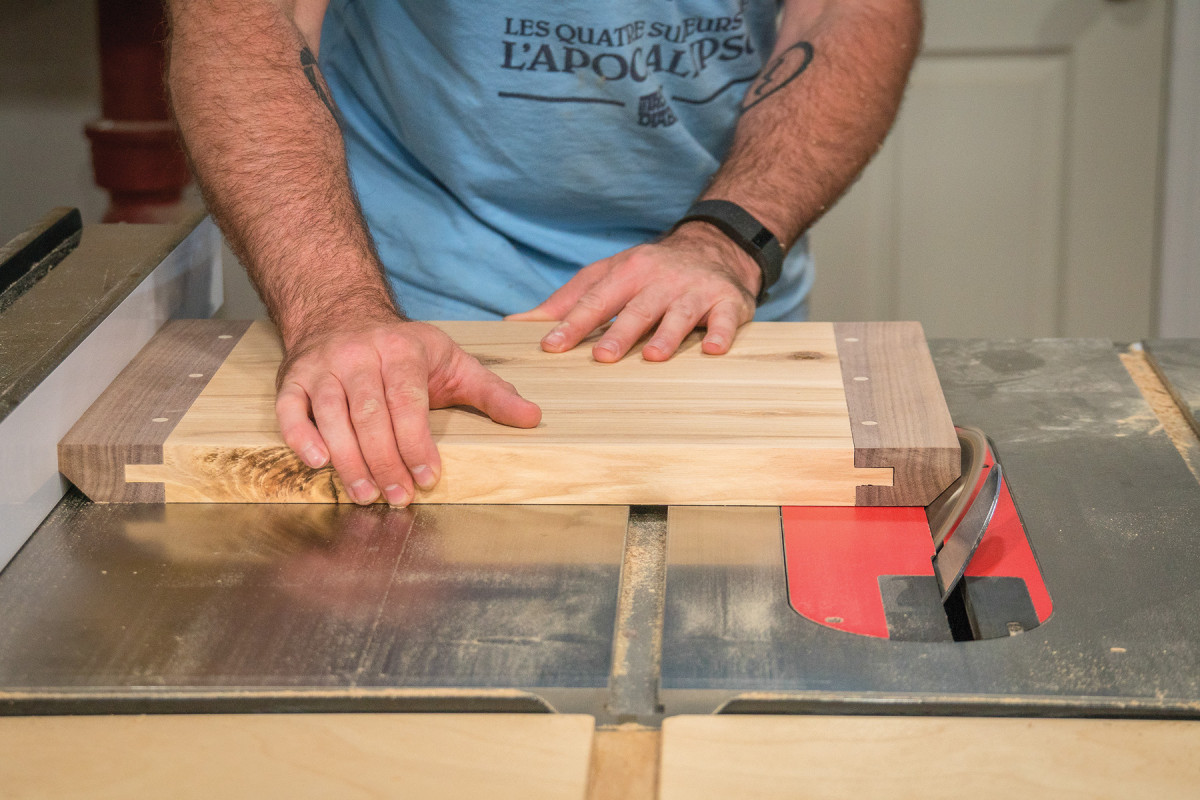
16) Cut the bevel. Angle the blade on your table saw to about 45°. Then bevel the lower edges of the breadboard ends using a miter gauge to guide your cut.
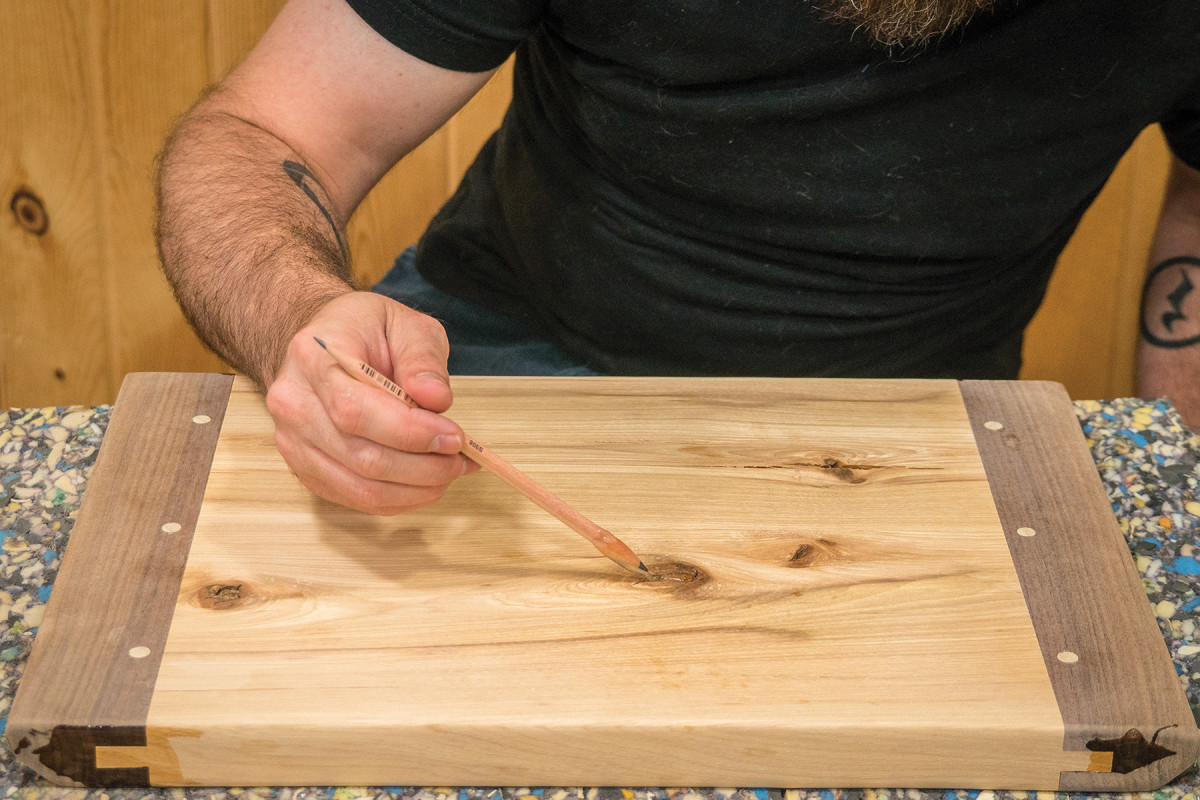
17) Seal any imperfections. Use a pencil dipped in epoxy to drip epoxy into any knots so bacteria doesn’t gather in the crevices.
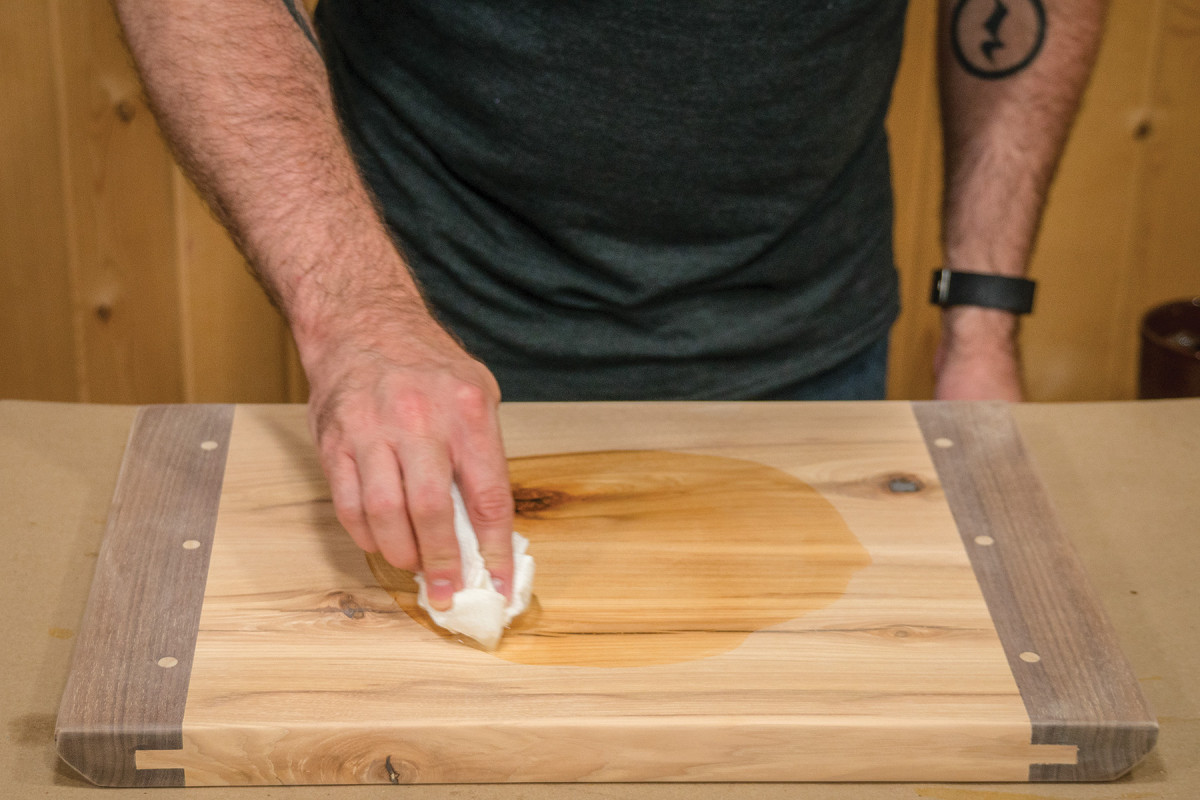
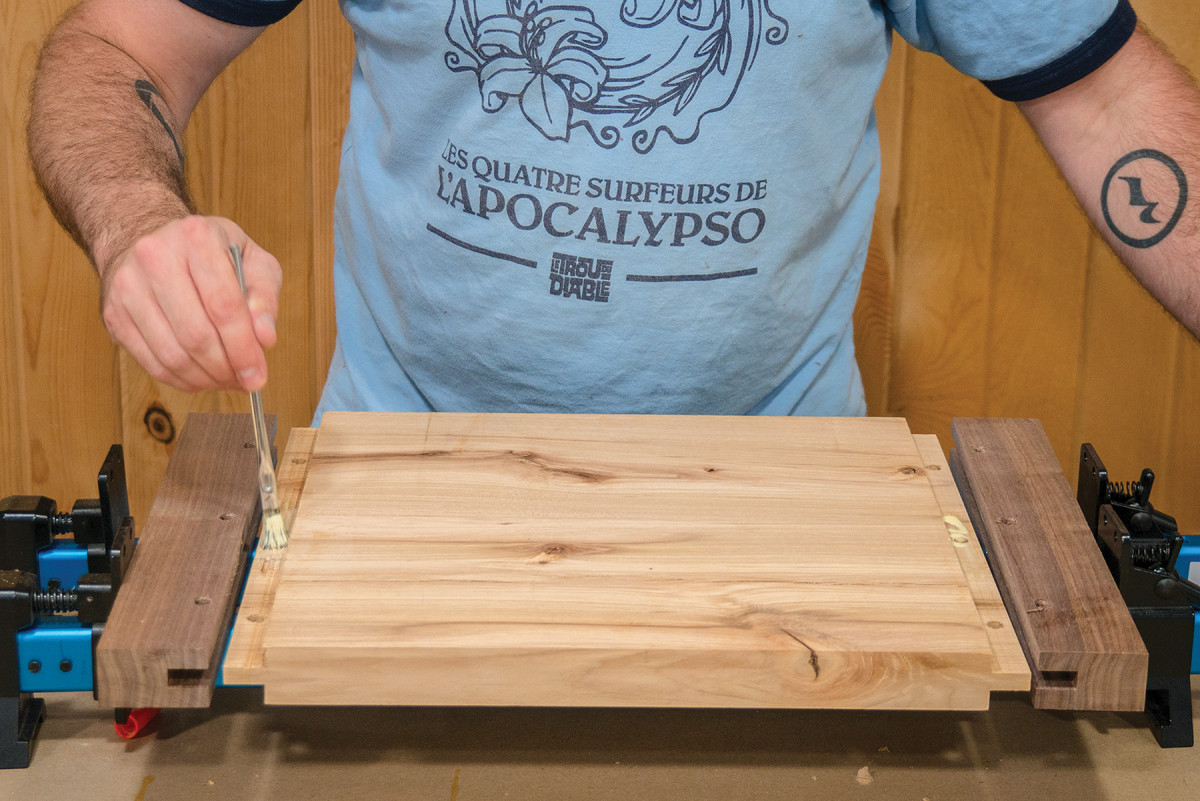
18) Make it shine. Use a lint-free cotton rag to wipe on your finish of choice. This board was finished with mineral oil and wax.
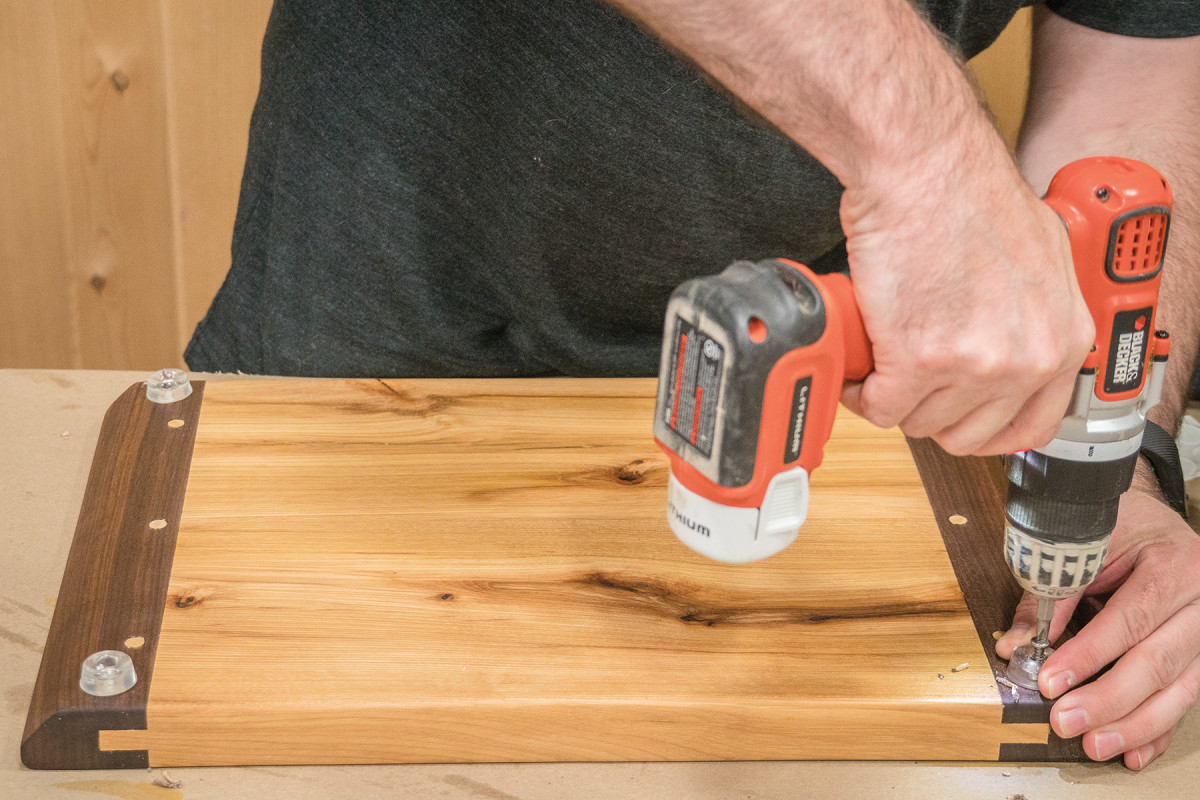
19) Give it a lift. Screwing rubber feet onto the bottom of the cutting board at all four corners not only raises the cutting board up off your counter, it also lends a little grip so it is less likely to move when in use.
Here are some supplies and tools we find essential in our everyday work around the shop. We may receive a commission from sales referred by our links; however, we have carefully selected these products for their usefulness and quality.