We may receive a commission when you use our affiliate links. However, this does not impact our recommendations.
I was first introduced to branch hooks and their organic beauty while reading Peter Follansbee’s excellent article on the subject in Popular Woodworking magazine. Peter showed how to turn a typical forked tree branch into a functional hook that someone can employ in the hallway, the kitchen, and practically everywhere. A few years later I saw it again, this time in Jögge Sundqvist’s beautiful book: Slöjd in Wood (by Lost Art Press).
For a while I was planning on building my own branch hook but did not come around to do it, that is until last September. In late August, I was told that this would be the second year that I have to teach woodworking in the classrooms and not in the Woodshop. It wasn’t because of Covid, but rather because of the continuation of the major renovation of our school’s basement – where my shop is located. In my efforts to find a suitable project that could be realized in the classrooms (practically either whittling or chip carving) I remembered the branch hook and decided to give it a try.

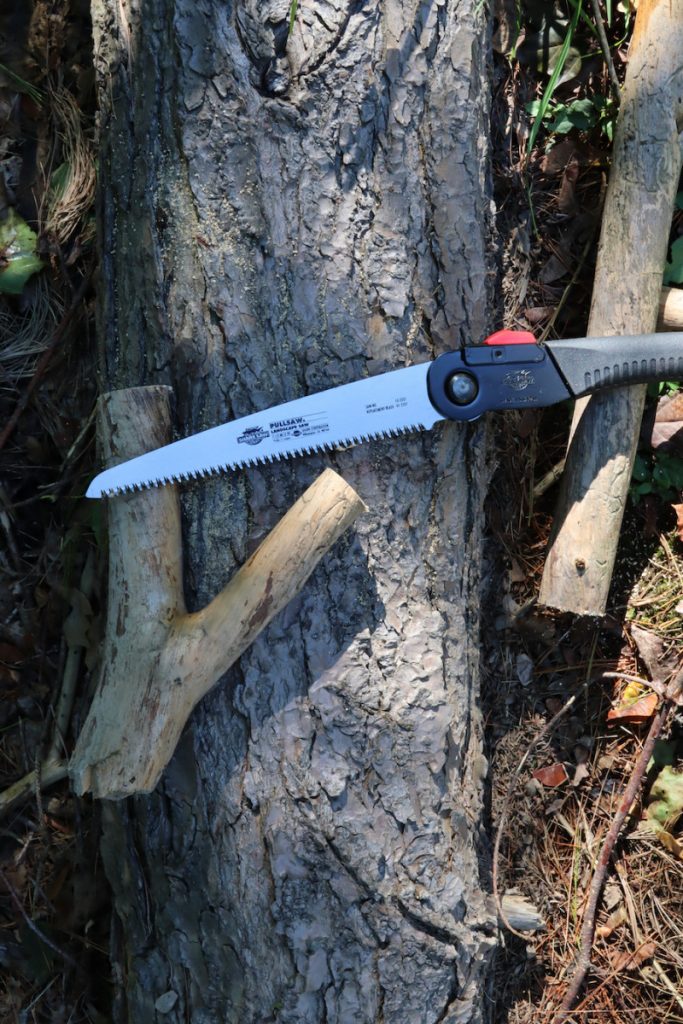
Everybody can make a cool branch hook. The only tools you’ll need are a saw, a whistling knife (or a needle rasp) and a drill to make the holes for the fasteners that will connect the hook to the wall.

The beauty of a branch hook as a gateway into woodworking is twofold: First, it is a straightforward, intuitive, and relatively easy woodworking shaping project that can be done with a simple whittling knife or a needle rasp (for the younger audience). And secondly, the first stage of this great project teaches the student how to true and flatten a surface and work precisely. While at first glance this might seem like a contradiction to the organic and whimsical latter part of the project, as I will show below it is, by all means, an integral and essential part of the process that is crucial for laying the foundation for good woodworking.
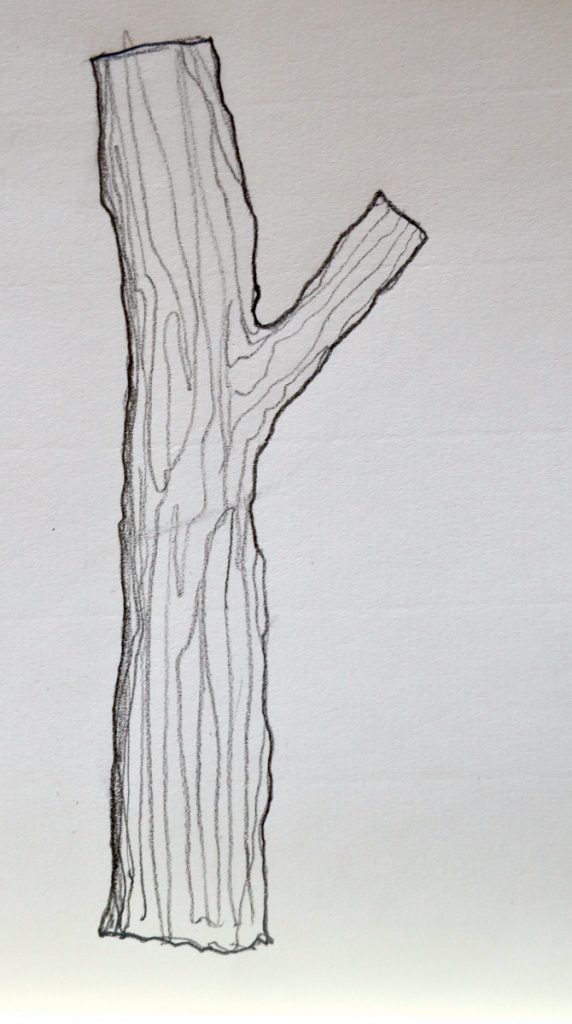
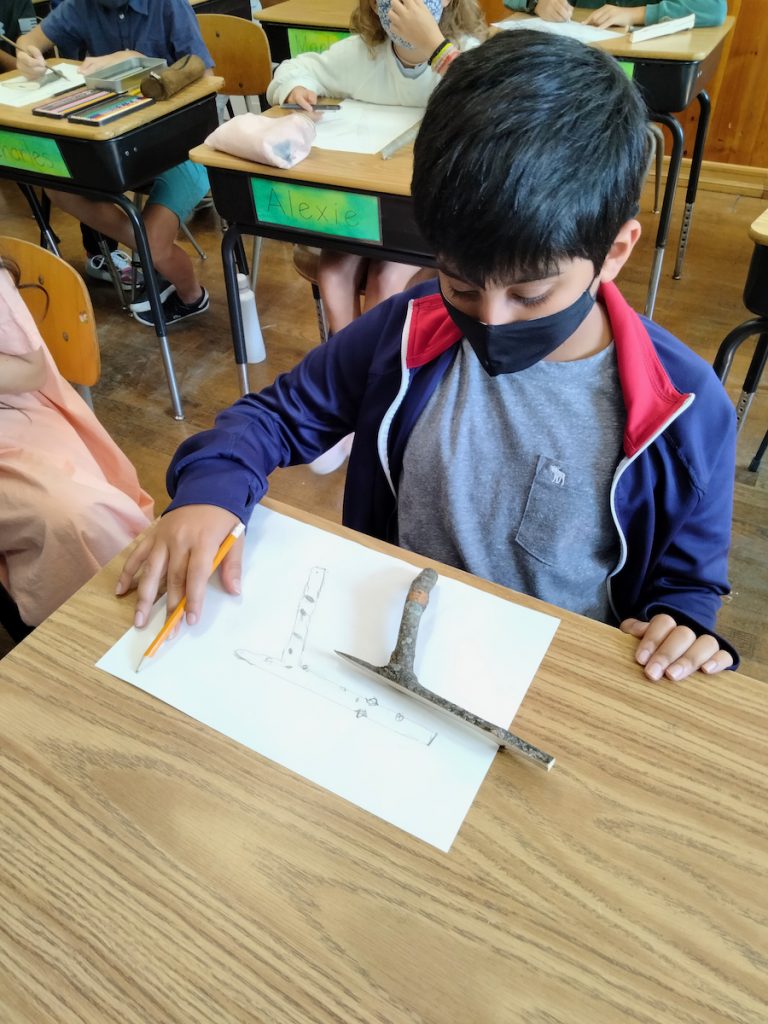
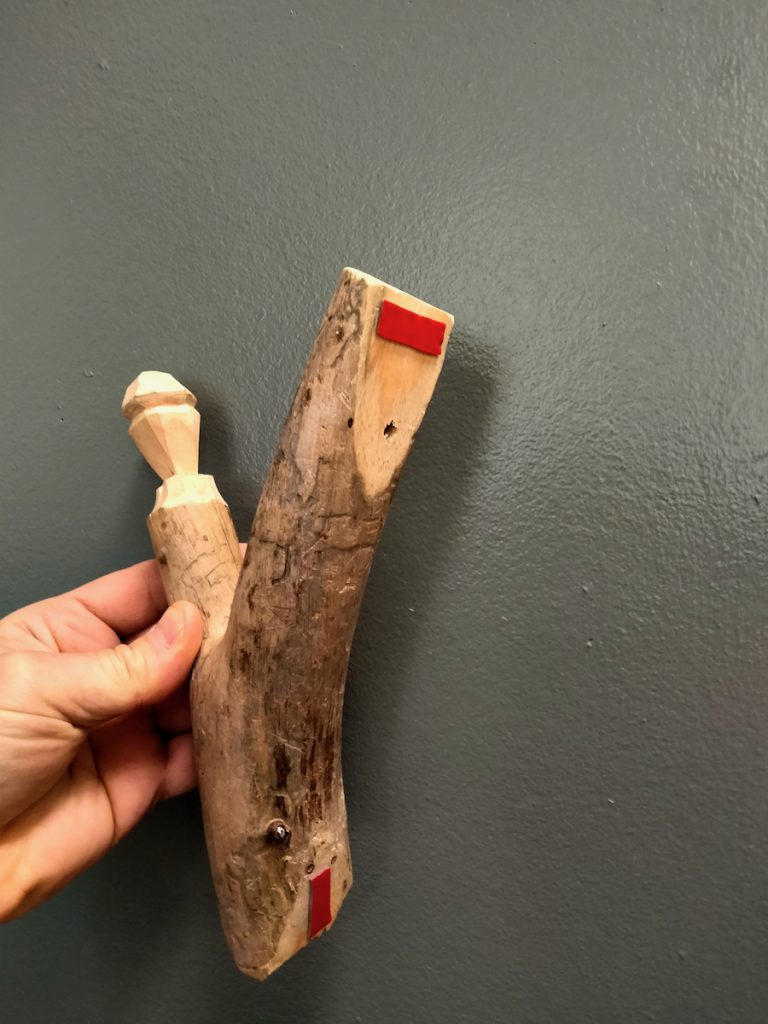
A branch hook takes its strength from the organic joint between a minor branch that veers sideways from the prime branch. A cross-section of the two (such as the one I drew on the blackboard for my students) demonstrates how the fiber/grain direction of the minor branch is integrated so well into the prime branch – which is the reason why the hook is so strong. I did not only explain this to my students – I also showed them how strong the joint is by hanging a heavy object on it.


Then I displayed the pictures from the article and the book and handed over to them a few of the sample branches that I made.
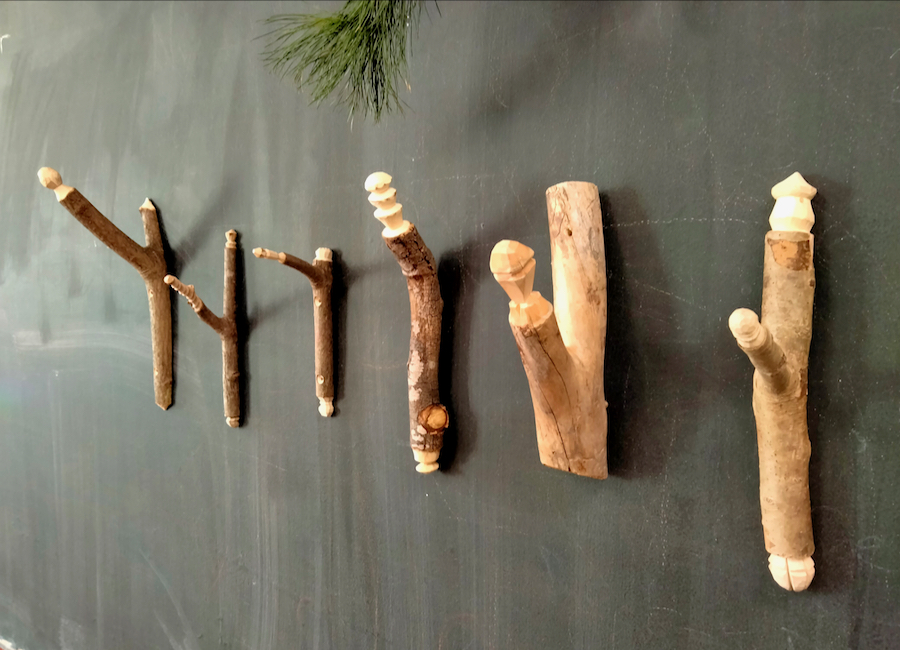
Some of my sample branch hooks that I prepared for my classes.


![]()
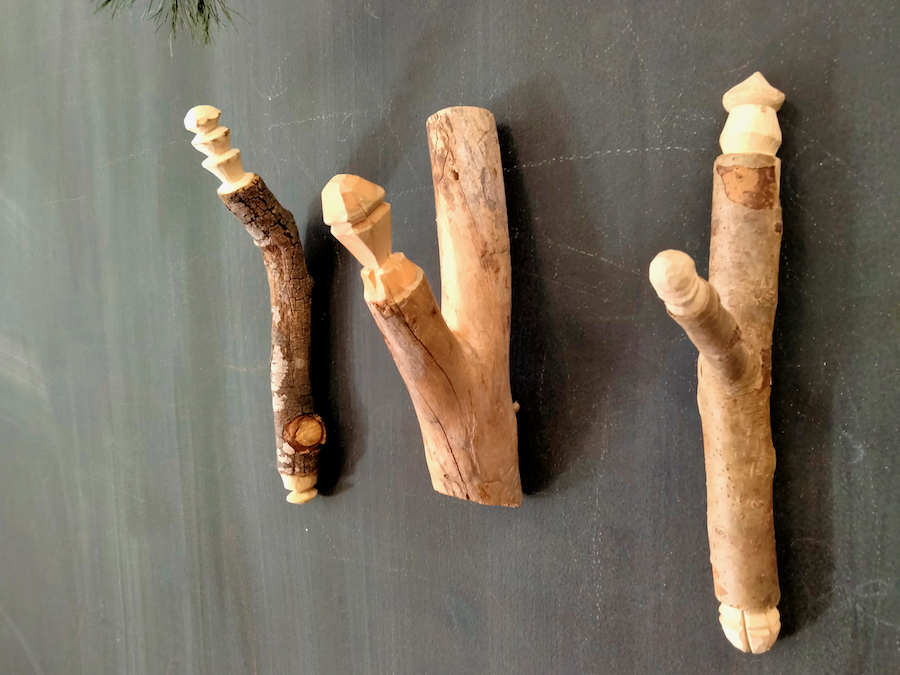
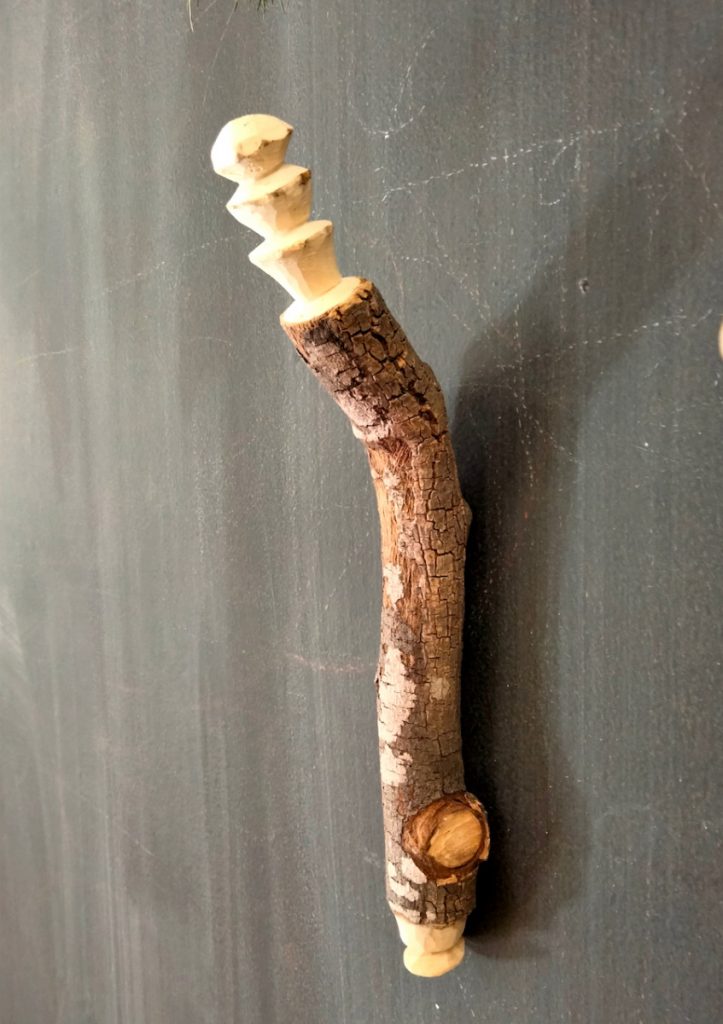
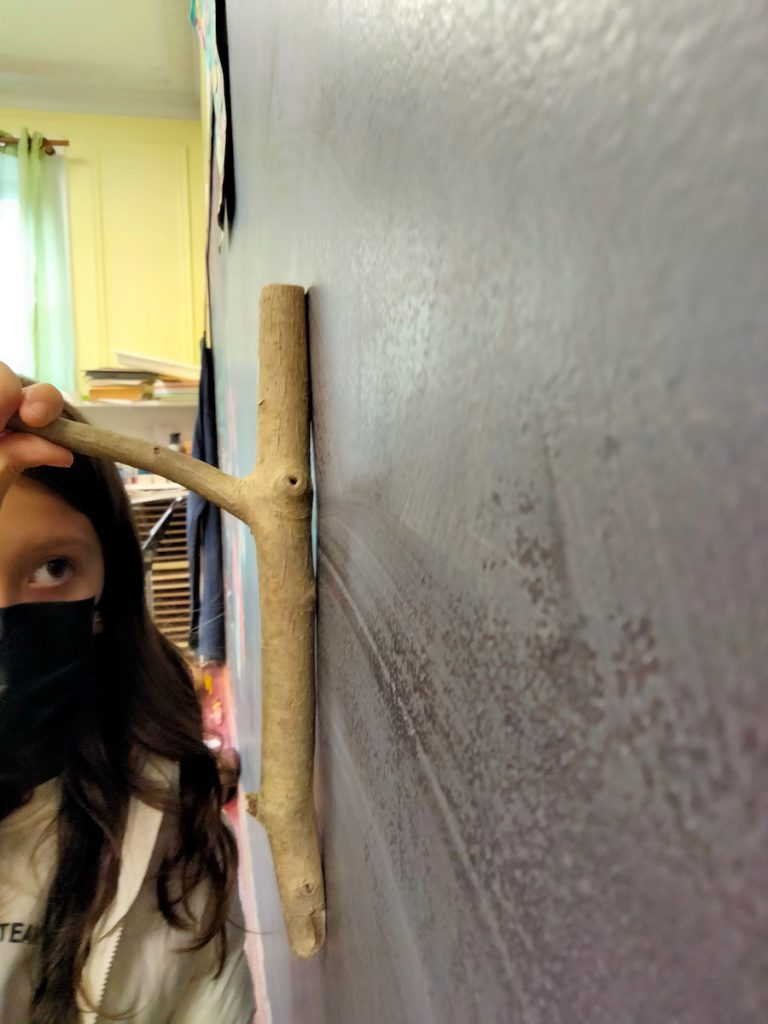
Some of our branch hooks are not forked branches but an angled branches.
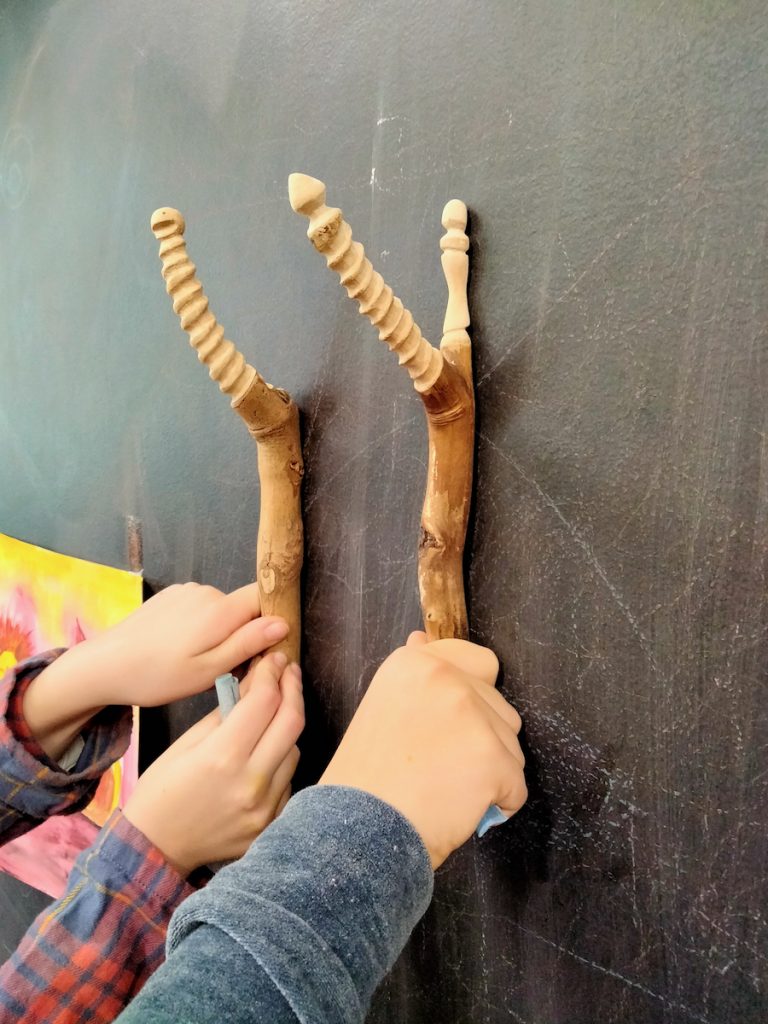
I also gave them a printout of some of my branch hooks’ design drawings (I will show them next time). We talked about the many possibilities for finials and terminus (new words for them) that they can choose or develop themselves. I then asked them to choose a branch from my basket and told them to draw it on a sheet of paper. The drawing documenting exercise brings them closer to their branch topography and is in general a quick nature-drawing task that is always good for the hand and mind relationship.

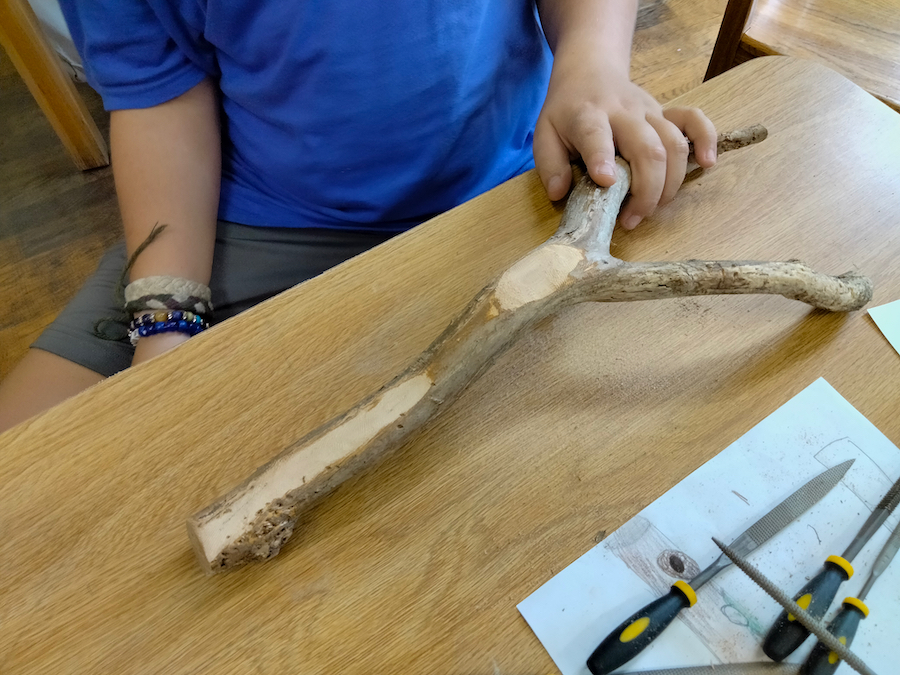
In the images below you can see the first batch of branches that I gave my students. I pre-flattened the backs of these branches to make it easier for the children but I left the next batch of branches raw to let them practice the back flattening by themselves.


Once the students finished drawing their branch I asked them to propose a design for the hook’s finial and terminus, which they illustrate near the drawing of their branch.
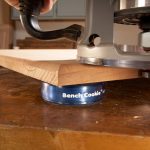
After this, I tell them that in order to allow the hook to register nicely against the flat surface of the wall or the door it will be hanging on we need to flatten its backside. My students flatten their branch’s back with a whittling knife or a rasp, and they use a straight edge (such as a rule) to indicate how well their work has progressed. I also mention to them that the flat surface of their bench can serve as a reference surface for flatness and when they have achieved two flat and coplanar surfaces on the back of the branch our truing work has been completed.
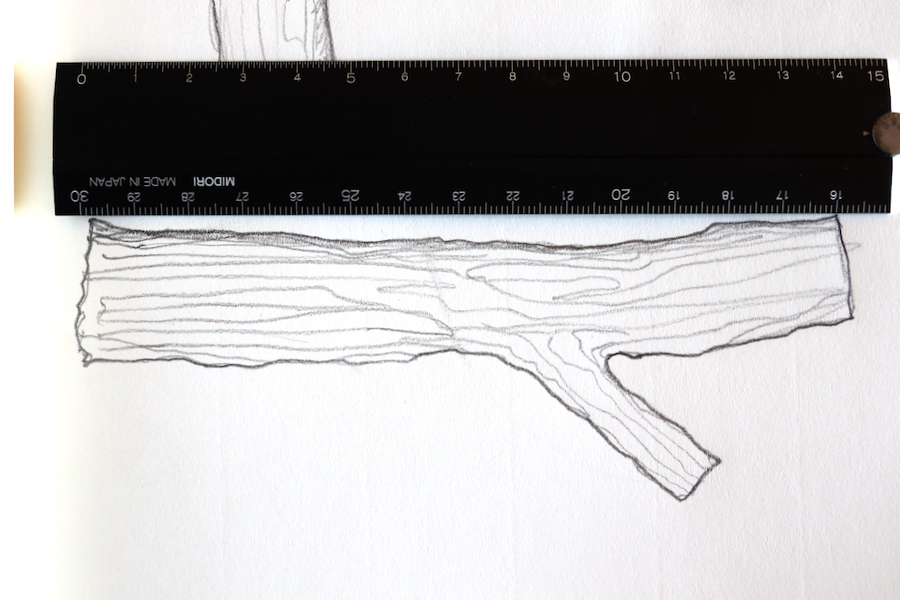
Bring a straight edge to the back of the branch and check for flatness.
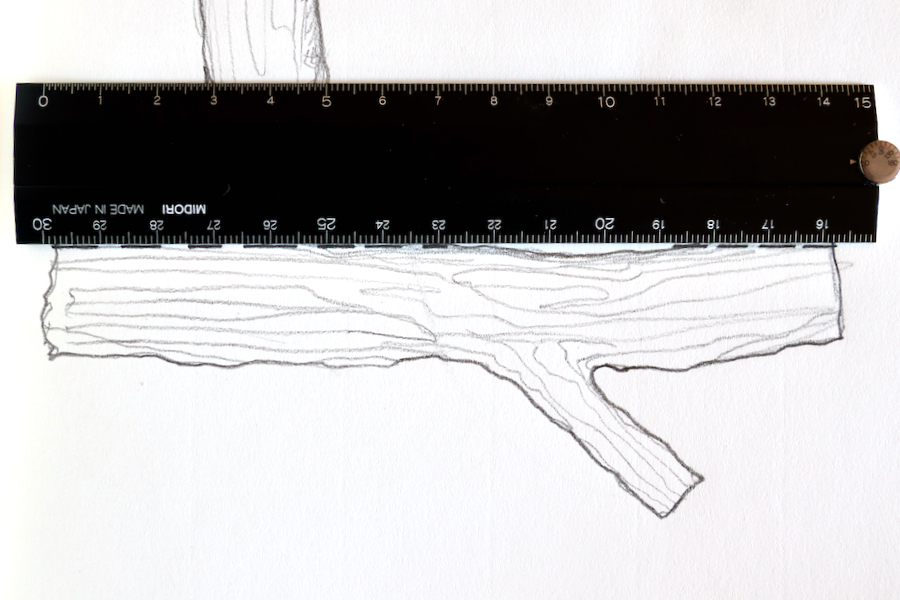
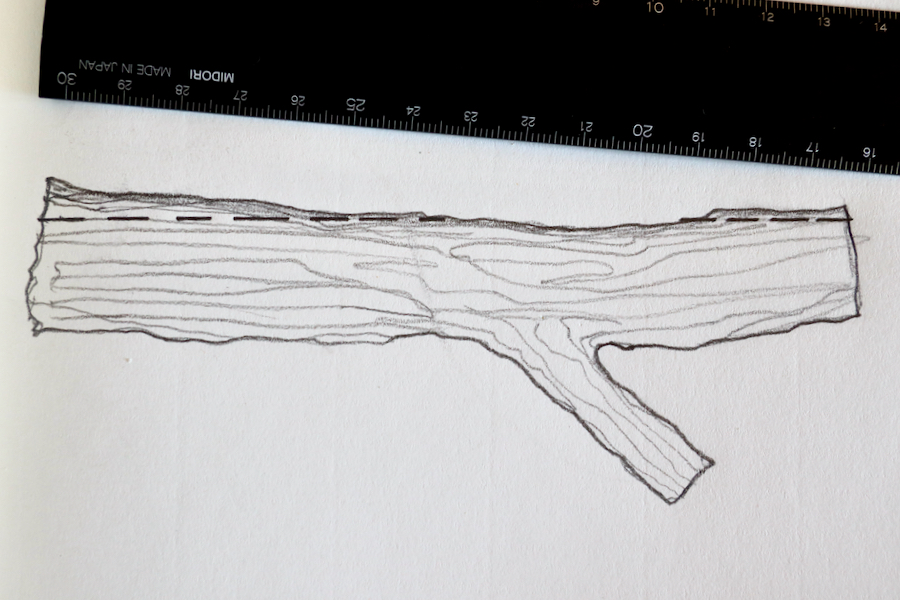
Whittle or rasp the high points until you establish two flat surfaces (A and B) that will make it easier to register the branch to a wall or a door.

There is no need to flatten the entire back.
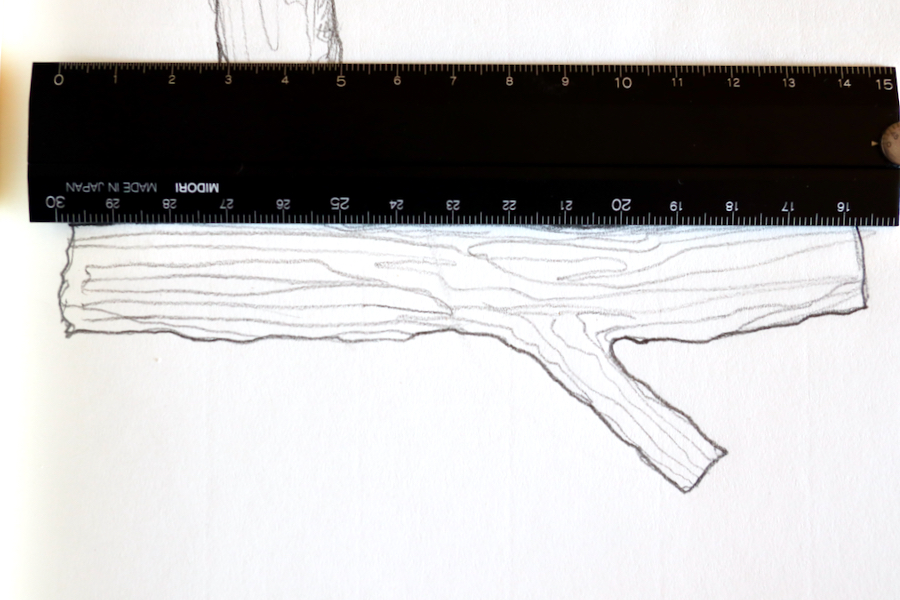
To flatten the back we begin rasping or whittling the two most elevated areas on the back of the branch. We use a straight edge such as a rule and check constantly. It is quite ok to flatten only part of the back. But if you like it you can remove enough material to have the entire back flattened out.


Sighting for straightness is another skill that I teach my students. I asked them to look at both the surfaces that they are working on and try to see if they are on the same plane.
Once the back has been sufficiently flattened we continue to the next stage of creating the finials. 
Here are some supplies and tools we find essential in our everyday work around the shop. We may receive a commission from sales referred by our links; however, we have carefully selected these products for their usefulness and quality.