We may receive a commission when you use our affiliate links. However, this does not impact our recommendations.
From the Archives: Dale Nish, one of the principal architects of the turning revival, shares some turning techniques.
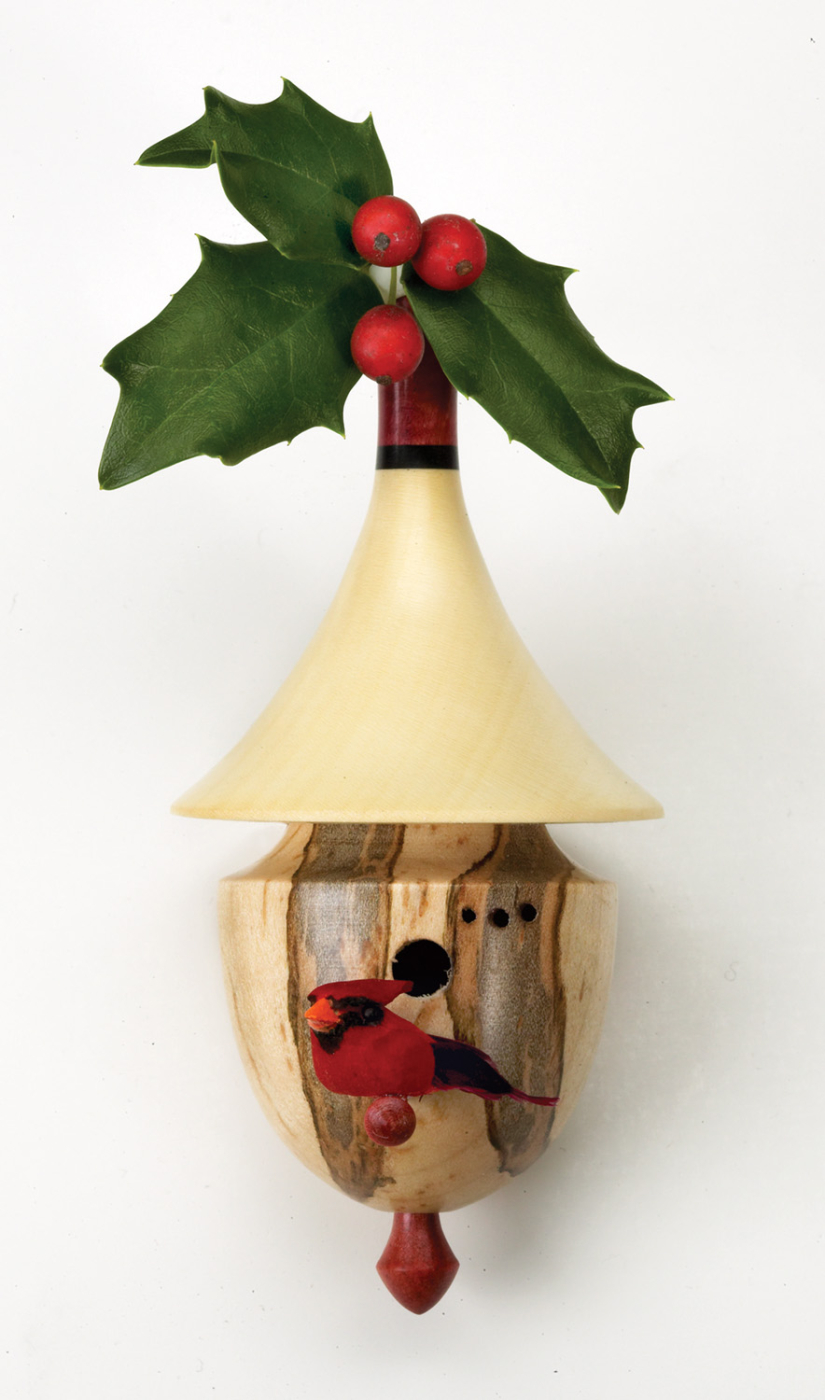
Birdhouse Christmas ornaments have become very popular the last few years, and they are excellent gifts for family and friends. Back in 1993, I saw a birdhouse ornament made by Ray Huskey from Gatlinburg, Tenn. I was intrigued by the possibilities of this small project as a gift for our grandchildren and friends. Since then, I have made birdhouse ornaments each year for the past 10 years. Each year I make a different design from a variety of woods, and I turn 40 or 50 for Christmas. No, we don’t have 40 grandchildren, but we do have 18. The rest of the ornaments go to family and friends, and a few go for sale. So far I’ve turned a total of 400 to 500 ornaments.
Typically the ornaments are turned in groups of 10 or 12, usually from a variety of colorful or unusual woods. After the bodies and roofs are turned and finished, I match the tops and bodies for interest, contrast or color. The perches and finials are usually made from the same species, such as ebony or pink ivory, but any straight-grained and dense hardwood would do.
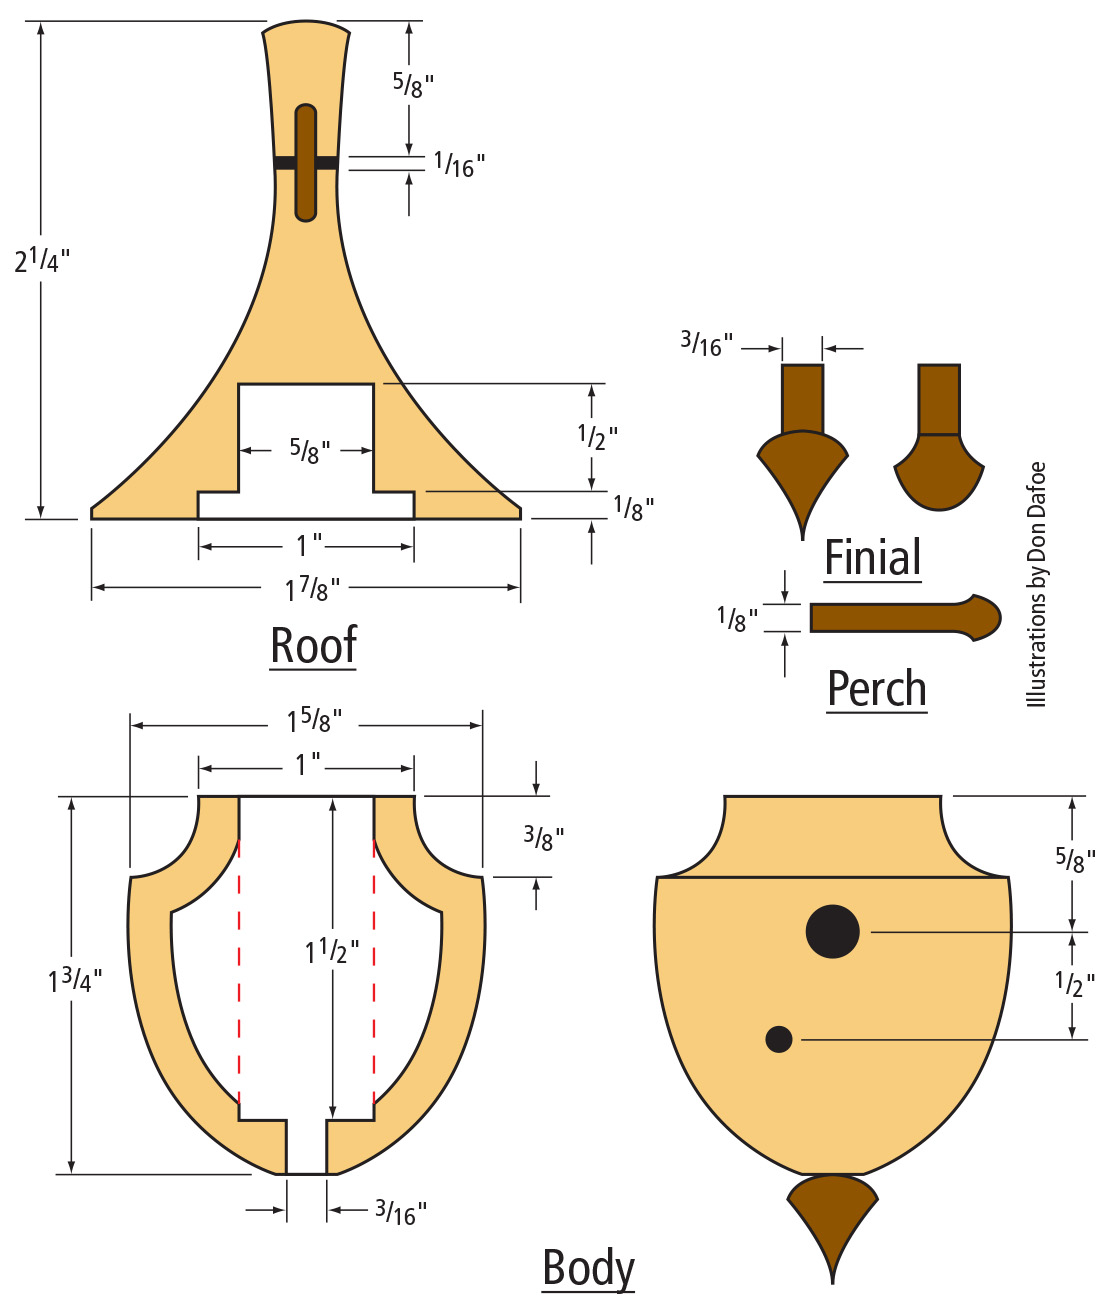
Turned Birdhouse Ornament Diagrams
Turning the Body
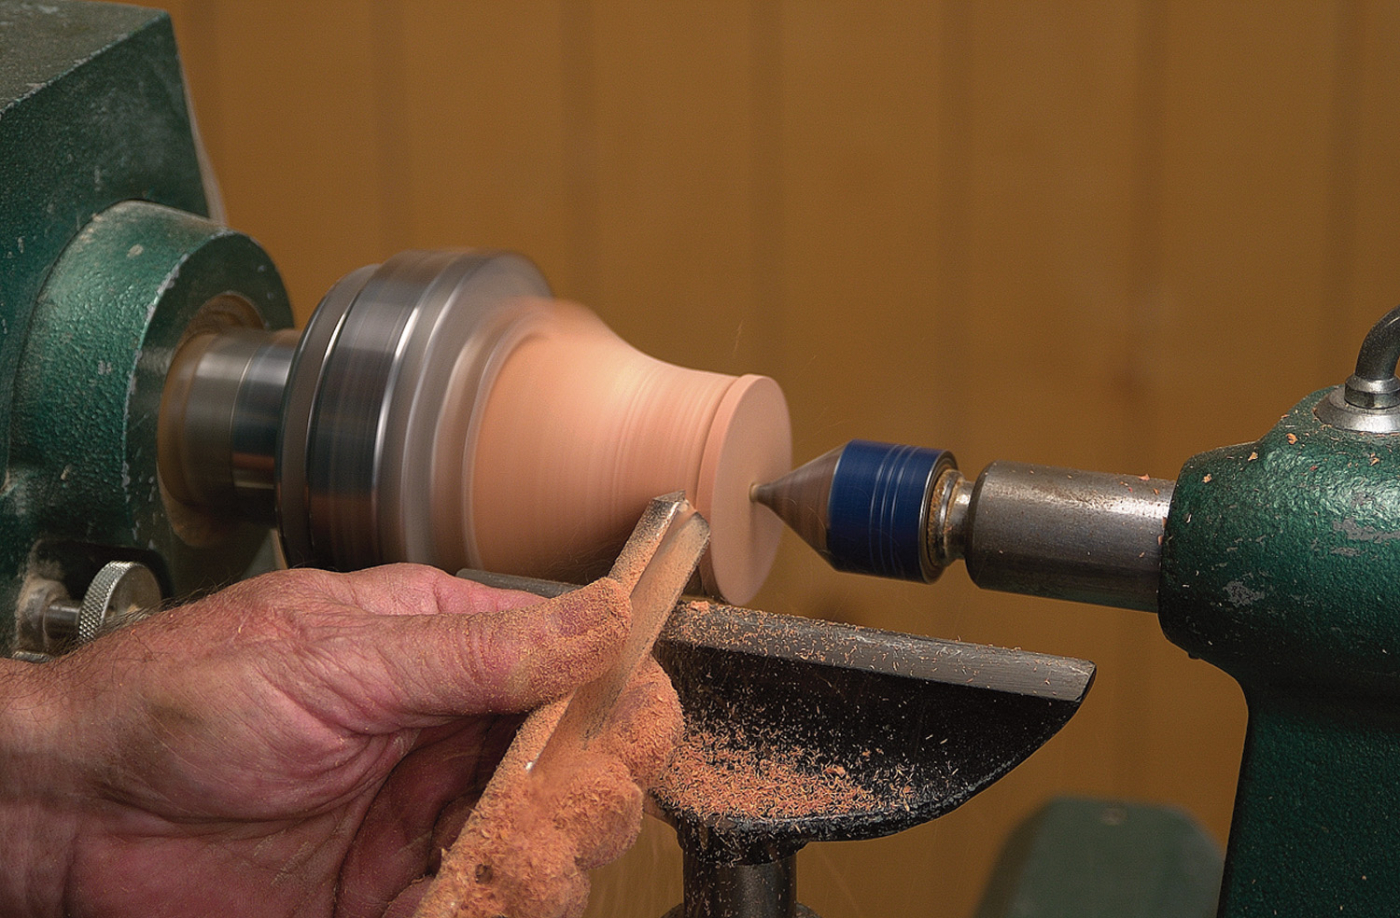
1. Select a block of wood approximately 2″ square and about 2-1⁄2″ long. This can be put in a chuck or turned into a cylinder between centers with the grain running lengthwise.
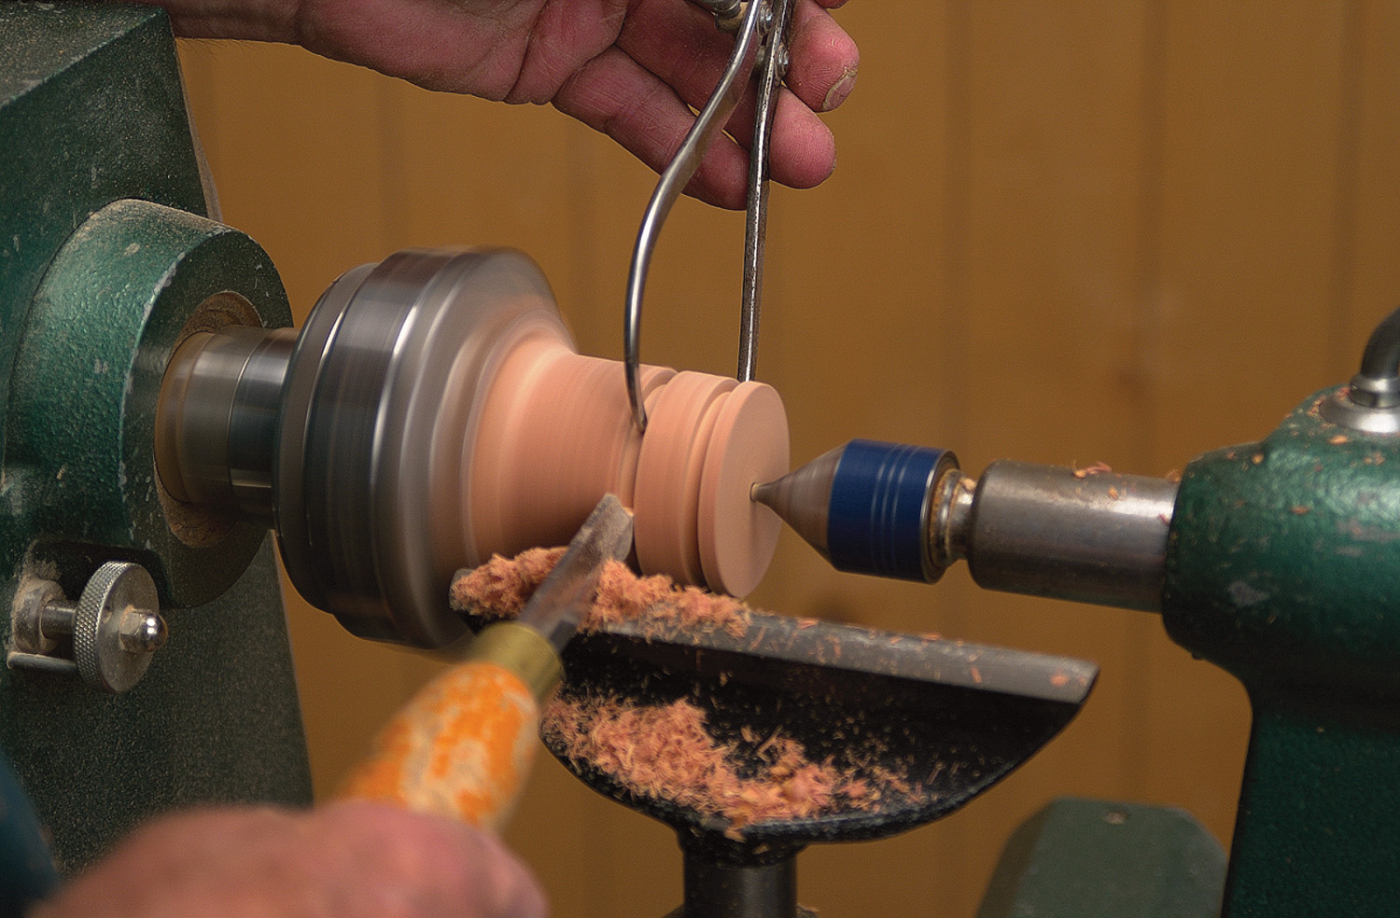
2. If a chuck is used, turn part of the block to round, then use a parting tool and calipers to establish a rough diameter dimension, which is the finished dimension plus 1⁄16″, in this case about 1-11⁄16″.
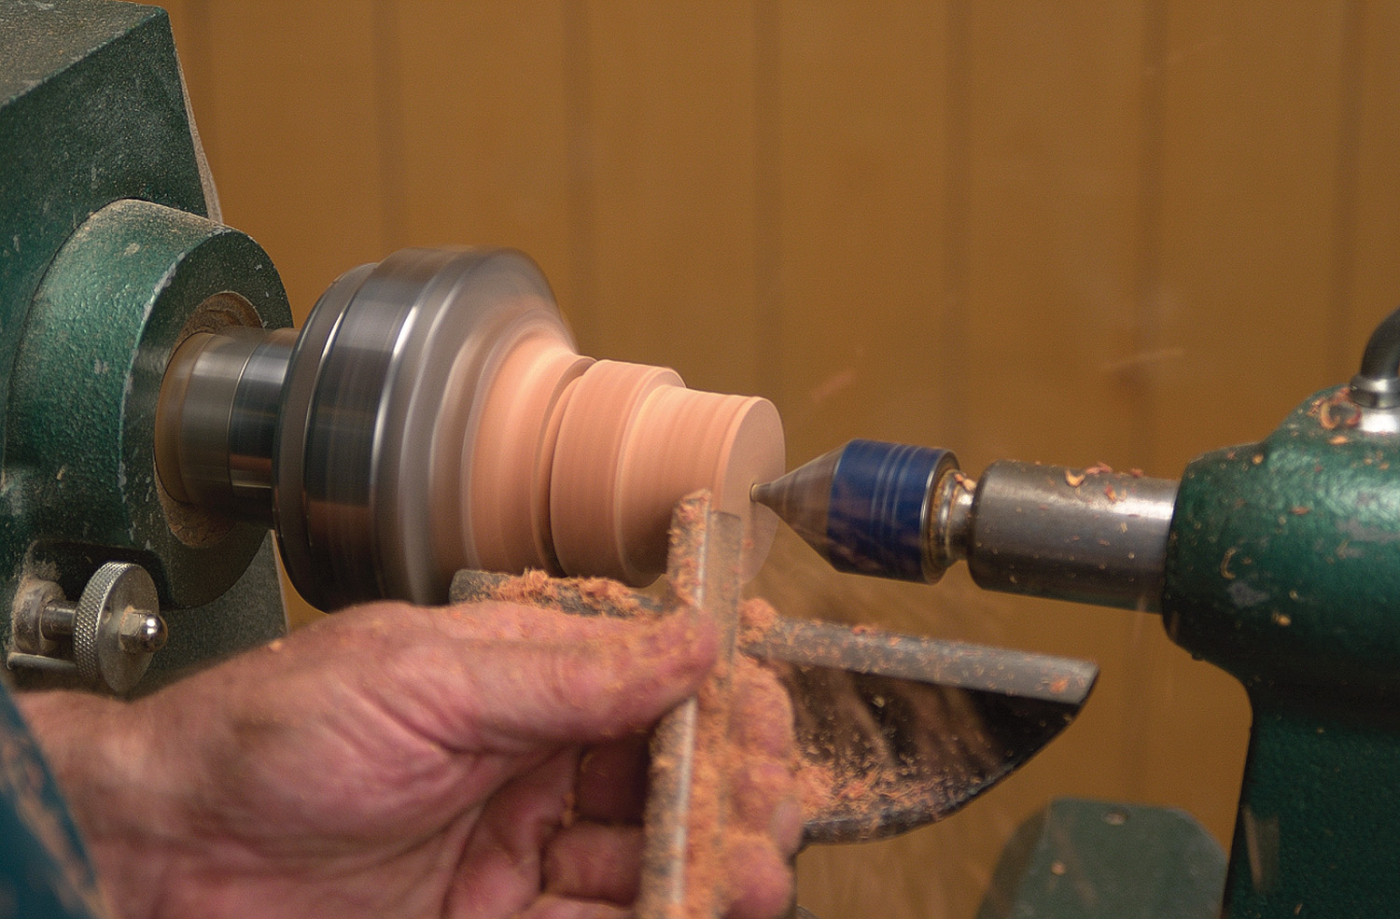
3. Turn the cylinder down to the calipered dimension using a gouge, removing stock up to two-thirds of the length, but not getting too close to the chuck. Cut the end of the cylinder clean and smooth.
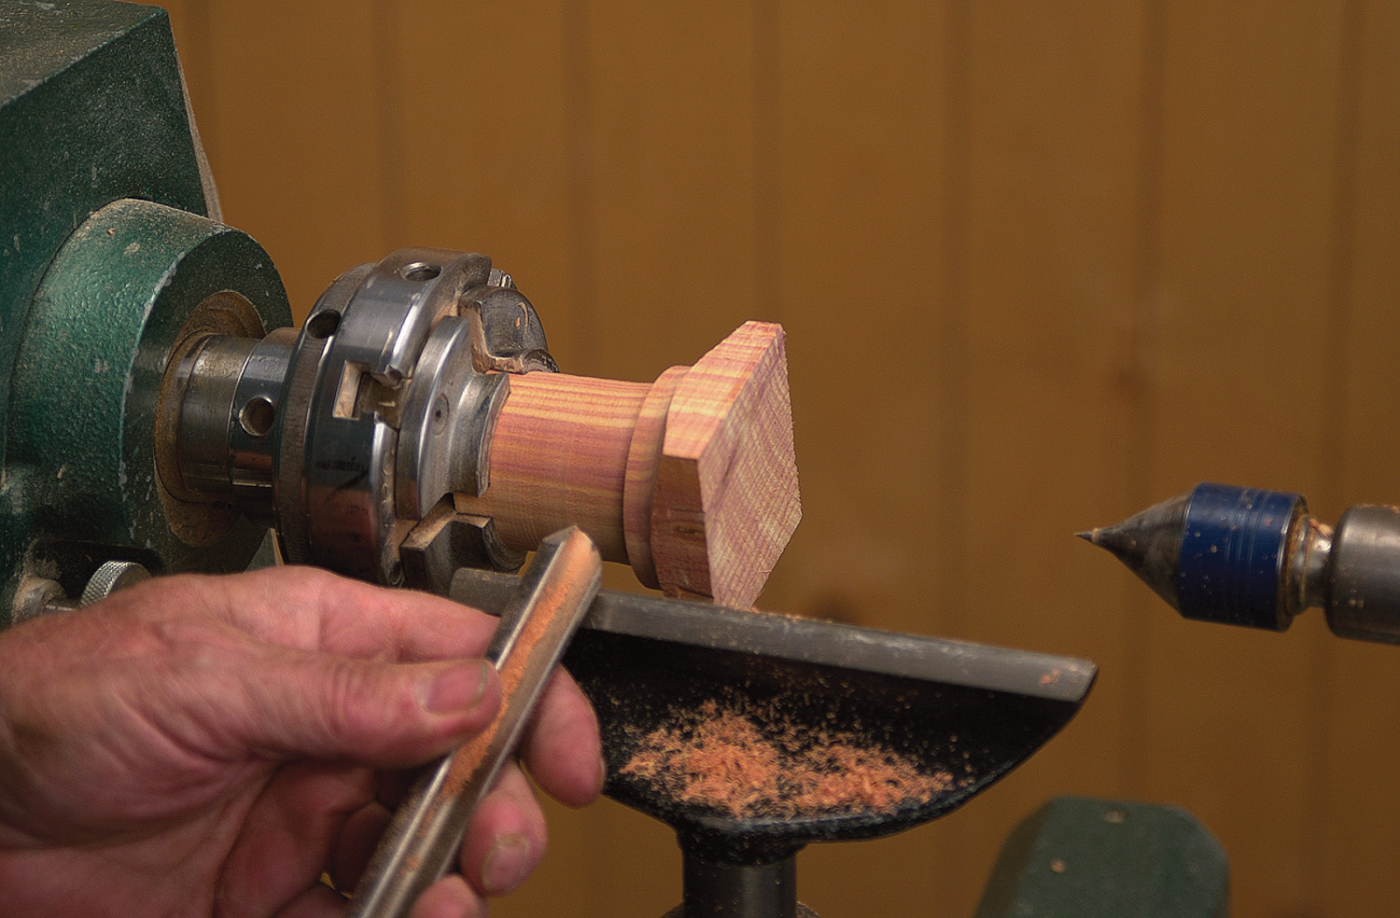
4. Reverse the stock in the chuck and turn off the square end. Turn the rest of the block to the correct rough dimension.
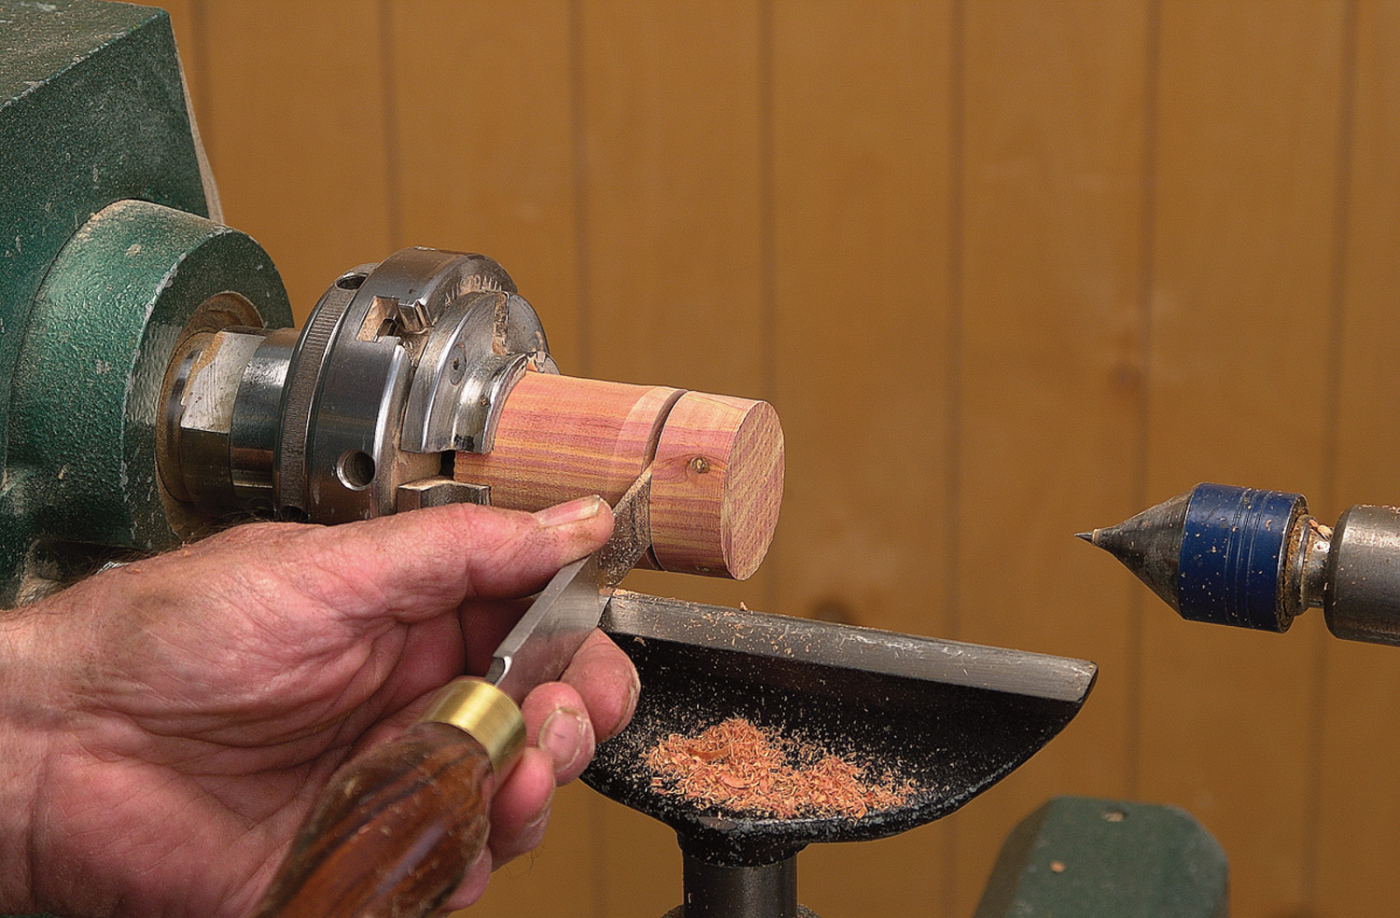
5. Measure and mark the cylinder to finished length. Part off the excess piece of wood. This should leave a cylinder 1-3⁄4″ long. Examine the cylinder, checking for color or figure. The most interesting part of the work will be at the top of the body. It may be necessary to remove the cylinder from the chuck and reverse it to achieve this.
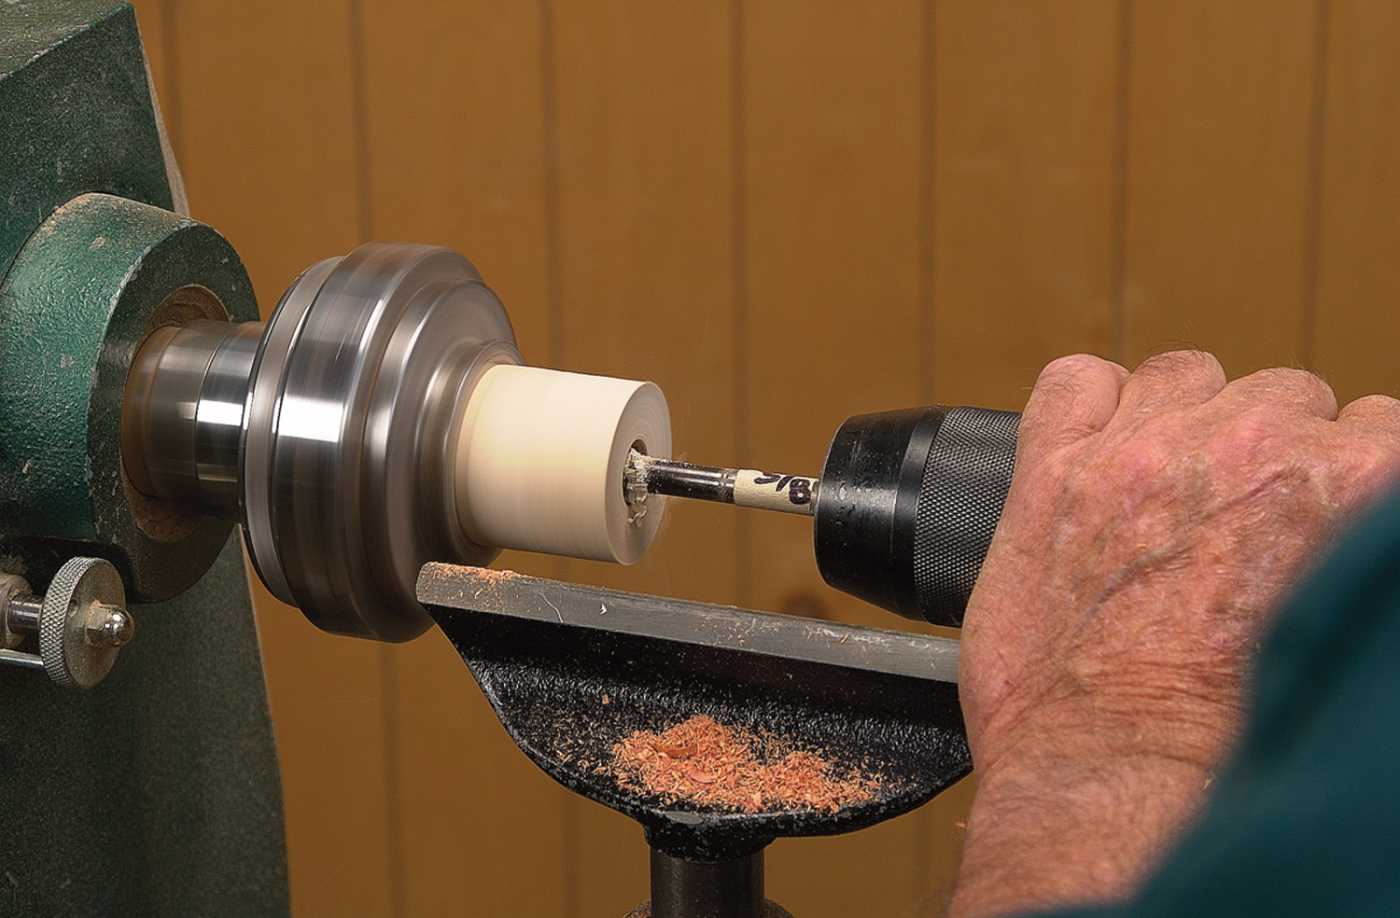
6. Insert a drill chuck into the tailstock and install a 5⁄8″ Forstner or sawtooth bit. Drill a hole 1-1⁄2″ deep. This will leave 1⁄4″ of wood in the base of the body. (Here I’m working on a different ornament. Remember how many I had to make? So I apologize for the species change throughout the article. But note that the steps are the same.)
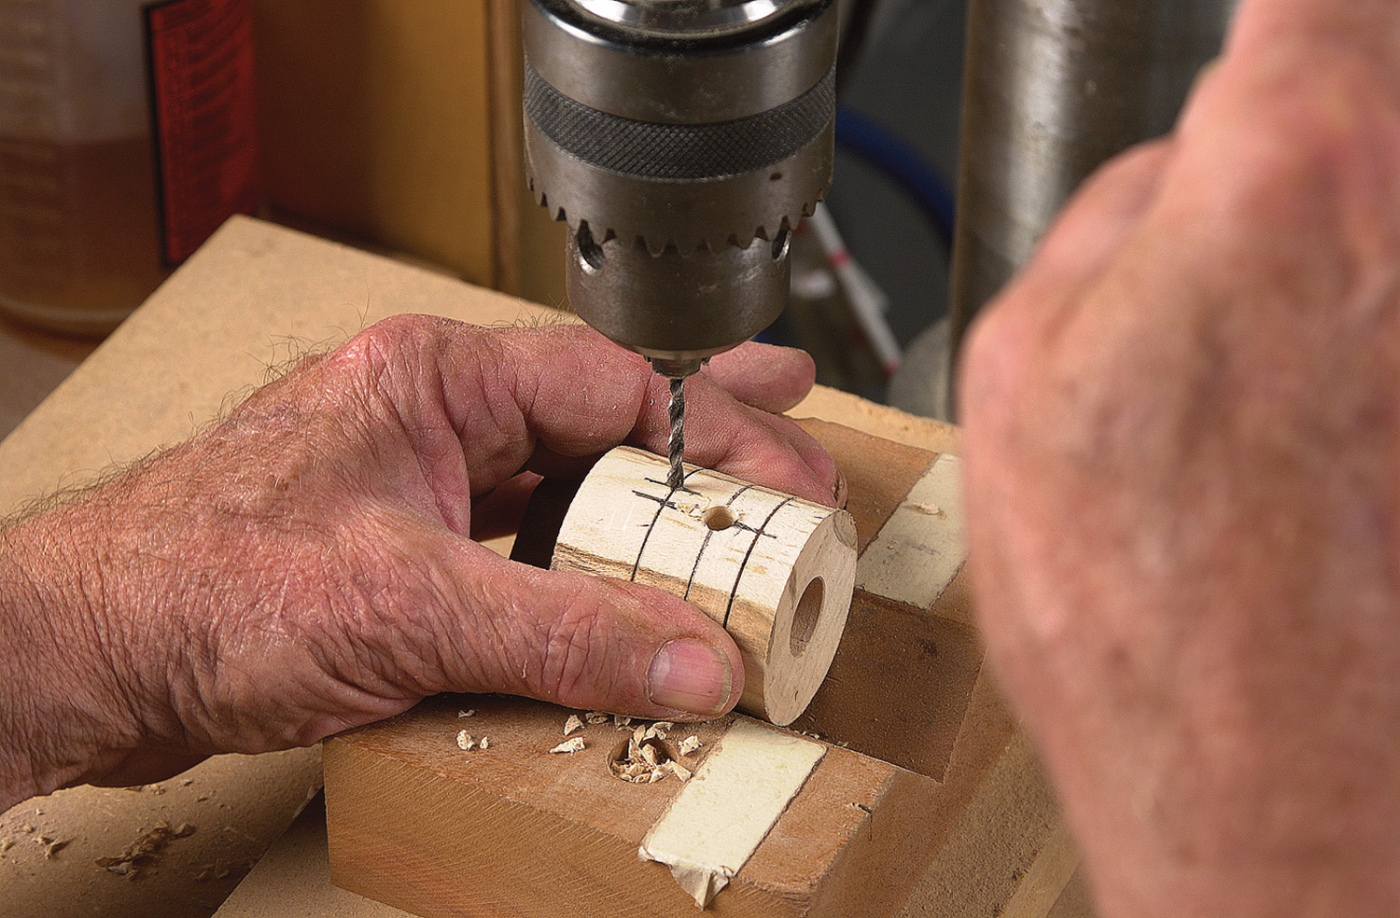
7. Mark the beginning of the cove at the top of the shoulder, the birdhouse opening and the perch hole. The marked points are difficult to see, so darken them with a pencil line. The pencil lines are marked with the cylinder turning. The perch hole and birdhouse opening are best drilled using a V-block and a drill press. Center the V-block under the drill bit and clamp the V-block in position. Put the marked cylinder in the V-block and rotate it until you find the place for the entry hole. Mark it. Now drop down to the perch hole line and offset the perch hole about 1⁄4″ one side or the other from the entry hole. This is done so that when a bird is glued to the perch, the bird will not cover the entry hole. Mark the entry hole and drill it with a 1⁄4″ bit. Drill the perch hole 1⁄8″ diameter.
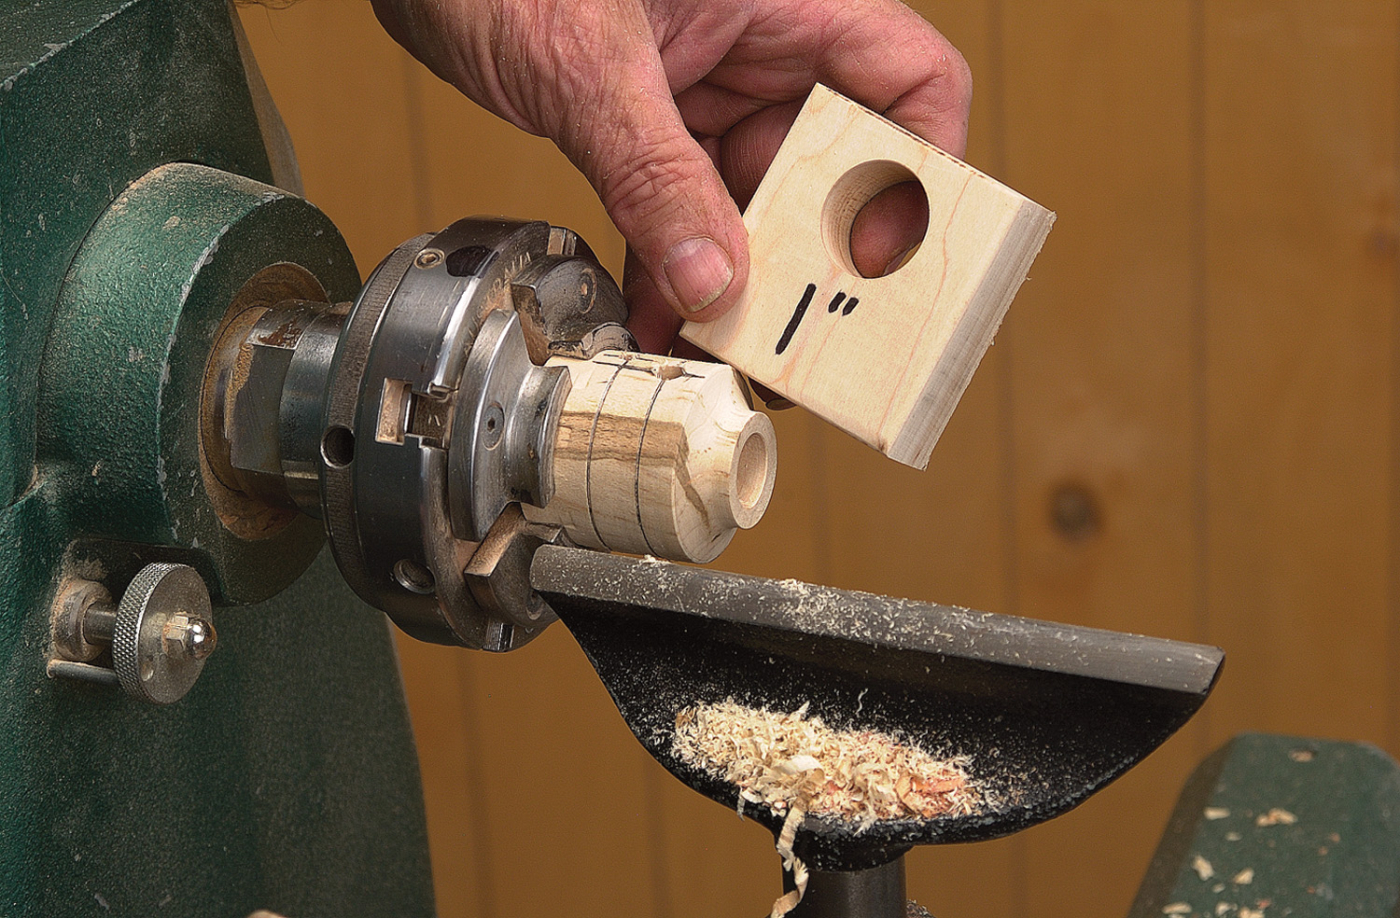
8. Place the body back in the chuck and turn the shoulder down to 1″ diameter. A 3⁄8″ spindle gouge works well for this. Try to get a nice smooth cove. Check the fit with a block that has a 1″ hole drilled in it. Leave the area around the opening a little over finished dimension.
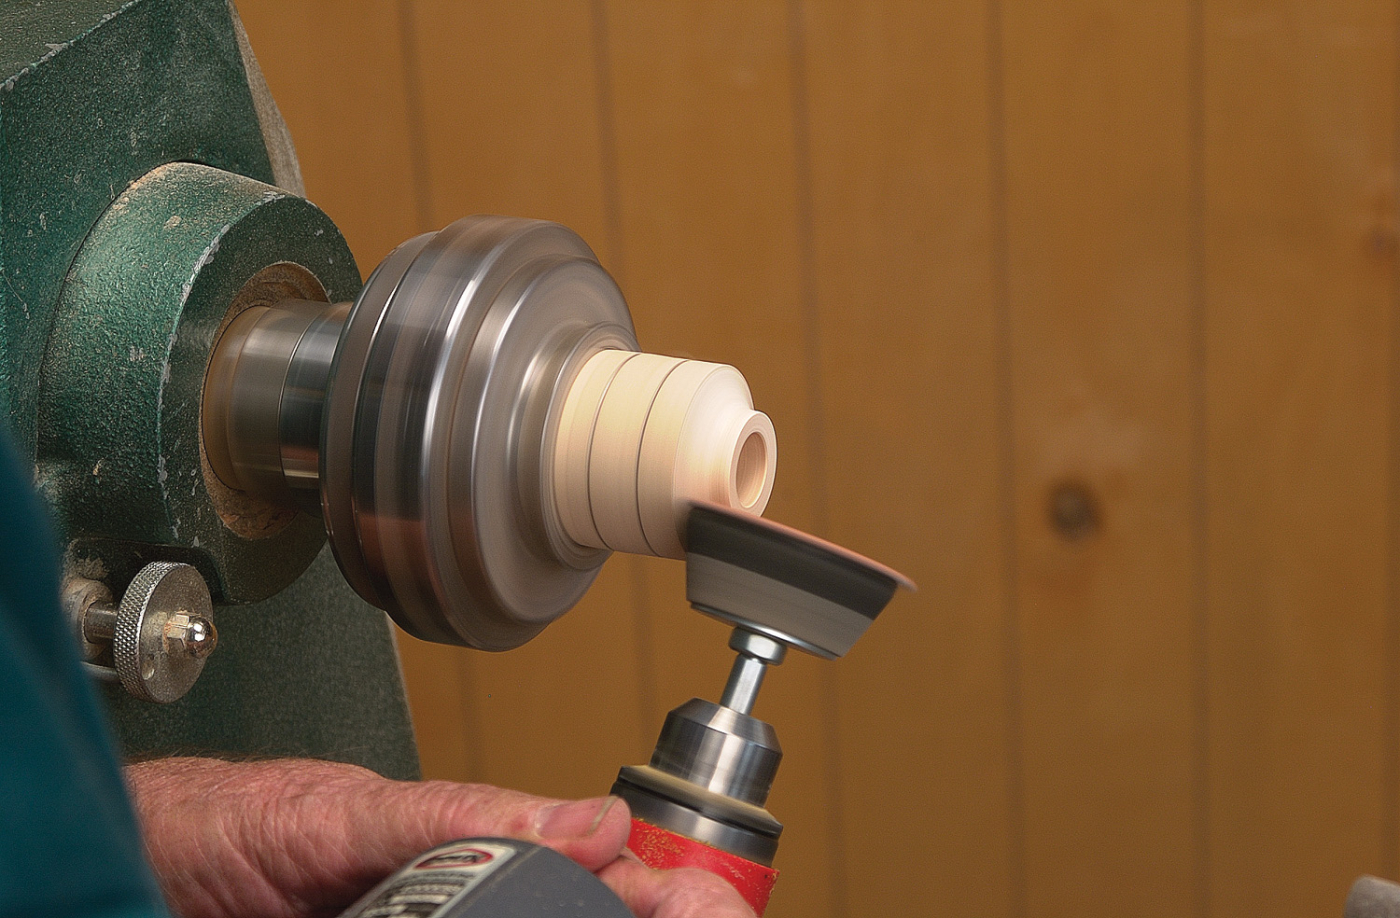
9. Sand the cove down to finished dimension using a Velcro disc and power sanding, or sand by hand. I use a grit sequence of #100, #150, #220 and #320. Frequently use the block to check the fit. It should be slightly loose, perhaps 1⁄64″. With power sanding, it’s easy to sand off too much and get a sloppy fit.
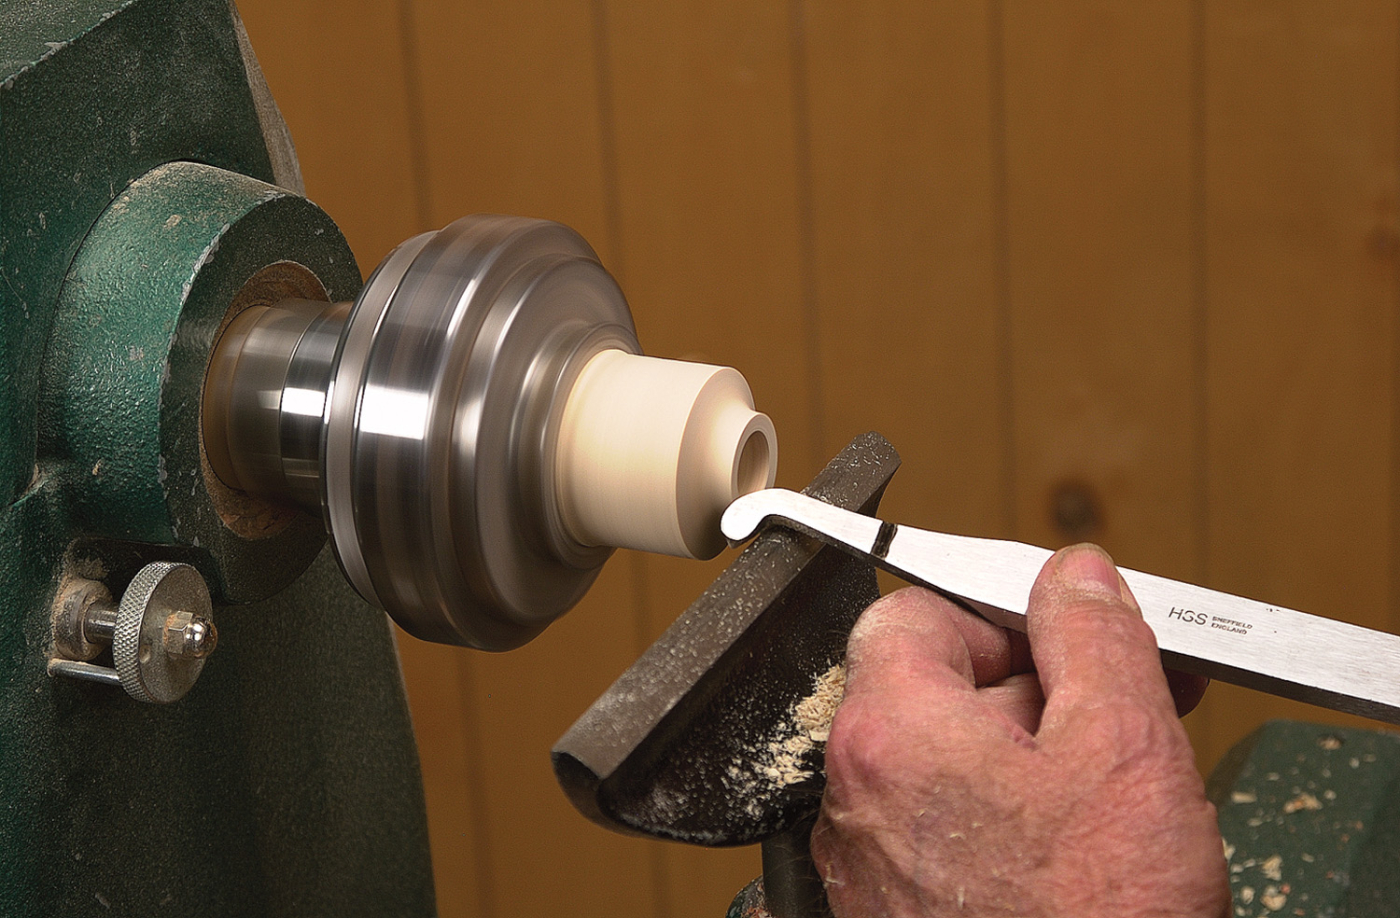
10. The interior of the body is hollowed out using a small hooked scraper. Use light scraping cuts, stopping frequently to clean out the shavings. Be very careful not to damage the inside of the opening or remove the drill bit hole in the bottom. These must be used to accurately hold the body on the mandrel for finishing the outside.
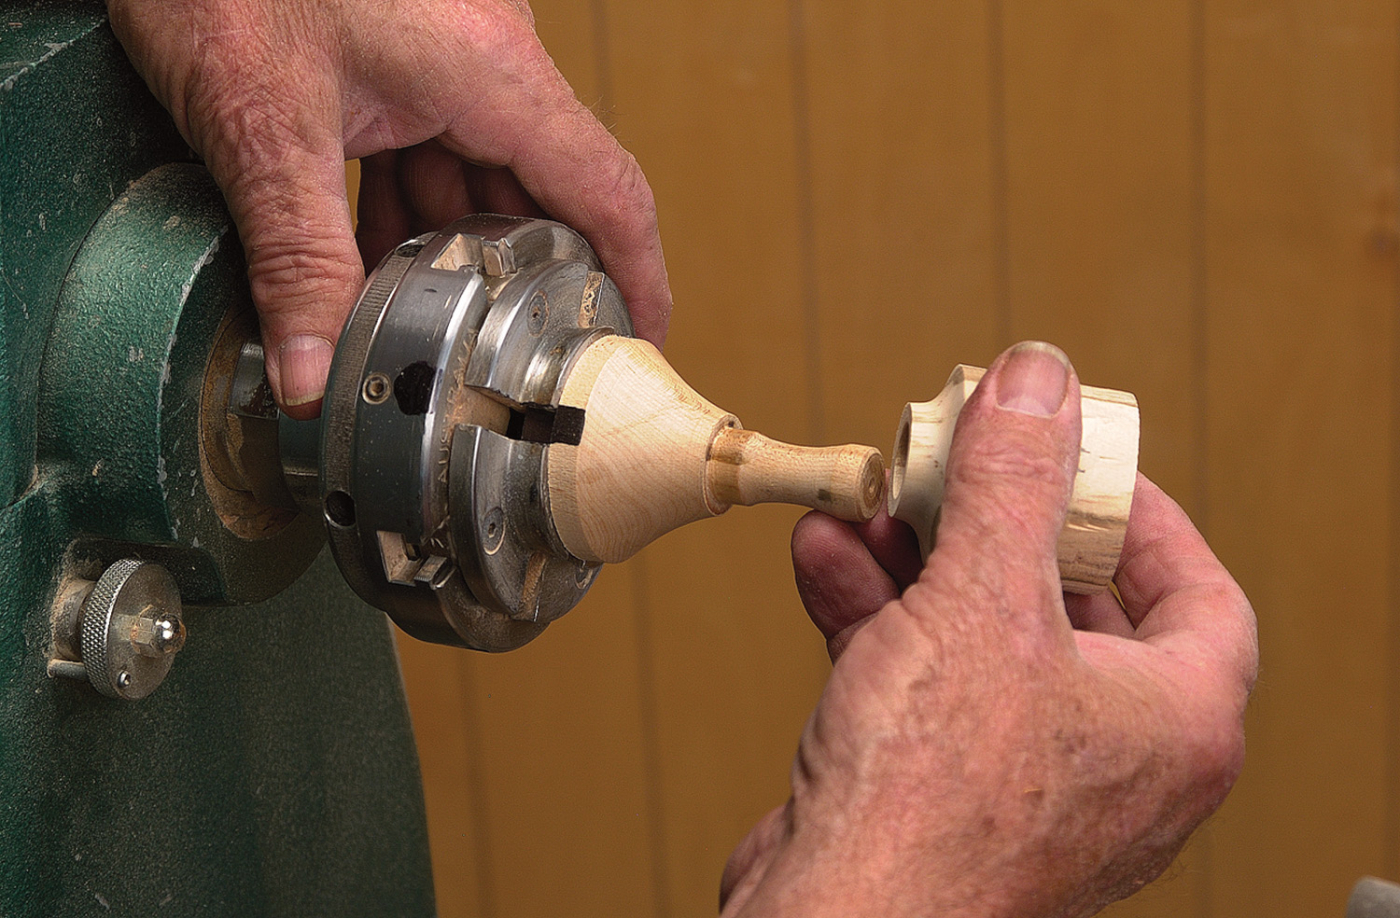
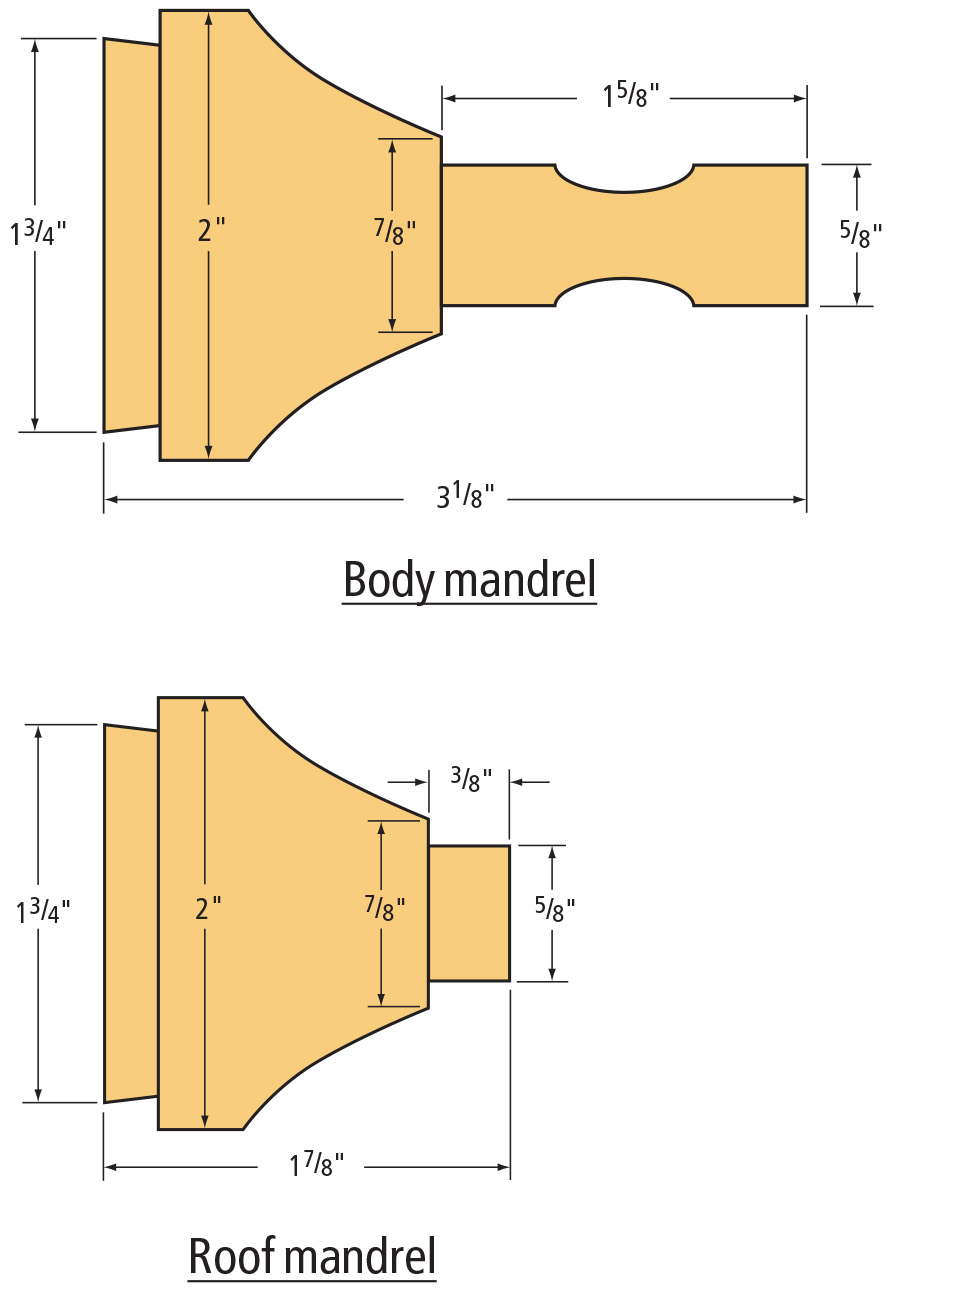
11. My mandrel is shop-made. Make one using the drawings at the top of this article. Install the mandrel for the body in the chuck and tighten it securely. Slide the body on the mandrel. The fit must be tight enough to hold the body while the outside is turned to shape. If the fit is too loose, use a little masking tape or tissue paper to make the fit tight. But, not too tight or the body may crack when the body is pushed on to the mandrel.
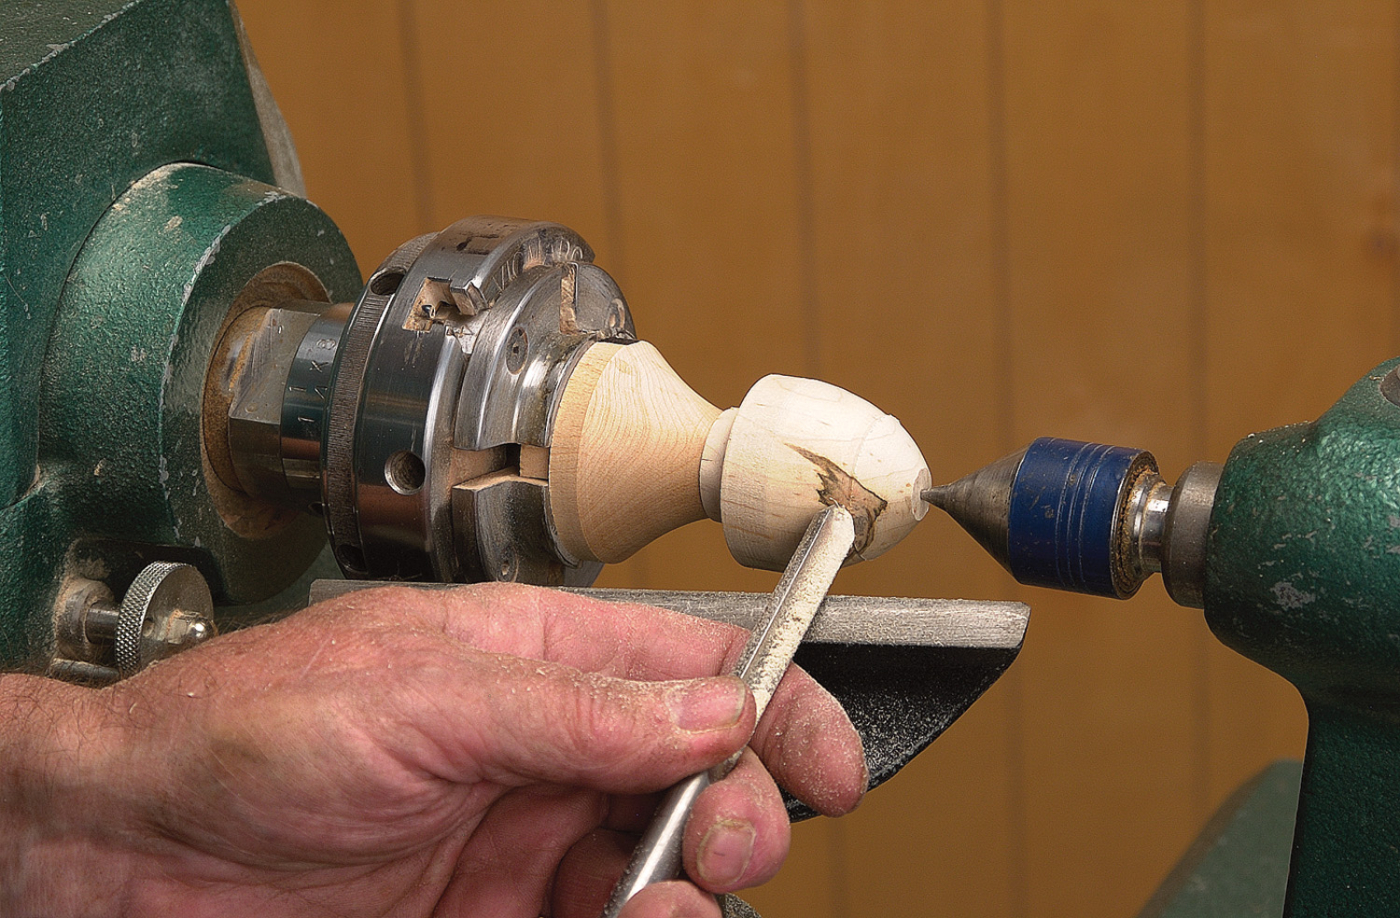
12. Move the tailstock and cone center in position to secure the body onto the mandrel. I use a 3⁄8″ spindle gouge for final shaping, cutting from the large to the small diameter with a light shearing cut.
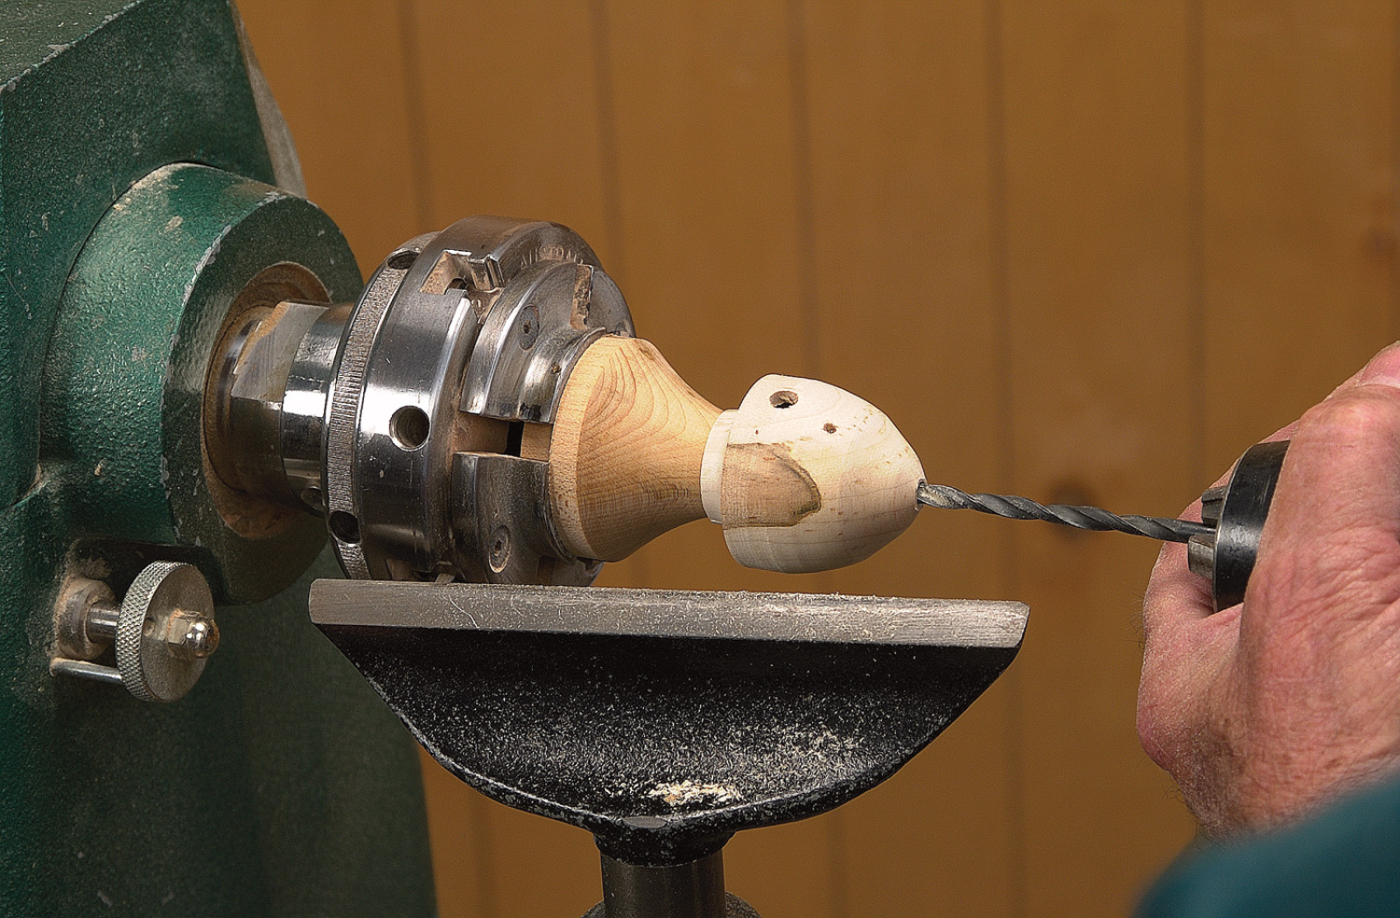
13. Drill a 3⁄16″ hole in the bottom of the body to hold the finial.
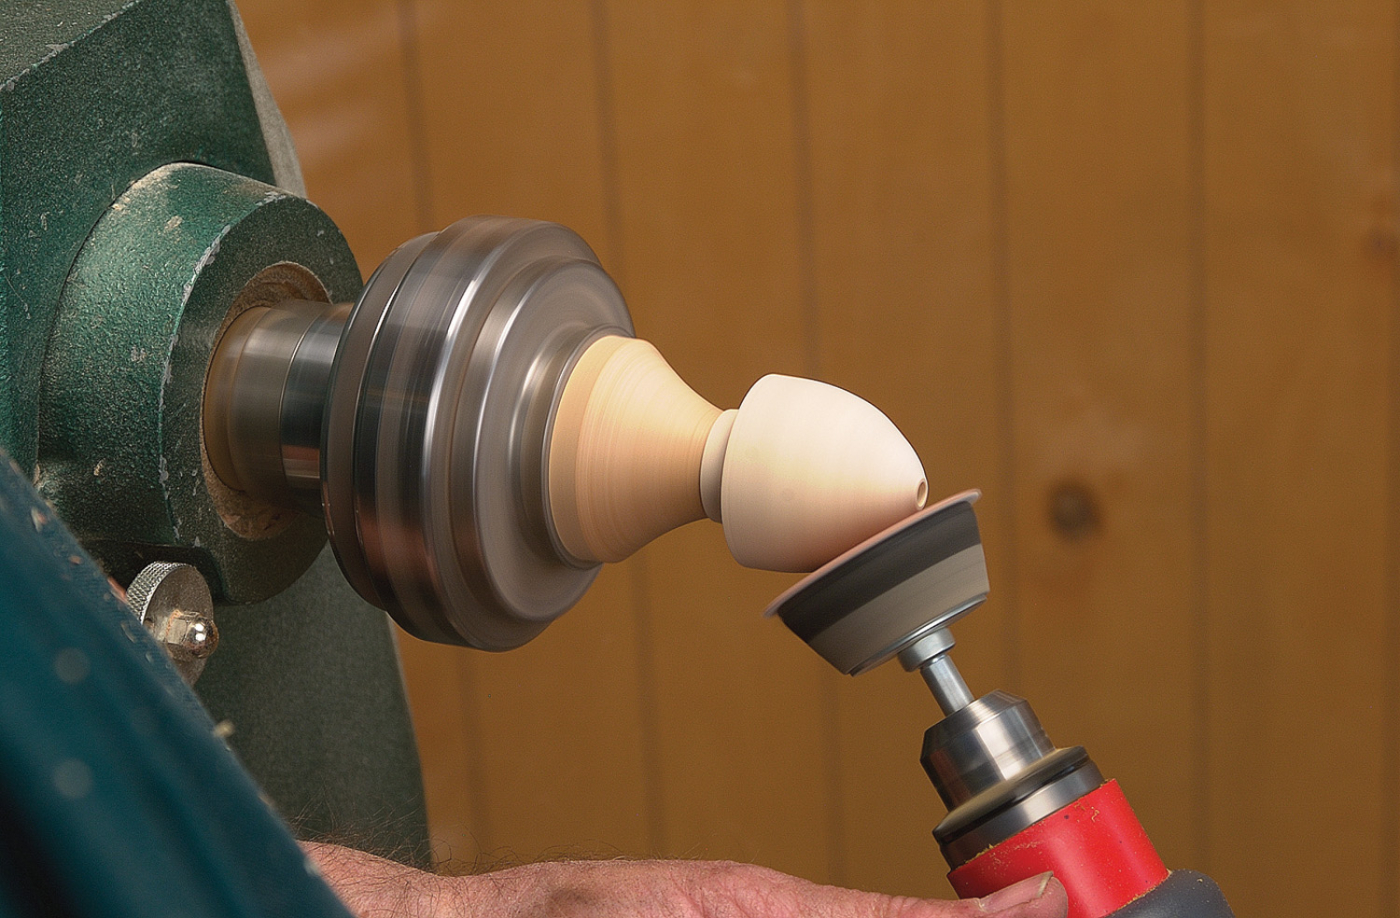
14. Sand the body with Velcro discs using #100, #150, #220, #320, and, if necessary, #400. Don’t sand too much and get the walls too thin. Look through the entrance hole and the perch hole to check the wall thickness.
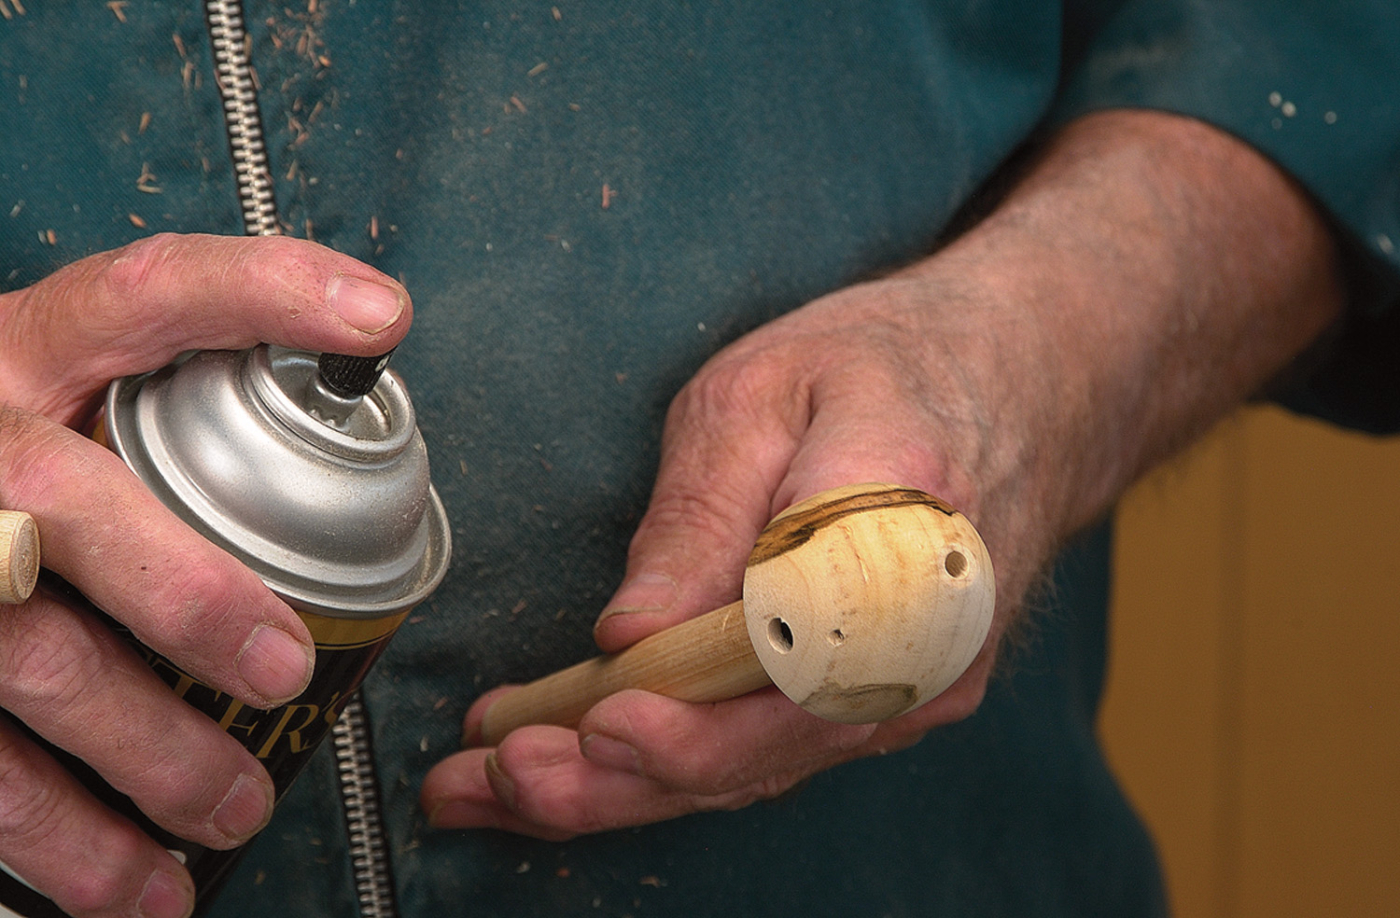
15. Finish the body. I prefer a lacquer finish. Insert a 5⁄8″ dowel 6″ to 8″ long into the body. This will make it easy to hold the body while spraying. I spray a full wet coat of Masters Magic high solids gloss lacquer. I prefer the gloss, as I want a shiny finish. After all, this is a Christmas ornament.
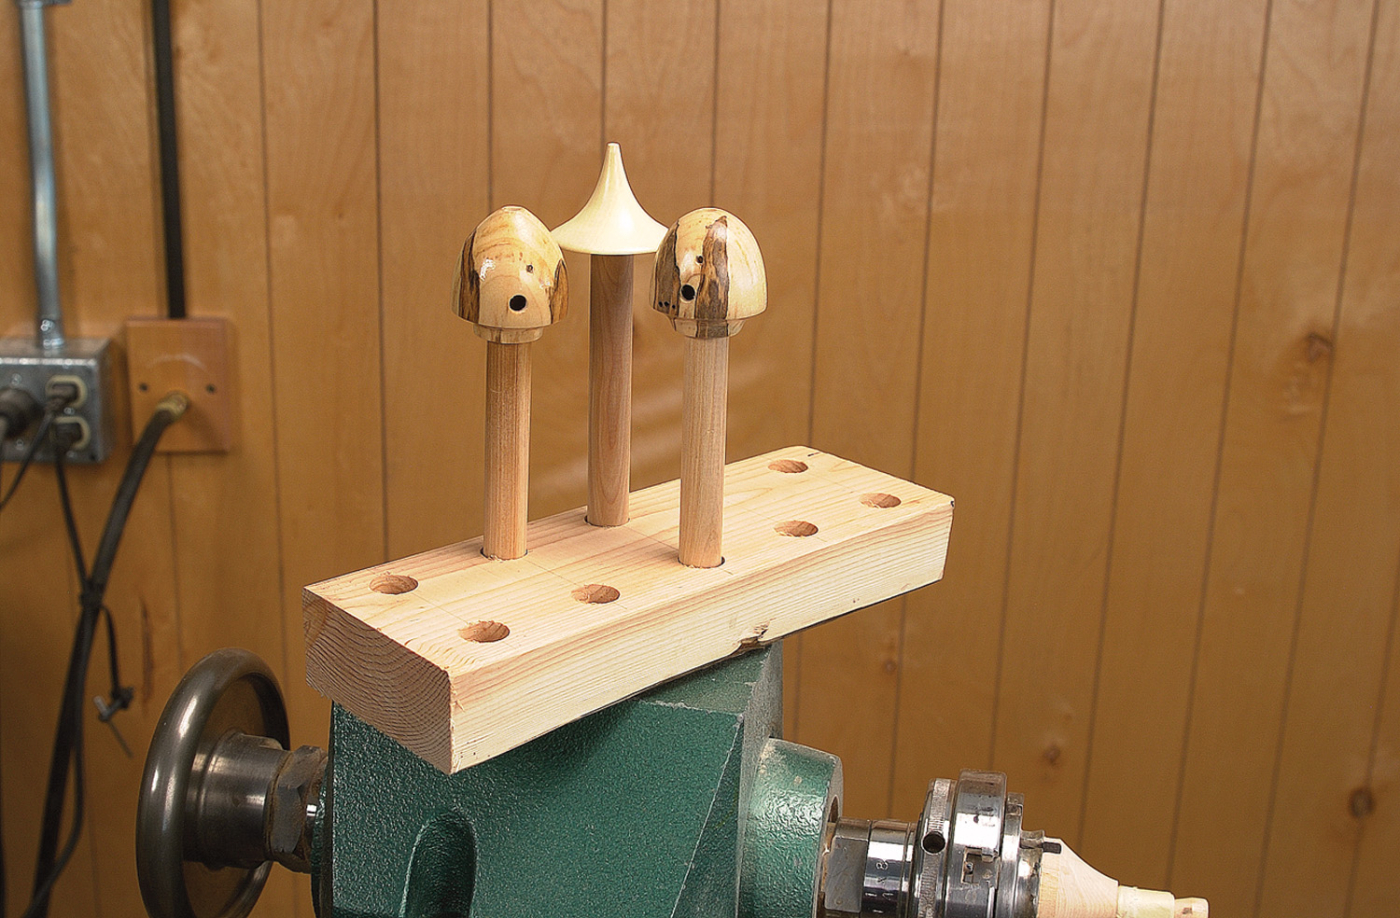
16. If any runs start to show, use the dowel to rotate the piece until the surface starts to set, then place the dowel in a holder until the finish is dry. Depending on humidity and temperature, the lacquer will be ready for a second coat in 15 minutes or so. When the finish is dry, the body is put back on the mandrel, the lathe turned on and the body is polished with #0000 steel wool and paste wax, then buffed with a flannel cloth.
Turning the Roof
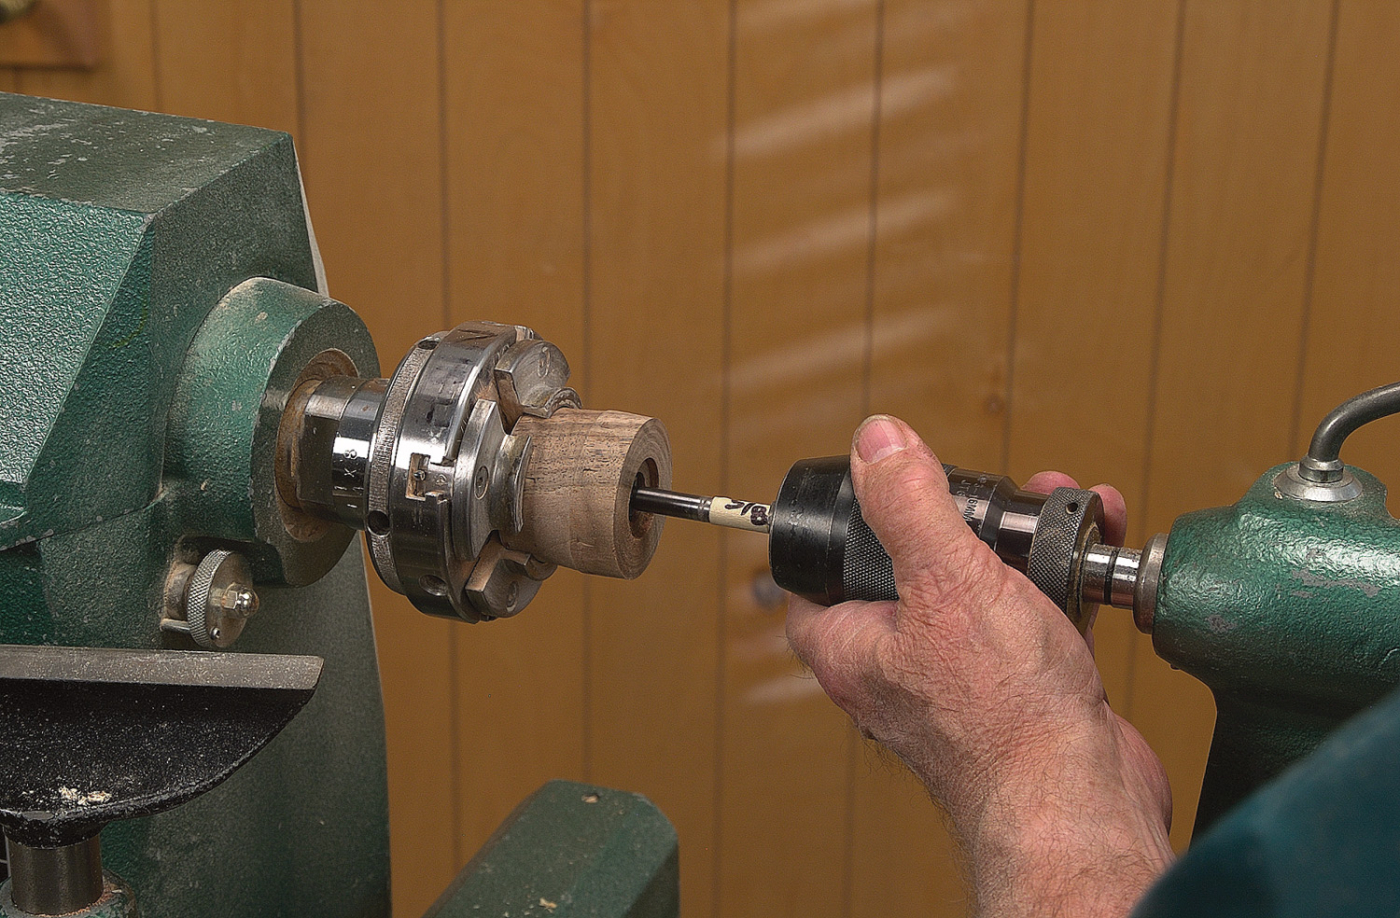
17. Select a block of wood for the roof. The procedure for roughing out the block and turning it to the required dimension is the same as shown in steps one through five for turning the body of the ornament. The only difference is the dimensions needed, and they are given on the drawing of the roof. For a basic roof, the block needs to be 1-5⁄8″ long and 1-7⁄8″ in diameter. Drill a 1″ hole that’s 1⁄8″ deep to provide a counterbore area for the top of the body to fit into. Now drill a 5⁄8″ hole that’s 1⁄2″ deep to allow the top to fit on the wooden mandrel. This also removes some of the wood in the top, making it lighter. Sand and finish the underside of the top.
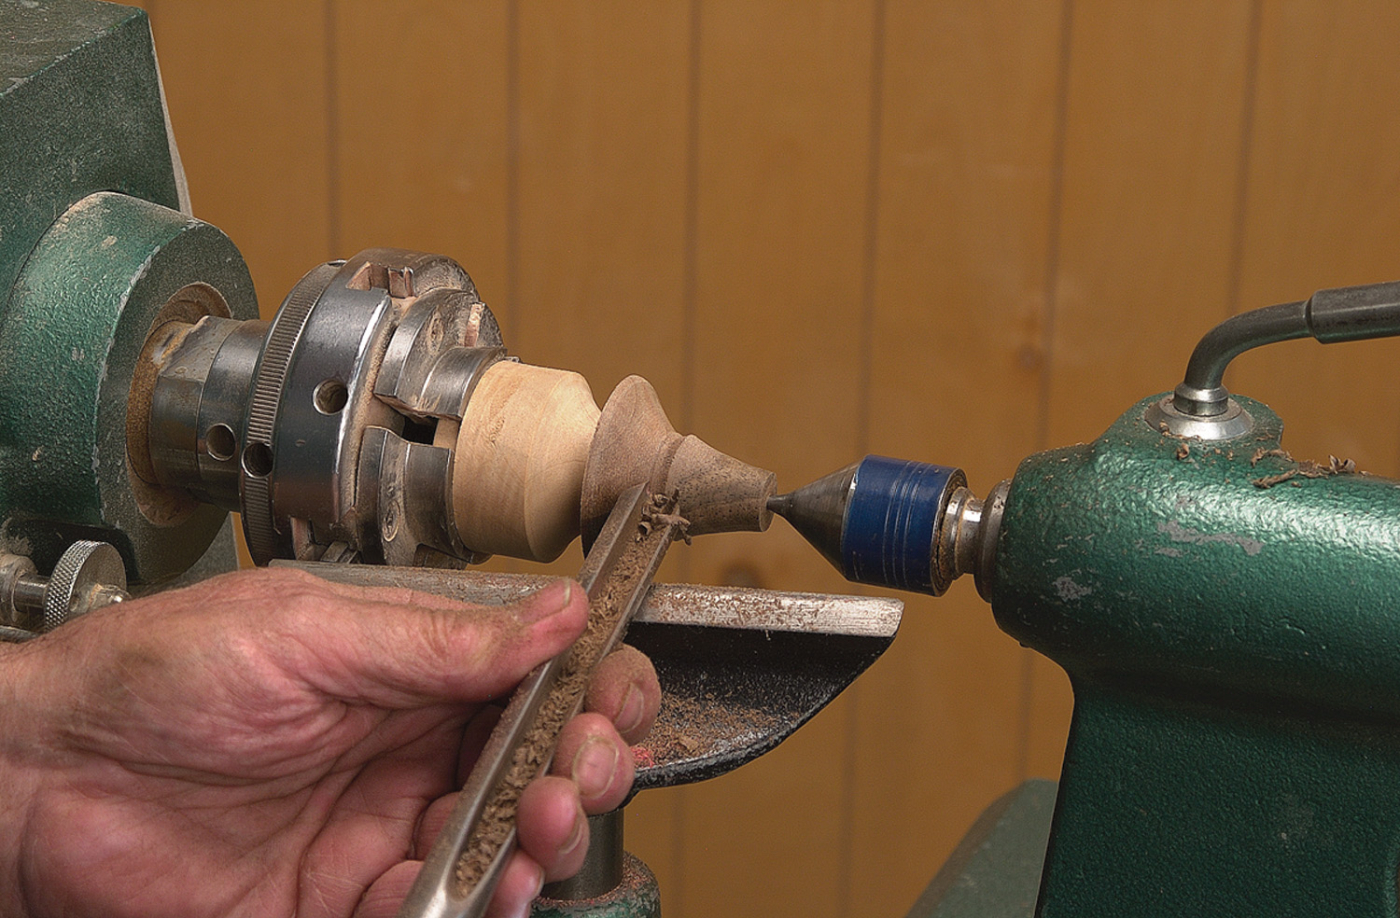
18. Install a shop-made roof mandrel (see diagrams at top again) in the chuck, and slide the roof block onto the mandrel. It should be tight, but I always move the tailstock up and move the revolving center in position to put a little pressure on the block and reduce any vibration, which may happen when the top is being turned. This photo shows a walnut top being turned with a 1⁄2″ gouge, but a 3⁄8″ gouge is also a good choice.
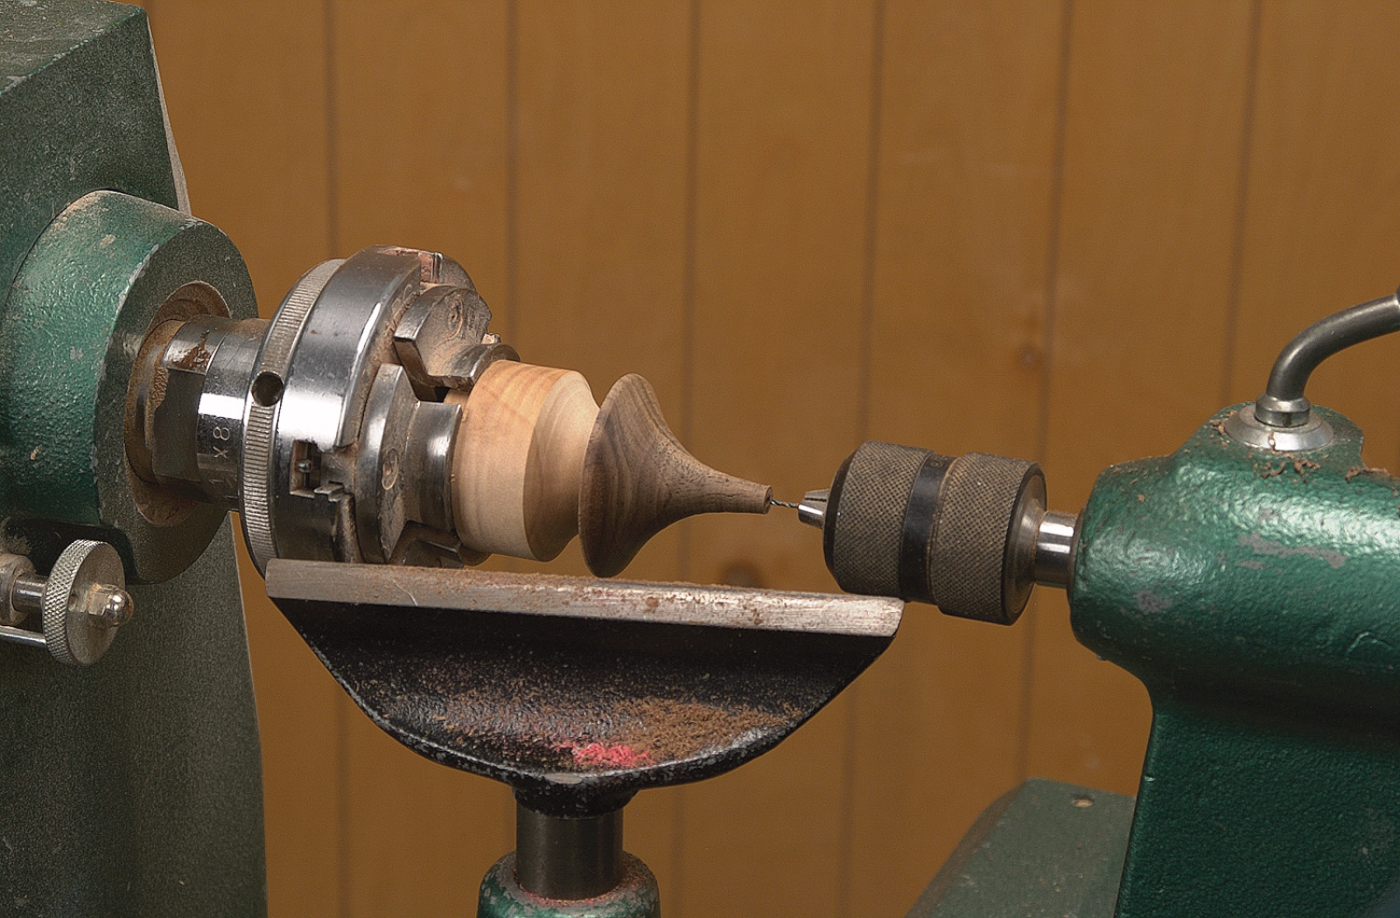
19. Sand the top, then use a drill chuck and a small bit to drill the hole for the screw eye.
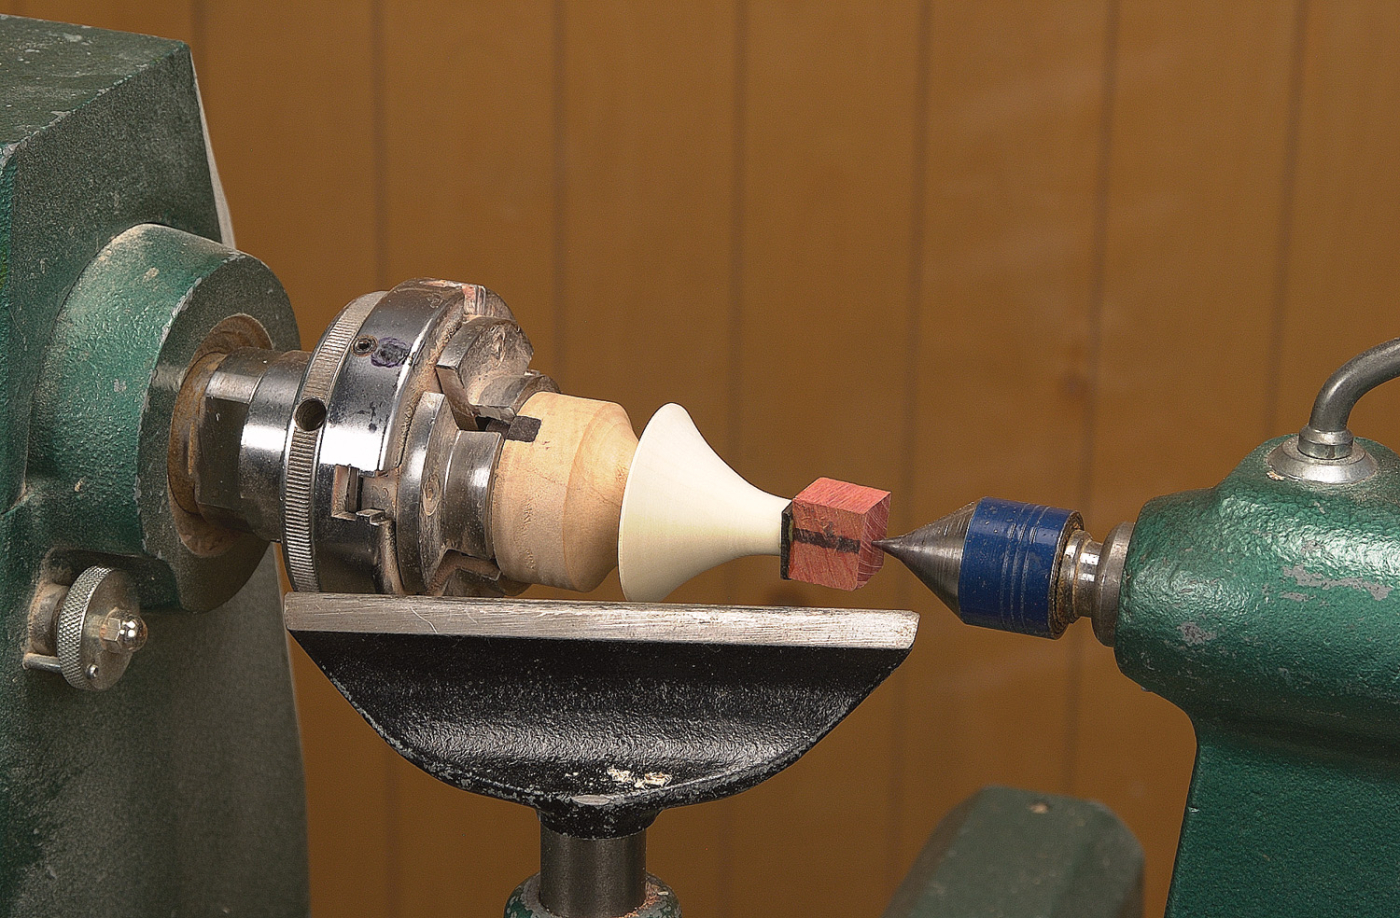
20. An alternate method of making the roof is to use a piece of holly, which is hard, dense and white. Add a decorative tip using an ebony veneer and a small piece of pink ivory. This will make the top 2-1⁄4″ high. Drill a 1⁄8″ hole in the top using a drill chuck in the tailstock, then drill a 1⁄8″ hole in a small piece of ebony that is about 1⁄16″ thick, and a 1⁄8″ hole in the small pink ivory block that is about 1⁄2″ square and 5⁄8″ long. You also need a piece of 1⁄8″ dowel about 5⁄8″ long. Put yellow or white glue in the hole in the roof and insert the dowel. Put glue around the dowel and on the top area of the roof. Put on the ebony piece, then put glue on the dowel and inside the hole in the pink ivory piece. Slide the pink ivory block onto the dowel and use the tailstock with the revolving center as a clamp to push the parts together. Wipe off any excess glue. The top only needs to be left clamped for 15 minutes or so, then set aside for an hour or more before turning.
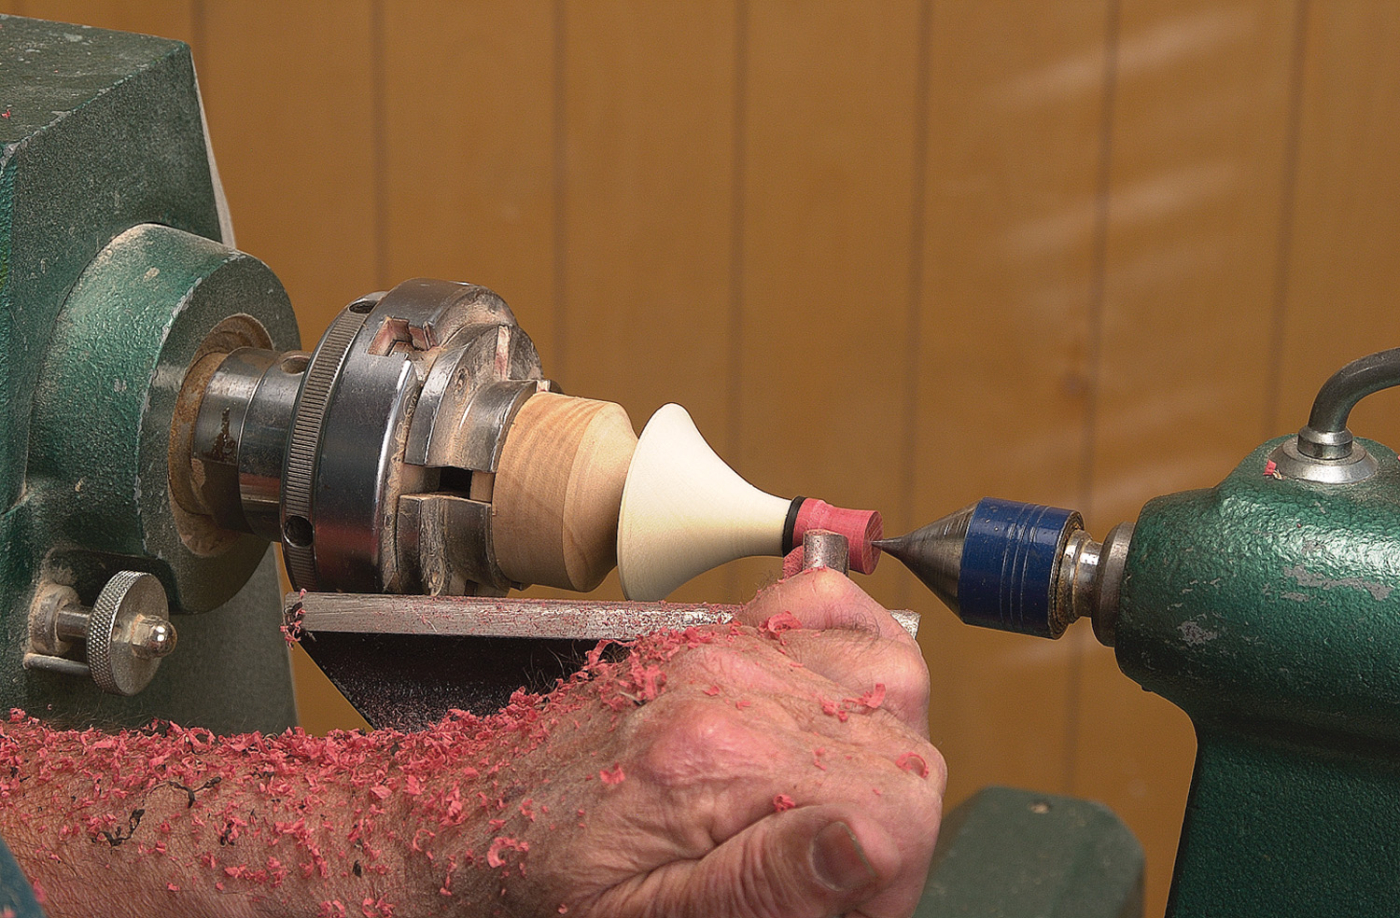
21. Turn the top and decorative tip to shape, using a 3⁄8″ gouge and the revolving center as a support.
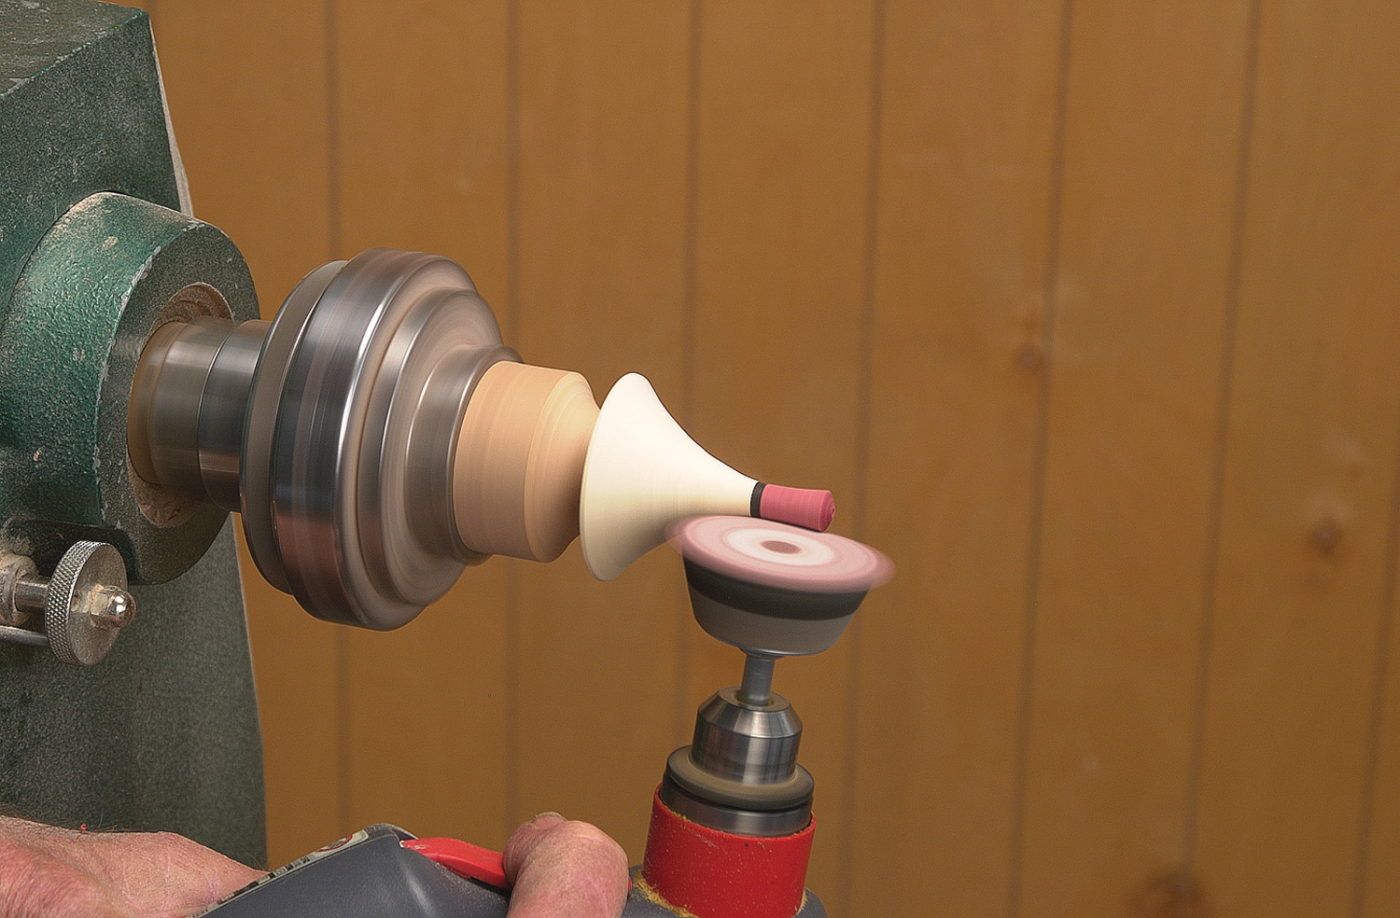
22. Sand the roof and drill a hole for the screw eye.
Turning the Finial and Perch
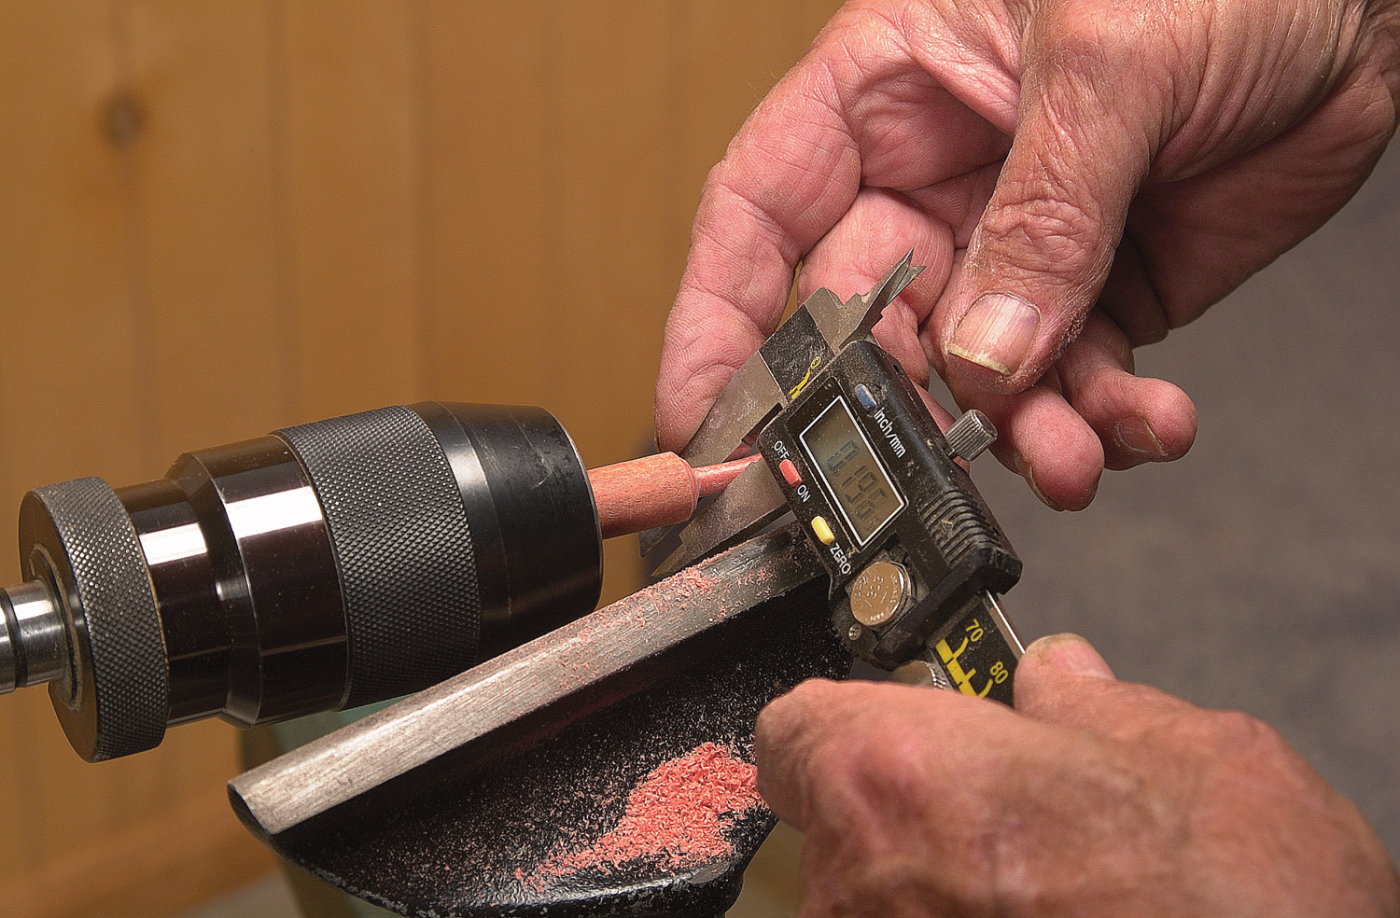
23. Turn a piece of pink ivory into a dowel that’s 1⁄2″ round and 3″ long. This should give enough length for a finial and a perch. Insert the dowel into a drill chuck, which is seated firmly into the headstock. Turn the finial to the desired shape. Check the diameter of the finial end, which is inserted into the base of the ornament. This must be 3⁄16″, and fit snug into the hole. I use dial calipers to check this.
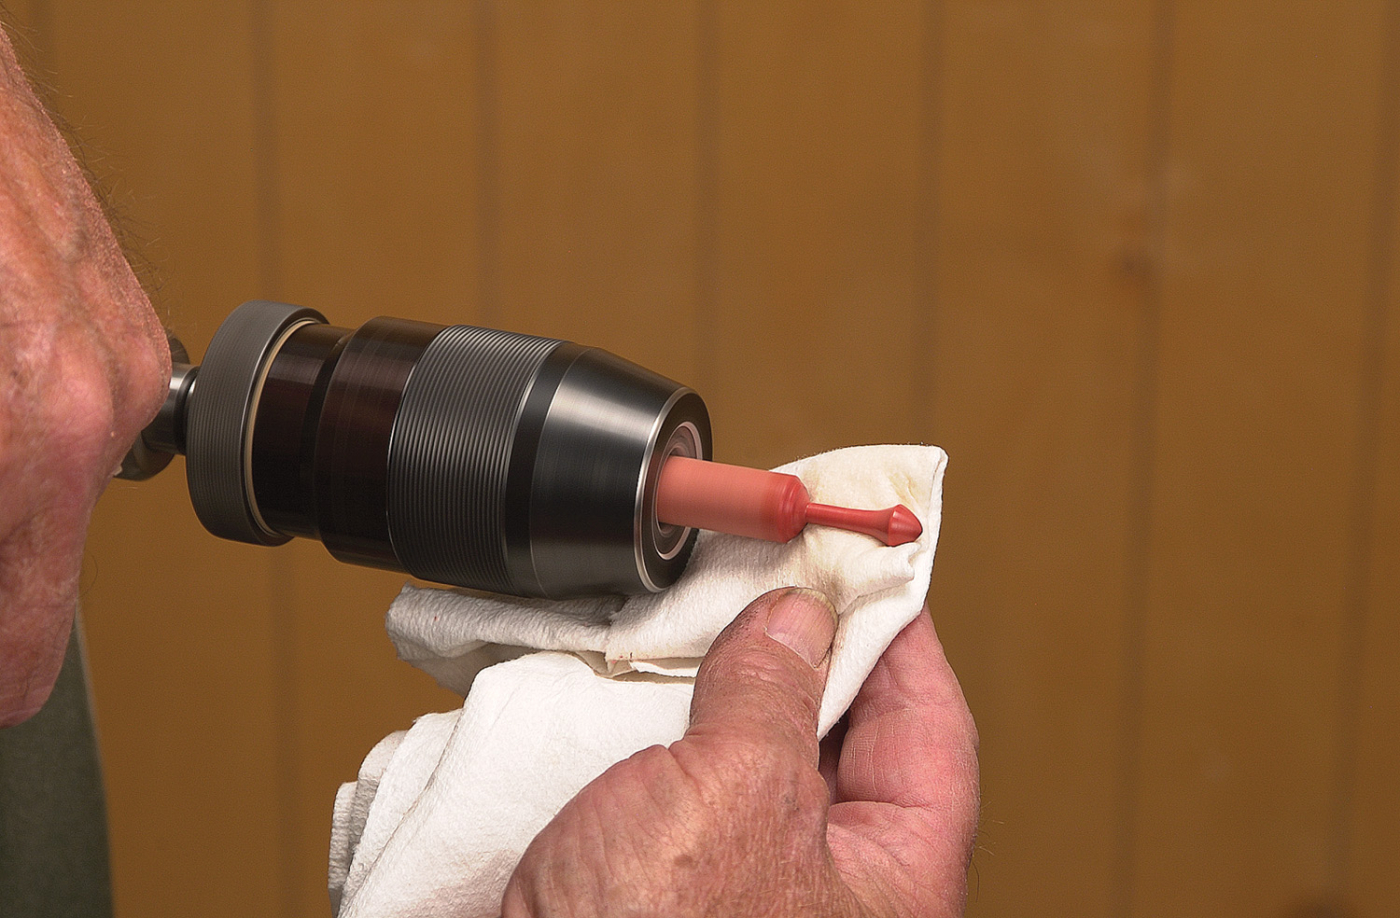
24. Sand and finish the finial. For the finish I put a few drops of lacquer on a cloth, and apply it to the spinning wood. Part the finial off and set it aside.
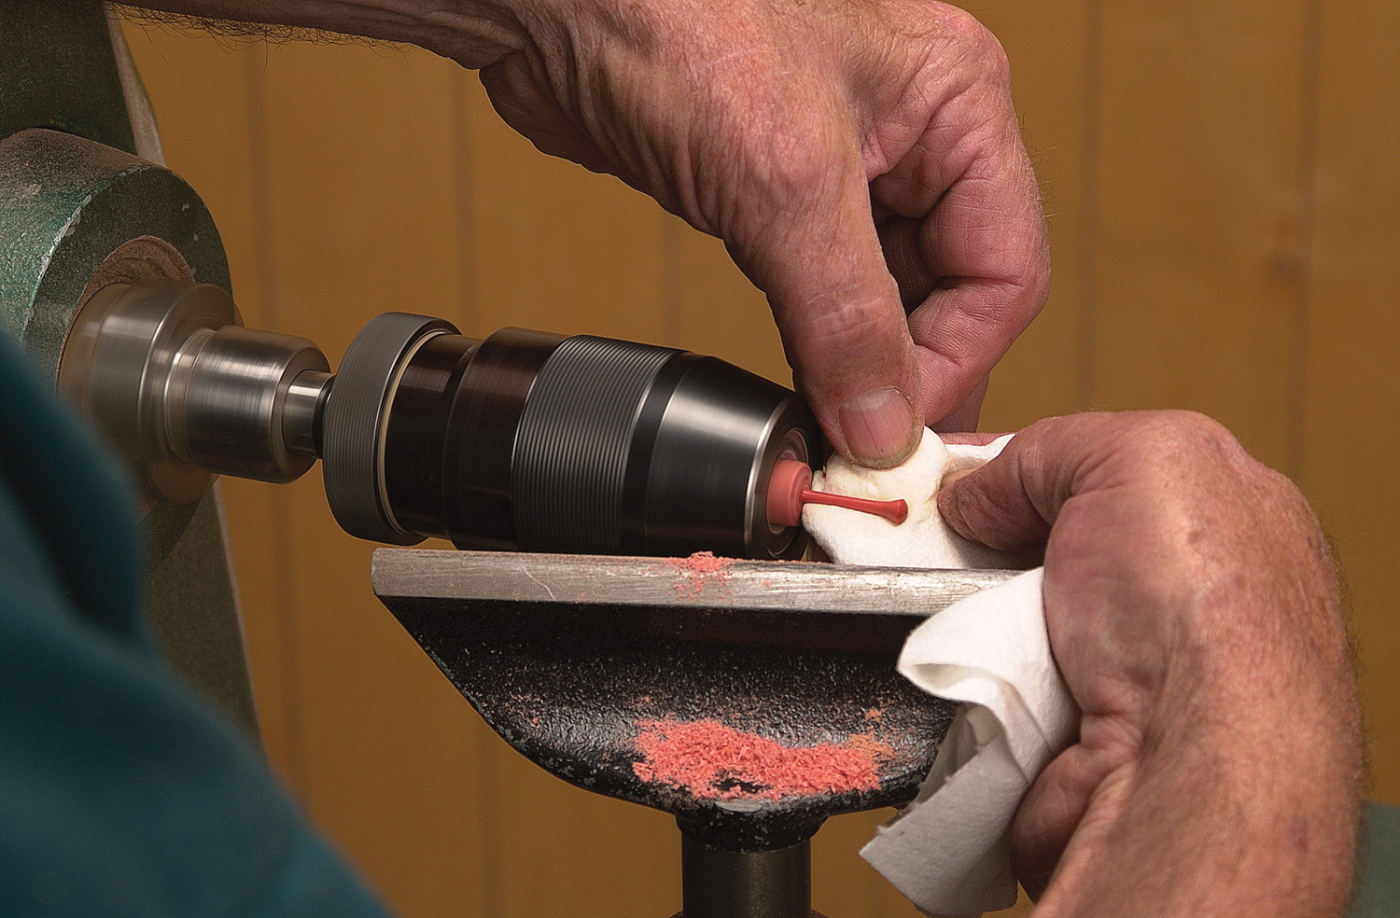
25. Use the same procedure as above to turn the perch to the dimensions on the drawing. Sand and finish the perch, then set it aside.
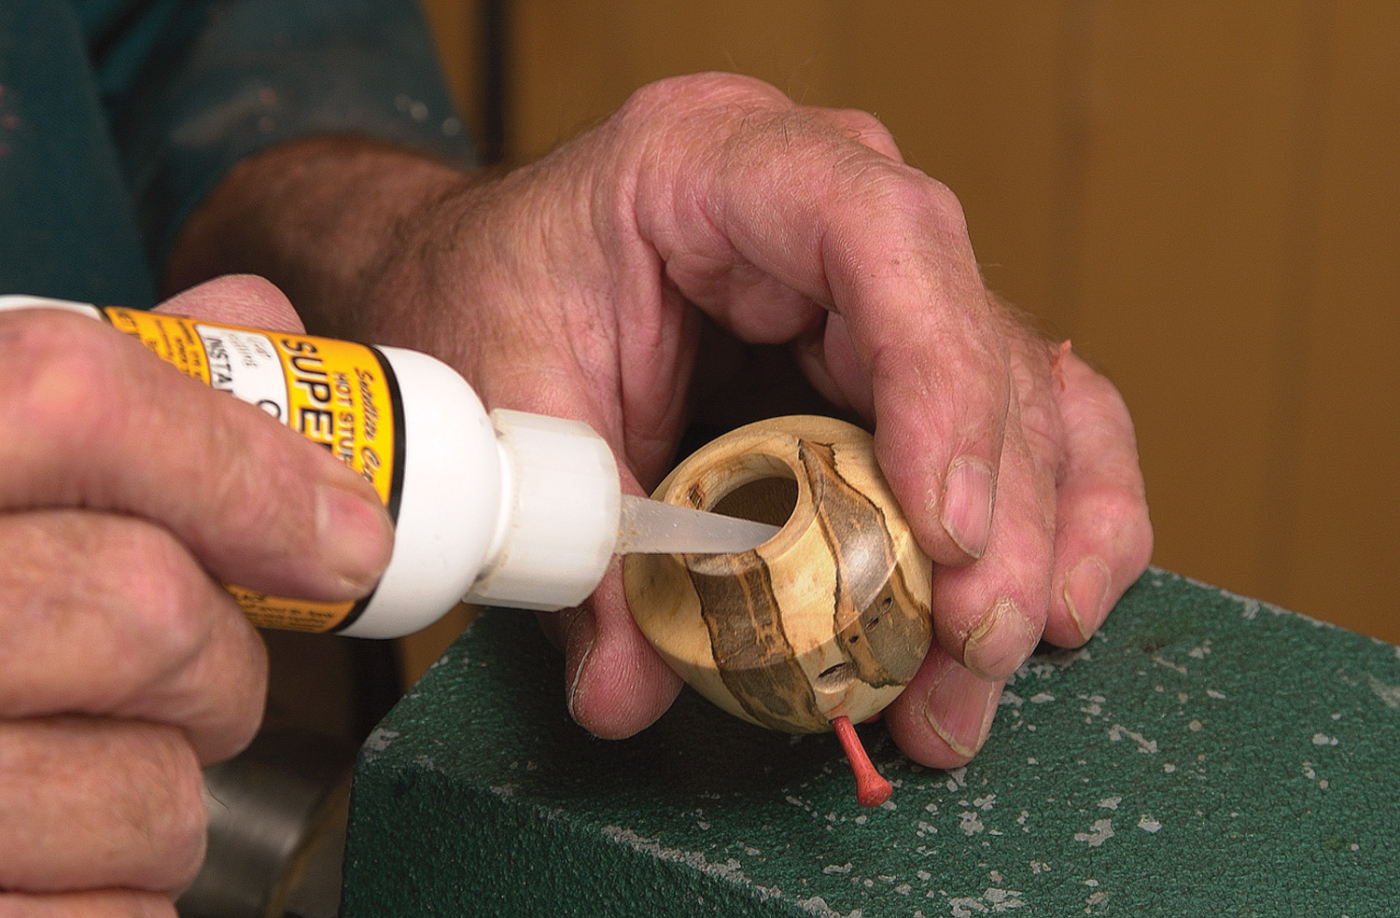
26. Insert the perch and finial into the base of the birdhouse, then put a drop of thick cyanoacrylate inside the base and around the finial and perch. Use a little accelerator to set the cyanoacrylate.
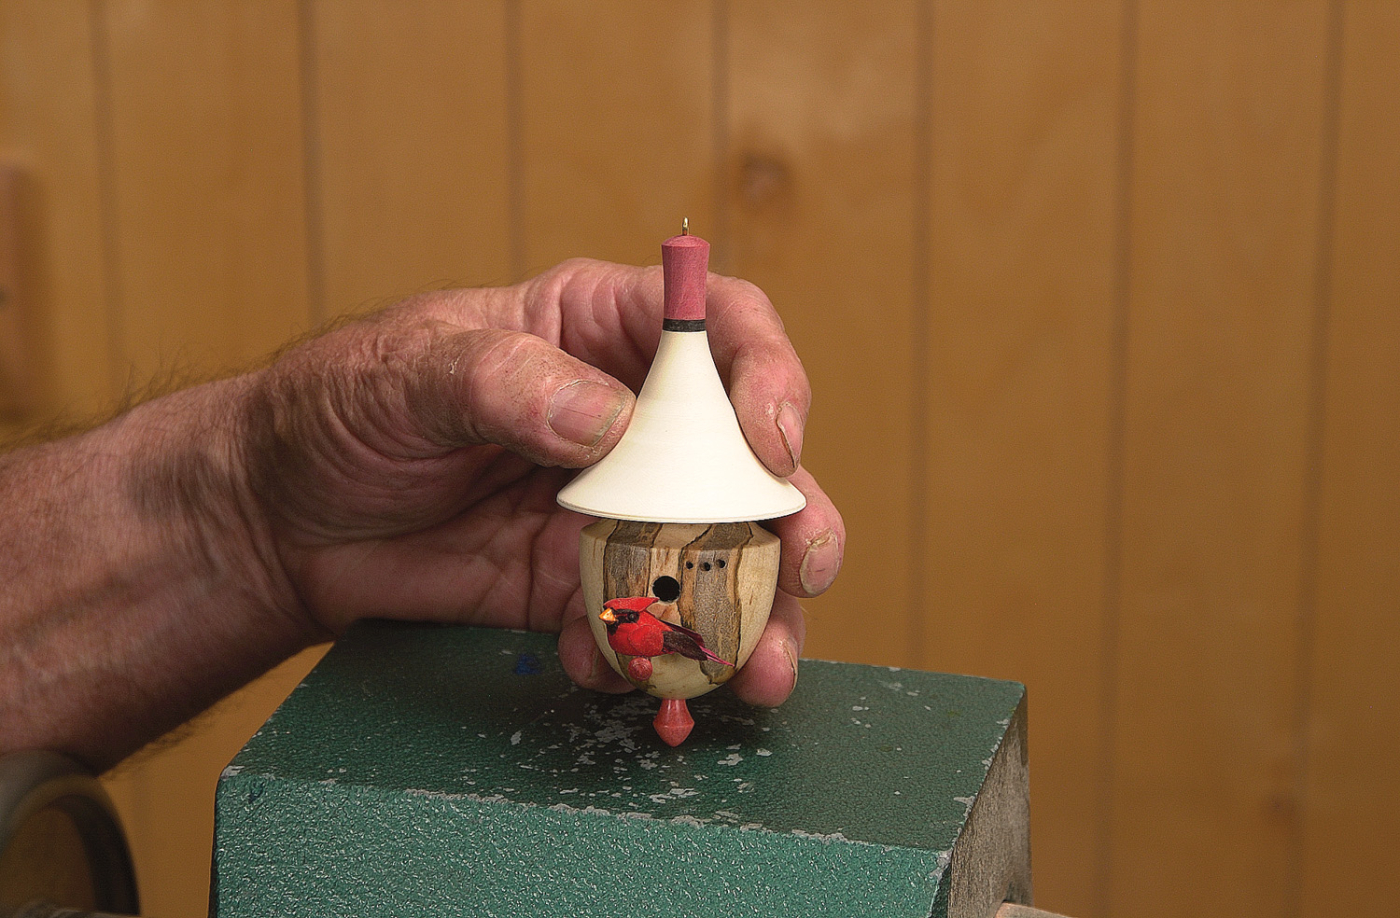
27. Glue the screw eye into the roof, then turn the roof over and put a small bead of thick cyanoacrylate around the inside of the counterbore hole. Decide where you want the position of the top to be on the body. Spray a little accelerator around the top of the body and put the two pieces together. Make a little bird if desired, and glue it in place.
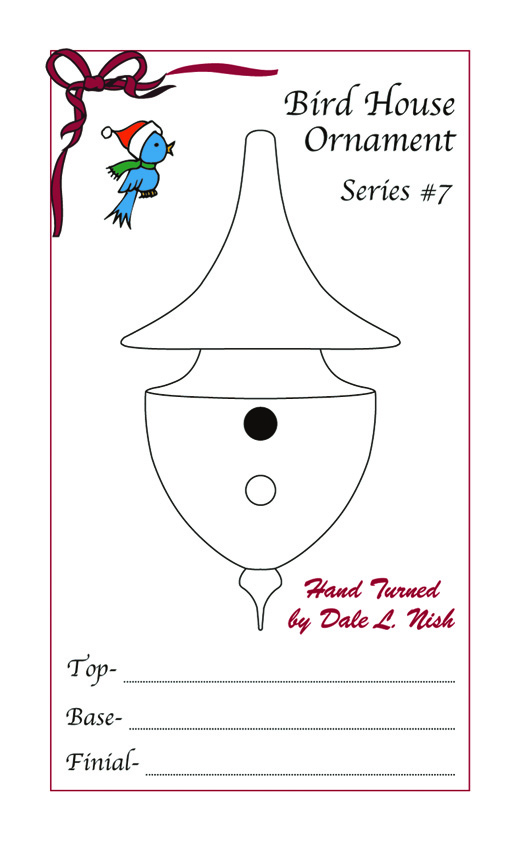
This little project can become a family treasure. Just be sure to sign and date it under the edge of the roof. Fill out the card, and it is ready for gift-wrapping.
Editor’s note: This article originally appeared in the December 2004 issue of Popular Woodworking Magazine.
Here are some supplies and tools we find essential in our everyday work around the shop. We may receive a commission from sales referred by our links; however, we have carefully selected these products for their usefulness and quality.


