


We may receive a commission when you use our affiliate links. However, this does not impact our recommendations.
12 Techniques for Successful Gluing
By Tom Caspar
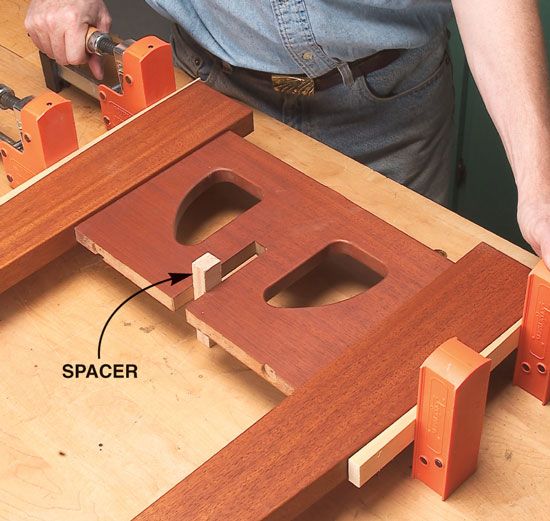
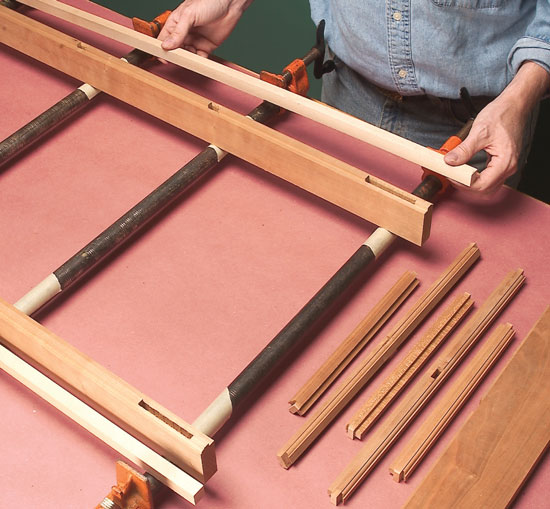
Do a dry fitClamp your pieces without glue to make sure the joints come together tightly. This step also serves as a test for your choice of clamps and blocks. Here, a dry run revealed that I need wedge-shaped strips and a spacer to clamp these tapered legs. |
Click any image to view a larger version.
|
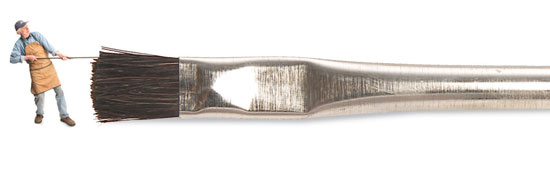
Prepare the glue brushIf you use a brush, remove any loose bristles. Acid brushes are inexpensive and work well, but you should cut the bristles to about half their length to more easily control where the glue goes. You can find these brushes at a hardware store. |
|
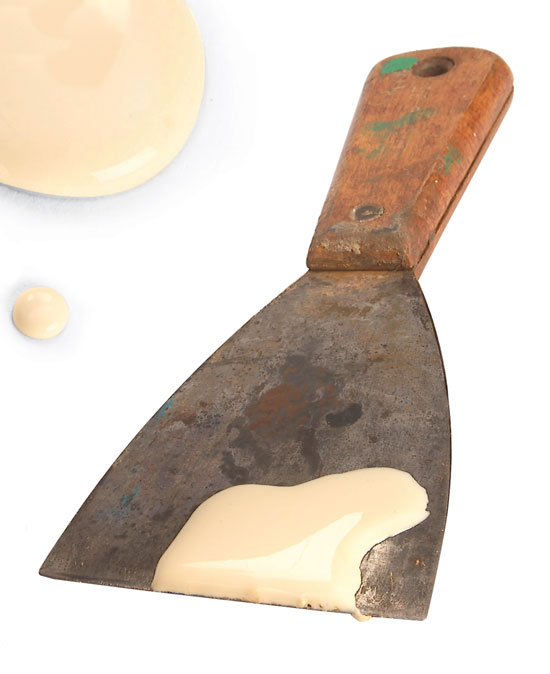
Prepare a cleanup toolIt’s best to remove glue squeeze-out before it hardens. Use a clean putty knife on wide surfaces and a freshly sharpened stick in corners. Wipe them often on a damp rag. |
|
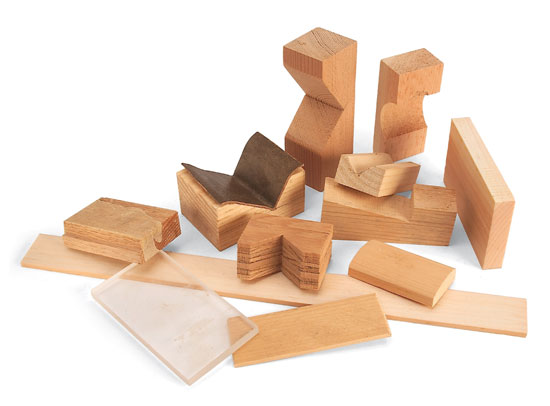
Protect your woodSmall clamp heads can put big dents in your project. Make sure you’ve got blocks, strips or pads handy to place between the clamp heads and the project’s parts. I prefer to make blocks from a soft wood, such as pine, to avoid crushing my project. |
|
Avoid black stainsIron pipes leave black stains on your wood if they directly contact glue squeeze-out. Run a strip of masking tape along the length of each clamp to prevent this problem. Galvanized pipes don’t require taping. |
|

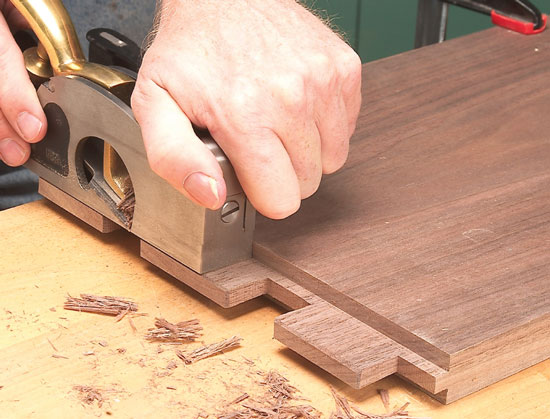
Fix too-tight jointsIf you must pound parts together, the joints are probably too tight. Tenons swell a bit when you add glue, which makes a tight joint more difficult to assemble. The most accurate way to pare a tenon is using a rabbet plane. Its iron is the full width of the plane’s body, so it can cut up to the tenon’s shoulder. |
|
Clean your bottle’s applicatorIf your glue bottle’s cap is clogged with congealed glue, soak it in a jar of very hot water for 15 minutes or so. This softens hardened glue, making it easier to remove. |
|

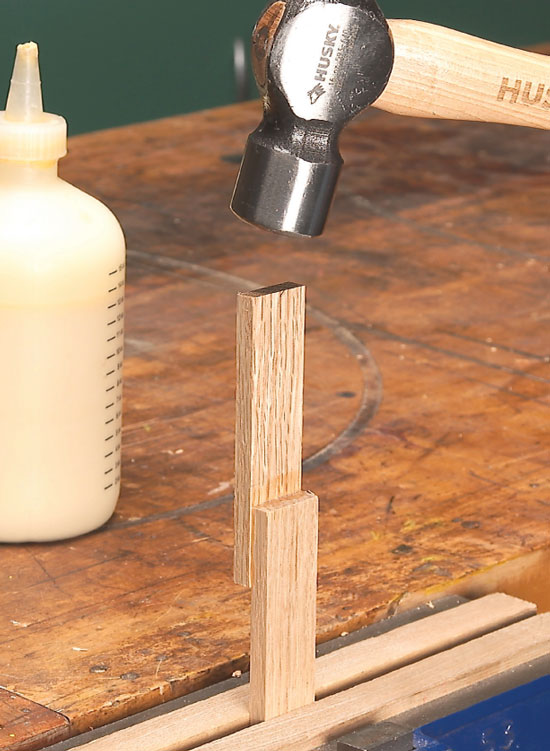
Check the glueIf you’re uncertain about your glue’s age, test its bond strength. Glue together two small scraps that are each about 1 in. wide, clamp and let dry 24 hours. Hit one piece with a hammer. If the two pieces shear apart with no fibers from one piece stuck to the other, your glue is probably too old. Replace it. |
|
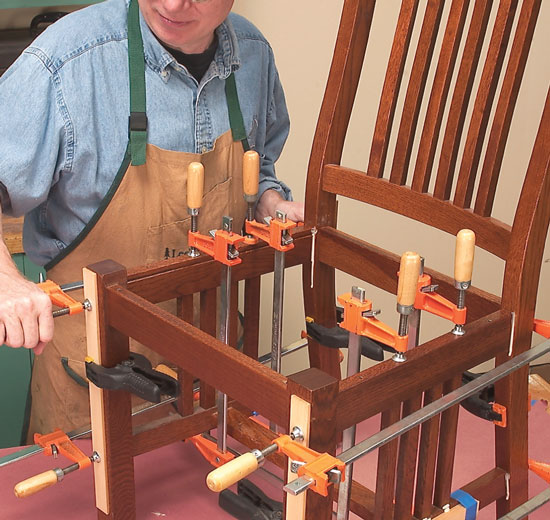
Arrange your clamps and partsKeep handy all the clamps and blocks you used in the dry fit. Arrange them so each is oriented correctly. Place all your parts in a logical order, so you can assemble them in sequence. Just remember—don’t panic. |
|
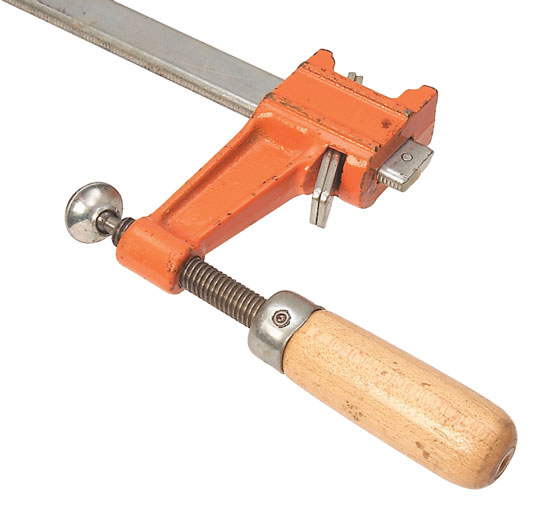
Adjust your clampsMake sure your clamps are ready before you glue. Unscrew the handles until you have a maximum amount of thread available. Sticky clamps can slow you down. Slide the sliding head on a small bar clamp or the tail stop on a pipe clamp to make sure it moves freely. |
|
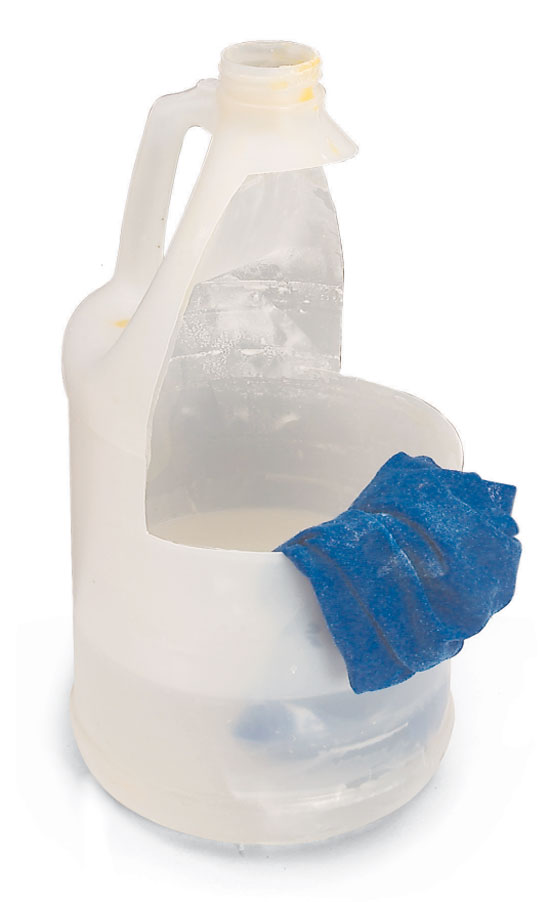
Get ready for a messA cotton rag and a jug of warm water are handy for wiping up spilled glue or lots of squeeze-out. I cut out the side of a plastic jug to make a convenient, disposable container. |
|
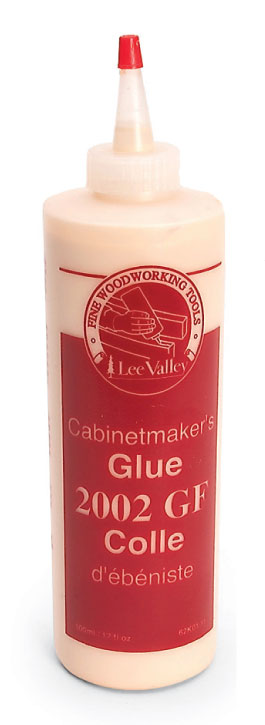
Consider a slow-set glueMost wood glues have a 5-minute open time. If you have a complicated assembly, use a glue that gives you extra time, such as Lee Valley’s 2002 GF. Its open time is 15 to 20 minutes. Source(Note: Product availability and costs are subject to change since original publication date.) Lee Valley, leevalley.com, 800-871-8158, Lee Valley Cabinetmaker’s Glue 2002 GF, #62K01.11, 17 oz. This story originally appeared in American Woodworker Feb/Mar 2007, issue #127.
|
|

Here are some supplies and tools we find essential in our everyday work around the shop. We may receive a commission from sales referred by our links; however, we have carefully selected these products for their usefulness and quality.


