We may receive a commission when you use our affiliate links. However, this does not impact our recommendations.

Working with Melamine
It’s dirt cheap, it’s practical, and best of all, there’s no sanding and finishing!
By Dave Munkittrick
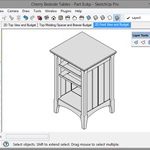
Melamine is the professional cabinetmaker’s best friend. Build a cabinet with it and you have a complete, durable interior that requires no sanding (yes!) and no finishing (oh, yeah!). Pros often build whole kitchens out of melamine and then dress the boxes with plywood end panels and solid-wood fronts. The bright melamine cabinet interiors are easy to search, stain resistant and tough as nails. Entertainment centers and home office, laundry-room or mudroom cabinets are also made with melamine. Most home centers carry melamine shelving with the edge banding already on. Just buy or make shelf supports and you’re in business.
Melamine has found a home in many a woodshop. The durable, slick surface is perfect for jigs, fences, outfeed tables and router tables. I use it in my shop as an assembly table cover. Glue drips pop right off and the slick surface makes it easy to slide around heavy assemblies. It’s not as durable as plastic laminate for high-wear surfaces such as countertop and desktops, but it’s plenty tough for shop use.
Still not sold on melamine? How about saving money? It’s about half the cost of birch plywood. Not only that, but you get better yield from a sheet of melamine than from veneer sheet stock. That’s because you don’t have to worry about grain direction. Better yield at a lower cost—you save both ways.
Here are some tips on how to make this staple material of the modern cabinetmaker work perfectly for you!
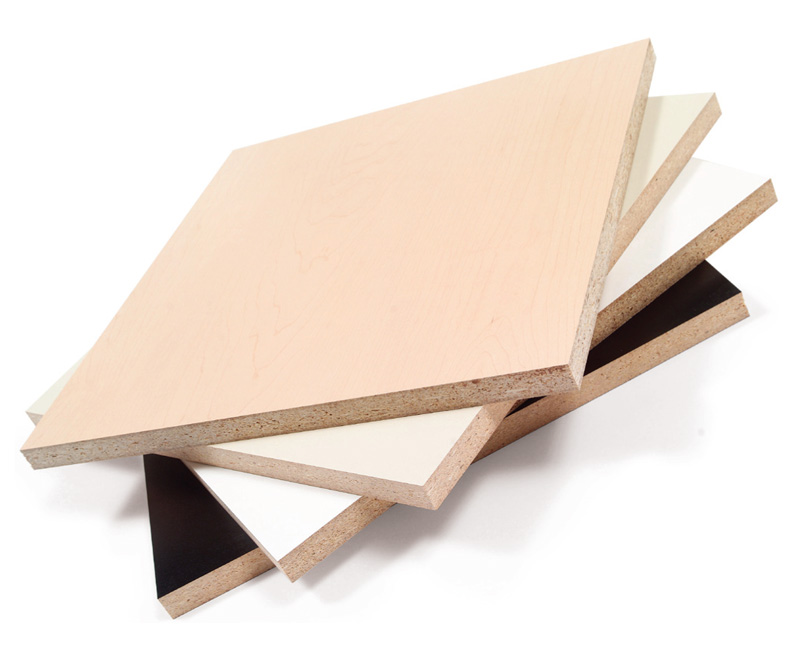
Go Beyond Basic White
White melamine is by far the most common, but basic colors, like black, almond and wood grain, can be special-ordered from most home centers or lumberyards that carry the white. Melamine comes in a wide range of thicknesses. Home centers not only carry 3/4-in. and 5/8-in. sheets for cabinet construction and shelving, but they often have 1/2-in. for drawer parts and 1/4-in. stock for backs and drawer bottoms.Click any image to view a larger version.
Stop the Chip-Out Monster
Chip-out on the bottom edge is a common problem when you use a general-purpose blade to cut melamine. Sometimes one rough edge doesn’t matter, but when you need a perfectly clean edge on both sides, you have a couple options. The first is to make a 1/16-in.-deep scoring cut on the bottom of the piece (see photo, right). Turn the saw off and crank up the blade to finish the cut. The result is a perfectly clean cut on both surfaces.
Source
Note: Product availability and prices are subject to change.
Woodworker’s Supply, woodworker.com, 800-645-9292, Freud LU97 double-sided laminate blade, #117-386.


The second solution is a laminate-cutting blade (above), which gives you perfectly clean edges on both sides, without a scoring cut. If you cut a lot of melamine, these blades are well worth the investment.
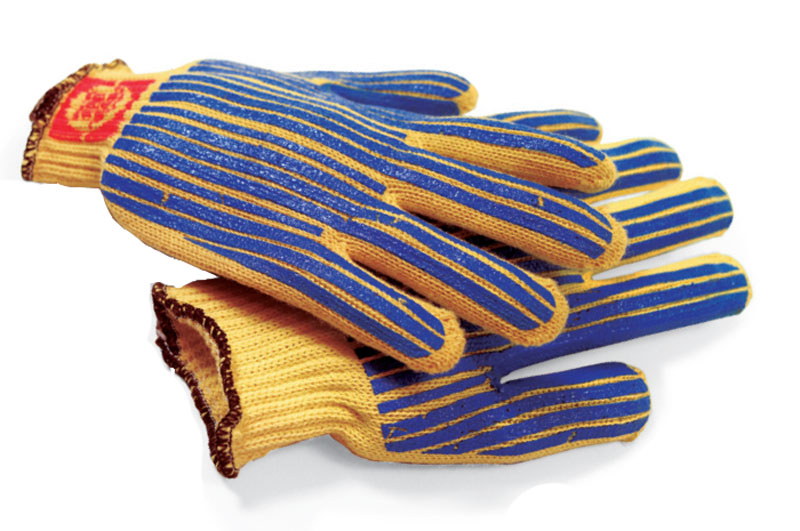
Wear Gloves!
Gloves are a must when handling large sheets of melamine. We recommend a pair of Kevlar® gloves. Kevlar is designed to protect the user from slicing cuts. Surprisingly, they’re inexpensive ($5) and the rubber dots or stripes help you get a grip on the slippery melamine surface.
Source
All Safety Equipment & Supplies, AllSafetySupplies.com, 888-739-1080, Kevlar gloves, #SS-GLK600PD.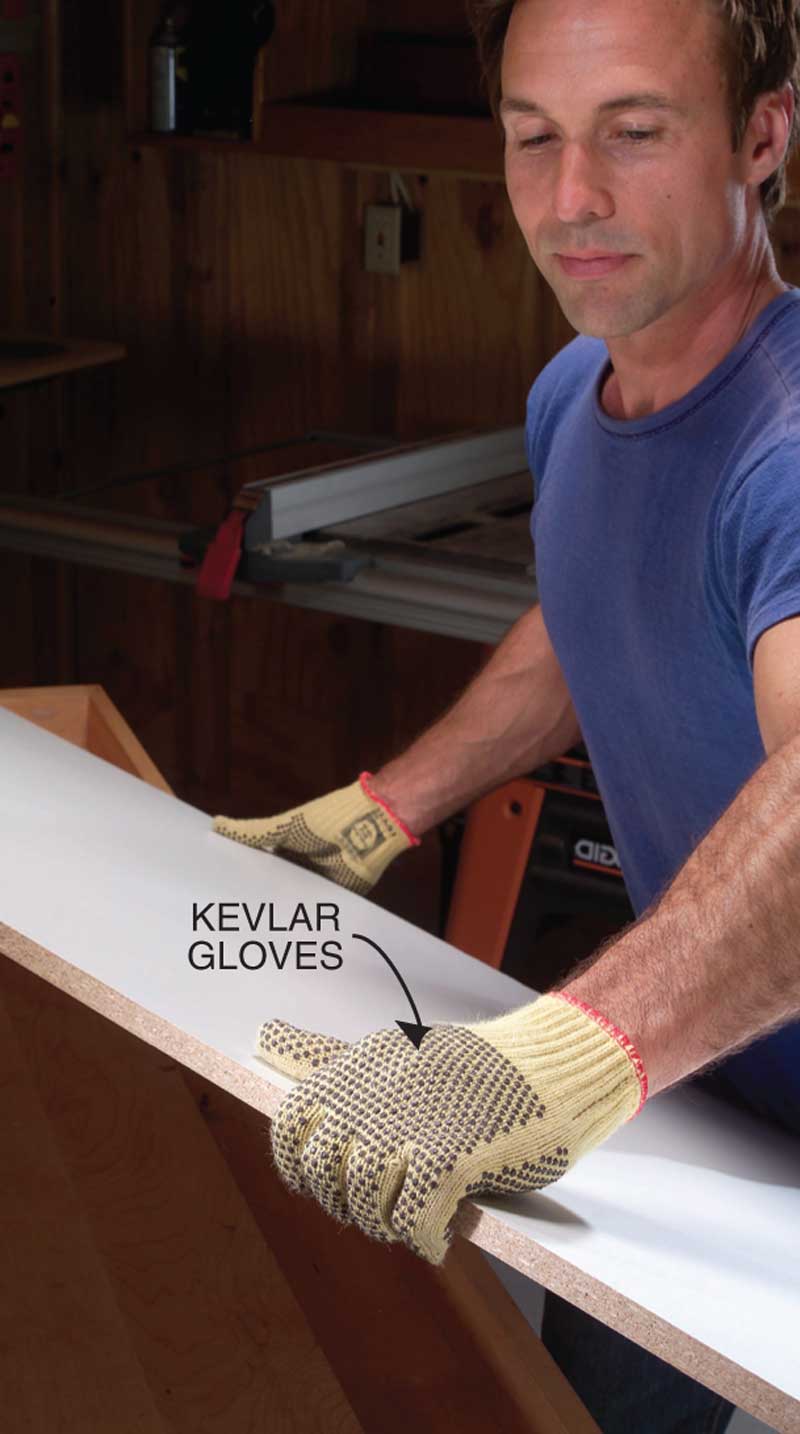
Use Your Router To Drill Holes
Drilling for adjustable shelves can be a problem in melamine. A sharp brad-point bit will make a clean hole, but the melamine is hard on the cutting edges and a typical bit will quickly dull. Production shops use special carbide-tipped bits that are expensive and hard to find.
For the weekend builder, the best way to drill holes in melamine is to use a router. A simple jig and a plunge router with a 5/8-in. guide bushing is the way to go. Use a 1/4-in. carbide down-spiral bit for flawless holes.
The jig is simply a piece of 1/2-in. plywood with a series of 5/8-in. holes spaced at 2-in. intervals. Clamp the jig flush with the case side, set the bushing in the first hole and plunge. Repeat the process until all the holes are drilled.
Source
MLCS, mlcswoodworking.com, 800-533-9298,1/4-in. spiral down-cut bit, # 5177.
A Tongue Makes Dado Joints Easier
Routers are great for cutting dadoes in melamine, because it assures a chip-free cut. Unfortunately, melamine is about 1/128-in. over 3/4-in. As a result, if you try to use a 3/4-in. router bit to cut a dado, it’ll be slightly undersized—not a pretty picture come assembly time. You can get around this by making a 1/2-in. dado and creating a 1/2-in. tongue on the ends of the shelf with a rabbeting bit.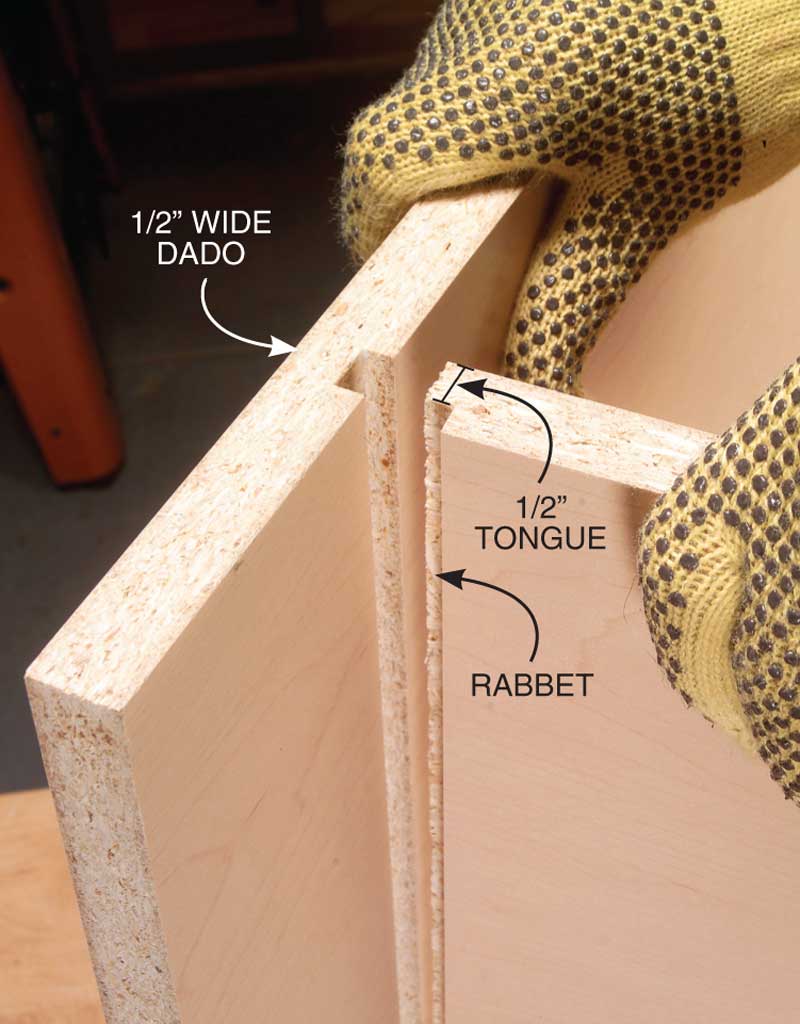
Reinforce joints with melamine glue
Typical wood glue won’t bond at all to melamine’s slick surface. That leaves you with a weakened glue joint where melamine meets particleboard. Fortunately, you can buy specialized glue that will bond melamine to a porous surface like particleboard. This is especially critical on more delicate joints, for instance, those used to construct a drawer.
Source
Woodworker’s Hardware, wwhardware.com, 800-383-0130, 8 oz. RooClear melamine glue, #R8012; 16 oz. Titebond Melamine Glue, #F4014.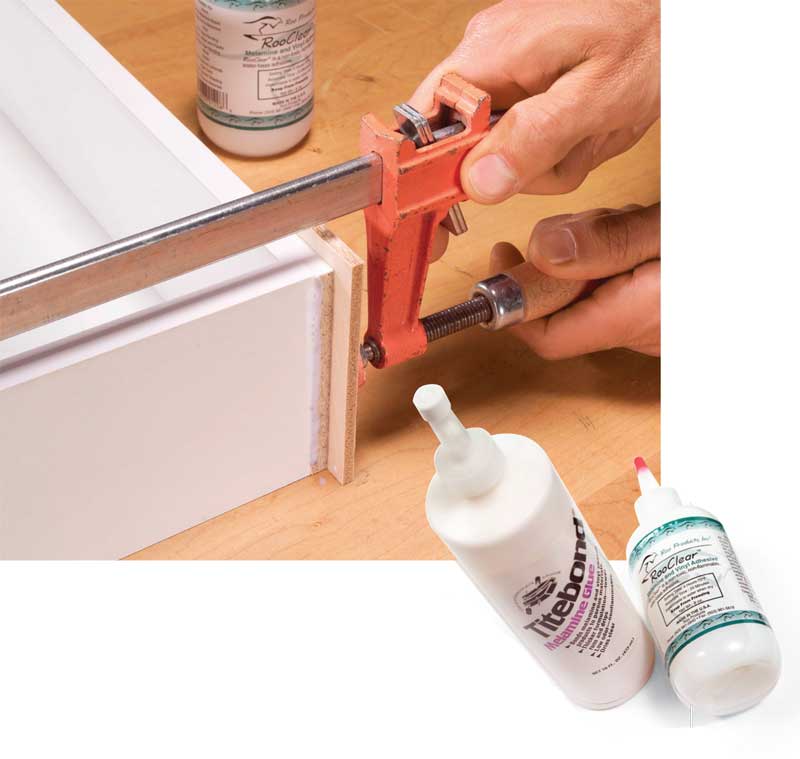
Cover Unsightly Holes
The easiest way to cover exposed screw heads is with Fast Cap self-stick caps. These discs come in typical melamine colors and they’re a cinch to apply–just peel and stick.
Source
McFeely’s, mcfeelys.com, 800-443-7937, 52 white PVC peel and stick caps, #FCS-6100.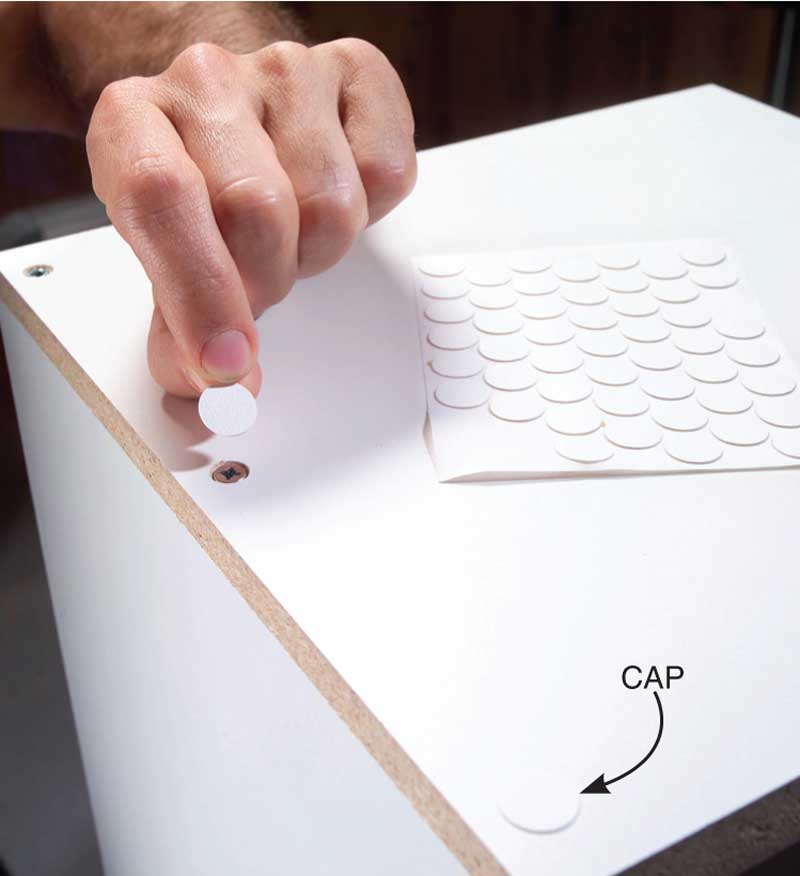
Throw Away Your Iron
Melamine needs to be edged for a finished look. You can use iron-on edging, but self-stick edging is faster, easier and incredibly strong. Just peel, stick and give it a pass with a wood block or roller to push the adhesive into the particleboard. Maximum strength is obtained in a week.One swipe with a double-sided edge trimmer cuts the tape flush.
Source
Woodworker’s Hardware, wwhardware.com, 800-383-0130, 50-ft. roll of white 15/16-in. self-stick tape, #FCFESP 1516 50WH; Double-sided hand edge trimmer, #VIAU 93.
Flush-Fit Caps Appear Invisible
A flush-fit screw cap looks a whole lot better than the surface-applied caps. Plus, they are less prone to getting knocked off. The FlushMount carbide drill bit cuts a shallow 9/16-in.-dia. countersink for the self-stick cap. An adjustable brad-point bit protruding through the center of the carbide bit drills the pilot hole. Both bits can be adjusted for depth of cut. Just drill, screw and cover. The caps are almost invisible. The same system can be used on wood-veneered sheet stock.
Source
McFeely’s, mcfeelys.com, 800-443-7937, FlushMount carbide drill bit, #FCS-6050; 52 white PVC peel and stick caps, #FCS-6100.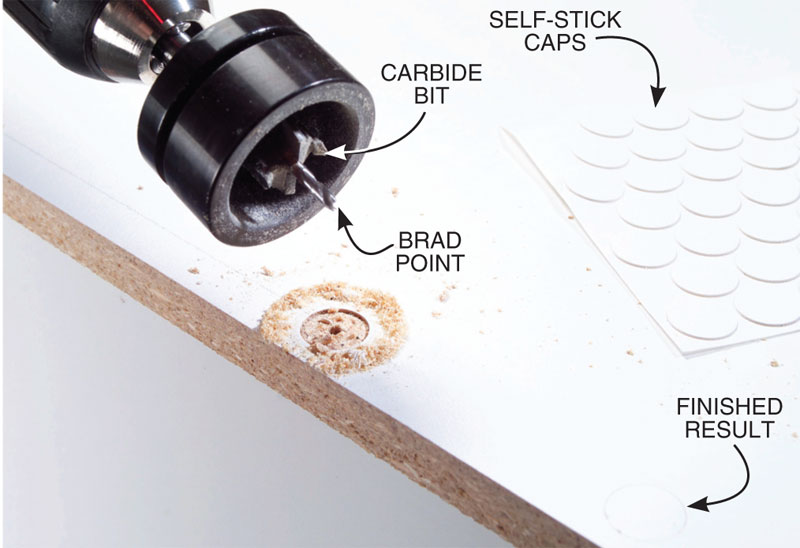
Repair, Don’t Despair
Small nicks and gouges are easy to fix using SeamFil. It works just like wood filler but it’s designed for plastic. Just work a little into the wound and scrape it flush using a putty knife. After the filler dries, use a utility razor to remove any excess. It makes a quick, easy repair that’s only noticeable at close range.
Source
Woodworker’s Hardware, wwhardware.com, 800-383-0130, SeamFil, 1-oz. squeeze tube: white #K901, black #K914, almond #K941.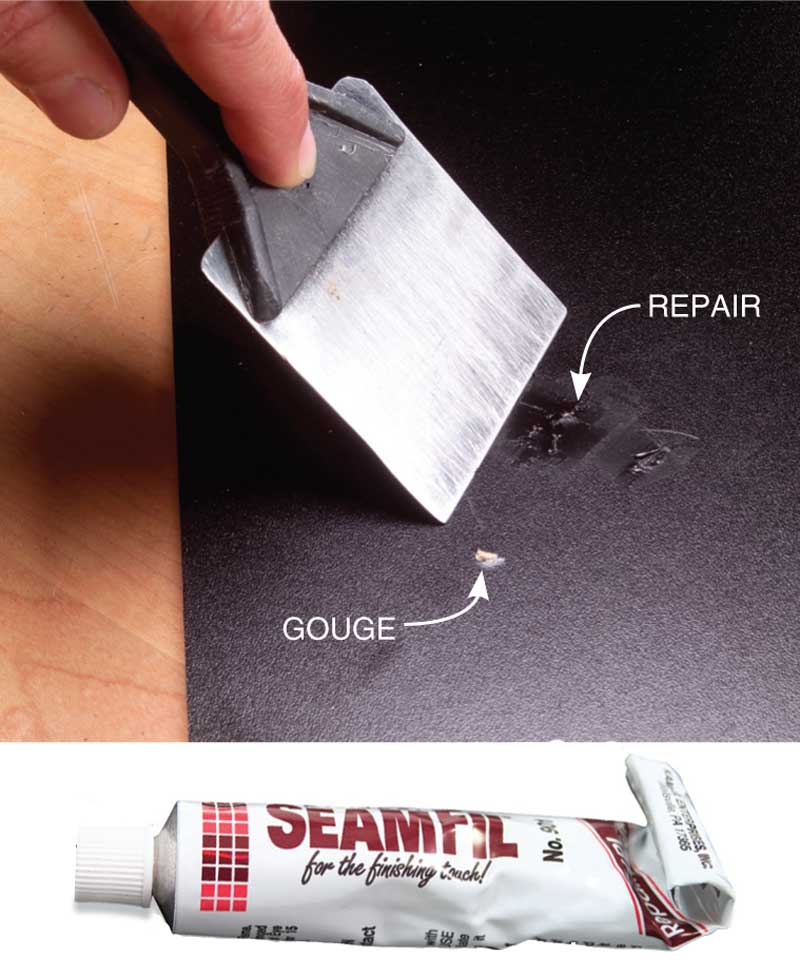 This story originally appeared in American Woodworker September 2004, issue #109.

Here are some supplies and tools we find essential in our everyday work around the shop. We may receive a commission from sales referred by our links; however, we have carefully selected these products for their usefulness and quality.