We may receive a commission when you use our affiliate links. However, this does not impact our recommendations.

20 Finishing Tips
Purchase the complete version of this woodworking technique story from AWBookstore.com.
Make dewaxed shellac
Take the wax out of shellac and you have a great sealer that’s
compatible with most other finishes. It’s best to get this “dewaxed”
shellac as dry flakes that you mix with denatured alcohol.
Usually you have to order the flakes through the mail. But in a
pinch, you can decant (draw off one layer of liquid from another) dewaxed shellac
from the canned shellac you’ll find at the hardware store.
Bring a clean can or lidded jar with you to the store. With the okay of a salesperson,
carefully carry a can of shellac to the counter and open it. If the liquid
looks creamy, like cappuccino, put the can back and try another one. A good
candidate for decanting will contain a clear, deep amber-colored liquid with a
creamy-colored layer of residue
at the bottom. This indicates that
the wax has settled out. You can
decant between two and three
cups of dewaxed shellac from
a quart of liquid shellac. After
decanting, pay for the shellac and
ask the clerk to dispose of the
can with the waxy residue.
|
|
Click any image to view a larger version.

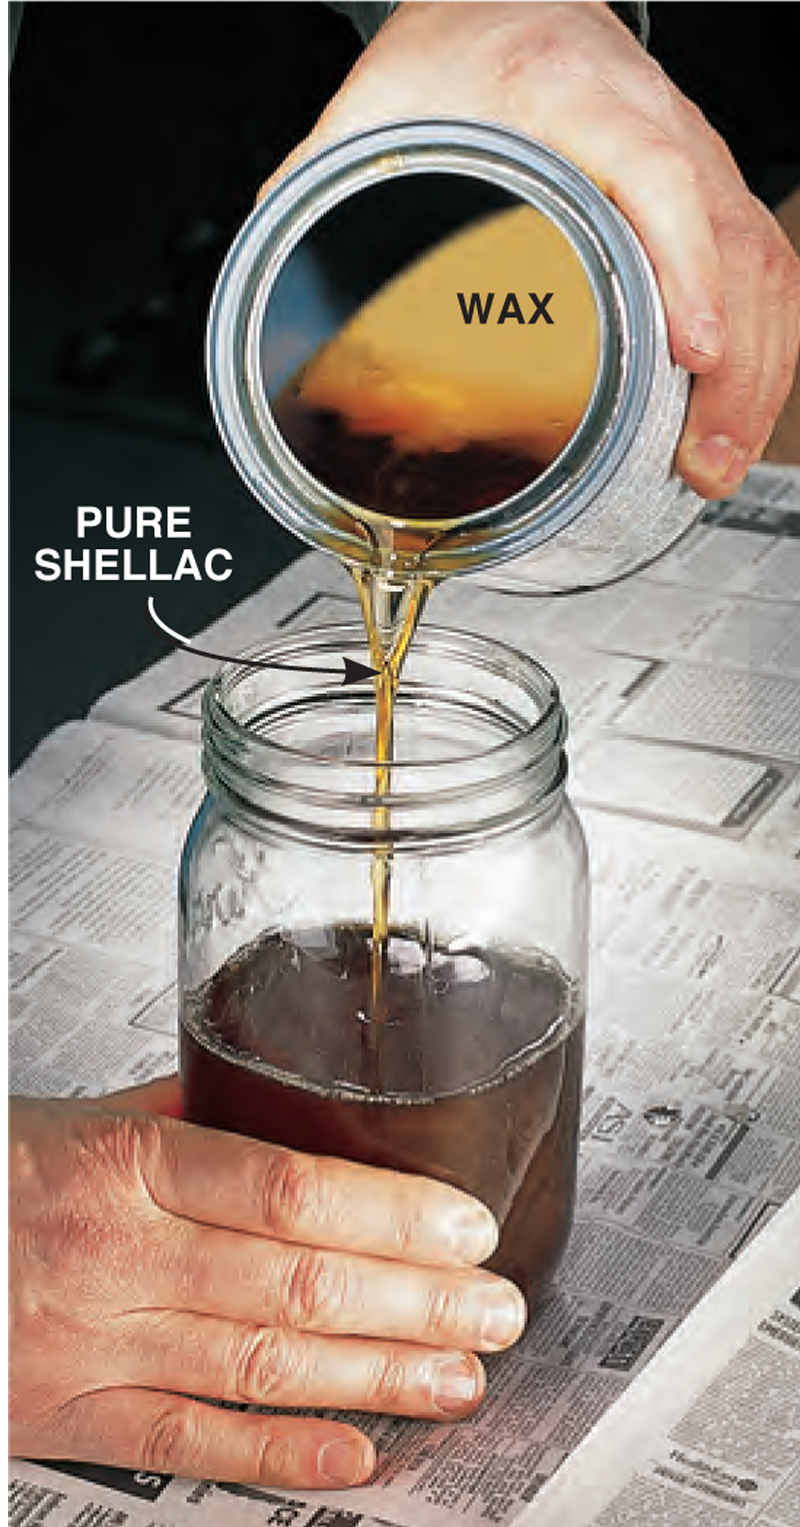
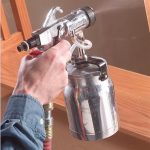
Decant dewaxed
shellac from a can
at the hardware
store. Find a can
in which the wax
has settled to the
bottom and pour
off the pure shellac
from the top.
|
|
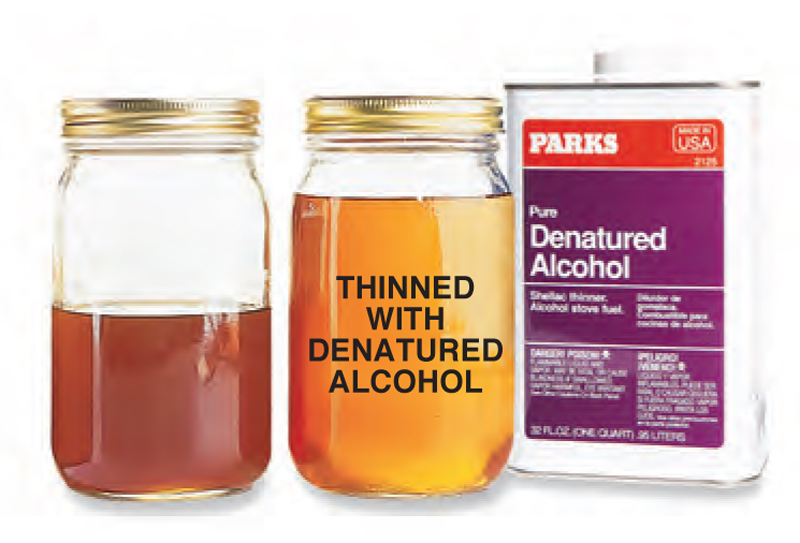
Thin the decanted
shellac with an
equal amount of
denatured alcohol
for use as a sealer.
|
|

|
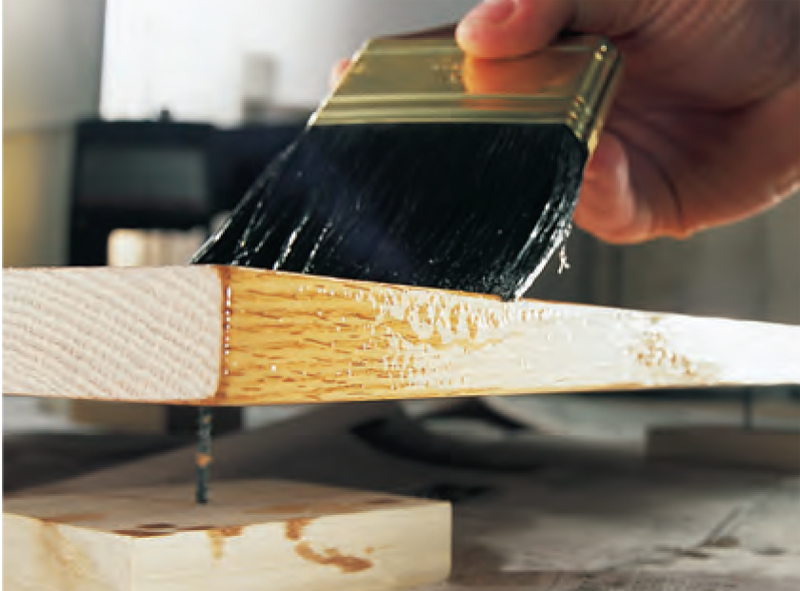
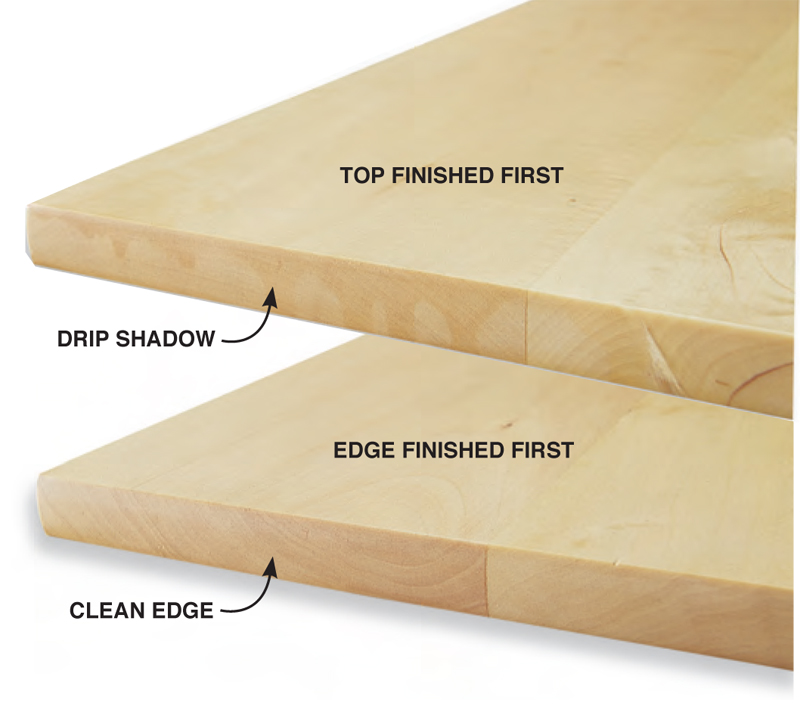
Eliminate drip shadows
When finishing a large flat surface, the temptation
is to finish the top first. Inevitably, some
varnish runs over the edge and soaks into the end
grain. Even after you finish the edge, the soakedin
drips remain as dark shadows. No amount of
re-coating takes care of it and you’re faced with
having to strip, sand and refinish.
Fortunately, the problem is easily avoided. Coat
the end grain with a thinned coat of varnish before
tackling the top. A mixture of two parts varnish
to one part mineral spirits works well. The drips
won’t be able to soak in and leave their shadow.
|
|
|
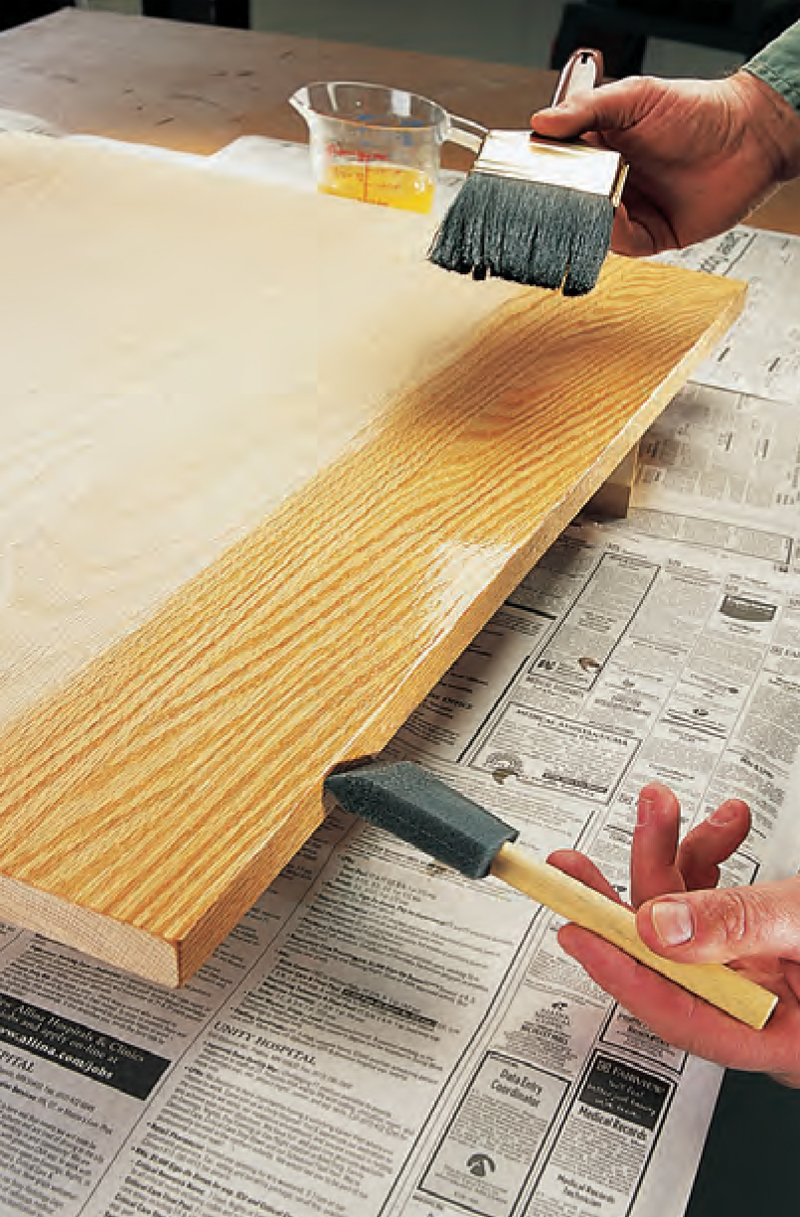
Use two brushes to control drips
A big brush that holds a lot of finish is great for covering a large flat surface. But that same big brush
often leaves too much finish on its thin front edge. The remedy: use two brushes. First, using the big
brush, quickly cover the front edge and an adjacent section of the top with finish. Tip off this swath of
finish on the top with the big brush. Then switch to a second smaller brush and smooth out the coat
on the edge, removing any sags and drips as you go. Once the edge is finished, switch back to the big
brush, feather in where you left off and finish the top.
|
|
Drips and sags on the front edge of a board are hard
to clean up with a big brush because it leaves a
heavy coat that’s likely to sag.
|
|
Use a second brush—small, disposable foam
ones work great—to get rid of drips and sags
on edges. The secret is to keep this second
brush fairly dry—only dampened with mineral
spirits—so it can wick up excess finish. Hold
this brush at an angle so it cradles the bottom
lip of the edge and make one long end-to-end
stroke. If you need to make a second pass, put
on a plastic glove and squeeze out the brush.
|
|
|
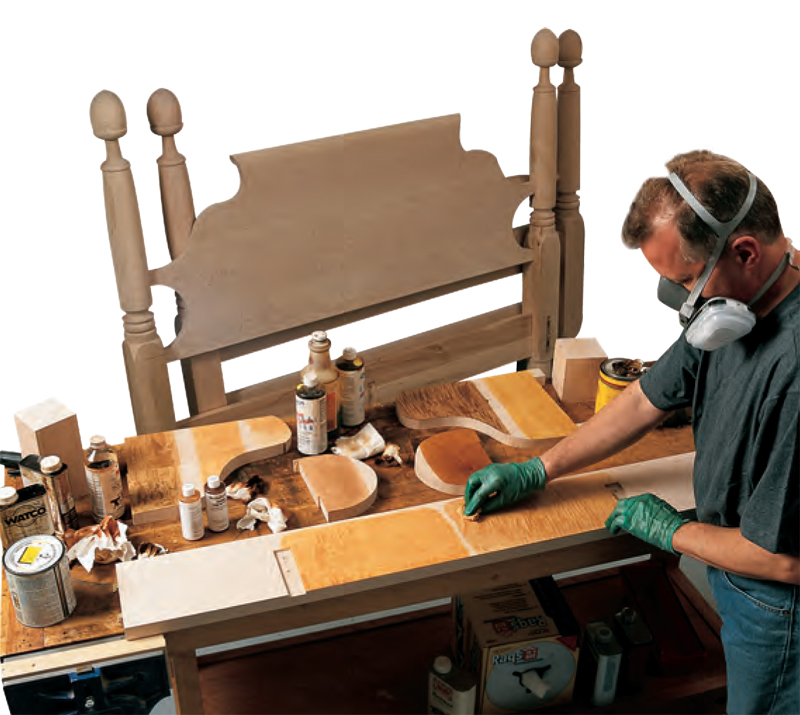
Test finishes on hidden areas
Here’s one of the best (and most ignored)
tips for getting a great finish: test the stain
colors and topcoats you’re considering for your
masterpiece on its hidden areas. If your piece
has no unseen surfaces, use offcuts from the
project or leftover scraps of the same wood.
Prepare the areas for your hidden tests
as diligently as the parts that show.
Record your finishing procedures for
each sample. Be sure to topcoat stains
and dyes—they usually look totally different
under a finish. Aerosol cans of
shellac or lacquer work great for this.
Be sure to look at your samples under
the kind of light the piece will live in—
finishes look different under natural or
incandescent light than they do under
fluorescent shop lights.
|
|
|
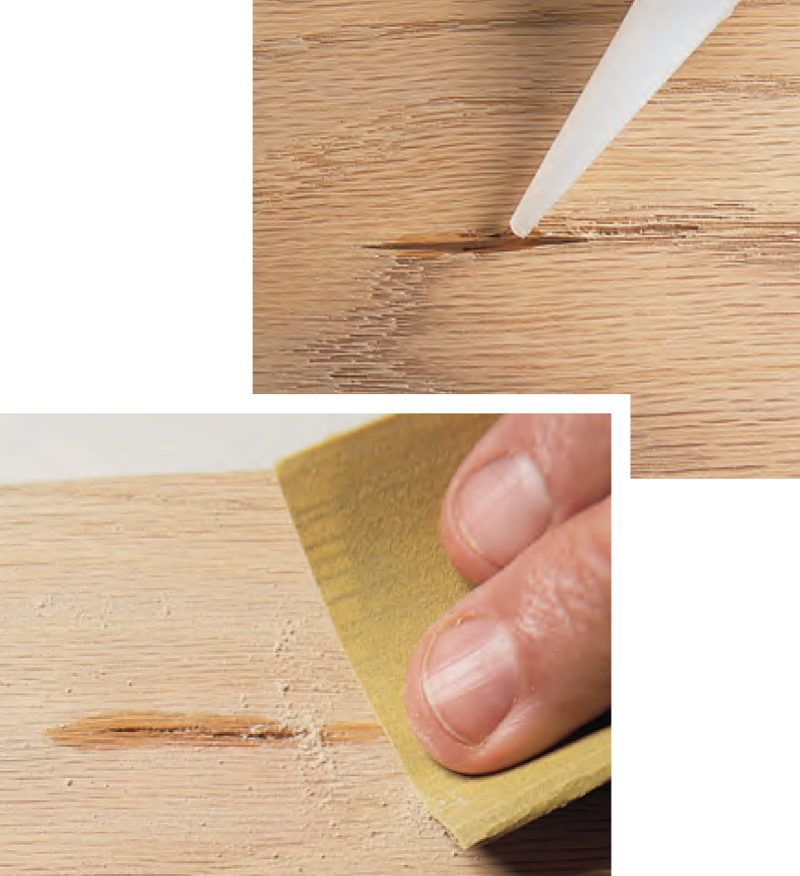
Make surface checks disappear
Don’t let small surface checks keep you from using an
otherwise good board. Got a minute? You can make those
checks disappear.
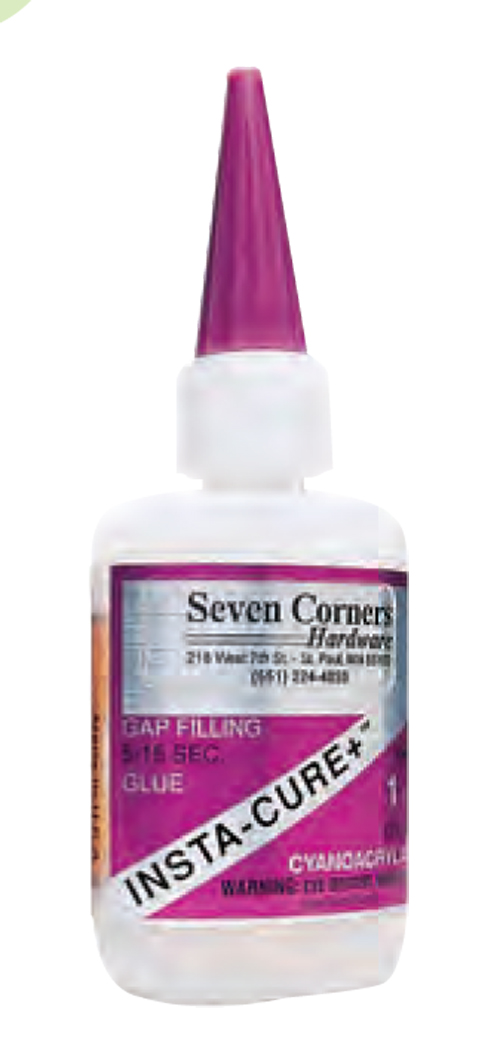
Squeeze cyanoacrylate (CA) glue into the crack. CA glue
works better than yellow glue because it dries very quickly.
Any brand of gap-filling CA glue with a 5- to 15-second open
time will work. Use a tip with a pin-sized hole (you
can get replacement tips for 50 cents at hobby
stores).
Immediately sand the area, mixing sanding dust
with the glue and packing it
in the cavity. Keep sanding
until the crack is filled and the
excess glue is removed.
You may need to repeat the
process. Under a finish, the
sanding dust/glue mixture is
almost invisible.
|
|

|
Product Recommendations
Here are some supplies and tools we find essential in our everyday work around the shop. We may receive a commission from sales referred by our links; however, we have carefully selected these products for their usefulness and quality.