We may receive a commission when you use our affiliate links. However, this does not impact our recommendations.
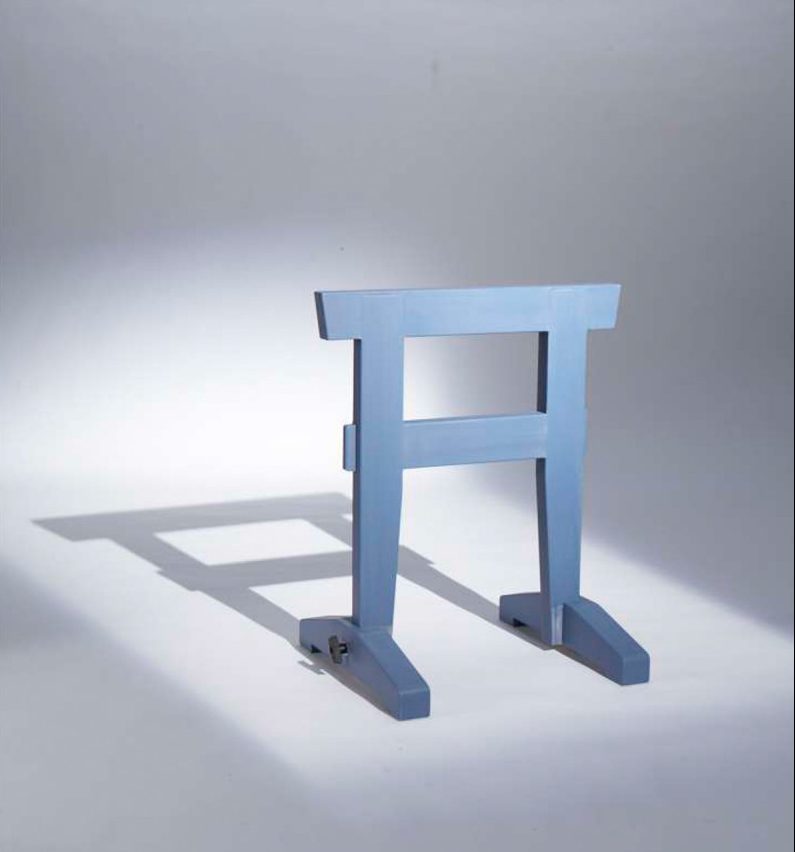
Simple design. Sturdy construction.
Every shop needs a pair of trusty sawhorses. I like ones that are easy to build and easy to store away.
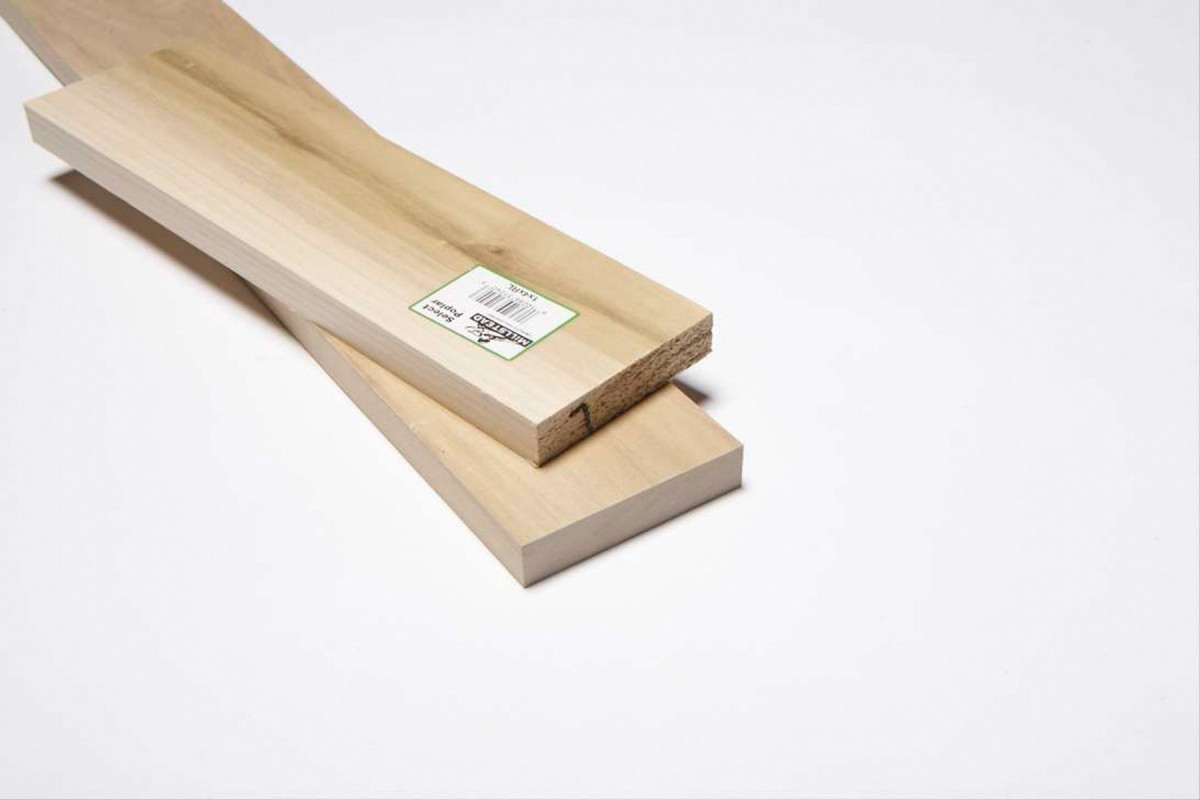
Easy to make. All the parts are just home center 1x4s glued together.
These sawhorses definitely fit that bill, and nest together quite well, too.
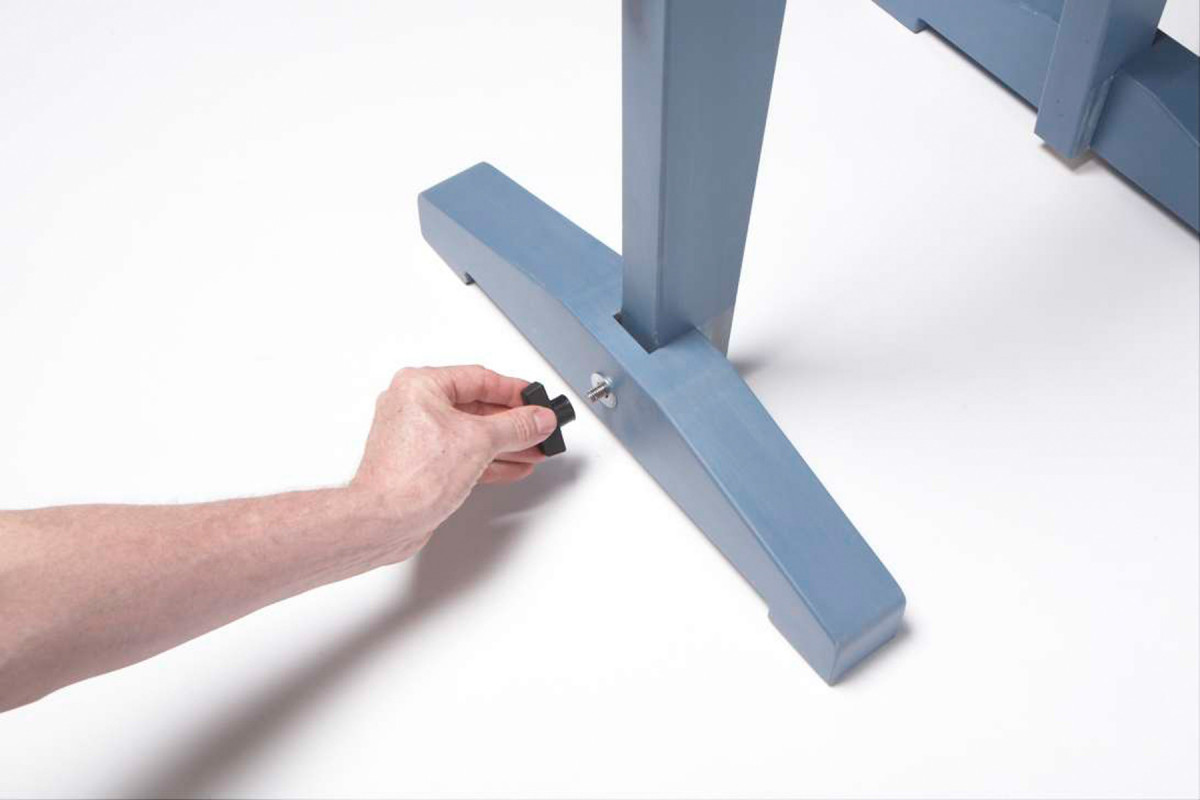
Removable feet. Unscrew the knobs to slide off the feet.
This unique design is within reach of any woodworker and doesn’t require many tools to build.
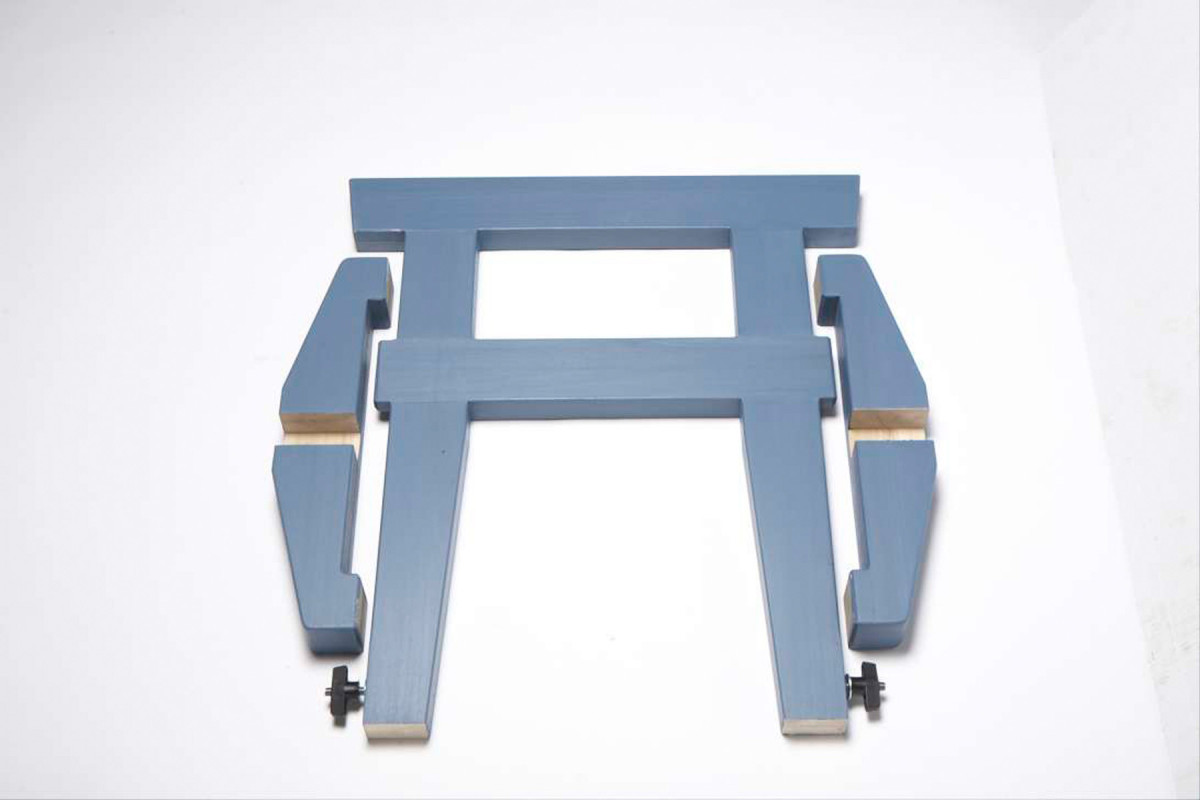
Stores flat. Hang the parts on a wall or put them on a shelf.
The wood is quite common—I used yellow poplar 1x4s from the local home center. You’ll need about 200 linear feet of 1x4s to make one pair of horses.
Knockdown Trestle Sawhorse Cut List
Overall Dimensions: 27-1/2″ H x 24″ W x 18″ D
|
Part |
Name |
Qty. for 2 |
Th x W x L |
|
A1 |
Leg 1 |
4 |
3/4″ x 3-1/4″ x 26-3/4″ |
|
A2 |
Leg 2 |
4 |
3/4″ x 3-1/4″ x 14-1/4″ |
|
A3 |
Leg 3 |
4 |
3/4″ x 3-1/4″ x 6″ |
|
B1 |
Top stretcher 1 |
2 |
3/4″ x 3-1/4″ x 24″ |
|
B2 |
Top stretcher 2 |
2 |
3/4″ x 3-1/4″ x 11-1/2″ |
|
B3 |
Top stretcher 3 |
4 |
3/4″ x 3-1/4″ x 3″ (a) |
|
C1 |
Mid stretcher 1 |
2 |
3/4″ x 3-1/4″ x 19-1/2″ |
|
C2 |
Mid stretcher 2 |
2 |
3/4″ x 3-1/4″ x 11-1/2″ |
|
D1 |
Foot 1 |
16 |
3/4″ x 3-1/4″ x 8-1/4″ (b) |
|
D2 |
Foot 2 |
4 |
3/4″ x 3-1/4″ x 18″ |
|
D3 |
Foot 3 |
8 |
3/4″ x 2-1/4″ x 2-1/4″ |
Notes:
a) First cut miters on both ends of two pieces 12″ long,
then crosscut them to make four B3 parts.
b) Rough cut four pieces 17″ long to make all eight pieces.


 Building the horse
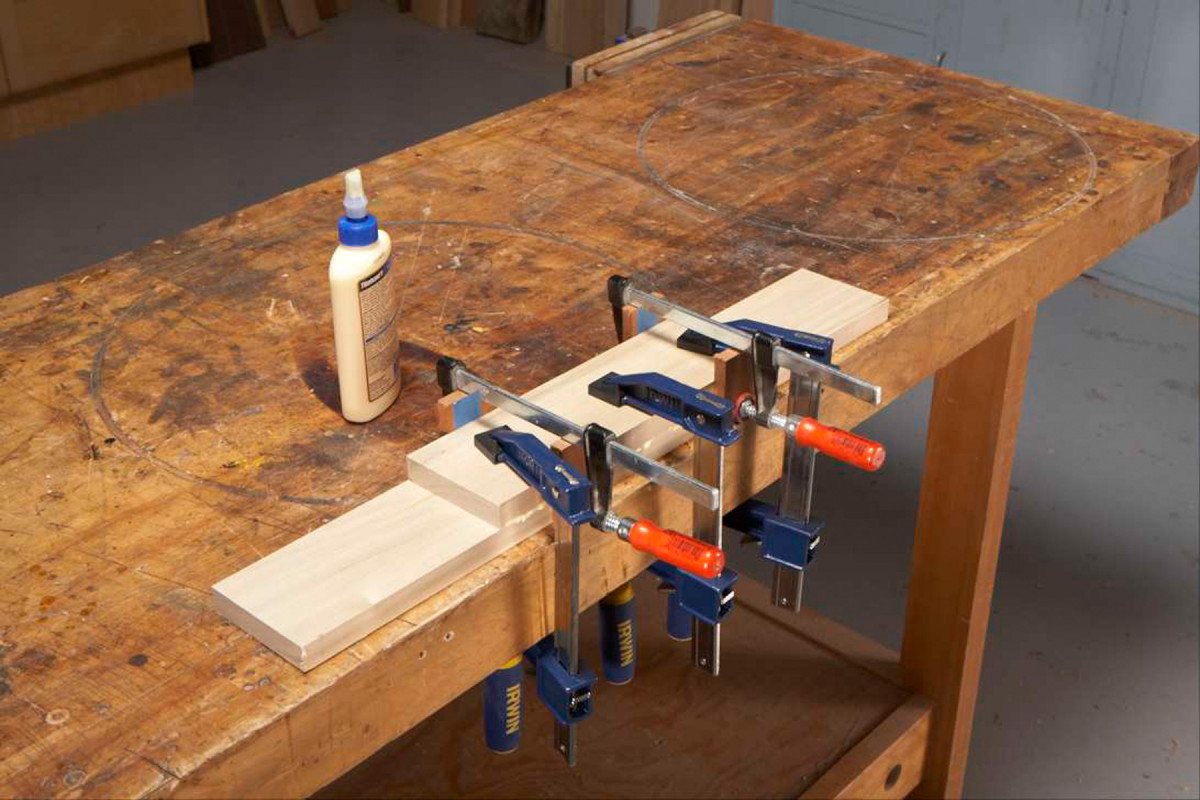
1. Use plenty of clamps to glue the pieces together. Place two clamps across the pieces to help align them. To prevent these clamps from sticking to the wood, place some small blocks, covered with masking tape, between the wood and the clamp.
You’ll need a tablesaw, handsaw, drill and a number of clamps. A miter saw would be handy for cutting parts to length. Begin by cutting all the parts except A3 and B3—you’ll cut these to fit later on. Assemble the parts in the order shown in the drawings on the next page. The basic idea is to glue the pieces in layers (Photo 1), then rip both sides to make the edges perfectly even (Photo 2).
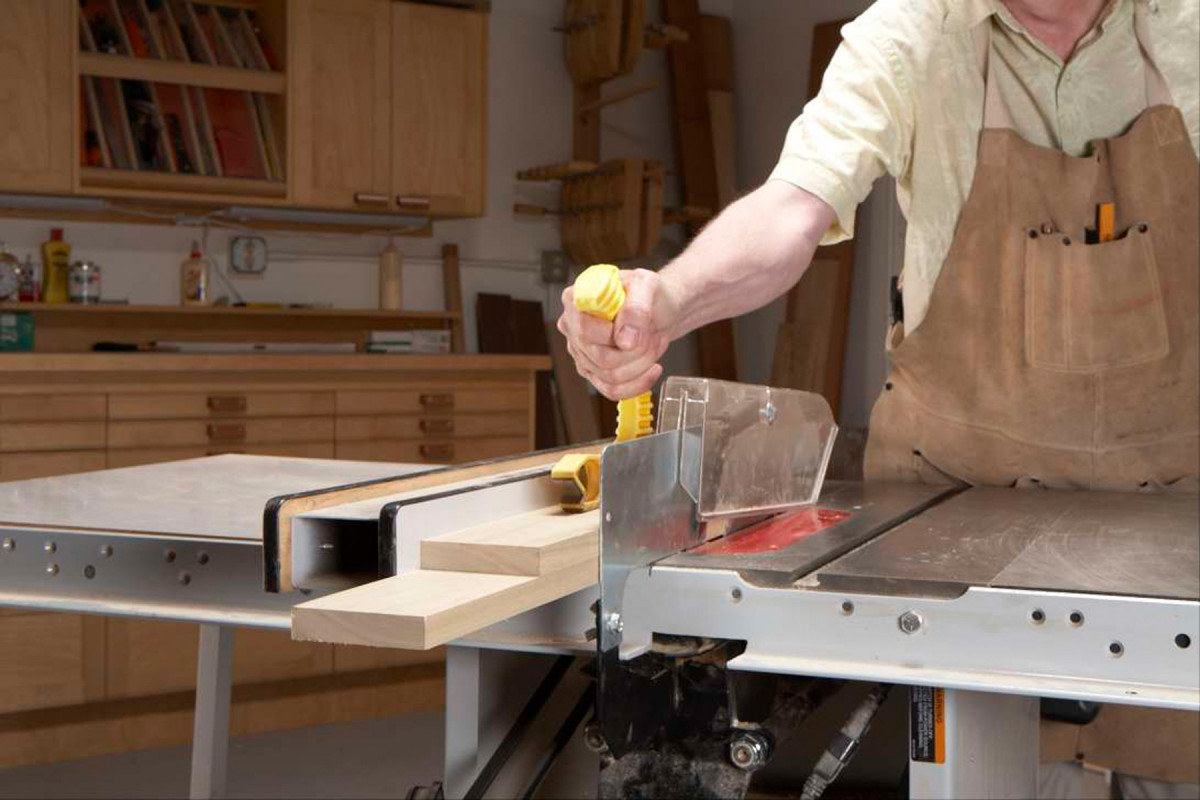
2. Saw both sides of the glued-up parts. This is an easy way to make the edges perfectly even.
Here are a few notes to guide you along the way. In step 12, you’ll be gluing a foot so that it fits tightly around a leg. The best way to do this is to place a leg between the foot pieces during the glue-up. Clamp these three pieces to draw them close. To prevent the leg from becoming glued to the foot, place some shims under the leg, as shown in the drawing.
When you’re ready to assemble the frame in step 16, place the stretchers in position and measure the distance between them. Cut A3 to this length. You can glue all of these pieces together at once, but it’s easier to do it in two stages. Start with the middle stretcher, but leave the top stretcher in place—without glue—so the legs are spaced correctly. Draw all the pieces tight with clamps. For the second stage, glue on A3 and the top stretcher. After removing the clamps, cut part B3 to exact length.
To install the hanger bolts, first drill a 5/16″ hole through each foot. Make sure the hole is plumb—it’s best to use a drill press. Clamp the foot onto the leg and continue drilling the hole with a cordless drill. Remove the foot and enlarge its hole with a 3/8″ bit. Install the hanger bolt by jamming two nuts together on its threaded end; turn them with a wrench.
If you finish or paint your sawhorse, leave the feet on. You don’t want a film on the part of the leg that slides into the foot. That additional thickness would make the fit too tight—I know, it happened to me!
Buy the knobs for this project on Amazon
Here are some supplies and tools we find essential in our everyday work around the shop. We may receive a commission from sales referred by our links; however, we have carefully selected these products for their usefulness and quality.


 Building the horse


