We may receive a commission when you use our affiliate links. However, this does not impact our recommendations.
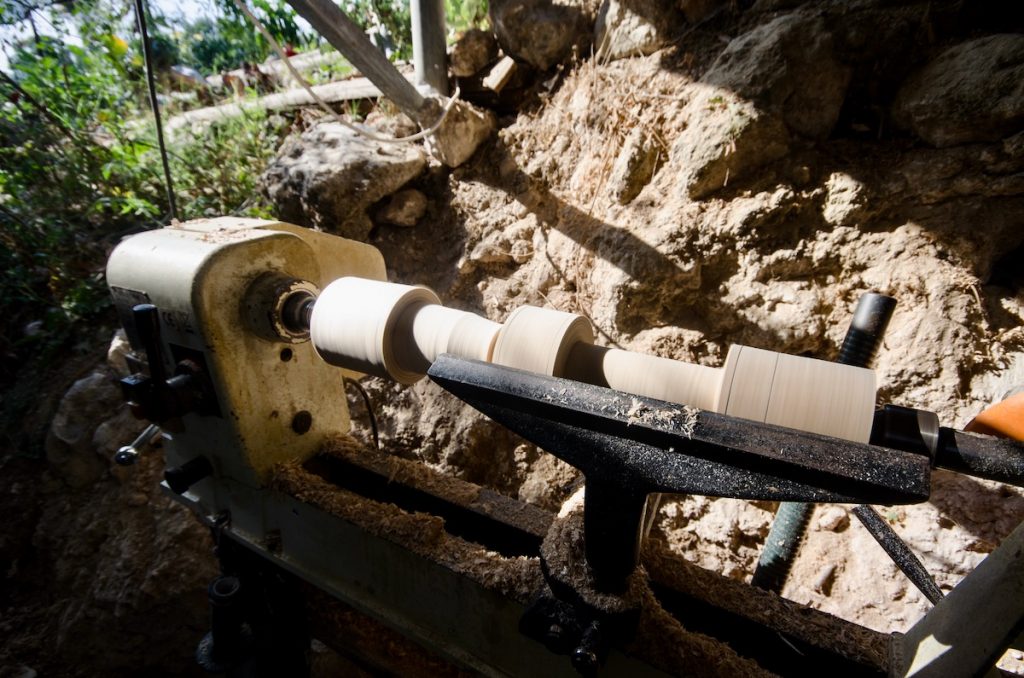
After portioning out some of the Paulownia logs into smaller units Dan set up his lathe and began the turning process (read about the genesis of this great project here: part 1, part 2).
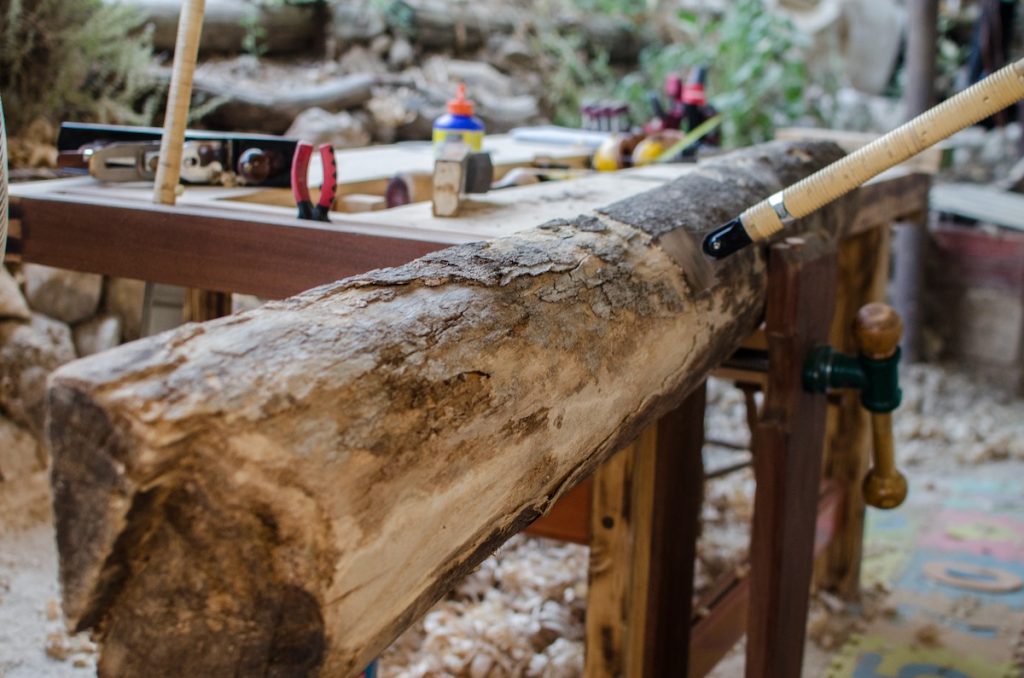
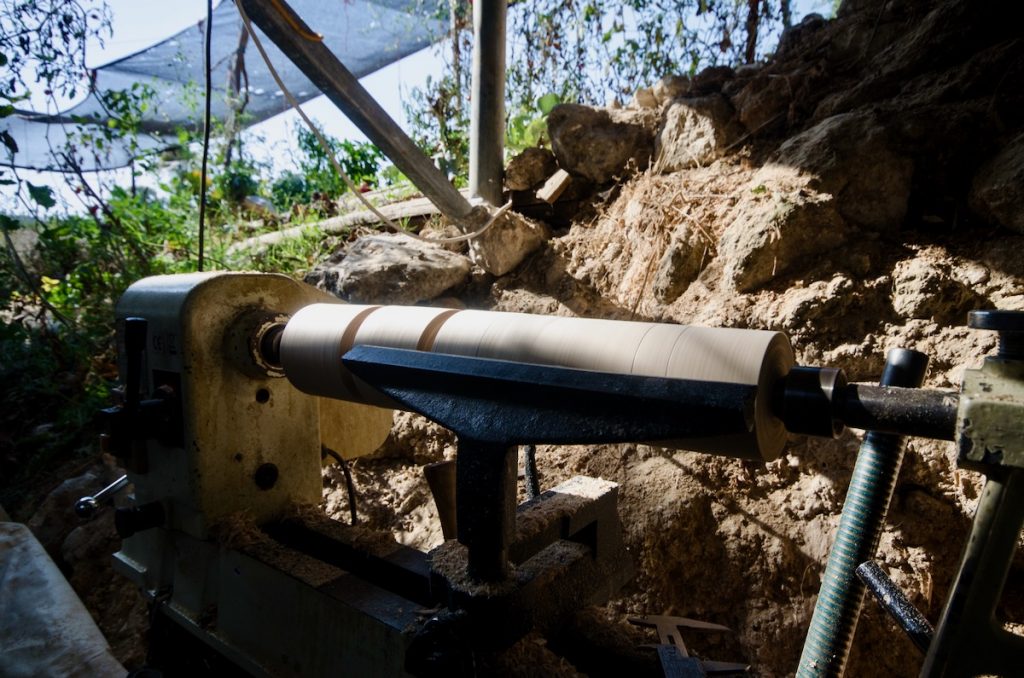 He turned the raw wood into a cylinder and then marked the leg’s specific turning zones with a parting tool. After this, he dug into the wood to reduce it as necessary to address the design’s changing geometry.
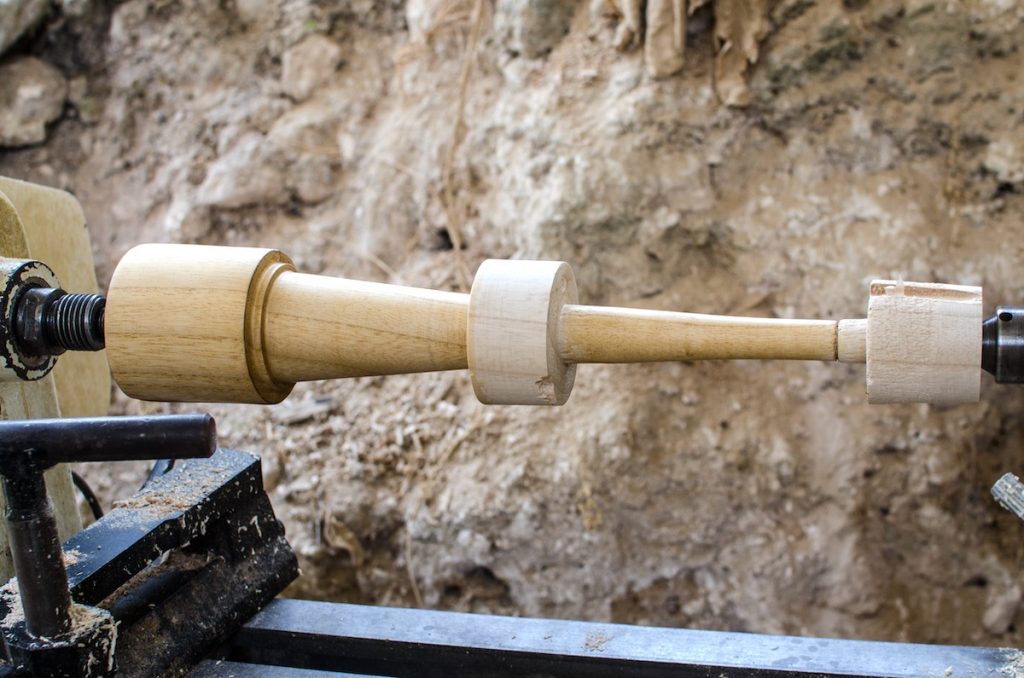
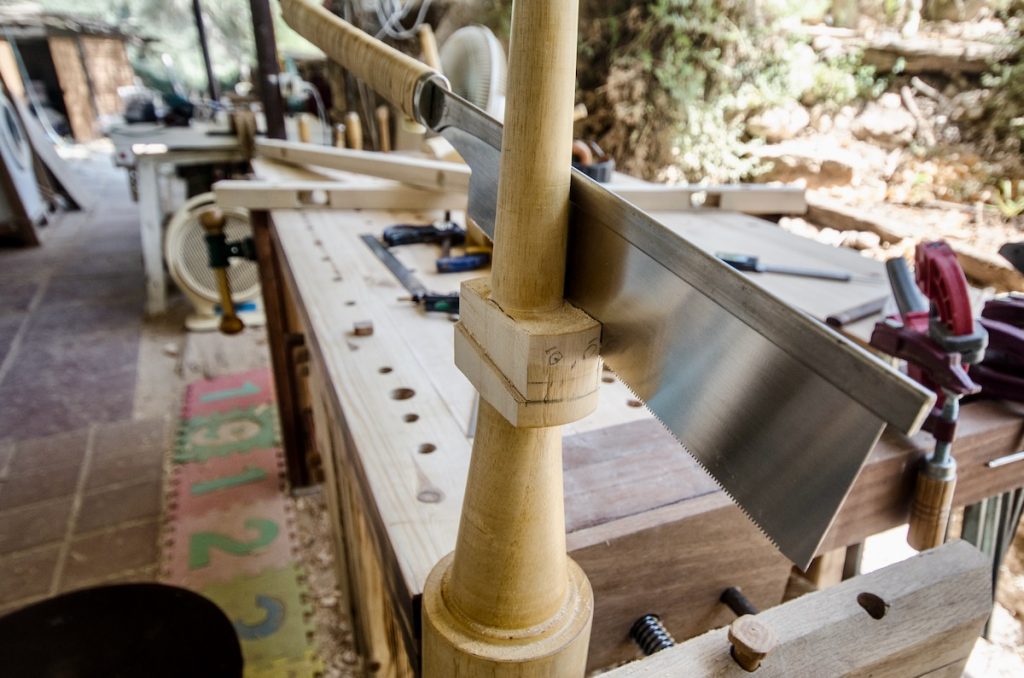
After finishing the lathe work he cut off two-stepped shoulders in the mid-collar of each leg to create the bracketed tenons that fit into the Torii middle beam (Nuki).
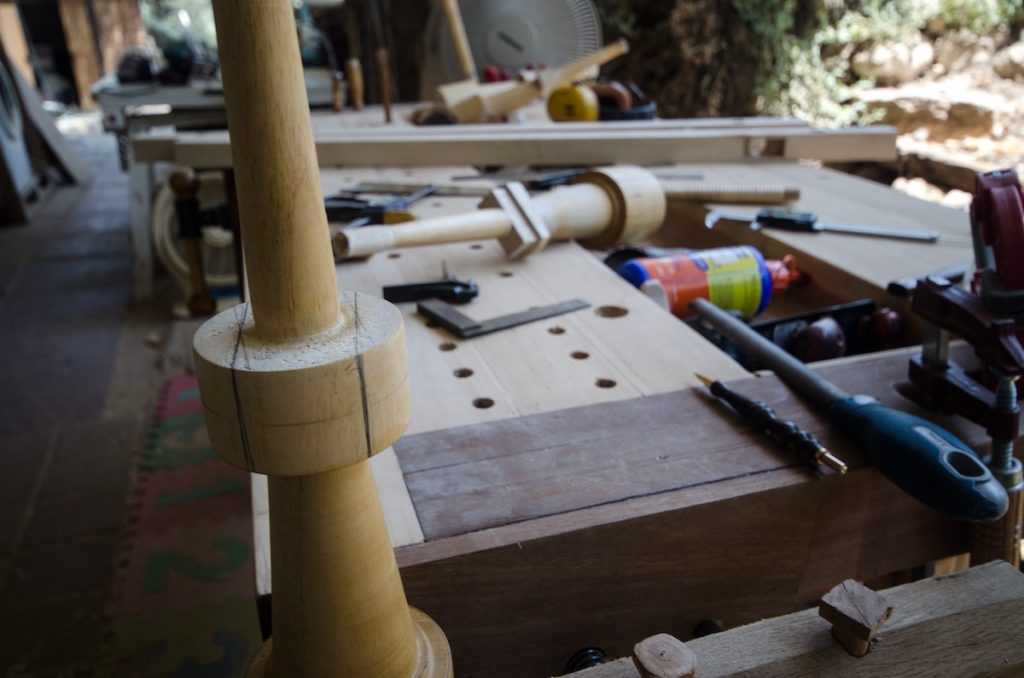
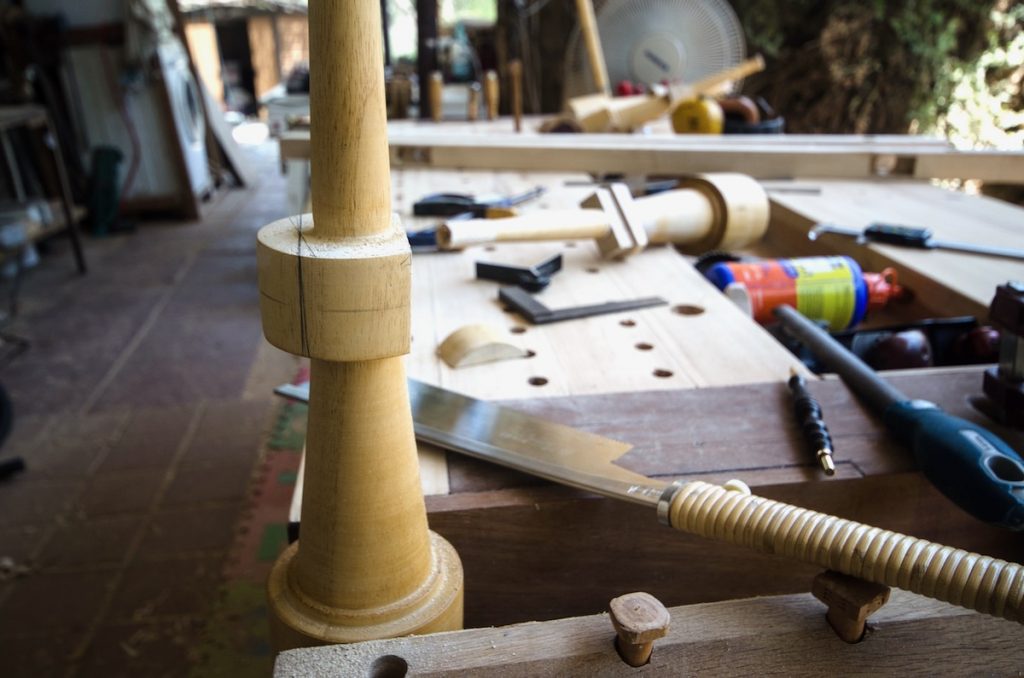
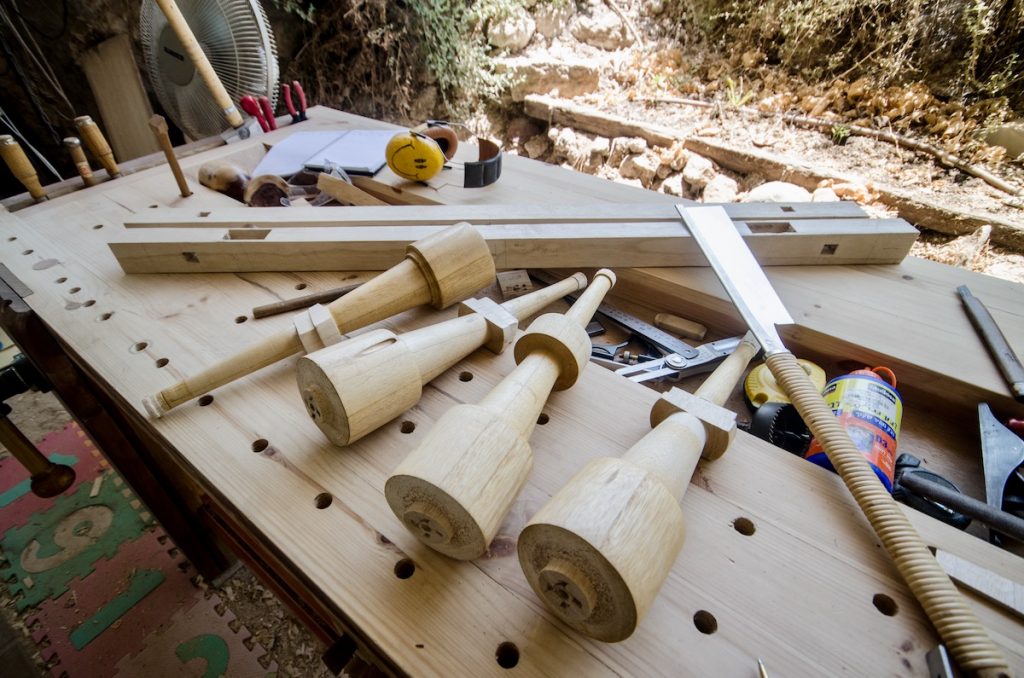
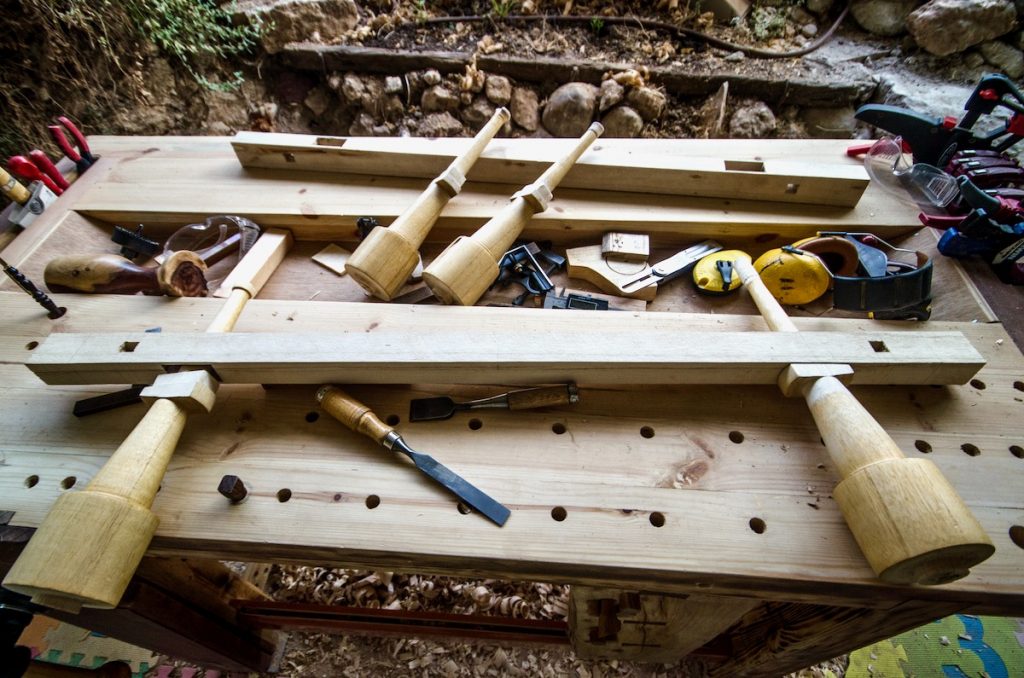
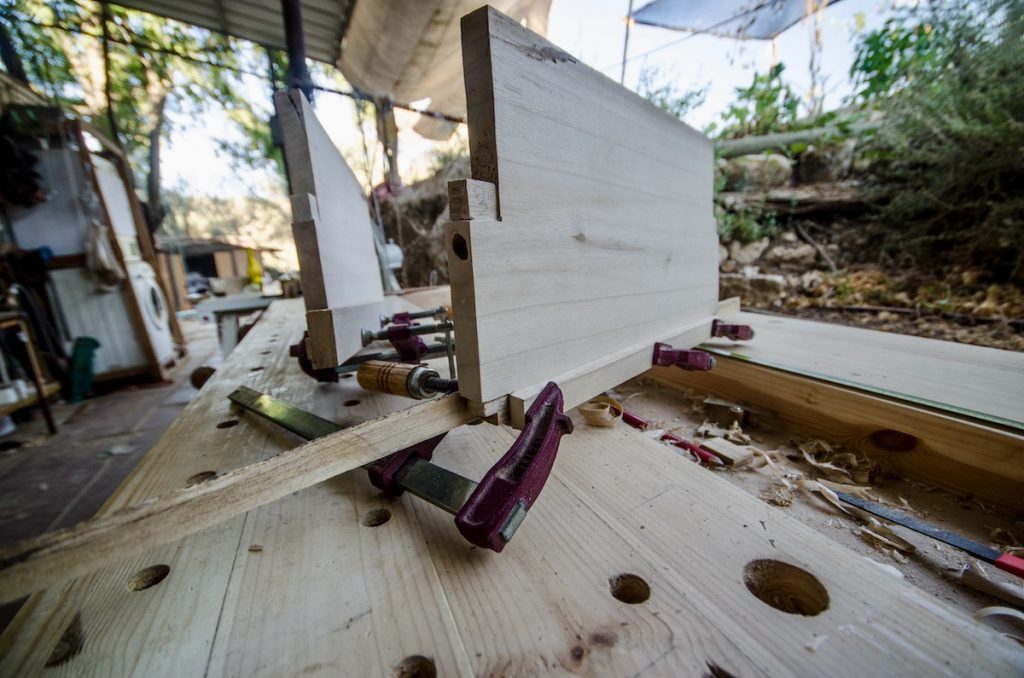
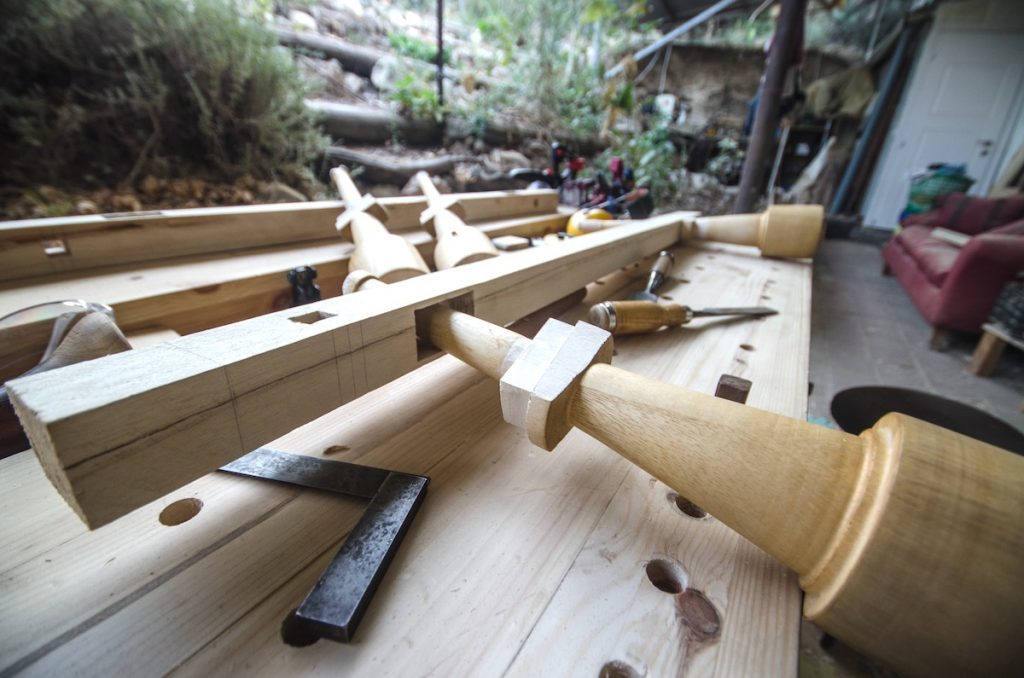 With the legs ready, and after forming the mortises in the Nuki rail, Dan began working on the drawer compartment which was made of two flanking panels. First, he resawed one of the short logs into boards and planed it, then he dimensioned it and created special corner tenons to allow the panel to rest inside dedicated mortises in Nuki rail.
Here are some drawings of the table parts. Notice the middle pannls that flank the drawer.
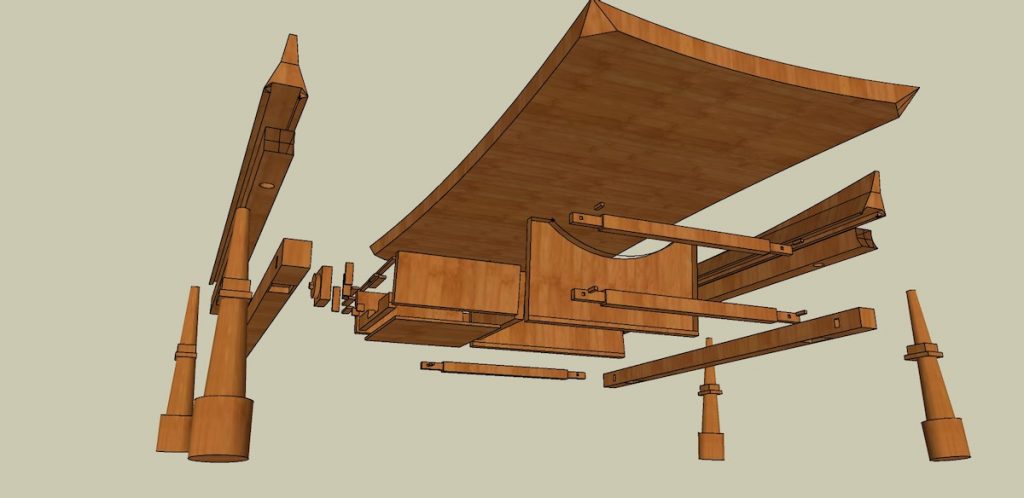
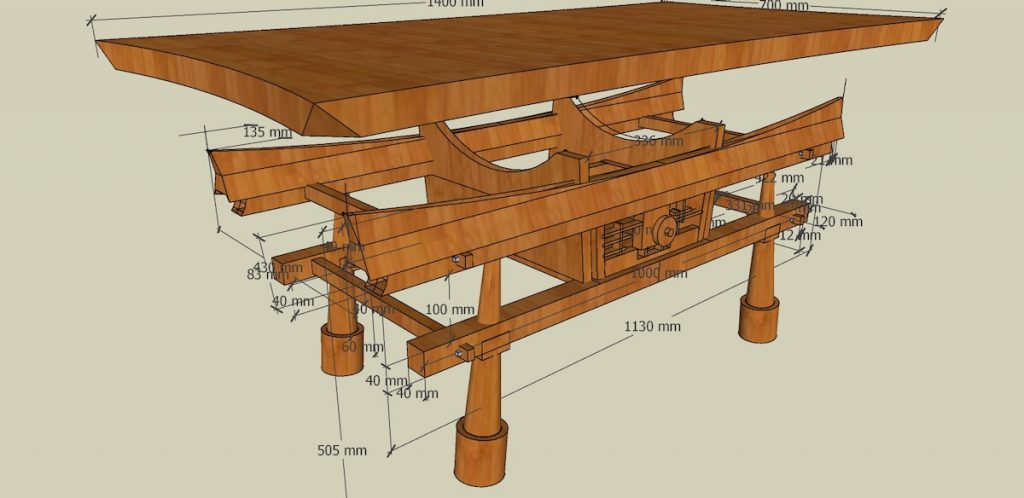
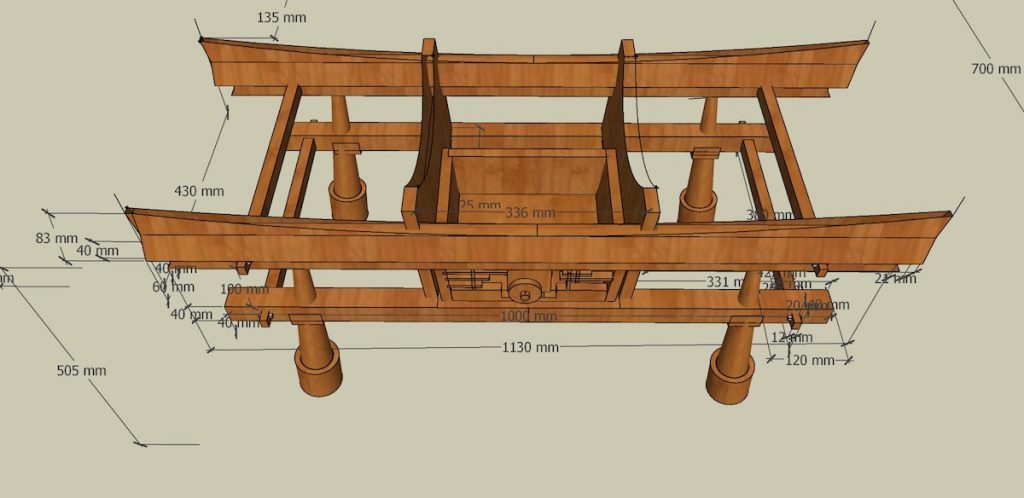
Resawing the boards that will become the drawered compartment.
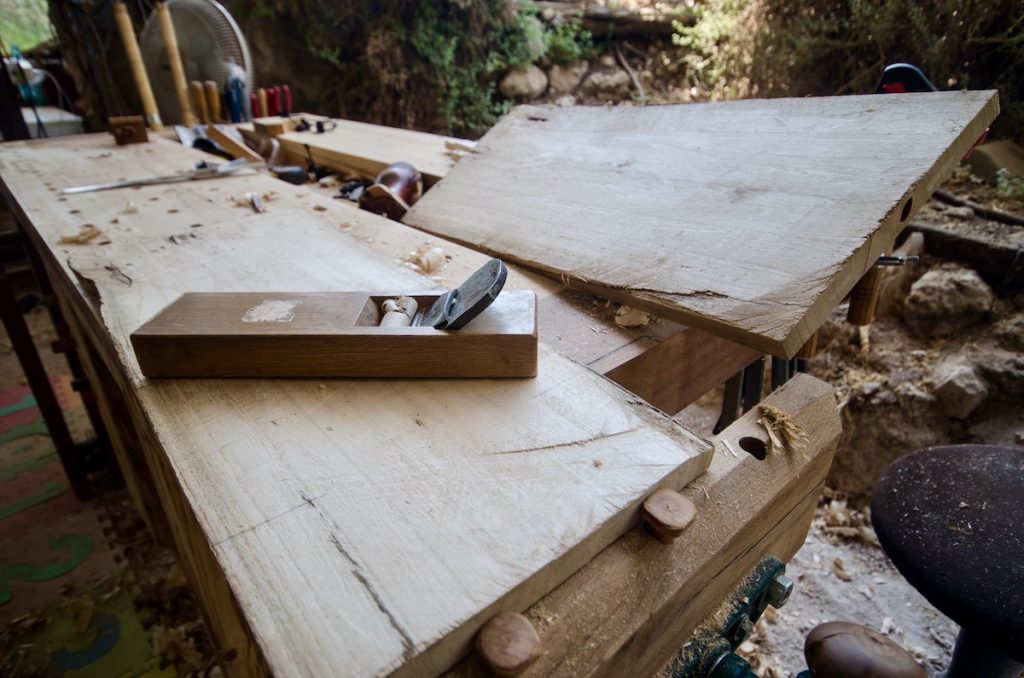
Hand planing the boards
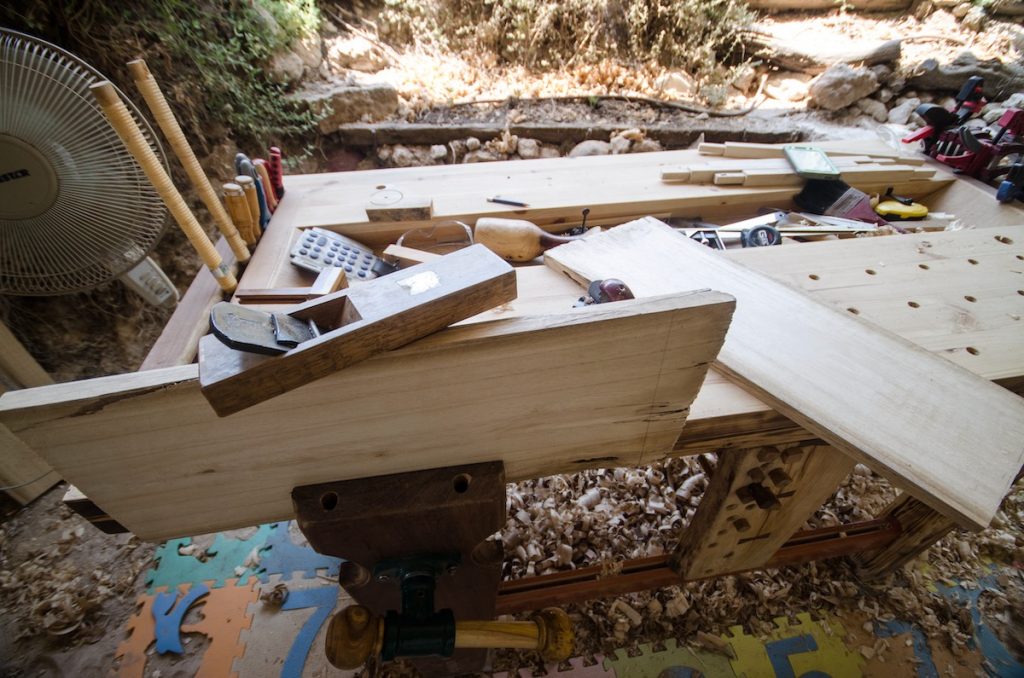
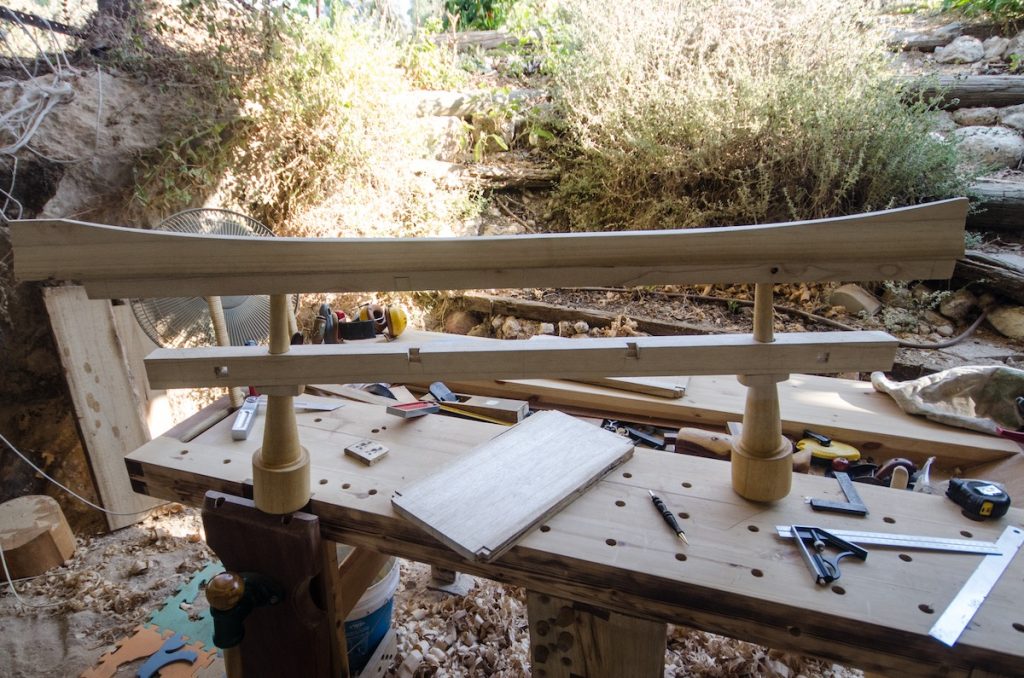
Forming mortises in the Torii’s Nuki rail and corner tenons in the panels.
Following this, he turned to the stretchers that connect the two Torii gates. At the end of each stretcher, he shaped a square tenon which in turn would fit into square mortises at the Shimagi and the Nuki. To lock the structure and secure these mortise and tenon joints, he incorporated a locking wedge – which not only adds strength to the non-glued structure but also bestows the table with beautiful detail.
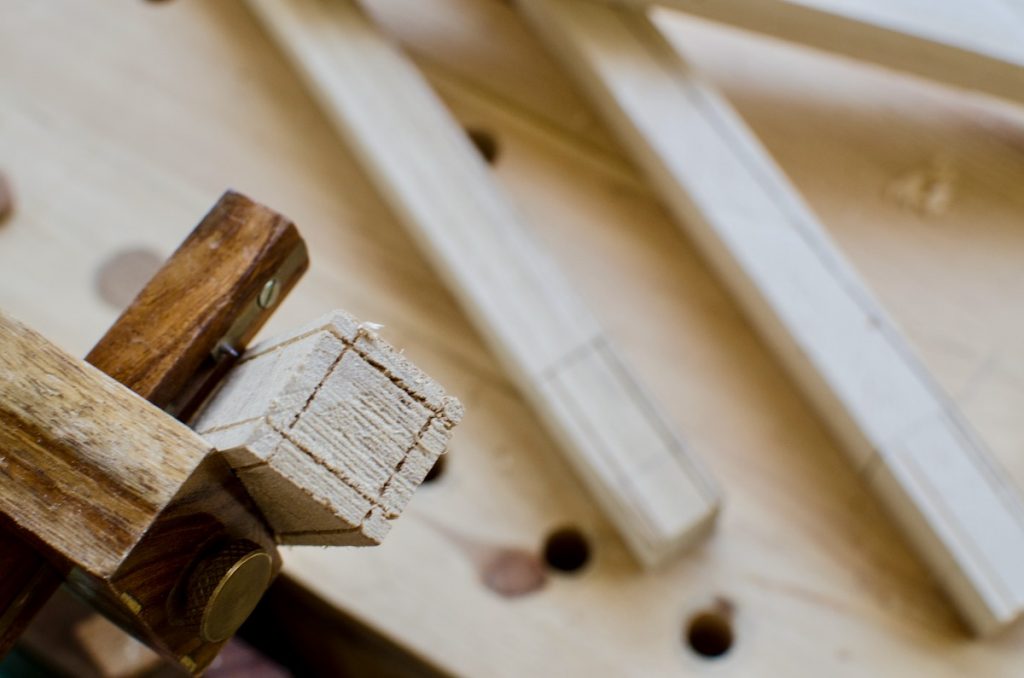
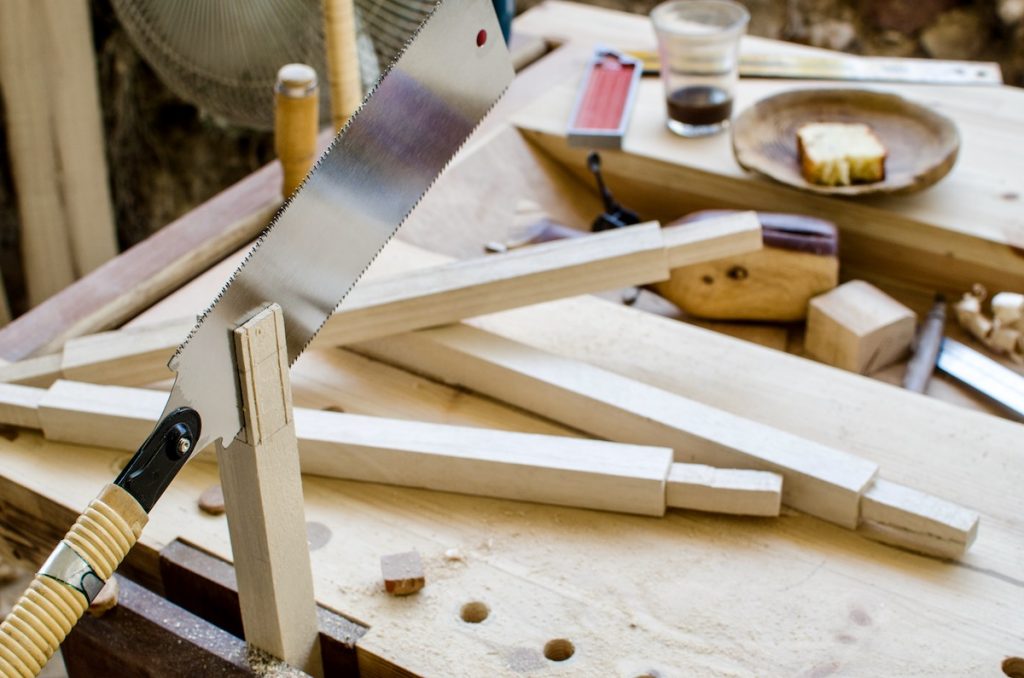
Dan’s last subtle brush stroke on the Torrii gates was to diagonally saw off the ends of the Kasagi and Nuki beams and cove (by drilling) the end of the Shimagi to beautifully blend in with the Kasagi.
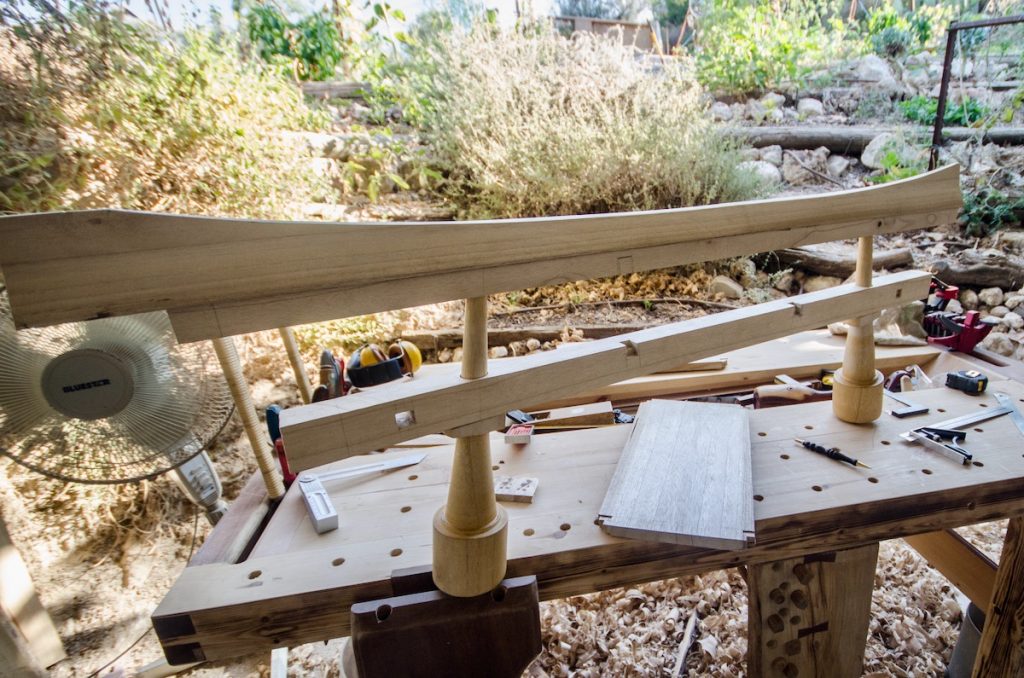
The “gate” before the diagonal cuts and the forming of the coves.

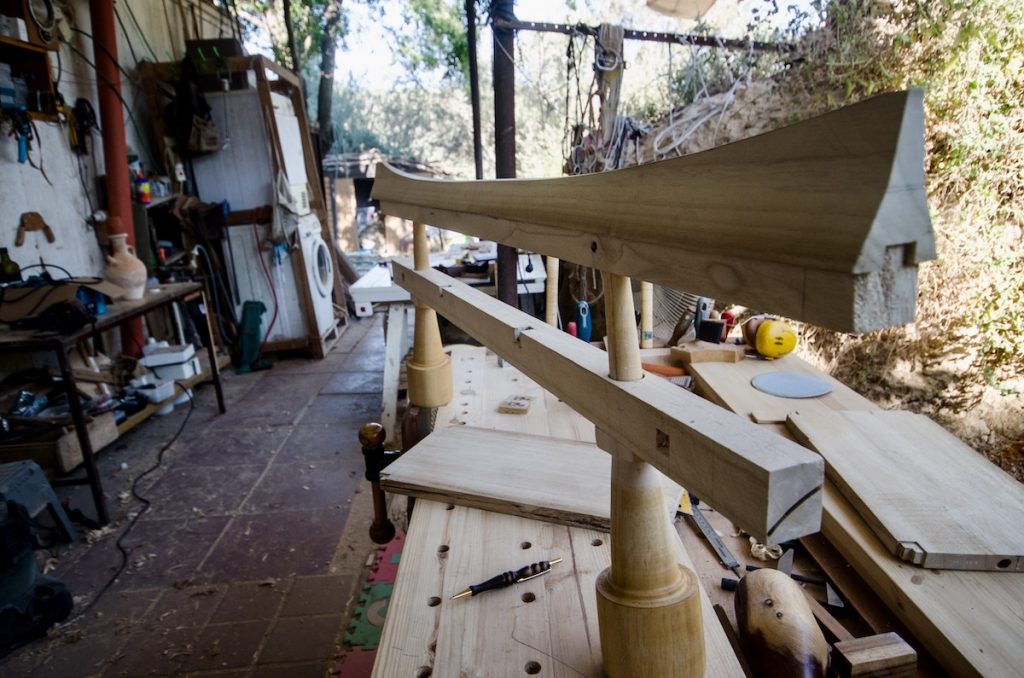
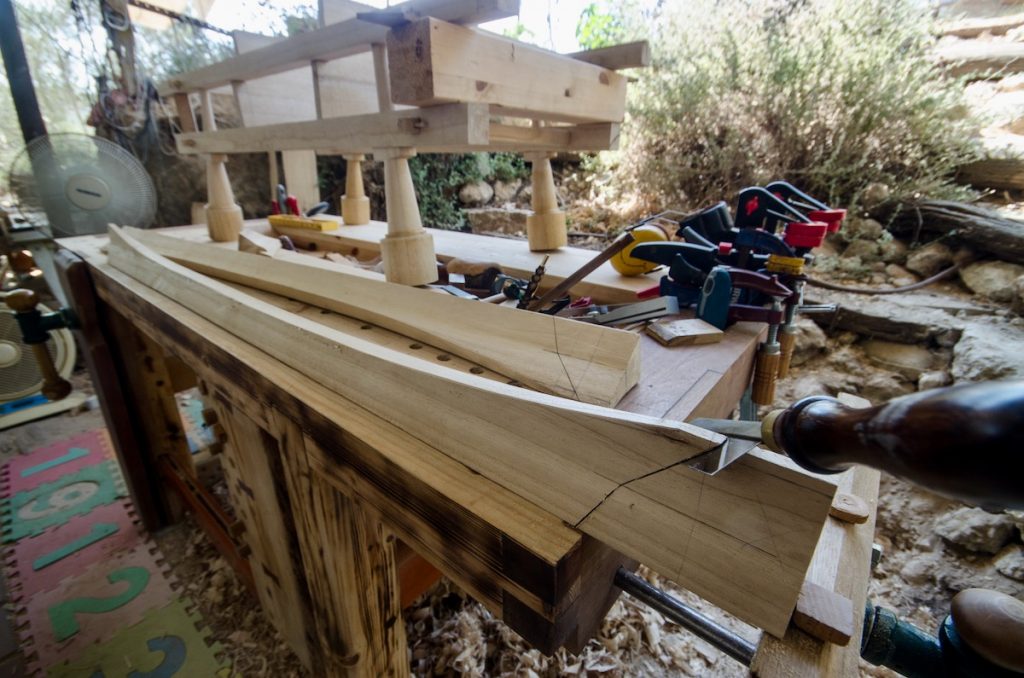
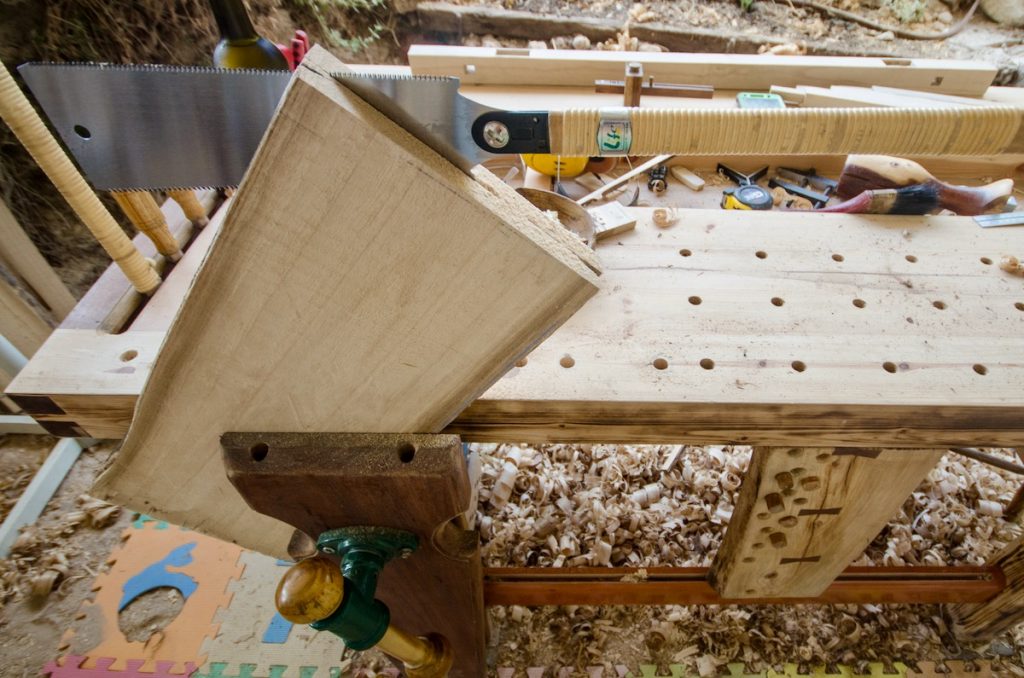
Slanting the Kasagi’s ends via a diagonal cut.
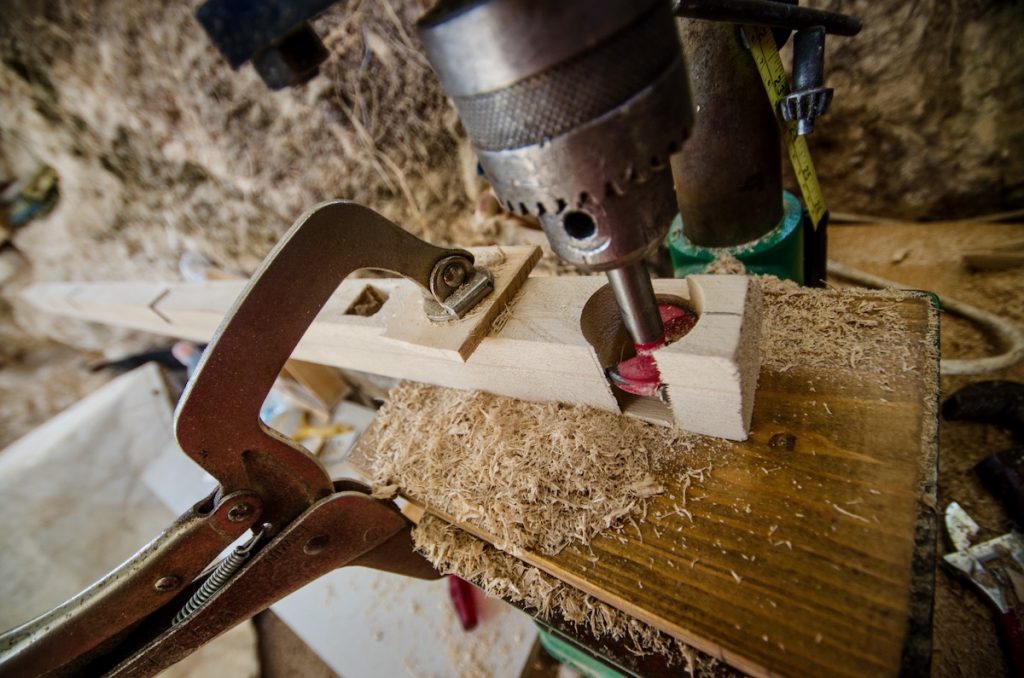
Coving the ends of the Nuki with a Forstner bit.
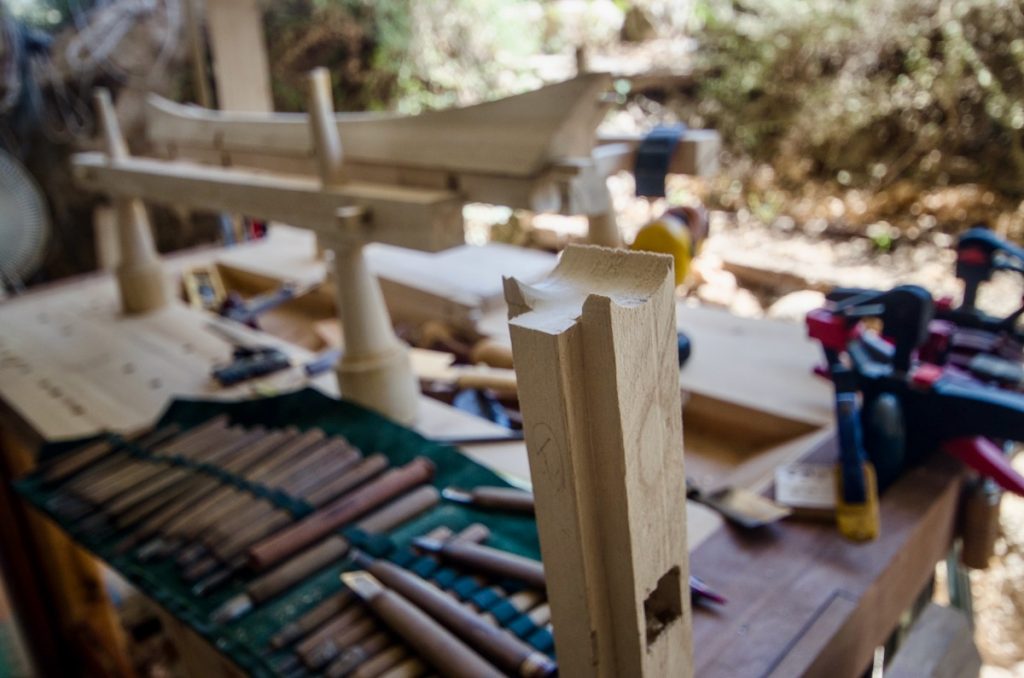
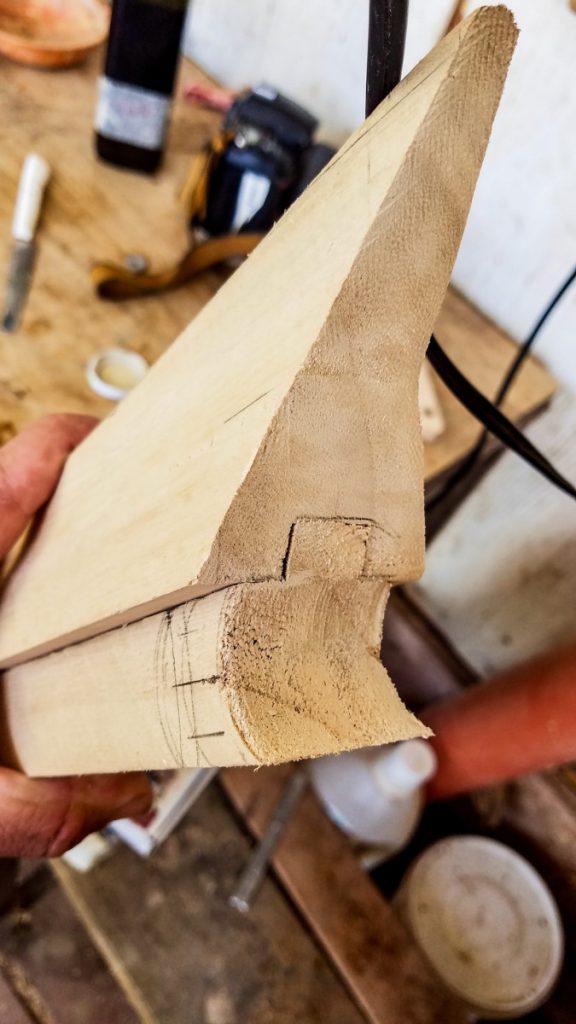
The Kasagi – Shimagi duo assembled.
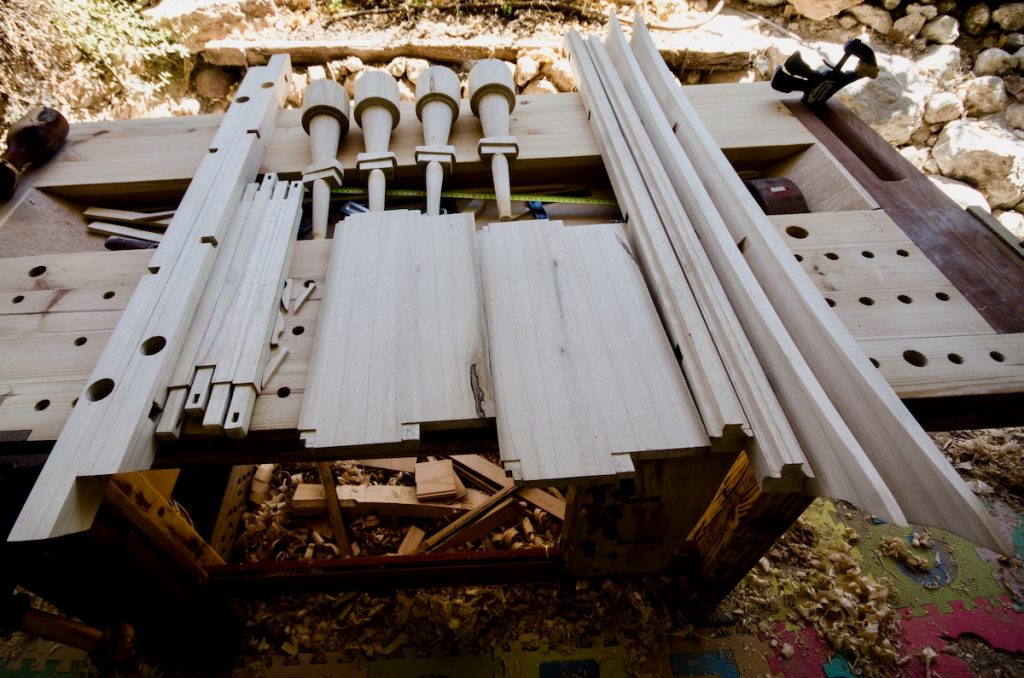
The Torii table’s structural parts are completed and waiting to be assembled.
I was planning on finishing the third part of the Torri table story with the table’s drawer but I am going to leave it to the last part so please stay tuned.
Here are some supplies and tools we find essential in our everyday work around the shop. We may receive a commission from sales referred by our links; however, we have carefully selected these products for their usefulness and quality.


