


We may receive a commission when you use our affiliate links. However, this does not impact our recommendations.

Dots. One method of optimizing the air pressure to a spray gun is to increase the pressure until the dots at the edges of the pattern no longer get smaller. Increasing the PSI beyond this point only increases bounce-back. The air pressure on the left spray burst is 20 PSI at the regulator. The air pressure on the right spray burst is 50 PSI. The dots at the edges of the right pattern are significantly smaller and also more uniform in size than the dots at the edges of the left pattern.
A simple test reveals ideal pressure for atomization.
Spray guns can run off a compressor or a turbine. With turbines the air pressure is established by the number of “stages,” usually two, three or four. Each stage corresponds to about 2 pounds per square inch (PSI). This seems ineffectively low, but it’s made up for by a huge volume of air, giving rise to the name – High-Volume Low-Pressure (HVLP).

Pattern. A second and often more obvious method of optimizing the air pressure to a spray gun is to increase the pressure until the pattern no longer gets wider. “When the pattern is right, the pressure is right.” This picture shows increasing the air pressure in 10-PSI increments from 20 PSI at the regulator to 60 PSI at the regulator. The pattern doesn’t get wider from 50 PSI to 60 PSI, so spraying above 50 PSI doesn’t improve atomization. It just wastes finish material due to excessive bounce-back. Fifty PSI, or just a little less, is therefore the optimum air pressure to use with this gun and finish material at these temperature conditions.
With compressors you have an infinite range of pressures you can use, and it is up to you to set this pressure so your spray gun is optimized for the best possible atomization. If you use too little pressure, you won’t get the best atomization; you’ll get orange peel. If you set the pressure too high, you’ll waste finish or stain because of excessive bounce-back.
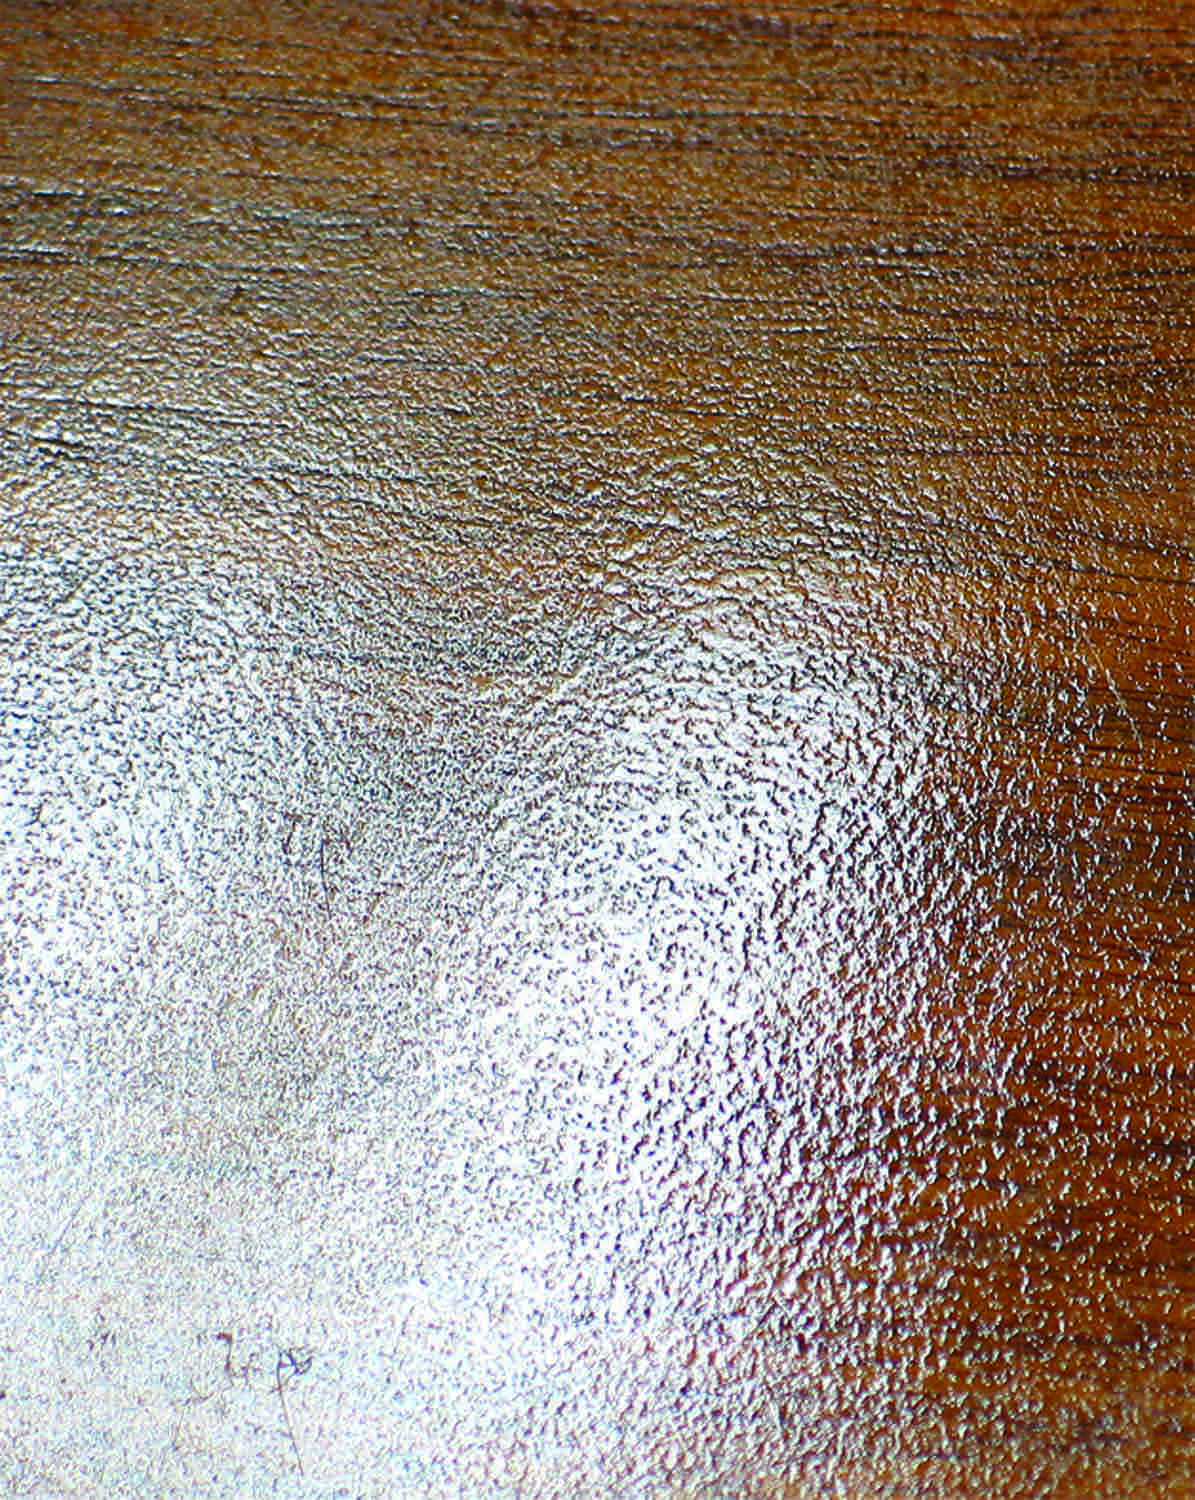
Orange peel. When the dots at the edge of a spray burst are large, you get an especially bad case of orange peel as shown here. Orange peel is so named because of the resemblance to the texture in the peel of an orange.
How to Determine Ideal Pressure
Some spray gun and finish manufacturers provide a suggested air pressure for their products, and you may find this works just fine for you. But there are many variables manufacturers can’t take into account. These include the actual finish or stain you’re using if the suggestion comes from a spray-gun supplier, how much thinner you’ve added, the length of your air hose, and a particularly critical variable for home shops – temperature variations (liquids become thicker in cooler temperatures and require more pressure to atomize).
In addition, manufacturer-suggested pressures often don’t specify whether they are measured at the compressor’s regulator, the gun’s air inlet or at the air cap.

Pressure gauges. Optimizing can also be done using a pressure gauge attached to the air-inlet nipple at the bottom of the gun’s handle, but no advantage is gained over simply using the regulator. To determine if you are complying with the HVLP standard of not exceeding 10 PSI at the air cap, you will need a special air cap and attached air pressure gauge.
In order to adjust the pressure at the air inlet or air cap, you need a pressure gauge that attaches to these locations. Many spray gun manufacturers supply an inlet air gauge with their gun. But the more accurate measurement is made at the air cap. Unlike the more generic gauges that attach to the air inlet, gauges for the air cap are specific for each gun and can cost several hundred dollars.
But you don’t need any of these gauges, and you don’t need to rely on manufacturers’ suggestions. You can figure out the optimum air pressure for your gun and for the finish you’re spraying with just the regulator and a simple test. (Portable compressors have a regulator attached. Larger compressors are meant to hook up to piping and you have to install a regulator at the point where you want your air hose to attach.)
The Test
To find the optimum air pressure, begin by opening all the controls on your gun to their maximum and turning the air pressure at the regulator down to well below where you think it should be – for example, to 20 PSI.

Regulator. Both methods of optimizing the air pressure to a spray gun can be done with just a regulator, which is attached to smaller, portable compressors and is mounted on the wall with larger, stationary compressors. This picture shows air and moisture filters along with the wall-mounted regulator.
With the regulator set to about 20 PSI, spray a short burst onto brown paper or cardboard. (The finish shows up better on a brown surface than on white paper.) You’ll get a relatively small, center-heavy pattern with noticeably large dots around the edges.
Increase the air pressure by 10 PSI and spray another burst. The pattern will be a little wider and the dots a little smaller.
Continue increasing the air pressure in increments of 10 PSI and spraying short bursts. Each time you increase the pressure the pattern will get wider and the dots at the edges of the pattern will get smaller.
It’s important to hold the gun at the same distance from the target for each burst. The easy way to do this is to open your hand fully, placing the tip of your little finger against the target and the tip of your thumb against the air cap on the gun. Then spray each burst at this distance, which is about 8″.
When you reach a pressure that doesn’t widen the pattern from the previous one and doesn’t make the dots smaller, you’ve gone too far. You’ve achieved the best atomization, but you’re now wasting material because more than necessary is bouncing back.
So reduce the air pressure to the previous setting – or a little further – to just before the pattern shrinks and the dots become larger.
This is the optimum setting for the viscosity of the material you are spraying in the current temperature conditions. Here’s your mantra: “When the pattern is right, the pressure is right.”
As long as the viscosity and temperature conditions remain the same, there’s no reason to redo the test. Simply set the air pressure at the regulator the same each time you spray.
If you change to a different finish material, or if you thin it differently, or if the temperature changes, you’ll need to perform the test again to find the optimum pressure.
But you shouldn’t need to start over from a too-low pressure. You will learn quickly how to make simple adjustments, increasing the pressure a little when it is cold and decreasing the pressure a little when you have added more thinner.
If you should want a wider fan pattern for spraying large surfaces, you’ll need to get a larger fluid nozzle and needle. Then go through the optimization procedure again to set the air pressure.
Once you have established the optimum pressure for the equipment you’re using, you can narrow the fan width a good bit using the fan-width control knob without losing significant efficiency.
Remember that this test doesn’t work with turbine-air supplied guns because you don’t have the same control of air pressure. For the most part, the only adjustment you can make using a turbine gun is adding more or less thinner.
Here are some supplies and tools we find essential in our everyday work around the shop. We may receive a commission from sales referred by our links; however, we have carefully selected these products for their usefulness and quality.


