We may receive a commission when you use our affiliate links. However, this does not impact our recommendations.
A new twist on an old method of applying shellac.
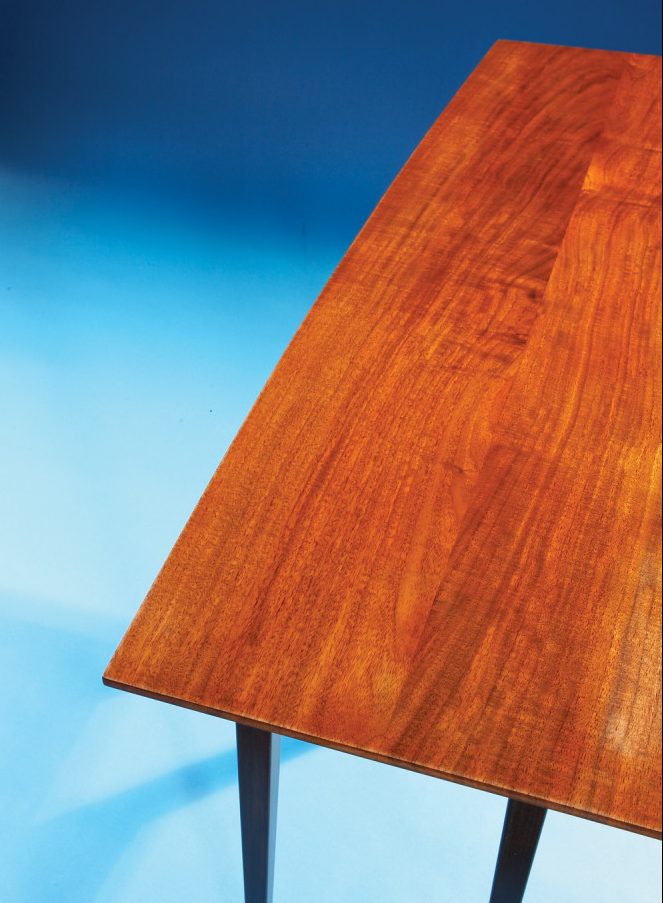
You’ve spent weeks, or months producing that perfect table from a very special wood, and now it’s time to apply the finish. What do you reach for? If it’s durability you’re after, use poly. But if beauty is more important, I’d recommend shellac.
Lacquer can yield equally stunning results, but it’s best applied by spraying. Spraying requires specialized equipment and a lot of cleanup with strong solvents. Shellac is far simpler. All you need is a good brush to apply it and denatured alcohol for cleaning up.
Traditionally, shellac was applied by a process known as French polishing. In this technique, you use a cloth pad to apply dozens of very thin layers of shellac, without sanding between coats. You achieve a high-gloss finish by gradually thinning the shellac. It’s very low-tech, but no matter how well you master the technique—and that can take a while—it’s a time-consuming process.
Today, using a synthetic brush, it’s possible to achieve that same build much faster, also without sanding between coats. You achieve the final look—satin or gloss—by using modern abrasives. It’s still a shellac finish, but I call it Not-So-French polishing.
Prepare the surface
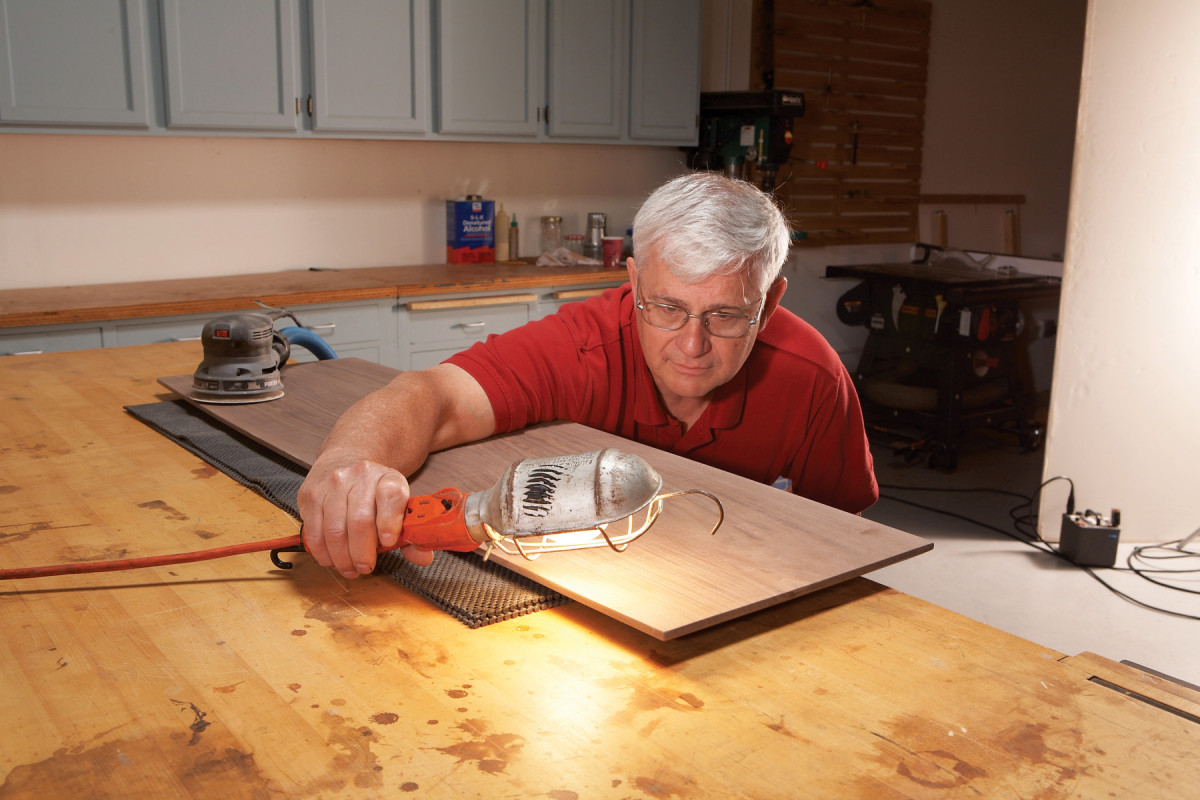
1. Prepare the surface by sanding up to 220 grit with an orbital sander. Make sure the surface is free of mill marks and scratches by examining it under a raking light.
Shellac is almost perfectly transparent. It won’t obscure flaws, so the wood’s surface should be sanded to near-perfection. Fortunately, this rule doesn’t usually apply to a whole piece of furniture. It’s really only the horizontal surfaces—a top, for example—that require such special treatment. Vertical surfaces such as legs and rails won’t reflect light or catch the eye the way a gorgeous top does. You don’t have to sand them to the same high standard or apply as many coats of finish as you do for a top.
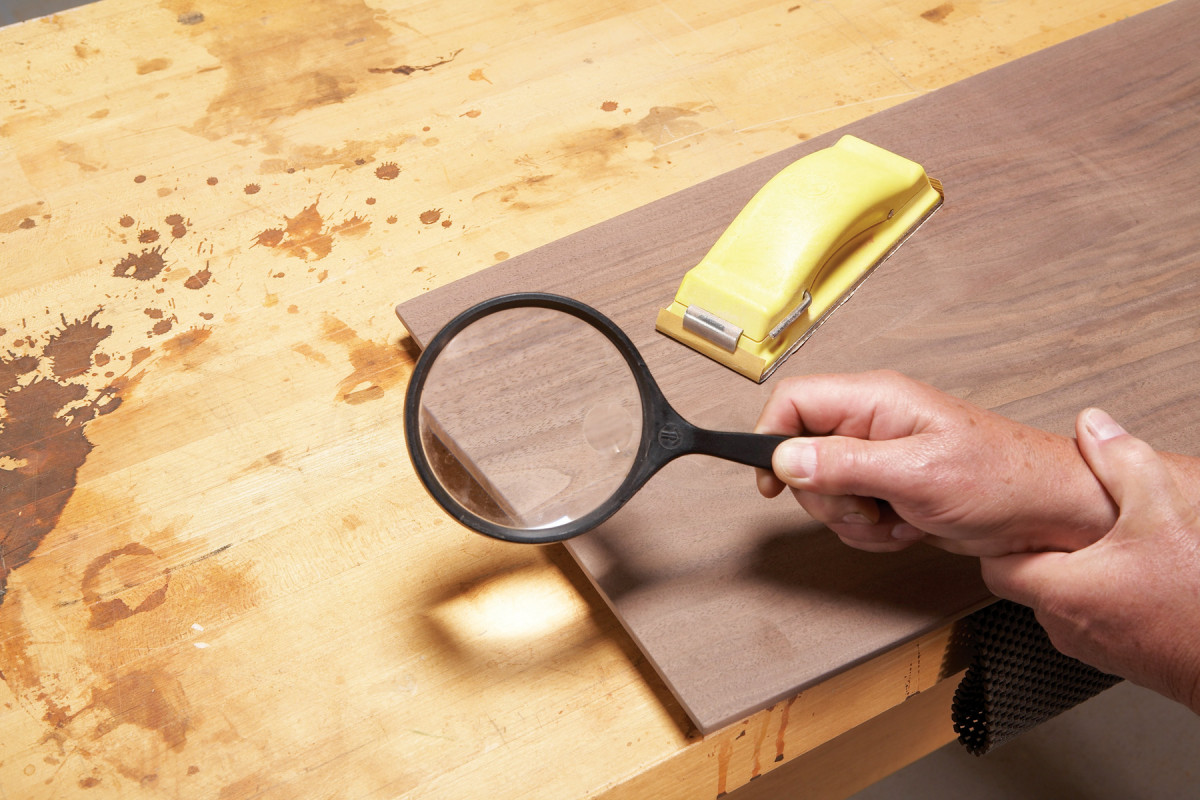
2. Sand by hand using 220 grit paper. With a magnifying glass, look for swirl marks left by the orbital sander. Keep sanding until all the swirls are gone.
While there are many ways to make a perfectly smooth surface, the same test applies to each method: Look at the surface under a raking light (Photo 1). The tiny swirls made by a random-orbit sander may not be apparent this way, though, so I go one step further and use a magnifying glass (Photo 2). I figure if it looks good under magnification, it’s going to look great without it!
Build the finish
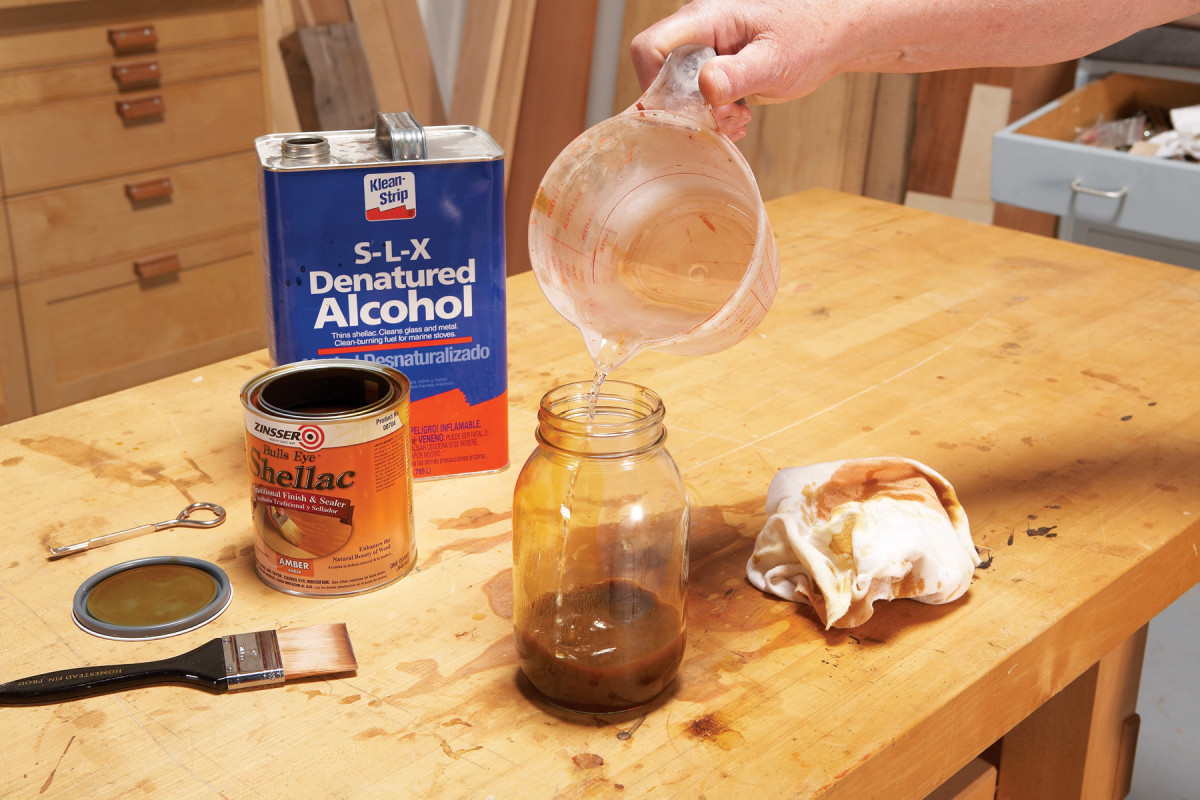
3. Thin the shellac with an equal portion of denatured alcohol. On dark woods such as this walnut, use amber shellac.
You can make shellac from flakes and denatured alcohol, but I usually buy cans of premixed Bulls Eye shellac, which is available at most hardware stores. This shellac comes in two shades: clear and amber. I generally use clear shellac on pale woods and amber on dark woods. I’ve found that thinning premixed shellac with denatured alcohol reduces the size and amount of brush marks so that I don’t have to sand between coats. To begin, mix your shellac with an equal amount of alcohol (Photo 3). This thinned mix will keep at least one year, so you can make as much as you want.
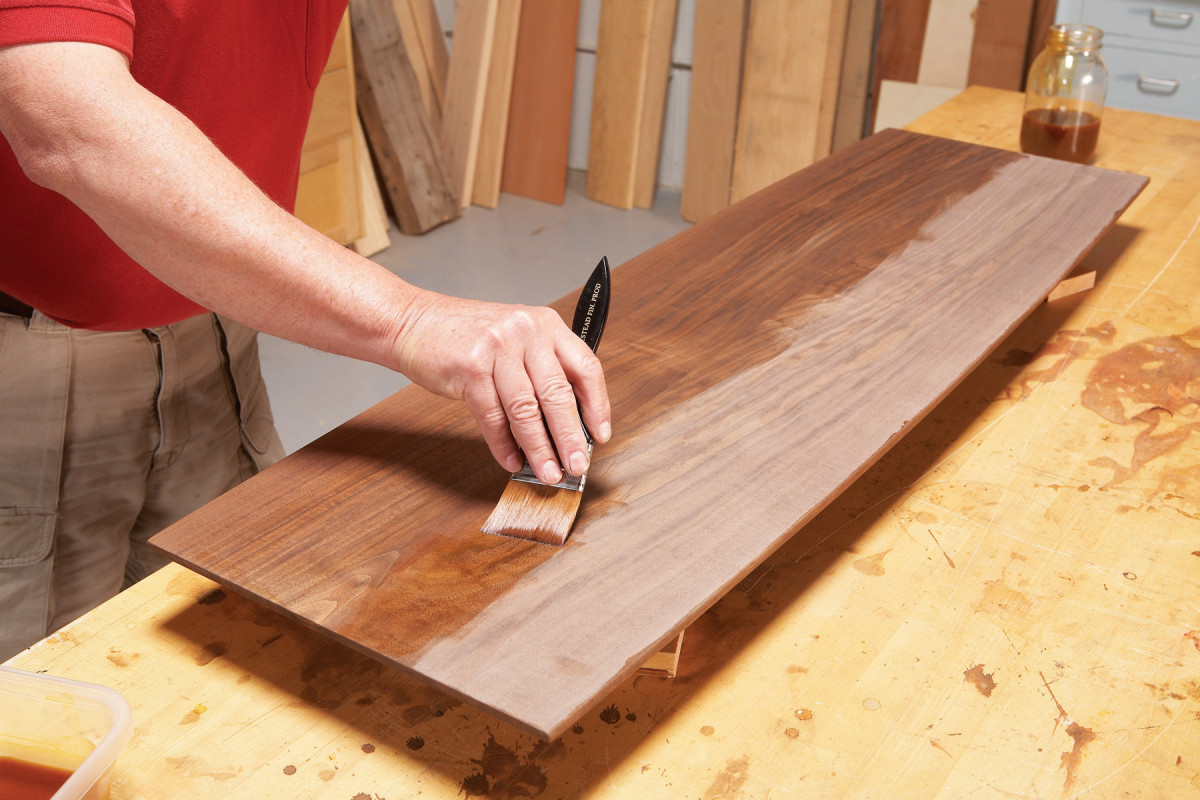
4. Apply the shellac using a high-quality brush to minimize ridges. This brush—my favorite type—has Taklon bristles.
Now, a word about brushes. Good ones are worth the money—about $35 for a 2″ brush. While you can certainly apply shellac with a cheaper brush, it will leave uneven ridges that require a lot of time to sand out. A good brush leaves a flatter surface. I’ve used two types of high-quality brushes: badger hair and Taklon (Photo 4). While a badger brush can hold more finish, I think the Taklon is better because it leaves a smoother surface.
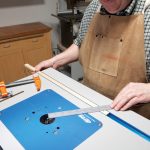
Back to the tabletop. First, place it top-face up and brush the edges all around. Some shellac will probably dribble underneath the top; wipe that excess with a rag or your finger. On the top itself, start each brush stroke about 2″ from the end of the top, then pull the brush toward that end and off the top. Place the brush back where you started and pull it to the other end. Go back over this wet area with quick back-and-forth strokes to cover any spots you missed and to even out the film. Don’t work the shellac too much—it dries very fast. Stop when you start to feel the drag of the drying shellac. Continue this process across the top, overlapping each pass about 1/4″.
You can recoat the top in an hour or so, but you don’t have to clean your brush between coats—one of the benefits of using shellac. When you’re done with a coat, just suspend your brush in a jar of denatured alcohol. Hang it so the bristles don’t rest on the bottom of the jar and use enough alcohol to completely cover the bristles. Before you apply a new coat, shake out the brush and wipe it a few times on a scrap of wood, then go at it.
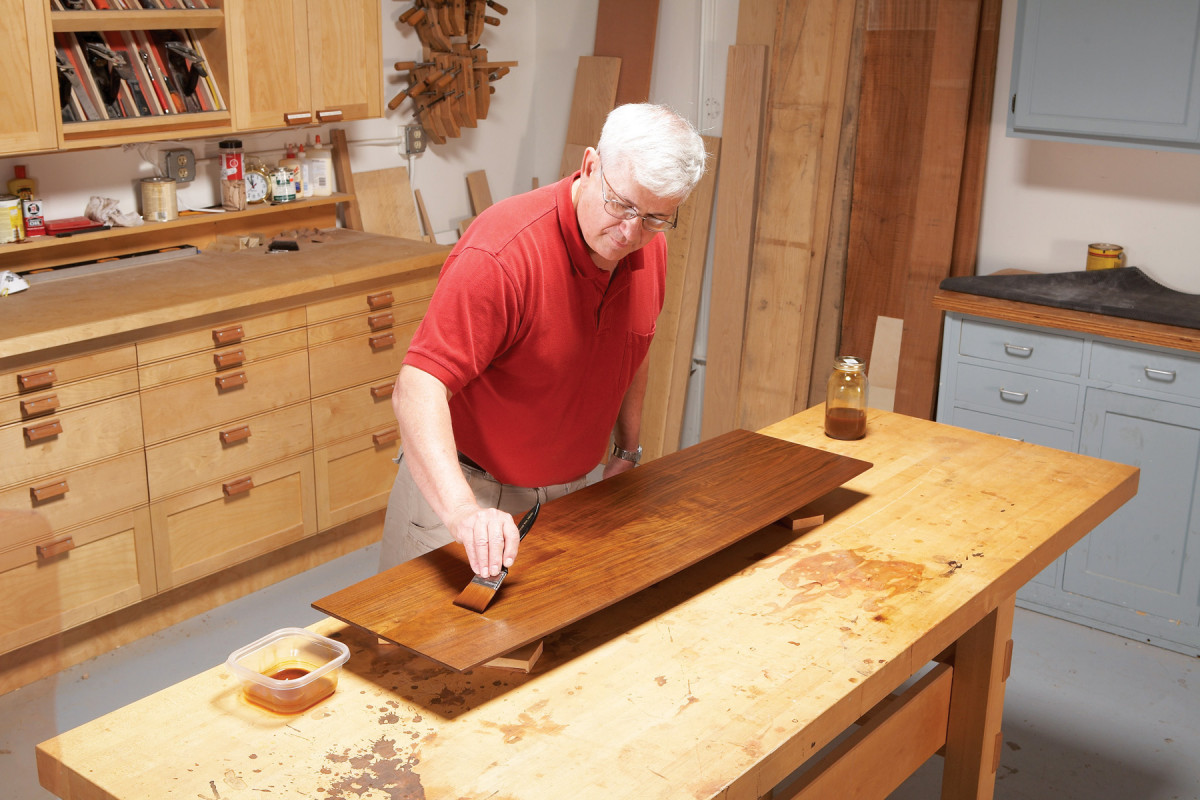
5. Apply another coat after an hour or so—you don’t have to sand. Put on at least twelve coats. Set the top aside to cure for at least one week.
Recoat the top up to twelve times (Photo 5), or until you get the amount of build you desire. You can take your time; there’s no need to do it all in one day.
The bottom side of your top should receive an equal number of coats. You can apply these coats as you go, or wait until you’ve put the final coat on the top side, then flip the work over and start in on the bottom.
Finish the finish
Although shellac dries to the touch very fast, much more time is required for it to harden enough to be sanded with fine paper. If you sand too soon, the paper will clog up and the surface will be very uneven. Wait at least one week before smoothing the finish.
After this period, you can treat the lower parts of a project differently than the top, just as in sanding and building up coats. Rub these parts with 3/0 or 4/0 steel wool, then follow with a coat of paste wax and buff it out.
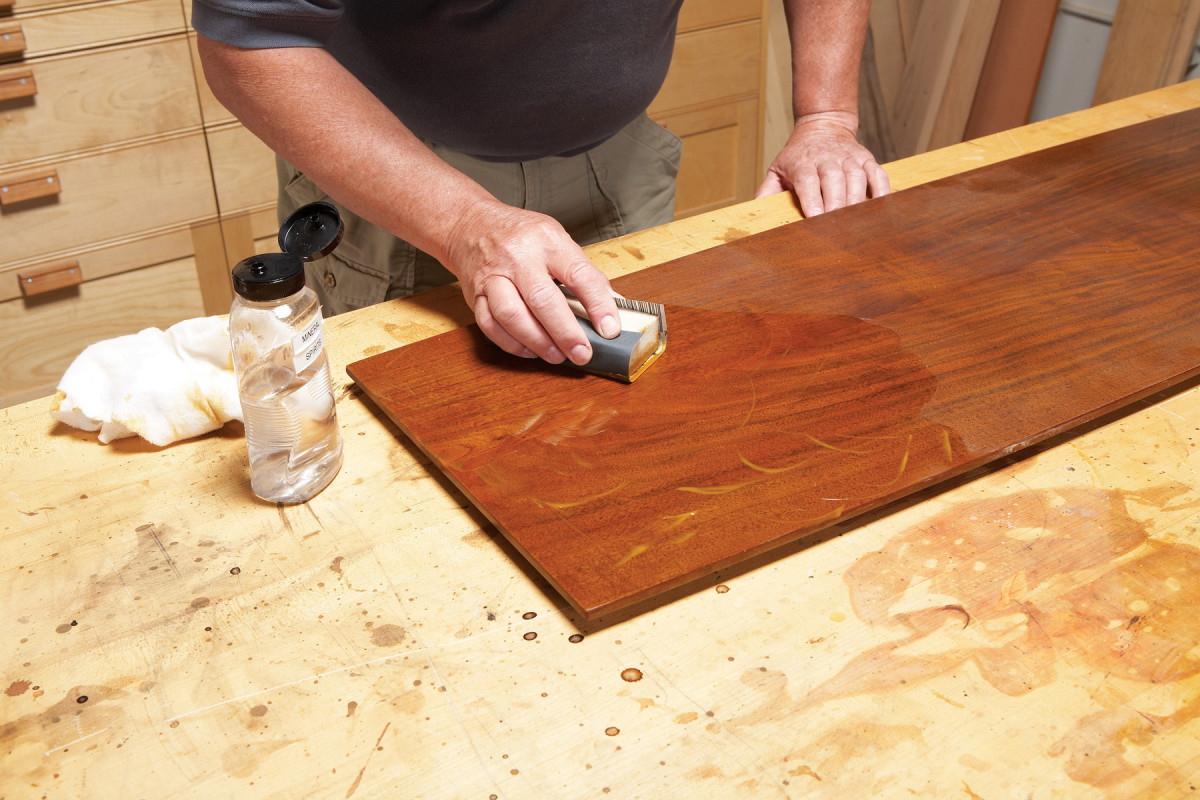
6. Sand with very fine wet/dry paper, using mineral spirits as a lubricant.
A top requires special care. I’ve found that the best way to smooth the shellac on a top and achieve the final luster, whether satin or gloss, is to sand with wet/dry paper and a lubricant. I use mineral spirits as the lubricant, which requires good ventilation and a respirator, but I’m still looking for something less obnoxious. In any case, you need only work a small area at a time, to minimize the amount of mineral spirits that evaporate.
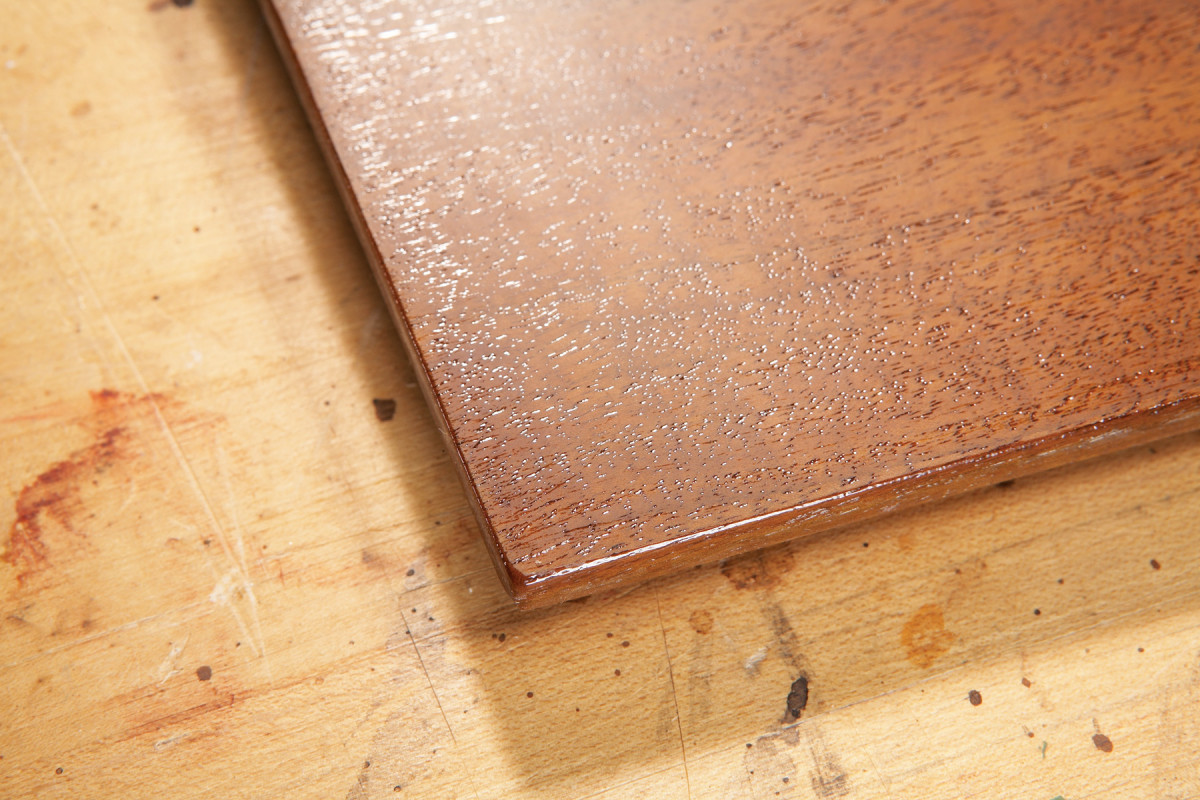
7. Wipe away the slurry and examine the surface. If you see any shiny spots, continue to sand until they’re gone.
Start with 600 grit wet/dry paper, wrapped around a rubber, cork or felt sanding block. Squirt a small puddle of mineral spirits onto the surface and start sanding lightly in a circular motion until you create a slurry (Photo 6). Work your way across the surface and apply more mineral spirits as needed. Periodically wipe away the slurry. Let the film of mineral spirits dry, then examine the surface. Sand until the surface has a consistent, dull appearance. If you see any shiny spots (Photo 7), continue to sand until they’re gone.
Switch to 1000 grit wet/dry sandpaper and repeat the process. When you wipe away this slurry, the surface will be a bit shinier. Switch to 1500 grit and repeat. The surface will now have a rich, satin appearance. If this is what you want, stop here.
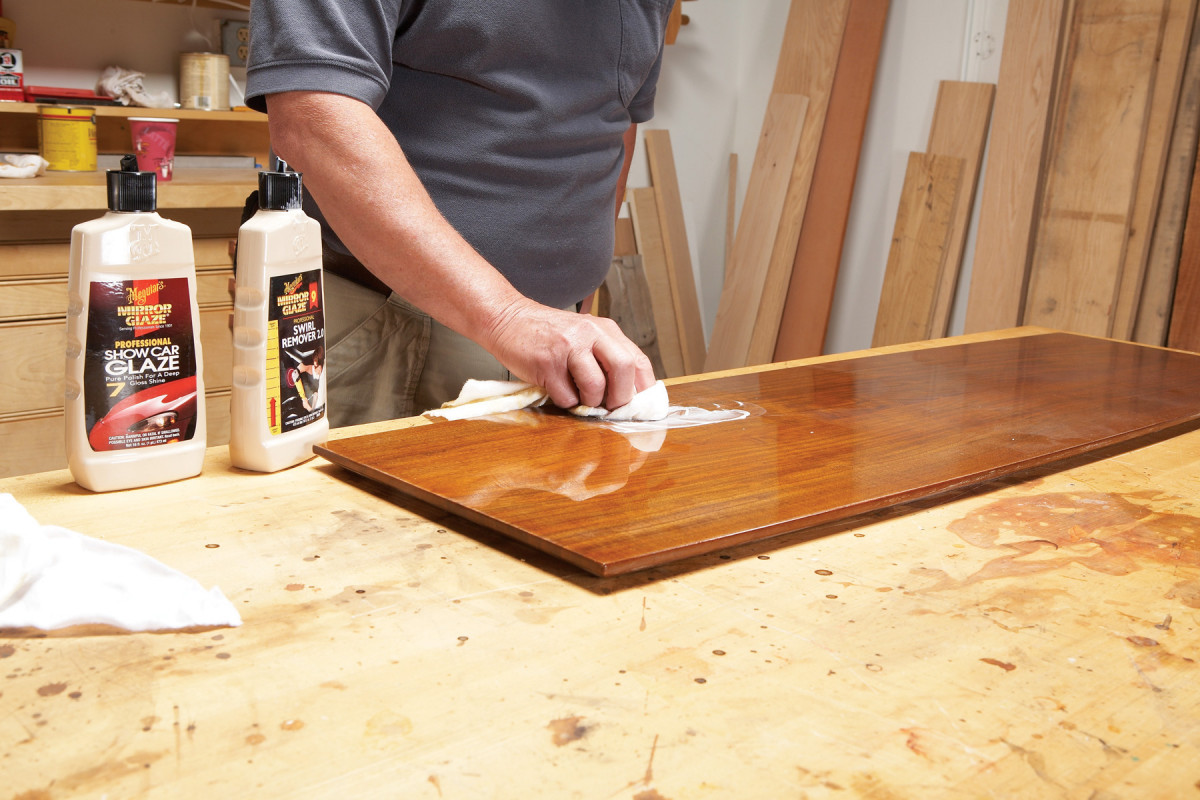
8. Use automobile polishes to obtain a higher gloss. You can also use steel wool and wax to create a satin finish.
If you want a mirror-like finish, move on to automotive polishes, such as Meguiar’s Swirl Remover and Show Car Glaze (see Sources, at right). Using a soft cloth, squirt a small amount of Swirl Remover on the top and polish with a circular motion (Photo 8). When the top has a consistent shine, switch to Mirror Glaze and repeat.
Shellac is a brittle finish, and scratches easily. To keep scratches to a minimum—particularly on a mirror finish—apply a coat of paste wax.
SOURCES
• Homestead Finishing Products Deluxe Taklon 2″ brush (scroll down).
• Meguiars Swirl Remover and Show Car Glaze
The beautiful claro walnut used in this article came from Artisan Lumber, located in Lunenberg, Massachusetts (www.artisanlumber.com).
Here are some supplies and tools we find essential in our everyday work around the shop. We may receive a commission from sales referred by our links; however, we have carefully selected these products for their usefulness and quality.