We may receive a commission when you use our affiliate links. However, this does not impact our recommendations.
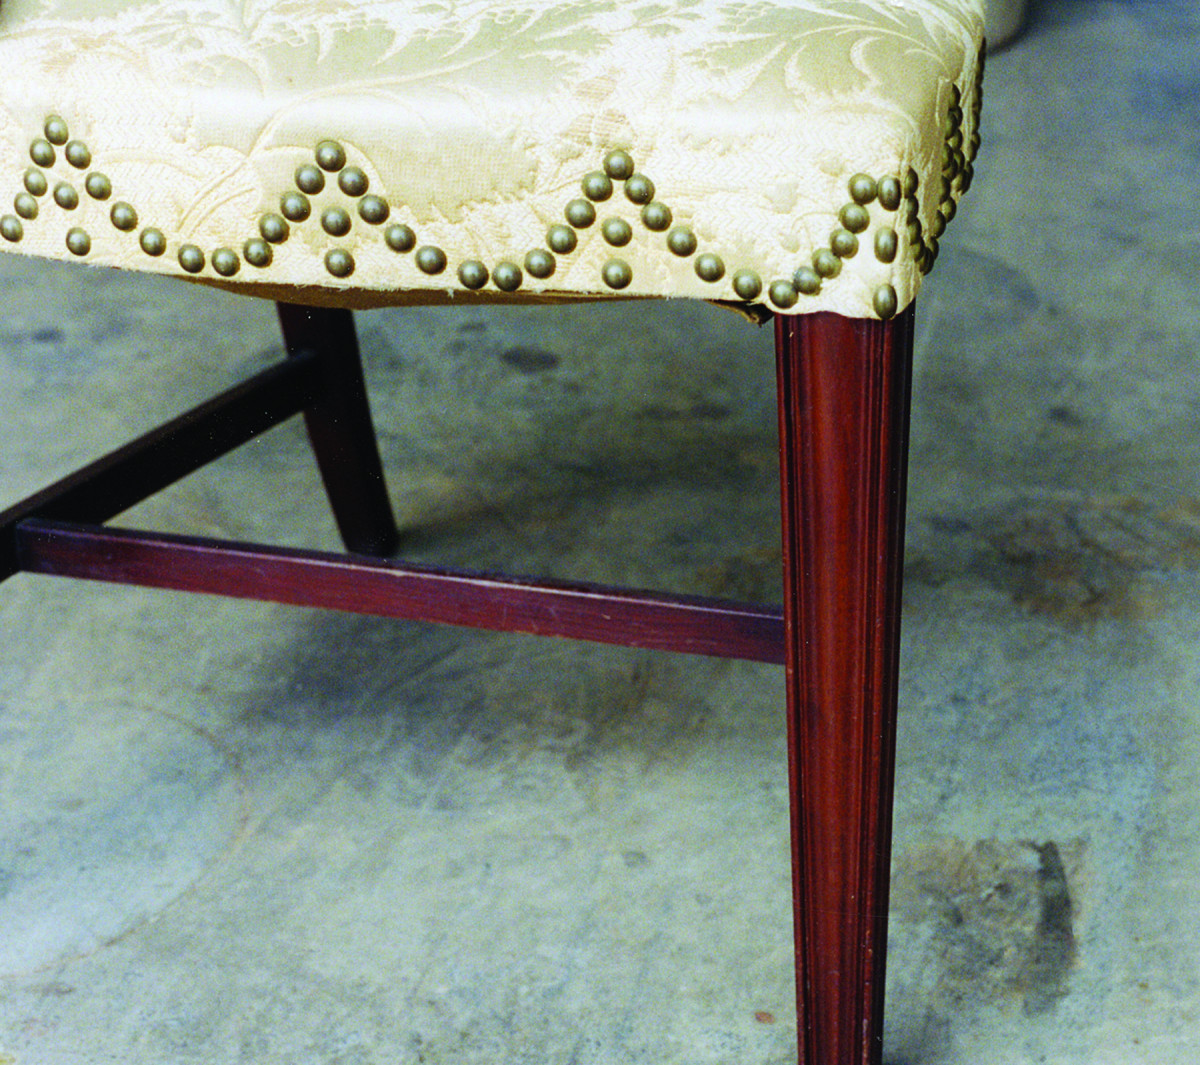
The color to match. This is a 1930s gumwood chair finished to look like mahogany. I’m using it for a practice color match on a light-colored piece of maple plywood. I suggest you also practice first.
One of the most challenging tasks in wood finishing is matching the color of an existing object, color swatch or photo in a magazine. Most people try to accomplish this with just a stain, but it rarely works.
Most factory-finished objects, for example, are colored with more than one step to begin with, and even in cases where just a stain was used, or the wood has simply aged, it’s still rarely possible to imitate exactly with a stain alone.
Toning is the technique most professionals who spray their finishes use to match color. This involves first using a stain to get the color close, then adjusting the color slowly to achieve a match by spraying highly thinned lacquer with a little pigment or dye added. The problem with this method is that it’s unforgiving because the toner dissolves into the existing finish. If you get the color wrong or too dark, you have to strip off everything and start over.
So if you use a spray gun, here is a forgiving method of achieving the same thing. If you don’t like what you’ve done, simply wash it off, make the adjustments, and try again.
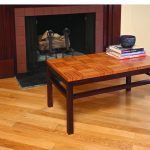
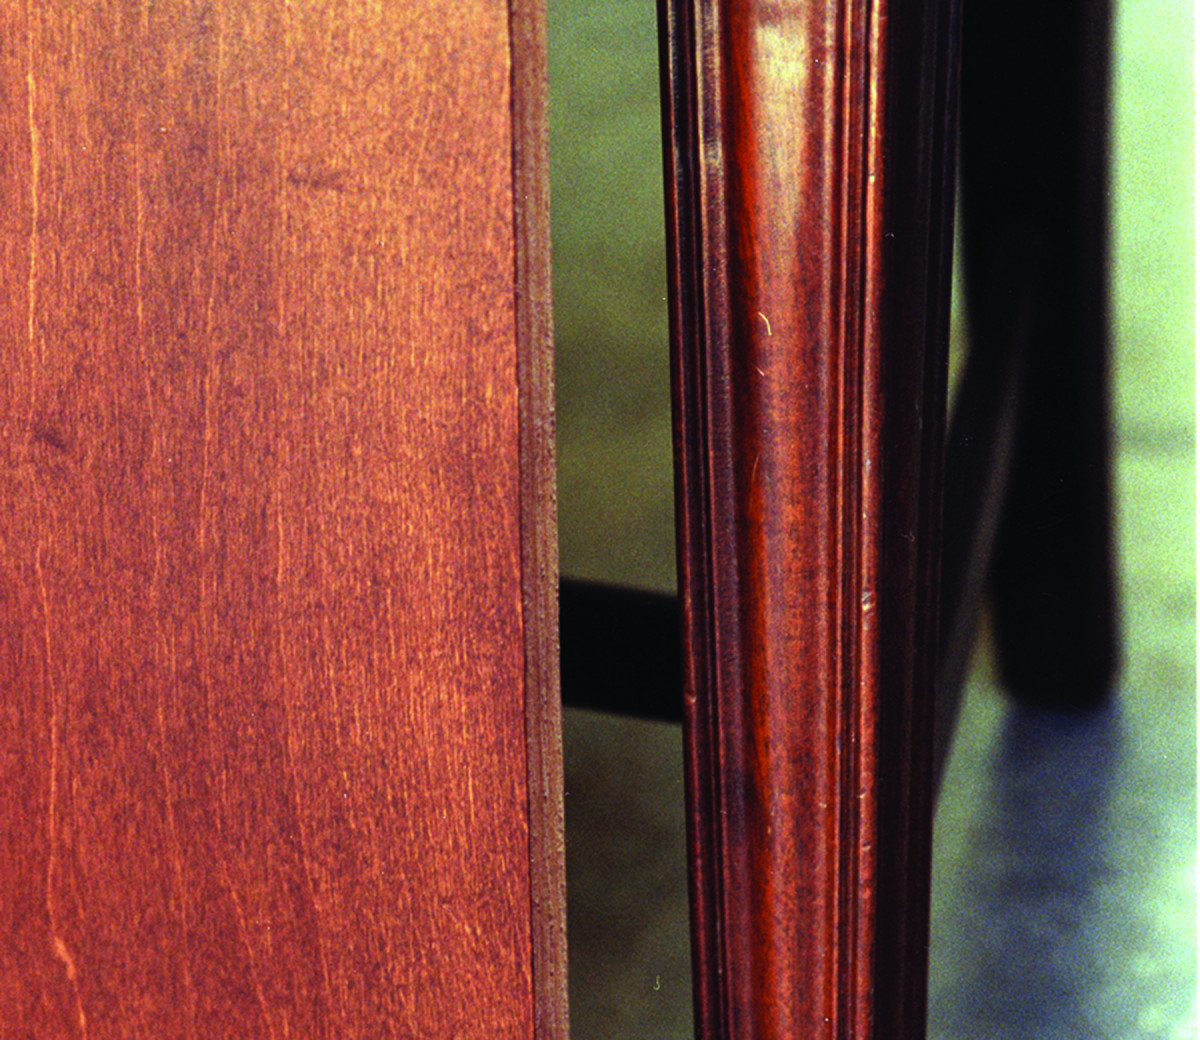
To demonstrate, I’m matching very light-colored, maple-veneered plywood to the leg of a 1930s gumwood chair that was colored to look like mahogany.
Background Color
Background color. The first step is to match the background color, which is the lightest color in the object or photo you’re matching. Achieve this color by spraying an NGR dye stain, usually followed by a brownish oil-based pigment stain to add definition to the grain. Then apply a sealer coat to lock in this color.
The first step is to use a dye stain to match the background color. This is the lightest color you see in the sample you’re matching. An exact match isn’t necessary, just something close. Try to keep this color on the light side.
The best stain to use is an NGR or non-grain-raising stain, which is a dye thinned in acetone. You can also use TransTint dye from woodworking suppliers, which is the same thing, just in concentrated form. Thin it with a solvent other than water to avoid raising the grain.
Spray just the amount of color you want and leave it. Don’t wipe it.
Then apply and wipe off an oil-based pigment stain, usually a shade of brown, that brings the color a little closer. Some of the pigment will lodge in the grain to give it definition. If this stain gets the color too dark, quickly lighten it by wiping with naphtha.
(There might be cases where the grain of the sample is so muted or non-existent that you don’t want to highlight it, but these cases are rare.)
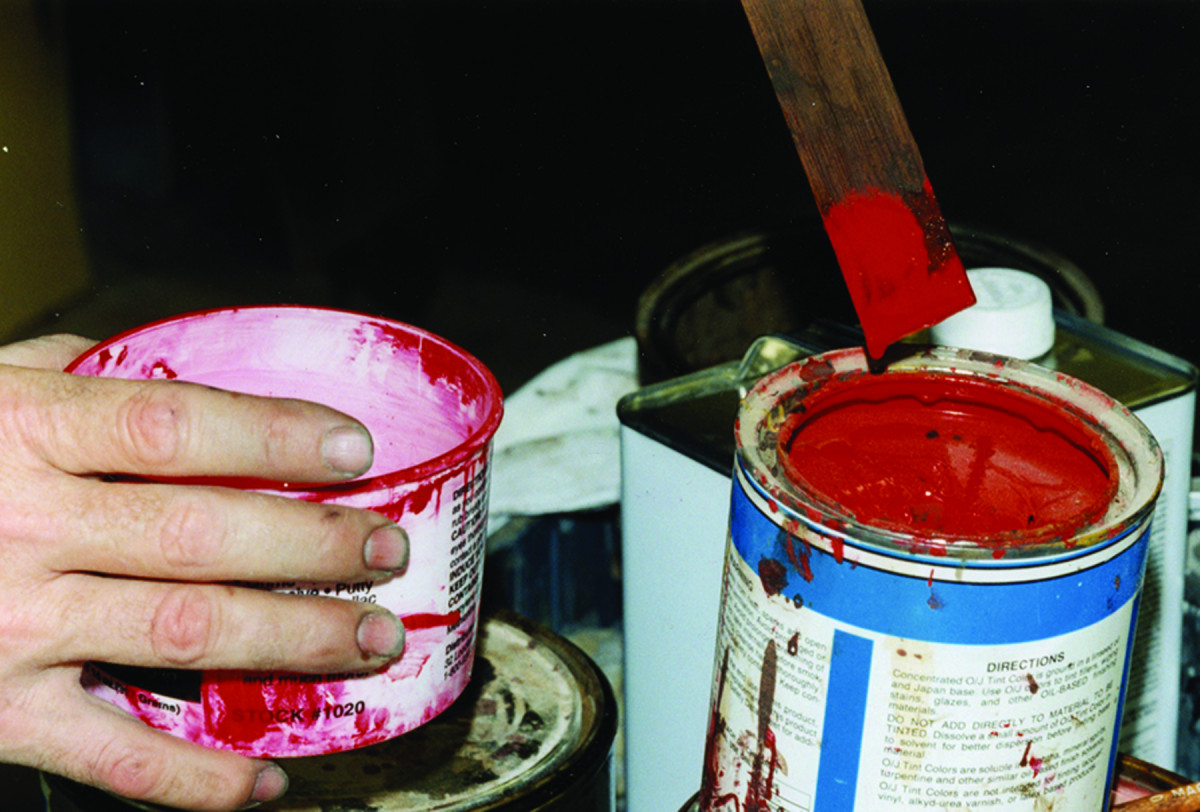
Making up the color. After determining the direction you want to adjust the color, usually to the red, green, yellow or black side, add a very small amount of the color, or colors, to naphtha or mineral spirits and stir well. You want to build the color very slowly so you don’t lose control.
When you’re satisfied, apply a sealer to see the true color. This can be sanding sealer for easier sanding, vinyl sealer for better durability, shellac to block off a problem in the wood, or the finish itself. Don’t sand this coat until after the next step because sanding deadens the color intensity.
Checking Where You’re At
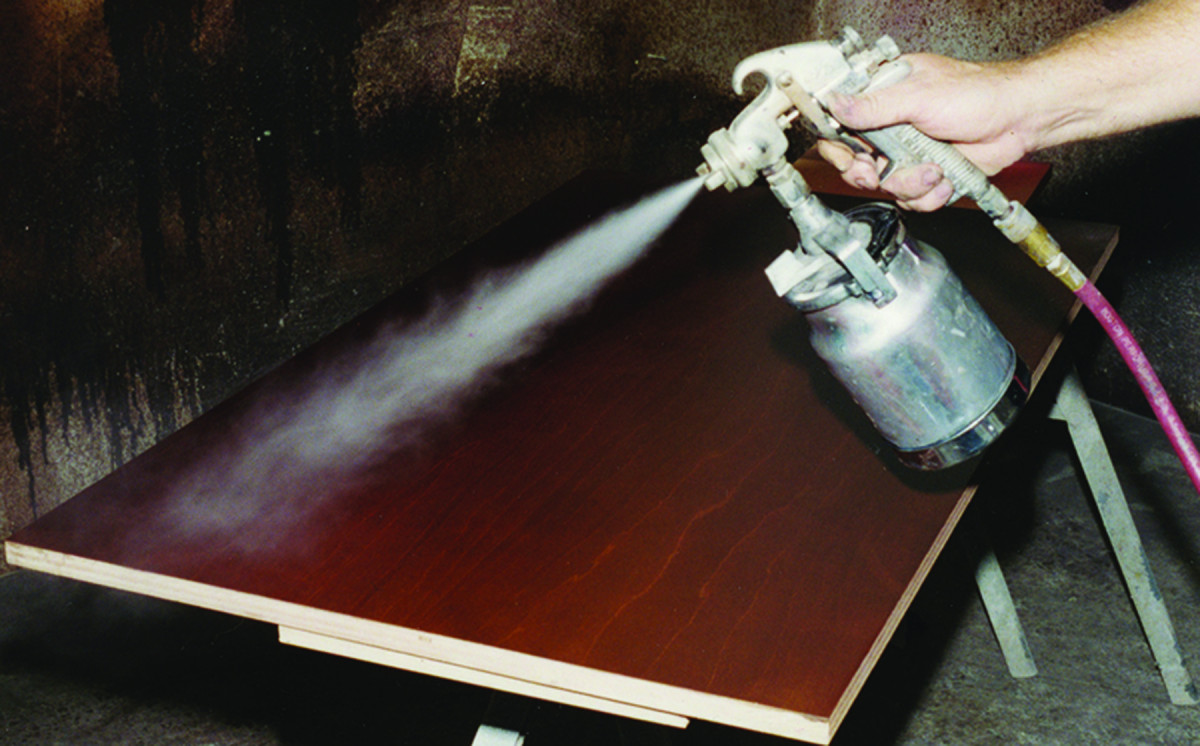
Spray at a low angle. To avoid the dark overlaps that can occur when spraying at a perpendicular angle, spray at a low angle with a narrow spray pattern. Build the color slowly and sneak up on the match with many passes. Judge your progress while the color is still wet.
With the true color now revealed, hold the object you’re finishing and the object (or photograph) you’re matching next to each other and decide on the direction you need to move the color. Compare with the grain running in the same direction for a more accurate view.
In almost all cases, you’ll need to add red, yellow or green, or you’ll need to reduce the intensity of the color using black (for example, to make red more brown). Because you can “green out” a color (meaning “kill” some of the red) by adding a combination of yellow and black, the only colors you really need on hand are red, yellow and black.
The easiest color medium to use is Japan color, which is pigment ground in varnish, though in a pinch you could dig the settled pigment out of the bottom of a can of stain or glaze and use it. You could also use universal tinting colors, available at most paint stores.
If you forget and sand the surface before you’ve done the comparison, you can restore the intensity temporarily by wiping with naphtha or mineral spirits. Naphtha evaporates very rapidly and is my preferred solvent for all these steps. Mineral spirits (paint thinner) dries considerably slower.
Adding the Color
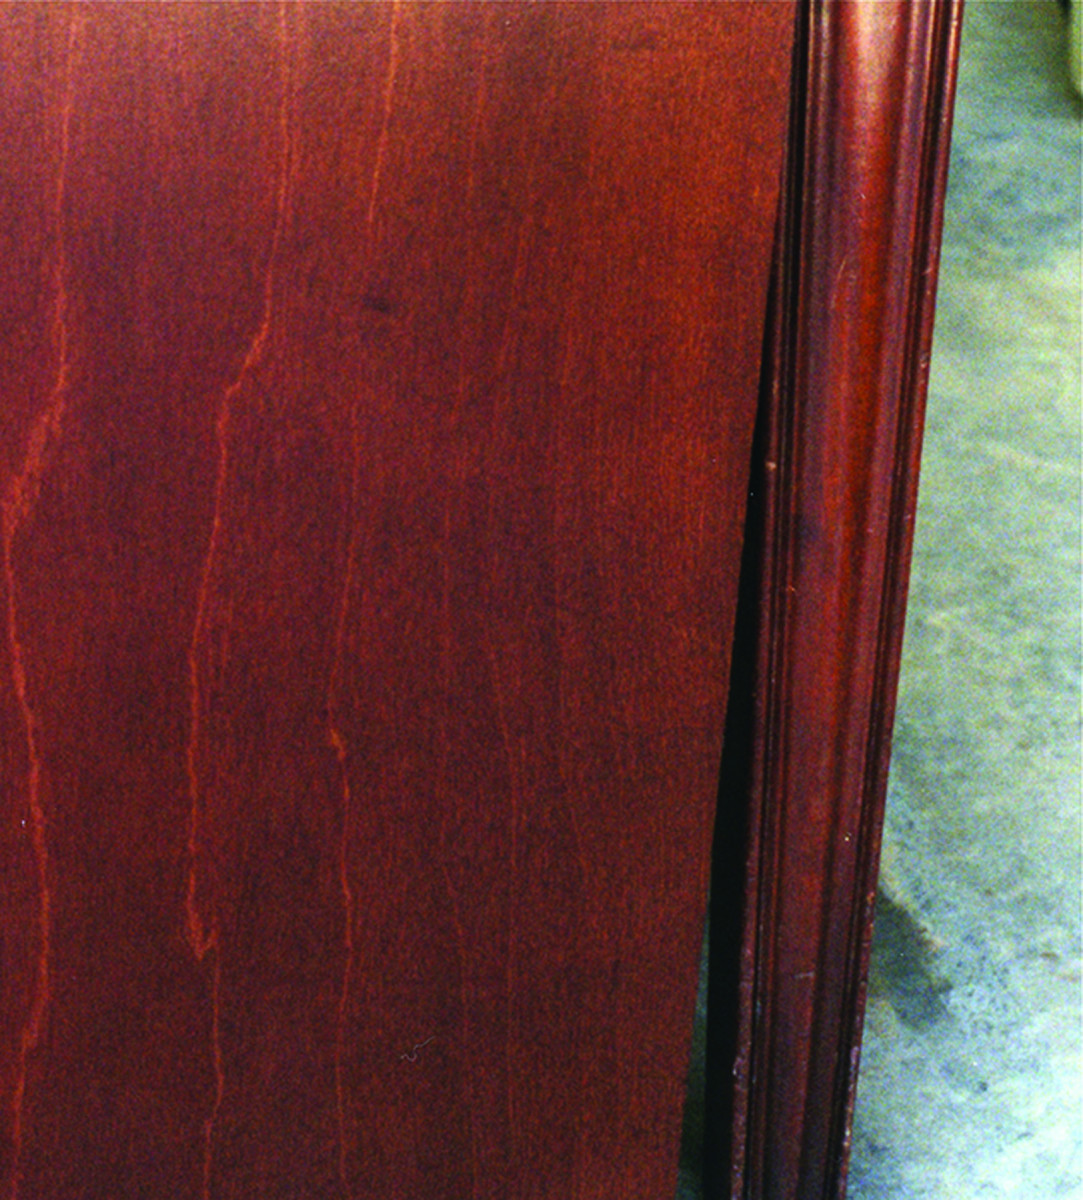
Color match. Here’s the final color match after applying a washcoat to reveal the true color.
Stir the color or colors you’ve chosen into naphtha or mineral spirits to a very weak consistency. As an example, in a pint of thinner begin with just the amount of color that sticks to the bottom two or three inches of a stirring stick as you pull it straight up out of the can. You want to build the color very slowly or you’ll lose control and get it too dark too quickly.
Strain the mixture into your spray-gun cup to remove any lumps of pigment, and agitate often because the pigment settles quickly.
Begin spraying this mixture onto your work. Use a narrow fan width and hold the gun at a low angle to reduce dark overlaps. Move the gun faster and at a greater distance from your work than would be typical when spraying a finish. You want to apply the mixture so it just wets the surface, without wrinkles or runs.
Build the color very slowly, paying close attention to it while it’s wet because the color will be inaccurate when dry. If you want to do some shading – darken some areas more than others – this is the time to do it.
If at any time in this step you decide the color you’re adding isn’t going in the right direction, or if you get the color too dark, simply wash it all off with a rag wetted with naphtha or mineral spirits and begin again with an adjusted color.
This is the great advantage of this color-matching technique compared to spraying a lacquer toner. You can try over and over without ever having to remove the base color or the sealer coat.
’Seal it In‘
When you think you have the color very close to a match, apply a washcoat. This is the finish thinned to about 3- to 6-percent solids – just enough to produce an accurate “wet” look when dry, without any more build than necessary.
Check the objects against each other. If you don’t quite have a match, continue spraying more color and follow with another washcoat. Each time you apply a washcoat, you’re locking in the color, and you can’t remove it without removing everything down to the dye.
When you’re satisfied with the color match, apply your finish coats.
Bob Flexner is the author of “Flexner on Finishing,” Wood Finishing 101” and “Understanding Wood Finishing.”
Here are some supplies and tools we find essential in our everyday work around the shop. We may receive a commission from sales referred by our links; however, we have carefully selected these products for their usefulness and quality.