We may receive a commission when you use our affiliate links. However, this does not impact our recommendations.
Discovering ugly blotching after applying stain is one of the worst finishing problems a woodworker can encounter—especially because the unsightly patches of dark, deeply absorbed color seem to appear out of nowhere, without warning. This problem can be very difficult, if not impossible to correct. Treating the wood with strong bleach usually doesn’t work. Sanding until you remove all the unwanted dark patches is the only solution, and that can mean removing a lot of wood.
The Cause
Woods like pine, fir, birch, maple, poplar, and cherry are among those known to be susceptible to blotching. The root of the problem is that these woods are unevenly porous, so they don’t soak up stain consistently across the surface of a board. This can be due to obvious changes in grain direction or early- and latewood differences in density, but there are also variations in absorbency that are hard to detect and predict. Wetting a board with paint thinner will sometimes reveal darker areas that are likely to blotch. Highly figured woods contain these grain variations in patterns that are beautiful when finished well, but can turn into a blotchy mess when stained improperly.
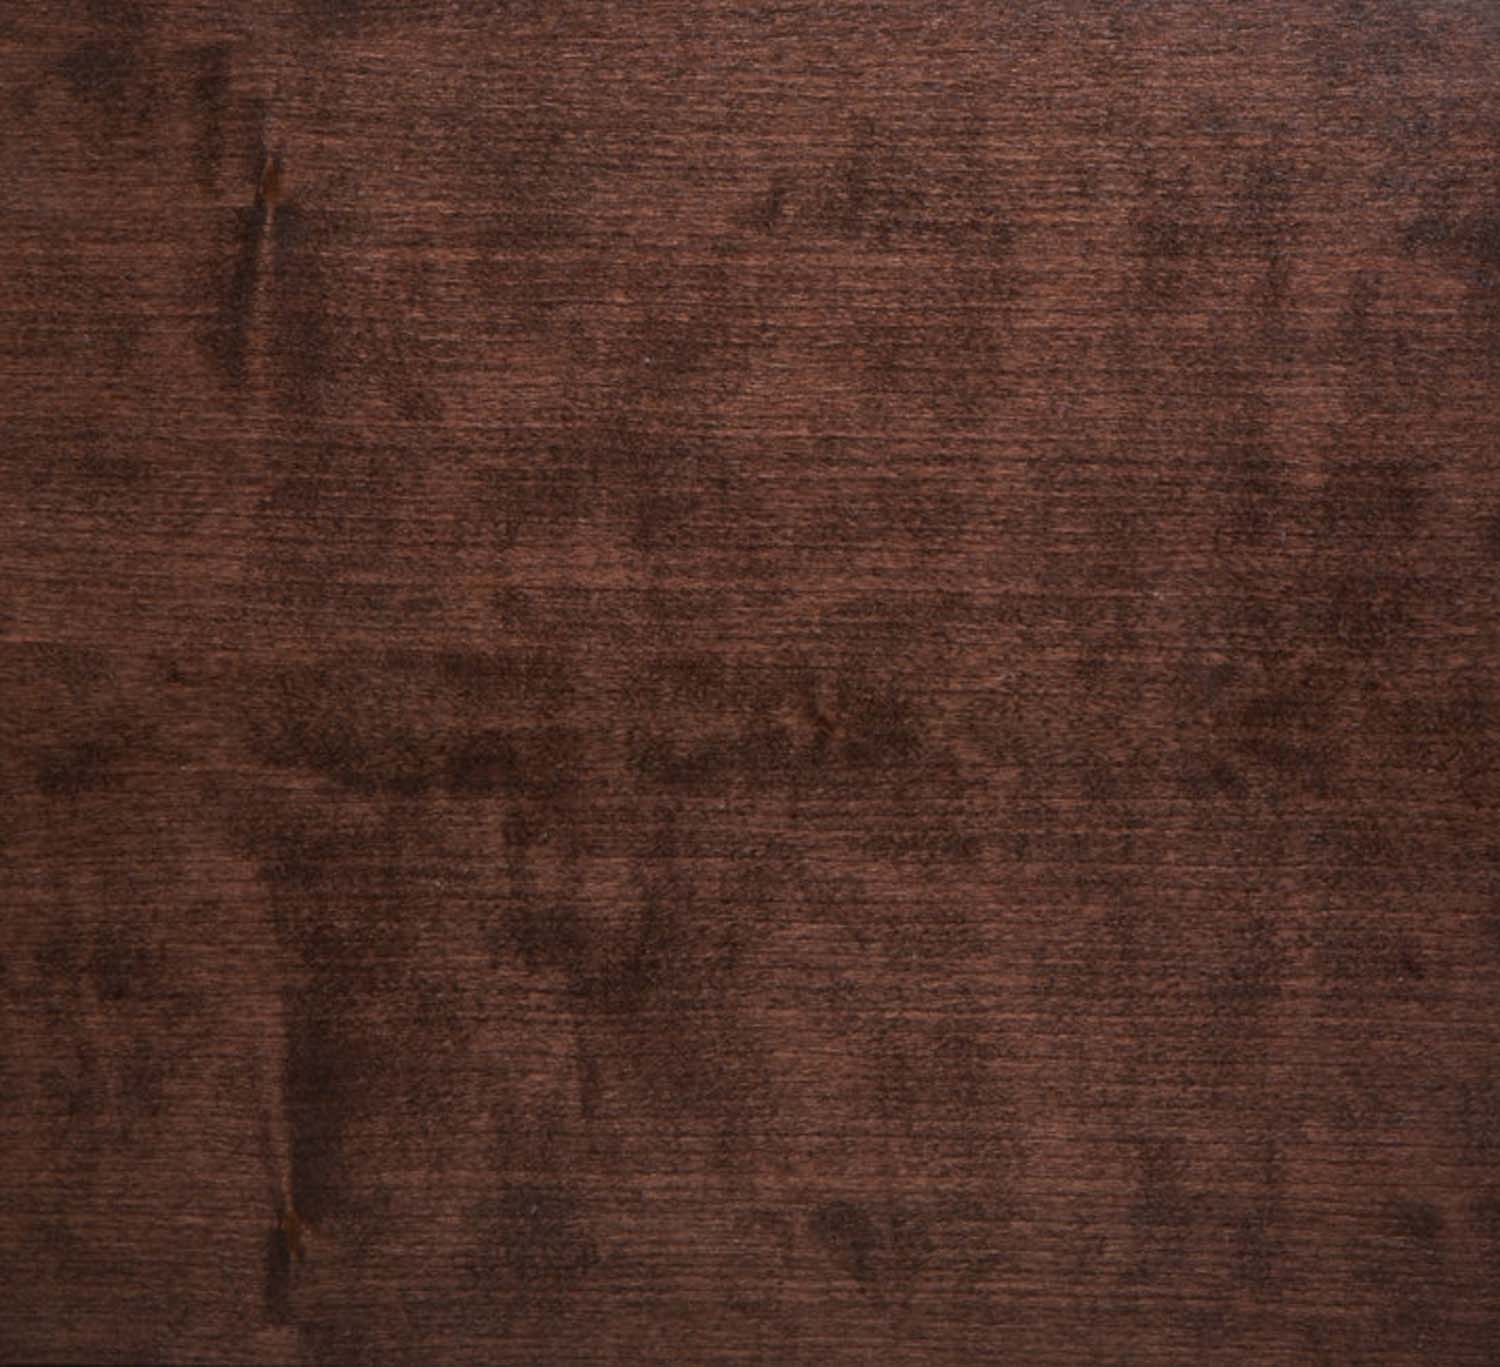
Photo 1. Stains that contain black pigment (Above) can cause blotching even when a stain controller is used to avoid it (below). Black pigment, used by some manufacturers as a cheap way to intensify color, can even be found in light-color stains.
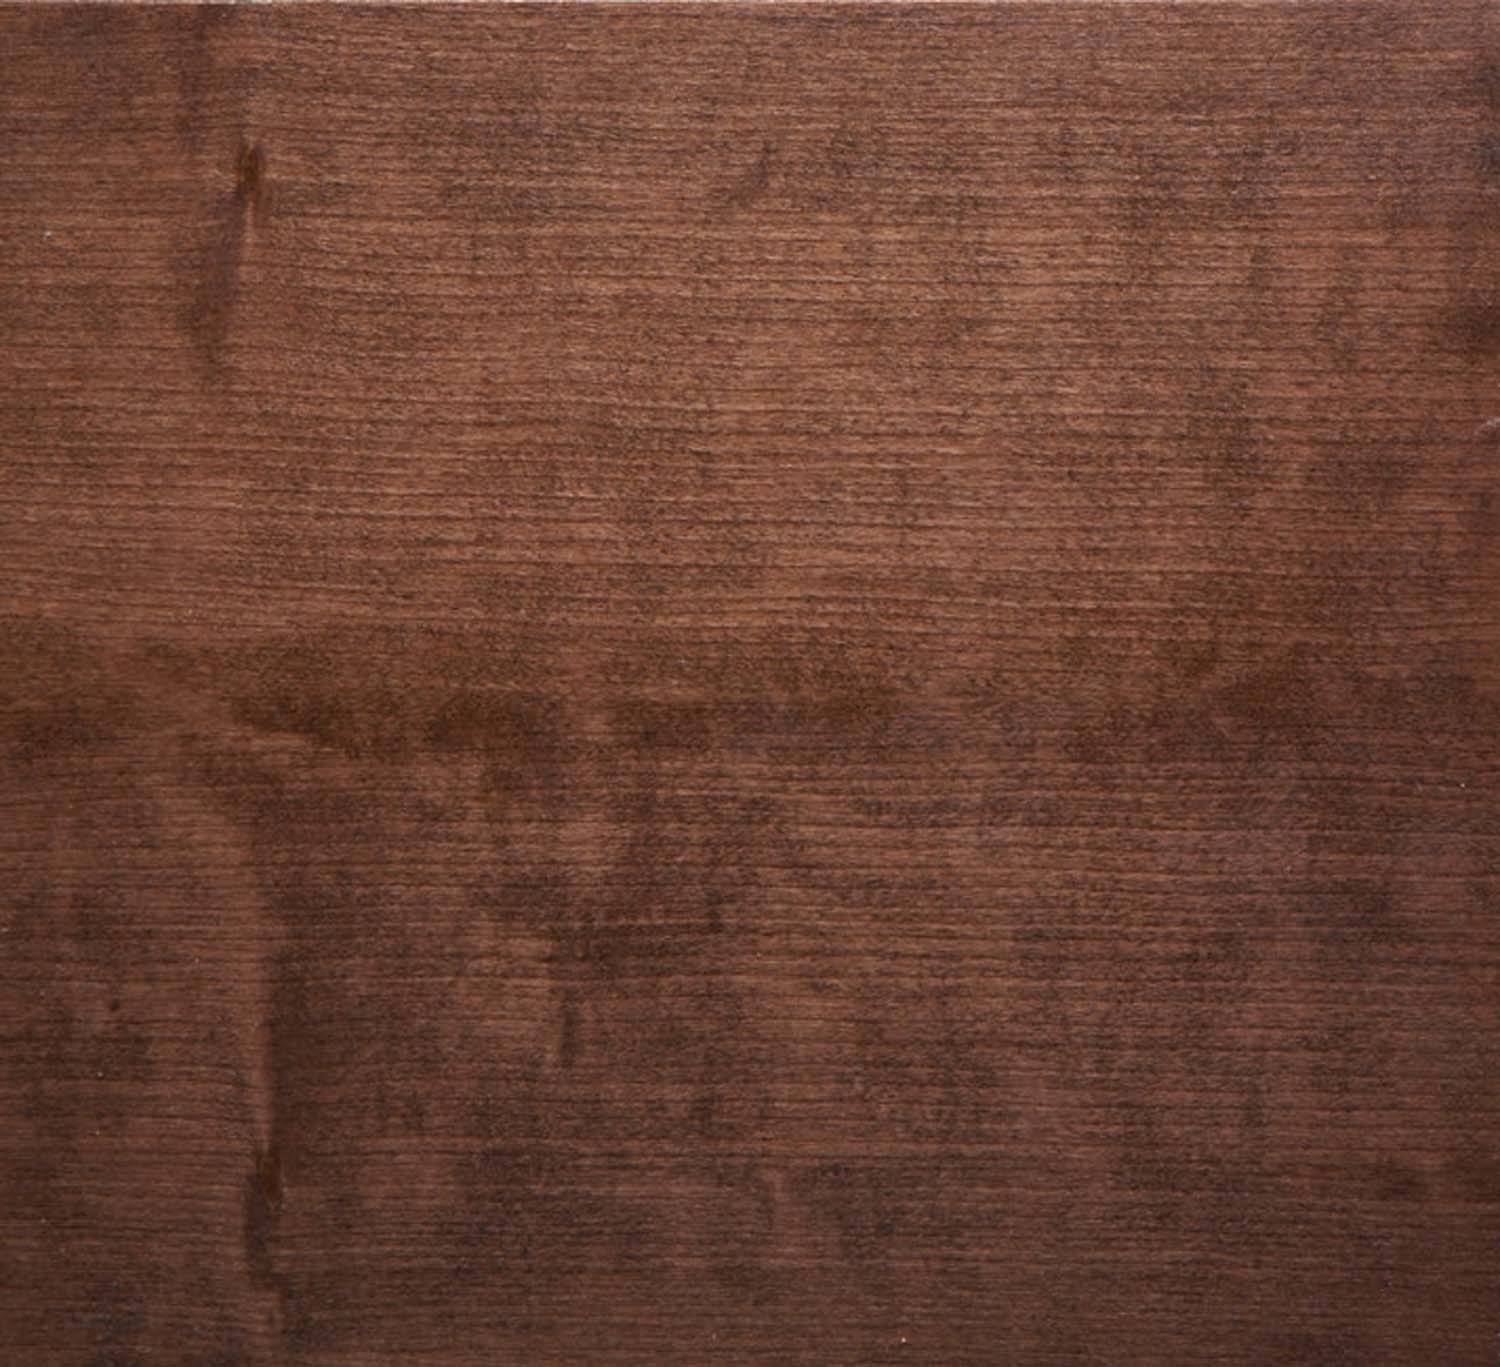
Photo 1B. With stain controller.
Like other characteristics of wood (such as seasonal movement), this challenging quality can be managed with a good plan. Whenever possible, skip staining altogether or at least avoid blotch-prone woods when staining is necessary. Also, be aware that a light golden stain color will create less blotching than a color with dark tones. Stains that contain black or dark pigment, even in small amounts, usually produce the worst botching (Photo 1). Gel stains help reduce blotching somewhat, because they’re thick and don’t soak in quite as deeply. However, they still soak more deeply into the open porous areas, which means they can still cause blotching. Water-soluble dyes reduce blotching somewhat, especially on hard wood such as hard maple, but they too can go dark in those thirsty deep porous areas.
The Solution
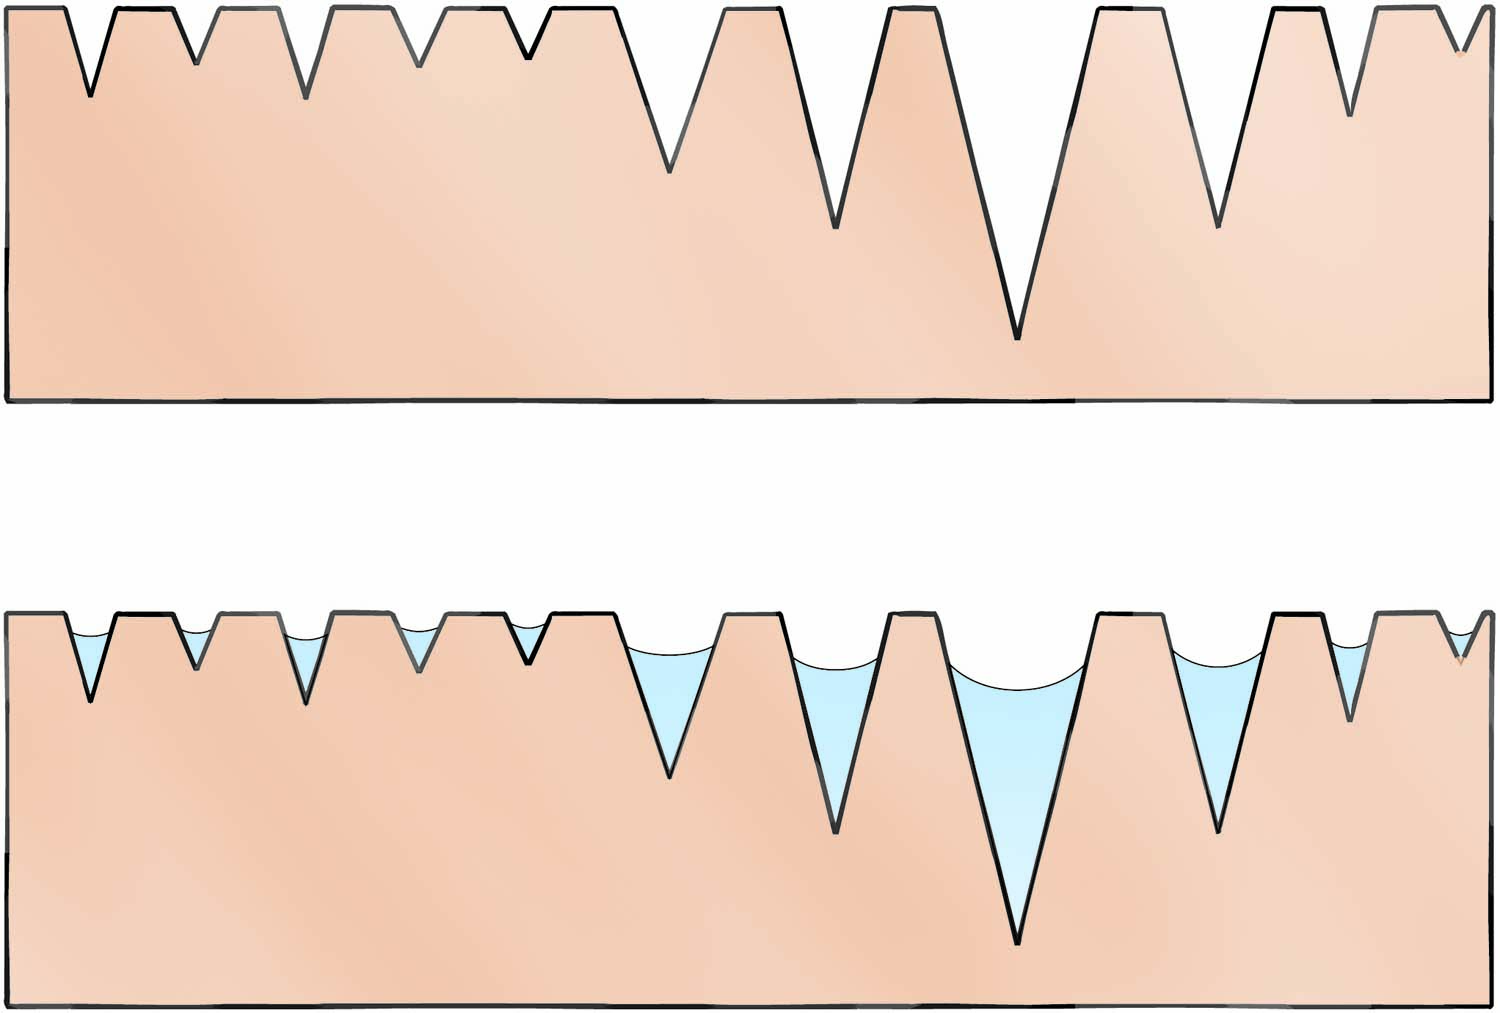
Fig. A. Stain Controller Levels the Field This abstract representation shows how an unevenly porous wood absorbs a clear stain controller to reduce its drastic variations. The stain can no longer rush into the deep thirsty pores, so it soaks in more evenly, although less deeply, overall.
When it’s necessary to stain a wood that might get blotchy, the best plan is to use a stain controller (Fig. A). Terms such as stain controller, wood conditioner, pre-stain sealer, glue size, and wash coat are closely related and often used interchangeably, as they all describe clear materials that are intended to soak into and partially plug up the wood’s surface. The goal is to alter the surface to be more consistently absorbent (although less absorbent overall) and still open enough to soak up some stain color. Because the wood’s more porous areas will naturally absorb more stain controller than the less porous areas, the two become more alike in their absorbency.
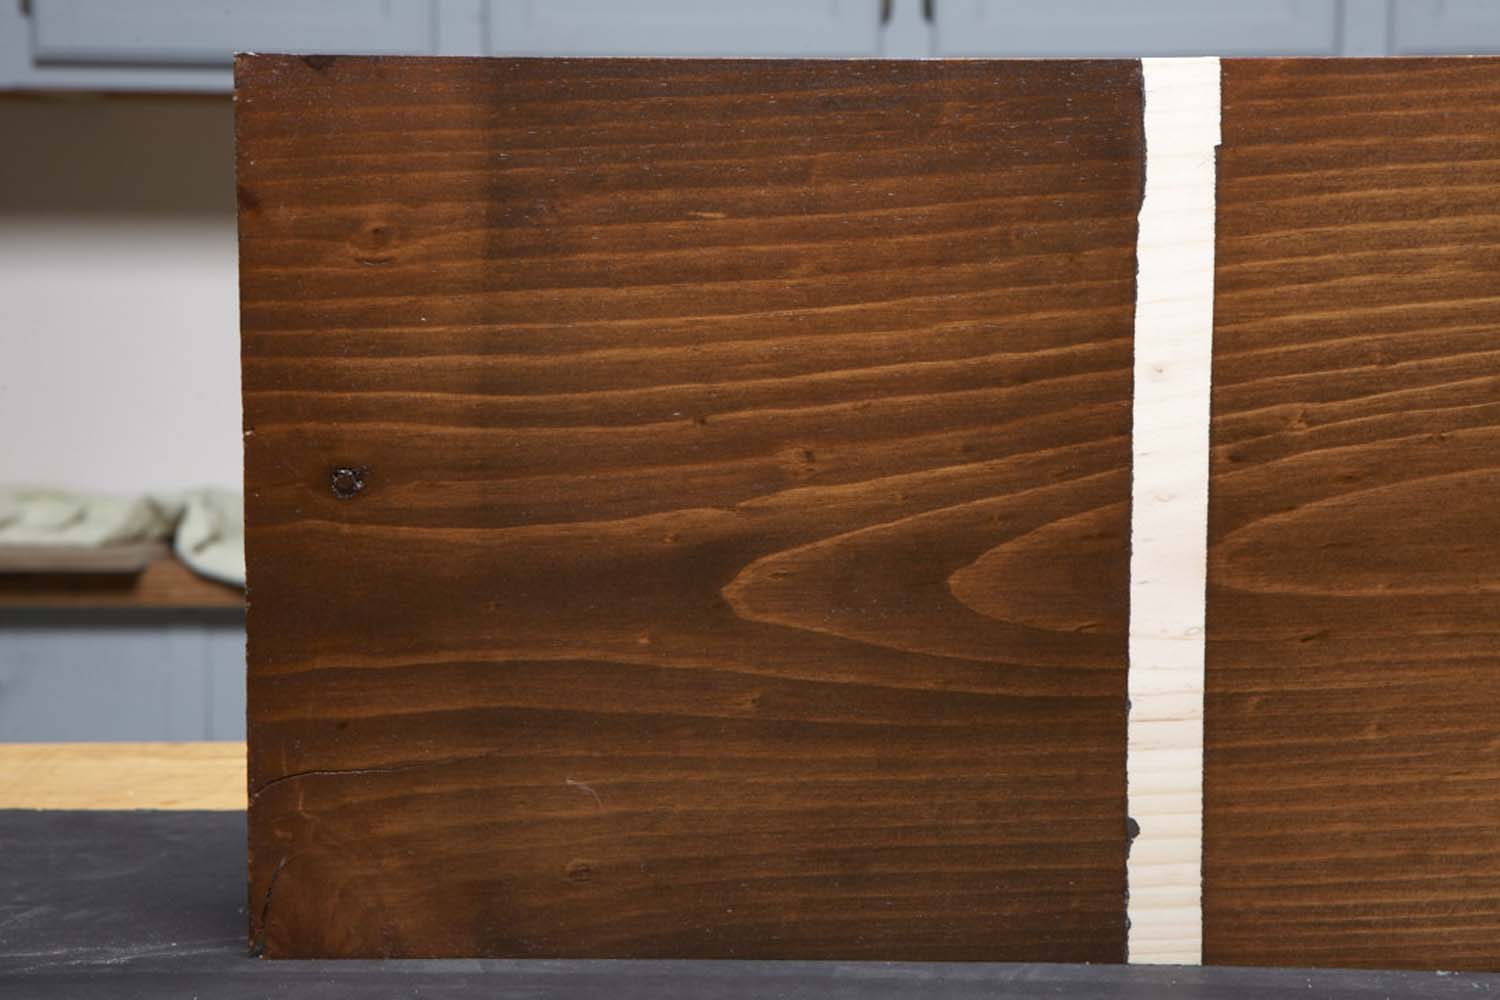
Photo 2. 0% sealed, stain on raw wood. Sealing the wood to reduce blotching also reduces the stain’s ability to add color. Using only the human eye as a meter, these estimates show a good balance at around 20%—40% sealed.
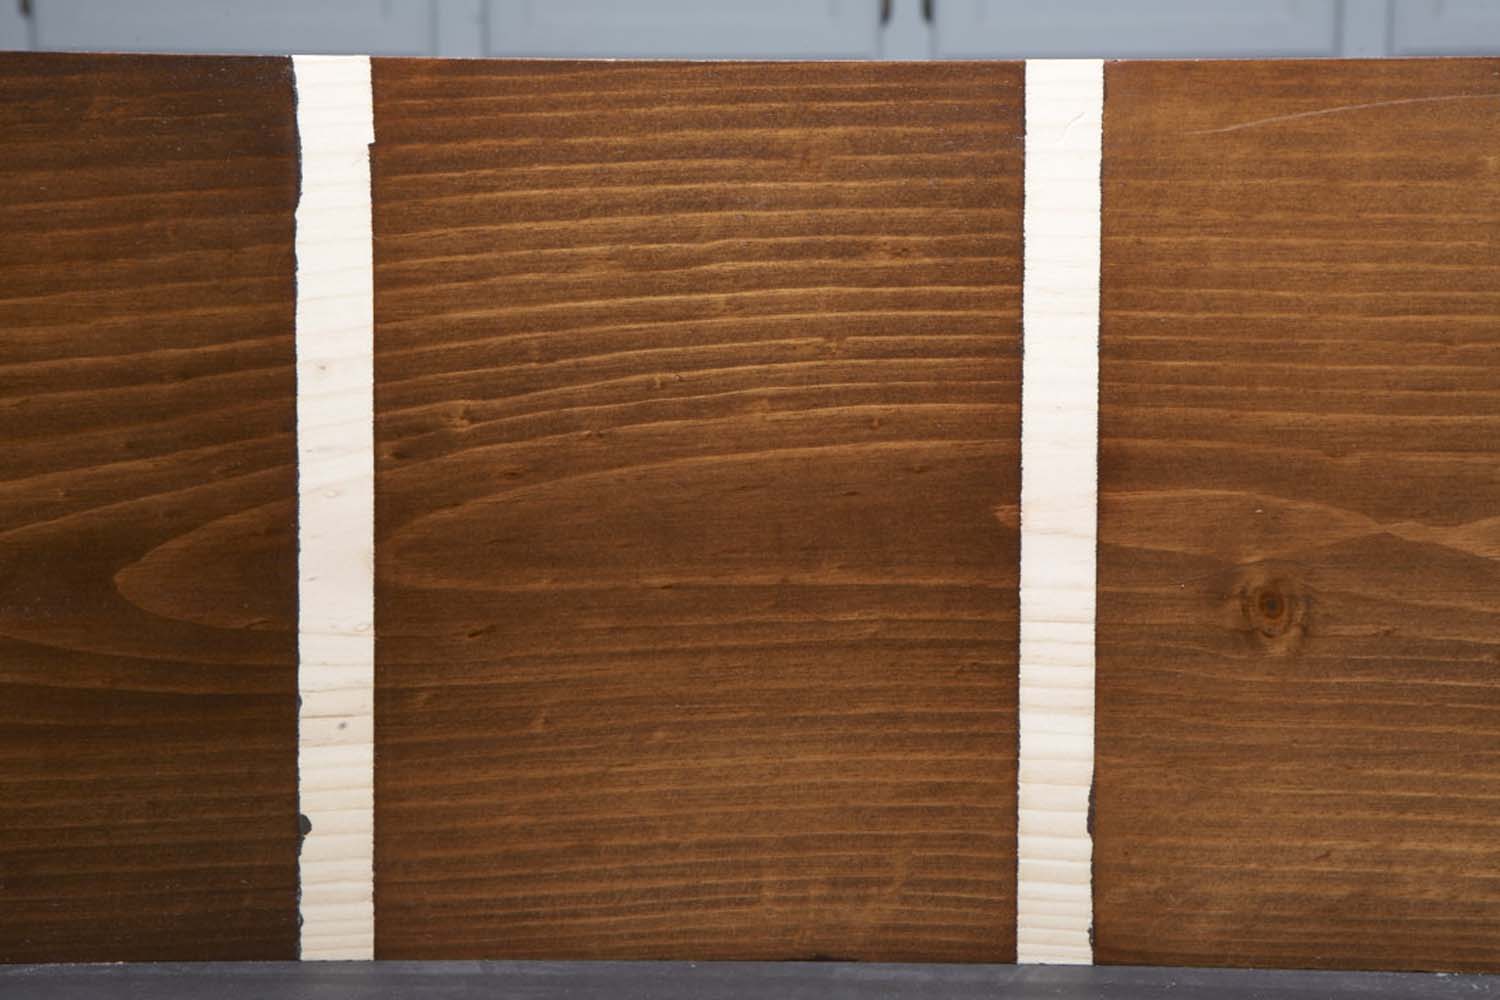
Photo 2B. 25% sealed, controller reduced 4:1.
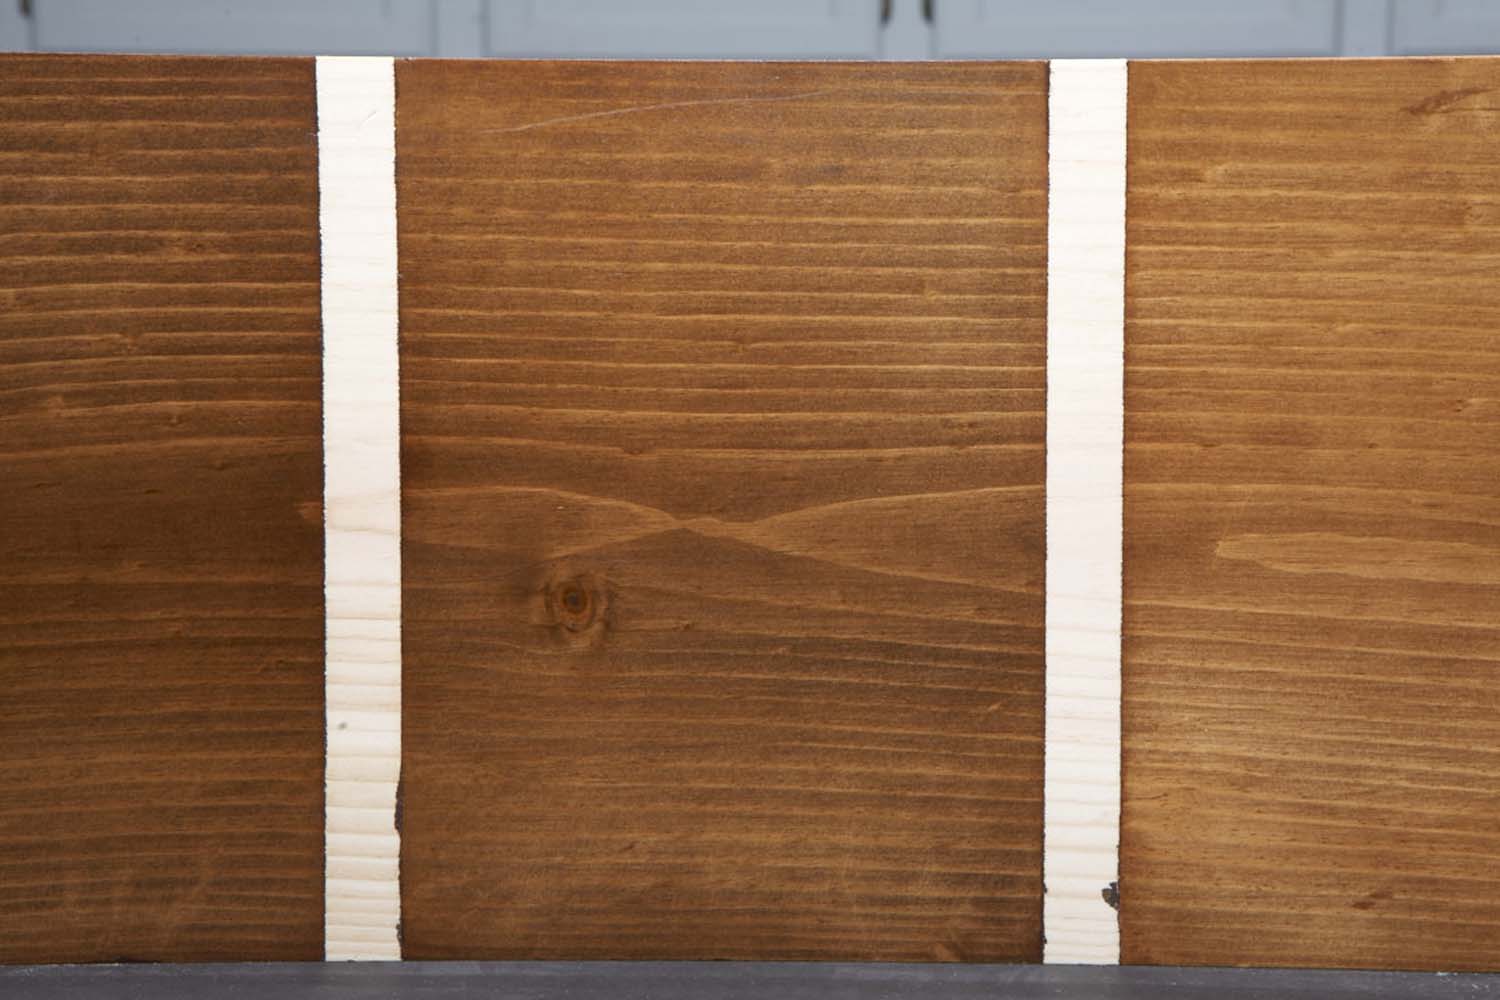
Photo 2C. 50% sealed, controlled reduced 2:1.
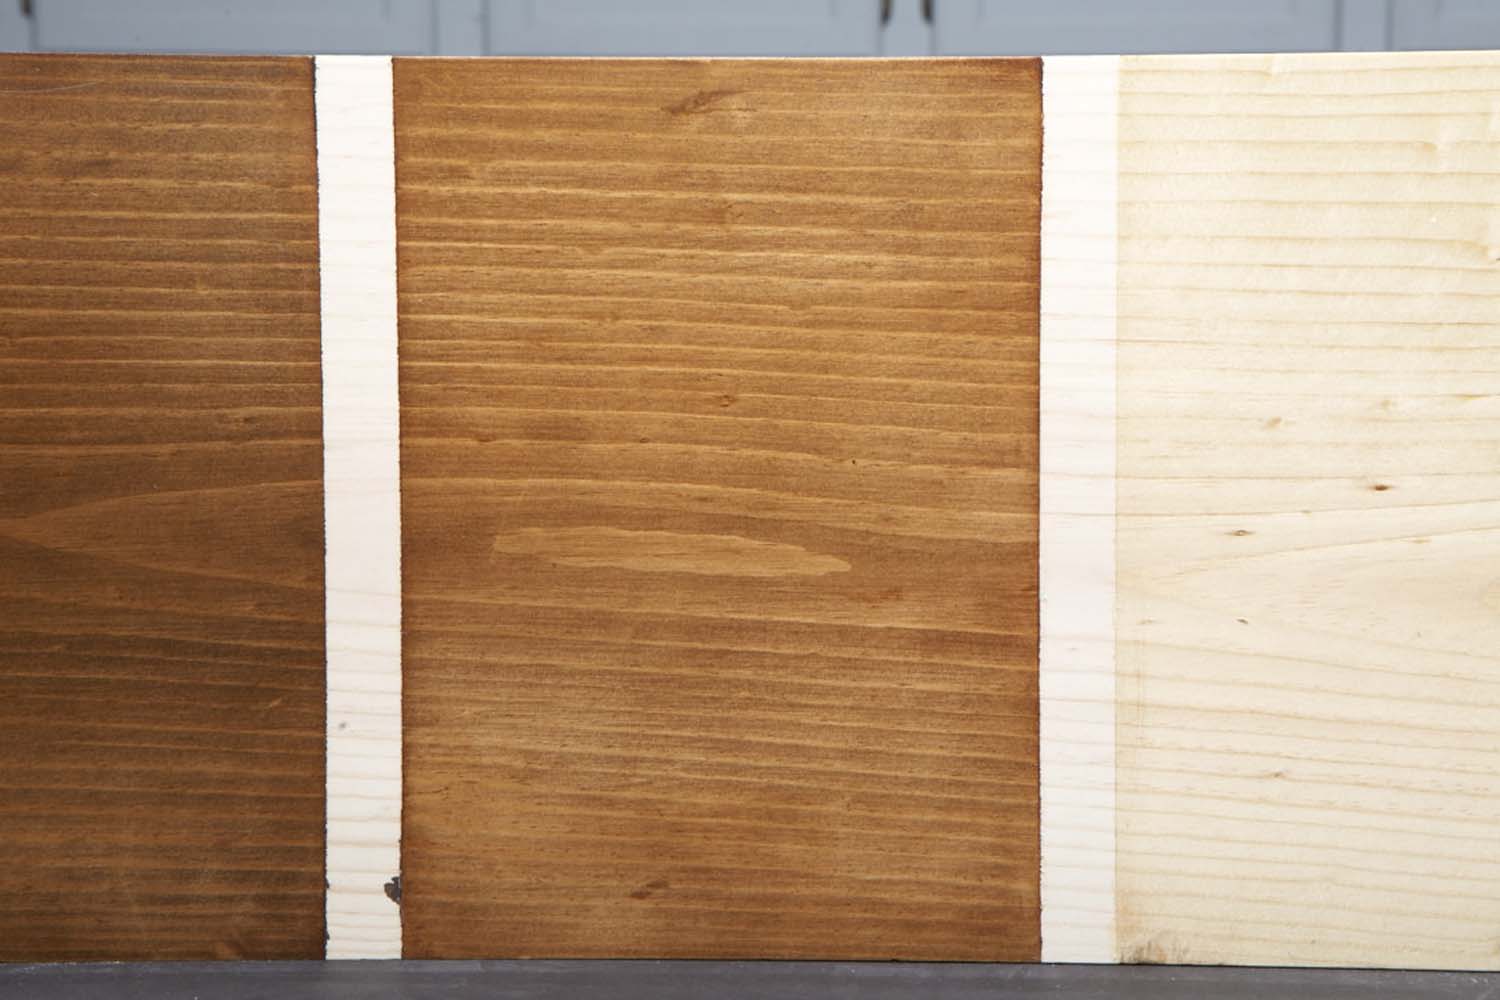
Photo 2D. 75% sealed, controlled reduced 1:1.
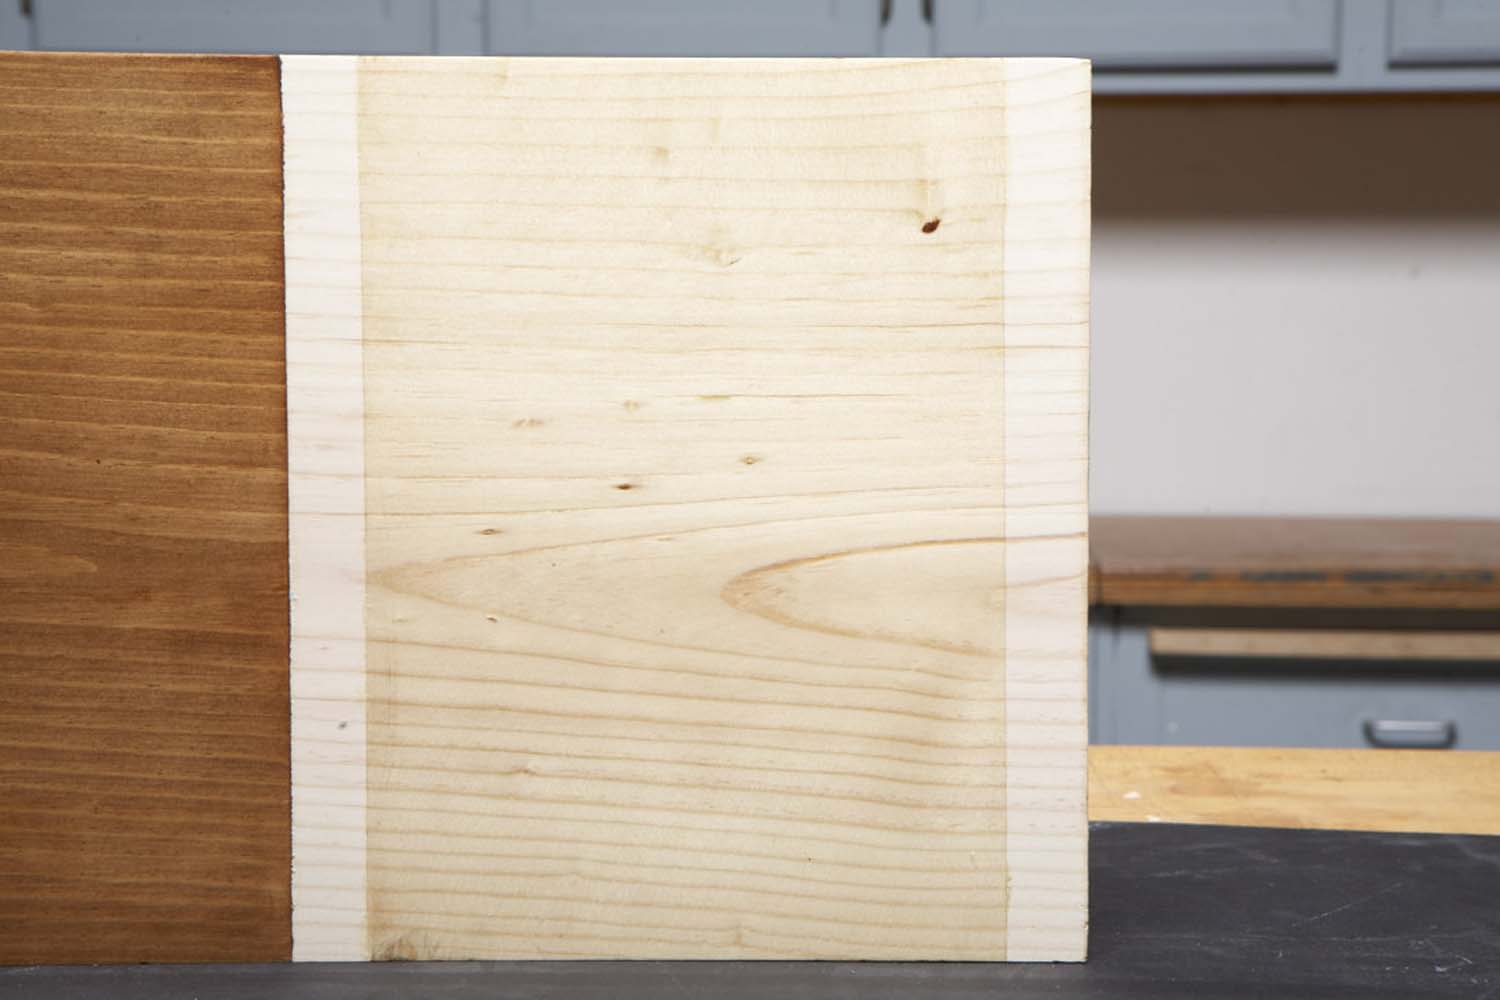
Photo 2E. 100% sealed, controller full strength.
Finding the right balance of reducing the blotches while still leaving the wood porous enough to accept stain is challenging and brings up the question: Just how much do you want to seal up the wood? If 0% sealed is bare and blotchy, and 100% sealed keeps stain from soaking in at all, what percentage of sealing will reduce blotching to an acceptable level and still get the right darkness of color? By my best estimate, the answer is usually somewhere around 20% to 40% (Photo 2). As is always true, testing any finishing process carefully is the best way to ensure predictability.
The Problem with the Solution
Many finish manufacturers sell products made to prevent blotching, but they usually just don’t work very well when used according to directions. All of these magical potions are nothing more than clear liquids made of a small amount of varnish resin and a lot of solvent—just thinned out varnish. The directions tell you to apply the liquid, give it time to soak in, wipe off the excess, then wait some period of time (from 15 minutes to two hours) before applying stain. These odd directions seem to be intended to allow enough time for most the thinner to evaporate, but not enough time for the small amount of remaining varnish resin to harden. This plan consistently results in a wood surface that is barely sealed against blotching (approximately 10% – 15%, by my best estimate).
A Better Solution
Make your own a stain controller. Any clear finish will work, but wipe on, rub off materials are the easiest to use because they allow enough working time to ensure consistent wood surface saturation and removal. Shellac, lacquer, and water-base products can also be used as stain controllers, but they dry so rapidly, they’re more challenging to work with, whether wiping, brushing, or spraying. Corners and complex shapes are especially difficult to seal consistently with such fast-drying materials.
My favorite stain controller is clear gel varnish. It’s the most reliable and easiest to use of all the options. As you can imagine, its unique thick consistency makes it more effective at filling empty space in a porous surface and controlling blotching than thin liquid conditioners. Another advantage is that depending on the application method, clear gel varnish can be a universally compatible stain controller that works well with any stain, including water base stains and dyes
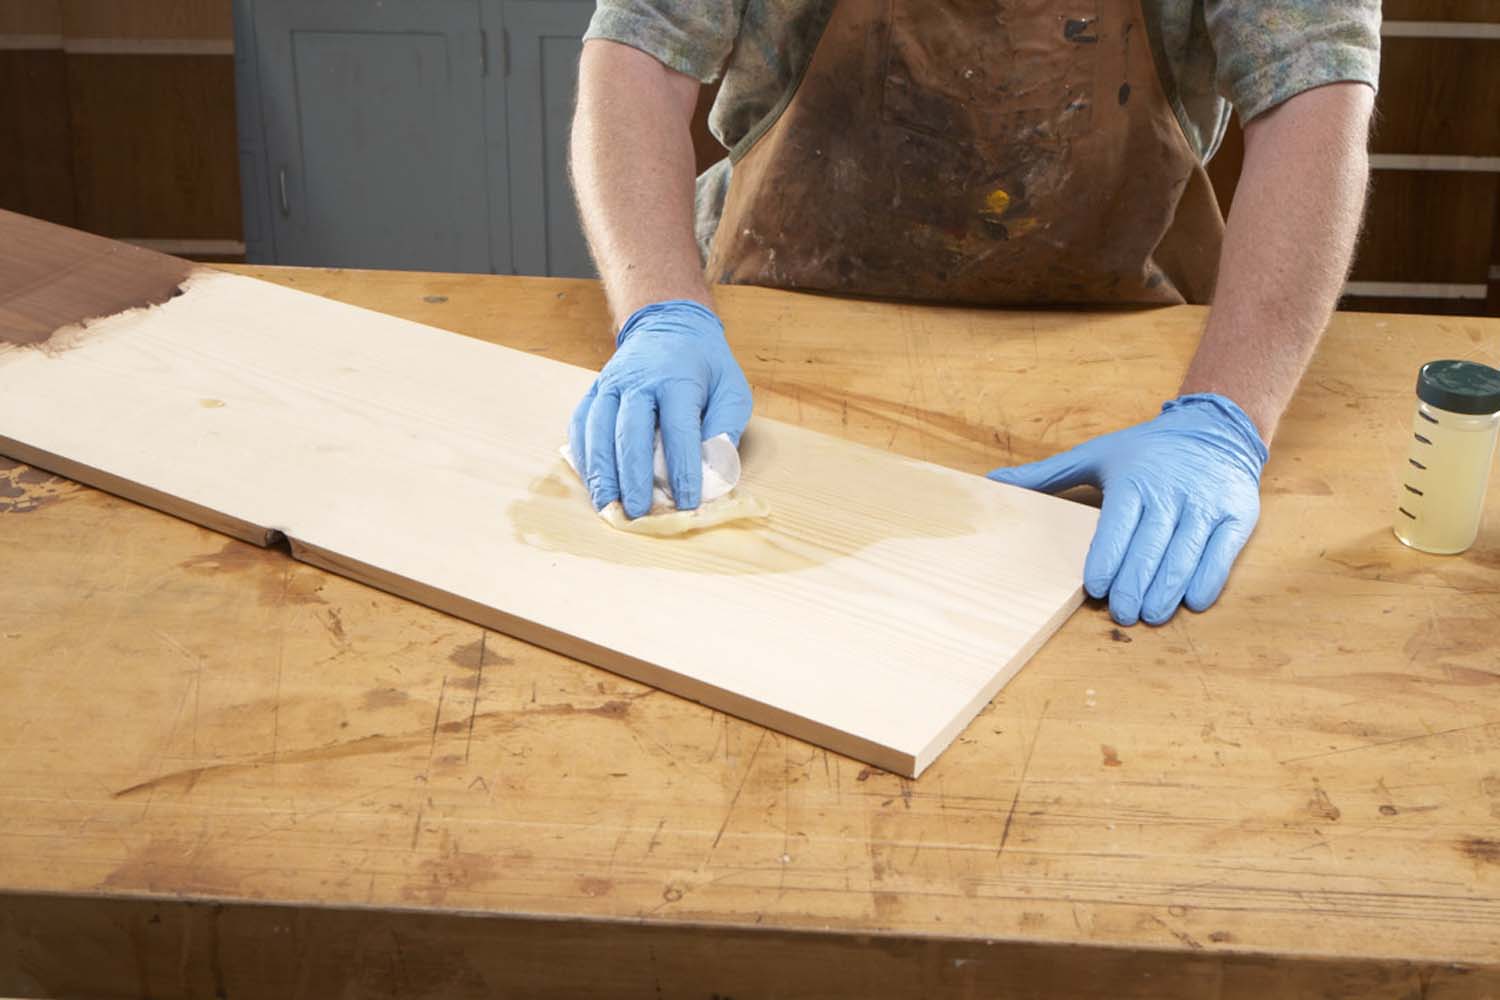
Photo 3. Clear gel varnish is easy to use as a stain controller for oil base stains, and requires no wait. Simply wipe it on, rub off the excess and immediately apply the stain.
Method #1: Wet on wet—for use with liquid or gel oil-base stains (Photo 3). By my estimate, this method seals the surface about 30%–40%. After careful surface prep, apply clear gel varnish generously straight from the can with a rag or brush. Work it in thoroughly then rub off all excess within about five minutes. Immediately apply oil-base stain—for maximum control [effectiveness], use oil-base gel stain.
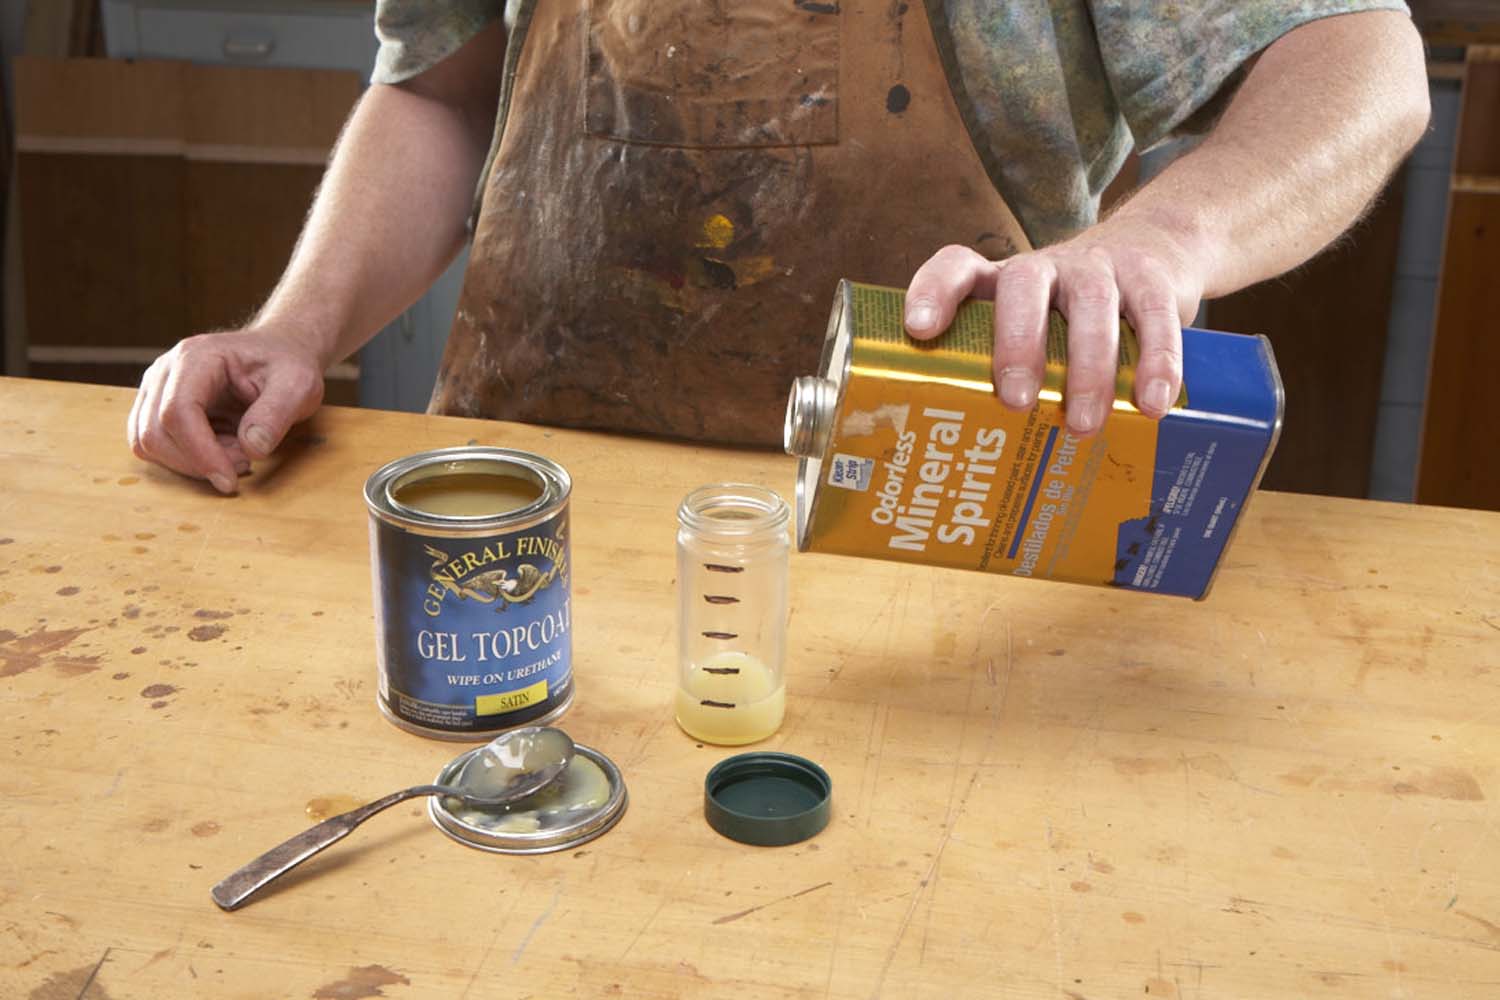
Photo 4. Make a universally compatible stain controller by thinning 1 parts gel varnish with 4 parts mineral spirits. Apply generously, rub off excess thoroughly, and let dry overnight.
Method #2: Overnight dry—for use with any type of stain or dye (Photo 4). By my estimate, this method seals the surface about 20%–30%. Mix one part gel varnish with four parts mineral spirits. After careful surface prep, apply the thinned clear gel with a rag or brush. Work it in thoroughly and rub off the excess within five to ten minutes, using absorbent cloth or paper towels. To make sure that all the excess is removed, wipe with clean towels until the last towels remain completely dry. Allow the surface to dry overnight.
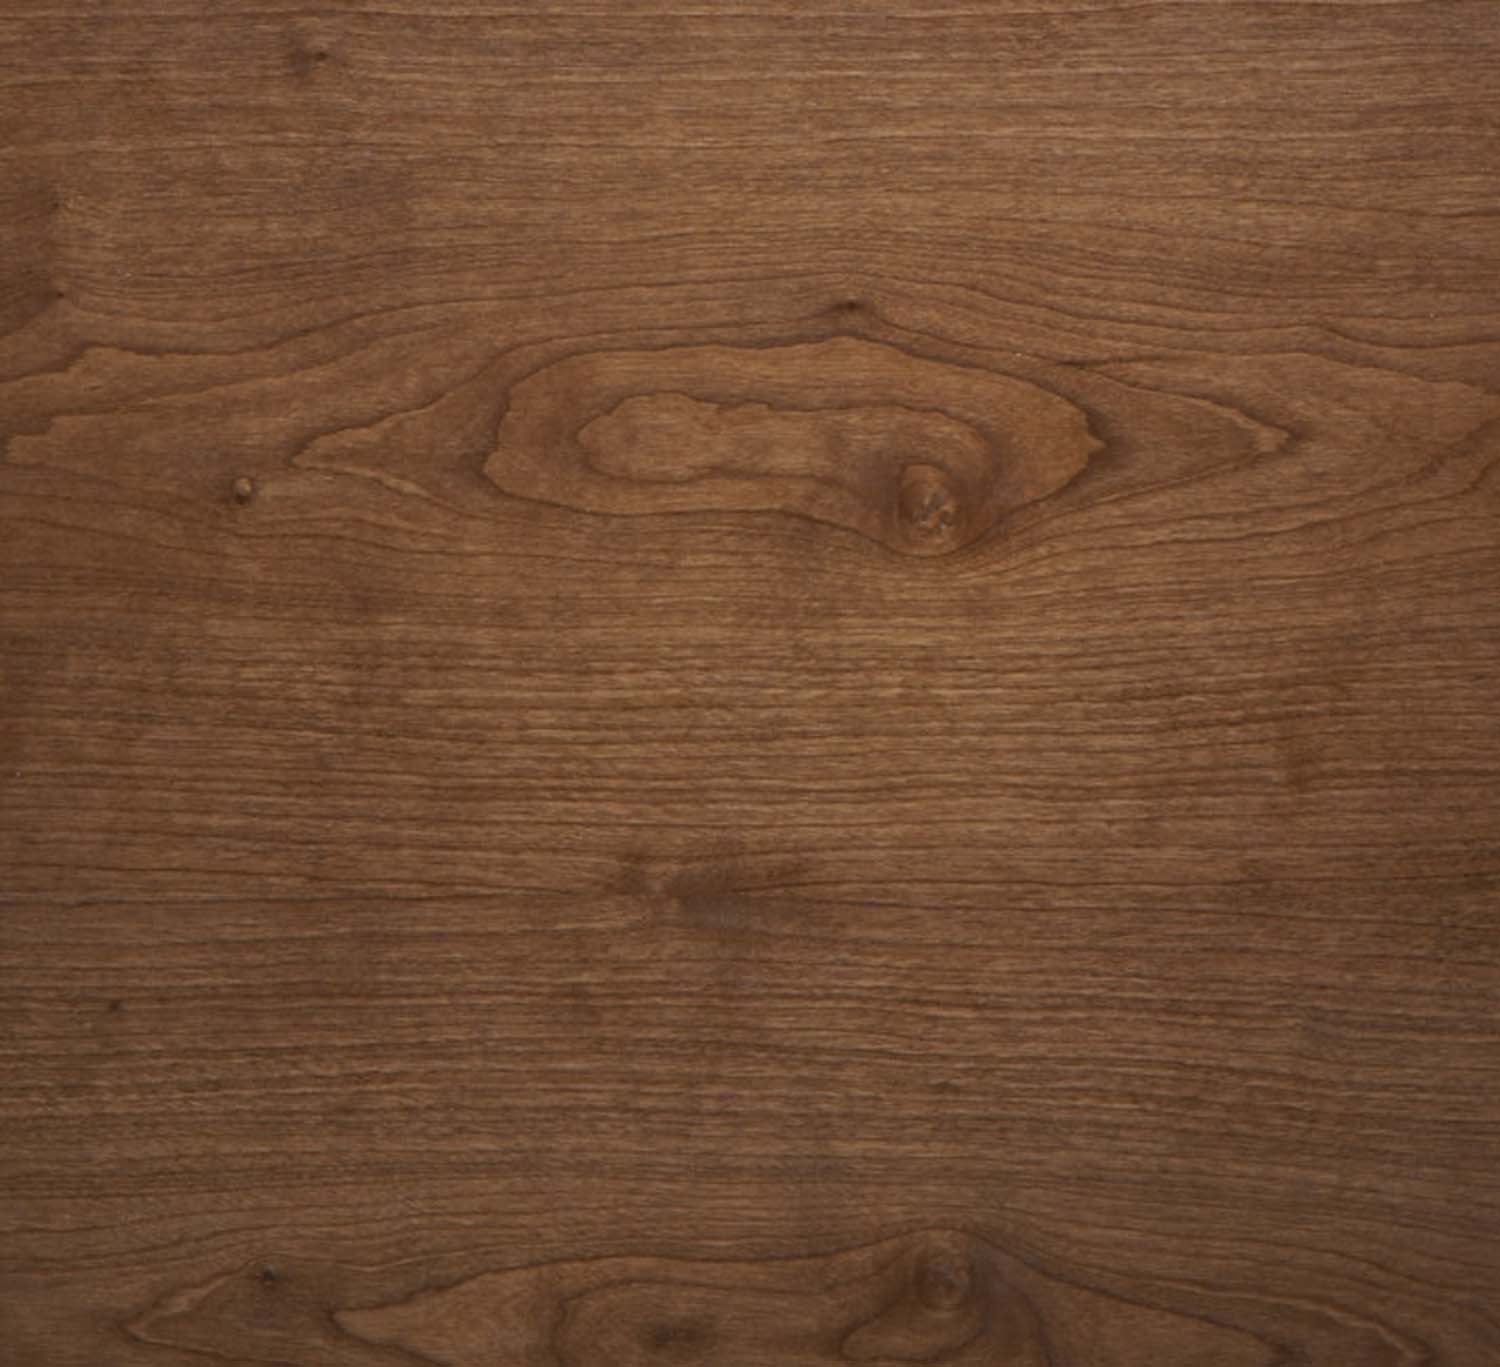
Photo 5. Blotch control is most effective when oil stain is immediately applied over wet gel varnish, but when the gel varnish is thinned and allowed to dry, any type of stain or dye can be used.
The next day, apply oil-base stains as usual. This method allows slightly more stain penetration than the wet-on-wet method (Photo 5). For water-base stains and water or alcohol dyes, first prepare the partially sealed surface by dampening it with clear water. Let the surface dry and sand very lightly with 400 grit or finer. Then apply dye (Photo 6).
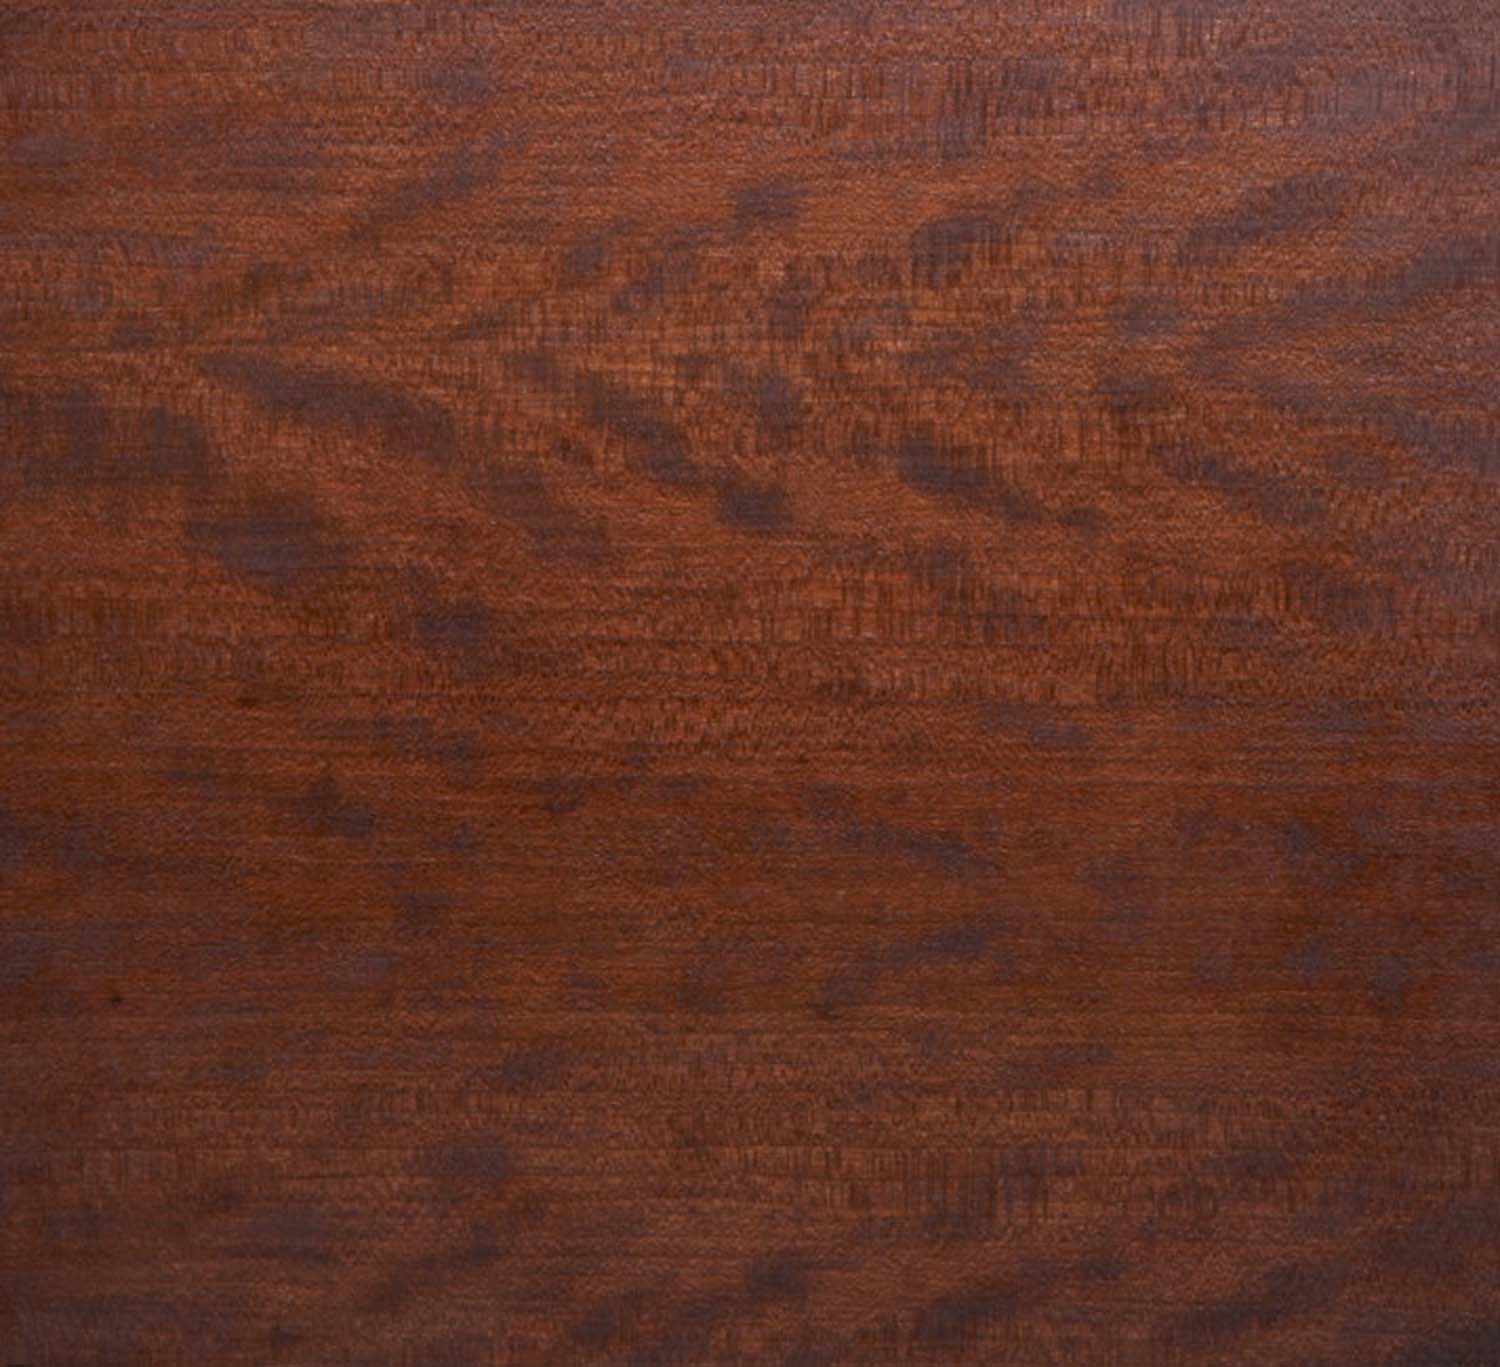
Photo 6. H2O dye on bare wood. Water-based dye can cause blotching, just like any other coloring material. Thinned clear gel stain controller that has dried overnight minimizes blotching and reveals delicate figure.
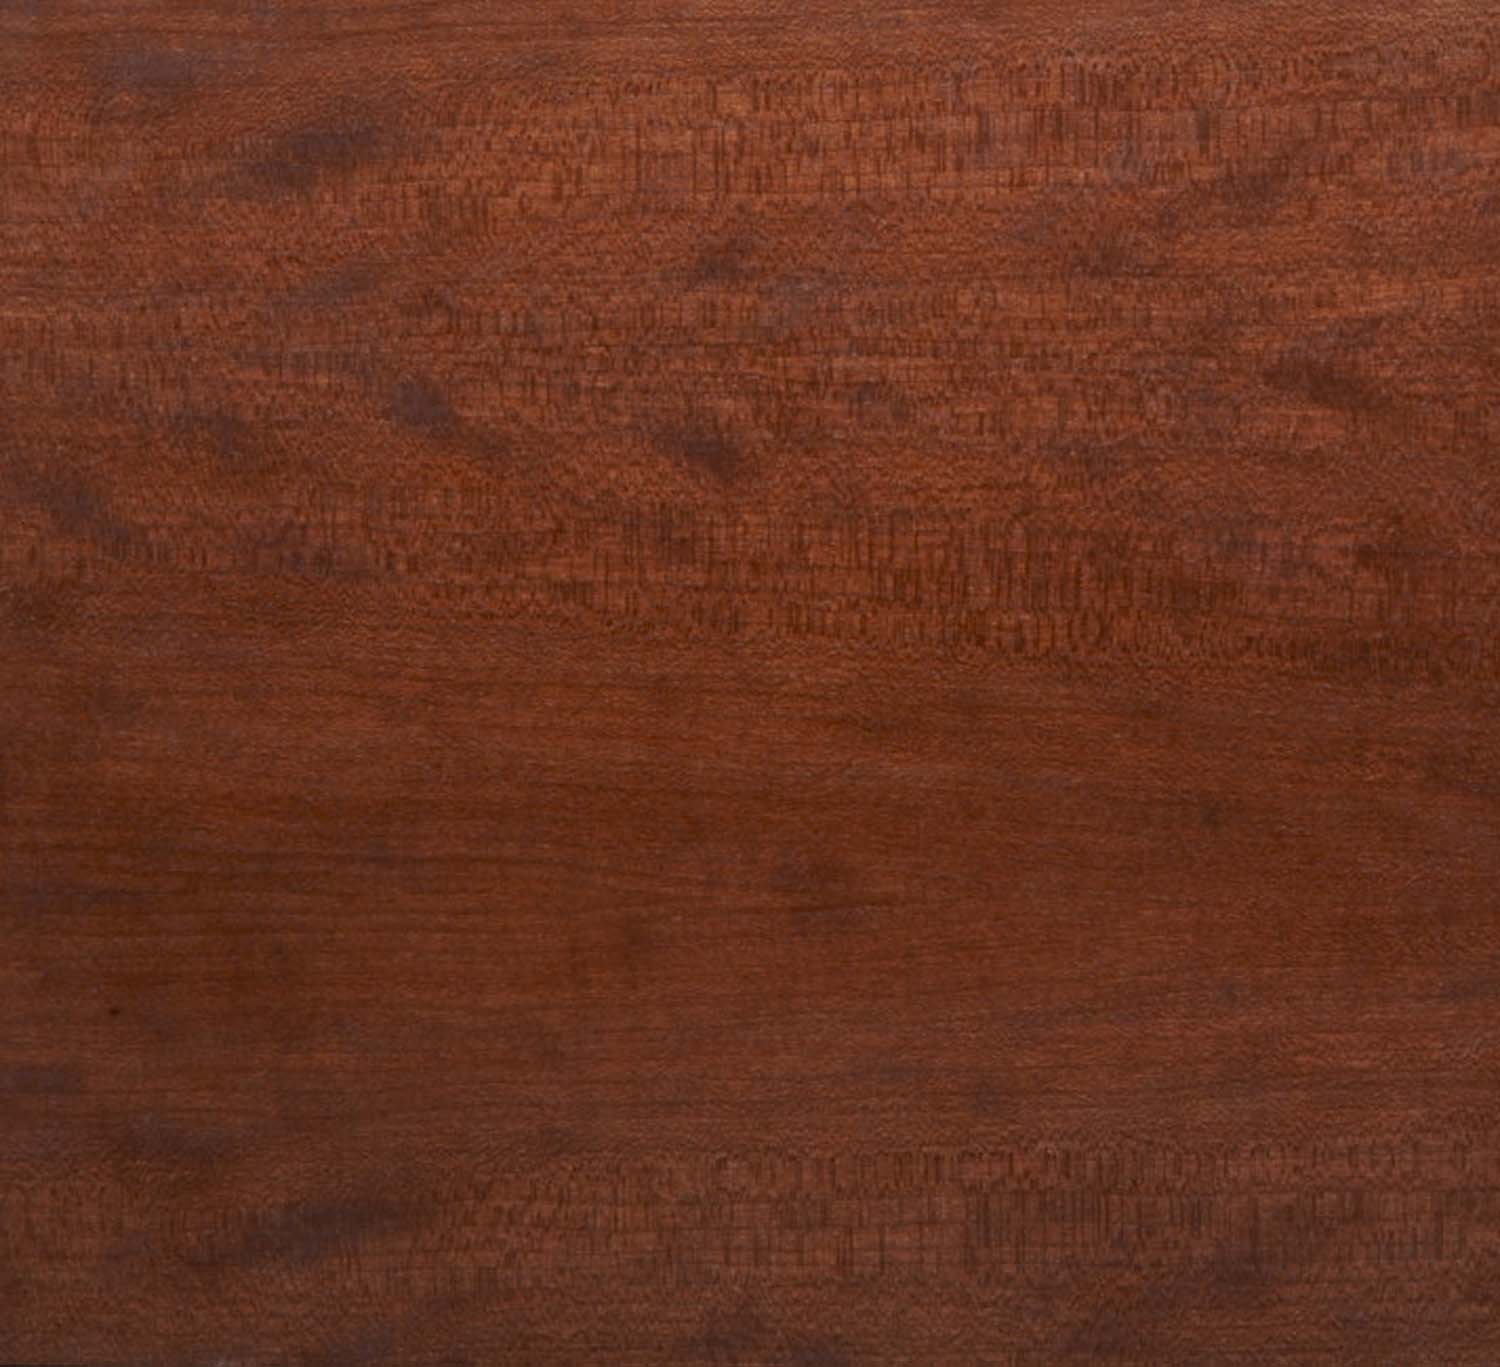
Photo 6B. H2O dye on stain controller.
With either method, the ratio of spirits to varnish can be varied to allow for a higher or lower percentage of sealing control. I usually use the 4:1 ratio because it seems to provide a good balance. By my estimate, clear gel straight from the can that’s allowed to dry overnight will produce approximately a 60%—75% seal. Likewise, a 1:1 reduction will produce a 50%–60% seal and a 2:1 reduction around 40%—50%.
Unlike the shop-made stain controller featured here, allowing those commercially available controllers to dry overnight doesn’t work. The results are unpredictable and often do not look good.
Additional Benefits
Photo 7. Match the color on the end of a stained tabletop with its surface by applying clear gel to the end grain only and then immediately applying any oil base stain. This process also reveals the end grain’s eye-catching figure.
This stain controller can also be used to help get the best appearance on wood that isn’t blotchy. For example, to keep the end grain on a tabletop from turning dark, apply straight clear gel varnish to the end grain only, immediately before using an oil-base stain (Photo 7). The exposed end grain above and below the center portion of a raised panel can be similarly treated to keep it from turning dark. Turning or carving wood also exposes end grain that can create distracting discoloration when stain is applied without a stain controller.
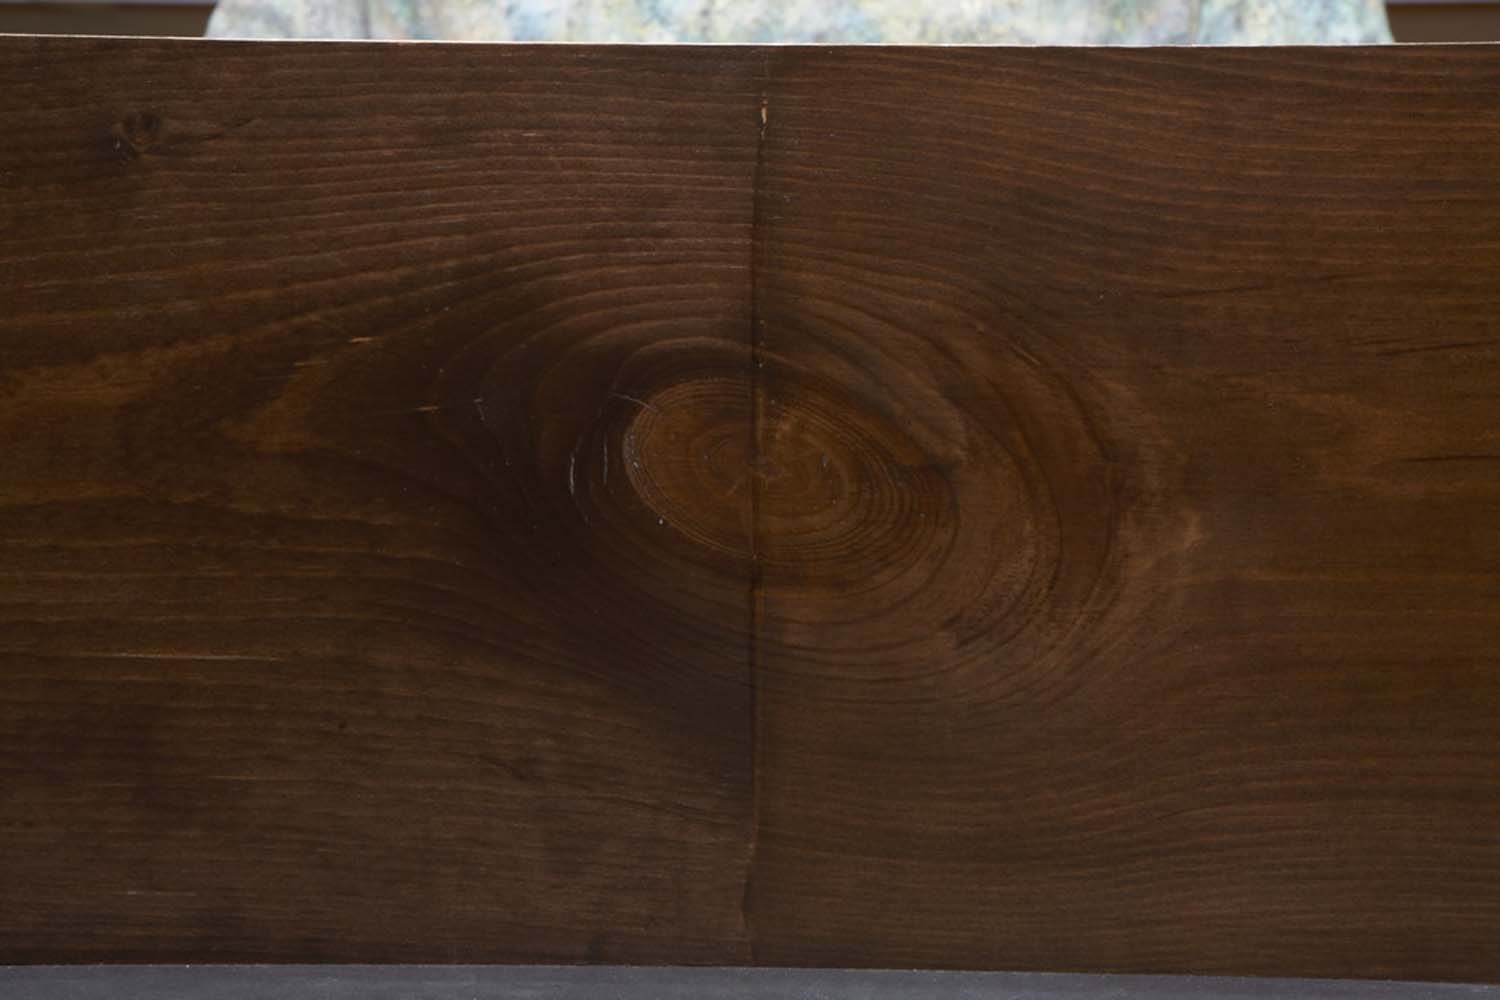
Photo 8. Knots add interesting figure rather than dark, unsightly blotching when a stain controller is applied before staining.
Applying stain controller mitigates blotching around knots (Photo 8) and makes woods with tiny surface pores—such as cherry, maple and birch—look more natural when they’re stained (Photo 9).
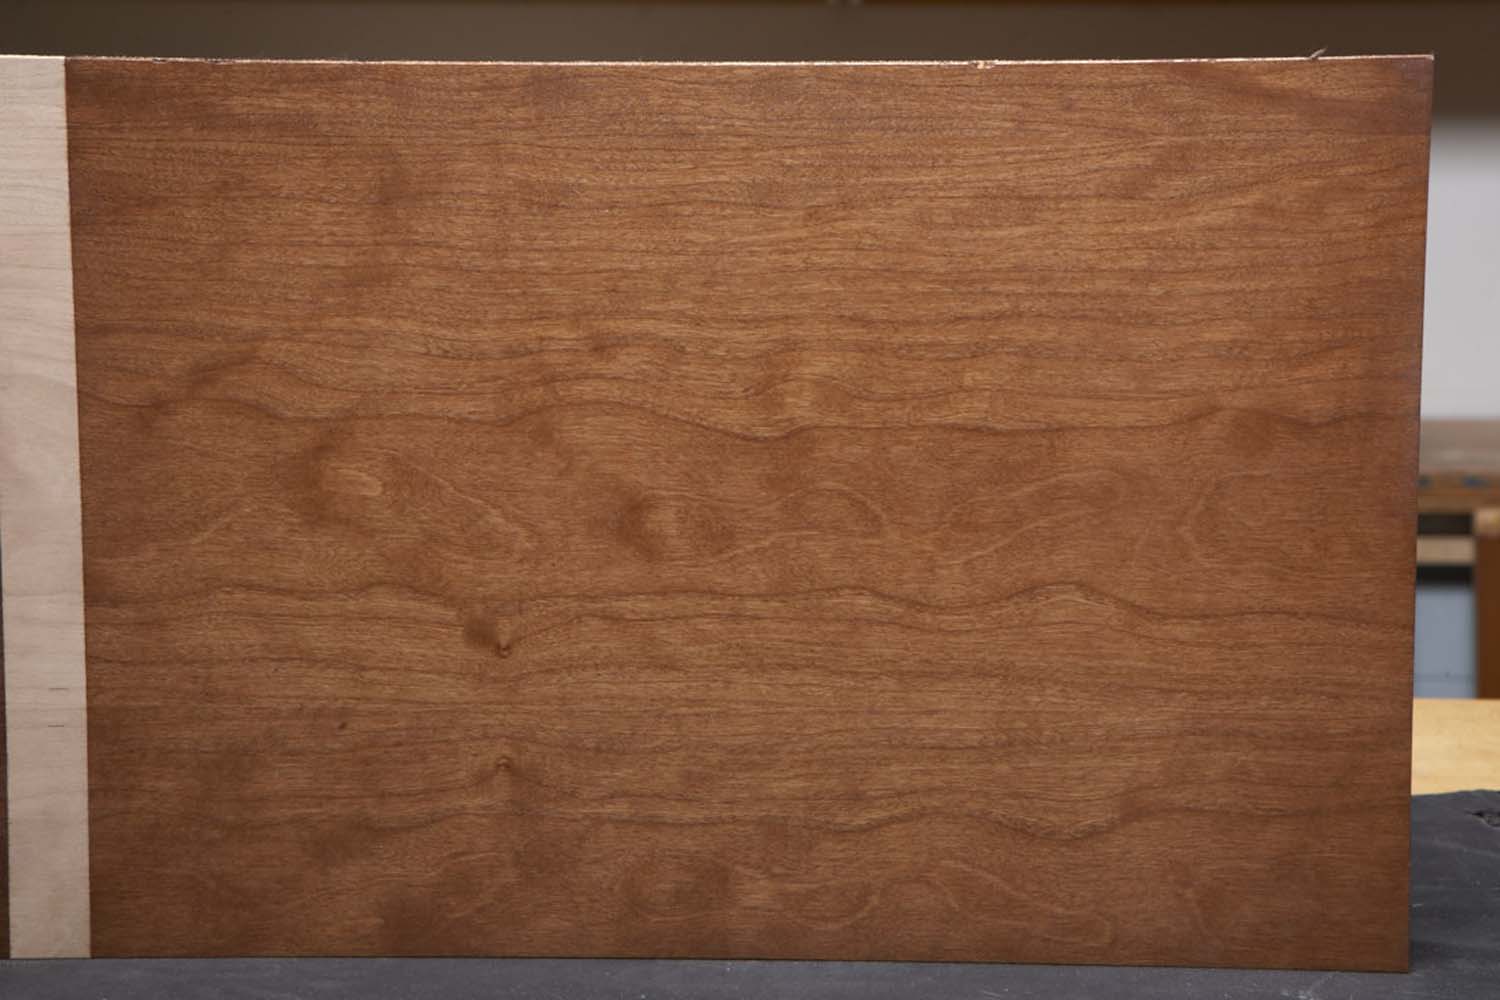
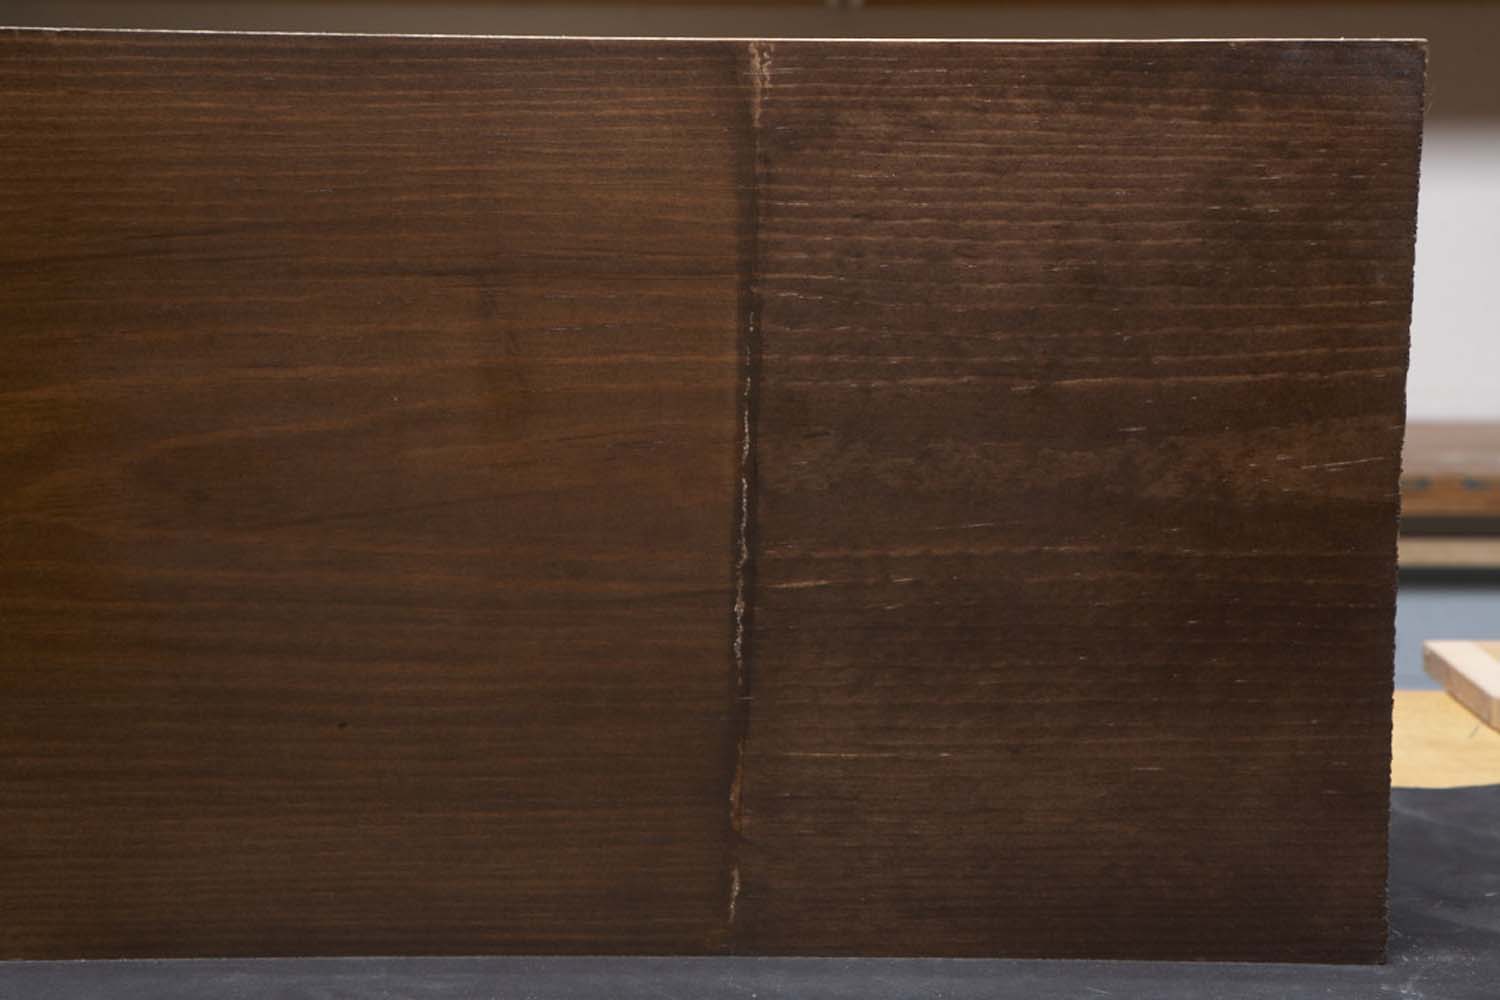
Photo 9. Stain controller helps to create a natural aged color on cherry (below) by eliminating the tiny black pores that always appear when dark stain is applied on the raw wood (above).
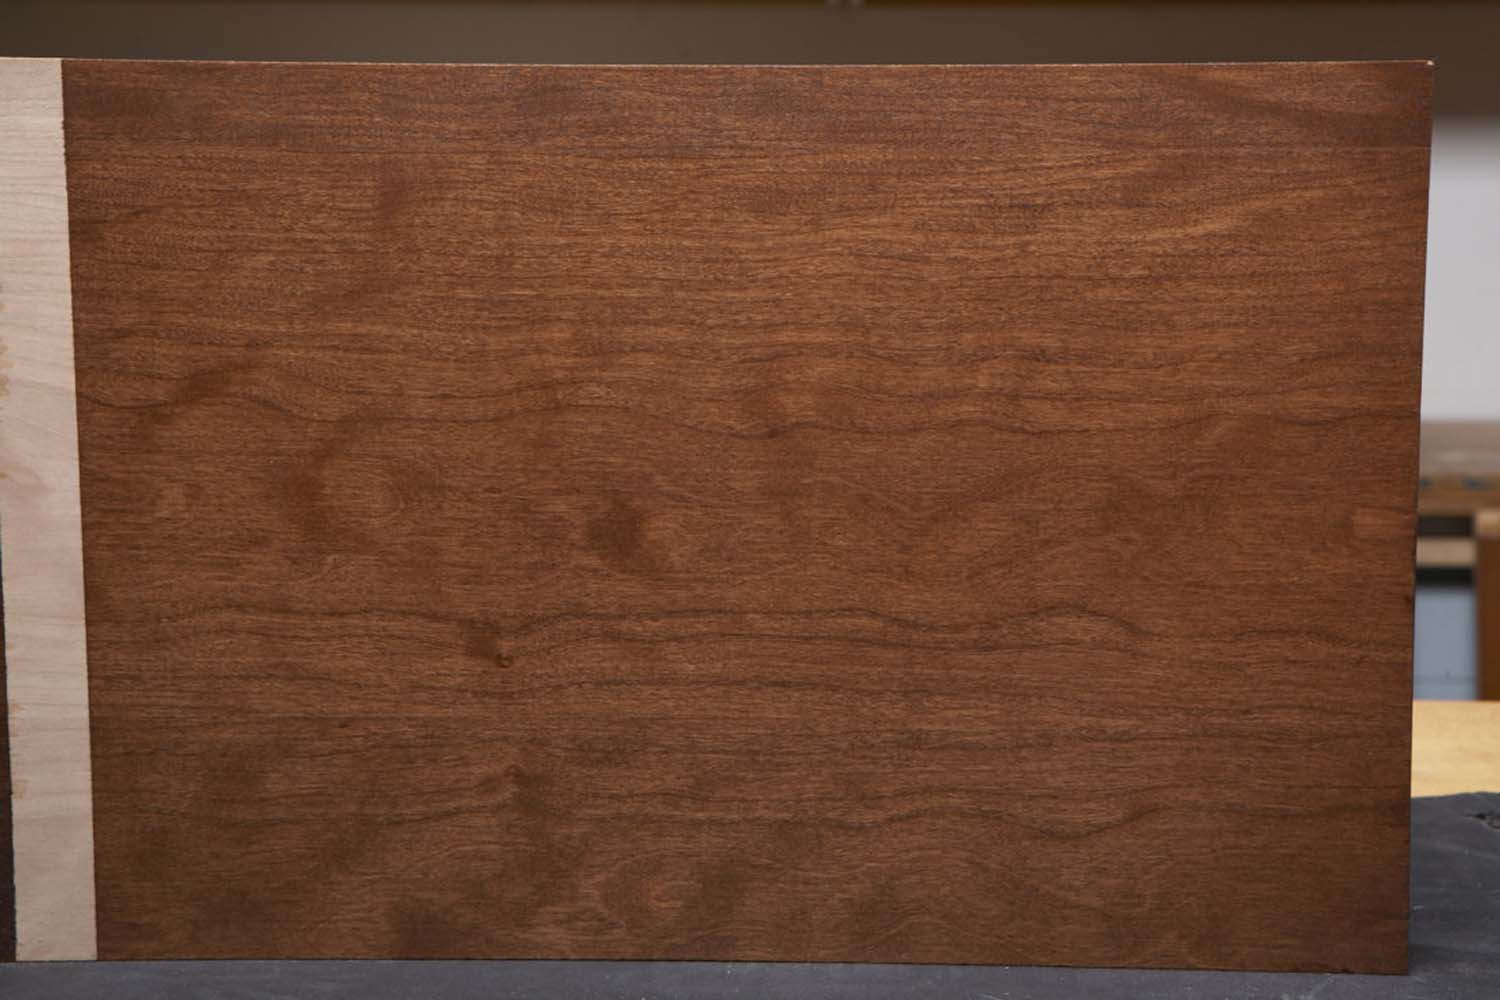
Photo 9B.
Because Method #2 described earlier works for both water-base dyes and oil-base stains, they can be used to create extra depth or to match colors by adding color in layers (Photo 10). Start by applying a water-base dye and let it dry. This dye will not do any additional sealing, so the wood will still soak up more dye or an oil-base stain just as it would have before the dye was applied.
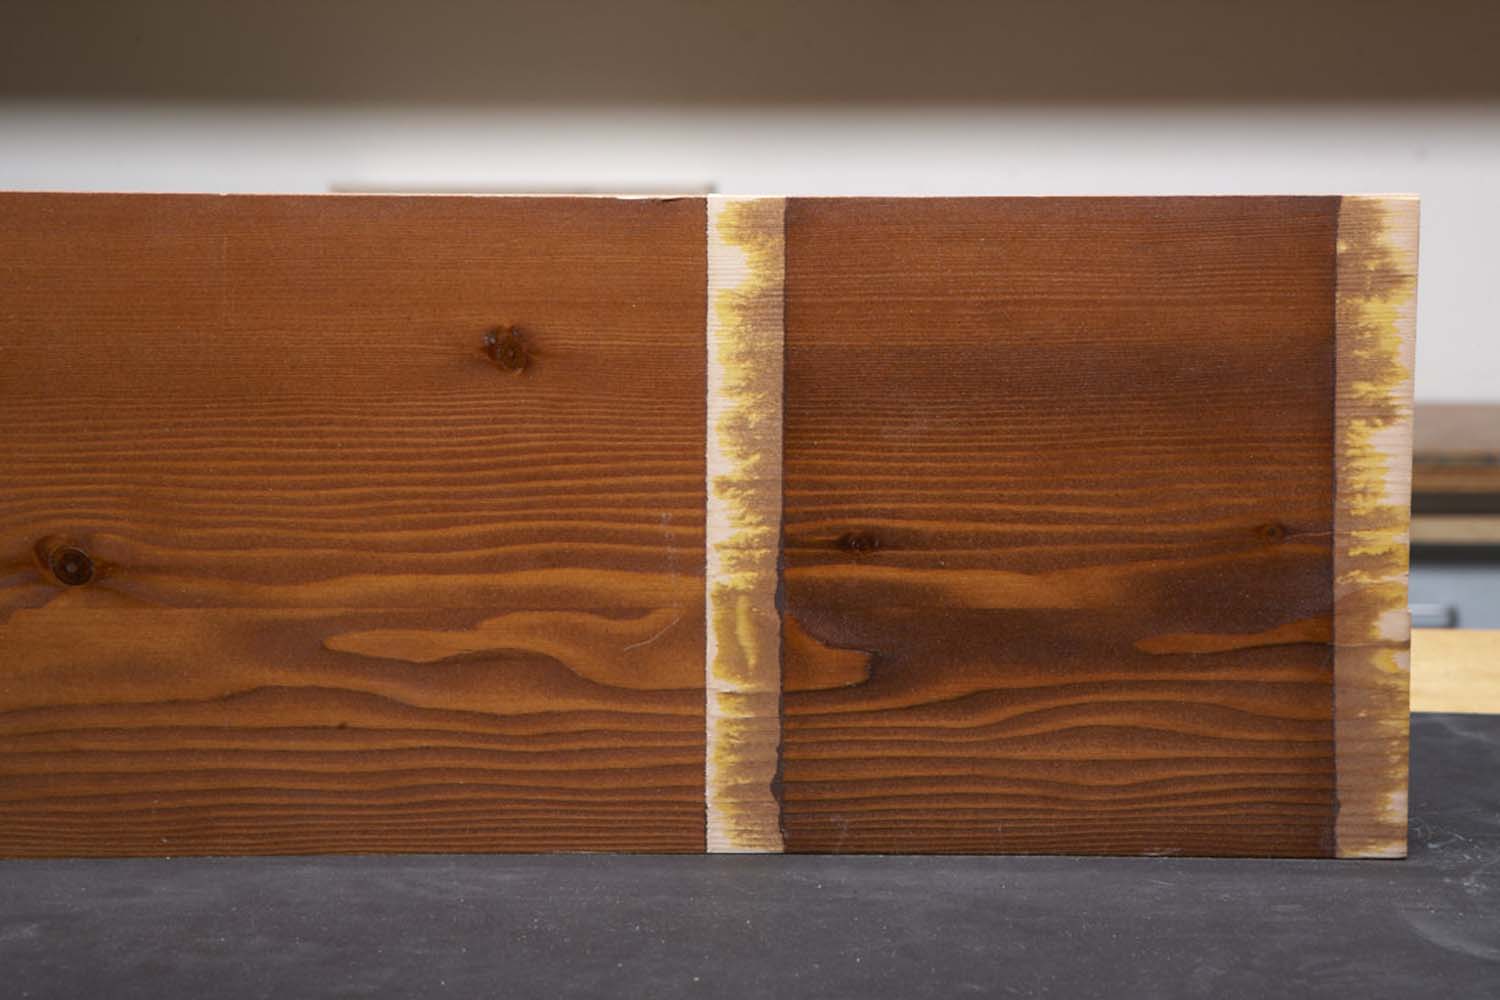
Photo 10. Stain controller, water-base dye and oil-base gel stain applied in layers can be used to create a convincing old-wood “patina” on soft woods such as pine and fir, which are notoriously blotch-prone.
Bio
Kevin Southwick is a wood-finishing specialist and furniture restorer/conservator in Minneapolis MN. Visit southwickfurnitureconservation.com to learn more.
Here are some supplies and tools we find essential in our everyday work around the shop. We may receive a commission from sales referred by our links; however, we have carefully selected these products for their usefulness and quality.