We may receive a commission when you use our affiliate links. However, this does not impact our recommendations.
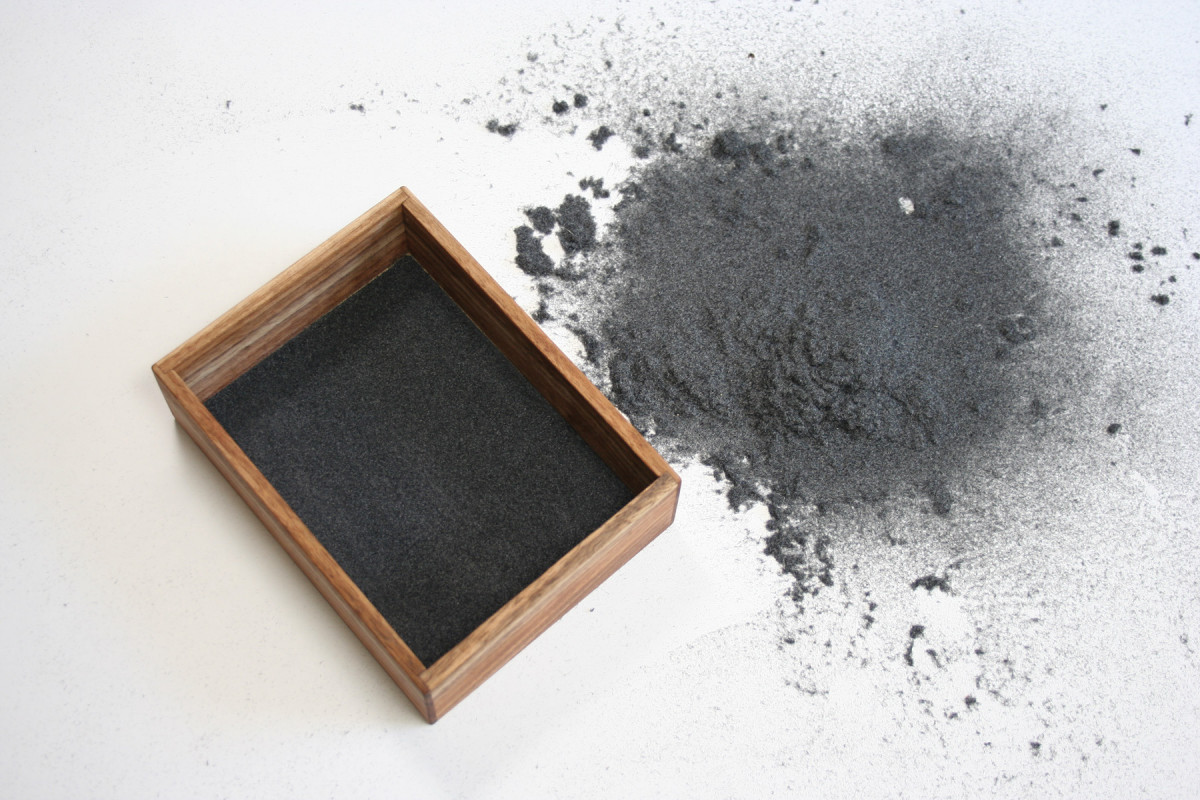
The velvety-smooth texture of a flocked interior is hard to beat in a box or chest, though the process can be messy.
Take that special drawer or box to the next level.
Flocking is a two-step process that involves spraying tiny fibrous particles onto an adhesive-coated surface. Imagine spray-on velvet. This is a great medium for sprucing-up the inside of jewelry boxes, decorations or signage.
Types of Flock
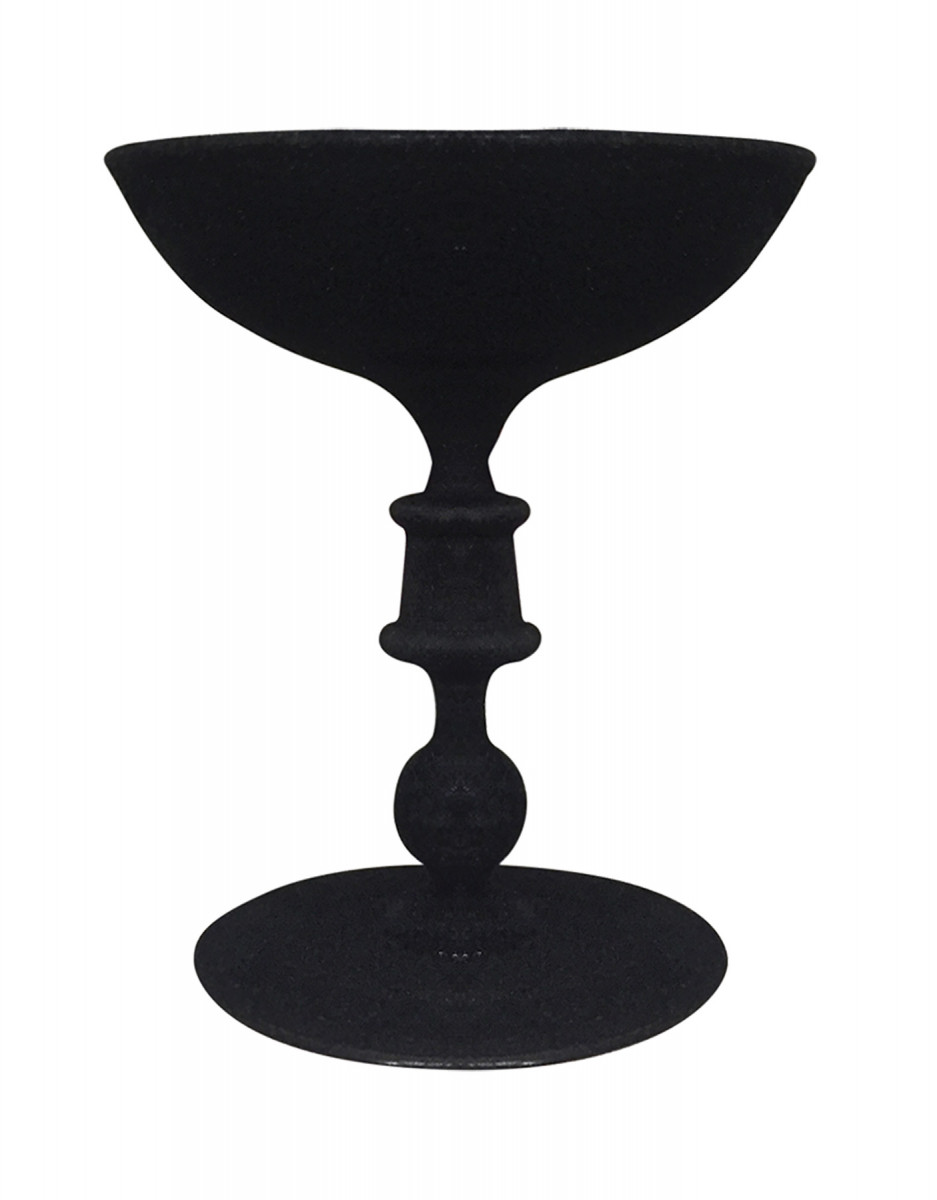
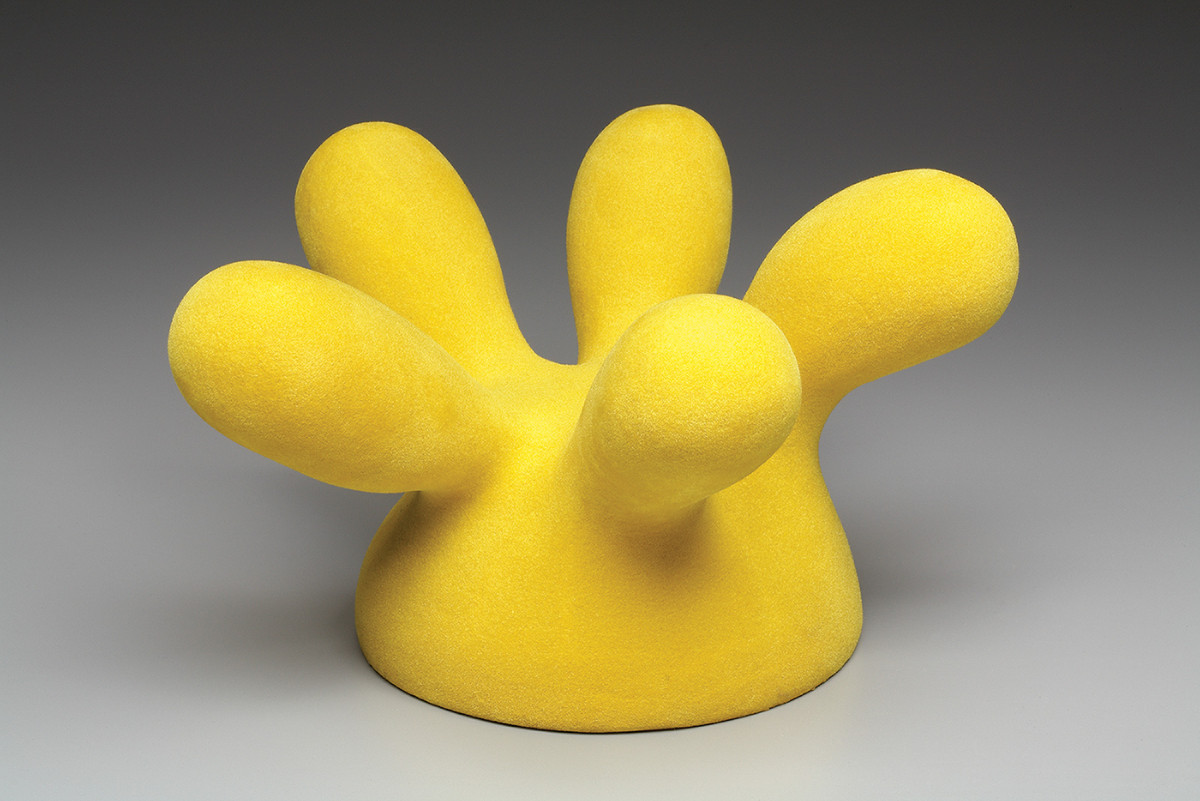
1-2. Two beautiful examples of more unique flocking applications. The glass vessel above was blown by Bradley Schillinger (and flocked by me). The object below is a ceramic piece made by Eileen Cohen with yellow flocking.
The brand of flock that I use personally is called Flock-It (formerly known as DonJer Products). This company provides a few options for flock, but the one most will want to use is the Suede-Tex flock with rayon fibers. The undercoat adhesive is color matched to the flocking fibers, so ensure that the colors you are purchasing match. I recommend purchasing the Mini-Flocker Kit, which comes with the fibers, the undercoat adhesive, and the flocking applicator.
 Flock-It also sells nylon fibers for outdoor projects and has a line called Soft Flock for smaller craft projects. The Soft Flock packages are the same fibers as the Suede-Tex rayon in smaller sizes and are a cost-effective way to sample a variety of colors. The water-based adhesive sold with the Soft Flock is for fabrics and figurines and is not recommended for functional applications such as jewelry boxes.
Surface Prep
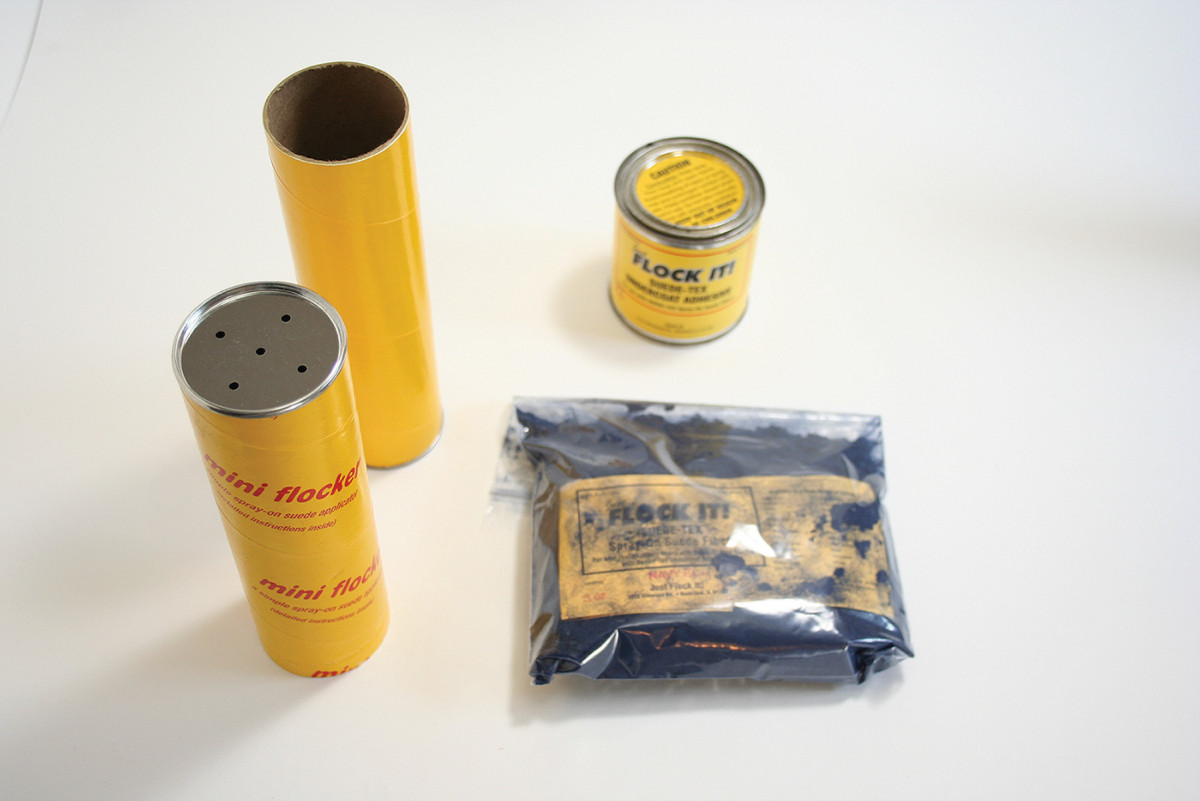
3. The flocking kit includes fibers, color-matched adhesive and an applicator.
The first step in flocking your piece is surface preparation. The flocking process will not cover up cracks or surface blemishes so it is important to start with a smooth surface. Sand and finish the surface you will be flocking.
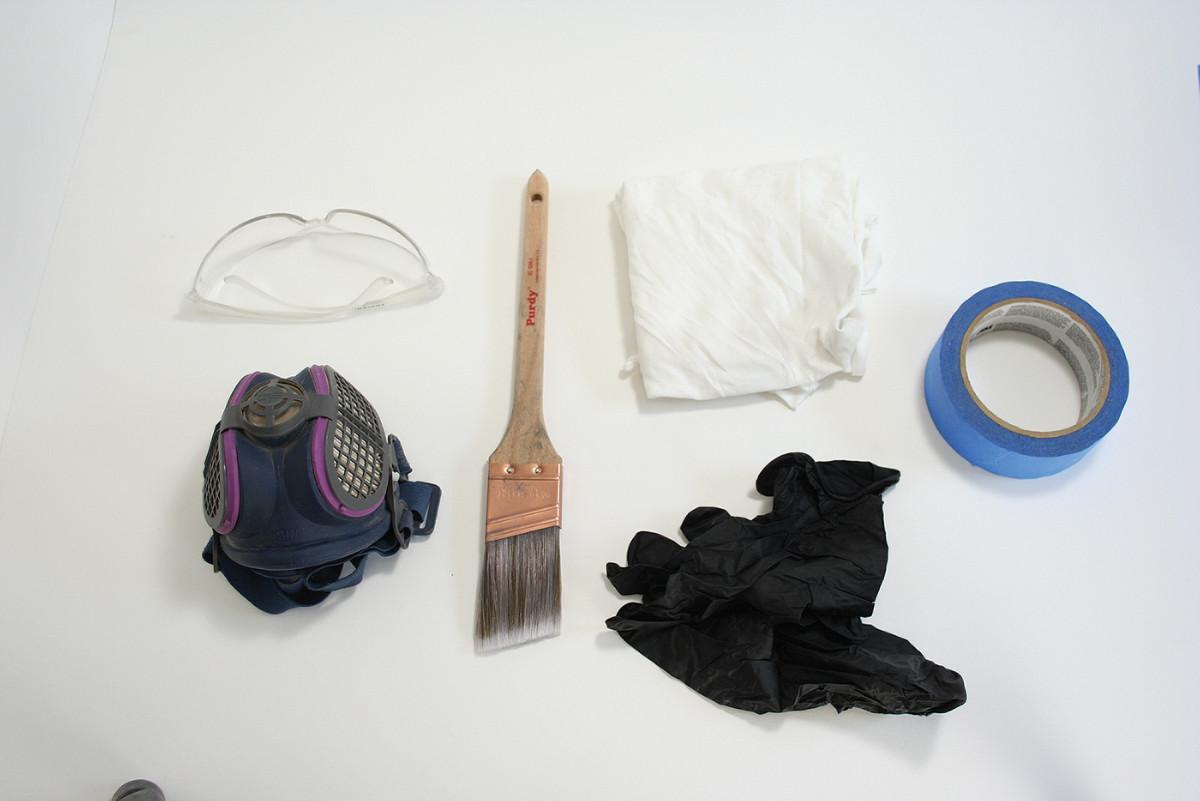
4. You’ll need a mask, gloves, safety glasses, tape, cleanup rag and a brush for adhesive to round out your tools.
Finish the surface with lacquer, polyurethane, or anything that will seal the porous wood surface and allow finish to fully cure before flocking. Non-porous surfaces such as glass or plastic do not need to be sealed before flocking, but it would be helpful to scuff or sandblast the surface first to assist with adhesion.
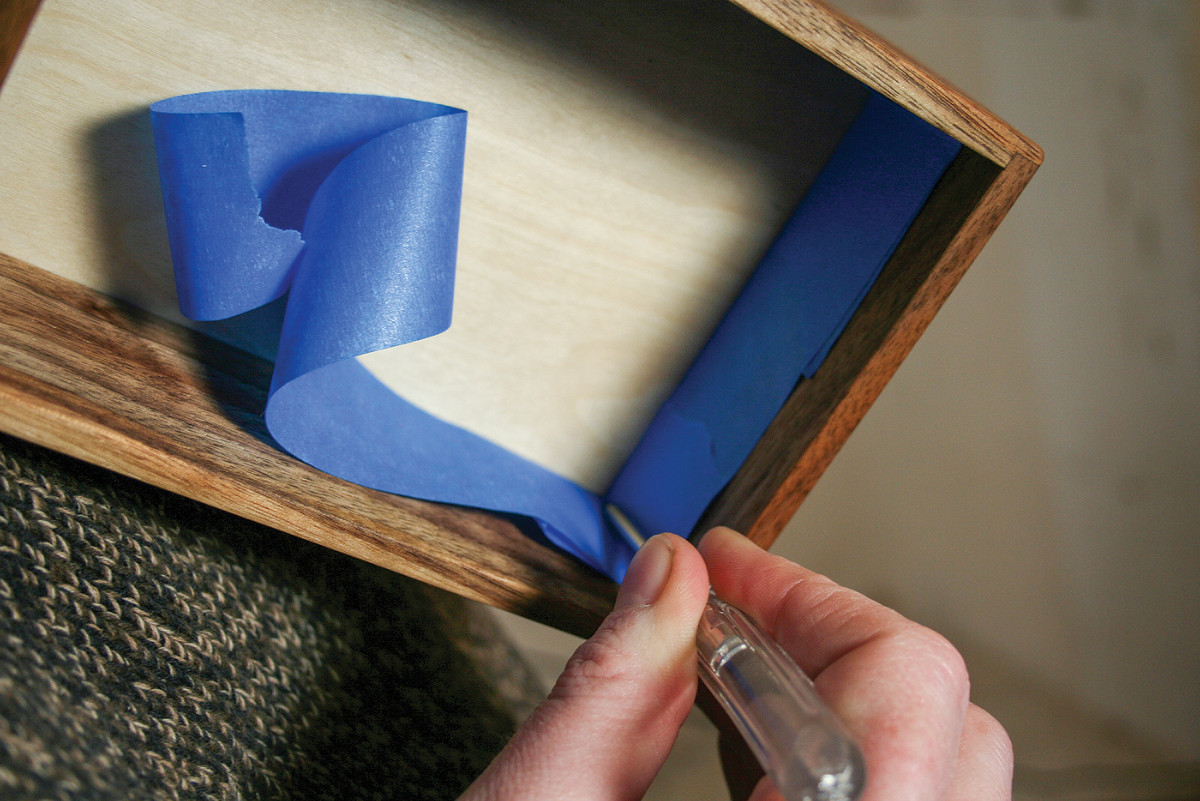
5. Tape off any surfaces you don’t want to be flocked. You can also flock drawer bottoms and other parts before inserting them in your finished pieces.
I prefer to flock the bottoms of my floating-panel drawers before glue-up, but some folks flock last, taping off the sides and top of the drawers. I have shown both processes in the photographs.
Set-Up and Safety
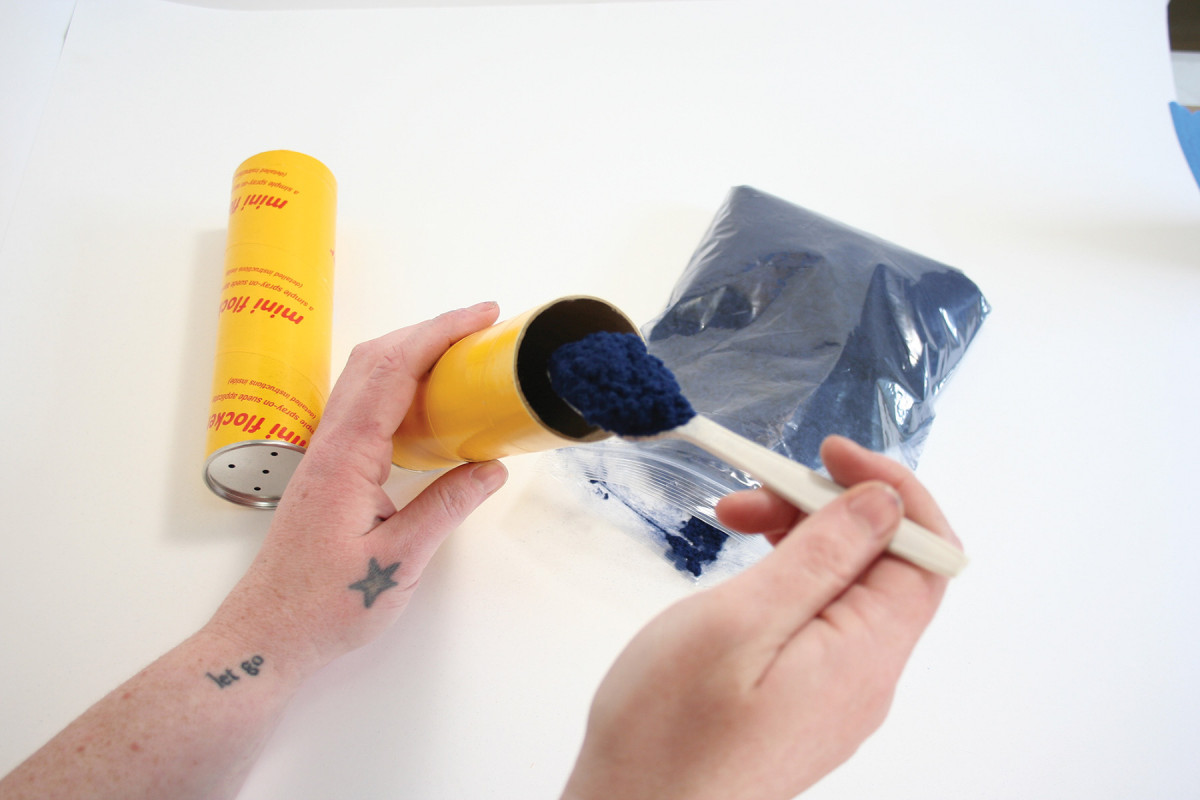
6-7. The applicator is easy to load. Use a spoon to put a generous amount of fibers into the bottom tube (the side without holes), then slide the top tube over it. Make sure to do this gently so you don’t send a cloud of fibers into the air.
Prepare an area in a garage or shop to do your flocking as this is a messy process. Cover the table you are working on in newsprint or paper as you will be sweeping up any extra flocking to save for later. If your project is larger, I recommend spraying your flock inside of a large cardboard box lined with paper or a garbage bag to prevent the flocking fibers from going everywhere.
 Wear safety glasses and a face mask when flocking as these tiny particles do not belong in your eyes or lungs. Work in a well-ventilated area and wear rubber gloves when working with the adhesive. Clean up your paintbrush and tools with acetone or mineral spirits.
Loading the Applicator
Use a spoon to load the bottom of the cardboard flocking applicator tube—the side without holes—with the fibers. Use a generous amount of flocking fibers, filling about half of the tube. You will spray on more than needed and save the excess. Slide the top of the cardboard tube—the side with the holes—onto the bottom carefully. Do not accidentally send a cloud of fibers into your face because it is unpleasant. Get your flocking applicator ready first then set aside for later.
Applying the Adhesive
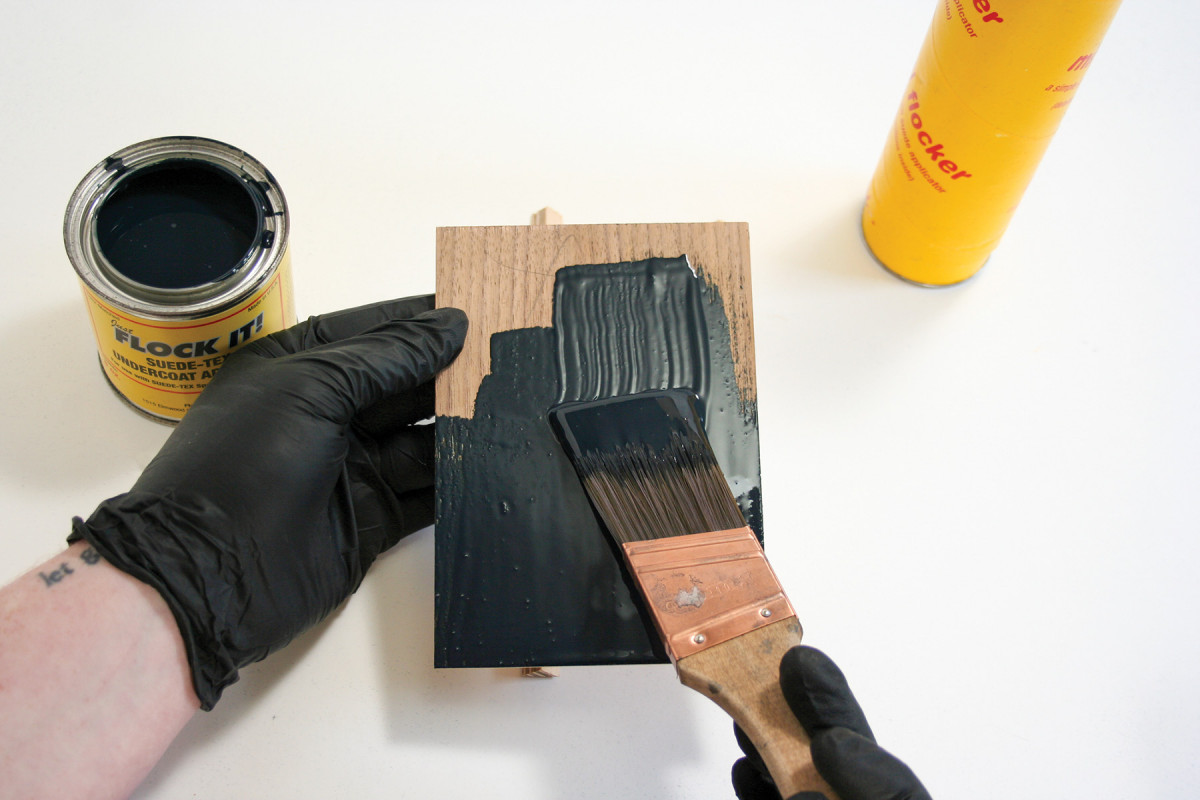
8. Apply adhesive to the entire surface. Again, be generous here. I use a soft bristle brush. You want a nice thick coat, but make sure to smooth any bumps or globs (as they can show through the fiber).
Stir the adhesive well before using. Have an acetone rag handy in case of spills or drips.

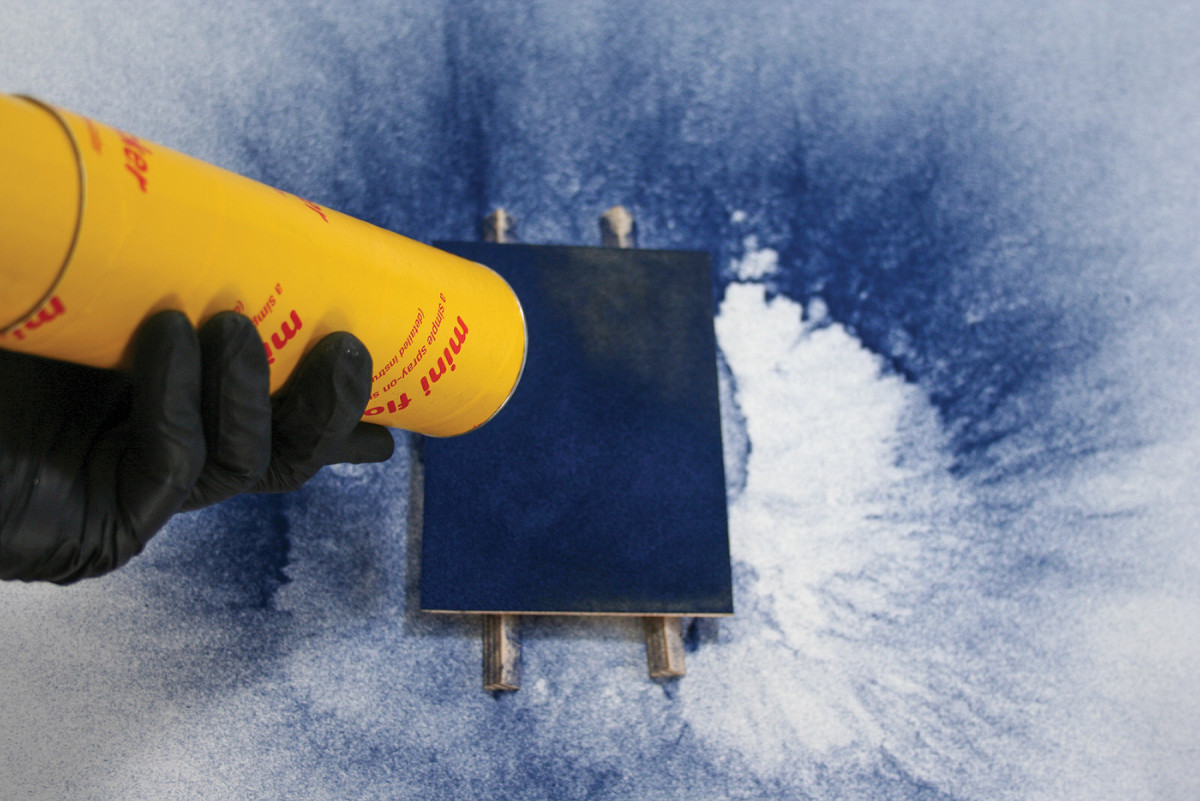
9-11. Apply the fibers. Hold the applicator about 8″ away from the piece at a slight angle. Push the bottom tube into the top tube in short, twisting bursts to create a slight vacuum that pushes the fibers out.
 Paint a generous coat of the undercoat adhesive onto the surface to be flocked. I prefer to use a soft bristled brush. The adhesive is similar to a thick oil-based paint. You want a thick coat of adhesive, but smooth out any big bumps or globs. Work quickly around the entire area to be covered because the working time is only 10–15 minutes. Finish continuous sections at one time and only work on one drawer or surface at a time. Once the undercoat adhesive is applied in an even, generous layer, take off your rubber gloves and grab the prepared flocking applicator.
12. You can clean up excess flock around your piece, but don’t touch it until it dries (about 12 hours usually).
If you are working on a large surface, you can spray the adhesive through a paint sprayer or roll it on with a foam roller. Thin the adhesive with mineral spirits if spraying. Do not work in sections on larger pieces as the seams between the sections will show.
Spraying the Flock

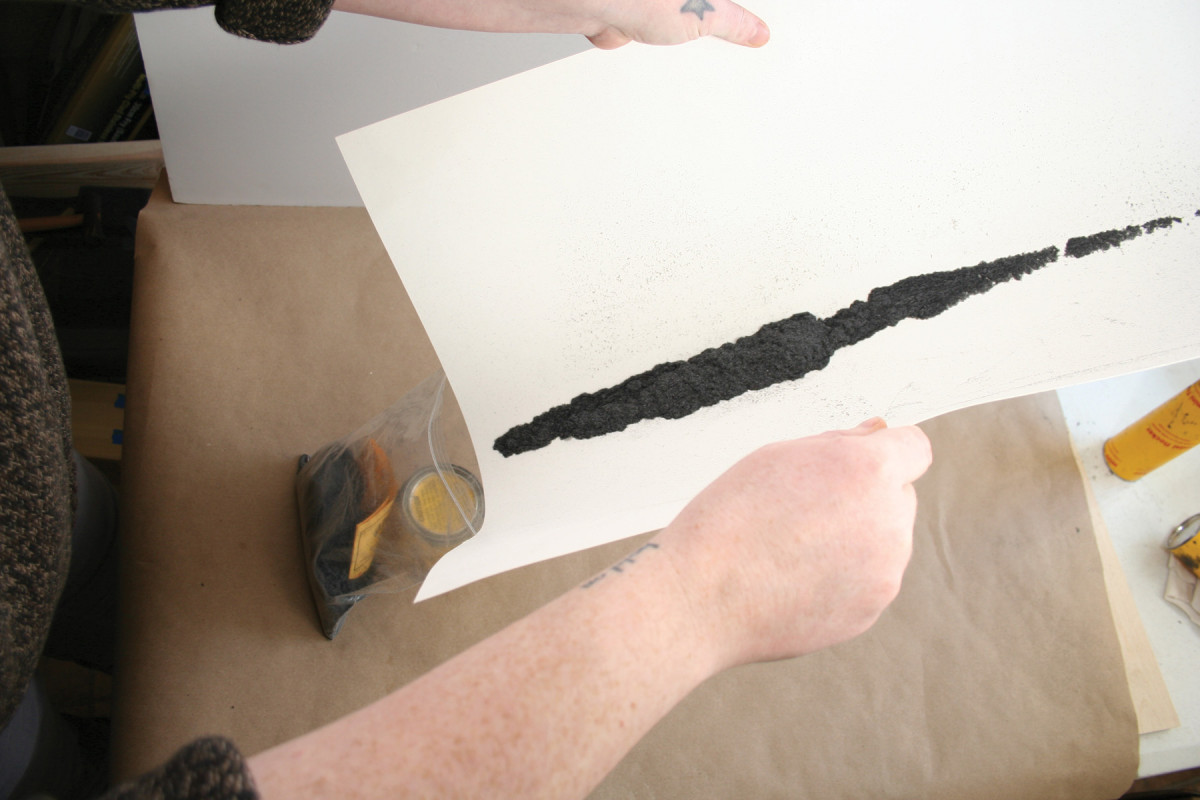
13-15. Once your project has dried, you can gently tap off any excess fibers. The material isn’t fully cured yet, so do this carefully.

 Hold the applicator tube about 8 inches away from the work piece and spray downward at a slight angle to the surface being flocked. Push the bottom tube into the top tube with an up-and-down and slightly twisting motion, creating a vacuum of air pushing out the flocking fibers. Spray the fibers all over the area to be covered, pumping with enough force to sink the fibers into the adhesive but not so much that you knock your project off the table. Try to aim your spraying so that the excess flock is contained within your spray box or paper-covered table. Cover with a generous coat of flocking fibers, more than you may think you would need.
Leave your project sit for at least 10–12 hours and most importantly: do not touch or move your project while it dries! The surface is very delicate as it is curing and can be dented or blemished easily.
Cleaning Excess

16. If you’ve masked off any parts of your project, now is also the time to remove the tape (before the flocking is fully cured). Be careful not to touch the still-curing flocking.
Sweep up any excess fibers back into the bag. If you’ve used a plastic bag in a box, you can remove the bag from the box and cut its corner to pour it back into the flock bag. Paper table coverings can be gently folded and tipped into a funnel to assist getting the fibers back in the bag.
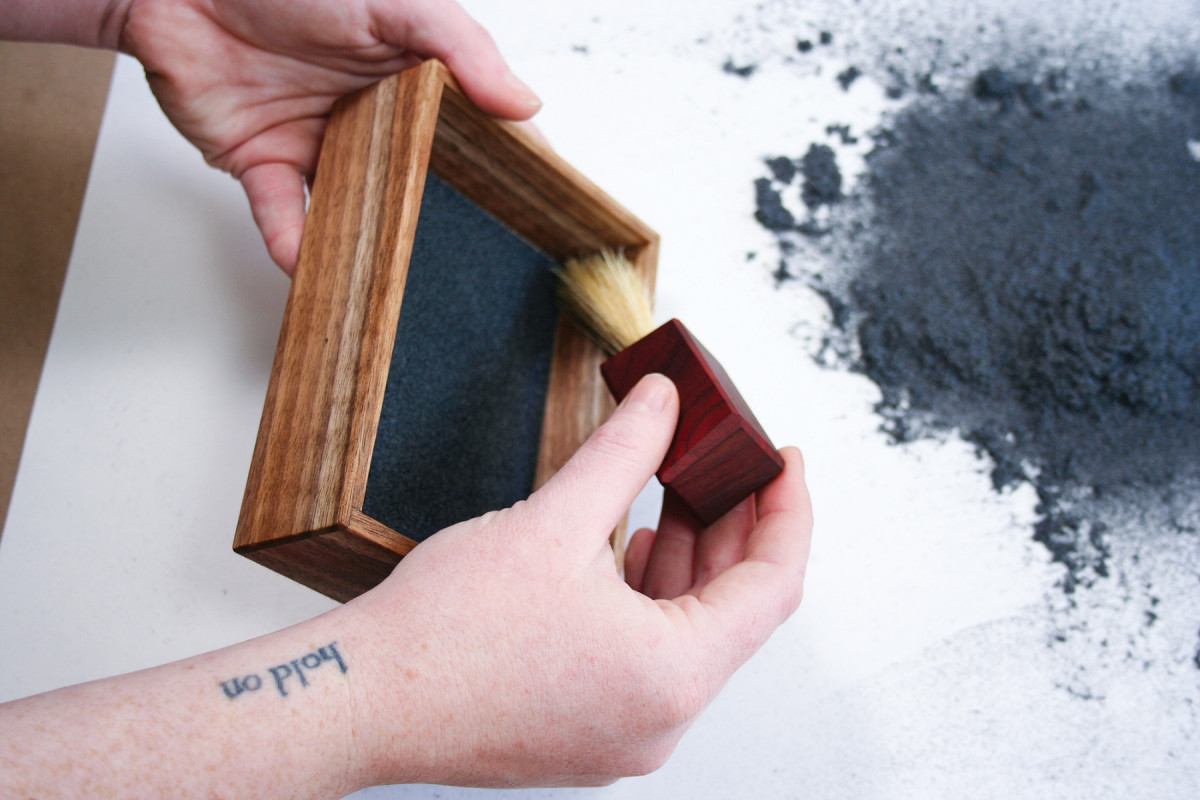
17. You can use a soft brush to remove excess fibers from corners and other wooden surfaces, but don’t touch the flocked surface. After it cures (72 hours) you can clean it with compressed air or a vacuum to remove any remaining loose fibers.
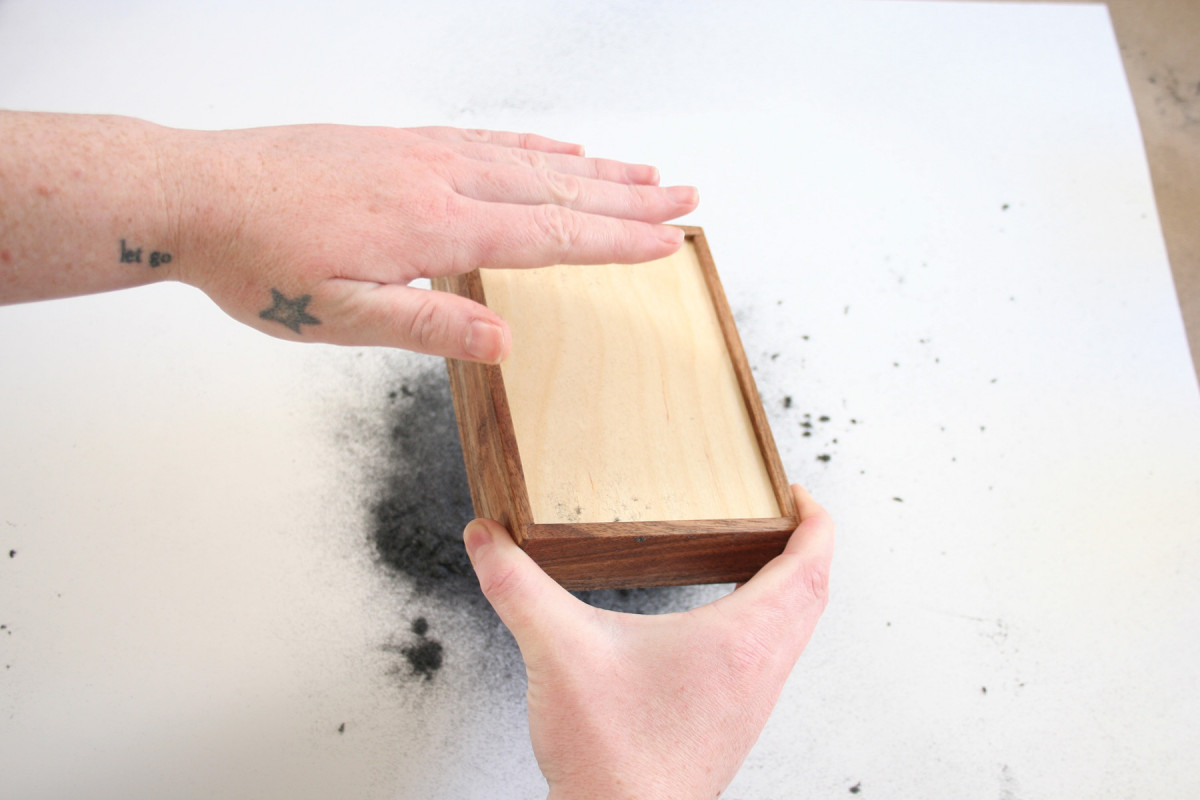
After your project has dried, tip it upside down over your paper-covered table and gently tap or shake the piece to remove any loose fibers. Use a soft brush to remove any excess fibers from the corners and the wooden surfaces. Save any excess fibers by sweeping them off of your paper-covered work surface and back into the bag. Be gentle with the surface until it has completely cured after 72 hours. At that time you may use compressed air or a vacuum to clean your flocked surface.
Here are some supplies and tools we find essential in our everyday work around the shop. We may receive a commission from sales referred by our links; however, we have carefully selected these products for their usefulness and quality.