We may receive a commission when you use our affiliate links. However, this does not impact our recommendations.
 My grama always used lemon oil to clean and polish her wood furniture. Either she just enjoyed having everything clean and dust free or she believed everything she read on the label.
Furniture polishes typically contain clear non-drying oil, either mineral oil or silicone oil, that make wood surfaces shine—temporarily. Some also include solvents, for cleaning, and wax, for more durability.
Many interesting myths surround furniture polishes, because marketing and selling them is big business. The labels on some of these products make entertaining reading by claiming that using a product will feed, nourish, condition, moisturize, replace lost natural oils, and even prevent cracking, warping and sun damage. Hmm.
Fortunately, caring for the finishes on wood furniture isn’t nearly as complicated as those labels would have you believe. The two most important things you can do are fairly obvious. First, occasionally clean the surface using a rag dampened with water to keep crud from accumulating. Sometimes a deep cleaning is useful on older or neglected pieces. Second, avoid exposure to harsh elements. Direct sunlight, water, abrasions, and strong cleaning chemicals can all cause serious damage to finishes, and to the wood beneath them.
Additionally, you may choose to maintain the finish with a wax or polish. There are some good reasons to use these products, but furniture finishes are typically far more durable than polishes and waxes, and whether new or antique, do not really need any help from them to do their job of beautifying and protecting the wood. The simple cleaning method I mentioned earlier is my preferred approach for maintaining finishes and my standard recommendation to customers. Valuable antiques with old fragile finishes should not have wax or liquid polish applied without consulting a qualified professional. Oils can soak in between cracks in the finish and discolor the wood below.
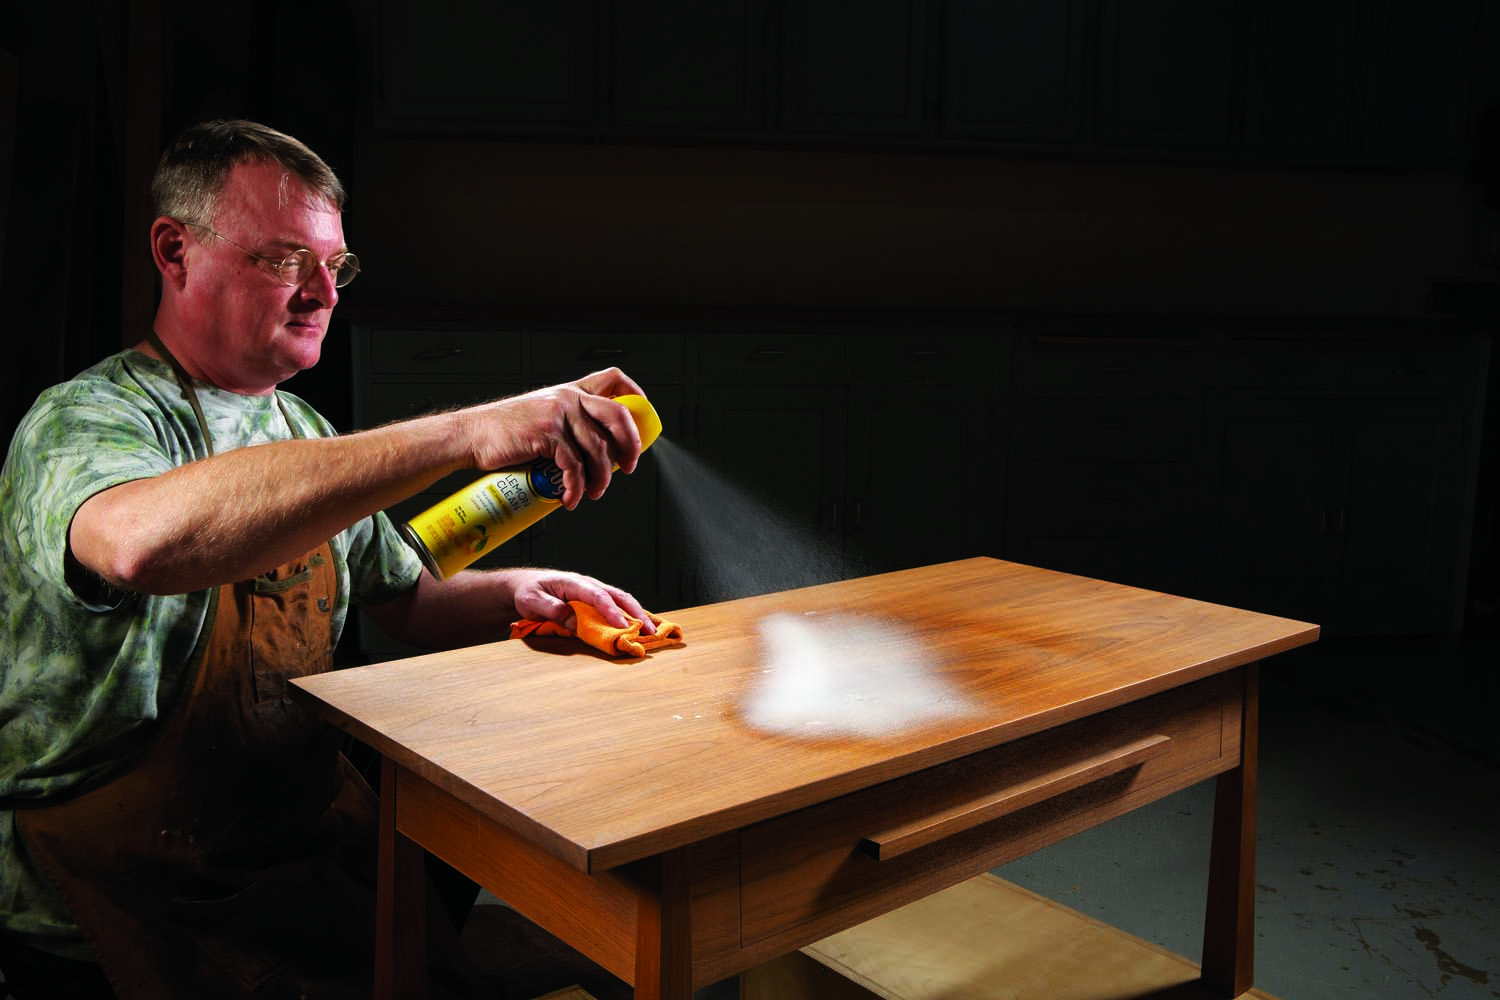
Liquid furniture polishes clean, shine and leave a pleasant scent. They also add a bit of scratch and water resistance. These benefits last until the ingredients evaporate, soak in, or are washed away.
Liquid polish
Liquid polishes are easy to use. They work well for quick dusting and cleaning—and unlike a damp rag, they add a bit of sheen to dull surfaces. They also hide minor scratches, add a small amount of scratch resistance, and usually contain fragrance to leave a pleasant aroma. These limited benefits are not permanent, so fairly frequent reapplication is needed. Liquid polishes cannot really add to the life span of a finish because they do not add much protection against the elements. But with regular use they do keep wood looking its best and smelling nice.
These products are not required to list ingredients accurately, so it’s almost impossible to know what’s in them. However, it’s easy to verify that they all contain some type of oily substance by the slick, oily feel they leave behind for a time. (Note: products intended only for cleaning do not contain oil). The most common oils used are mineral oil and silicone oil. Silicone oil is used because the polishing effect lasts longer. Some “all natural” brands contain olive oil.
Silicone oil is used in polishes because it lasts longer than other non-drying oils. The only drawback is that silicone can cause fisheyes or craters to form if you apply a new finish.
Oil is the ingredient that adds a little shine and helps a bit with scratch resistance by making things a little slippery. Liquid polishes that look clear are mostly oil. Lemon oil and orange oil are usually mineral oil with a little lemon or orange fragrance, and maybe a little solvent for cleaning.
Several of the brands I tested looked milky. This probably indicates that they are emulsions of oil, water, and maybe other solvents. These mixtures are popular because they do both cleaning and polishing in one step. Some polishes combine non-drying oil with wax. This forms a goo that behaves like a thick liquid polish because the wax can’t dry to a hard film. Such formulations tend to leave surfaces slightly greasy and susceptible to fingermarks.
Color is sometimes added to polishes to make a scratch cover on dark woods. This often works well, but these products should be used with caution because they can darken scratches more than desired and the coloring effect may be permanent.
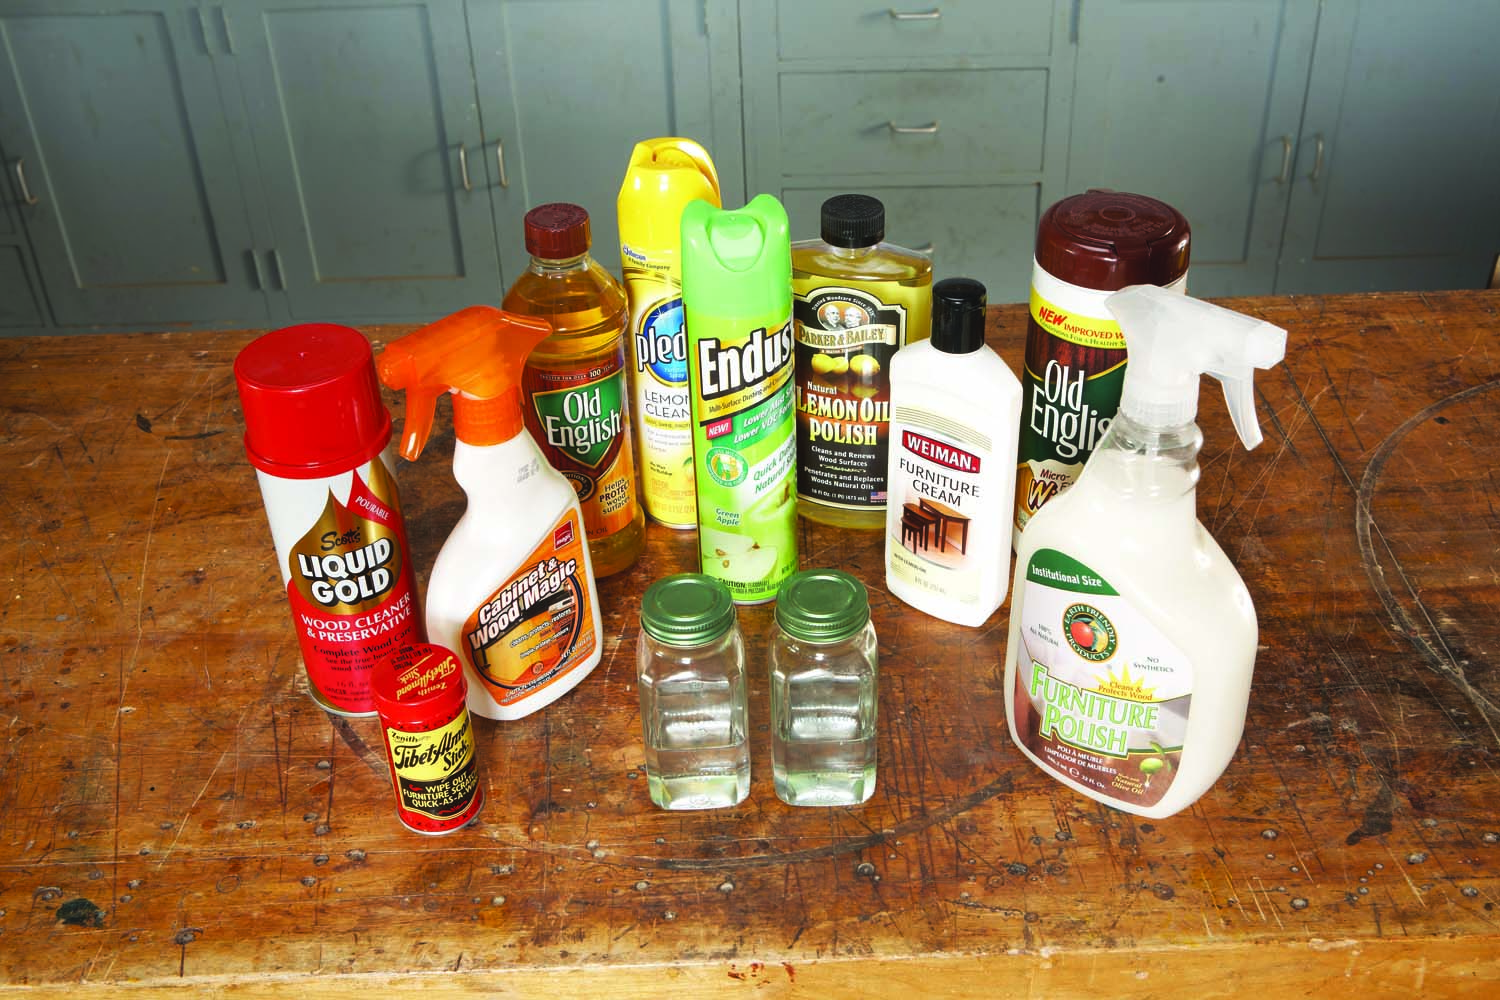
Many brands boast more about things that are not in their product, like such as silicone, wax or abrasives.
The lack of information about ingredients can make it hard to choose a polish. In fact, many brands boast more about things that are not in their product, such as silicone, wax or abrasives. As a professional refinisher I recommend avoiding silicone oil because my job would be a little bit easier if no one ever used polish that contains silicone oil. Once silicone gets on a surface, it’s there to stay, and it complicates refinishing. However, while silicone contamination is annoying and often requires professional help to overcome, it doesn’t cause any permanent damage.

Paste wax is tedious to apply and buff. However, waxing adds a thin layer of durable material that adds luster and provides more protection than a liquid polish. It also lasts much longer.
Paste wax
Paste wax is appropriate to use when the goal is to not only to raise the sheen of a finish, but also to add better and longer lasting protection than liquid polish. The difference is that the wax hardens to a thin solid film after the solvents evaporate. Water beads up on waxed furniture finish as it does on a freshly waxed car. The effect lasts until the dried wax is worn away by the elements or washed off with solvents. This makes wax a good choice for rejuvenating and protecting old shellac and other antique finishes. Wax also has a nice “feel” on objects that will be handled or touched.
Paste wax is more tedious to use than liquid polish. You have to apply it, allow the right amount of time for it to set up, and then buff it. Over time, however, a waxed finish requires less maintenance: Only occasional reapplication will be necessary. Do not use a liquid polish to dust a waxed surface. Polishes typically contain ingredients that will soften or remove wax.
Paste waxes are usually made from beeswax, carnauba wax or paraffin wax. These solid waxes are softened by dissolving them in evaporative solvents, including mineral spirits, paint thinner, turpentine, citrus, and others. This formulation makes it possible to apply a thin protective film of wax that hardens and remains after the solvents evaporate. Beeswax and paraffin are a little softer and easier to buff than harder carnauba, so a blend is often used to get the best mix of working properties and protection. Because solvents dry at different rates, manufacturers select them to control the working time and set-up time prior to buffing. Some brands say on the label what kind of wax and solvents are in them. I prefer a softer wax with plenty of working time because it makes buffing easier.
Colored polishes and waxes can help to hide light-colored scratches in dark wood. However, their use requires caution, because they can permanently make scratches too dark.
Dark colored waxes are commonly available. They’re useful because, like colored polishes, they can work well to hide light scratches on dark finishes. It is important to choose the color carefully to avoid darkening scratches more than desired.
Sidebar: Clean a Dirty Finish
 Well-used and antique finishes often look much better after a thorough cleaning. Whether an heirloom rocking chair or kitchen cabinet doors, the two-step cleaning approach shown here works best, because two different cleaners are used to dissolve and remove two different categories of crud. Both of these cleaning steps are safe for any type of finish unless it is seriously decayed or fragile. If the item is valuable and has a delicate finish or lifting veneer, any treatment should probably be done by a qualified professional.
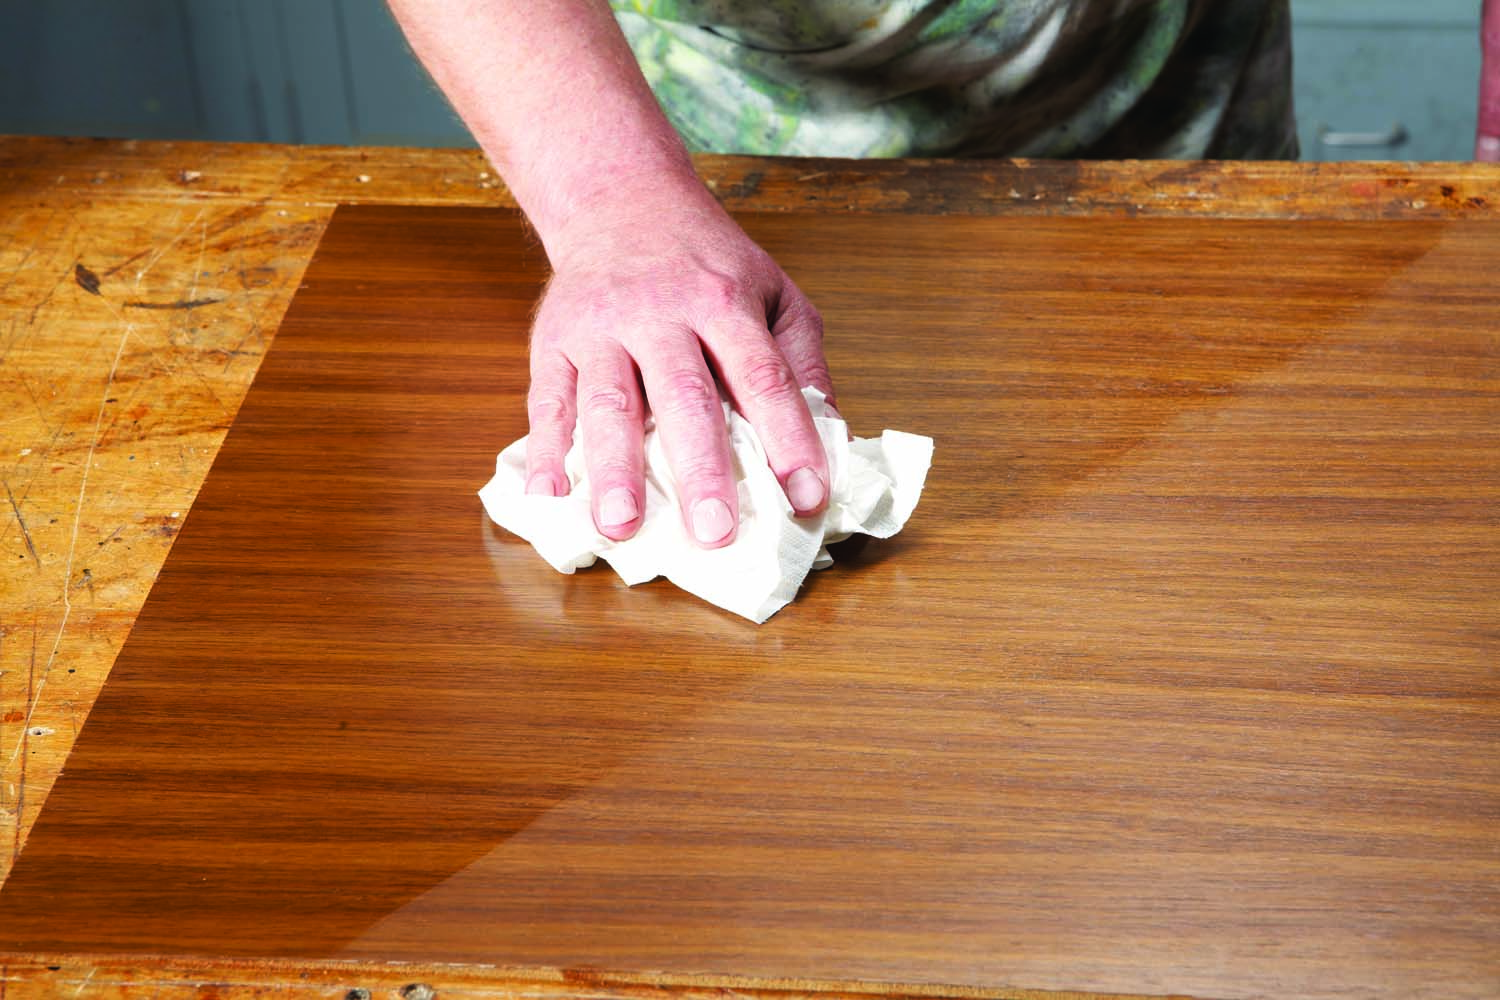
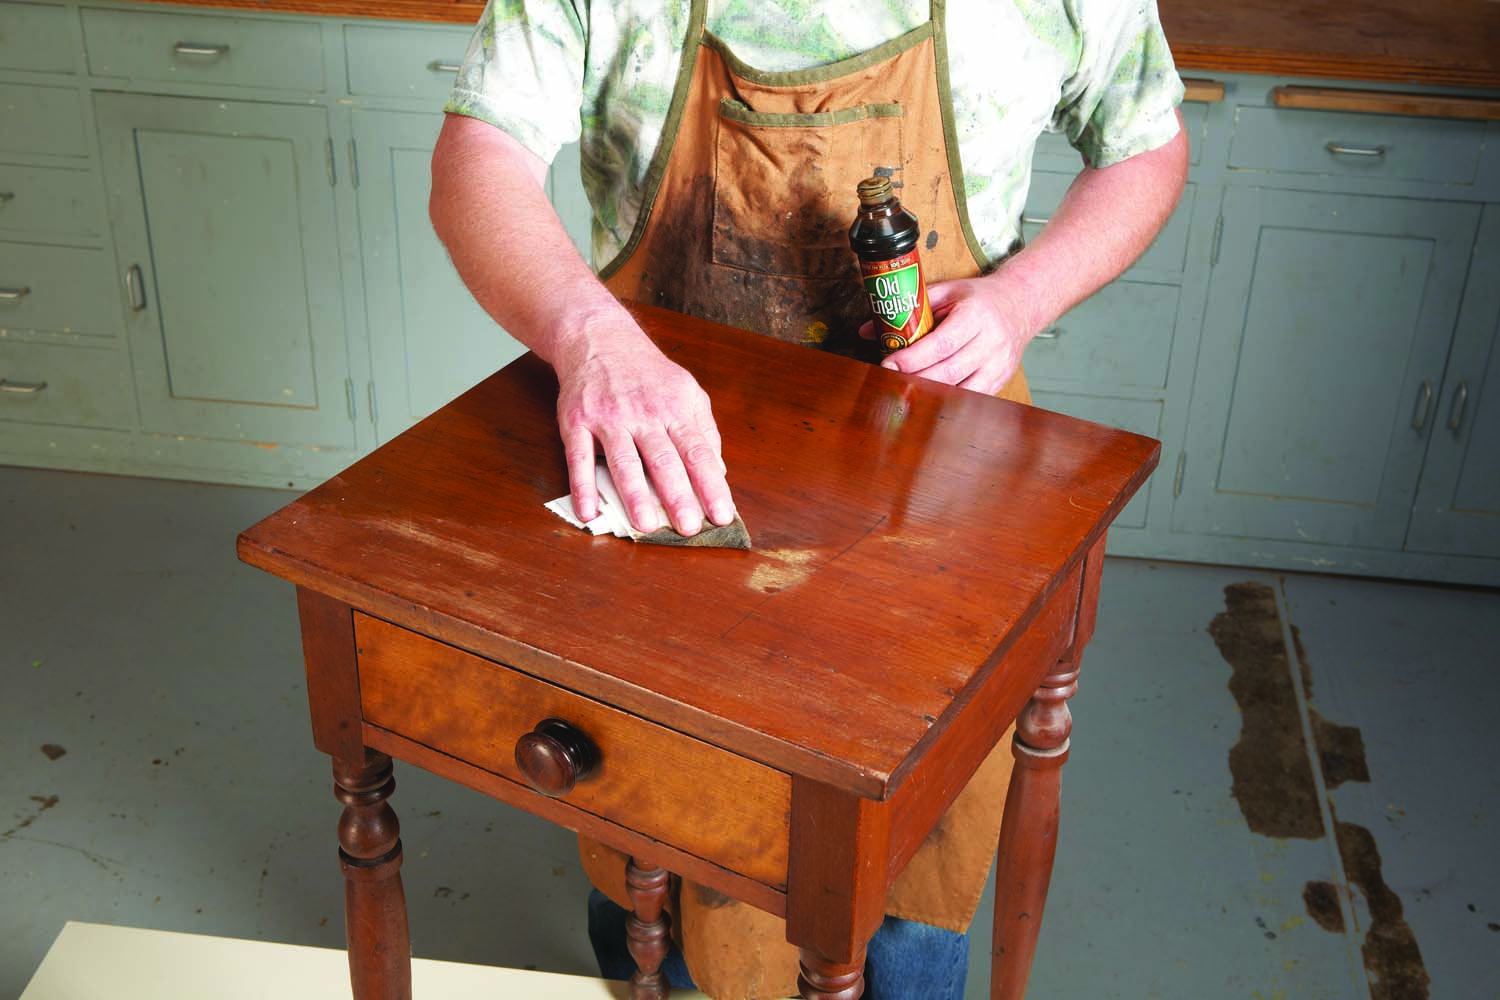
Step 1: Wipe on mineral spirits or paint thinner to readily dissolve and remove old waxes, polish, and oily residue (top photo). Don’t substitute lacquer thinner for paint thinner—lacquer thinner can ruin many types of finish. Allow the mineral spirits to evaporate. Then wipe off the residue and repeat, as necessary. Use light colored rags to monitor your progress (middle photo). When the rag stays clean, you’re done with this step.
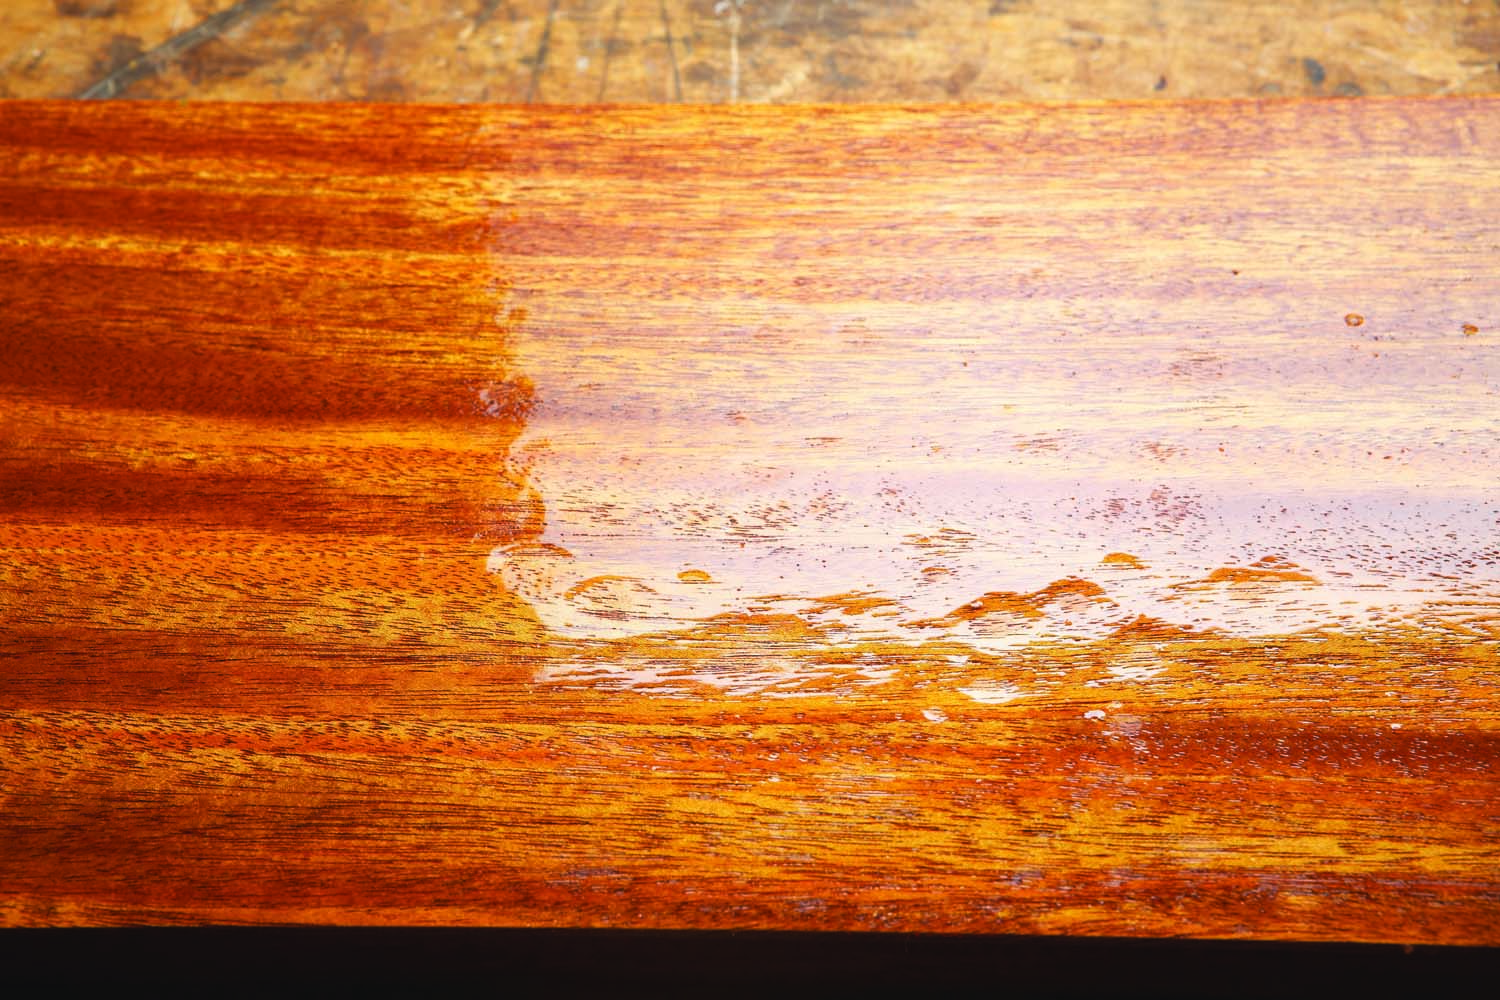
 Step 2: Use a mixture of mild dish soap and water to effectively remove normal dirt and grime (bottom photo). Add just enough soap to produce some suds. If you use too much, you’ll have to do more rinsing. Gently wash the surface with a cotton rag or soft bristle brush—a brush is good for getting into crevices. Use a damp rag to completely rinse off the suds. Then dry the surface with a clean dry rag.
 Many woodworkers are reluctant to use water on wood for any reason, even for a short amount of time. It’s true that soaking a piece for an extended time in a hot bath would definitely cause all kinds of problems, including damaging the finish, loosening joints and lifting veneer. It might help to know that museum conservators use soap and water to clean precious wood objects. They use sodium laurel sulfate, a special gentle soap that is similar to no-tears unscented baby shampoo.
Here are some supplies and tools we find essential in our everyday work around the shop. We may receive a commission from sales referred by our links; however, we have carefully selected these products for their usefulness and quality.