We may receive a commission when you use our affiliate links. However, this does not impact our recommendations.

Rules for sanding. Begin with a grit of sandpaper that removes the problems efficiently, then work up through the grits until you get the scratches fine enough so they don’t show when a stain or finish is applied. Finish up sanding by hand with the grain.
Why are you working harder than you need to?
Sanding is boring. It’s boring to watch, it’s boring to do, and I find it boring to write about. But myths are fun to write about, and there are some big ones suggesting that sanding to a very fine-grit sandpaper produces better finish results.
So here goes on sanding.
Basic Rules for Sanding
Unless you are solely planing or scraping, sanding is necessary to remove flaws in the wood and mill marks left by machining. The basic procedures for sanding are pretty straightforward and logical.
Whether you’re using a handheld sander, stationary machine or sanding by hand, you should begin with a grit of sandpaper that cuts through the flaws efficiently without creating unnecessarily large scratches that will then have to be sanded out. Because mill marks and other flaws can vary greatly in depth, the grit sandpaper you begin with will also vary. But in most cases with newly machined wood, grits between # 80 and #120 are usually best.
Once you’ve removed the machine marks and other flaws, you need to sand up through the grits to #150 or #180, with your final grit going with the grain to line up the sanding scratches. The goal is to sand fine enough so the scratches don’t show when you apply stain or finish.
The Myths
So what’s the problem? Sanding isn’t all that complicated. The problem is that instructions to sand to very fine grits – #400, #600 or even finer – are commonplace. For years I’ve run tests whenever I’ve come across these instructions, but I’ve never been able to confirm any desirable difference.
The tests I do are to take solid or veneered panels of various wood species and sand the entire surface to the lower grit, usually #150, then half the panel to the finest grit. Then I apply the stain, finish or whatever I’m testing over the entire surface.
Here are the common claims I’ve tested and found to be false:
Sanding to a very fine grit reduces blotching.
Blotching doesn’t have anything to do with how fine you sand the wood. The cause is uneven densities and resinous areas in the wood, which allow the stain to color darker in some parts than in others.
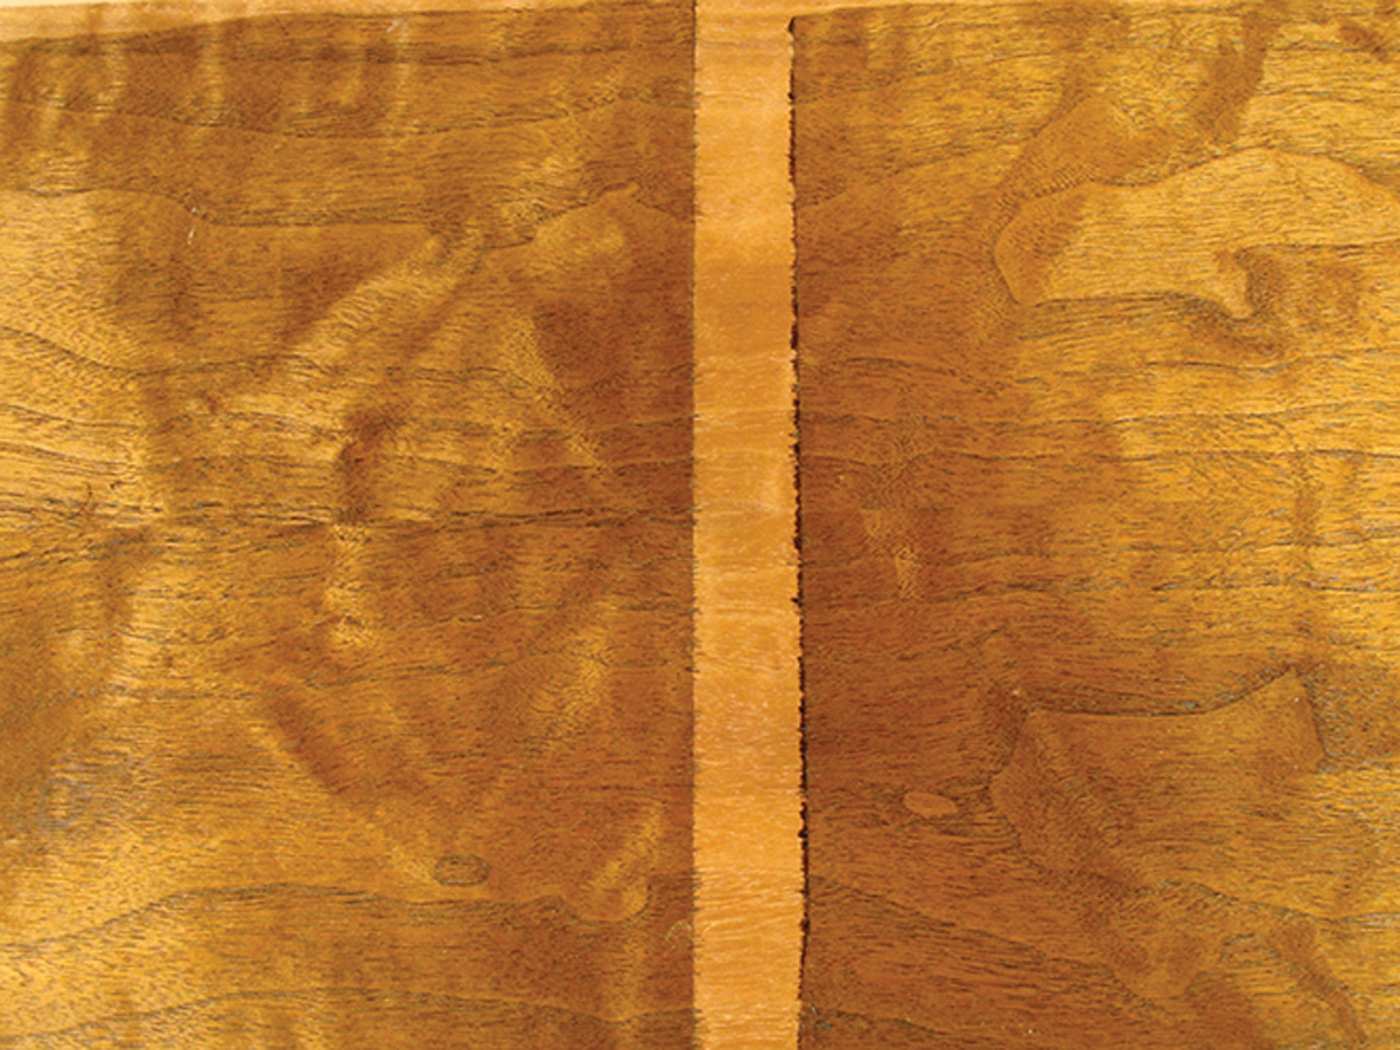
Blotching. Sanding to a very fine grit does not reduce blotching. I sanded the left side of this cherry panel to #400 grit and the right side to just #150 grit. The picture was difficult to take because of chatoyance, the reversal of the darker blotchy areas when you change your viewing angle. But the angle I used here shows an equivalent darkness on both sides.
Sanding to a fine grit creates very shallow scratches so less pigment lodges, and this may make the wood appear lighter in color if you wipe off all the excess stain. But it doesn’t keep the stain from penetrating into the less dense parts of the wood. The fine-sanded wood still blotches just as much as the coarse-sanded wood.

Lighter coloring. Sanding to a finer grit can have an effect on how dark a pigment stain colors the wood because more pigment will lodge in larger scratches and less in smaller scratches. I sanded the left side to #400 grit and the right side to just #150 grit, then applied the stain.
To reduce blotching, use a gel stain if you’re working on pine, or apply a washcoat (highly thinned coat of finish or glue) on blotch-prone hardwoods. Do this often enough and you’ll to learn by experience just how much washcoat to apply to get the results you want.
Sanding to a very fine grit makes the end result (with the finish applied) look richer and deeper and feel smoother.
Sanding to a very fine grit has no impact on the look or feel if you apply at least two coats of a film-building finish such as lacquer, shellac, varnish or water-based finish and sand smooth after the first – the standard procedure.
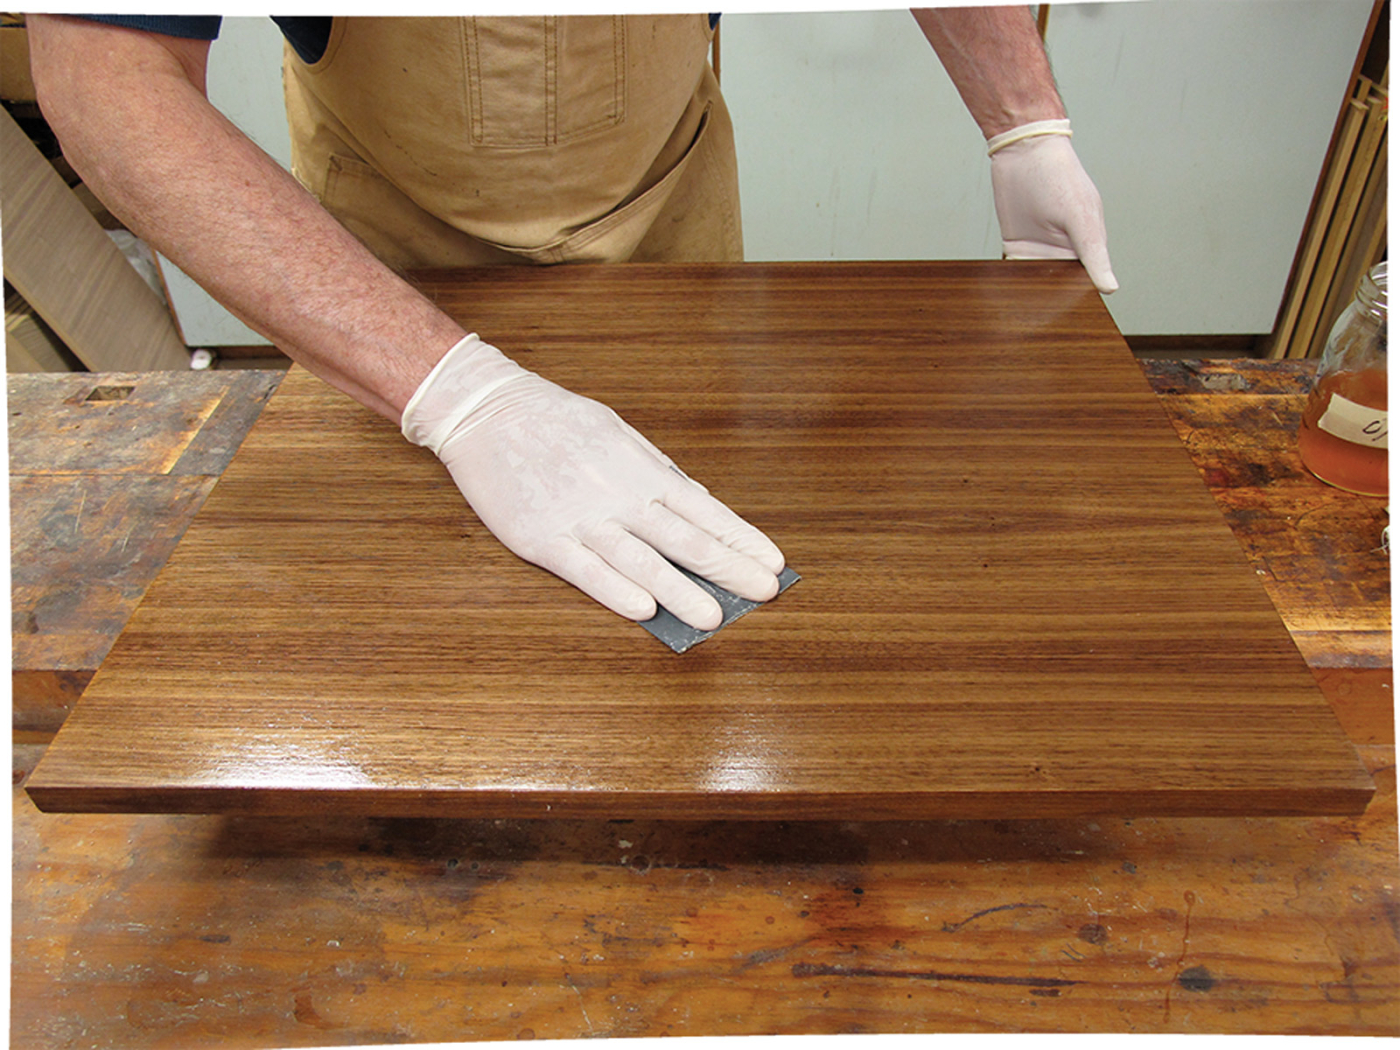
Wet sanding. My preferred method of applying an oil finish is to sand the second and any subsequent coats with #600-grit sandpaper while the oil or oil/varnish blend is still wet. Then I wipe off the excess. This produces smooth-feeling results just as if I had sanded up through the grits to #600 before applying the finish.
Sanding to a very fine grit does make the surface feel smoother if you apply an oil finish, which has no build. With no build, the texture you end up with is very close to the texture you created sanding.
But sanding through many grits is a lot of work, and you can achieve the same smooth feel much easier by simply sanding between coats with #400- or #600-grit sandpaper, or wet sand the second and subsequent coats with #400- or #600-grit sandpaper before wiping off the excess.
Sanding to a very fine grit burnishes or closes the pores of the wood so the finish doesn’t penetrate and color as much (the opposite of the myth above).
The word “burnish” is often used incorrectly when describing sanding with very fine-grit sandpaper. “Burnish” means to press with a hard, smooth object like metal or stone to compact, or compress, or polish a material. For example, to sharpen a soft-metal card scraper, you burnish the flat side using a hard-metal “burnishing” tool before rolling the edge with the same tool.
Compression is not what’s happening when you rub wood with sandpaper, no matter how fine the grit. Sandpaper cuts and makes sanding dust; it doesn’t compress. Very fine-grit sandpaper cuts finer and leaves a more polished-looking surface, but this is still not burnishing.
As for closing the pores, you can’t do this with sandpaper. You are always cutting, no matter how fine the grit you use. And cutting with a finer grit doesn’t impede the penetration of a liquid finish (though a stain may color less because the shallower scratches retain less pigment).
Sanding to a very fine grit reduces grain raising from water-based stains and finishes.
This is not the same as wetting a sanded surface, letting it dry, then sanding again to remove most of the swelling. This claim, made by a number of suppliers, suggests a straightforward procedure of sanding to #320 or #400 grit, then applying the stain or finish. It involves a considerable amount of extra work.
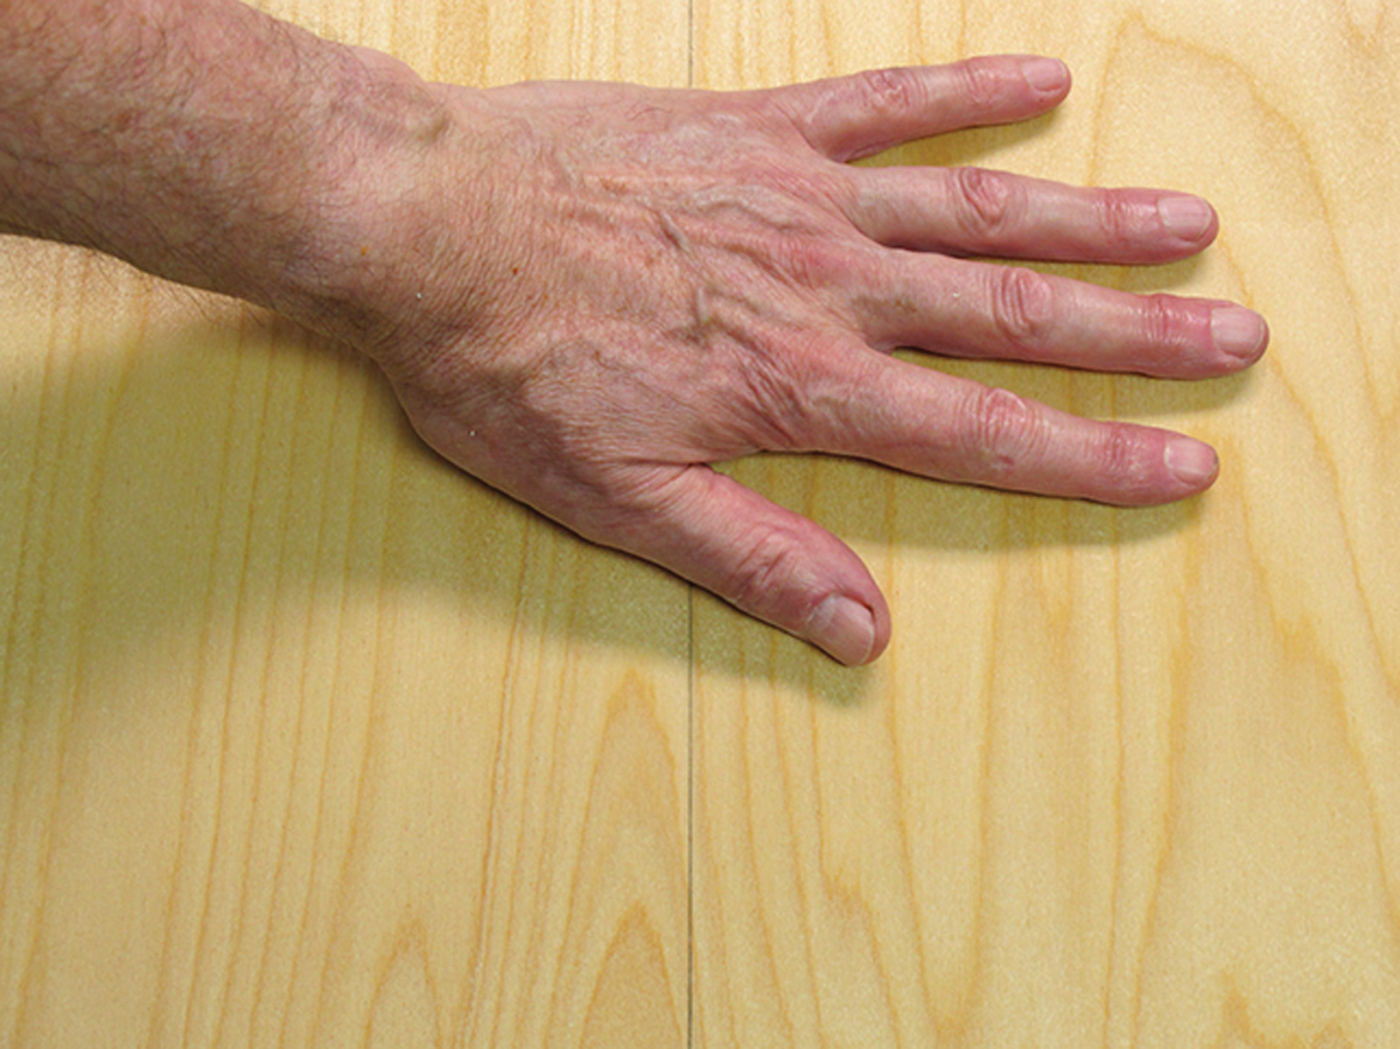
Grain raising. I sanded the left side of this panel to #400 grit and the right side to just #150. Then I applied a coat of water-based finish. I can’t feel any difference in the roughness, which is the grain raising caused by the water, despite some manufacturers’ claims that I should be able to.
Sanding to a very fine grit reduces the roughness of the surface so it feels smoother and looks shinier before anything is applied to it. But the roughness caused by water or a water-based stain or finish is the result of the swelling of the cellulose fibers, and they’re still there no matter how fine you sand.
I’ve never been able to feel any difference in grain raise by sanding to a finer grit.
Conclusion
One of the biggest obstacles we have in learning finishing is getting past all the misinformation we read in magazines and books and hear from suppliers. To overcome this difficulty put the instructions to a test on scrap wood. If you can’t validate what you’re being told, chances are you’re dealing with myth. PWM
Bob Flexner is author of “Finishing with Flexner,” “Wood Finishing 101” and “Understanding Wood Finishing.”
Here are some supplies and tools we find essential in our everyday work around the shop. We may receive a commission from sales referred by our links; however, we have carefully selected these products for their usefulness and quality.