


We may receive a commission when you use our affiliate links. However, this does not impact our recommendations.
 I have a confession to make: I don’t do nearly as much woodworking as I should. As someone with limited time and resources, I like to do things once, the correct way, and not have to worry about it again. This philosophy can cause some trouble when it comes to woodworking projects though. Unless I know exactly what I need and where I want to put it, I tend to hold off building things.
The kid’s playroom is a perfect example. When I bought my house, I needed somewhere to put all of the art supplies and games, so I picked up a large Ikea armoire from a friend that was moving and stuck it in the space. In some ways, it was perfect: it had drawers with built-in organizers, shelves for games, and I could close the doors to hide the chaos. However, it was nearly 8 feet tall, meaning that it dominated the corner of the room it was placed in, and the top half was entirely unusable for the kids to access. After using it for a year or so, I decided it was time to make some built-ins that would be more functional and fit the space better.
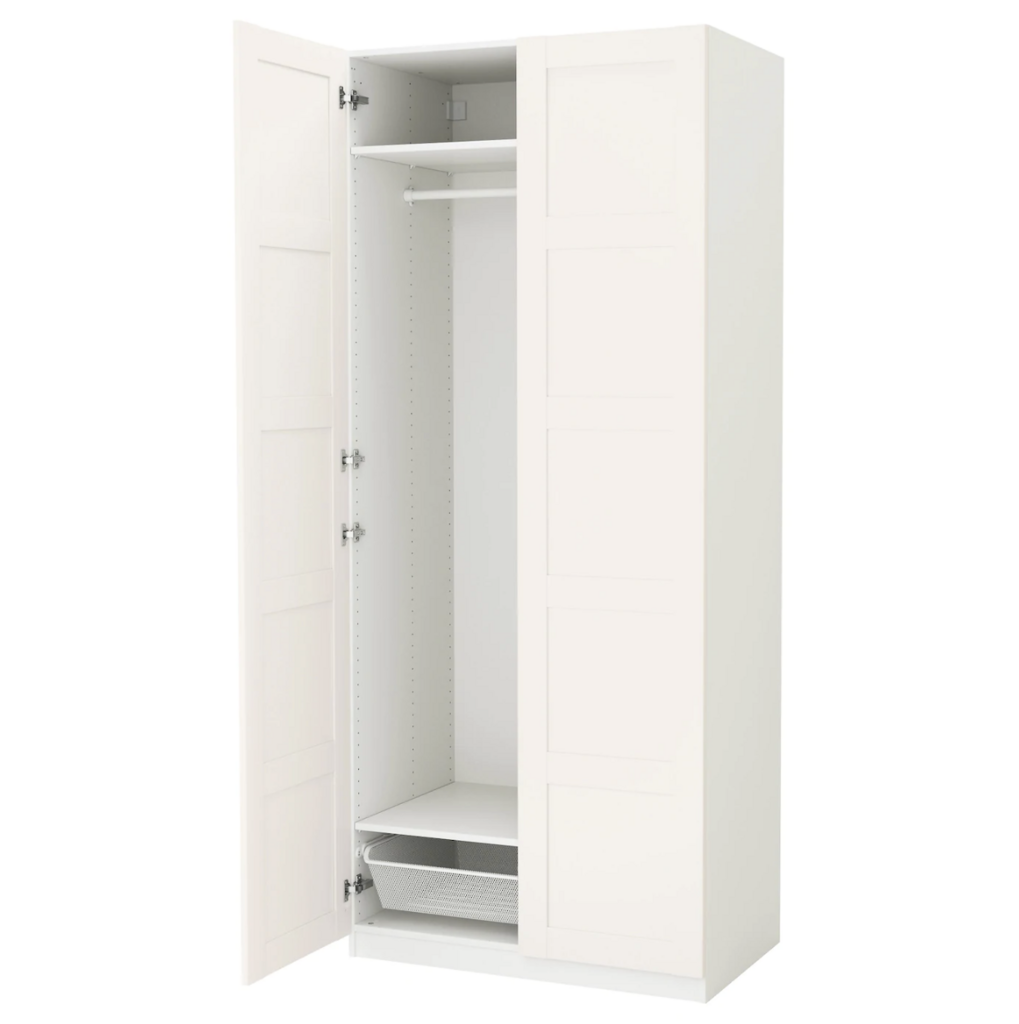
This is basically what I started with, but it didn’t look this nice.
As I started designing in my head, I realized that I didn’t want to put built-ins over the dilapidated paneling, so I would probably want to install drywall instead. And then I thought about the additional lighting I wanted to add, the condition of the floor, and before I realized it I had mentally gutted the room to the studs just to install some built-in cabinets. So the idea was set aside, and the armoire continued to tower over the room. Every time I went back to the drawing board with the idea, I found myself in a similar predicament: it would cost too much time to do it right, and it was too expensive to do a temporary job. Then one day I realized I had been looking at the solution the entire time: the armoire itself.
In the armoire, I had everything I needed- plenty of wood, shelves, drawers, and organizational dividers. I simply had to break it down and rebuild it into two smaller cabinets. I took out the tape measure, and much to my dismay realized that none of the dimensions matched a standard cabinet; it was too wide and too shallow. At this point that philosophy of perfection crept back into my head. Might as well wait and just build it correctly.
But no, not today self! Today I was going to do some woodworking, and it didn’t matter if it wasn’t permanent. I took stock of what I had, to see what I could do with a minimum investment. The first thing that I decided to do was keep the same basic dimensions, so I could reuse the shelves, drawers, and useful dividers. I chose the standard 36″ countertop height for its ubiquity and for the fact that it was tall enough to fit everything I wanted underneath. After considering a few different types of tops, I settled on a laminate counter since it was inexpensive and would give me the durability I wanted for the inevitable craft mishaps that would occur. At first I considered ripping the counters to a more narrow depth, but then realized it made more sense to keep them full depth and simply trim in the cabinets with a bit of hidden dead space at the back. The extra counter space would be nice, and I could reuse the countertops on a different project in the future if desired.
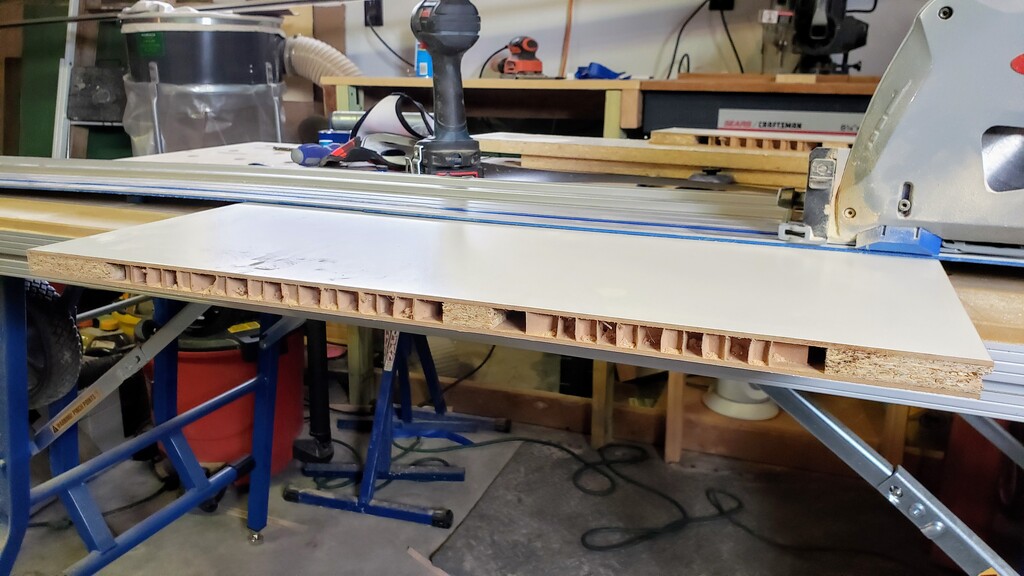
It might be more cardboard than wood, but the carcass was exactly what I needed for this project.
Then it was time for action. I took a hammer and a screwdriver and disassembled the armoire, and dragged the carcass out to the garage. The track saw made for quick work, and scrap lumber and a handful of pocket screws completed the assembly. I brought the completed cabinets back to the playroom for test fitting and ran into one last problem- there was an outlet on one of the walls on the side of the cabinet. After some thinking, I decided to leave a small gap so a power strip can be run out. The extra space was also the perfect size for some poster board that didn’t have a home. Since I hadn’t cut the counters yet, I would simply make that one slightly longer to cover the gap from the top. I picked up a piece of white prefinished shelving to trim in the extra space for the countertop depth so it would match without having to paint. The total cost of the project was a mere $12 for twice the functionality and half of the eyesore. Plus I was able to spend a quality afternoon in the shop. When I finally get around to redoing the room I can repurpose the counters somewhere else or simply throw them out. Now before I can call the project completely done I still need to build doors for the front and pick up an inexpensive countertop. Maybe I’ll head to Ikea.
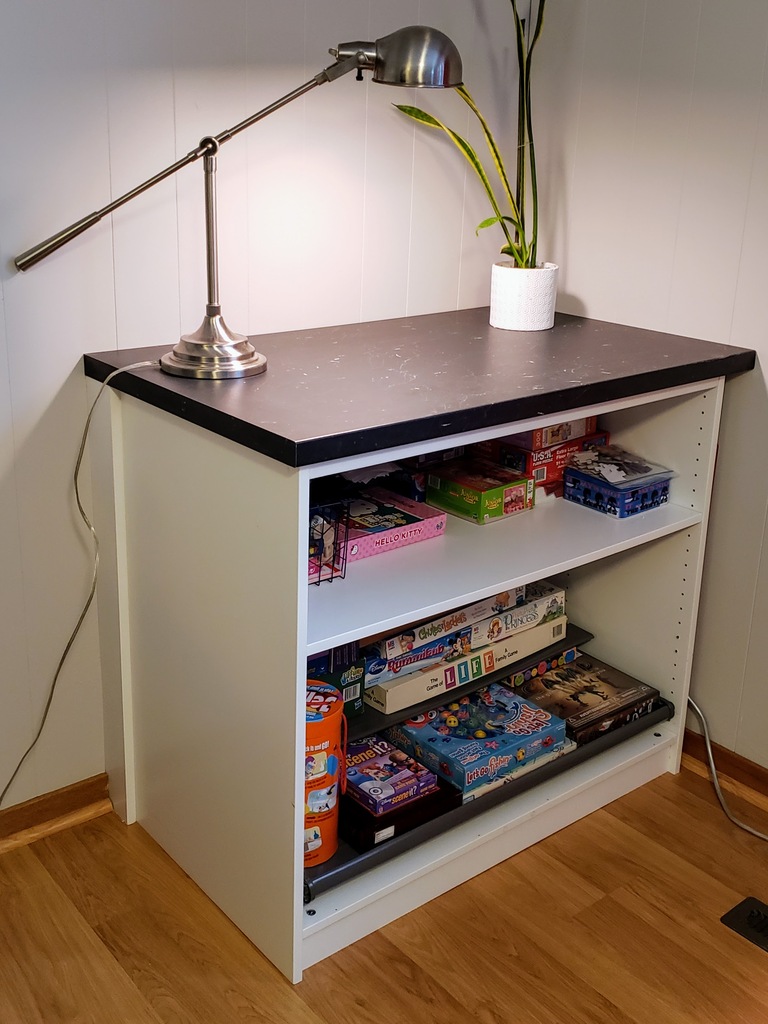
After writing this piece, I made good on my promise and bought an Ikea countertop, bring my total investment in this project to $85.
Here are some supplies and tools we find essential in our everyday work around the shop. We may receive a commission from sales referred by our links; however, we have carefully selected these products for their usefulness and quality.


Been there, done that.
The perfect is the enemy of the good.