We may receive a commission when you use our affiliate links. However, this does not impact our recommendations.
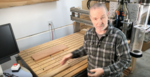
The finished table. The clients will use bar stools–all part of their vision from the start.
One of my woodworking instructors years ago liked to reassure students by saying “Anyone can build furniture, but it takes real skill to fix mistakes.” Here’s how I went about fixing mistakes on a recent commission.
A few weeks ago I wrote about using bending ply for the skin of a table support frame that follows the form of a grand piano top. After gluing the plywood to the form I sanded and painted it black to make it all but disappear, even as it provides critical support and stiffening to the solid wood top.
Before attaching the support base to the curly ambrosia maple top, I wanted to double check the size was right. Good thing I did. I’d been so wrapped up in the coolness of the job that I had completely forgotten to allow for the 1/4″ thickness of the plywood skin when cutting out the skeleton for the support base.
Ouch. I hate when that happens.
This kind of error is annoying, but I’ve seen it so many times, in so many trades, that I didn’t waste too much time kicking myself. Let me offer a few examples to keep in your pocket for the next time you do something similar:
- A graphic designer I know of was so engrossed in the beautiful lettering for a magazine cover she is working on that she wrote “India University” on the title instead of “Indiana.” The omission got through several rounds of editing but was fortunately noticed on the final proof.
- A client of mine who decided to do her own staining and finishing of parts for her kitchen cabinets (a rarity, but in this case I know her work to be professional level) was so focused on the quality of the stain job that she applied the bathroom vanity color to the doors for the kitchen sink, and vice-versa. Deep groan. A day of sanding and restaining, followed by a couple of clear topcoats, and she was able to laugh about it.
- Just on this morning’s news I heard that painters who were lettering the corporate name on the side of a Cathay Pacific jet left out the “f”–Cathay Paciic.
The only thing to do is move on to the fix.
I had two options: Completely remake the support base or take the completed base apart and salvage the top and bottom pieces that I had painstakingly shaped to the piano’s curves. I chose the latter. Here’s how I did it, in case any of the following may be of help to you in your own, um, mess ups.
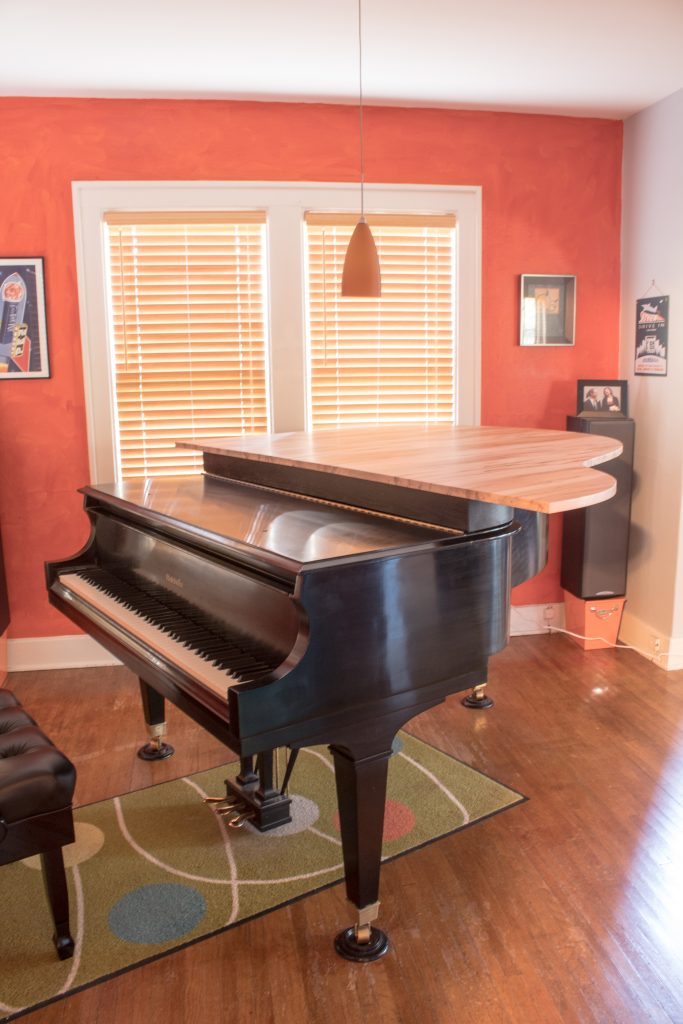
Step 1: Mark
I used a pin-style marking gauge to trace the shape from the outside of the skin to about 3/8″ in. Although the original support base was only 1/4″ too big, I wanted to give myself a margin for error.
Step 2: Separate the top and bottom frames from the oak rails
Some of you may wonder why I didn’t just cut the whole assembly down without taking it apart. That would certainly have been simplest, but I have no accurate way of cutting something 3″ high down by approximately 1/4″. My bandsaw isn’t large enough to accommodate the support base. It was crucial to keep the whole thing square to the top and bottom, so a sawzall wasn’t going to cut it (literally or figuratively–ouch). The only way I could see of getting where I needed to go was by separating the top and bottom pieces from the rest.

Using a jigsaw, I started cutting the skin off the skeleton in the areas I could access, i.e. between the notched support rails.
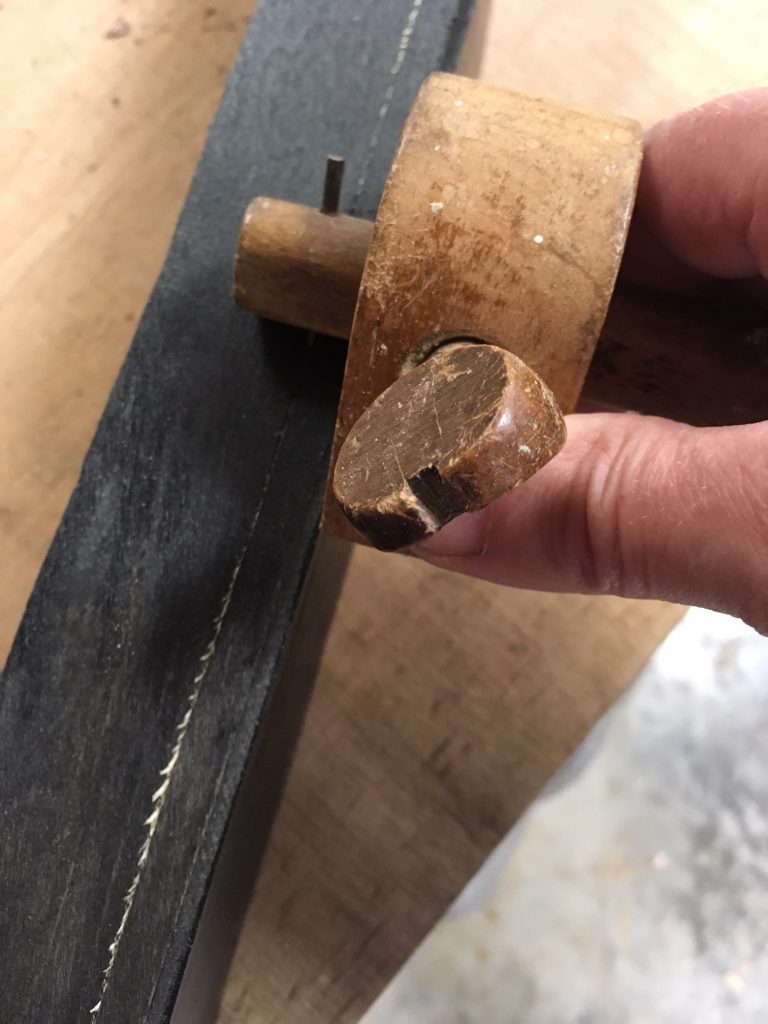
To trim 3/8″ from the ends of the flat side, I used my BadAxe D8.
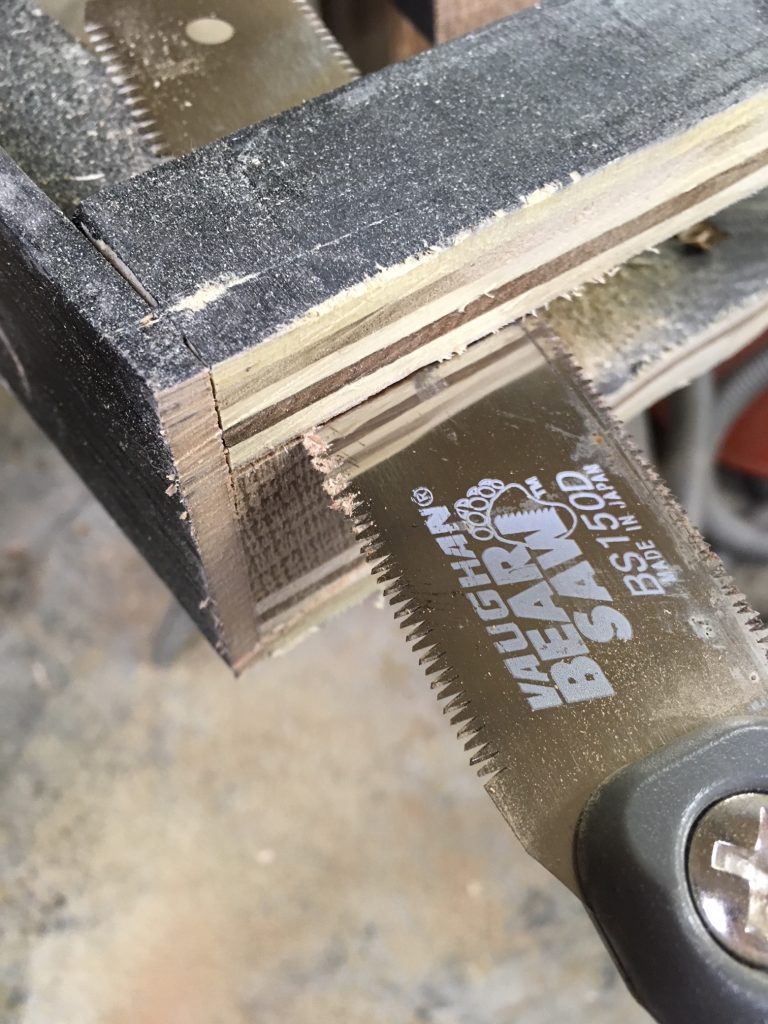
To continue the process of separating the top and bottom forms from the oak structural supports, I made the thinnest kerf I could with a hardware-store trim saw.
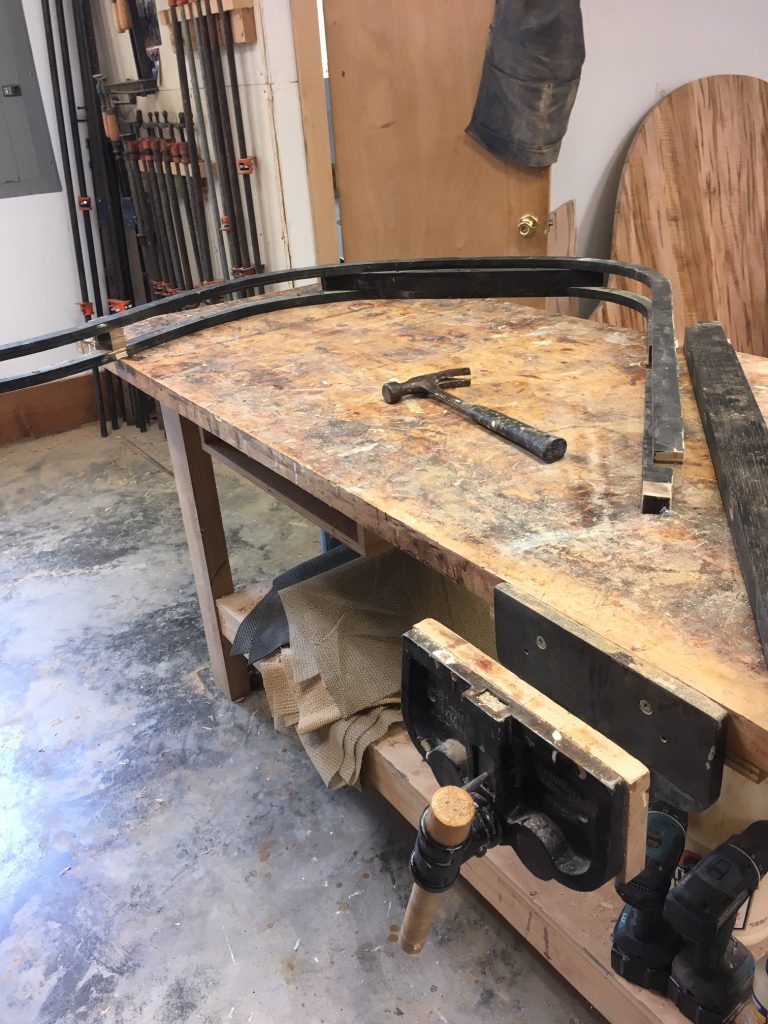
Now I had to separate the top and bottom frames from the support piece I had carefully notched them into. (Sad.) I decided the safest and most efficient way for me to do this was on the bandsaw.

Steadying the assembly with one hand, I guided it forward into the blade to rip the support rail at the nose of the piano. Next, I used the fence to rip the remaining oak, which was firmly glued to the plywood, nearly flush with each of the plywood frames. I cleaned up the thin bit of waste left with a handplane.
Step 3: Rout flush
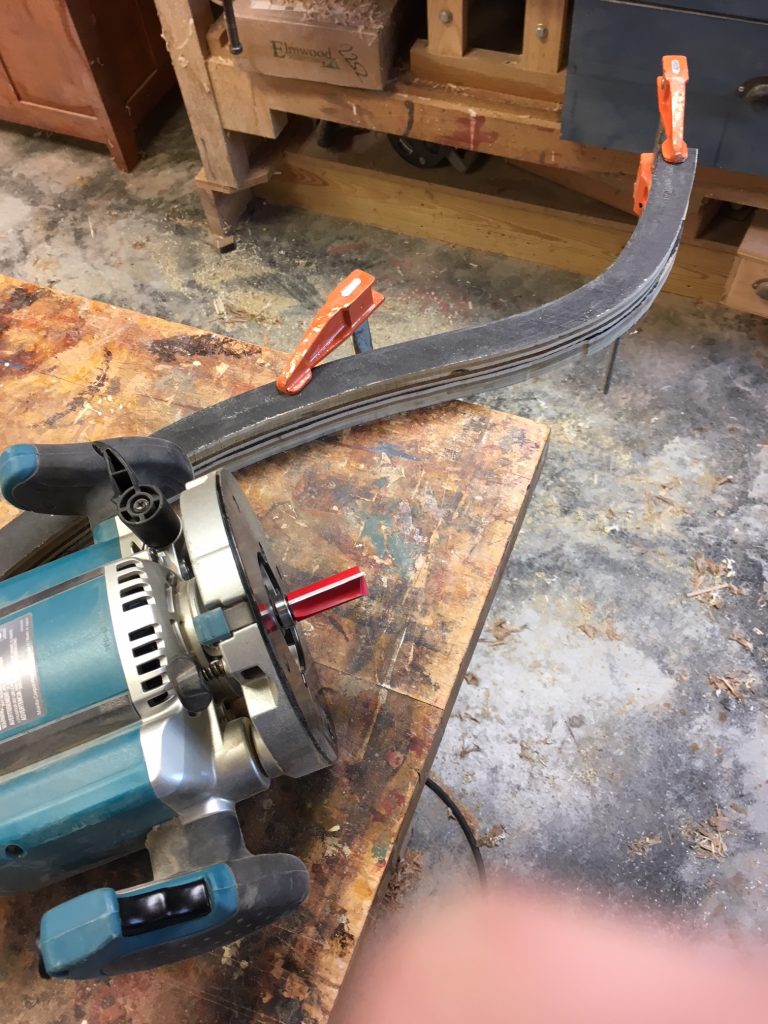
After cleaning up the shape of one frame half, I clamped it to the other and used it as a pattern with a top-mounted bearing cutter.
Step 4: Joinery
Next, I cut down the two oak rails that were salvageable and notched them around the top frame piece, as I had the first time. I had to make a new rail for the nose end of the piano.
After checking the fit, I glued the sandwich up again, let it dry, and reskinned it with new bending ply following the same process as before.
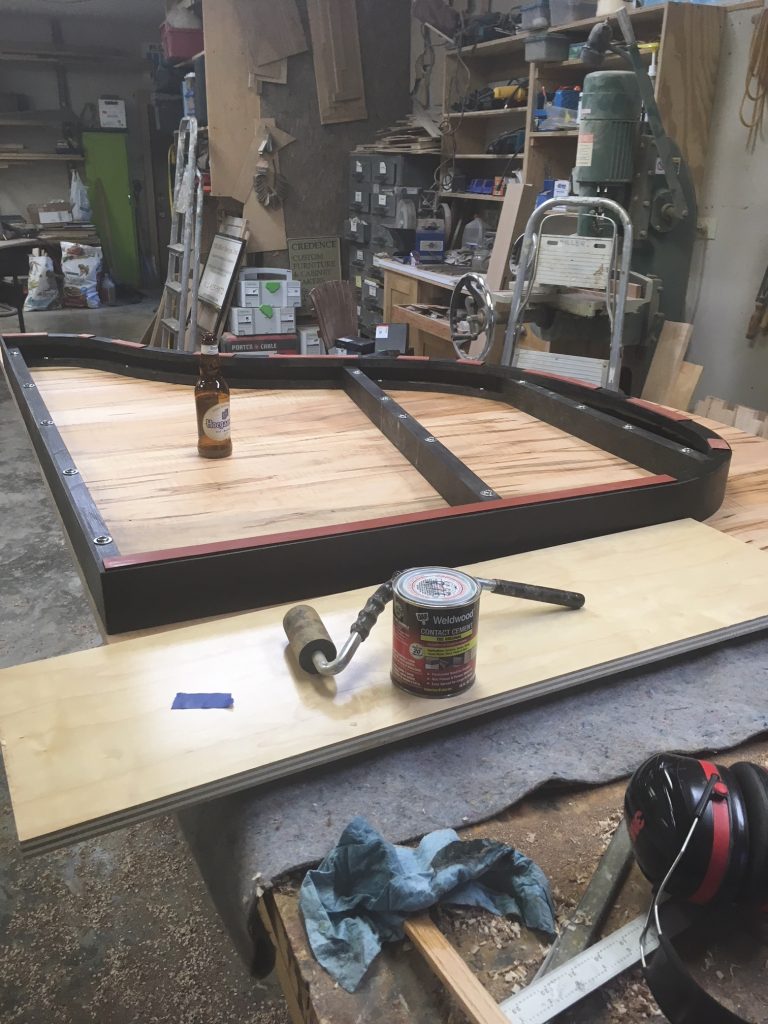
Step 5: Attach to the top
I made wide slots with a Festool Domino and attached the support base to the solid wood top with screws run through fender washers, locating the screws in the center of the slots to allow the wood to expand and contract. Finally, I added strips of industrial rubber to protect the piano lid, adhering it with contact cement. Because the 1/8″-thick edge of the rubber was going to be visible (albeit barely), I colored it black with a Sharpie.
Completing this thing called for a celebratory beverage.
Postscript
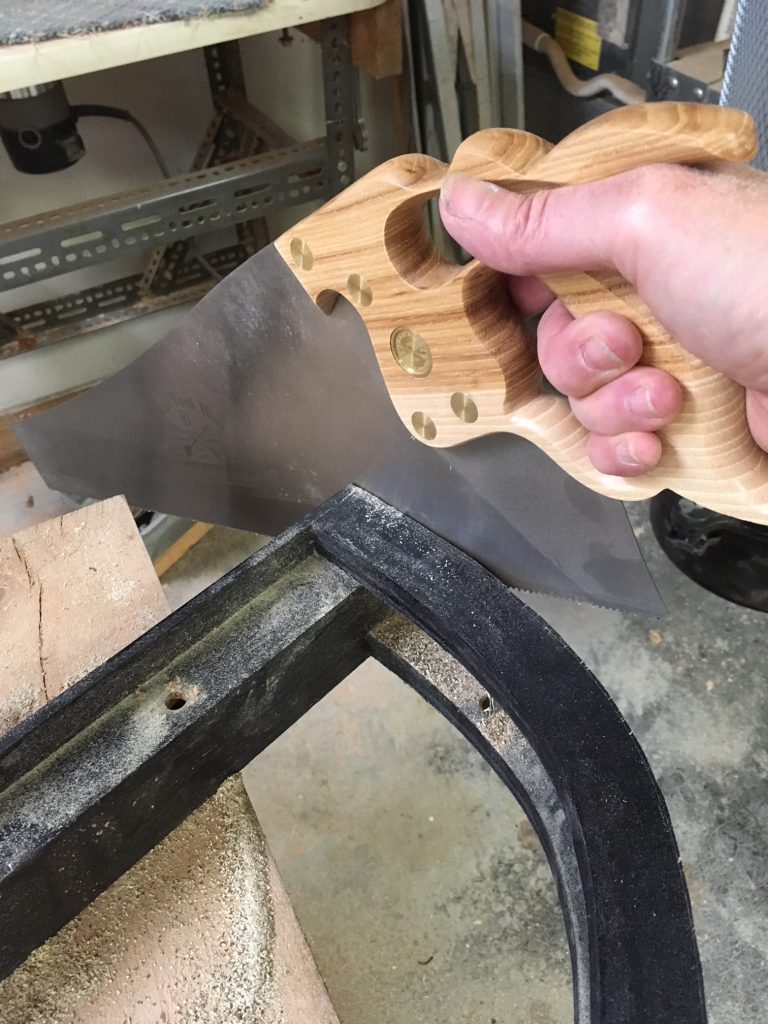
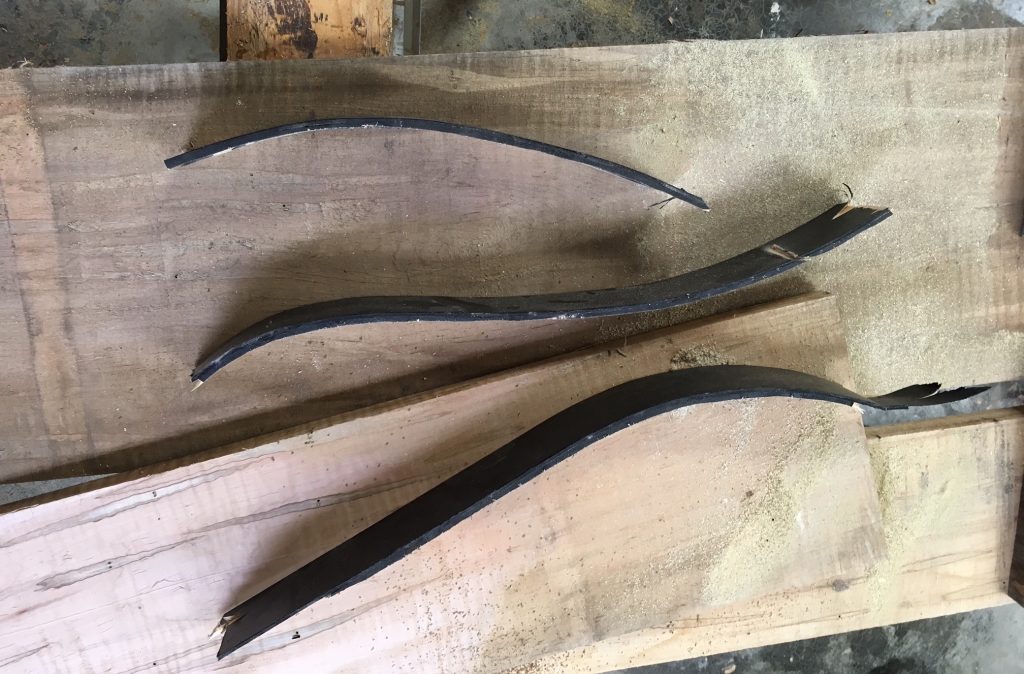
The bending plywood retained its shape even after being cut from the framework.
Here are some supplies and tools we find essential in our everyday work around the shop. We may receive a commission from sales referred by our links; however, we have carefully selected these products for their usefulness and quality.