


We may receive a commission when you use our affiliate links. However, this does not impact our recommendations.
The first version of my hewing stump.
A year ago I built a glorified stump to hew spoon blanks. I spent weeks thinking about my needs, how to make the work safer and the construction robust. It needed to be high enough to so I wasn’t constantly bent over and stable. Speed of build was also important because it was just a shop appliance. That bench performed perfectly and met all my goals.
I have never hated a finished product more. Every time I looked at that ugly thing, I thought about what I could have done with a little more effort. Disgust became an excuse to not make spoons. One day when I was in an especially foul mood, I pulled out my chainsaw, made sure an old dull blade was on so it’d be especially painful and proceeded to butcher that bench. Like a big game hunter, I threw the bones away and kept the top as a trophy.
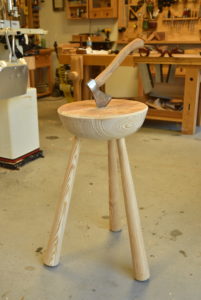 A few months later I realized I still wanted to make spoons. So put the top of the stool on the lathe and off came a partial sphere for stump 2.0. Real carvers in the spoon craft often stake three legs into their stumps – so that became my design path.
With a 6” thick glulam top, I didn’t need to worry about figuring out how to match tapers between the mortise and leg tenon. It might not be traditional but my thought was a long straight mortise and tenon would provide both lateral and vertical stability.
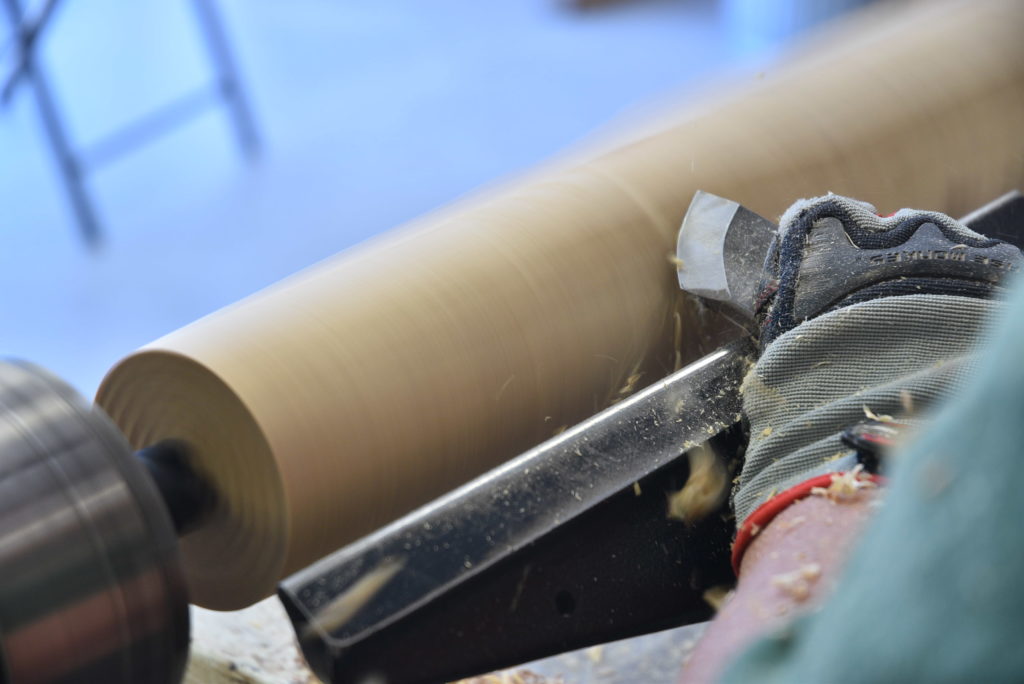
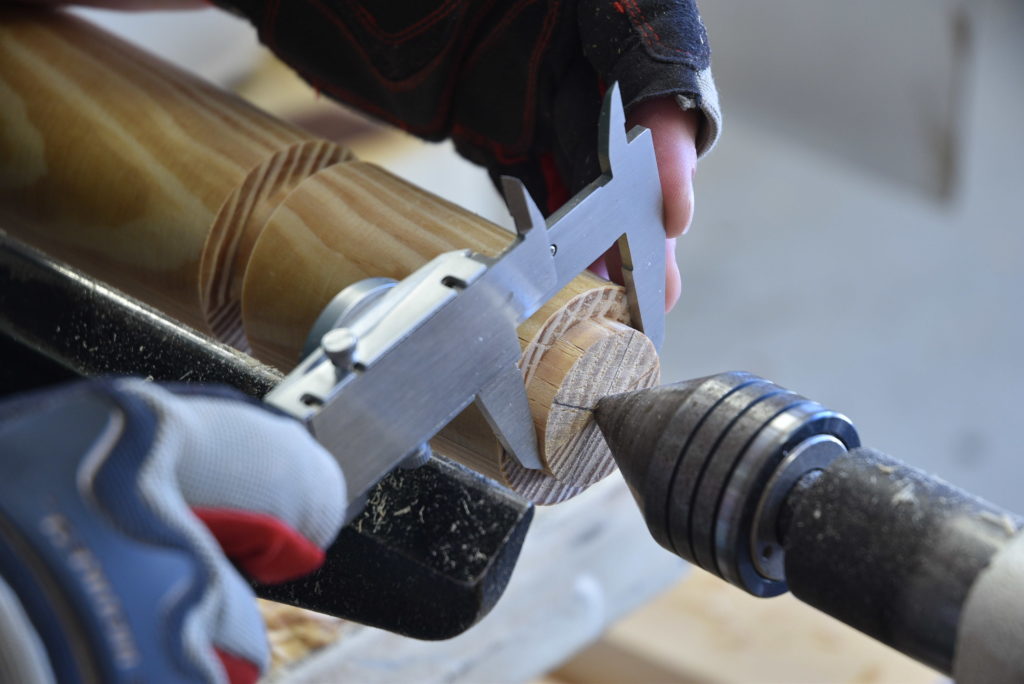
Pine is not the strongest material but with enough thickness it’ll work so for legs so I glued up 2x4s into turning blanks. My largest Forstner bit is 1-½” so that became the target tenon size. By using a parting tool and caliper at several places, then blending, it’s easy to make straight tenons. Because I wanted a thick foot that wouldn’t sink into soft ground I tapered the rest of the leg to blend into that 4” long tenon.
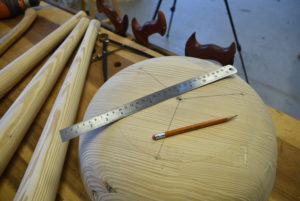
There are lots of special techniques to lay out mortise locations on stools. I don’t know them. My technique used a caliper to scratch a circle about 2/3 the diameter of the top. Grain will close a caliper when scratching “uphill” so you have to go from side grain to end grain in four steps to keep the caliper open and create a clean scratch. To evenly space the mortises my technique was brute force trial and error. Step off three points using the caliper and keep adjusting until it works.
 (I’ve since learned from a geometry smarty-pants that a circle is one-sixth the radius so you could walk off six steps after you scratch the circle and ignore every other one. But this denies you the caveman satisfaction of blundering into the solution.)
There are also special techniques for creating leg angles. I don’t know them. My technique involved turning the top upside down, drawing a line from the center spur hole to the mortise mark and eyeballing the leg angle to touch the ground just outside the diameter of the top. An angle gauge copied that degree for repeatability.
 Using the seam in the clam-shell case of a corded drill I lined up the center line to make sure the mortise radiated out evenly. Then, utilizing the angle gauge to align the bit, I drilled the mortise. A sharp bit will cut fast so you need to check your angle often because a Forstner bit will wander. I drilled down 3” to make sure the 4” tenon would bottom.
Put a little glue in each mortise and pound home the leg is all the assembly instruction there is. You might need to wipe off glue from your glasses if you use too much because there is no place for it to pool when the last mallet strike seats the leg.
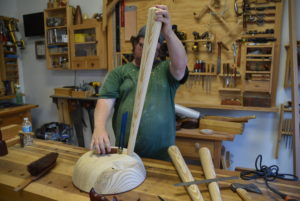 The new carving bench meets all my original goals and its design was simpler and easier to assemble. But it’s actually less functional that the original turd as the top has half as much area. I also realize it’s a version of what’s been made for centuries. Call me shallow but now that it looks good it is good. Now it’s a keeper. There’s something to the elegance of simple design. William Morris was right.
Here are some supplies and tools we find essential in our everyday work around the shop. We may receive a commission from sales referred by our links; however, we have carefully selected these products for their usefulness and quality.


