


We may receive a commission when you use our affiliate links. However, this does not impact our recommendations.
When tool chests suffer damage, it’s usually in three places: the top rim of the lid, the lower skirt around the carcase and the bottom boards, which are rotted.
The rim of the lid gets dented by falling objects, such as clamps, heavy boards and other things in the truck when you move the chest. The lower skirt gets rammed by other shop stuff, including rolling machinery, work boots, rough boards and who knows what else.
The bottom gets rotted by moist negligence.
Shops can be wet places, historically. Even a simple spill in the shop can start the process – many woods absorb and hold water, just like when they were a tree. And if your chest sits on concrete, water can migrate from the concrete to the wood. I’ve seen this happen.
Even if the bottom doesn’t rot out, if the bottom boards are wet, then you have created a terrarium for rust. That’s why many chests are protected by what I call “rot strips,” which are disposable bits of lumber affixed to the underside of the chest. (Casters can serve the same function.)
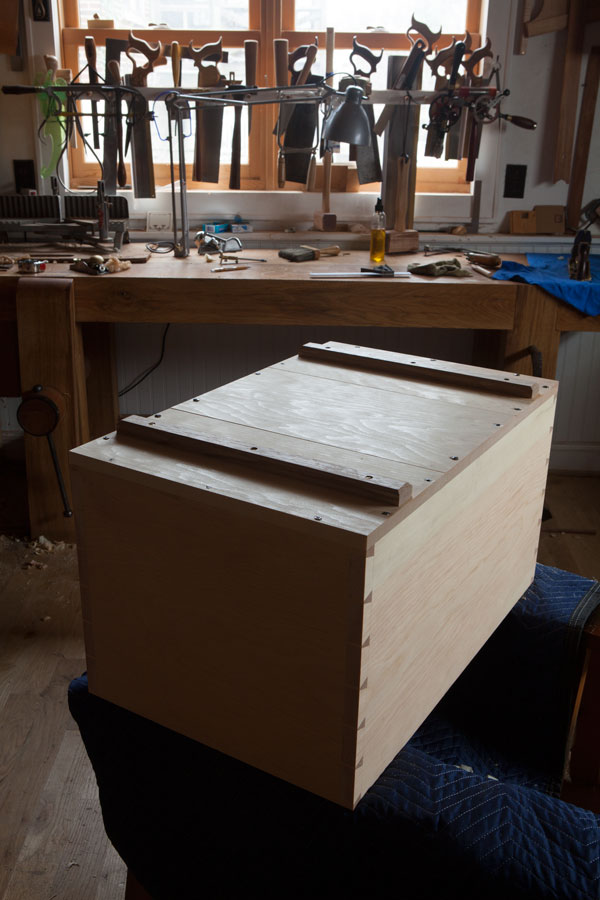
The tool chests I’ve built for myself and customers might not see moisture in their lifetime, but they should be built for a 200-year journey if possible. There are lots of ways to do this; here’s what I do.
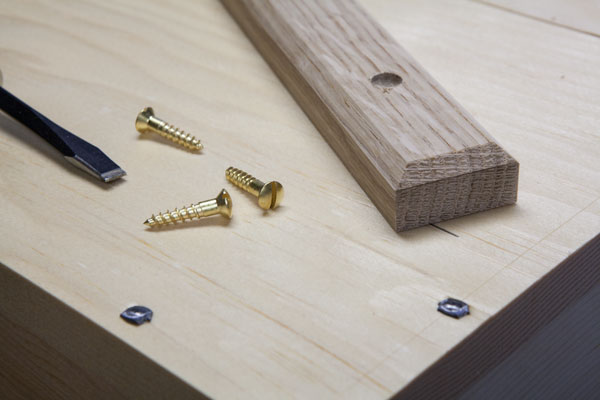
I make the rot strips from a tough and water-resistant species, such as teak, white oak or whatever else is in the shop. They are 3/4” x 1-1/2” wide. I plane a 3/16” x 3/16” chamfer all around the bottom edge to make the chest easy to drag on the floor. Thanks to the chamfer, the chest will ride over bumps in the floor or sills.
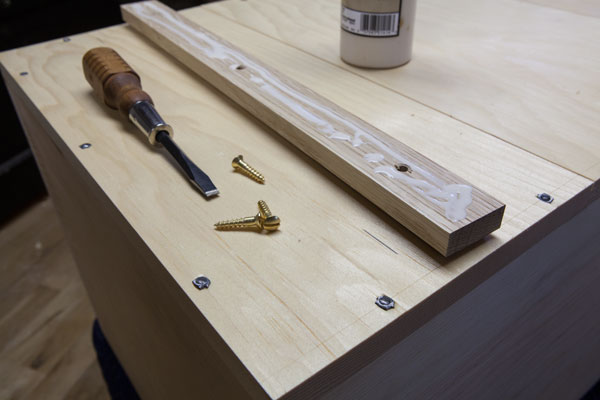
I attach the rot strips to the chest using a waterproof glue and brass screws, which will hold tight during a soaking. It also serves as a barrier to moisture. After the chest is painted, I finish the rot strips with boiled linseed oil and beeswax to prevent water from penetrating for awhile.
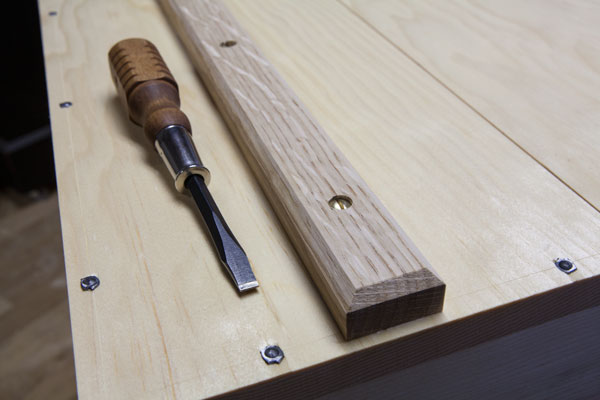
This sort of construction will keep the rot strips in place for a long time and prevent water from soaking into the bottom boards of the chest.
If I don’t have the above materials handy, I take a different strategy. I make the rot strips from pine and affix them with iron nails. If the rot strips or nails are ever exposed to a significant amount of water, then the rot strips will fall off and beg to be replaced.
Either strategy works.
— Christopher Schwarz
Here are some supplies and tools we find essential in our everyday work around the shop. We may receive a commission from sales referred by our links; however, we have carefully selected these products for their usefulness and quality.


Chris,
Using you plans for a traditional tool box with a plywood carcass, I scaled the plans down 1/3rd to make them kid-sized and made three toolboxes / toy boxes for my nephews. I used biscuit joints rather than screws, oak trim rather than poplar, and included one sliding till — three was too many given the reduction in scale and likely use as toy boxes. Screw-on plastic bumpers serve as feet to keep Mom’s floors unscratched.
Great plans. Very helpful. Thank you.
Jurgen01
Hi Chris;
Do you make the skirt flush with bottom boards?
Thanks!
Chris,
Undeerstanding that these battens are meant to be sacrificial and replaced after they have done their duty, I an clearly see the value in the pine and rusty nail solution. Not only would they serve their purpose, but have a built in indicator when they need to be relieved of their duties.
That said, I am having trouble understanding how you would go about replacing them if they are water-proof glued (assuming something like TB-III) and screwed in place. Sure the screws could be backed out – or if non-zinc steel go the way of the cut nails – but wouldn’t the glue make this difficult and ruin the bottom they were meant to protect?
Got the material in the shop, my 40 hours of building to start soon. I will likely be spread across several months, if past projects are any indication, so I am a ways from making use of any answer whatever it may be.
Two thoughts:
Protecting the bottom: cleats of teak or white oak for long term is okay, pine for shorter term replaceable is okay. Another option would be to coat the strips with a good epoxy, e.g. West Systems or etc., to make ’em waterproof and abrasion resistant for a long, long time.
And you didn’t address it, but I think it worth a mention: paint before you put the bottom cleats on and the paint makes a (decent) barrier for water moving from the cleat into the box.
Would it be considered tacky to mount casters to your chest’s bottom, thus adding ease of mobility, and doing away with wood acting as a straw? They are easily defeated when you want the chest to stay put, as in vehicular transfer. BTW they mount wonderfully on the battens you show. Jeeeesh all this time I thought those were wheel mounts.
Nails. They don’t touch the floor.
Forehead wrought nails
They really hold!
Chris,
Have I missed something…what are those fasteners holding the bottom on?