


We may receive a commission when you use our affiliate links. However, this does not impact our recommendations.
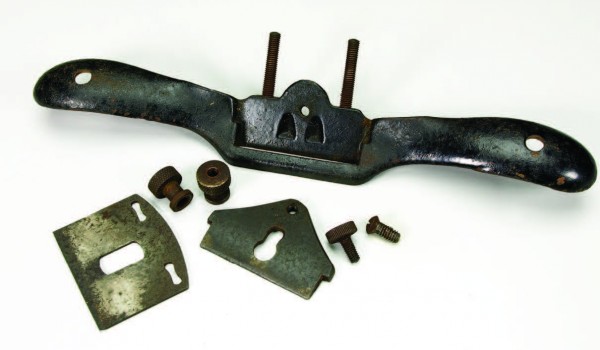
The Stanley 151 Spokeshave. This one was left unattended for far too long.
A wooden spokeshave.
Below is an excerpt from “The Perfect Edge” on rehabbing metal spokeshaves and sharpening spokeshave blades. (And for those of you who don’t already know, Ron and his wife, Linda Rosengarten, own Hock Tools.)
Metal Spokeshaves
This blade proved barely good enough to bother with (and these blades aren’t all that great to begin with, either). There are (ahem) better quality after-market blades available, some of which are a bit thicker, to close the gaping mouth that the factory thought was good enough.
Metal spokeshaves are simply short-soled, bevel-down planes without cap irons. So what, you say? Well, in order for a spokeshave to make fine shavings, and hence, fine surfaces, most of the tuning requirements mentioned above for planes apply to your spokeshave.
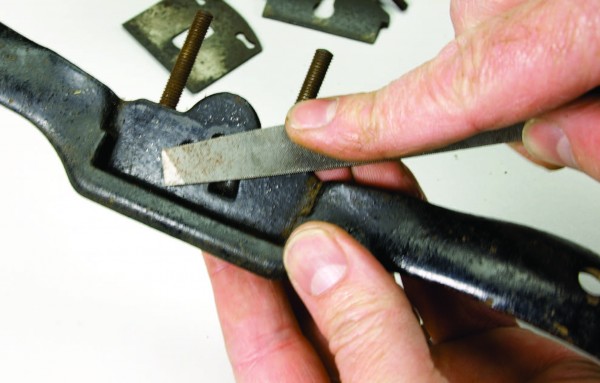
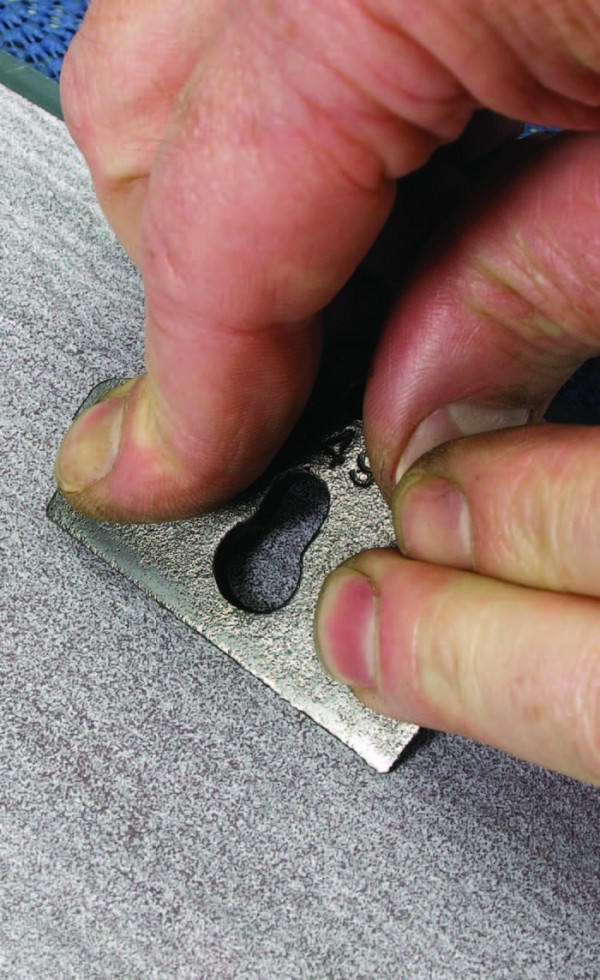
Take it apart and clean it up as needed. Sharpen the blade – the procedure is the same as it is for plane irons – but before re-installing the blade in the spokeshave, take a look at the ramp where it beds. The average cast-iron spokeshave is a fairly rough affair as it comes from the factory. If the ramp is rough with casting bumps (and they usually are) and covered with a heavy coat of paint (ditto) remove the screw and use a file to dress the ramp reasonably flat and smooth. You want the blade to bear down on the ramp uniformly. Don’t go to extremes; reasonably good contact along the mouth opening and a few more contacts distributed evenly around the rest of the ramp should suffice. Polish the lever-cap a bit as its as close to a shaving-diverter that you possess in a spokeshave (no cap iron) and a little attention will help prevent shavings from clogging as they bump into the too-steep, leading edge of the clamp ramp. Flatten and polish the sole, too.
Use a file to clean the ramp. Close is close enough.
The underside of the lever cap needs to be flattened a bit to make good contact with the blade. And the ramp-bevel on top needs to be ground to an edge so shavings will flow over it – not collect under it.
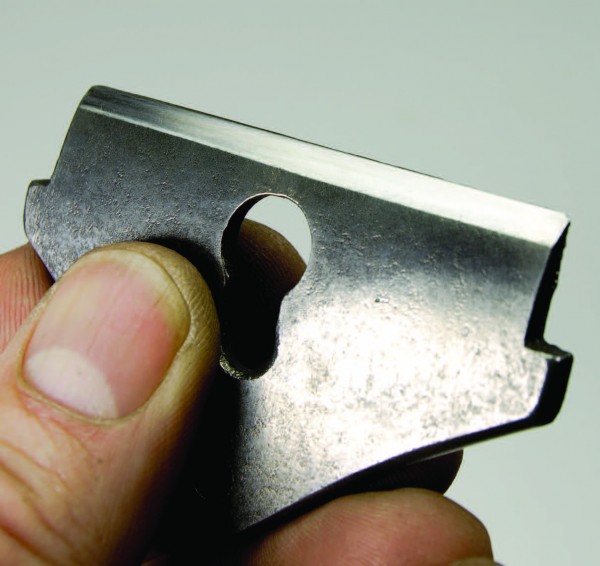
Here’s the lever cap after it’s been flattened.
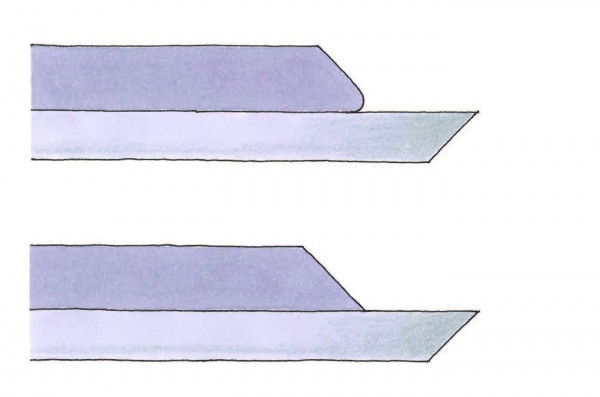
In this illustration, note the gap in the top drawing; that’s bad. Flattening the lever cap should result in no gap, as shown at bottom. That’s good. Grind the lever cap to a sharp edge so no shavings get trapped under it.
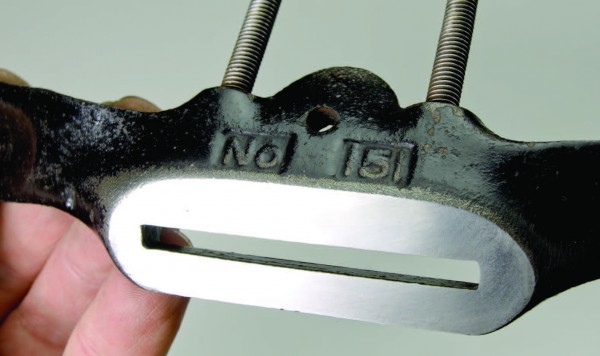
It’s never too late to polish your soul…er…sole.

This handy tool has been saved from the junk heap – just in the nick of time.
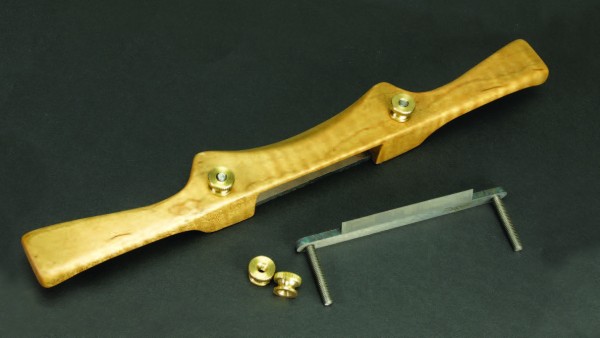
Wooden Spokeshaves
Wooden spokeshaves are very handy tools for jobs that require a short sole and a low-angle cutter. They make a great do-it-yourself tool-making project, too. But the threaded posts can make sharpening difficult. A narrow stone, or a piece of MDF with sandpaper just for this purpose, can make honing easier. Or, you can simply hang the posts over the edge and sharpen side to side. Don’t forget to flatten and polish the back.
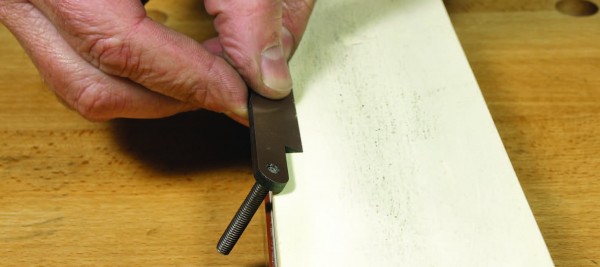
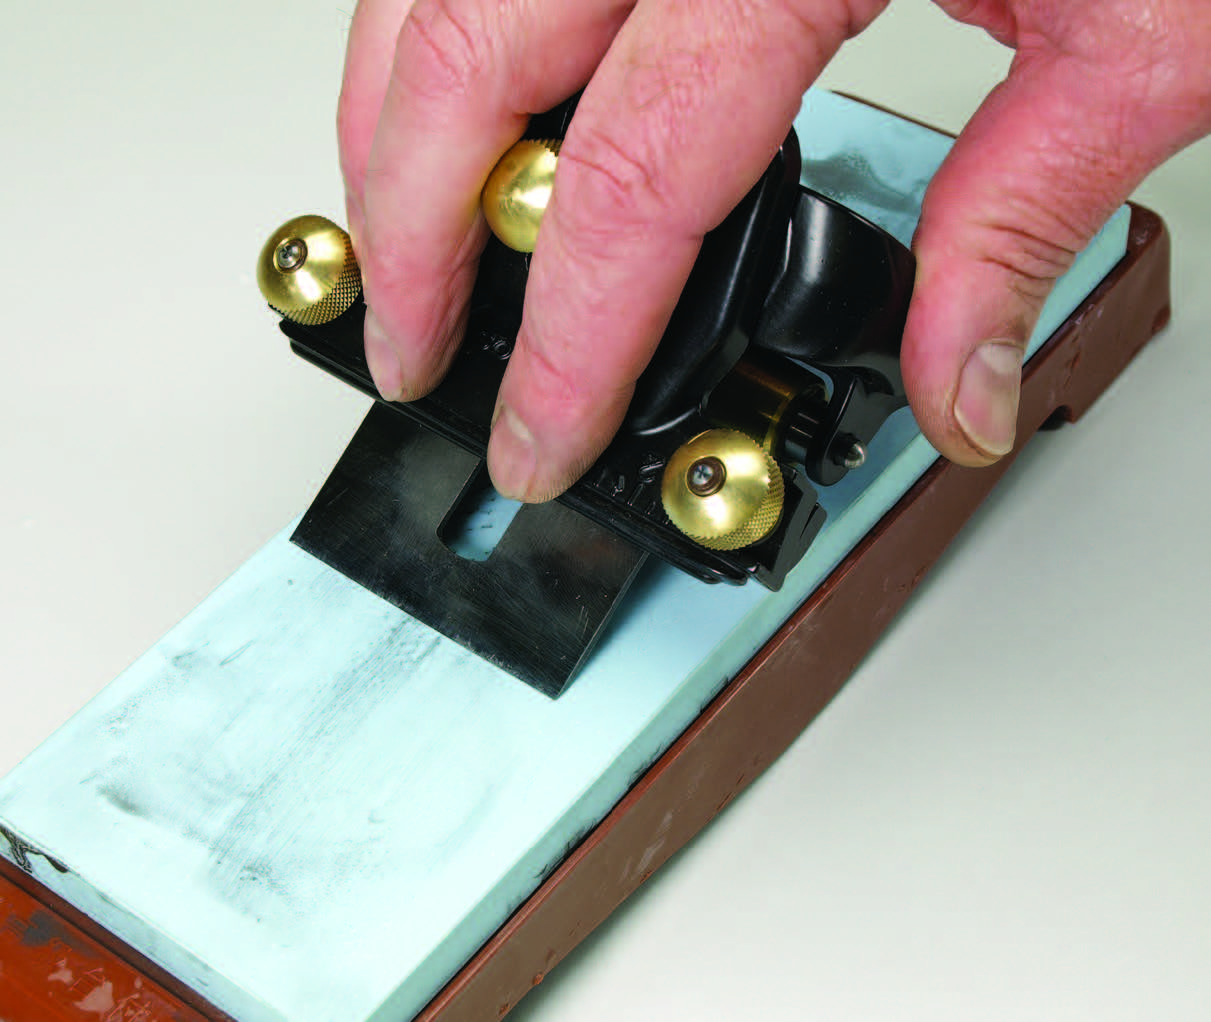
The threaded posts on the wooden spokeshave blade mean you have to hang it over the side of the stone to sharpen, or…
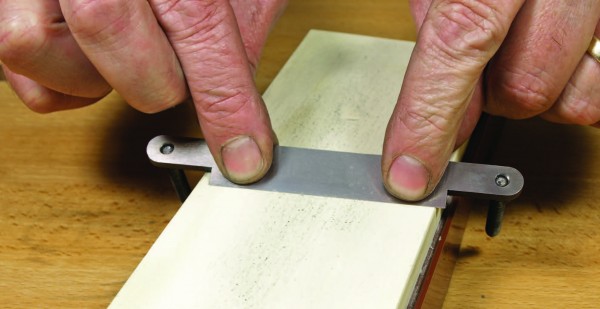
…lift your stove high enough off your bench or sharpening station to that you can hang the posts over the side of the stone as you hone.
In Ron’s book – included in our Sharpening Essentials kit, you’ll discover how to sharpen all types of tools – both hand and power. Plus, you’ll learn what sharp really means, all about steel and more. Click here to order “The Perfect Edge.”
Here are some supplies and tools we find essential in our everyday work around the shop. We may receive a commission from sales referred by our links; however, we have carefully selected these products for their usefulness and quality.


Thanks Megan for the article. I use the Veritas system too and it works great. Those posts on the low angle spokeshaves can be a pill and don’t fit in any guides. I made myself a wooden spokeshave and I used a left over joiner iron, it worked well, I can remove the posts for sharpening. I didn’t feel like paying the big bucks for the kit. I had a question about sharpening my new pfeil two handed scorp. Do you have any tricks to speed it up? Thanks
Brian