We may receive a commission when you use our affiliate links. However, this does not impact our recommendations.
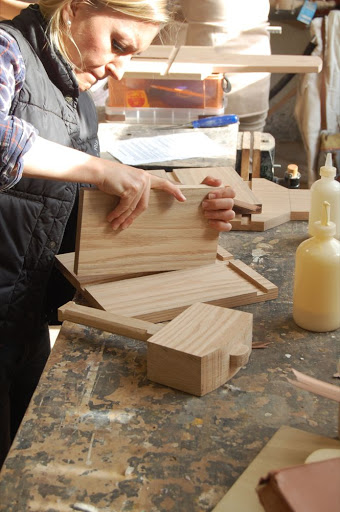
Once all the parts were shaped we decided to give the stool a test run. It is important to dry-assemble all the parts prior to gluing them together. We do it to foresee problems that might occur during the gluing process, such as joints being too tight and not fitting together properly, or parts that are too long (or short) and if installed as is will distort the furniture structure. Dry-assembly helps as improve any misalignments and miss-fits. It is also important to keep in mind that once the glue is applied one has only 10 minuted to clamp everything together and it's best to avoid any surprises….
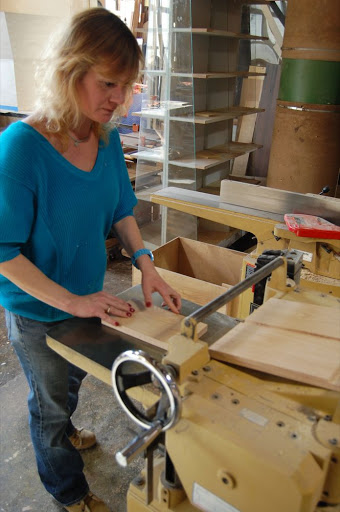
We began by checking the fit of the dados and grooves. Parts that could not fit in the dados or groves were milled thinner by the planer.
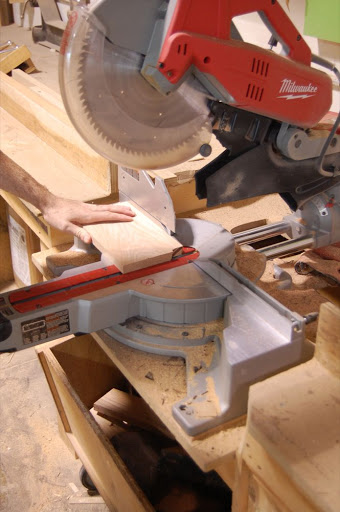
The stool's rail was intentionally cut longer then necessary (longer than indicated by the drawings) to allow "length" for adjustment during the dry-assembly test. The actual length would be effected by the other parts and the true depth of dados and grooves. The rail is nested into three grooves: one in the front legs, one in the seat and one in the back legs. To mark the rail's exact length we did the following. We first inserted the front leg into its dado in the seat, then we inserted the rail into the grooves in both the front leg and the seat. At this point we marked the end of the rail (where it is flush with the end of the seat) with a pencil. Making sure that the rail+seat cross cut ends are flush with each other will ensure a square angle between the back and the seat. This is because the "T" junction was intended to fit snugly into the corresponding "T" dado-groove formed in the stool's back.
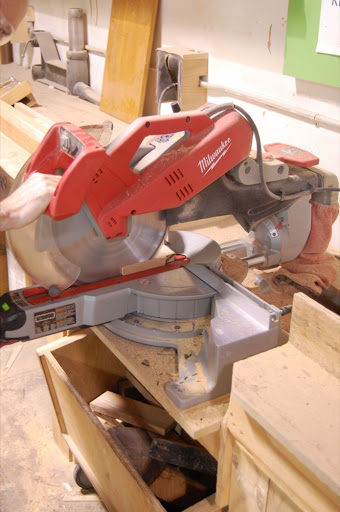
The rail was shortened by the miter saw and then was put back in its place.
Here you can see the first stage of gluing the stool. The front leg, the seat and the rail were assembled. Glue was put in the grooves and dado and clamps were used to keep the parts tight. Notice that the cross cut ends of the rail and the seat are flush – this is what we wanted to achieve.
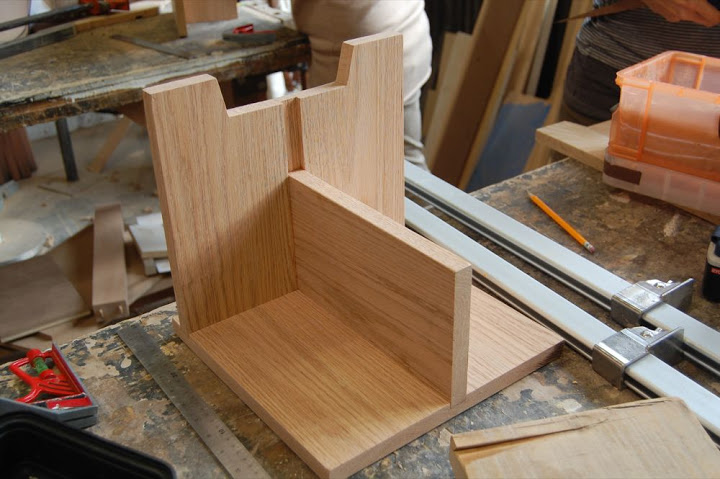
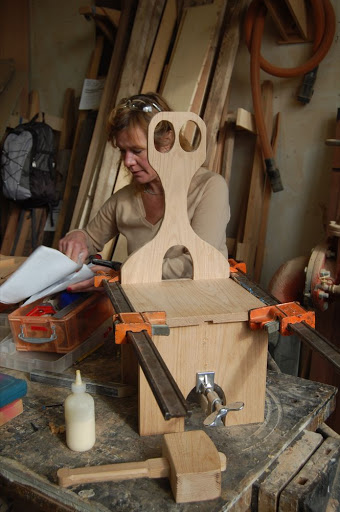
Once the glue on the front legs, seat and rail had set, we put glue in the "T" on the back side and pressed the parts together using clamps.
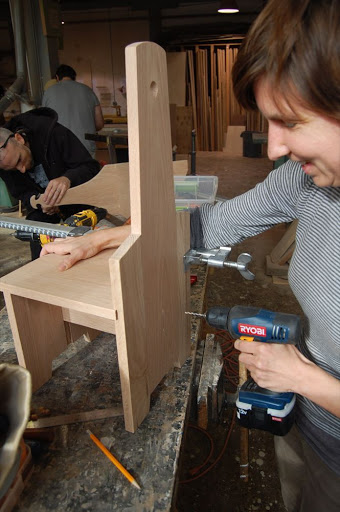
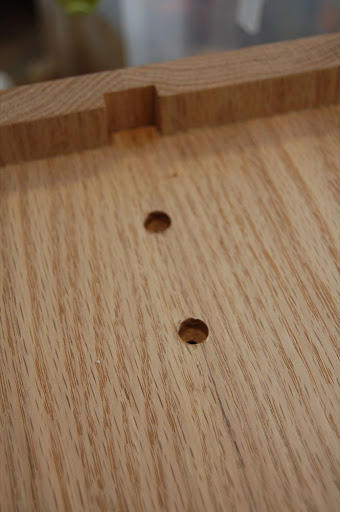
After the glue dried we drilled screws and plugs holes for the four screws that secured the rail to the front leg and the back. We used a Fuller countersink drill.
In my next and final entry on the Shaker stool I will show how we finished the project.
Here are some supplies and tools we find essential in our everyday work around the shop. We may receive a commission from sales referred by our links; however, we have carefully selected these products for their usefulness and quality.