We may receive a commission when you use our affiliate links. However, this does not impact our recommendations.

Read part 1 here.
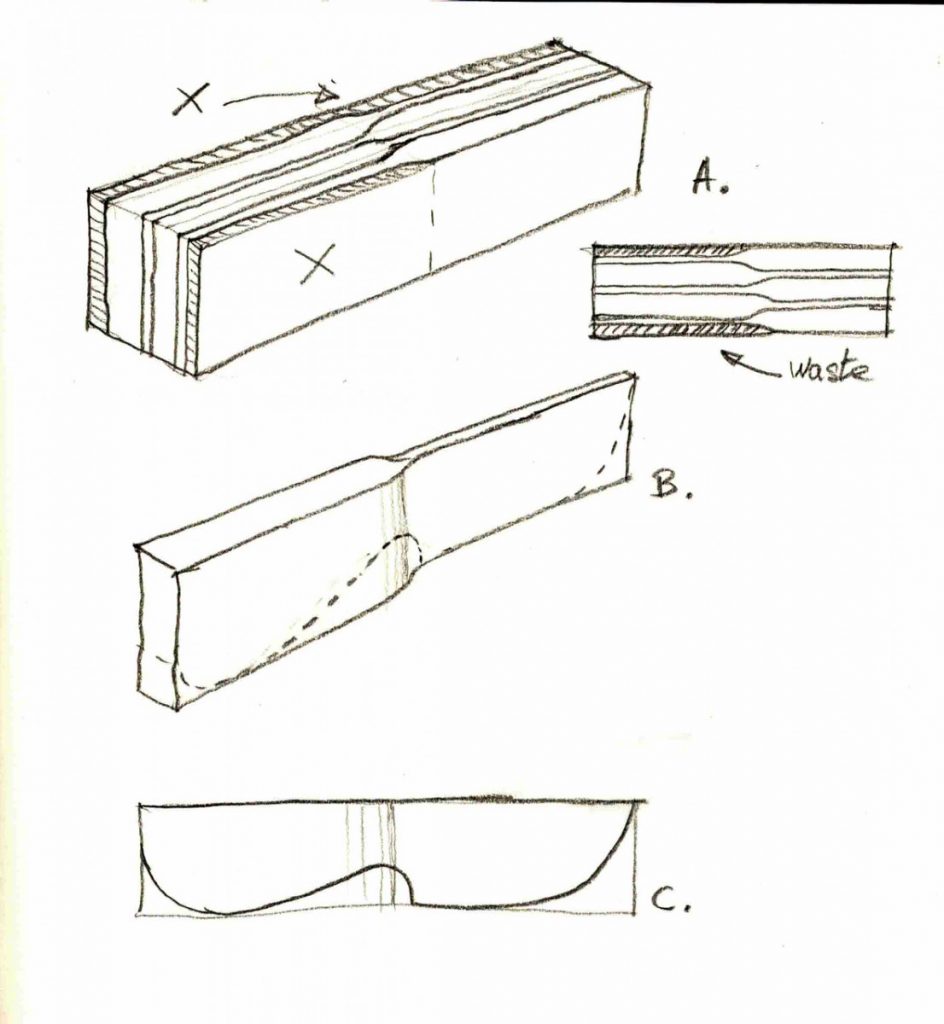
While thinking about ways to manufacture the butter knives fast and efficiently, and also to maximize the use of wood and avoid waste as much as possible, I came up with a layout configuration that nested the knives together compactly. Each knife’s blade was tucked between the handles of its adjacent neighbors – both right and left. I reached for a hefty blank and drew on it the resawing patterns using a template (A). Then, after the knives were emancipated from their blank, I shaped the handles and blades to the design of my choice (B,C).

A. The staggered knives stacked right and left to each other. “x” is the minimum surplus of waste material. B. After the knives are resawn the couture of the blade and handle are drawn and then sawn off.

To exploit the potential of this method even further, I decided to drill a wide hole in the mahogany blank and rely on its perfect circular geometry in the design.
Here is the process:
- Drill a hole in the middle of the blank.


- Cut all the symmetrical curvatures. By this, I mean the mirroring arcs that both blade and handle will end up with. For example, the lower back corner of the handle can be made to have an identical arc as the lower front part of the blade.


- Draw the top view of the knives with your template.

- Resaw the knives.


On my first attempt to follow this production “script” I separated the blank into two groups of knives and then resawed the individual knives. Whether you follow this earlier approach or the latter one (in the sketches above) is up to your own inclination.
- Place the two-knife stack flat on the bandsaw table and finish cutting the remaining curvatures that distinguish between the blade and handle.


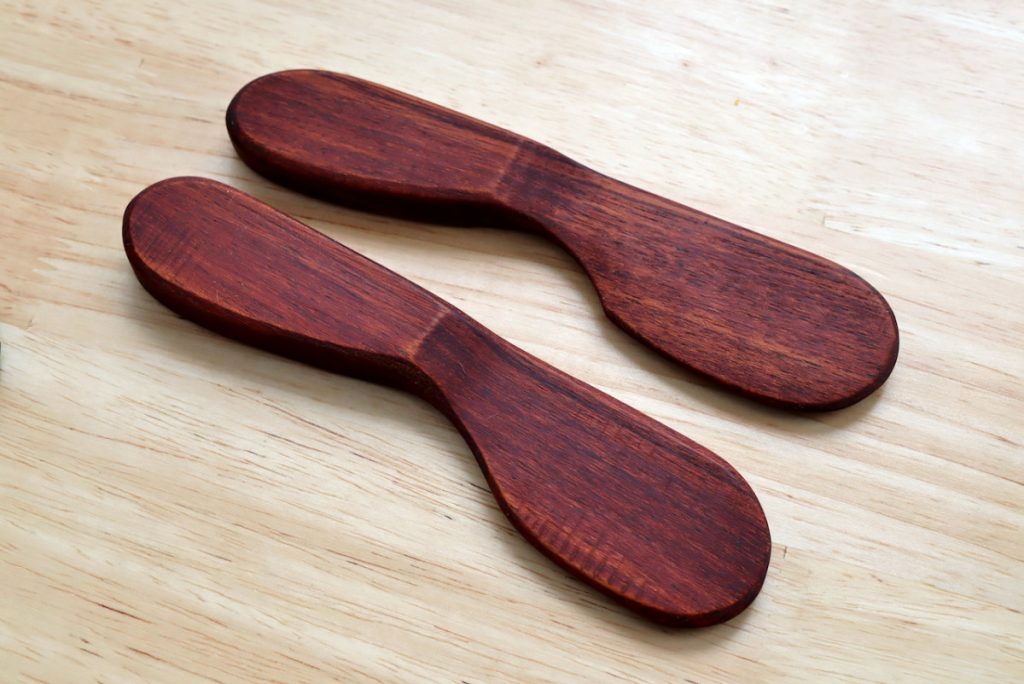
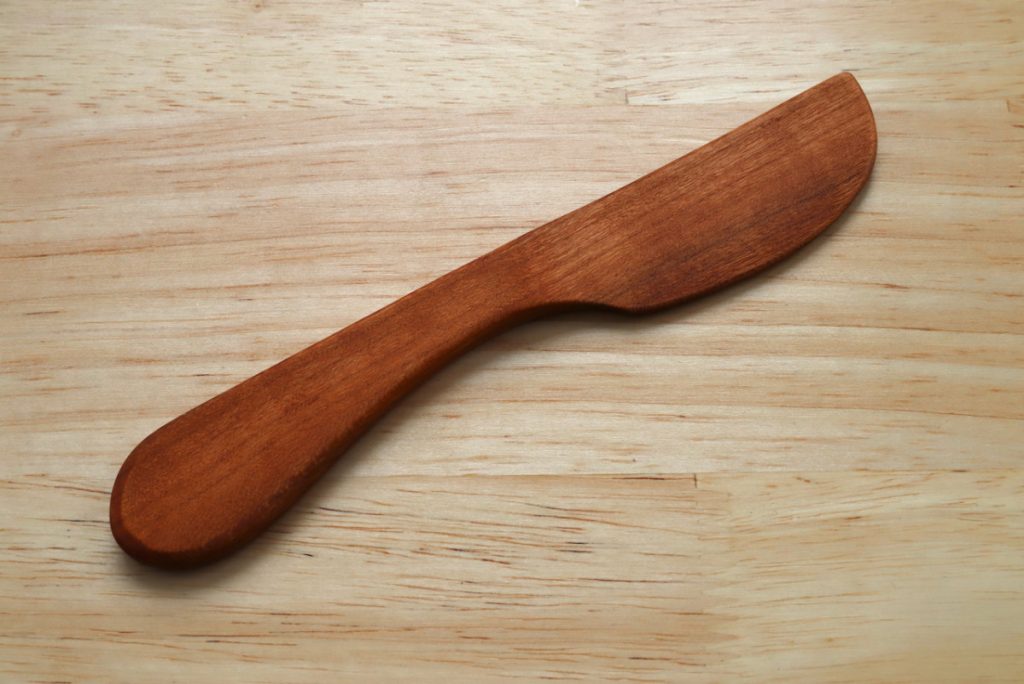
Two optional designs that look good and function well.


 Once the knife’s outline is complete, all that is left is to touch them up with some sandpaper and apply a coat of flaxseed oil for protection and to highlight their beauty.


Here are some supplies and tools we find essential in our everyday work around the shop. We may receive a commission from sales referred by our links; however, we have carefully selected these products for their usefulness and quality.


Awesome tips! I am planning to make a video on this and share on The Tooly. Woodworkers would be greatly benefitted by this. Will surely refer this article.