We may receive a commission when you use our affiliate links. However, this does not impact our recommendations.
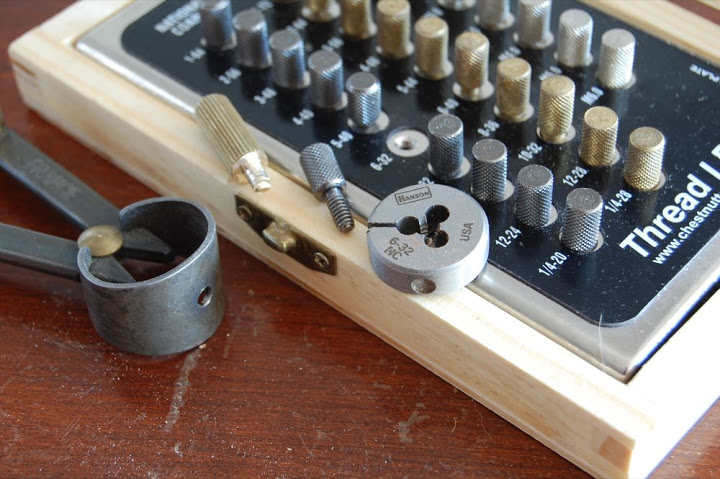
Threading is the mechanical operation of removing material from the exterior of a cylindrical shape in order to create a helical thread. The newly formed stem at the base of my old compass's knob had to be threaded because I intended to install and secure it in the compass's crown with a nut. To find the right thread size I tried to insert a few bolt samples through the hole in the crown. I aimed towards a good fit that would allow the bolt to go through snugly. I own a thread/tap sizing kit which allows me to identify bolt sizes and thread types so I did not have to guess too much. If you don't have a set like mine (I recommend that you will buy a Nut/Bolt thread identifier kit as it will prove to be very handy in your woodshop) you can just try to use different bolts to see which one fits better. Once the bolt size and its thread type was identified (in my case I found that a 6-32 blot was the best) I located a matching thread die in my tap and die set.

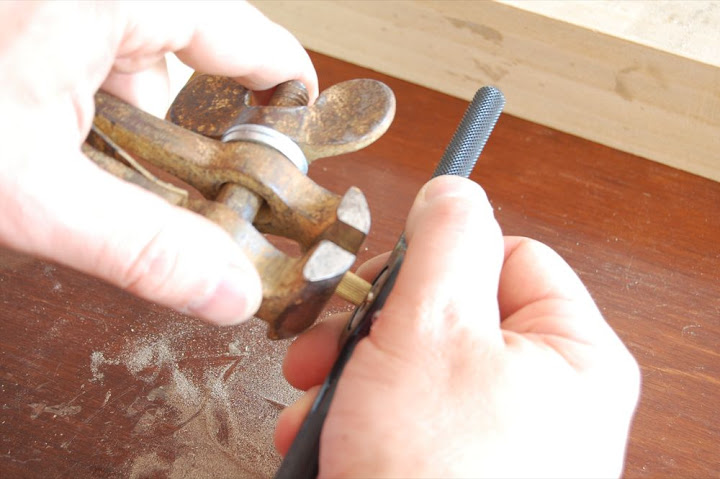
I mounted the die in its handle, put a few drops of oil in the die and started threading the stem. To achieve the best result you need to rotate (clock wise) the handle with a stable hand while trying not to tilt it, but rather keep it at 90 degrees to the axle of the object you are threading. Turn the handle in quarter turns and then back-off to release the metal shavings. Use oil as needed.


At the end of the process I got some nicely made threads on the stem.

For further reading on how to make threads please visit this link. (http://www.nmri.go.jp/eng/khirata/metalwork/basic/bolt/index_e.html)
Next time I will show how I made the nut and finished the restoration.
Here are some supplies and tools we find essential in our everyday work around the shop. We may receive a commission from sales referred by our links; however, we have carefully selected these products for their usefulness and quality.


