We may receive a commission when you use our affiliate links. However, this does not impact our recommendations.
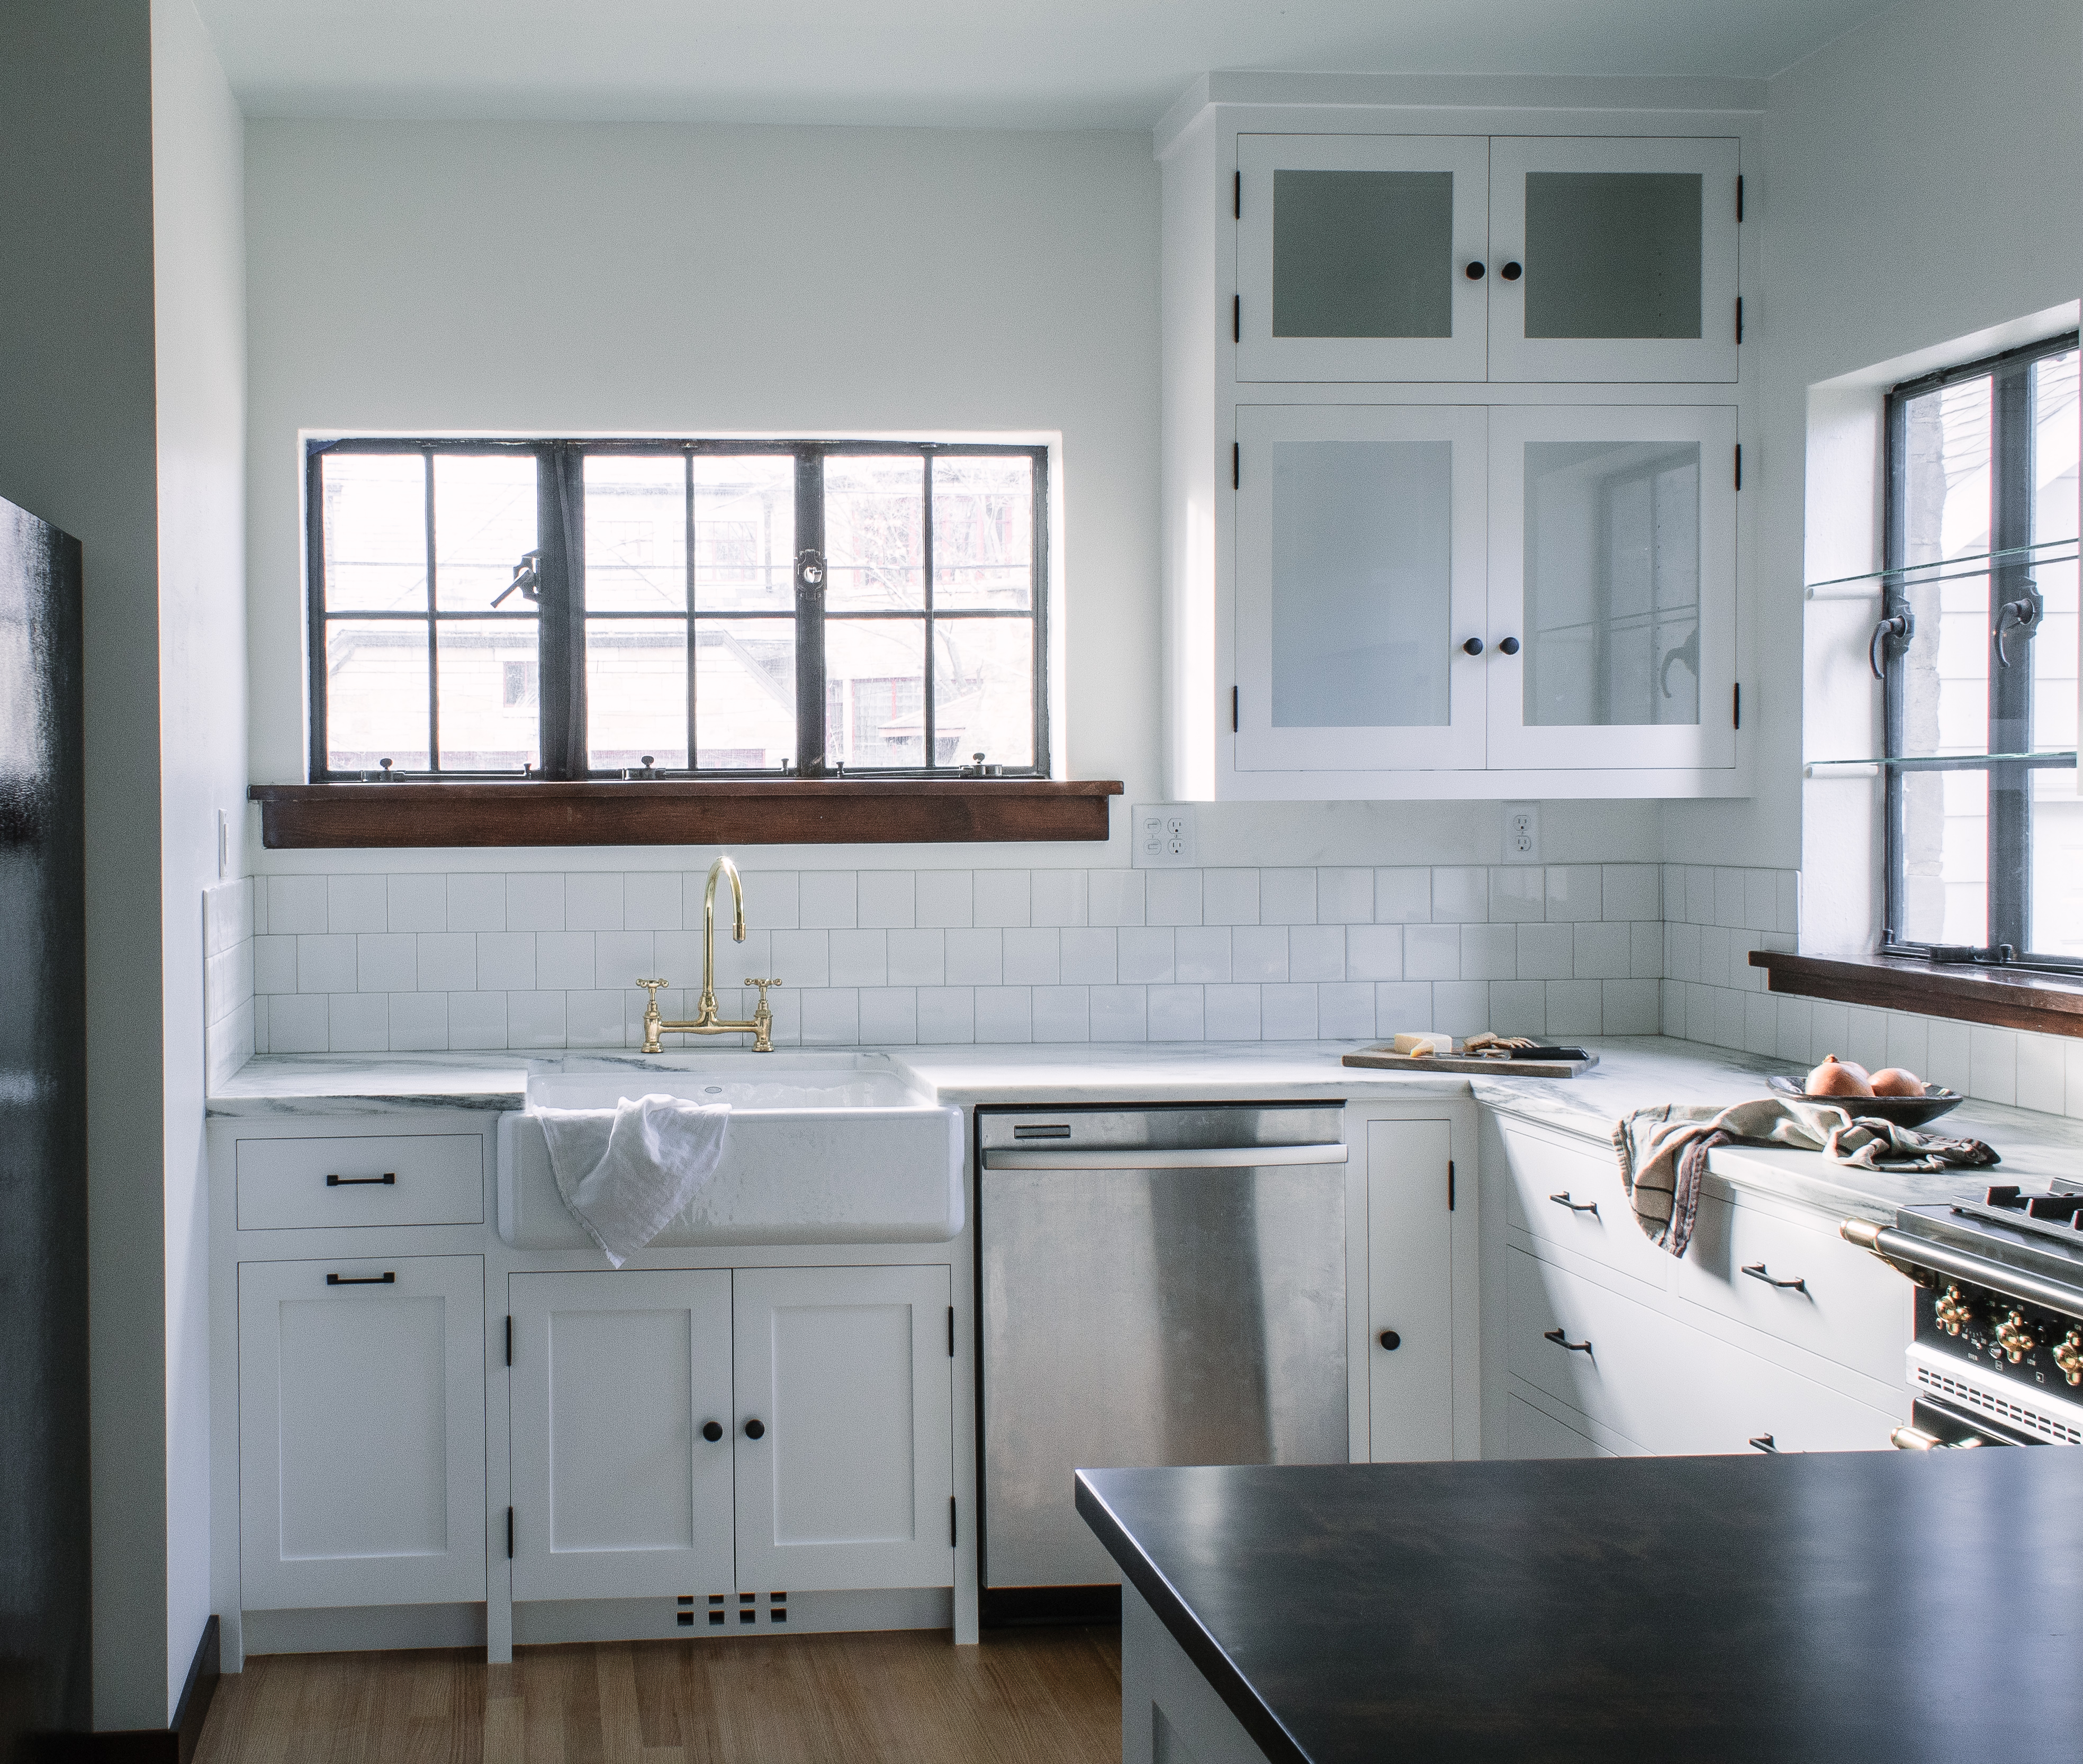
My most recent kitchen job called for a trash pullout that would operate hands-free. It’s the door just left of the sink.
After my post last week, a reader expressed interest in converting the trash cabinet in his kitchen from a simple door to a pullout. So many people made similar comments (elsewhere; not at this blog) that I decided to explain the ins and outs of such a conversion here.
Step 1: Choose your trash unit
Every ready-made unit will have its own specifications. It’s crucial to familiarize yourself with those before you order the thing, to make sure that what you’re ordering will be compatible with the cabinet in which you plan to install it.
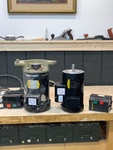
For example, I ordered the Rev-A-Shelf double waste unit with Movento hardware from my supplier, Richelieu Hardware. Before ordering, I researched several units from different suppliers. This one fit the bill:
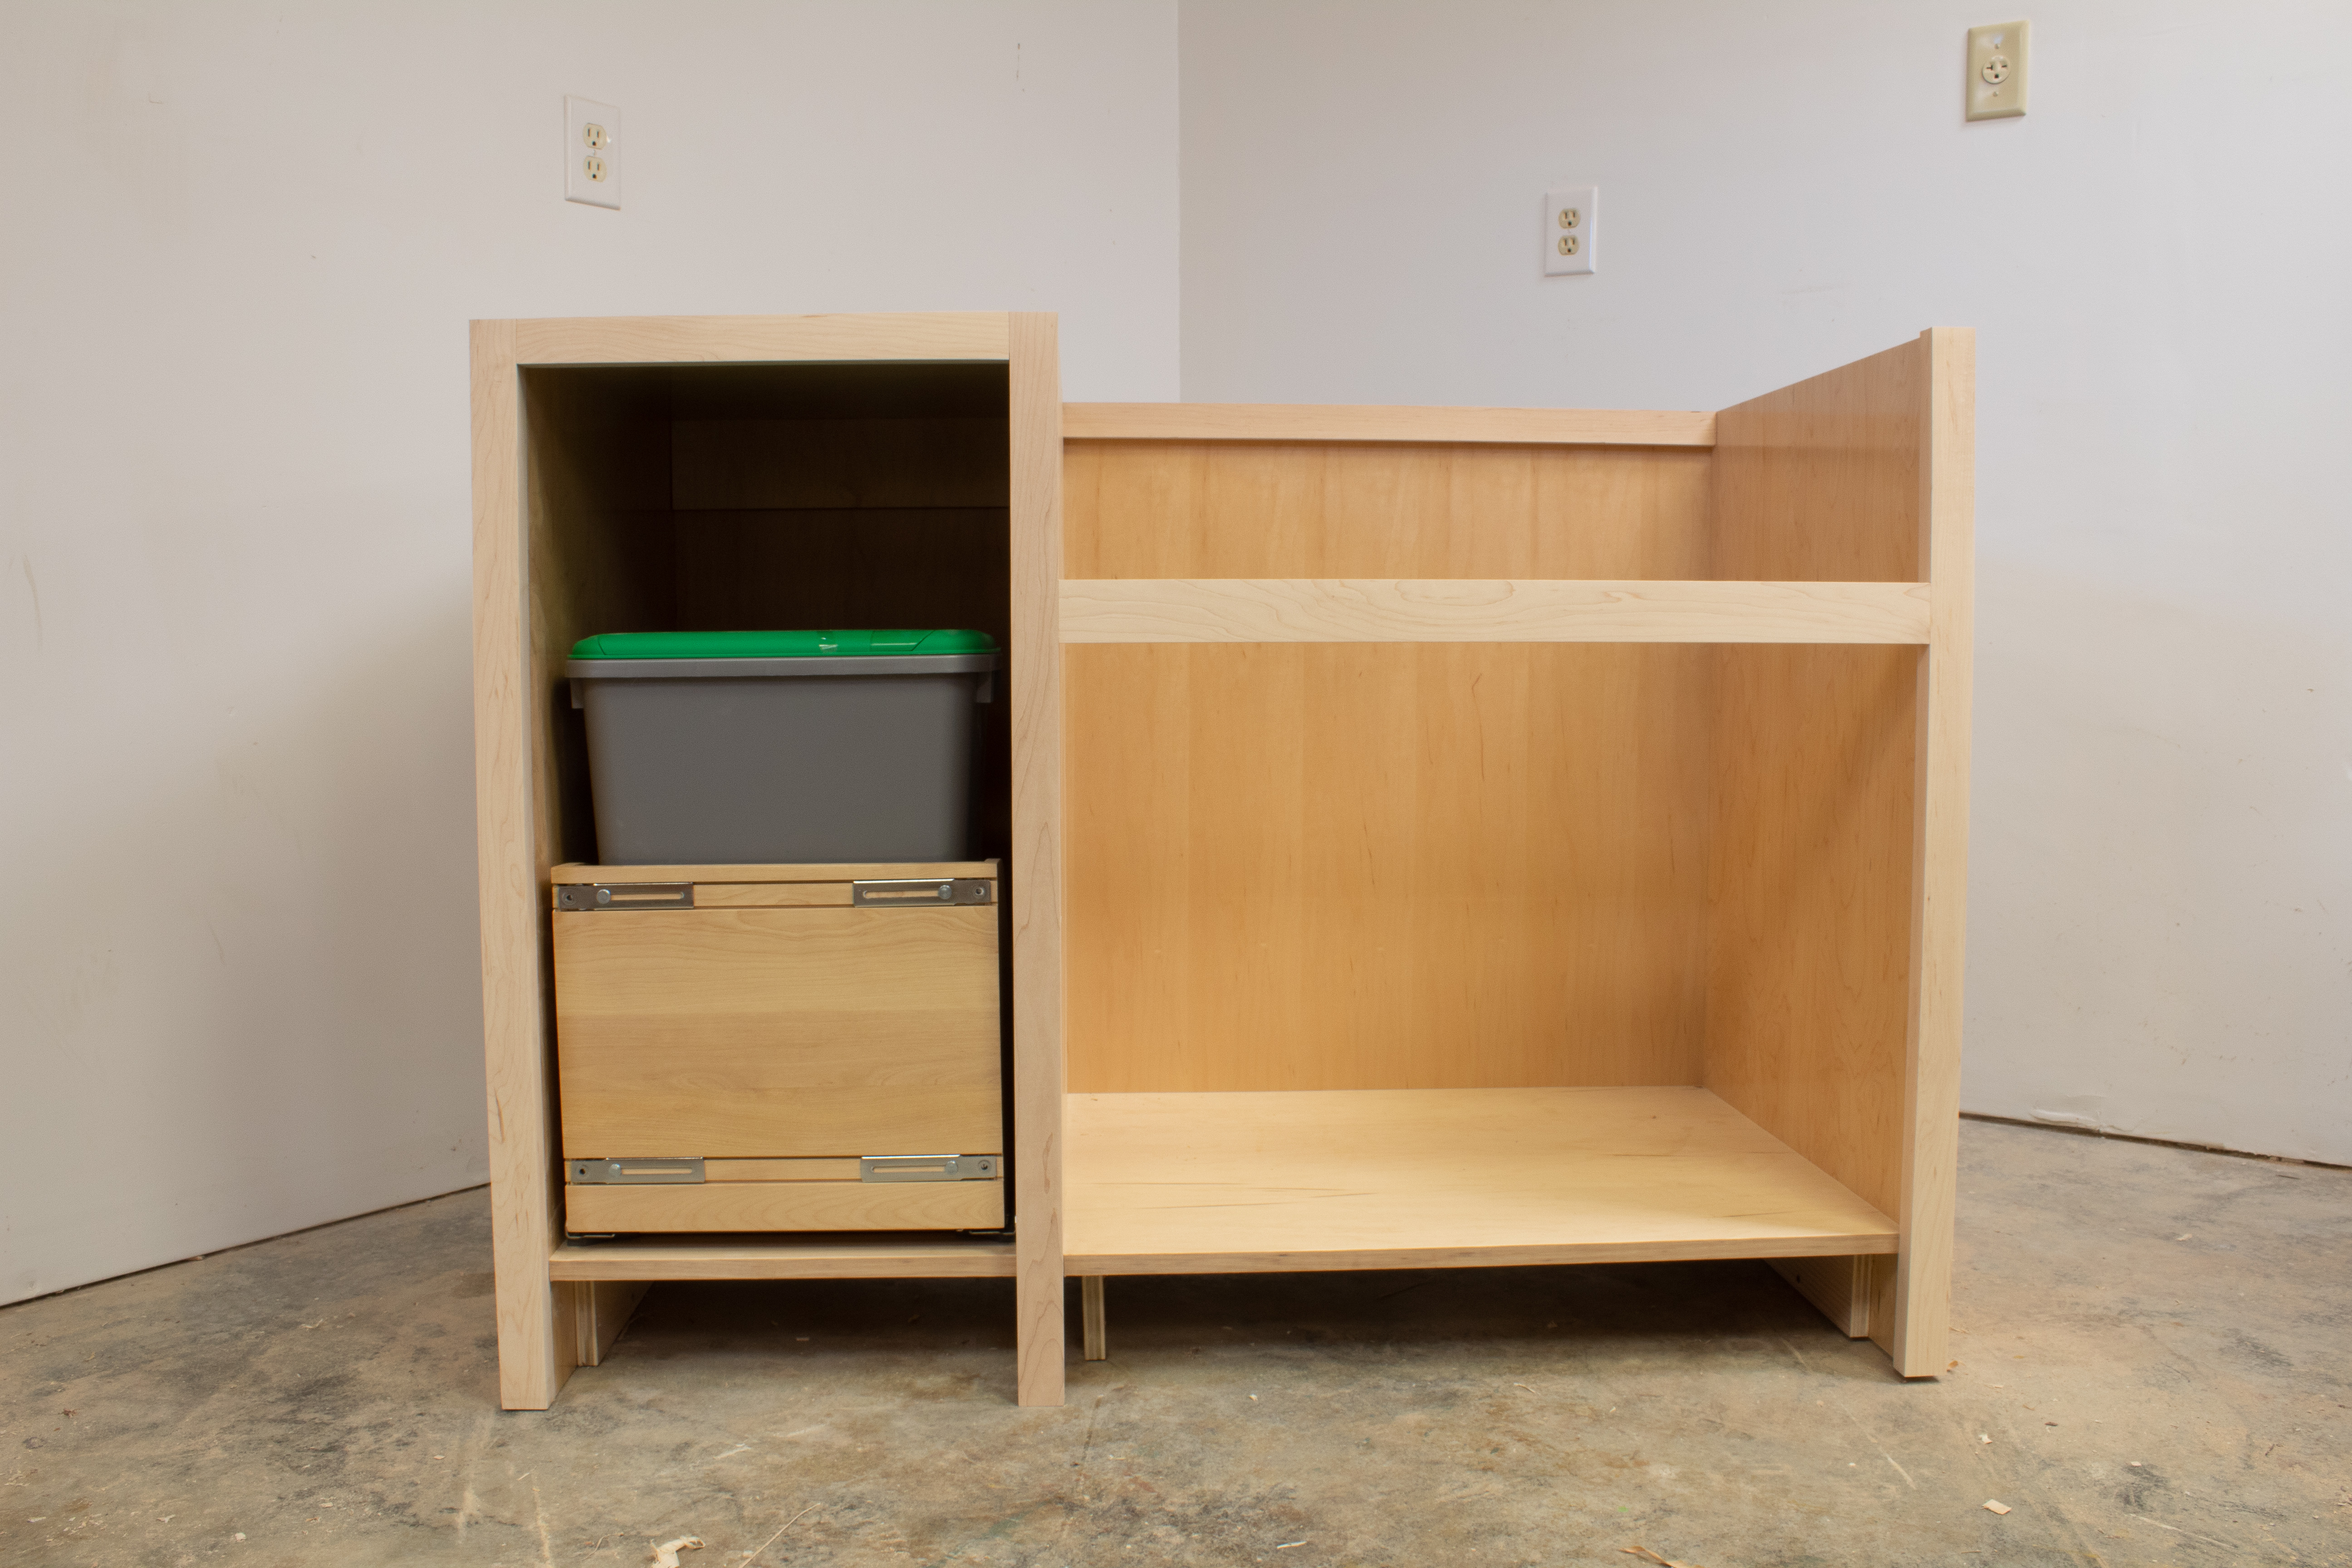
- It came with space for two receptacles–in fact, the trash cans were included. My clients had said they wanted one for trash and one for recyclables.
- The wooden box is well made and finished for easy cleaning, an important consideration for any cabinet where you’ll be throwing trash. Why not make the box myself? With labor at my shop rate, it would have cost more than buying it. (Note: The list price at Rev-A-Shelf’s website is not the price I paid; Richelieu primarily supplies professional shops, so they offer pricing lower than retail.)
- The width, height, and depth of the unit were all compatible with the cabinet I had built. My cabinet opening is 15-1/4″; the unit I bought requires a minimum opening of 15″. Take a look at the information at the Specifications tab, where you’ll find all the relevant details.
Step 2: Remove the existing door
Because the trash unit is designed to be attached to the door, it’s critical to install it at the right depth. The position will depend on whether your door is inset, part-inset (with a lip), or full-overlay. Use the template provided, adjusting the location to suit your door.
If your door was previously hinged, you will probably want to patch screw holes–and possibly even fill hinge mortises (if your door was hung on butt hinges) or cup holes (in the case of European hinges). You can find a handy way to make larger patches here.
Step 3: Install the hardware
Follow the installation instructions supplied with the unit. I found those with the Rev-A-Shelf unit to be clear and easy to follow. If you’re going to add the Blum Tip-On hardware, it’s easier to install that on the Movento slides before you fit them in your cabinet, so that you can see the slots where the trigger devices go. (My last post covered installing the Tip-On hardware after the main slides had been affixed to the cabinet.)
Step 4: Attach the door to the trash unit
The metal tabs visible on the front of the trash unit can be pulled out to the sides, allowing you to affix the door without drilling through the unit’s front. In my case, the door was inset, so I simply drilled through the unit into the back of my cabinet door.
The unit I bought offers plenty of surface area to support the cabinet door. It comes with tabs designed for full-overlay attachment, but my door was inset, so I used a simple technique that allows for easy adjustment.
- Drill a couple of oversize holes through the front of the trash pullout box, then affix the door with panhead screws and Fender washers. The large holes will allow you to loosen the screws slightly, then move the door up or down, or side to side.
- Once you have the door exactly where you want it, drill four more holes–one near each corner (left and right, near the top and bottom) and run wood screws into the door to lock it in place.
- A note of caution: Don’t drill any of these holes too close to the position of your door pull, lest the screws interfere with the pull’s attachment.
Step 5: Test and adjust as necessary
To see the pullout in action, view my last post.
You’re done!
Here are some supplies and tools we find essential in our everyday work around the shop. We may receive a commission from sales referred by our links; however, we have carefully selected these products for their usefulness and quality.