We may receive a commission when you use our affiliate links. However, this does not impact our recommendations.

After much use the spoon bits (read the first part of the story here) will need to be re-honed or even re-sharpened. This process isn’t too complicated since the geometry of the Gramercy spoon bits is straightforward and self-explanatory: a half dome connected to a vault. Sharpening the bit is therefore very simple, just touch up the bevel-rims of the dome and the longer edges of the vault. The instruction sheet shows you the correct angle at which you should hold your abrasive medium. What kind of medium to use? Well that is totally up to you and your inventory of stones, etc.

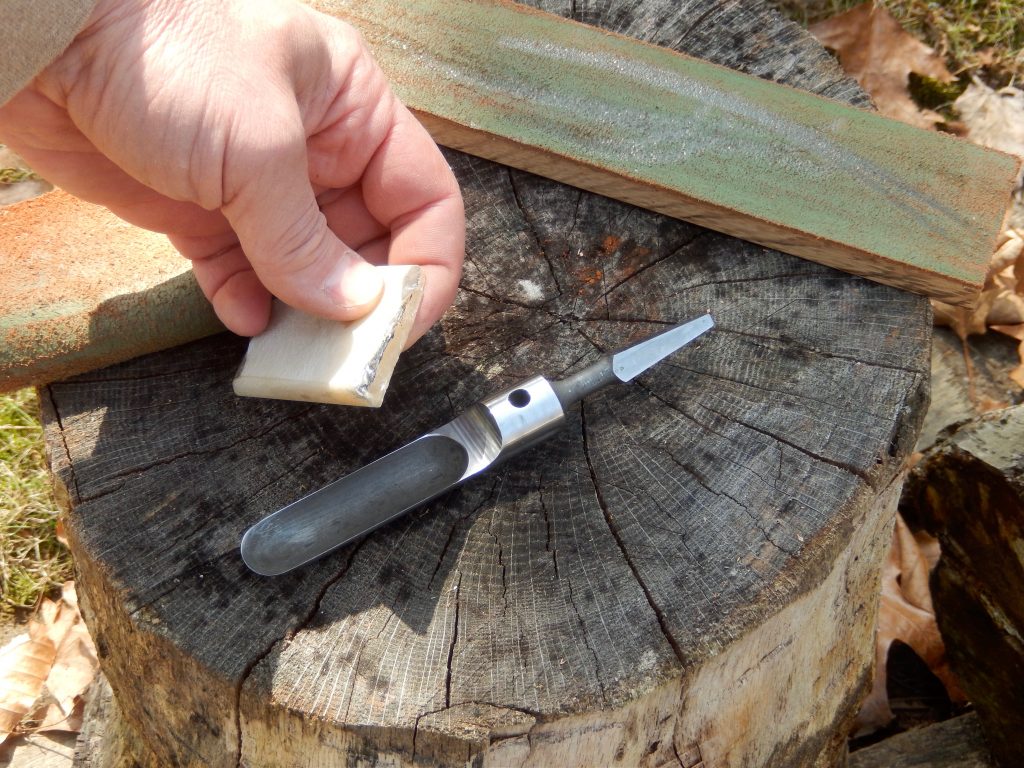
Use hard (black or transfusive) Arkansas slip stone to initiate the honing of the spoon bevels.
A slip stone will allow you to work in and out of the half round rim and the straight edges. The prudent way to use sandpaper is pulling it away from the interior of the bit and over the honed edge to avoid tearing of the paper and the possible round over of the edge.
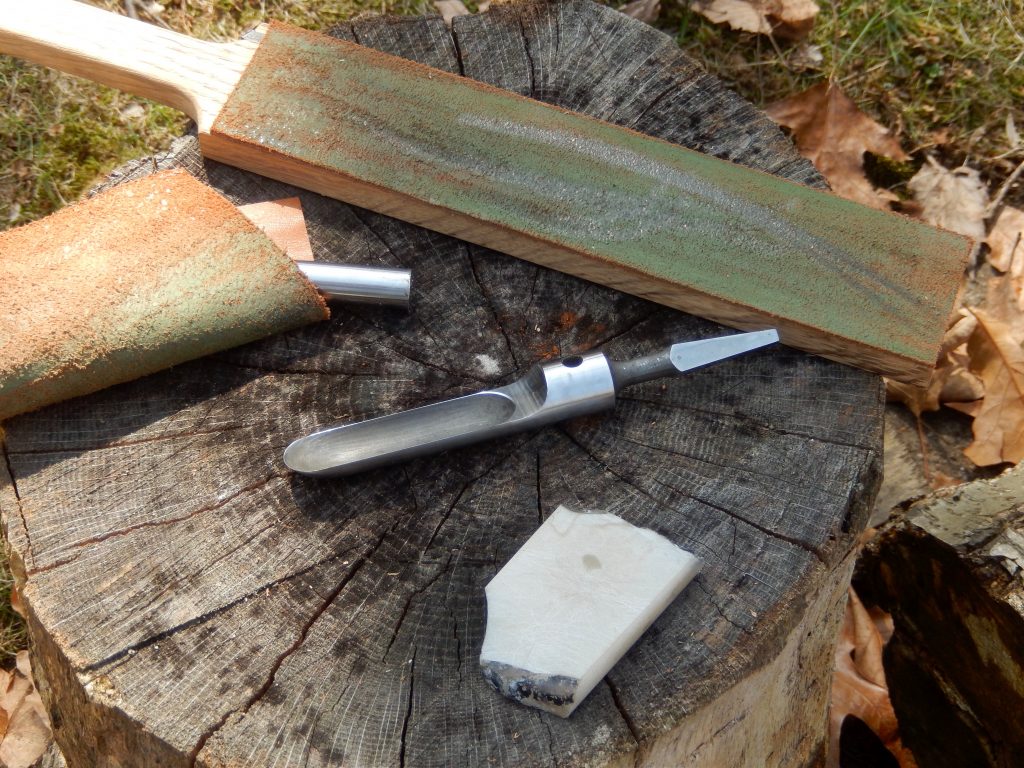
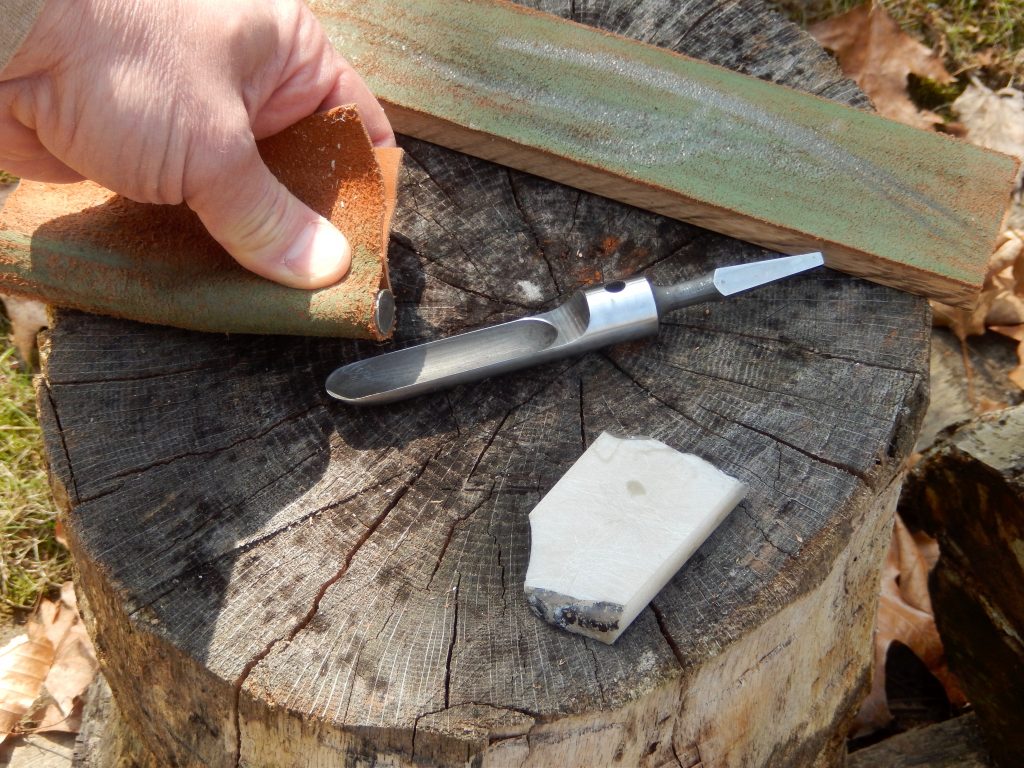
I used an old hard/translucent Arkansas slip stone to hone the narrow bevels, using a controlled circular motion. However, wet or dry sandpaper wrapped around a dowel will do just fine. After honing comes stropping. I used my flat leather strop for the exterior of the bit and a short, steel cylinder wrapped with thin leather and charged with a buffing compound to polish the spoon’s cutting bevels on the inside.


I wrapped a thin piece of leather charged with buffing compound over a steel rod and used it as a strop to polish the edges.
It would be interesting to do an experiment with a homemade slip stone crafted out of wood, with a fracture and tear-resistant abrasive film (such as this) wrapped around it. This might allow you to use the duo (especially if the film is adhered to the slip stone) as a good replacement for a store-bought slip stone.
Check out the short video below to watch this process in detail.
Here are some supplies and tools we find essential in our everyday work around the shop. We may receive a commission from sales referred by our links; however, we have carefully selected these products for their usefulness and quality.


