We may receive a commission when you use our affiliate links. However, this does not impact our recommendations.
When I made my current workbench, I built it from a pair of robust, traditional-pattern sawhorses (a form you might know as sawbenches). On the bench build I’m about to start, I’ll be using the same setup. The sawhorses I made many years ago are out on jobsites at the moment, so it seemed a good excuse to make a new pair. These are an excellent skill builder because they introduce compound joinery and use material that won’t break the bank.
I’m using Pine (Pinus sylvestris) in off-the-shelf sizes of 3″ x 4″ for the top, 2″ x 3″ for the legs and 1″ x 7″ for the brace. If these sizes are tough to get hold of, you can revert to 2×4 stock for the legs and top – although do consider laminating two of the 2x 4s together for the top to give more strength and area for glue and nails.
I’ll be using cut nails to secure the joinery, but ring-shank nails or screws would also work well. You’ll need only one bevel angle to do the work. Typically these sawhorses have the legs splayed anywhere between 15°-25°; mine will be around 20°.
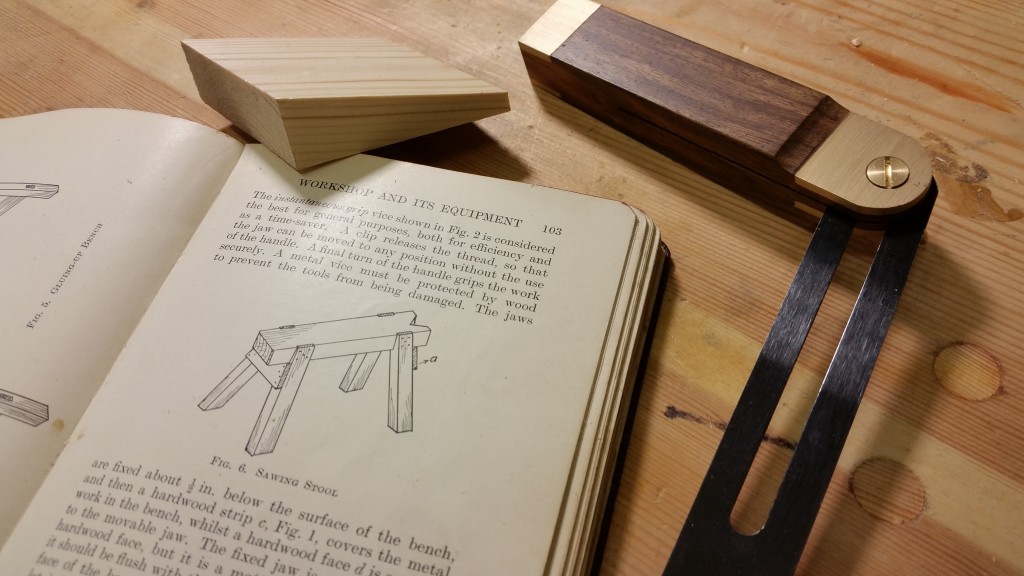
You can use this as an exercise to practice setting out (laying out), too, although I must admit I found the guidance within “Joinery & Carpentry” (New Era Publishing Co, 1931) a step too far with my limited time. (I should, however, make the time to develop my understanding of the processes shown in the photo below.) If you’d like to give it a go, you can find the info on English joiner Jacob Butler’s website. He has the same series of books as I have, and made himself sawhorses and a lathe stand using this design.
Reverting to my “Joinery & Carpentry” books, I was reminded of the value of how having some house carpentry experience will help as you move into other areas of woodworking. Moreover, if you want to develop skills with hand tools, simply cutting a length of 2×4 square and true and driving some nails will pay dividends.
My dad was taught at college that a carpenter is expected to cut studs square and true without the aid of a square. When you think of expert woodworkers such as Frank Klausz, who dovetail with next to no setting out, it really does demonstrate the value of good muscle memory and practice.
What has captured my attention to aid my workbench build further is Yoav Liberman’s stunningly simple yet wonderfully effective “Bench Bull.” Combining his concept with sawhorses promises to be much better than the Workmate you’ll see me working from in my next video. (And if you need it, you can always practice cutting some 2x4s to make one.)
More to come on this sawhorse build shortly!
Here are some supplies and tools we find essential in our everyday work around the shop. We may receive a commission from sales referred by our links; however, we have carefully selected these products for their usefulness and quality.


Graham this is a good thread. In my book a good set of sawhorses leveled to a particular spot, and a torsion box top are the 2 first projects any starting woodworker should make. Having something flat, and level to work off of makes every other project you do, including building a proper bench, all the more easy. I like a short, and a standard height set of horses, for use as working height, or assembly height. I always chuckle when I see guys building their $2,000.00 ultra bench on the floor of their shop.
Be well, and Merry Christmas
Gump
I made sawhorses very similar to the ones you are working on. Afterward I ran across the idea of making one side of each 90 degrees instead of canted out. Now I wish I’d made them that way. Seems I’m always running into a leg while sawing.
I’d be interested your thoughts on this.
I can remember as a kid the Workmates being really heavy duty. I haven’t used one in a long time so I’m not exactly sure what the new ones are like. As far as the cut nails, is there a manufacturer in England? Or Europe? It seems that just about everybody here, including myself, gets cut nails from Tremont, though I believe there is at least one other source.
Bill